
gluten free buttermilk waffles
intro
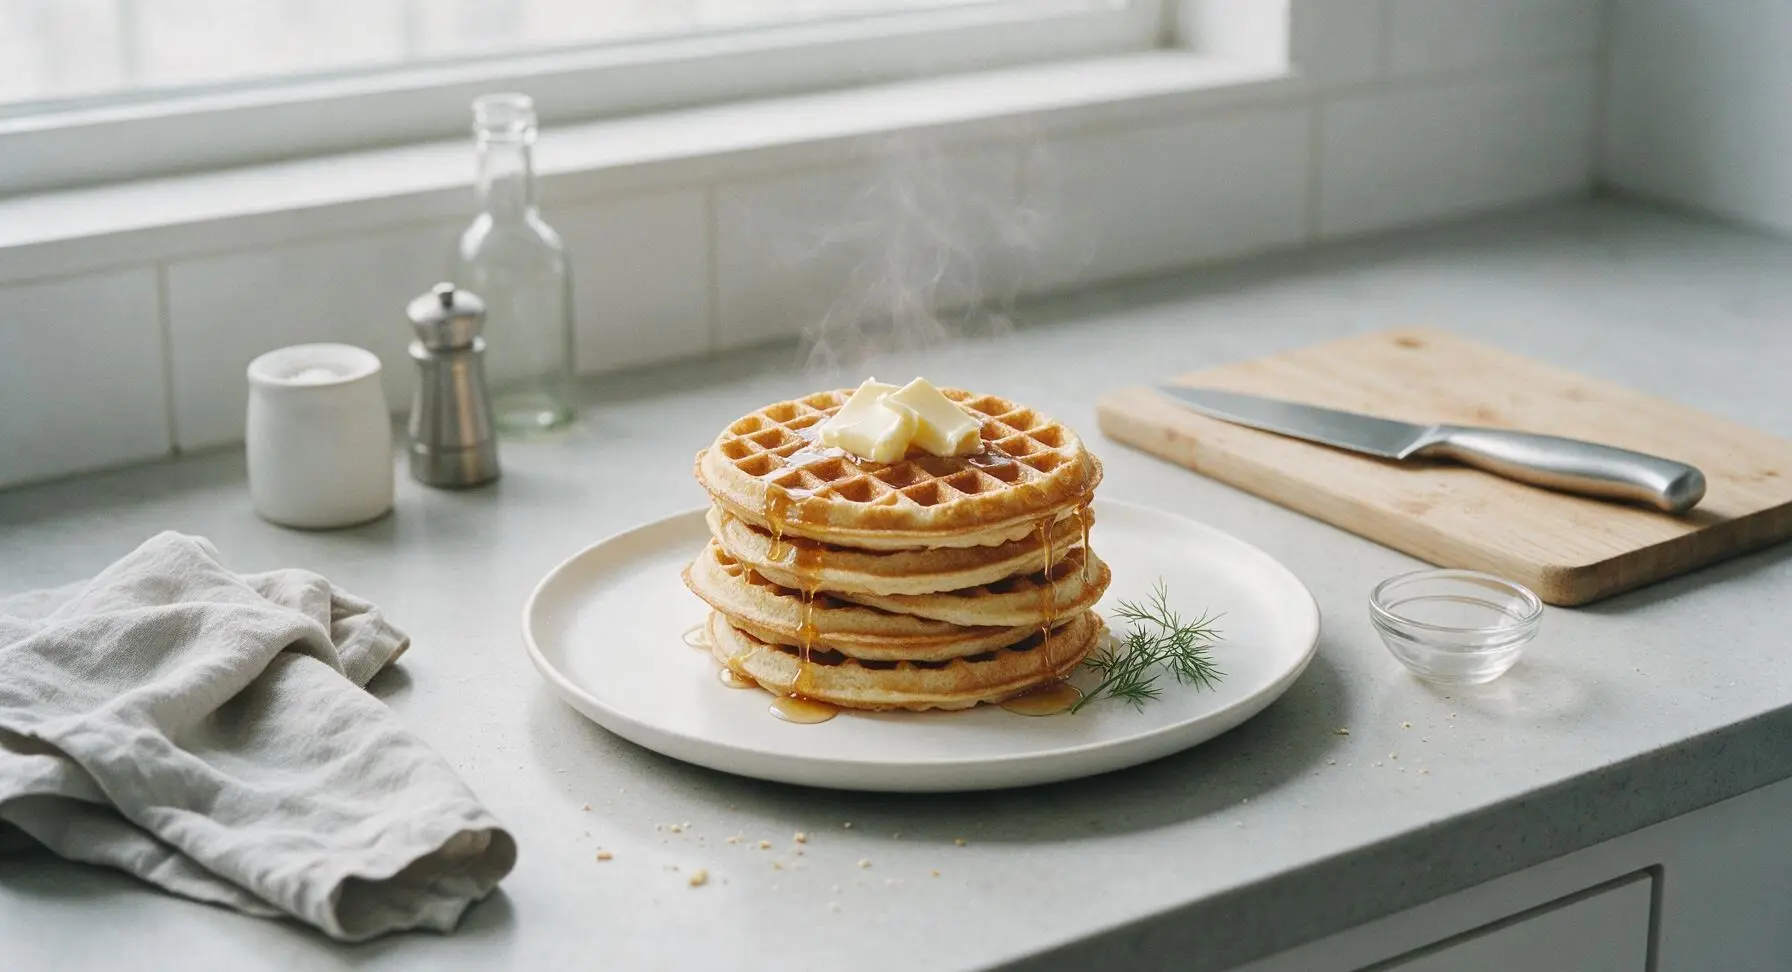
Crisp golden edges, light fluffy tangy centers, these gluten-free buttermilk waffles skip the gritty GF texture, perfect for stacking with butter and maple syrup for cozy weekend meals.
Ingredients
Steps
Preheat Waffle Maker
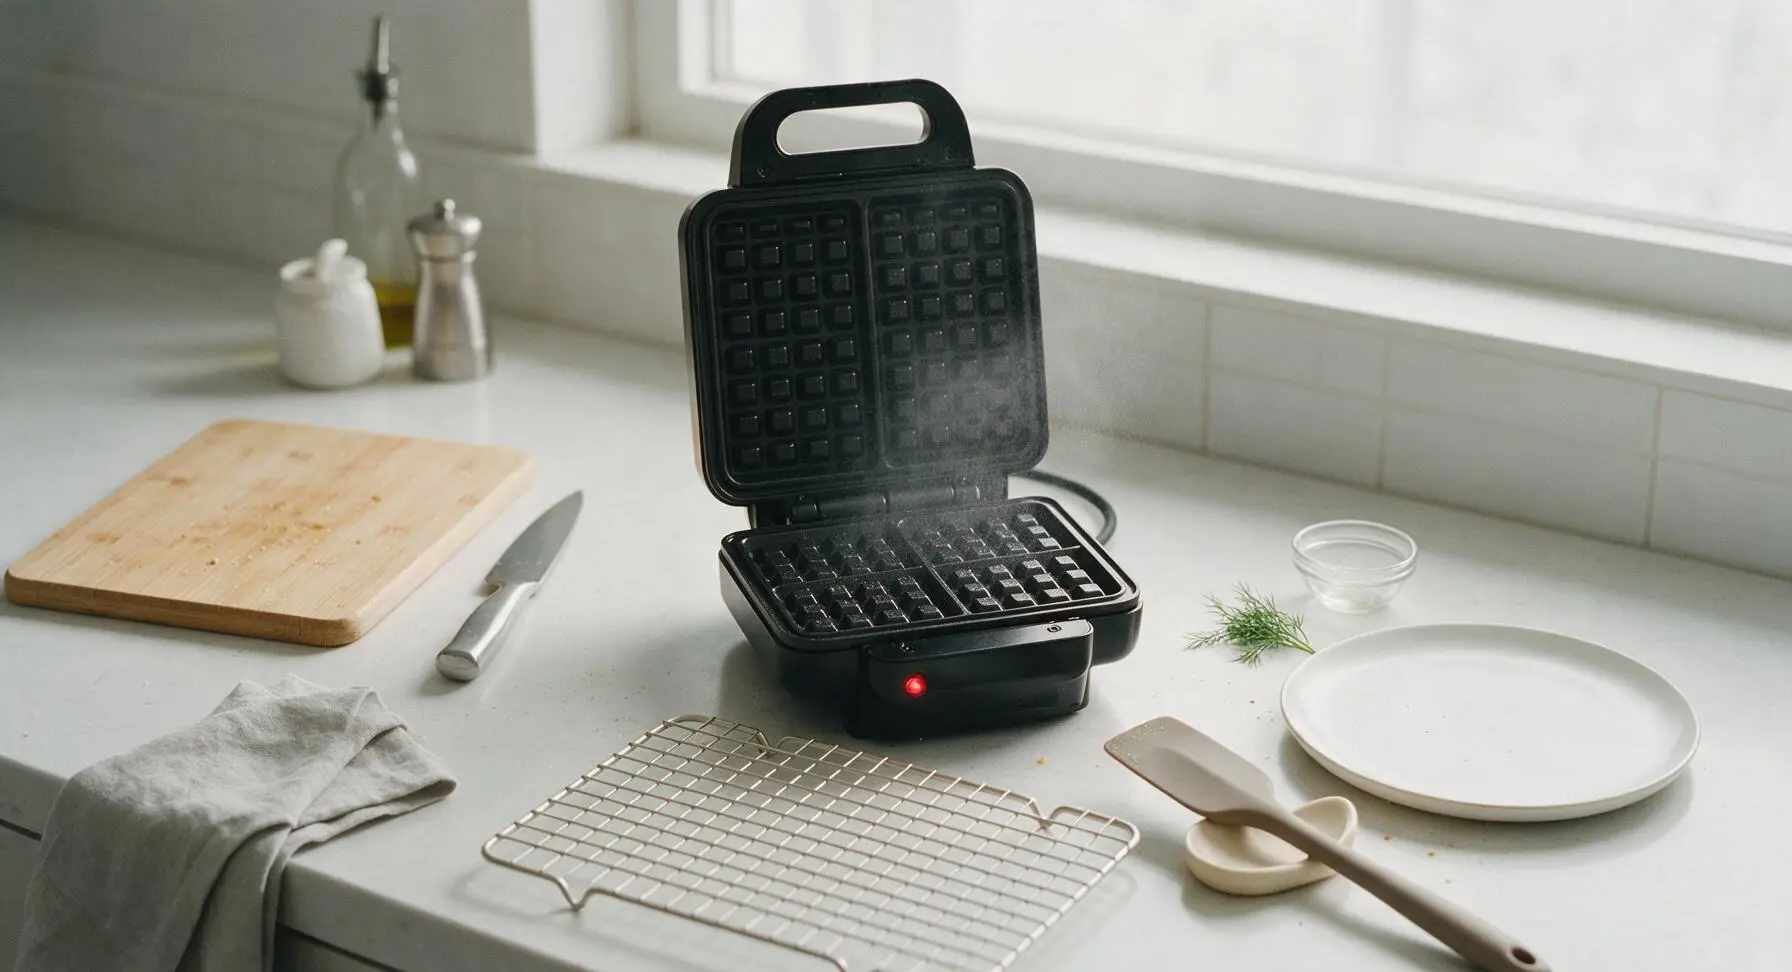
Plug in the matte black stainless steel waffle maker, set the browning dial to medium-high (375°F/190°C), and close the lid to preheat for 5 minutes. Once preheated, open the lid and lightly coat the nonstick plates with nonstick cooking spray, taking care not to overspray to avoid burnt, sticky residue. The waffle maker is ready when its built-in indicator light illuminates.
Whisk Dry Ingredients
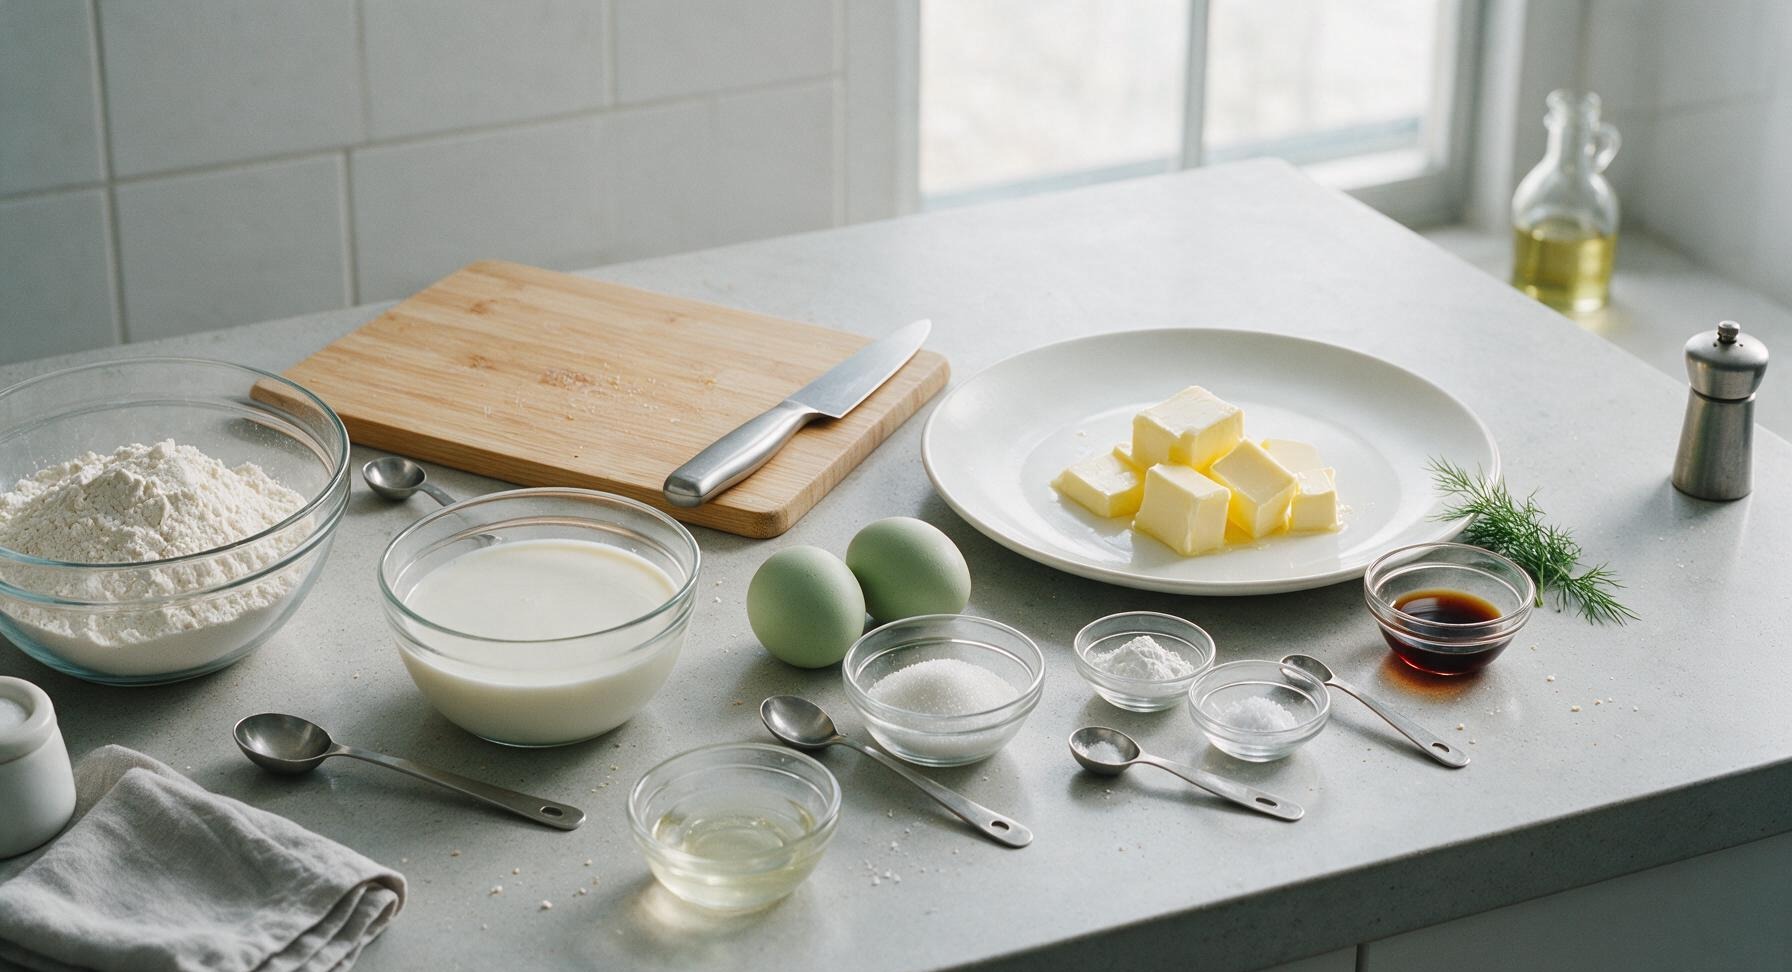
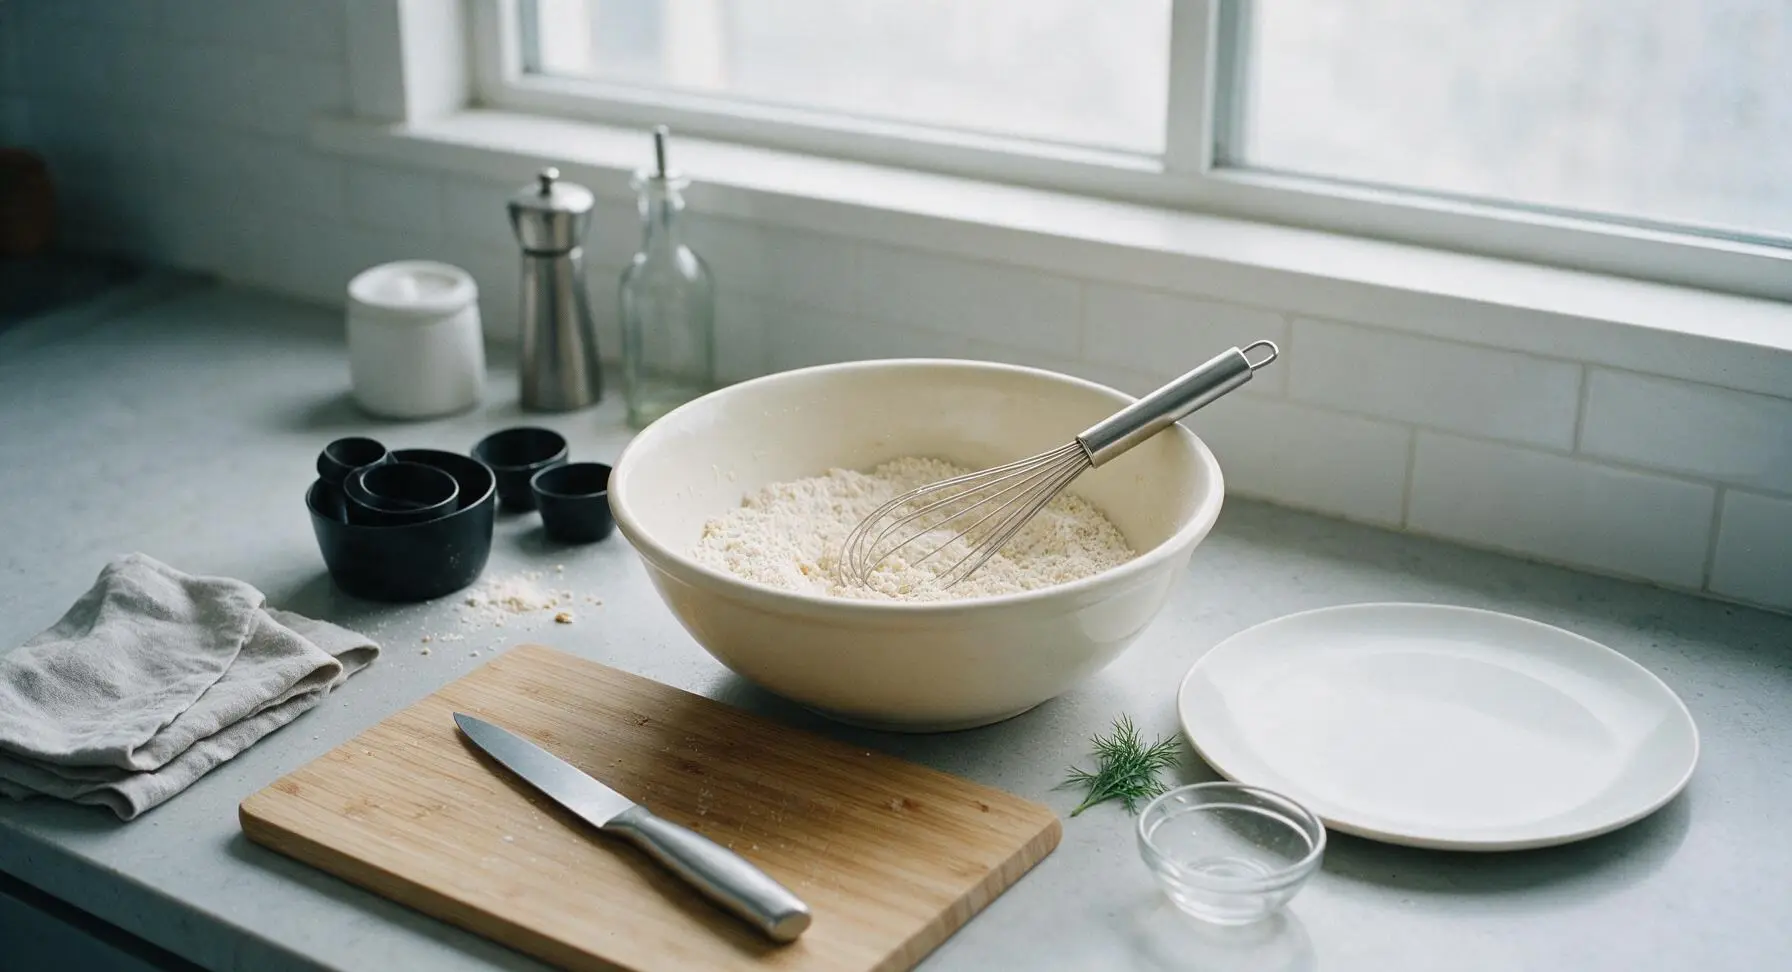
Add 2 cups (240g) of gluten-free all-purpose flour blend, 2 tbsp (25g) granulated sugar, 2 tsp (8g) baking powder, 1/2 tsp (2.5g) baking soda, and 1/2 tsp (3g) fine sea salt to the large cream ceramic mixing bowl. Use the polished stainless steel wire whisk to stir the dry ingredients for 30 seconds until fully combined, with no visible clumps of leavening or flour. Break up any small lumps against the side of the bowl as you mix.
Combine Wet Ingredients
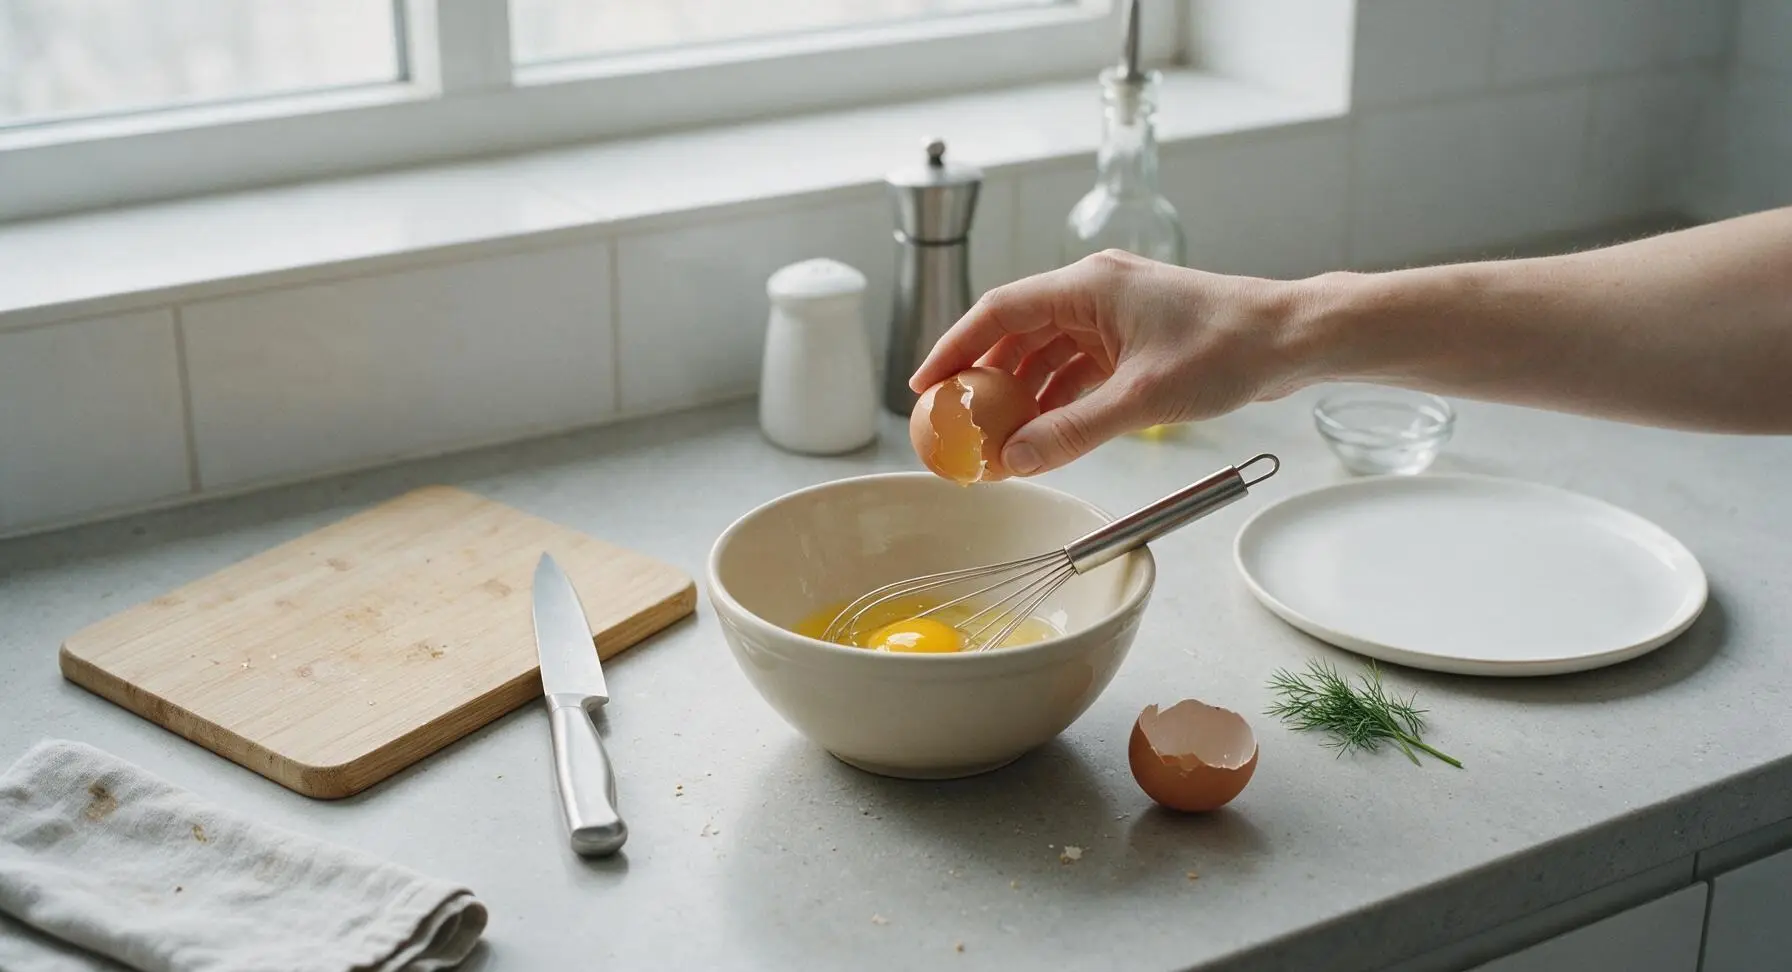
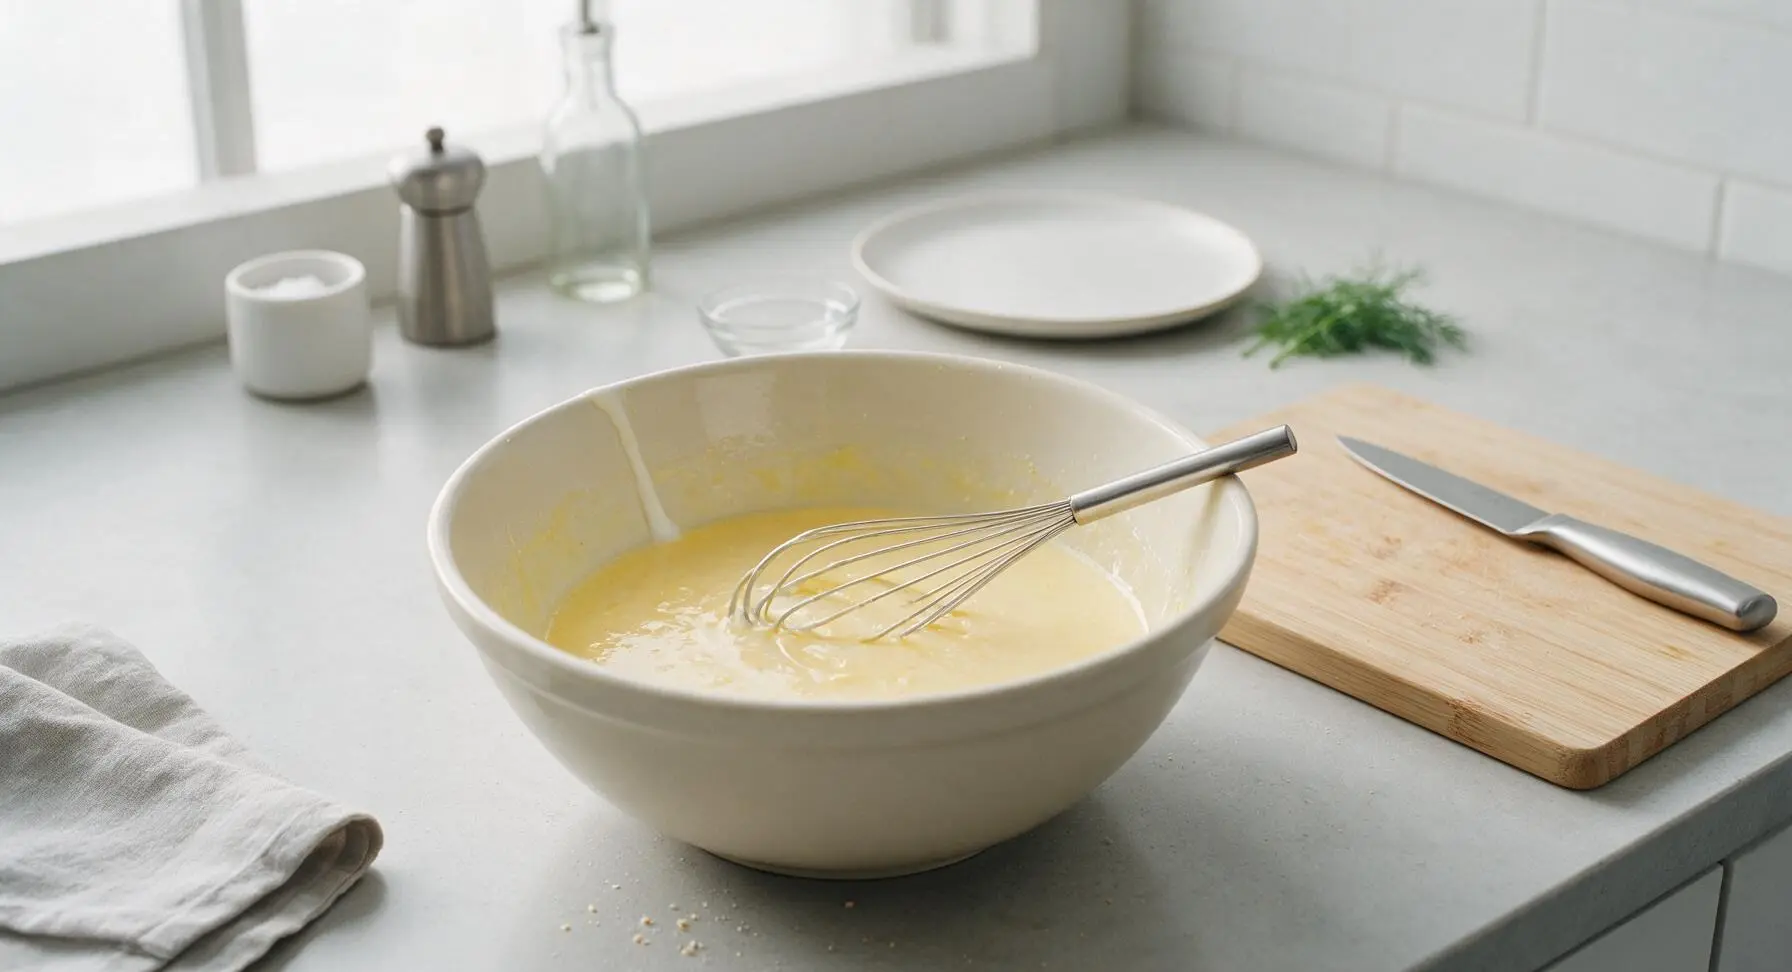
Crack the 2 large eggs into the medium cream ceramic mixing bowl, and whisk lightly for 10 seconds until yolks and whites are fully broken and combined. Add 1 3/4 cups (420ml) low-fat buttermilk, 4 tbsp (56g) cooled melted butter, and 1 tsp (5ml) pure vanilla extract to the bowl, and whisk for another 20 seconds until the mixture is smooth and pale yellow, with no streaks of separate egg visible.
Mix and Rest Batter
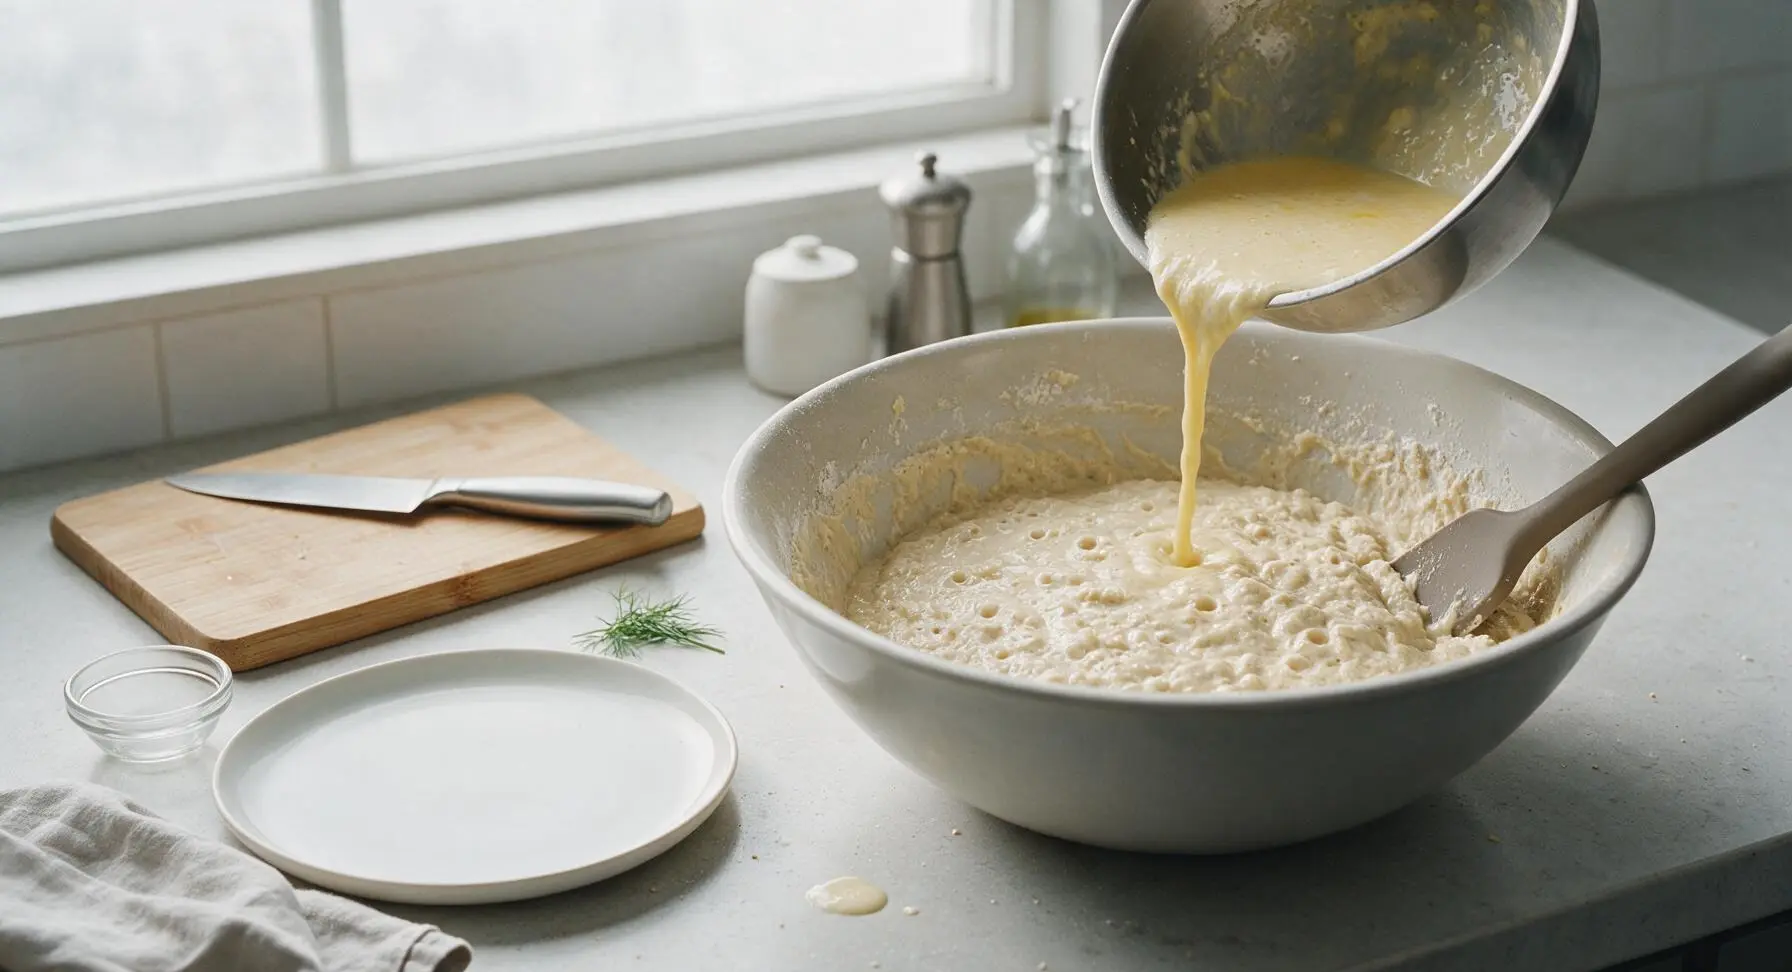
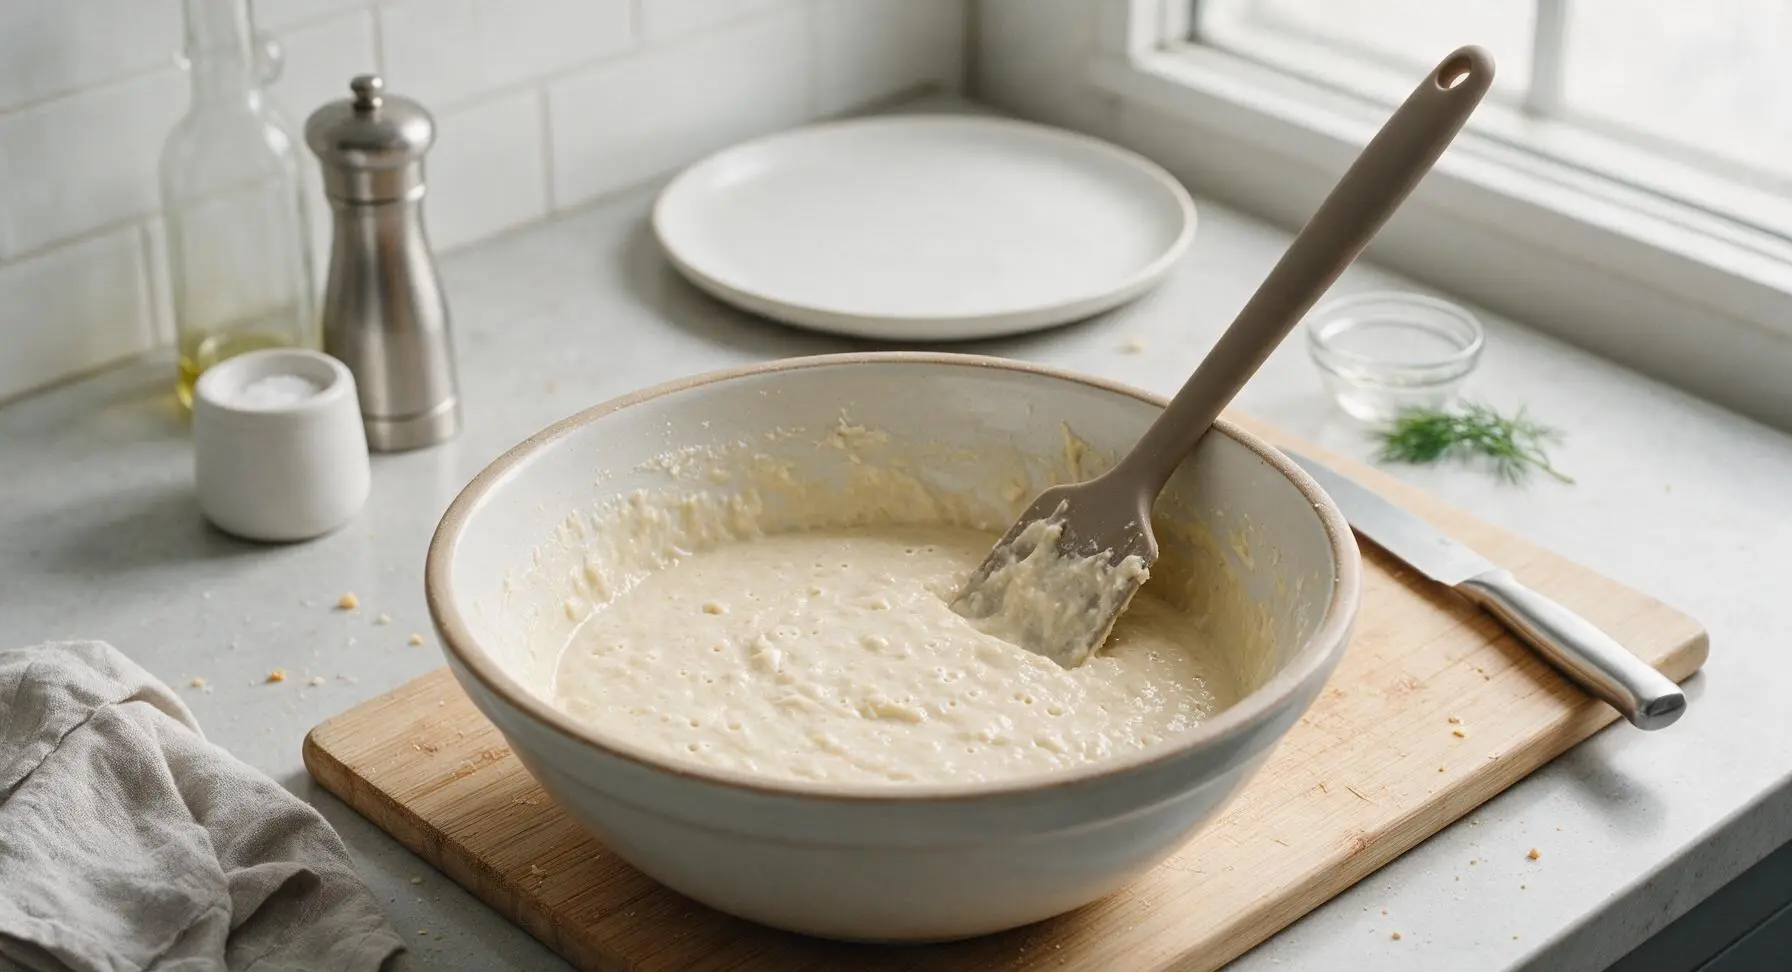
Pour the entire wet ingredient mixture into the large mixing bowl with the dry ingredients. Use the taupe silicone spatula to gently fold the ingredients together, stirring only just until no dry flour streaks remain – the batter will be thick with a few small lumps; do not overmix, as this creates tough, dense waffles. Let the batter rest for 5 minutes at room temperature to allow the gluten-free flour to fully hydrate; the batter will thicken slightly and develop small surface bubbles as the leaveners activate.
Cook Waffles in Batches
Once the waffle maker is preheated and batter is rested, pour 1/2 cup (120ml) of batter onto the exact center of the lower waffle plate, spreading it slightly with the tip of the silicone spatula to within 1/2 inch of the plate edges – the batter will spread on its own once the lid closes. Close the lid and cook for 3 to 4 minutes, resisting the urge to open the lid early, until the waffle is deep golden brown and crisp on the outside, and no visible steam escapes from the waffle maker edges. Use the silicone spatula to gently lift the cooked waffle out (never use metal utensils, which scratch the nonstick surface), and transfer it to the wire cooling rack in a single layer; do not stack hot waffles directly on top of each other, as trapped steam will turn crisp edges soft and soggy. Repeat with remaining batter, spraying the waffle plates lightly with cooking spray between every 2 batches to prevent sticking.
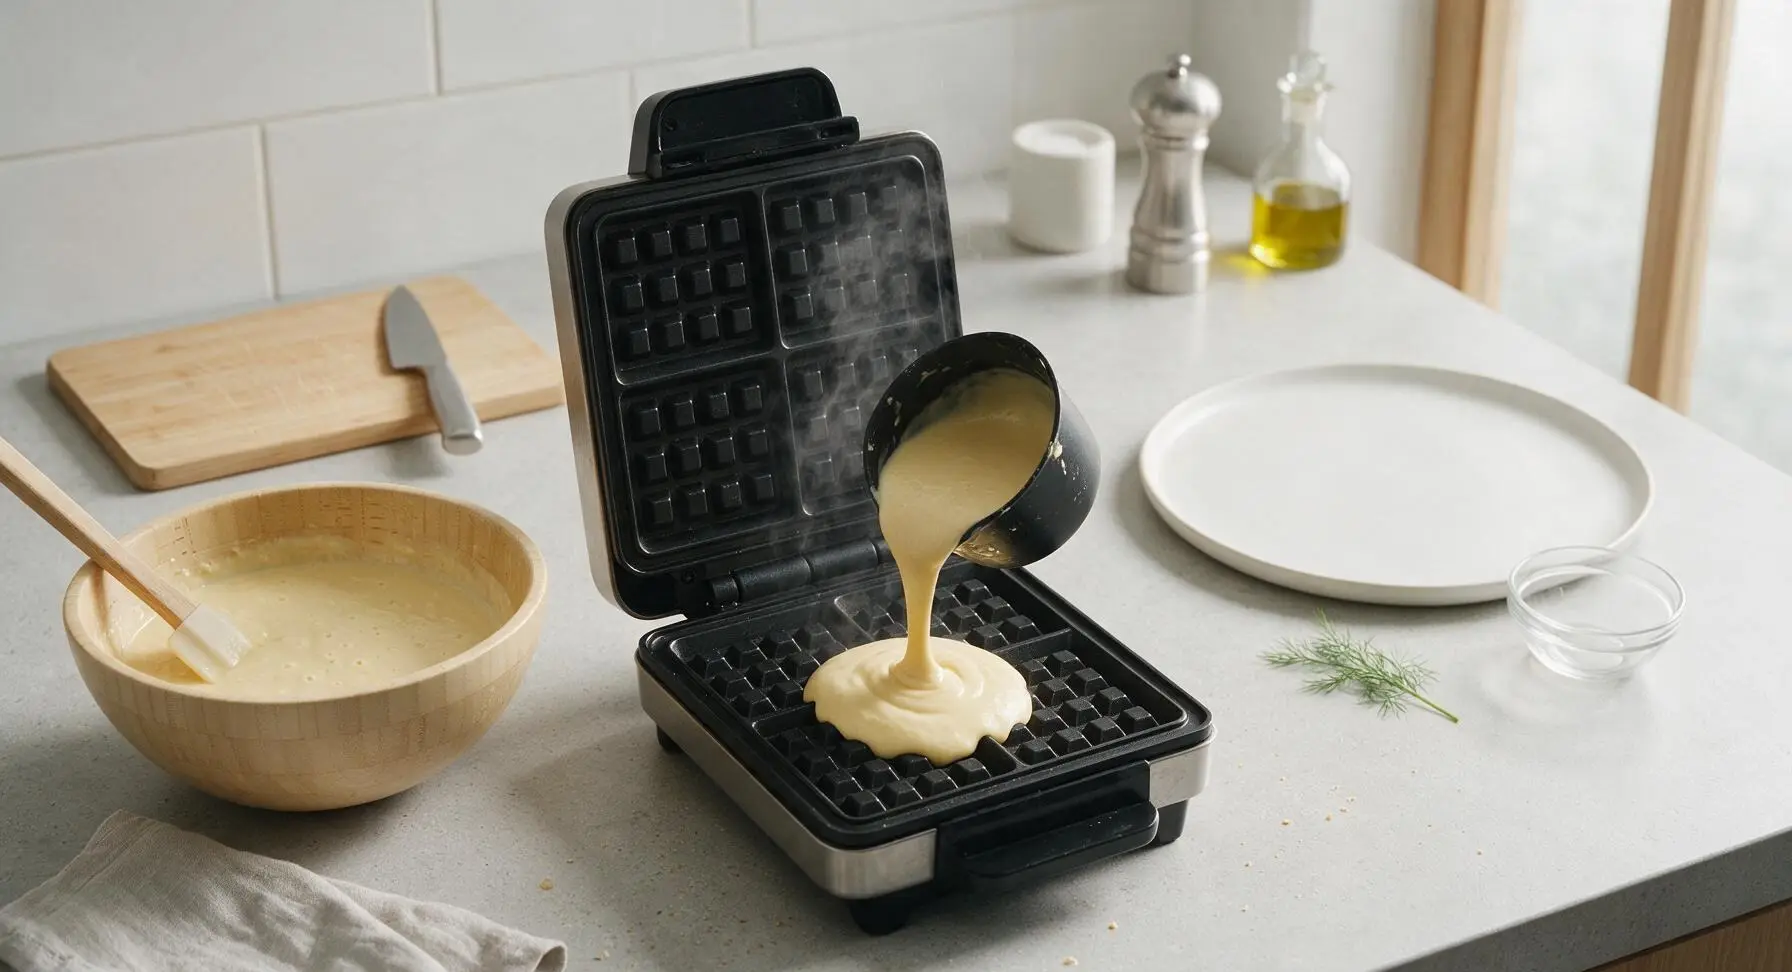
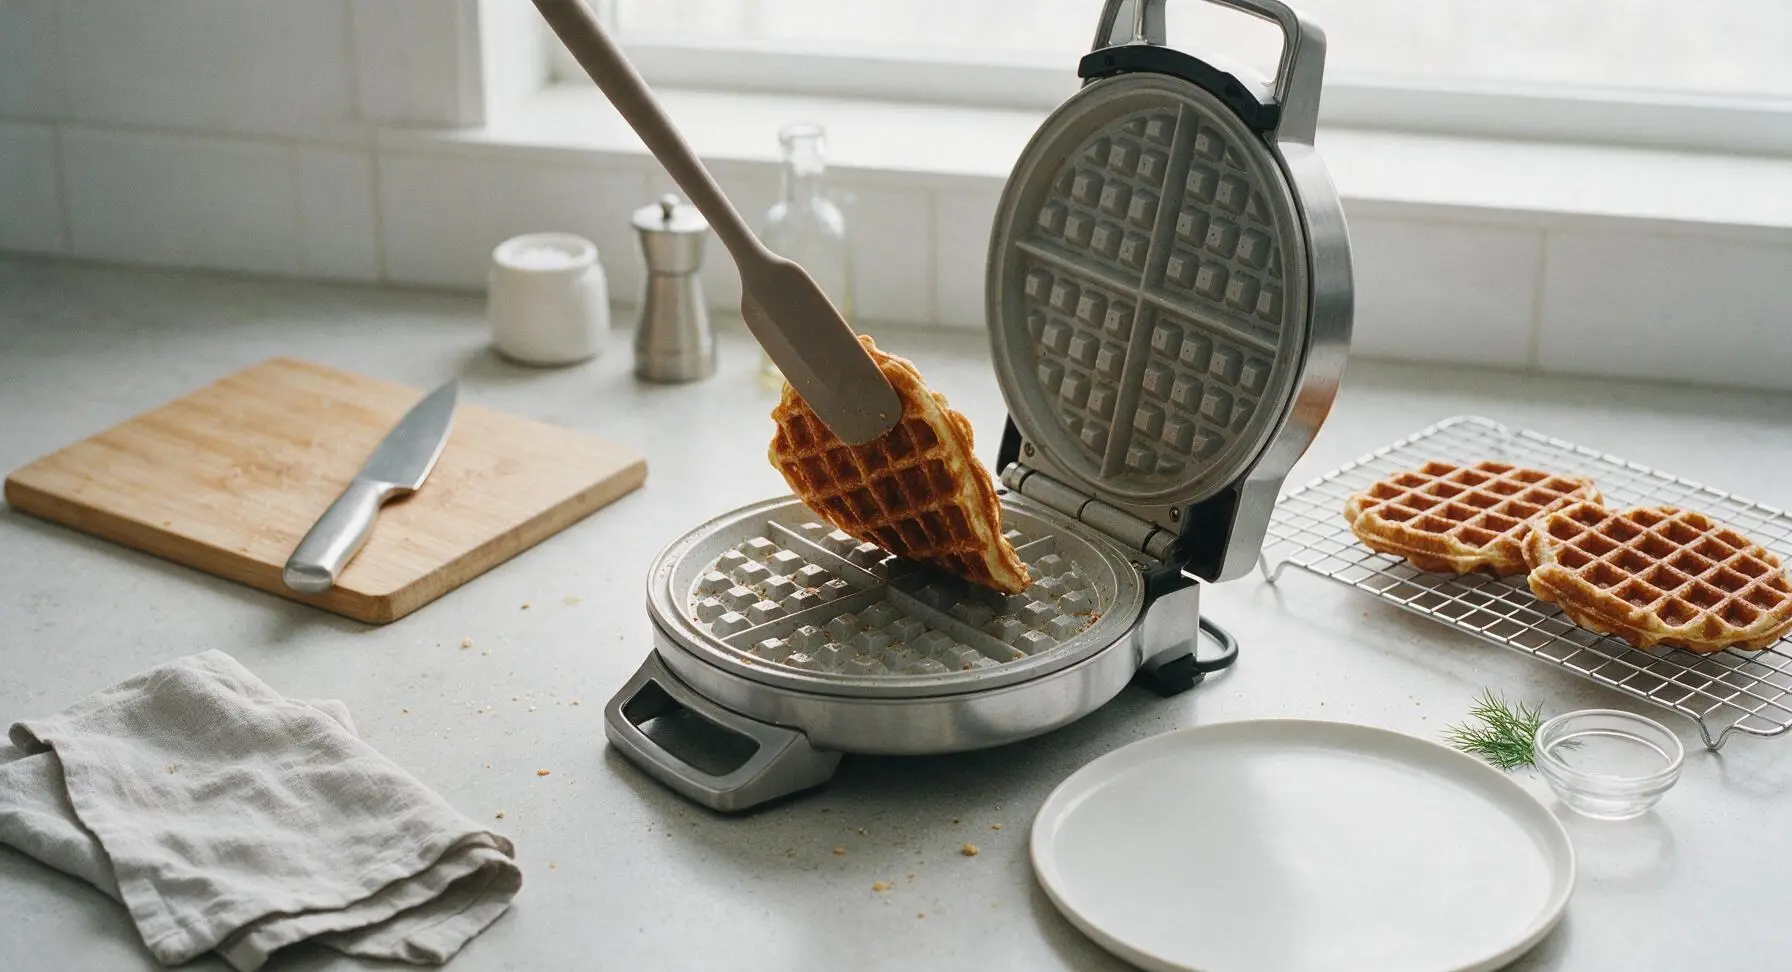
Plate Warm Waffles
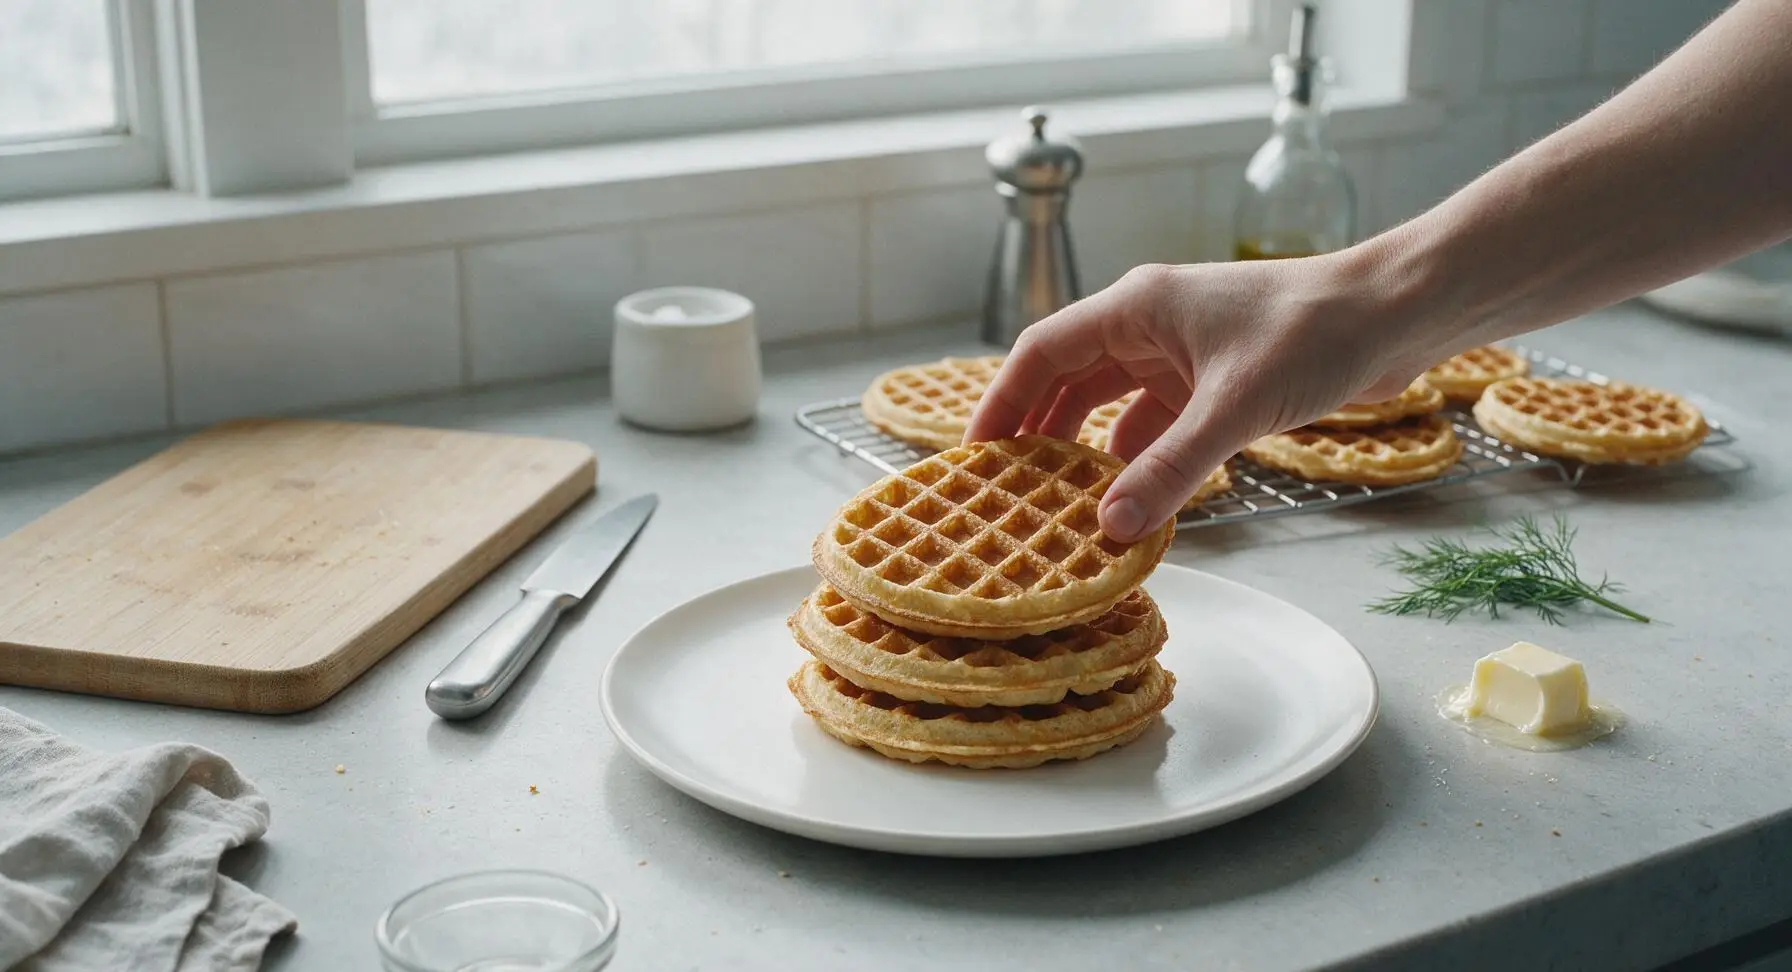
Once all waffles are cooked, stack three warm waffles centered on the matte cream stoneware dinner plate. Top the stack with a 1-tablespoon pat of salted butter, a light drizzle of maple syrup, and a tiny pinch of flaky sea salt if desired. Serve immediately while hot and crisp, with extra syrup and toppings in the small cream ramekins on the side.
Tips
2.Let the batter rest for the full 5 minutes before cooking. Gluten-free flour blends absorb liquid more slowly than wheat flour, so resting eliminates dry, gritty texture and allows leaveners to activate for lighter, fluffier waffles with better rise.
3.Transfer cooked waffles directly to the wire cooling rack instead of stacking them on a plate. Trapped steam between stacked hot waffles turns crisp edges soft and soggy; the open grid of the rack allows air to circulate, keeping waffles crisp while you cook remaining batches.






OMG these are SO good! I’ve been searching for a gluten-free waffle recipe that doesn’t turn out gummy or crumbly for months, and this one knocks it out of the park. My 3 kids devoured a whole batch before I even got to sit down with my coffee this morning.
Game changer! I was worried the gluten-free flour blend would make these taste bland, but the buttermilk gives them that perfect tangy, fluffy bite I remember from regular diner waffles. Took me exactly 20 minutes start to finish, super easy even for a terrible cook like me.
Made these for a potluck brunch last weekend and even the non-gluten-free folks were asking for the recipe! Crispy on the outside, soft in the middle, absolutely perfect with a drizzle of maple syrup and fresh berries.
These are now a staple in my weekly meal prep! I make a batch every Sunday, pop them in the freezer, and toast one up on my way to work. Way better than the frozen store-bought GF waffles that taste like cardboard. Only note: I added a teaspoon of cinnamon to the batter and it was chef’s kiss, though my first batch stuck a little to my waffle iron because I forgot to spray it first, oops.
Tried these this morning before an early trail hike and they kept me full for hours! I loved that the recipe was so easy, I didn’t have to fumble with a million ingredients before my coffee kicked in. My only gripe is I wish I’d made a double batch because my roommate ate half of them before I could pack my leftovers for tomorrow.
Wait, I don’t have a flip waffle iron—will this recipe still work in a regular old basic waffle maker? I’m still new to gluten free baking and don’t want to mess these up, since every other GF waffle I’ve tried has been a disaster. Fingers crossed these turn out as good as everyone says!
Made these for my daughter who has celiac, and she said they’re the first waffles she’s had since diagnosis that taste “like the real ones.” I almost teared up, ngl. Topped them with whipped cream and sliced peaches, 10/10 will be making these every Saturday from now on.
I brought these to my office brunch last week and everyone lost their minds. Multiple people asked if I used regular flour because they couldn’t tell the difference! The buttermilk tang is so spot on, I don’t think I’ll ever use another waffle recipe again, GF or not.
I was out of regular buttermilk so I used the milk + vinegar trick (1 tbsp vinegar per cup of milk) and it worked perfectly! These were fluffy, crispy, had that perfect tang, and didn’t have that weird GF aftertaste so many recipes have. 10/10, easy enough for a random Tuesday breakfast.
These were a hit with my twin toddlers! I cut them into little sticks, they dipped them in syrup and ate every last bite without throwing any on the floor, which is basically a miracle in our house. Cook time was only 20 minutes so I didn’t have to wake up an hour early to make breakfast, win win.
Added a scoop of vanilla protein powder to the batter for an extra protein boost, and it was incredible! These don’t leave me with that heavy carb crash I get from regular waffles, and they taste like a treat. Will absolutely be adding these to my regular rotation.
Full transparency: I’m a total waffle snob. I used to drive 20 minutes every Sunday to get my favorite diner waffles before going gluten free, and I’ve tried every GF waffle recipe online. This one is the closest I’ve found to that classic diner texture and flavor. Crispy edges, fluffy center, perfect tang. 10/10.
Help! I made these last night and they came out super dense and flat, what did I do wrong? I followed the recipe exactly, I think? Wait, wait—oh no, I think I used baking soda that’s been in my pantry for 3 years. Would that do it?
Used oat milk instead of regular buttermilk (dairy free household) with a tablespoon of apple cider vinegar, and it worked like a charm! These were so fluffy, my partner who swears he hates gluten free food had three of them. Topped with sautéed apples and a sprinkle of cinnamon, absolute perfection.
Made these on my portable waffle iron for a tailgate last weekend, and they were a massive hit. People were lining up to get one, even when I told them they were gluten free! Super easy to mix the batter ahead and bring it in a jug to pour fresh on site. 10/10, perfect for game day.
These are amazing! I added a handful of mini chocolate chips to the batter and topped them with a dollop of whipped cream, and it felt like a fancy restaurant brunch at home. So easy even I didn’t mess them up, and I burn toast 90% of the time.
I’ve been making protein waffles for years and they always turn out rubbery, but these? Perfect texture, great flavor, even my clients ask for the recipe when I post my meal prep on Instagram. The buttermilk makes all the difference, no more dry, rubbery GF waffles for me.