1.Can I use a gluten-free all-purpose flour blend that doesn’t contain xanthan gum for the crust?
▾
You absolutely can, but you’ll need to add a binder to keep the crust from crumbling apart. Mix in 1/4 teaspoon of xanthan gum per cup of xanthan-free gluten-free all-purpose flour before cutting in the butter. If you avoid xanthan, use an equal amount of guar gum as a direct swap for the same structural result.
2.Why does the recipe call for cold butter and ice water for the gluten-free crust?
▾
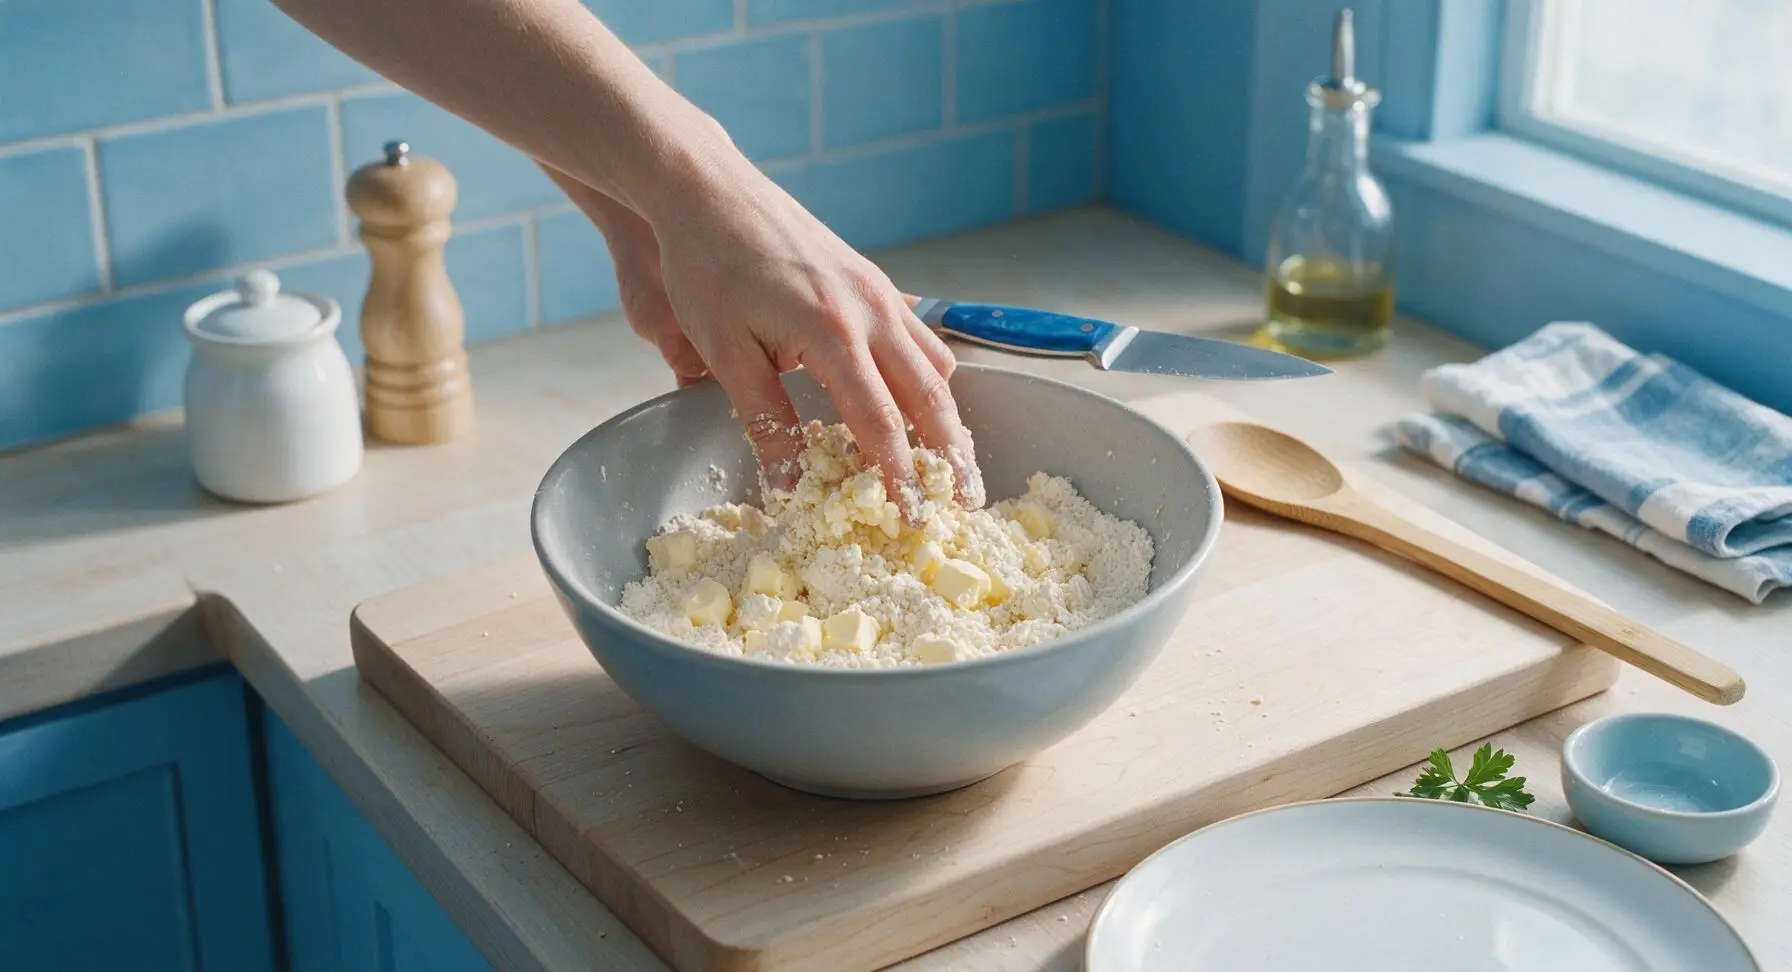
Cold ingredients are non-negotiable for that flaky, buttery crust everyone loves. Cold butter stays in small, solid chunks as you mix and roll the dough; when it hits the hot oven, those chunks melt and release steam to create light, flaky layers. Ice water keeps the butter from melting prematurely so you don’t end up with a tough, dense crust.
3.Can I adapt this chicken pot pie recipe to be dairy-free?
▾
You can easily adapt this recipe to be dairy-free with a couple simple swaps. Swap the cold unsalted butter for an equal amount of cold, cubed dairy-free butter stick (look for one formulated for baking, not soft spreadable tubs) and use unsweetened plain oat milk in the creamy filling for nearly identical texture and flavor.
4.Do I have to dice the yellow onion super finely, or can I chop it into larger pieces?
▾
Dicing the onion into uniform ¼-inch pieces is ideal for this recipe, because it cooks down fully to meld into the creamy filling without leaving big, sharp, crunchy onion bites that overpower other flavors. If you prefer heartier texture, you can chop it into ½-inch pieces, just sauté it a few minutes longer to make sure it softens completely.
5.Can I use pre-cooked rotisserie chicken for the filling to save prep time?
▾
Pre-cooked rotisserie chicken is one of my favorite time-saving swaps for this recipe, and it adds great deep, savory flavor. Use about 2 cups of shredded, skinless rotisserie chicken, and stir it into the filling right before you top it with the crust—there’s no need to cook it further, since it’s already fully cooked through.
6.Why is my gluten-free crust turning out crumbly and hard to roll out?
▾
Crumbly, unrollable gluten-free crust almost always traces back to one of three issues: you didn’t use enough binder like xanthan gum, your butter was too warm when you mixed the dough, or you added too little ice water. Add 1 teaspoon of extra ice water at a time until the dough holds together when squeezed, then chill 30 minutes before rolling.
7.Can I make this pot pie ahead of time and freeze it for quick weeknight meals?
▾
This pot pie freezes beautifully for make-ahead meals. Assemble the fully cooled filling in your baking dish, top with the rolled-out crust, crimp the edges, and wrap tightly in two layers of plastic wrap and one layer of foil. It will keep for up to 3 months; bake straight from frozen at 375°F for 50-60 minutes until bubbly and golden.
8.What vegetables work best in the pot pie filling, besides onion?
▾
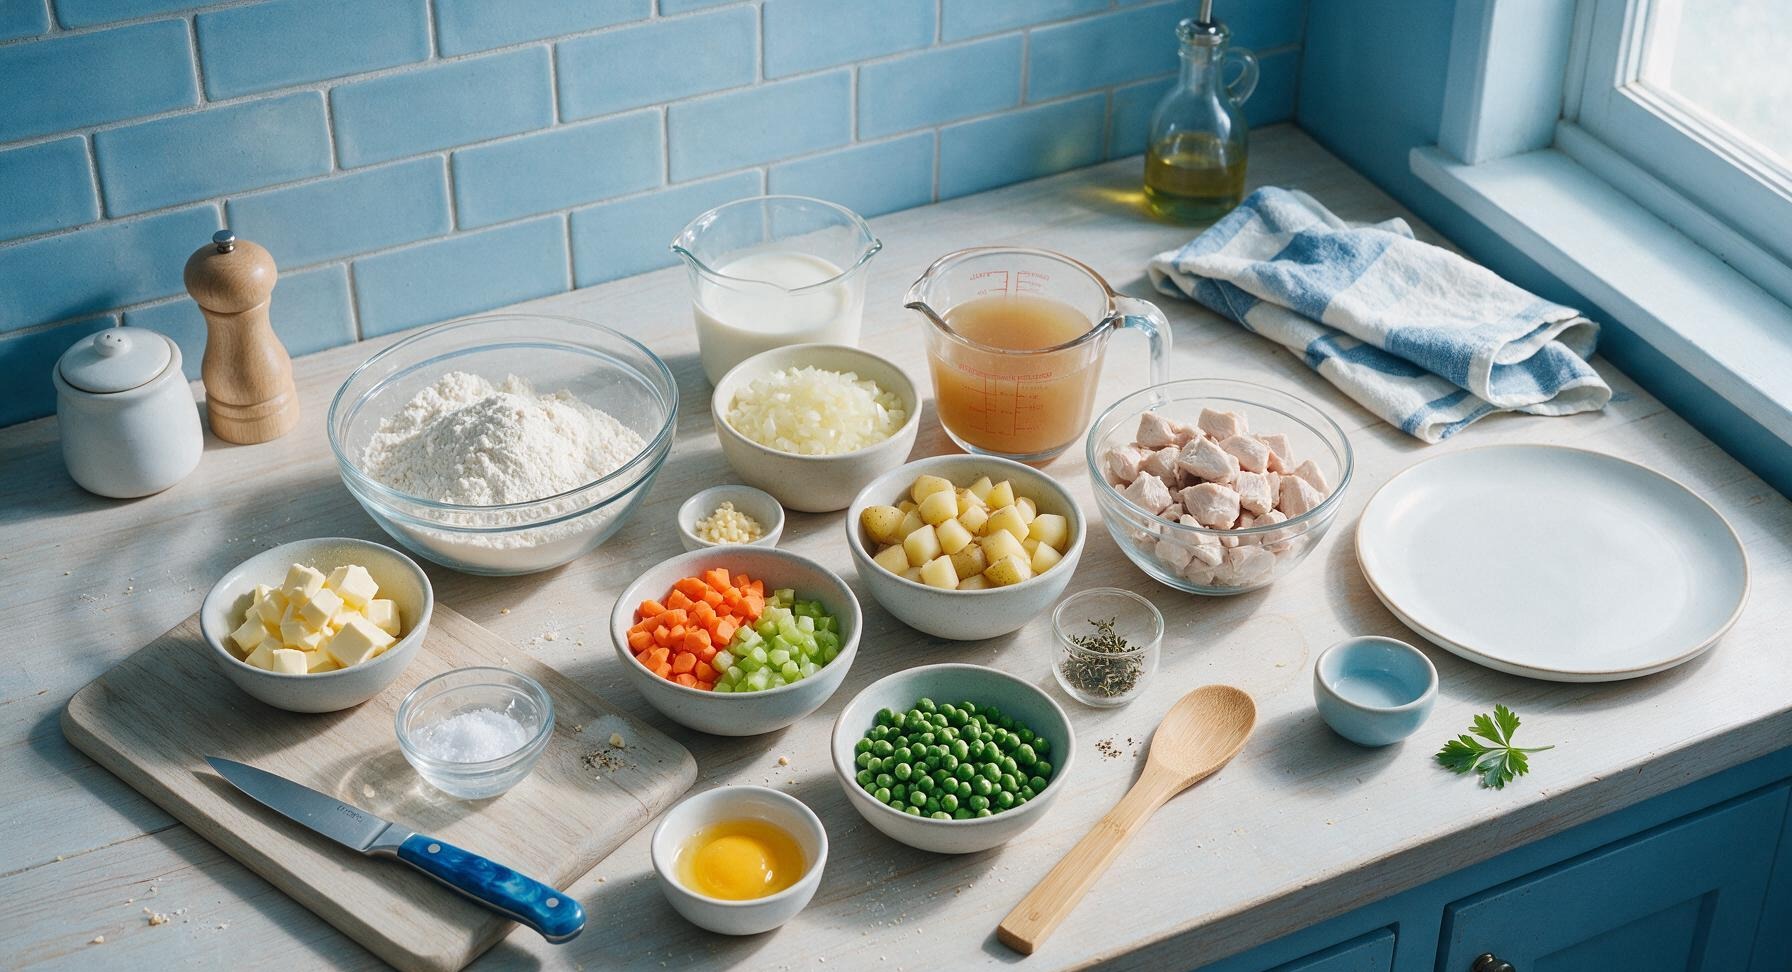
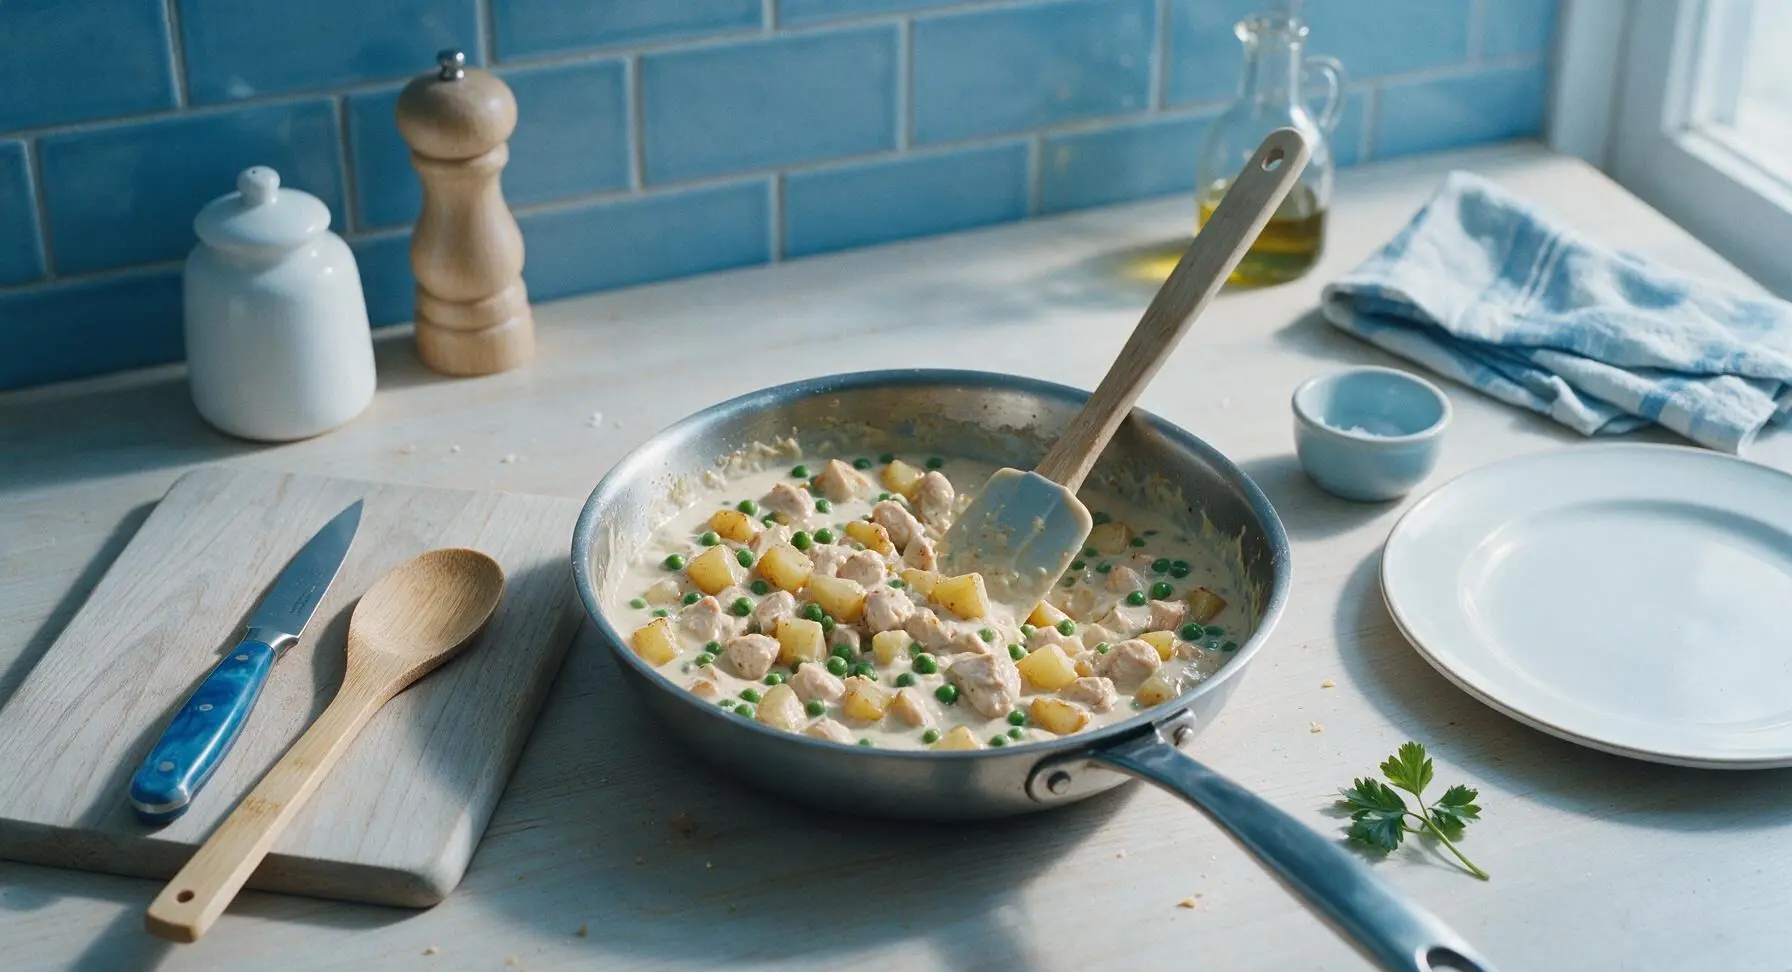
Sturdy, low-moisture veggies work perfectly here to avoid a soggy filling. Stick to classic mixes like diced carrot, celery, frozen peas, and cubed potato, sautéed lightly before mixing into the creamy base. Avoid very watery veggies like fresh zucchini or sliced tomato, which will release too much liquid and make your crust soggy and filling runny.
9.How do I keep the bottom crust of my pot pie from getting soggy?
▾
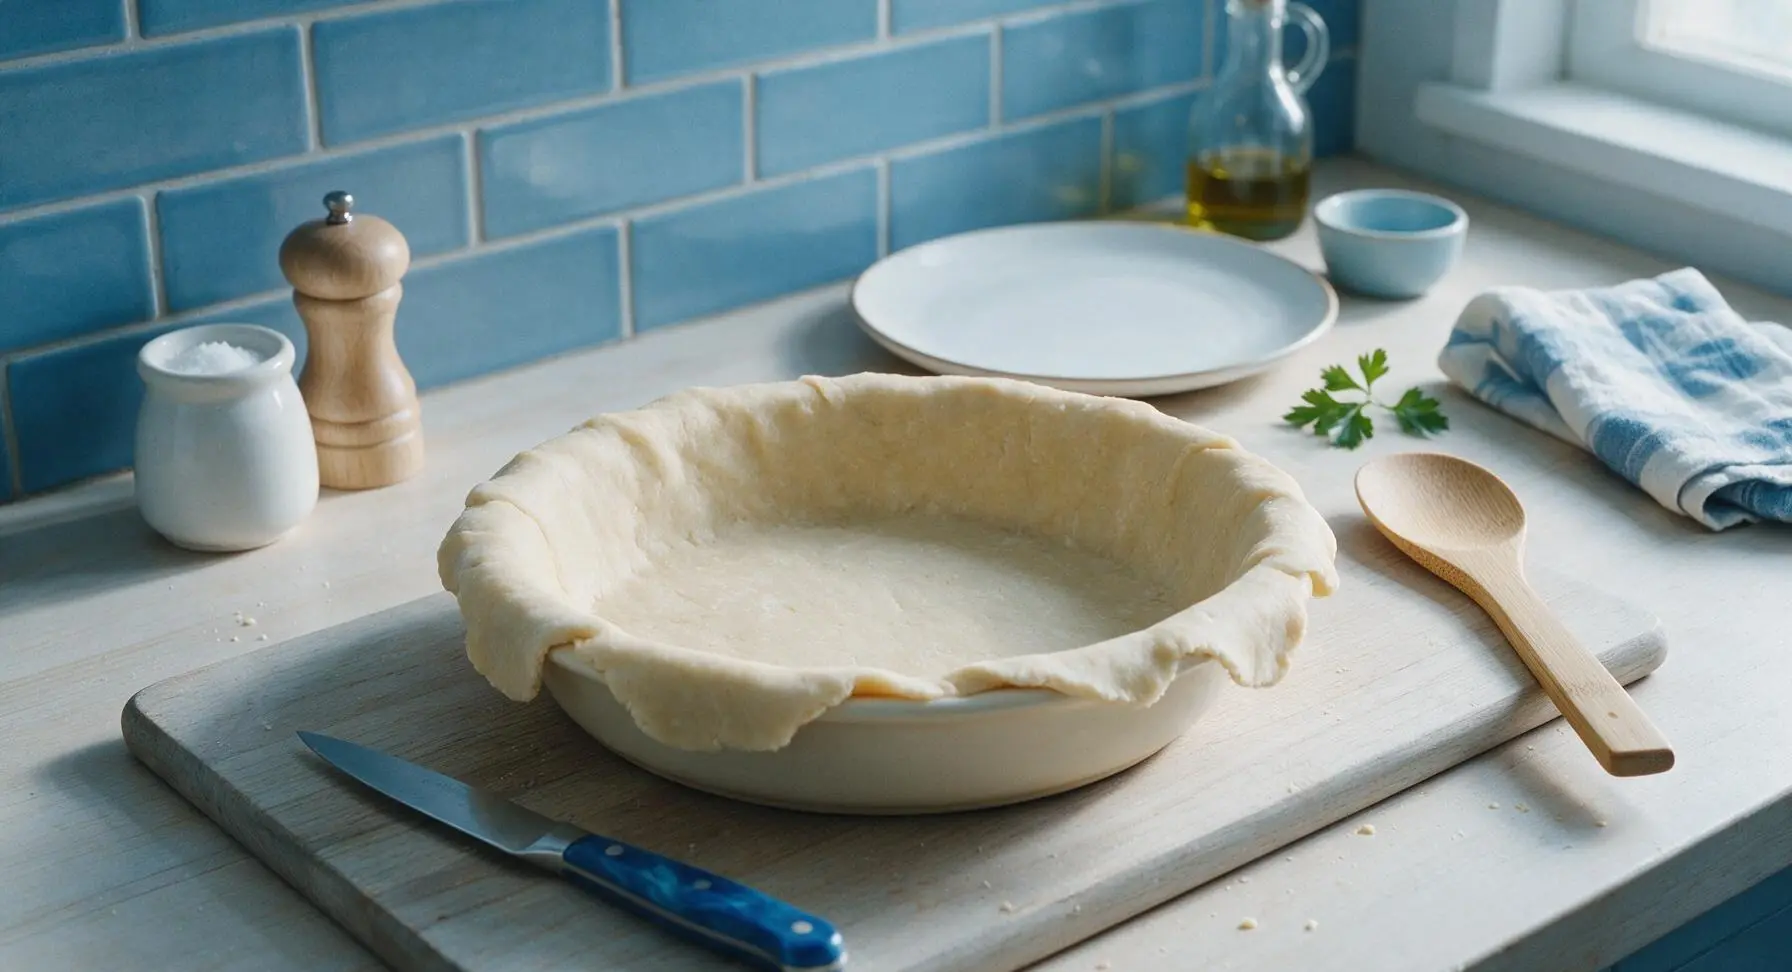
Soggy bottom crust is a common pot pie pitfall, but it’s easy to avoid. First, let your filling cool for 10-15 minutes before pouring it into the crust, so hot filling doesn’t melt the dough before it bakes. You can also blind bake the bottom crust for 8 minutes at 400°F before adding filling to create a sealed, crisp base.
10.What kind of baking dish works best for this gluten-free chicken pot pie?
▾
A 9-inch deep-dish pie plate, 2-quart ceramic casserole dish, or 10-inch cast iron skillet all work beautifully for this pot pie. Just make sure your dish is at least 2 inches deep to hold all the creamy filling without bubbling over, and place a rimmed baking sheet on the rack below to catch any drips as it bakes.
11.Can I use salted butter instead of unsalted butter for the crust?
▾
You can use salted butter if that’s what you have on hand, just adjust the added salt to keep the crust from tasting too salty. Cut the added fine sea salt in half for the crust recipe, since standard salted butter has about 1/4 teaspoon of salt per stick. Taste your filling before assembling too, to make sure the overall seasoning is balanced.
12.How do I get that shiny, golden brown top crust on my pot pie?
▾
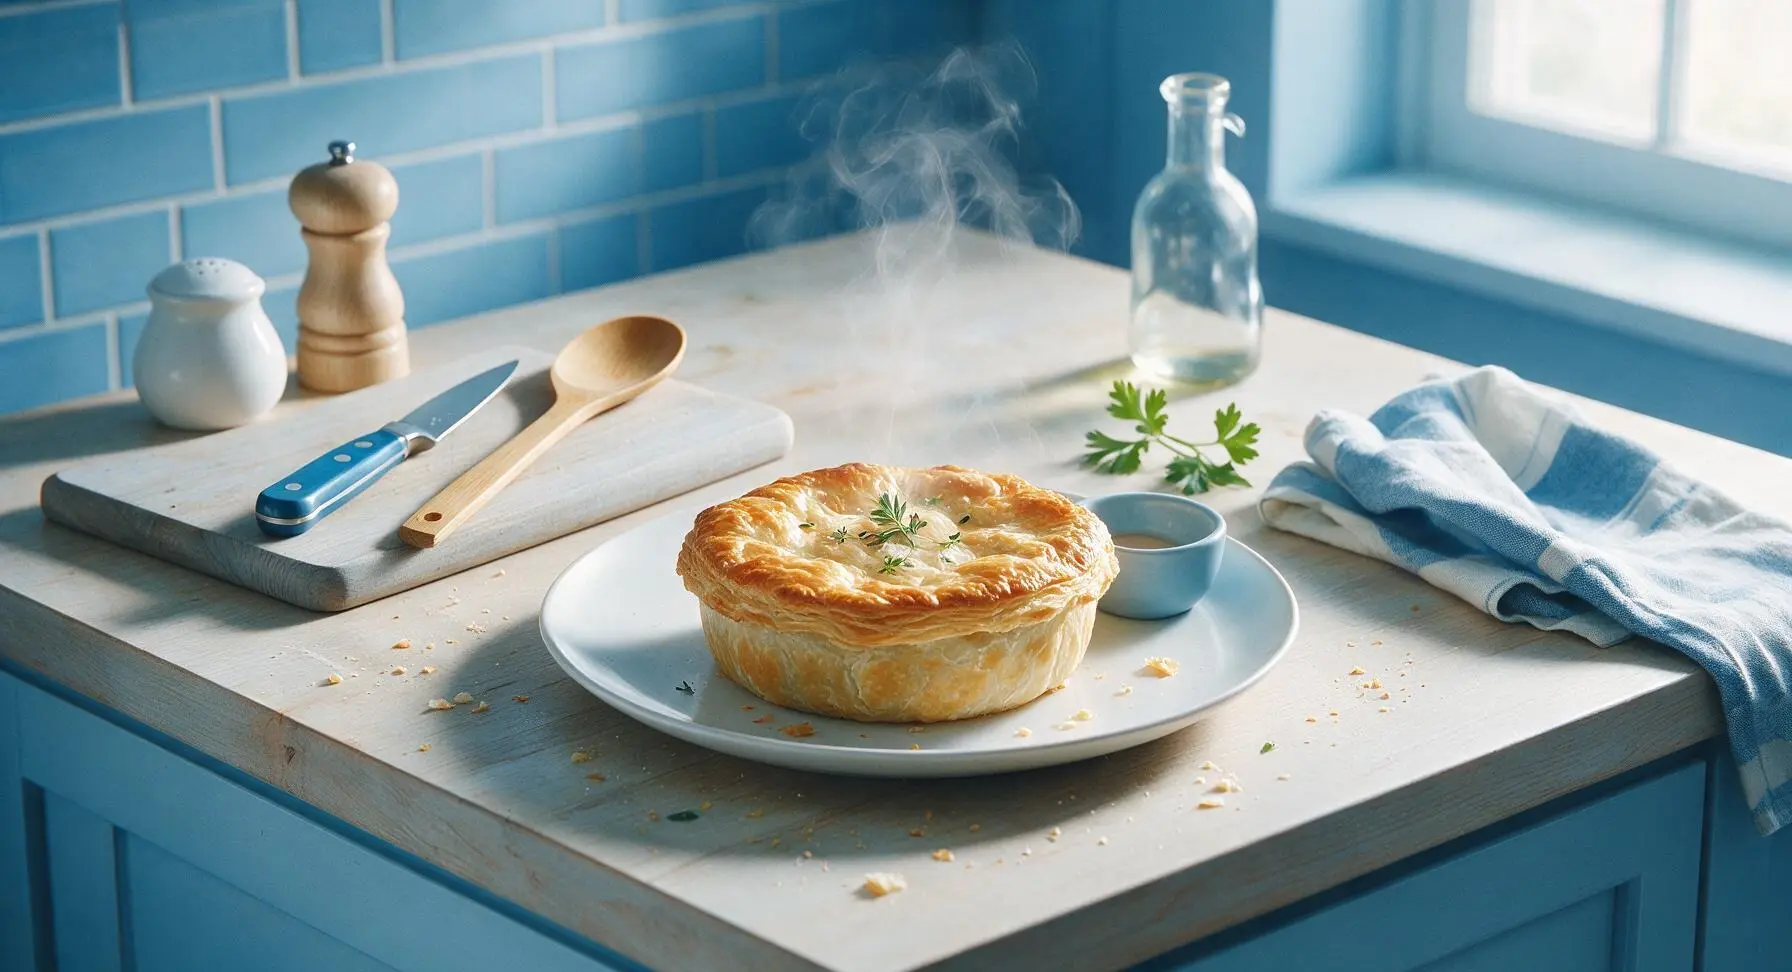
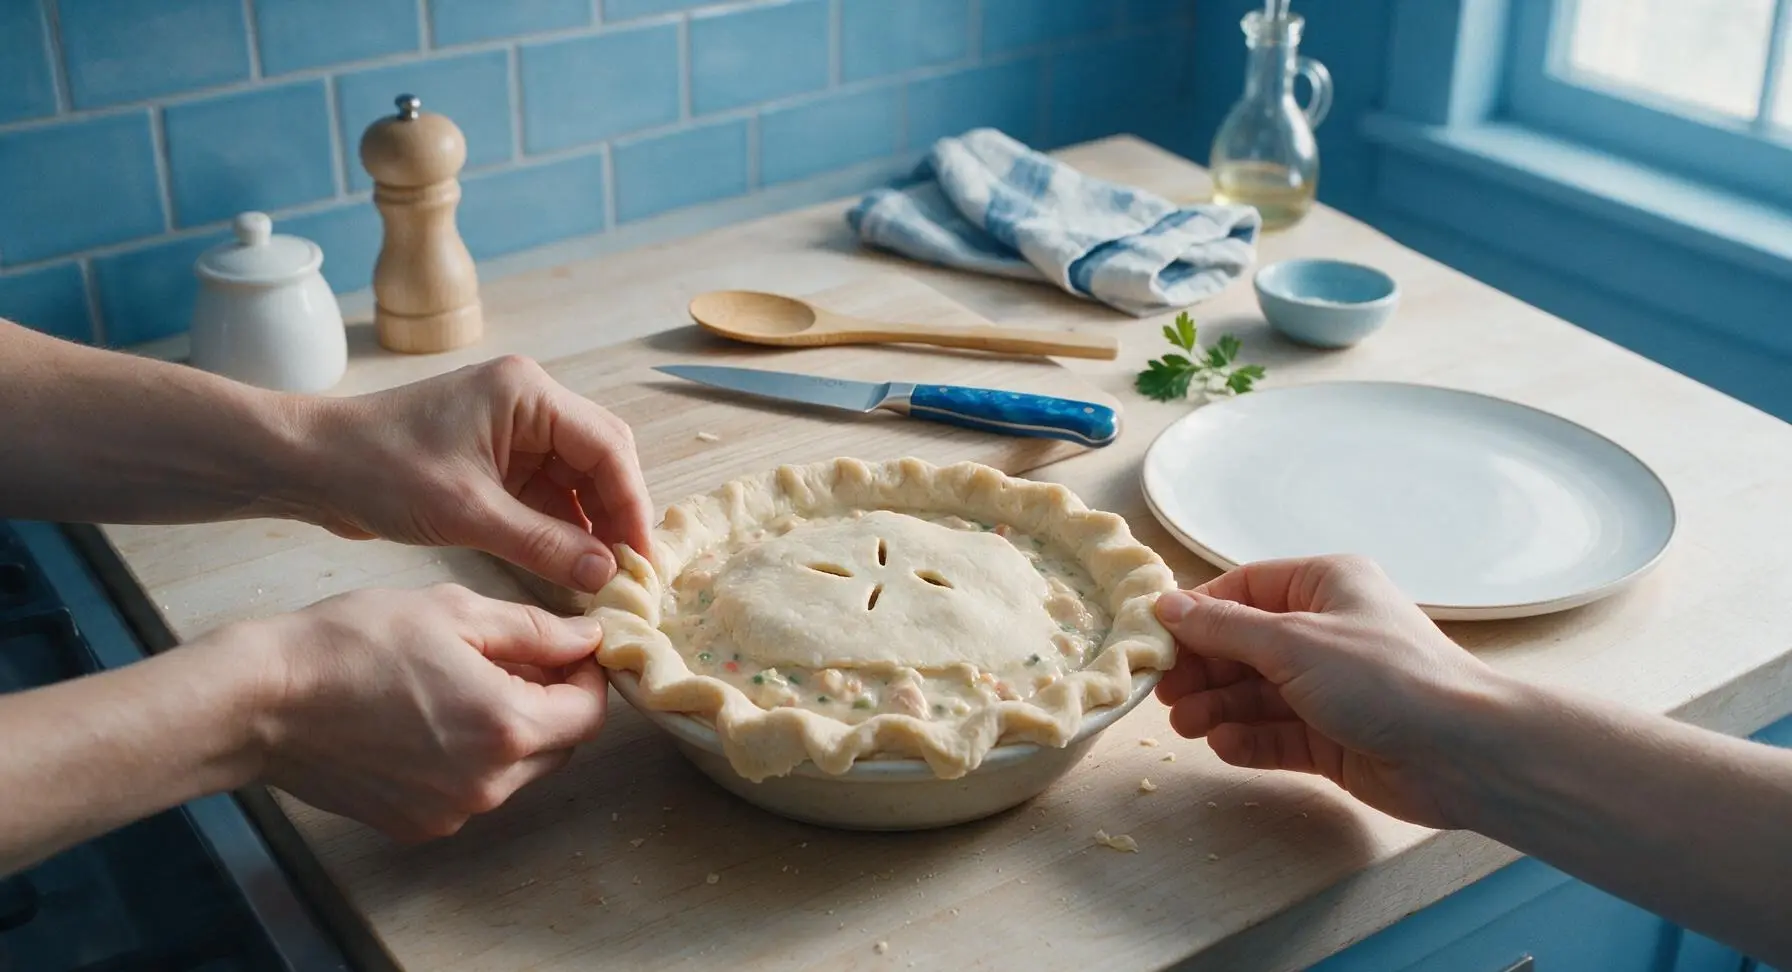
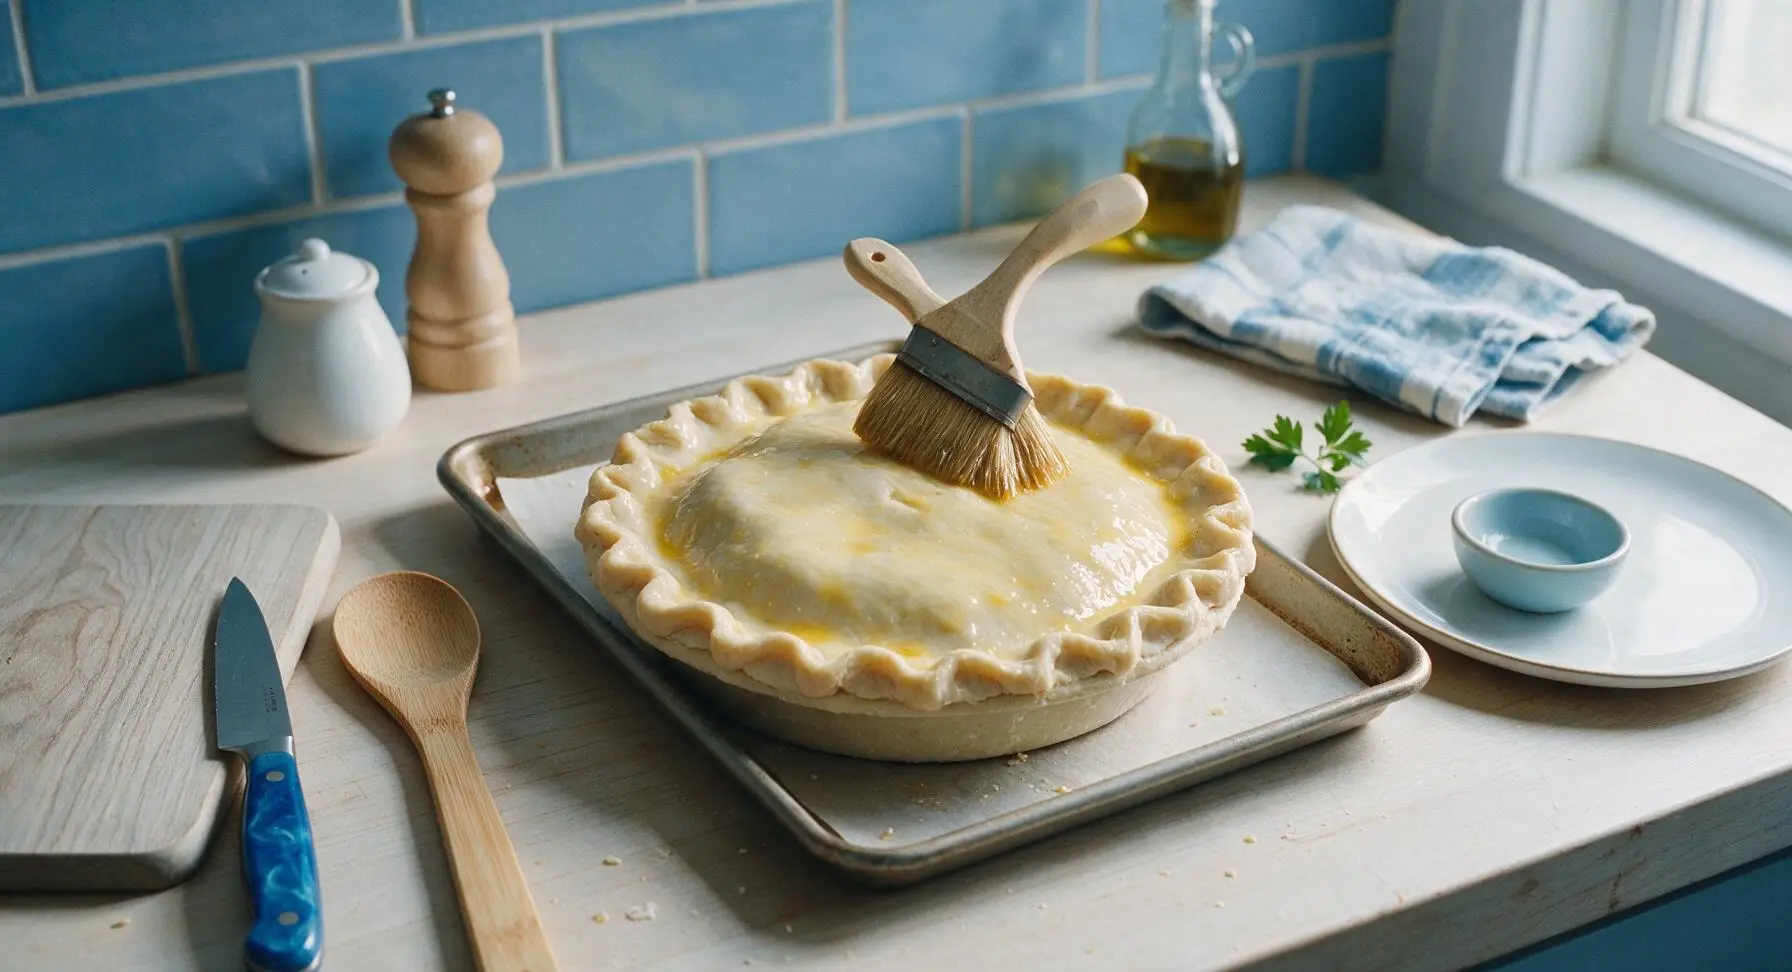
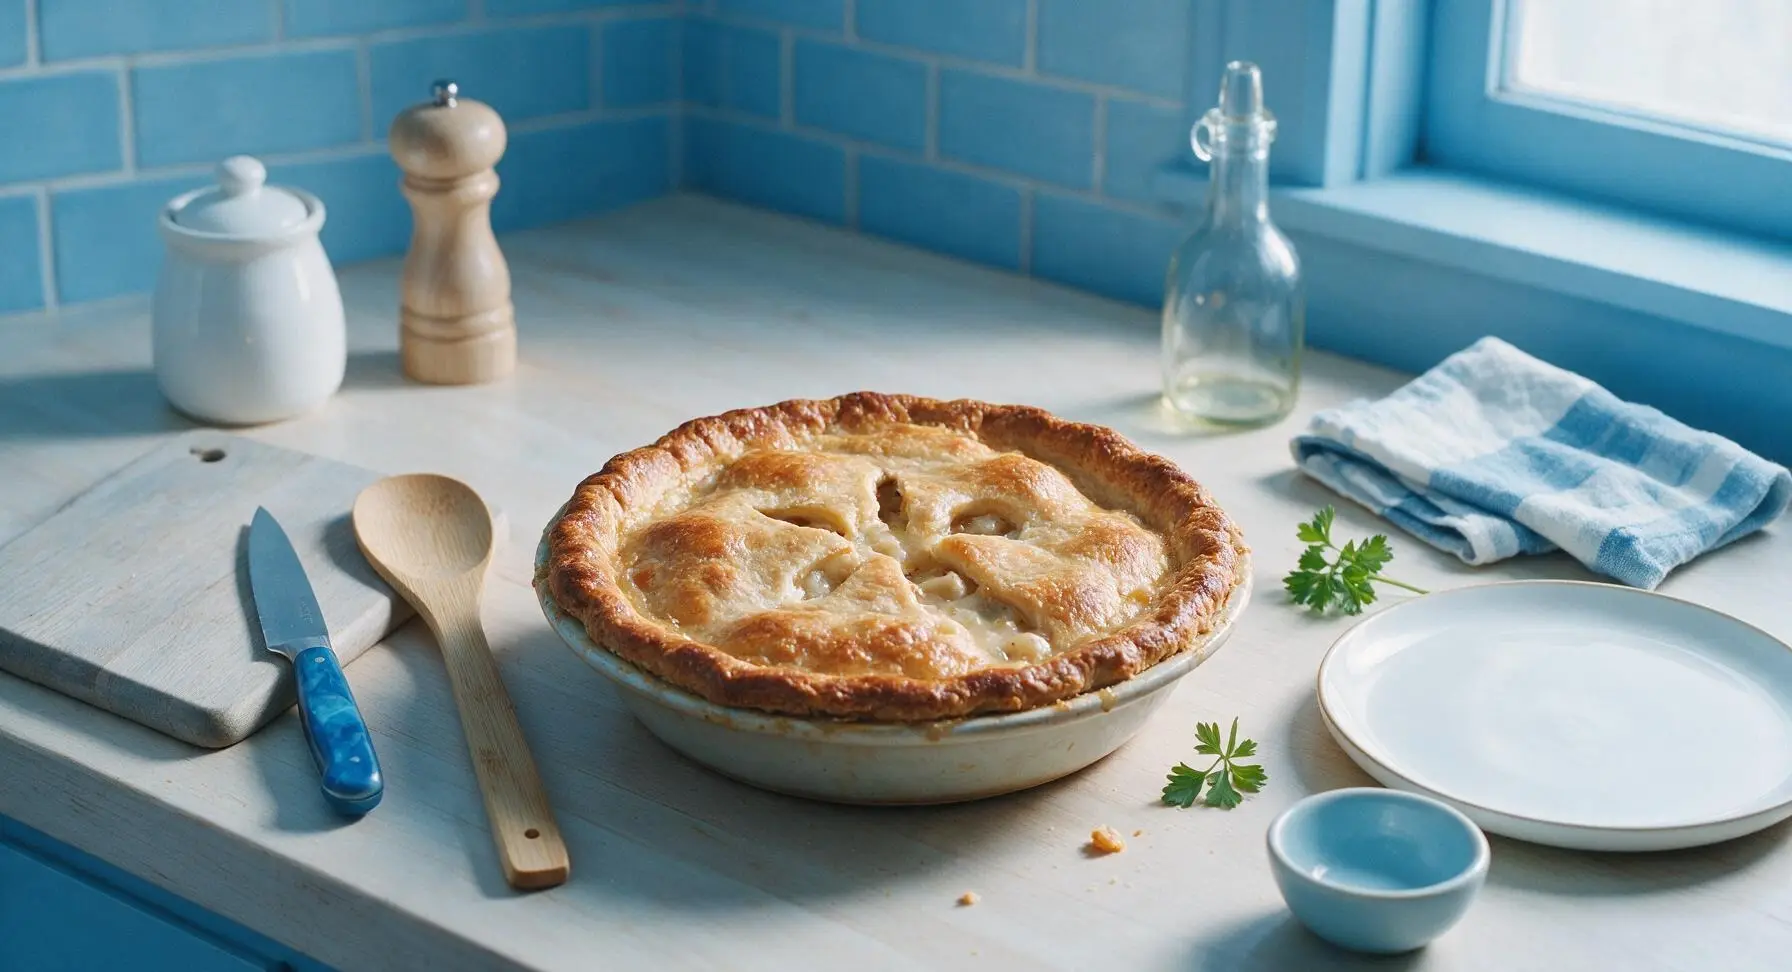
For a perfectly golden, glossy crust top, brush the surface of the rolled-out dough with a simple egg wash (1 large egg beaten with 1 tablespoon of whole milk or water) right before baking. Cut 3 to 4 small slits in the top of the crust to let steam escape, which prevents bubbling over and helps the crust cook evenly.
13.My pot pie filling turned out too runny last time—how do I fix that for next time?
▾
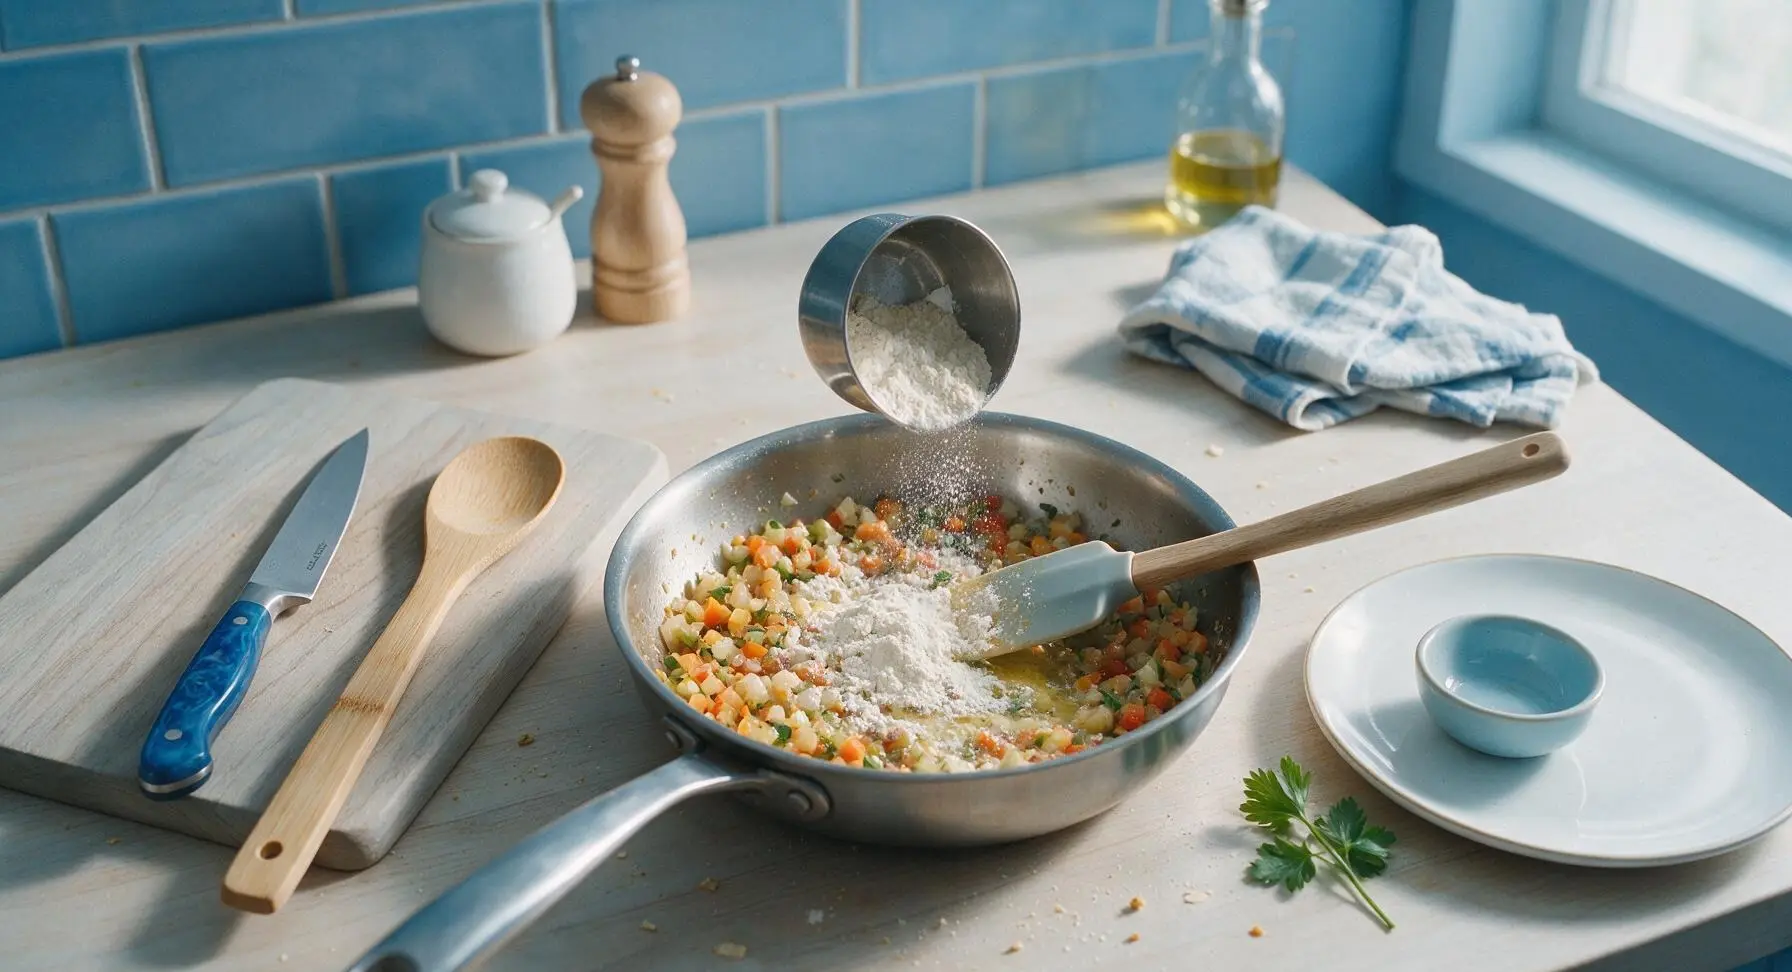
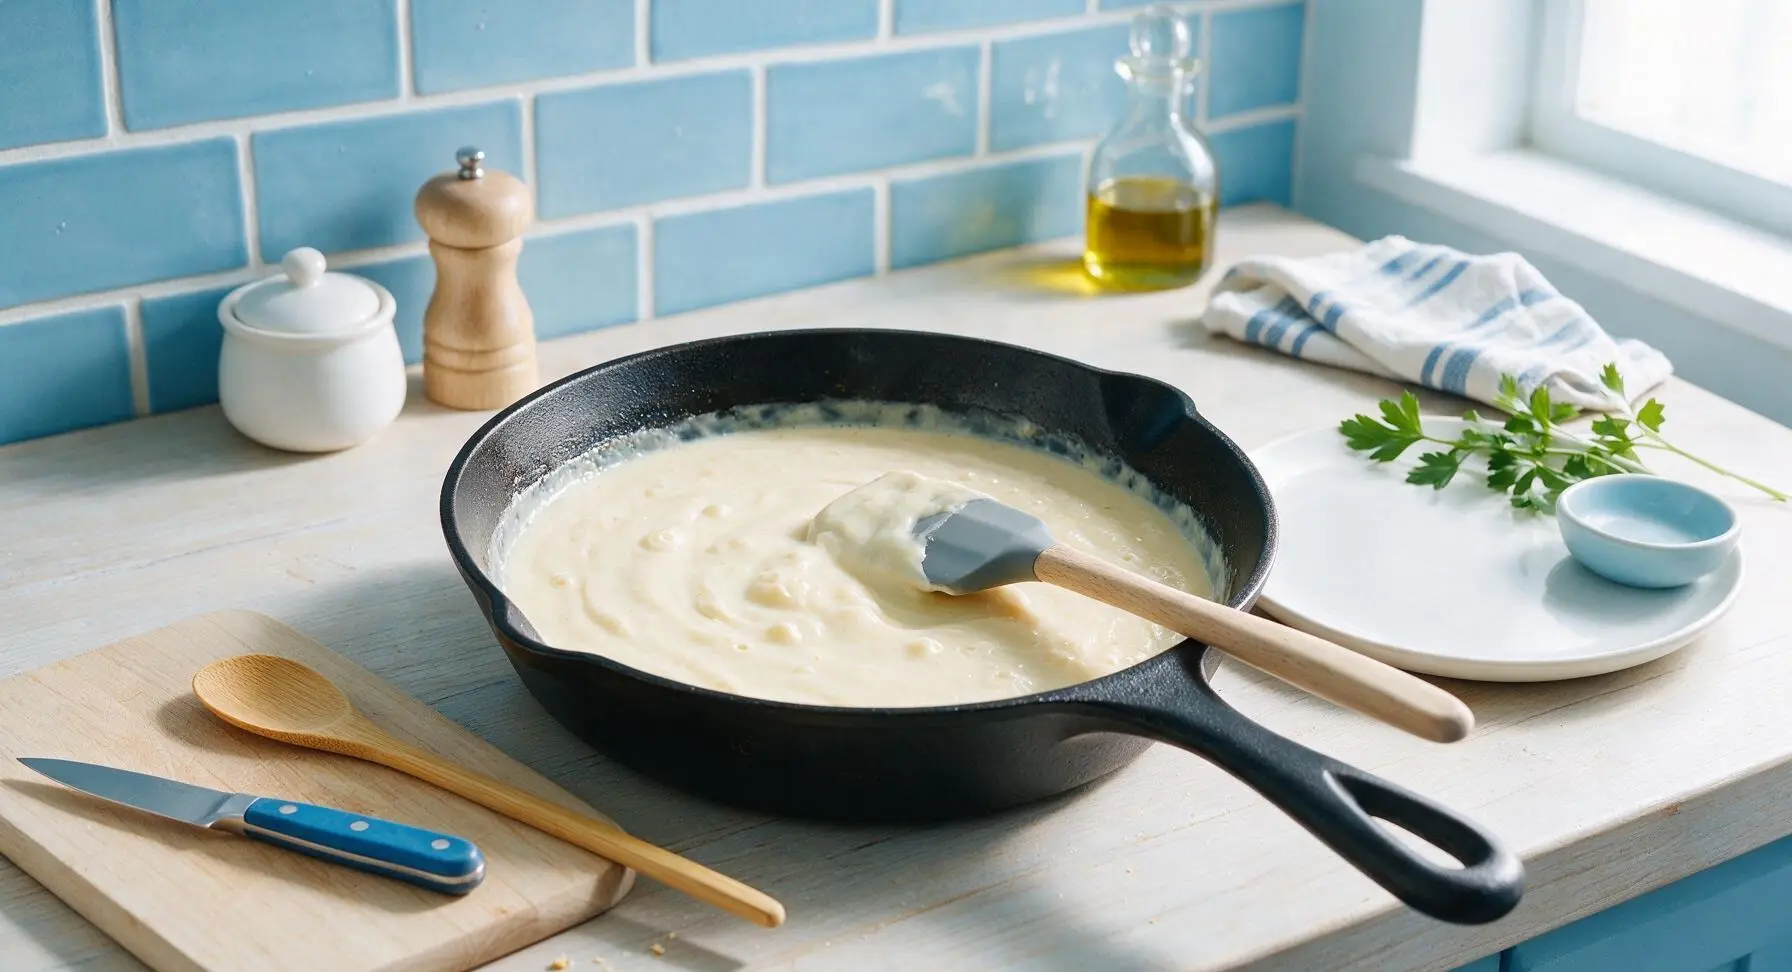
Runny filling usually happens when you don’t cook the roux long enough, or add too much liquid to the base. Next time, cook the gluten-free flour and butter roux for 2 full minutes before stirring in broth or milk, to activate its thickening power. Let the filling simmer 3-4 minutes until it coats the back of a spoon before adding it to the dish.
14.Can I skip the bottom crust to cut down on prep time?
▾
Absolutely! If you’re short on time, skip the bottom crust entirely and only add a top crust over the filling for a simpler, quicker pot pie. You can even swap the homemade gluten-free top crust for a store-bought gluten-free pie crust (check labels for hidden wheat cross-contamination) to cut total prep time down to 20 minutes flat.
15.How long will leftover gluten-free chicken pot pie stay good in the fridge?
▾
Properly stored in an airtight container (or tightly covered in plastic wrap right in the baking dish), leftover pot pie will keep for 3 to 4 days in the refrigerator. Reheat individual slices in the oven at 350°F for 15 minutes, or in the microwave for 1 to 2 minutes, until the filling is heated through and the crust is crisp.
16.Is fine sea salt required for the recipe, or can I use regular table salt?
▾
You can use regular table salt if you don’t have fine sea salt, but you’ll need to adjust the amount to avoid over-salting. Since table salt has smaller, denser grains than fine sea salt, use 25% less table salt than the recipe calls for (for example, 3/4 teaspoon table salt for every 1 teaspoon fine sea salt) to get the exact same seasoning level.
17.Why do I need to rest the pie dough in the fridge before rolling it out?
▾
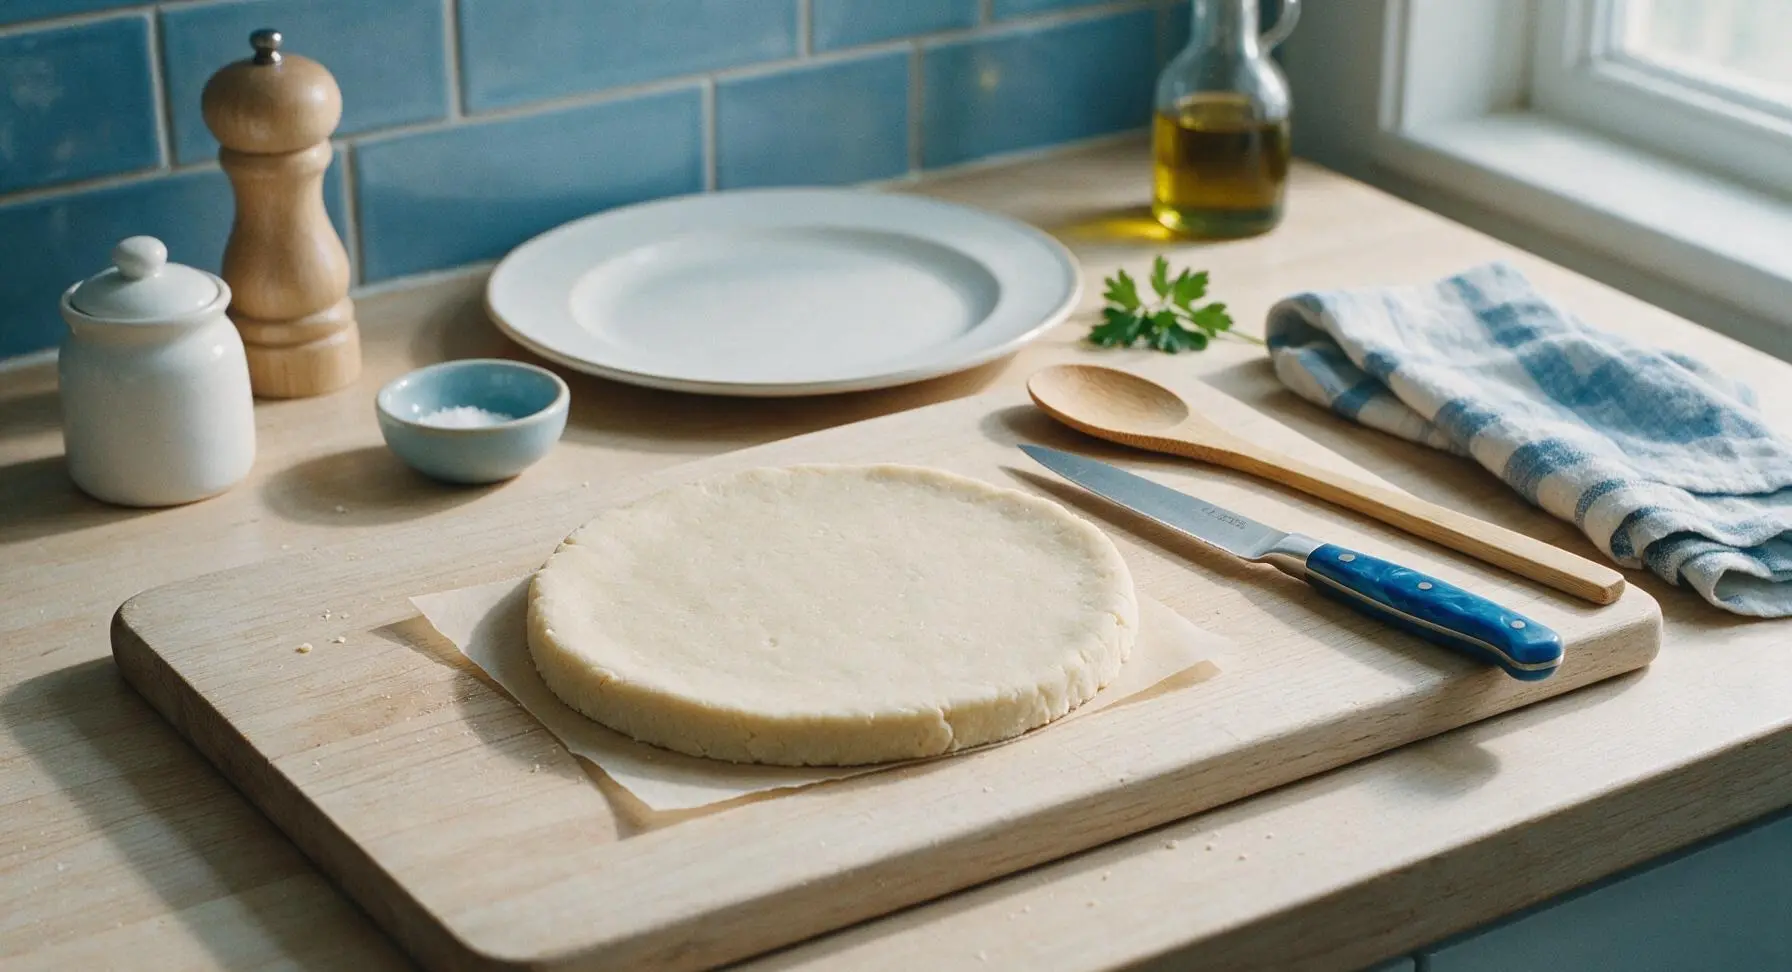
Resting the mixed dough in the fridge for 30 minutes serves two key purposes for gluten-free crust. First, it chills the butter back down to guarantee flaky layers when baked. Second, it gives the gluten-free flour time to fully absorb water, which makes the dough less sticky and crumbly to roll, so you won’t need excess flour that makes crust tough.
18.Can I add extra herbs or spices to the filling for more flavor?
▾
Adding extra herbs and spices is a great way to customize this pot pie to your taste. Stick to warm, savory pairings like 1 teaspoon of dried thyme, ½ teaspoon of dried rosemary, a pinch of smoked paprika, or 2 tablespoons of chopped fresh parsley stirred in right before assembling. Avoid overpowering spice blends that clash with the mild, creamy base.
19.Do I need any special tools to roll out gluten-free pie dough?
▾
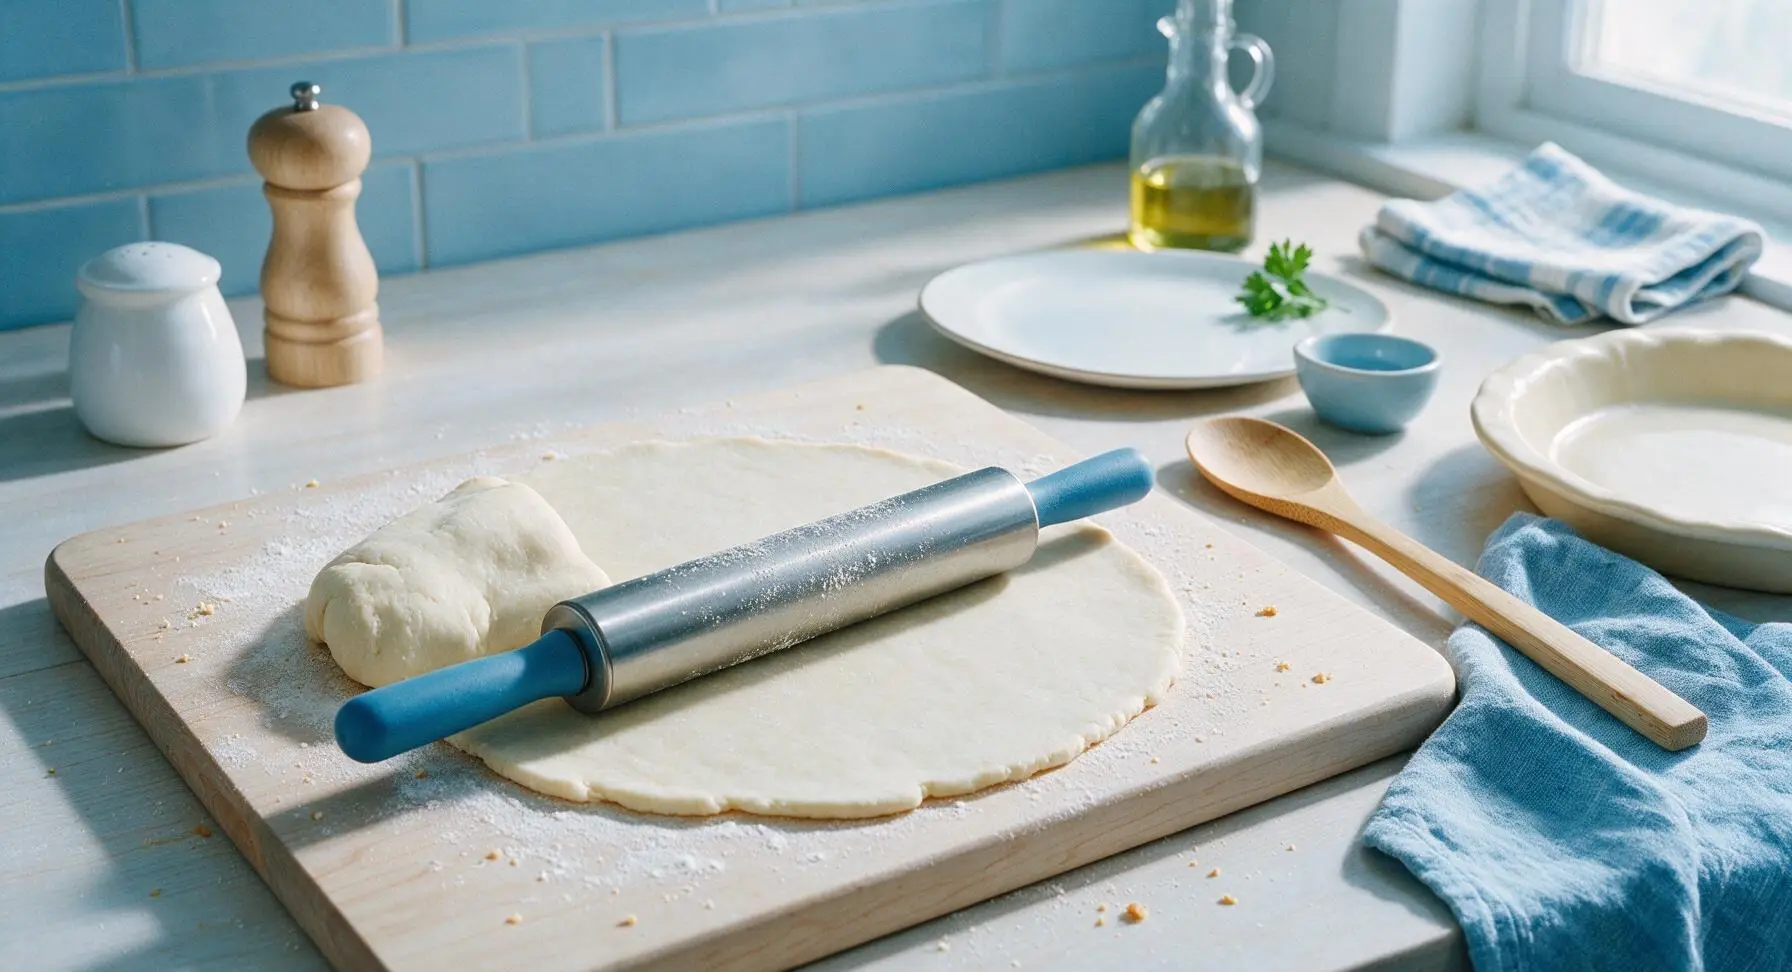
You don’t need any special GF-specific tools to roll out this pie dough, but a couple small tricks make it much easier. Roll the dough between two sheets of parchment paper to cut down on sticking, so you don’t have to dust with extra flour that can dry out the crust. A standard wooden, marble, or silicone rolling pin works perfectly fine.
20.How do I tell when my chicken pot pie is fully done baking?
▾
Your pot pie is fully done when three things happen: the top crust is a deep, even golden brown all over, the filling is actively bubbling up through the slits in the top crust, and the internal temperature of the filling hits 165°F on an instant-read thermometer. Let it rest 10 minutes before slicing so the filling sets and doesn’t run.


OMG this gluten-free chicken pot pie was an absolute game changer for our weekly family dinner! I’ve tried so many GF crust recipes that turn out crumbly or tasteless, but this one was perfectly flaky. My kids loved it and devoured seconds, they didn’t even notice it wasn’t the regular wheat crust version. Total cook time was right around 50 minutes like the recipe said, too, which is perfect for busy school nights.
Solid recipe, though I’d rate difficulty a little higher than medium if you’re making the crust completely from scratch! Tastes amazing, though – I made four of these on Sunday to portion out for meal prep for work lunches all week, and the filling stayed creamy even after reheating. Only note is I added extra peas and carrots because I love more veggies. SO good.
Brought this to our neighborhood block party potluck last weekend and people were hounding me for the recipe all night! I was worried the GF option would get skipped over, but it was the first empty dish on the table. The savory herb flavor in the filling is chef’s kiss. 10/10 will make again and again.
Finally, a GF chicken pot pie that doesn’t make me feel like I’m settling for a sad substitute! I’ve been gluten-free for 7 years due to celiac and most pot pie recipes leave me missing the comfort food I grew up on. This one hit every single note. My only tiny gripe is my crust browned a little faster than I expected around the edges, so I had to tent it with foil the last 10 minutes.
I’m literally the worst at baking and I was nervous to try this since I never make crust from scratch, but it turned out so good? Even my roommate who makes fun of all my gluten-free cooking went back for a second slice. Cook time took me a little longer than 50 minutes because I’m slow at chopping veggies, but that’s 100% on me, not the recipe.
Made this dairy-free too by swapping the butter for vegan butter and using oat milk in the roux, and it turned out INCREDIBLE. I was worried the sauce would be grainy or thin, but it was rich and creamy just like the classic pot pie I remember eating as a kid. Served it with a side salad for Sunday dinner and my whole family raved. Will absolutely be adding this to our monthly meal rotation.