
golden skillet fried chicken
intro
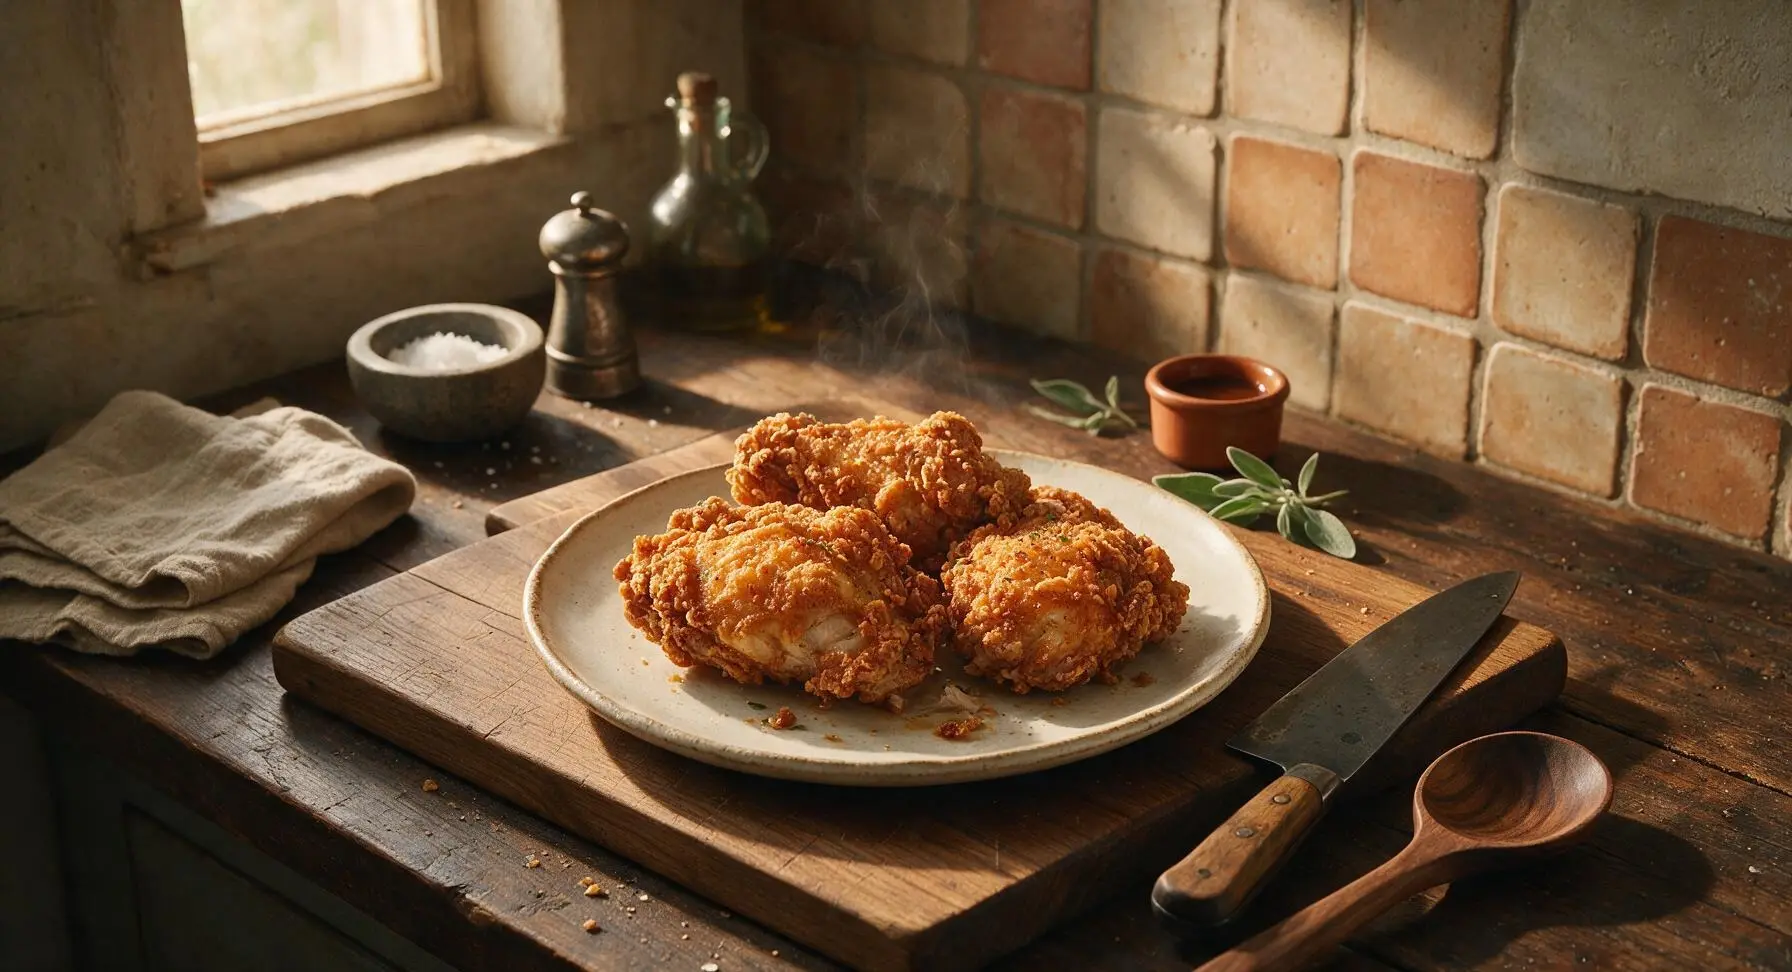
Shatteringly crisp golden crust, juicy well-seasoned meat, cooked slow in a cast iron skillet—this timeless Southern comfort classic is made for gathering around the table.
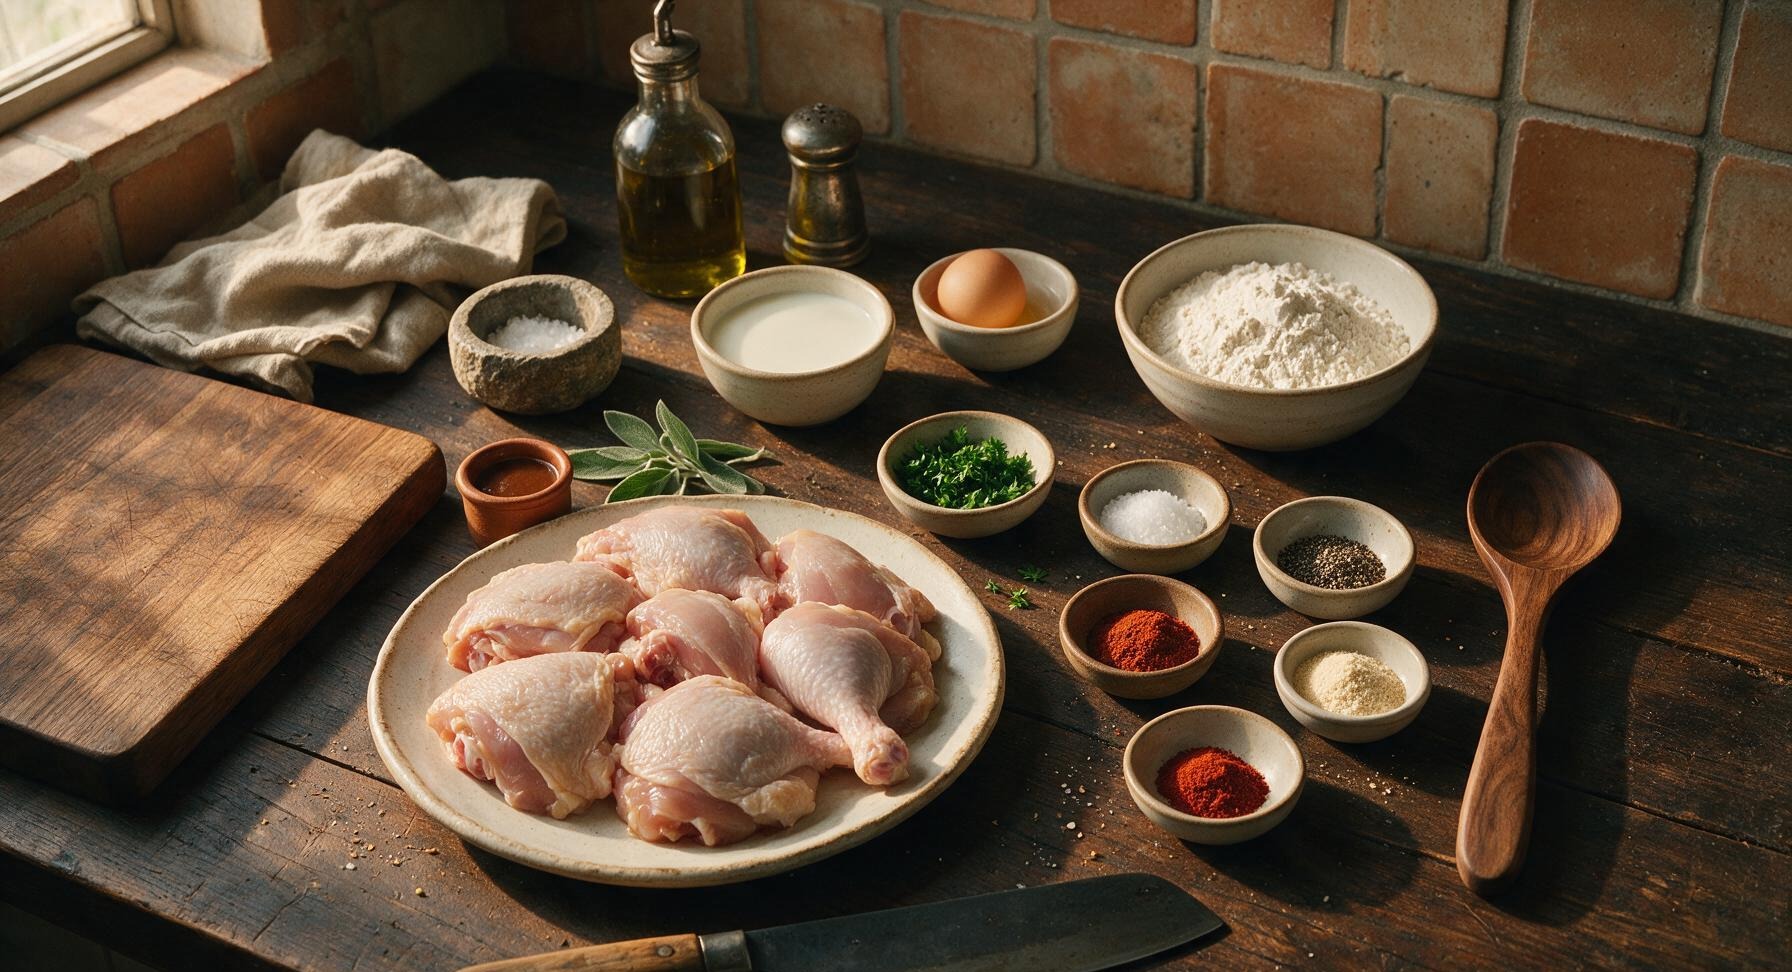
Ingredients
Steps
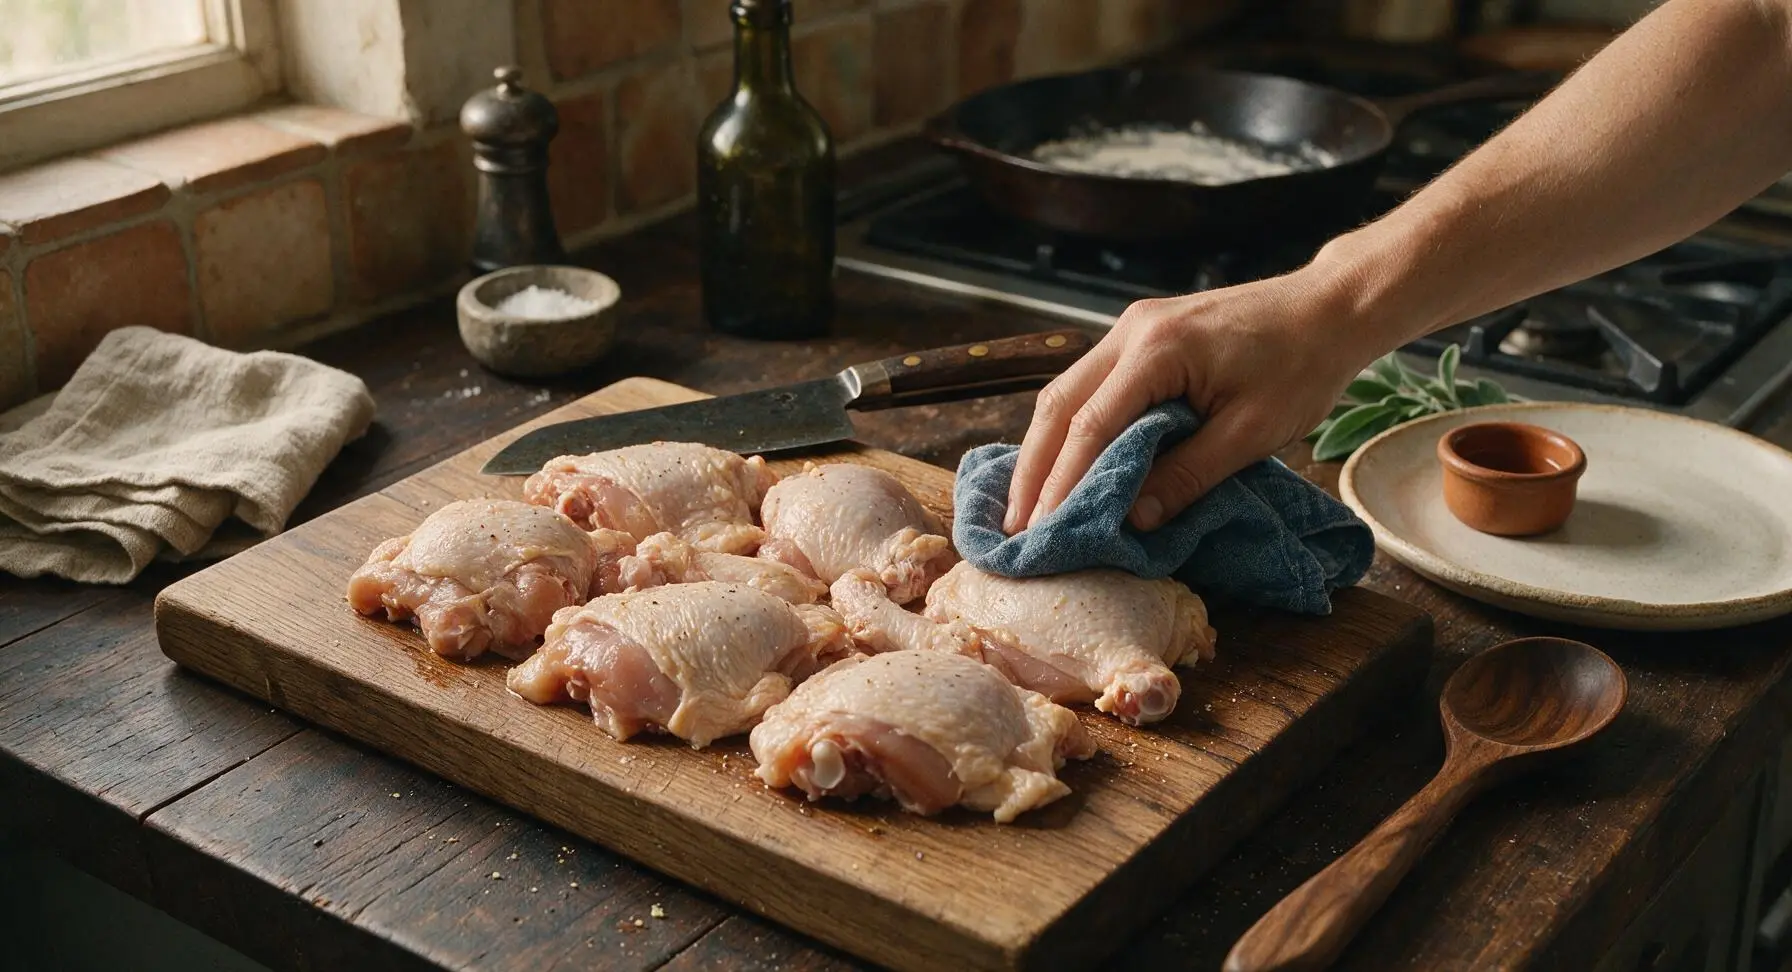
Pat Chicken Dry
Arrange the raw chicken pieces on the bamboo cutting board. Use a clean corner of the faded indigo kitchen towel to pat every surface of the chicken completely dry, paying extra attention to the skin—any residual moisture will cause oil splatters and prevent the crust from crisping evenly. Use the chef knife to trim any excess loose skin or hanging fat, leaving a uniform 1/4-inch layer of skin intact on each piece.
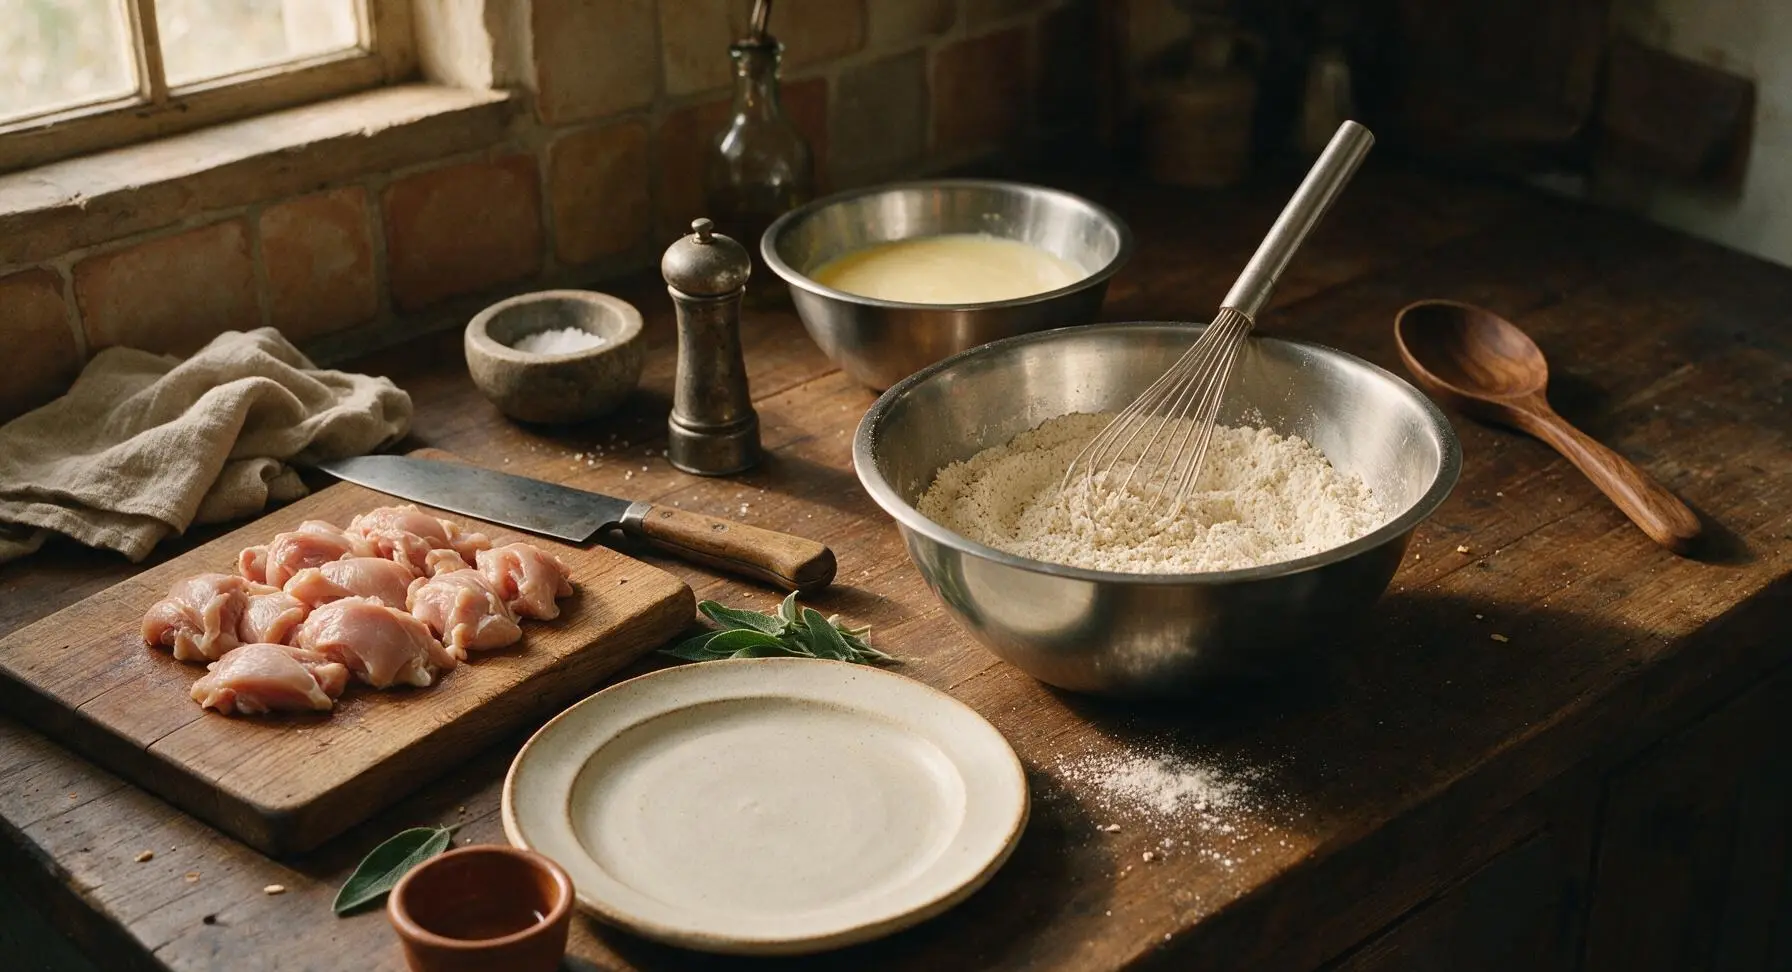
Mix Seasoned Flour
Add the all-purpose flour, kosher salt, black pepper, smoked paprika, garlic powder, onion powder, and optional cayenne to the 3-quart stainless steel mixing bowl. Whisk thoroughly for 30 seconds until all spices are evenly distributed throughout the flour, with no dark clumps of spice remaining. In the adjacent 1-quart stainless steel bowl, whisk together the buttermilk and whole egg until completely smooth, with no visible streaks of egg white.
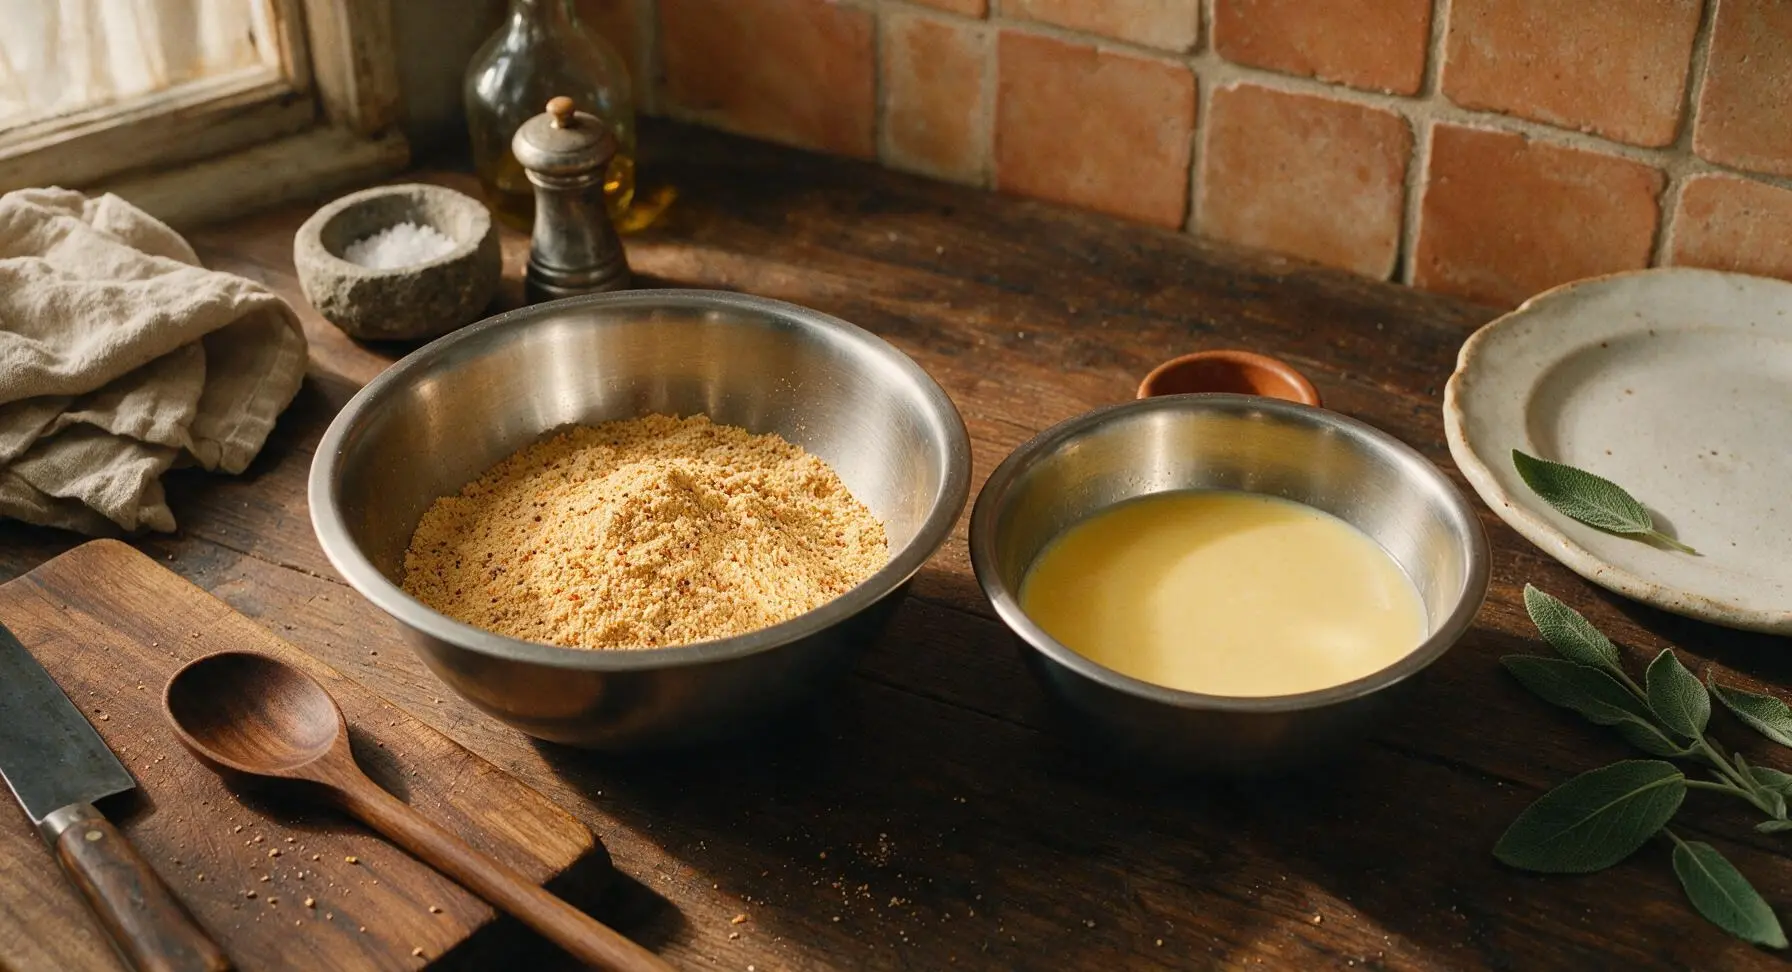
Dredge Chicken Pieces
Working one piece at a time, dip a chicken piece fully into the buttermilk-egg mixture, letting excess liquid drip off for 2 seconds. Transfer the wet chicken to the seasoned flour, pressing firmly to coat every surface (including under folds of skin) with a thick, even layer of flour. Lift the coated piece, shake off excess loose flour, and set it on a clean section of the bamboo cutting board. Let all coated chicken rest for 10 minutes before frying—this resting period allows the coating to adhere tightly, creating a shaggy, crisp crust that will not slide off during cooking.
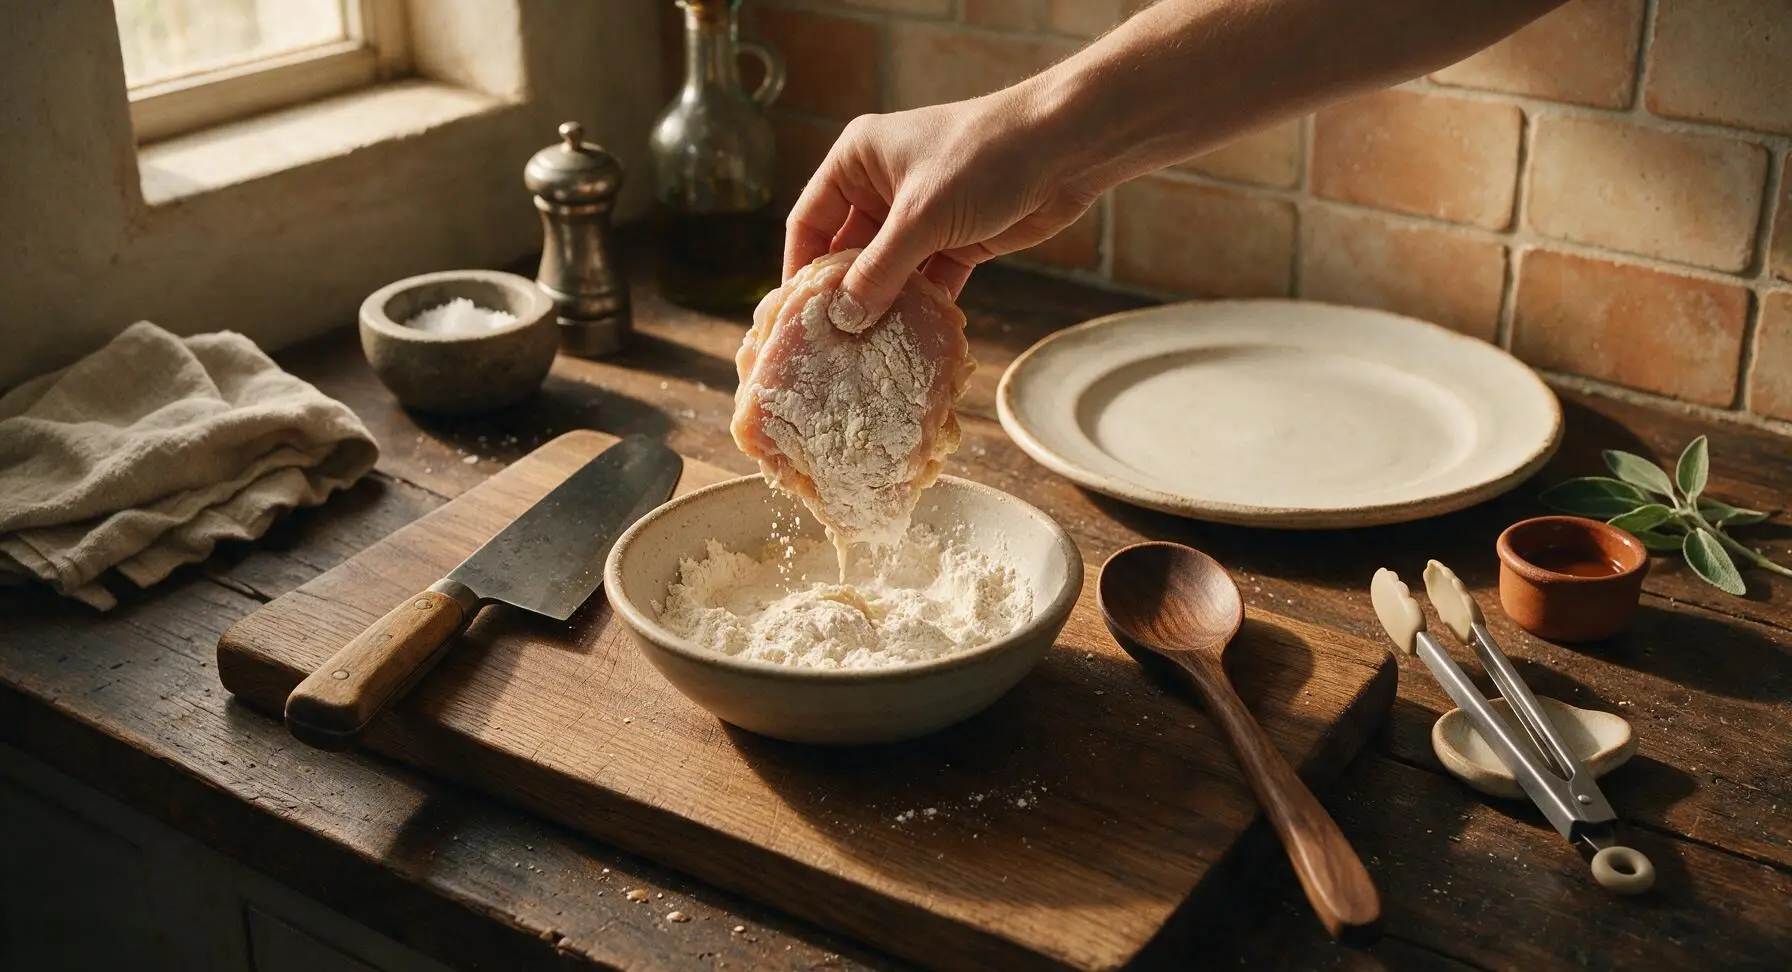
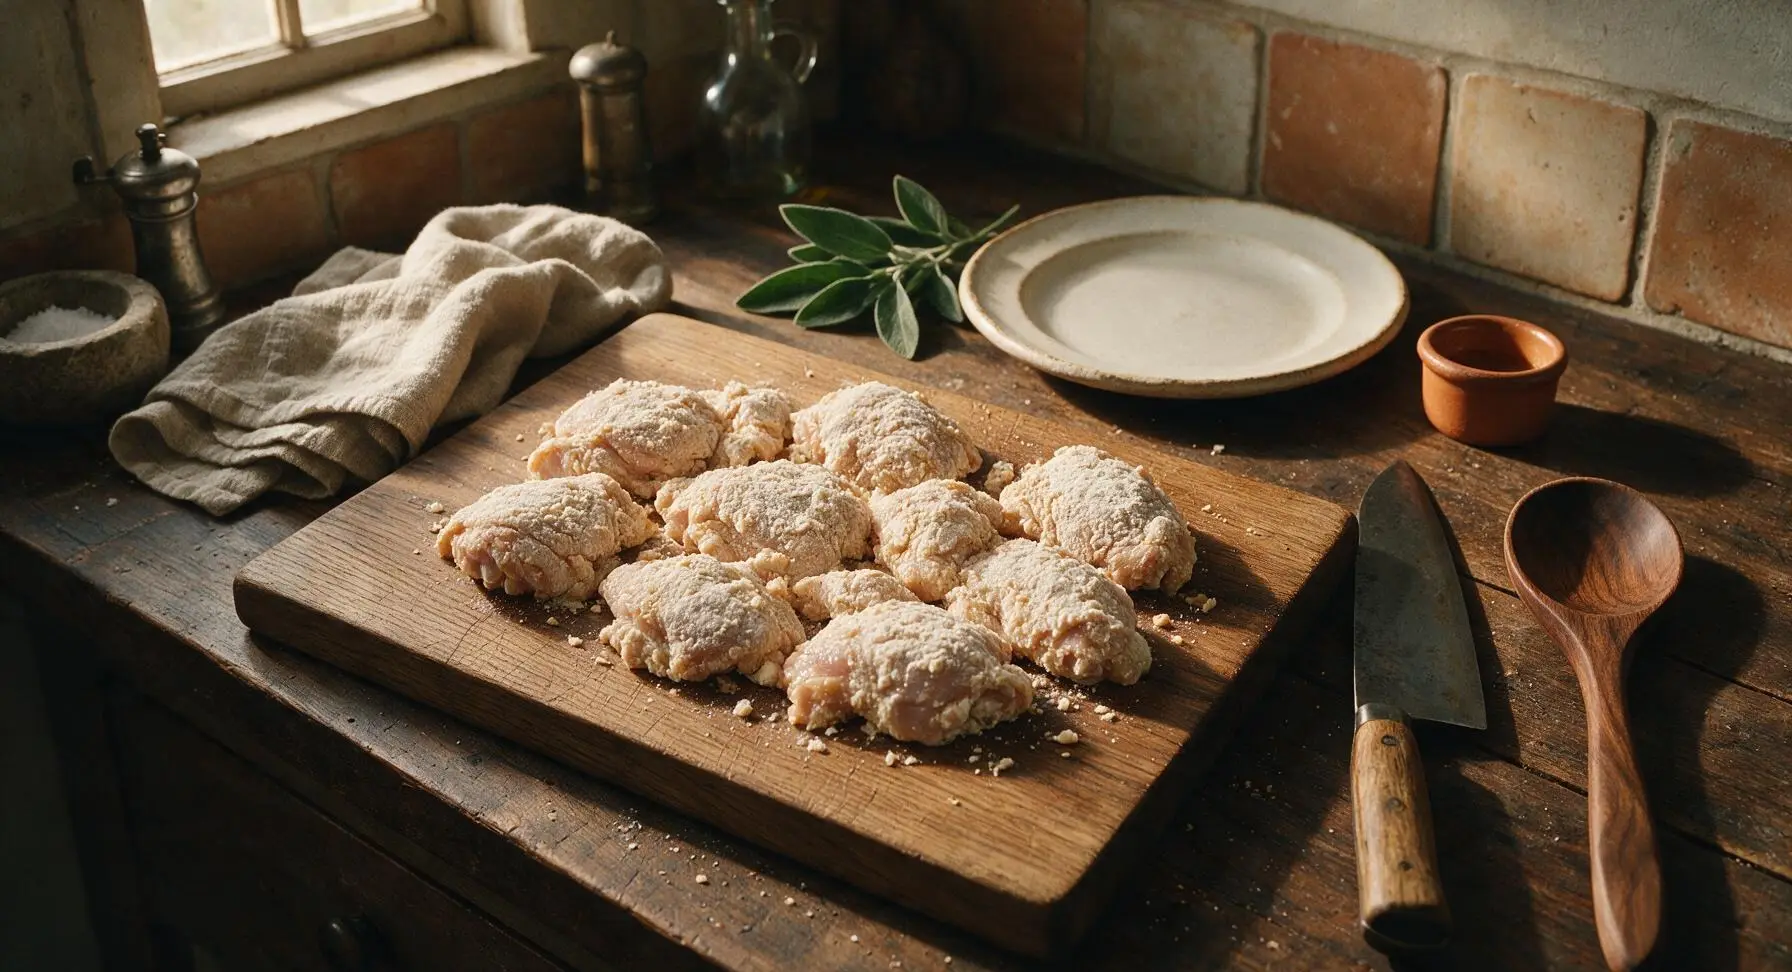
Heat Skillet Oil
Move the 12-inch cast iron skillet from the rear left burner to the front center burner. Pour 3 cups of canola or peanut oil into the skillet, until the oil reaches exactly 1/2 inch up the pan’s sides. Heat the oil over medium heat until it reaches a steady 350°F (175°C), measured with the instant-read thermometer—do not let the oil smoke, as this will burn the crust before the chicken cooks through. Adjust burner heat as needed to hold this consistent temperature throughout the frying process.
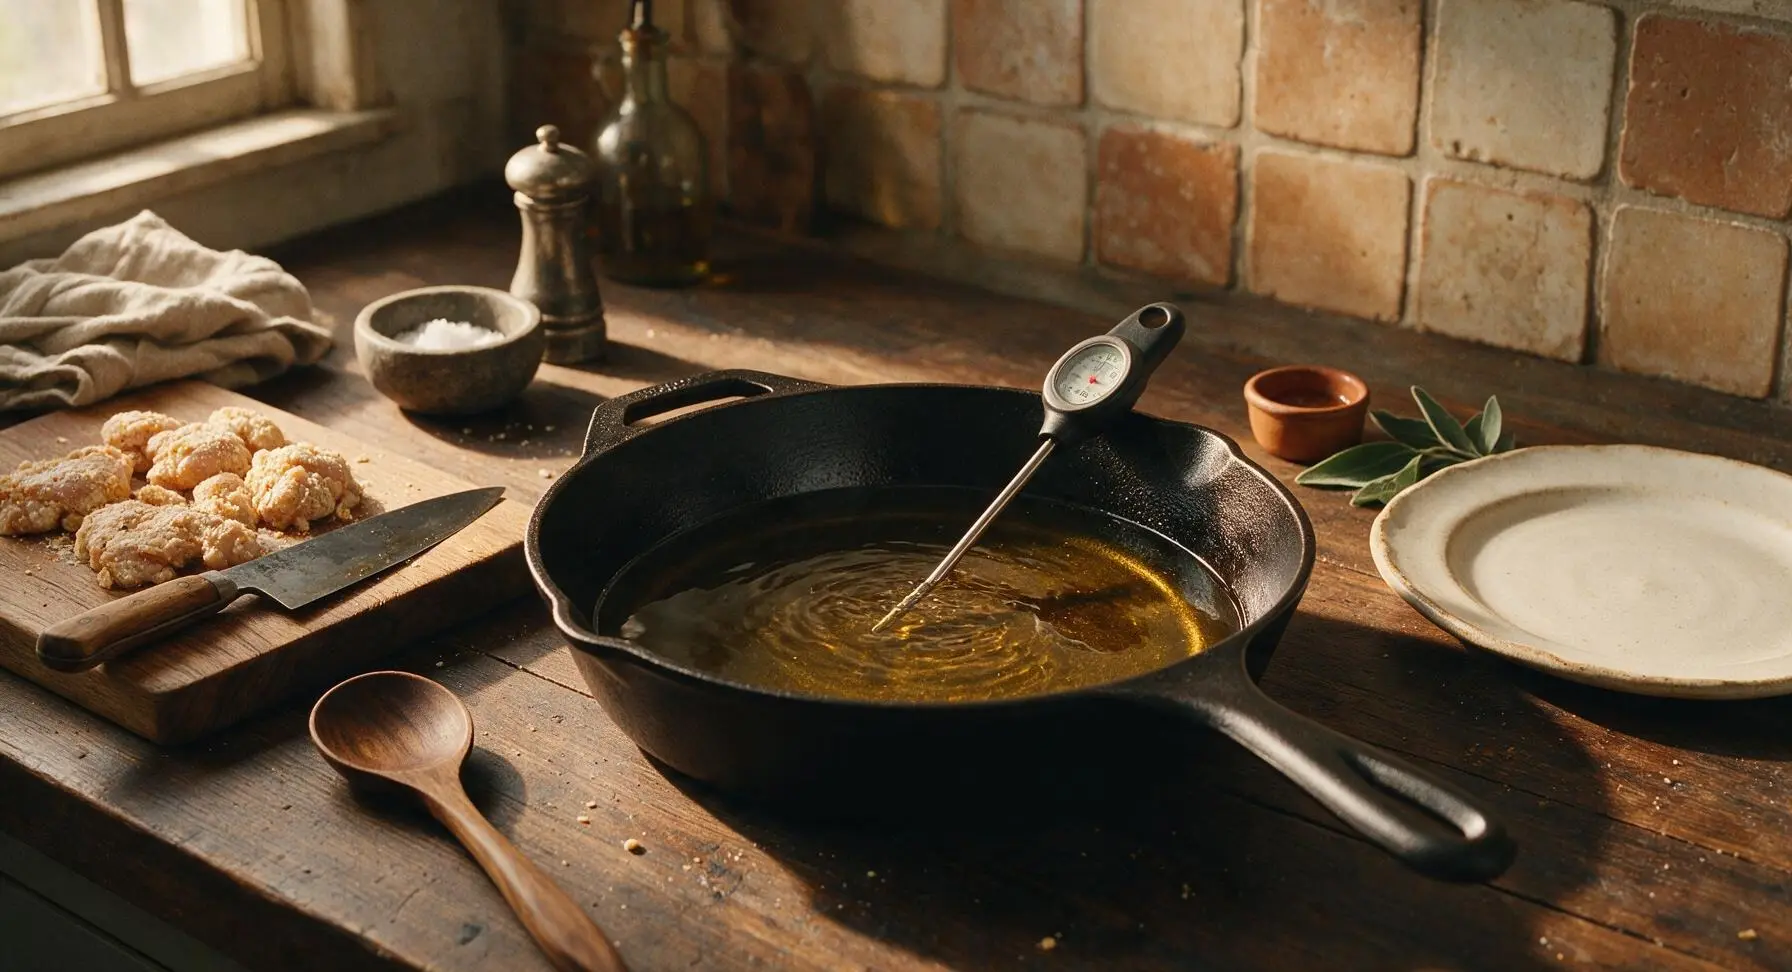
Fry First Chicken Side
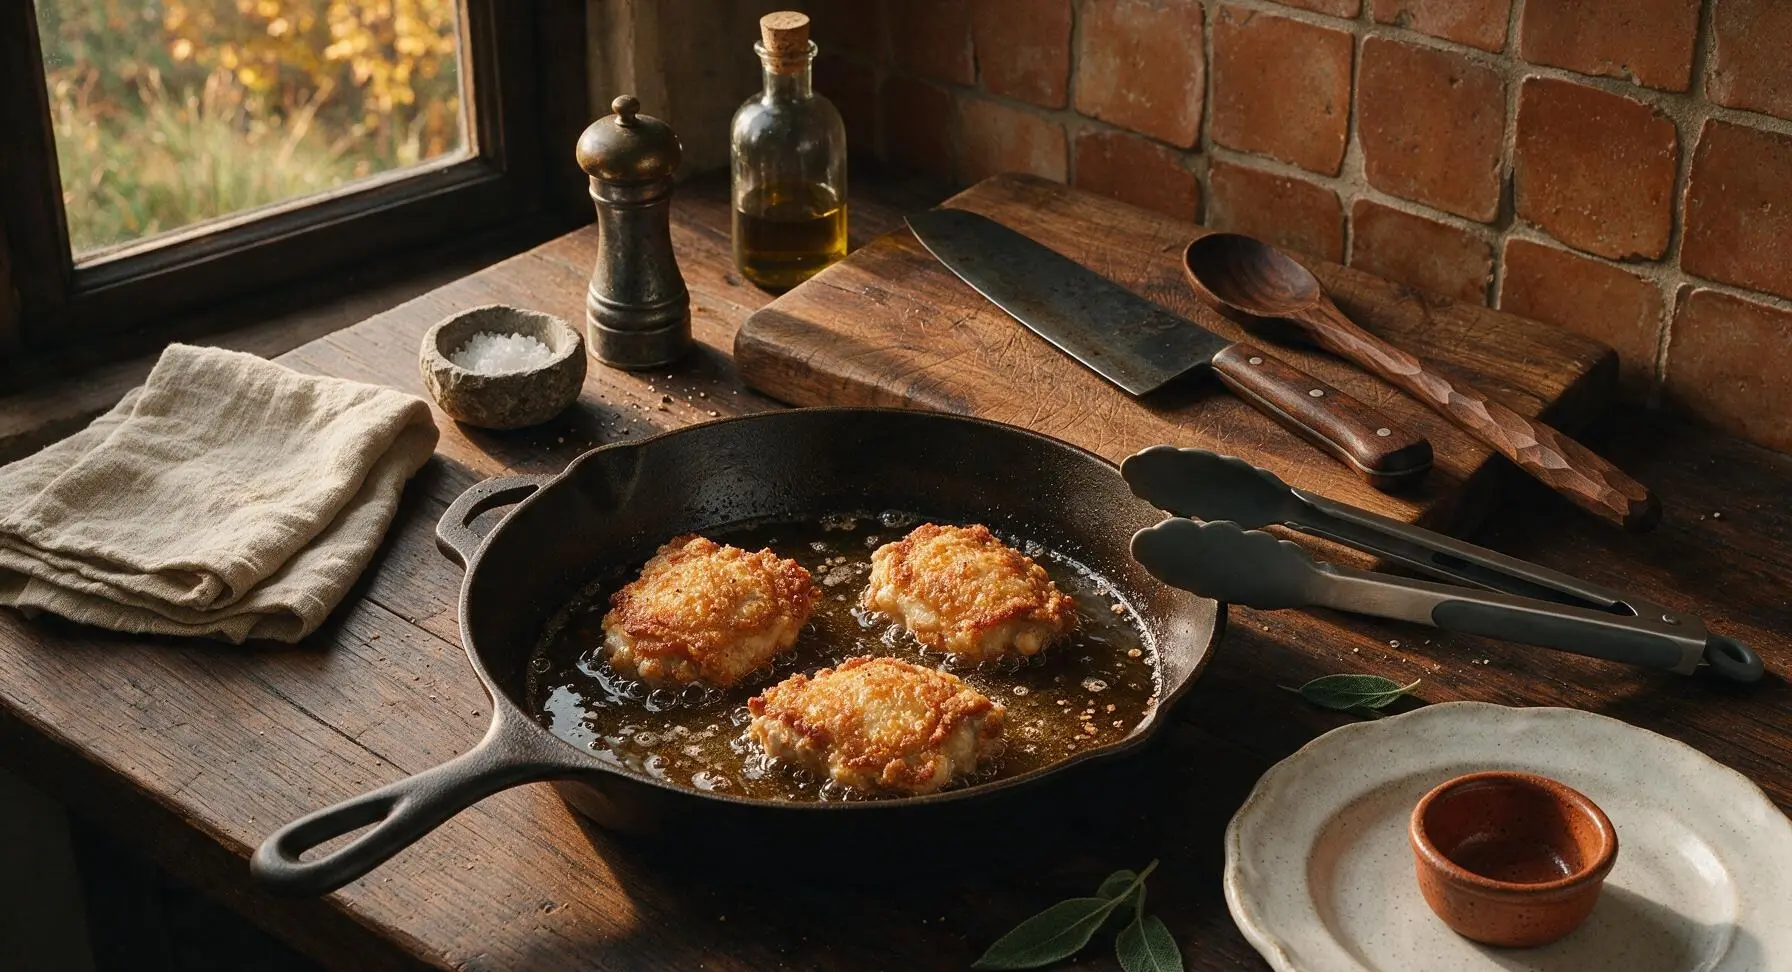
Using the silicone-tipped tongs, carefully lower 3 chicken pieces into the hot oil one at a time, placing them skin-side down and lowering them away from your body to avoid hot oil splatters. Do not overcrowd the pan—cook in 2 batches if needed to keep oil temperature from dropping sharply. Fry for 12-14 minutes, resisting the urge to move or nudge the chicken for the first 8 minutes, until the downward-facing crust is deep golden brown and crisp, with no pale floury patches visible.
Flip and Finish Cooking
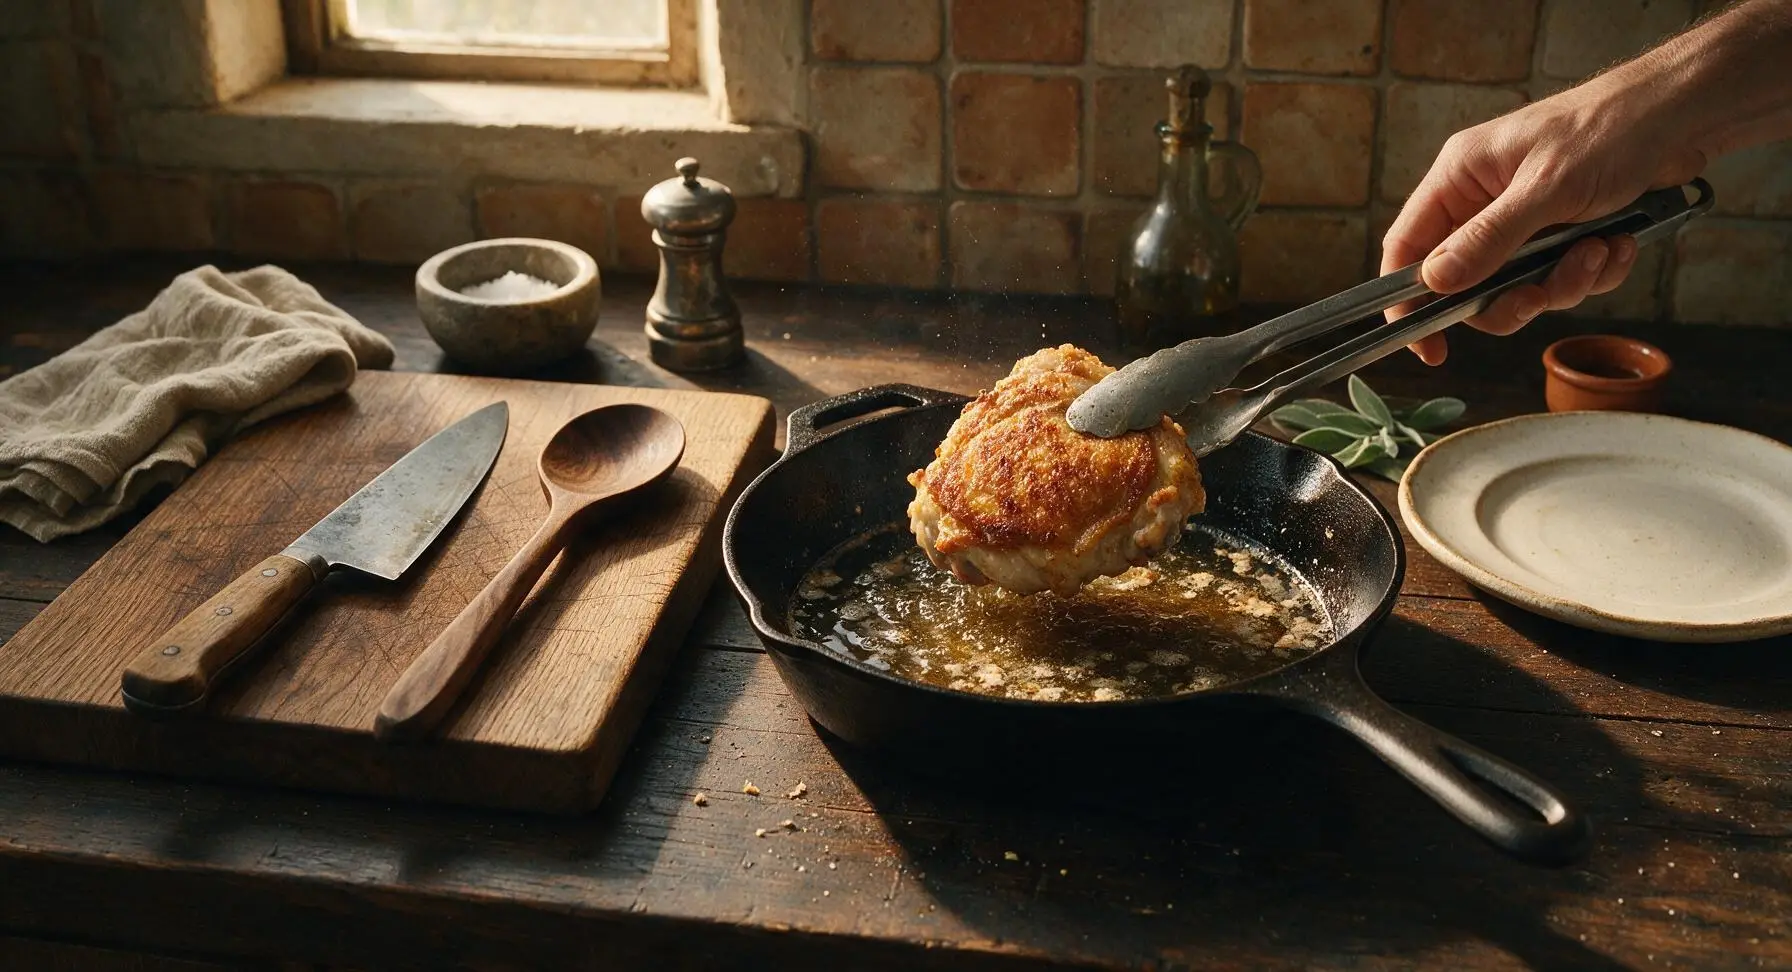
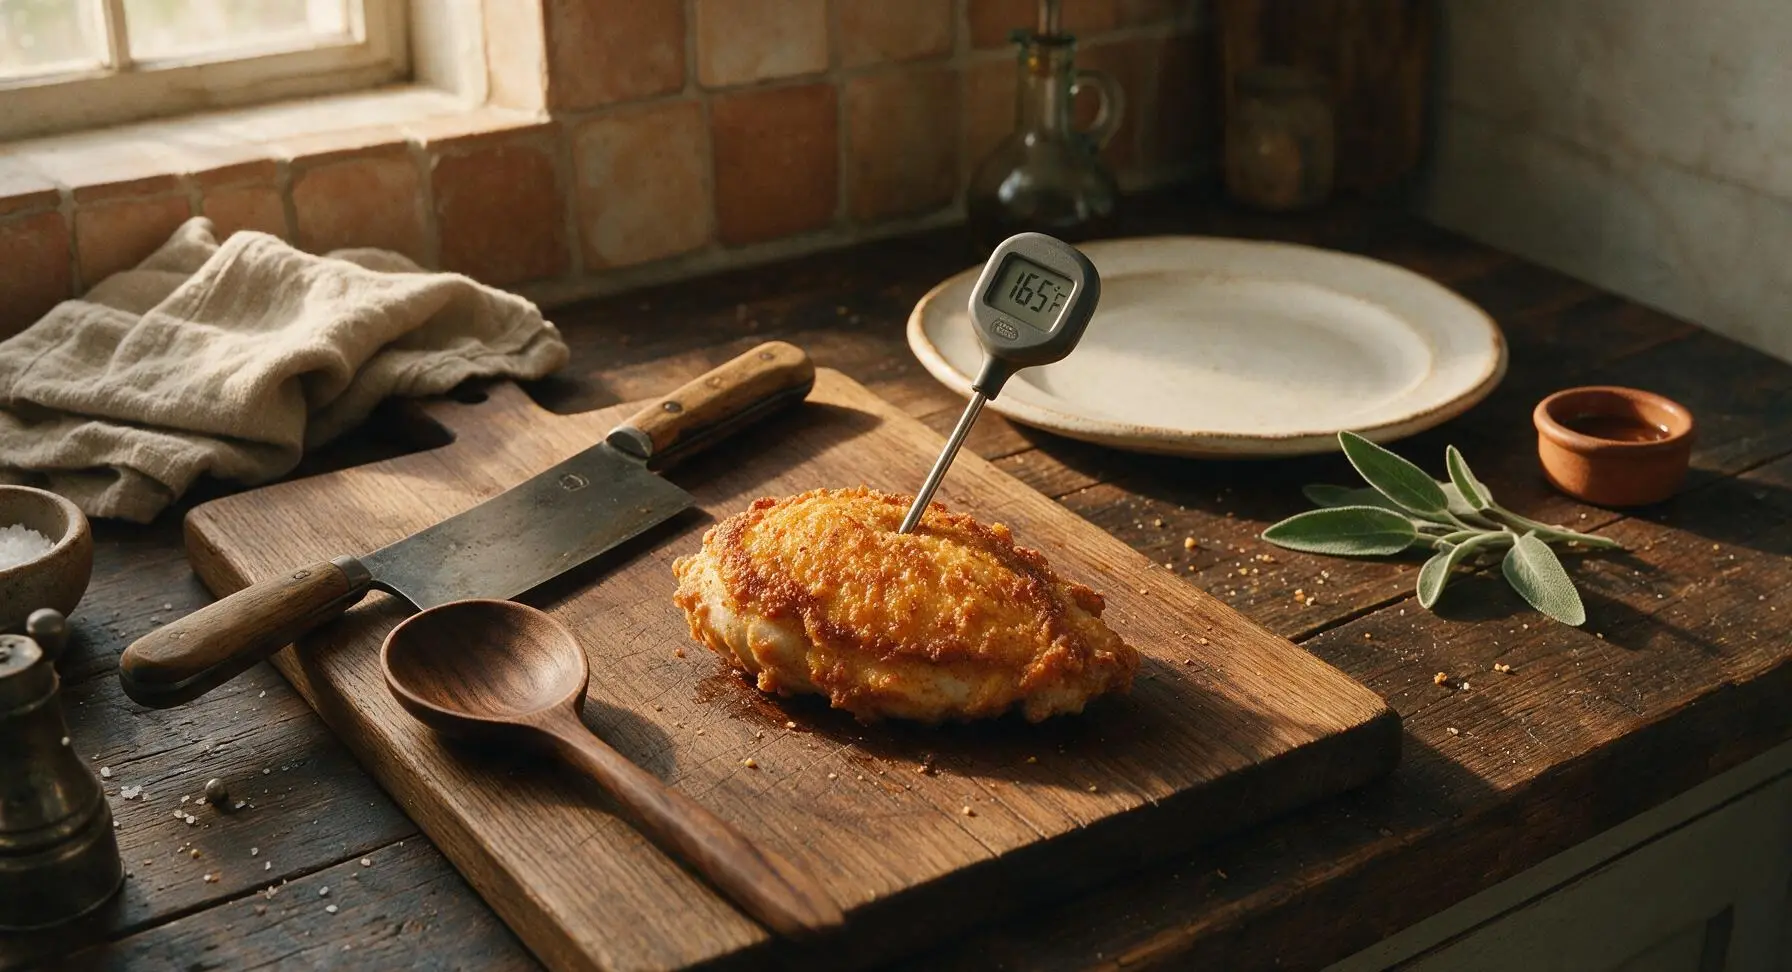
Use the tongs to gently turn each chicken piece over, taking care not to tear the fully formed crust. Fry for an additional 10-12 minutes on the second side, until the crust is an even deep golden brown all over. Insert the instant-read thermometer into the thickest part of each piece (avoiding contact with bone) to confirm an internal temperature of 165°F (74°C). Turn heat down slightly if the crust darkens too quickly before the chicken reaches safe internal temperature.
Drain Cooked Chicken
Use the tongs to lift cooked chicken pieces out of the oil, holding each piece over the skillet for 2 seconds to let excess oil drip back into the pan. Transfer the chicken to the chrome wire cooling rack set over the paper-towel lined baking sheet to the right of the cooktop. Let chicken rest for 5 minutes to allow excess oil to drain, which keeps the crust crisp instead of soggy.
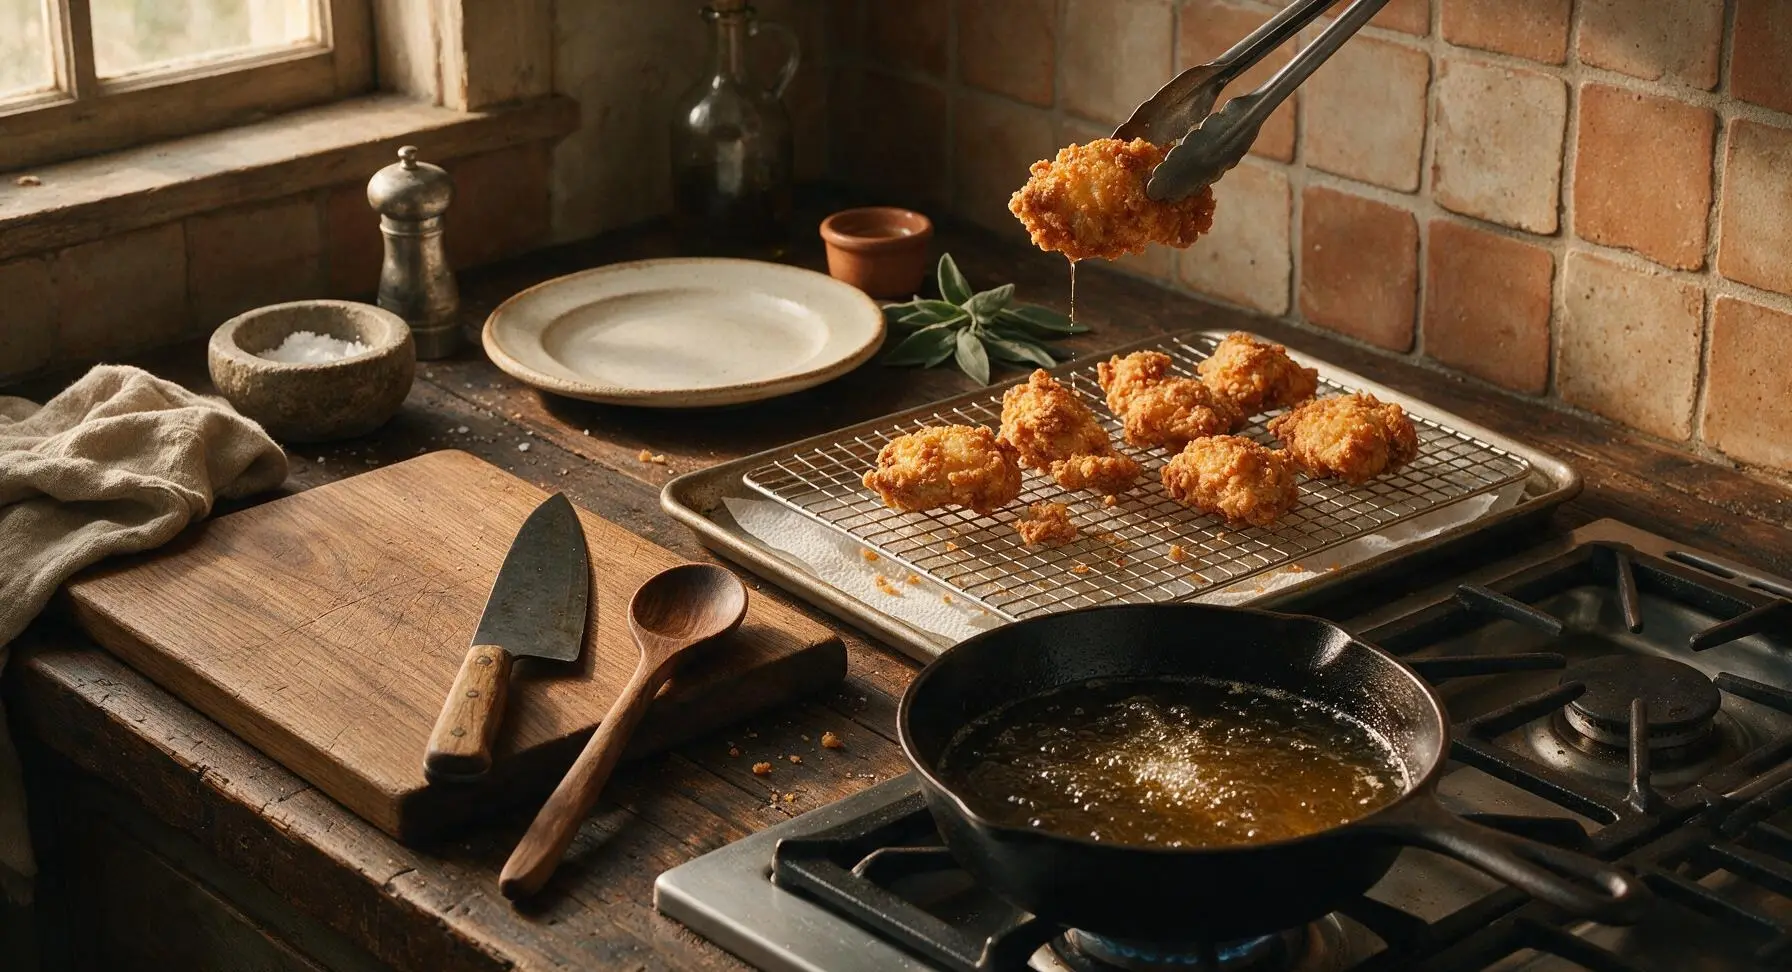
Plate and Garnish
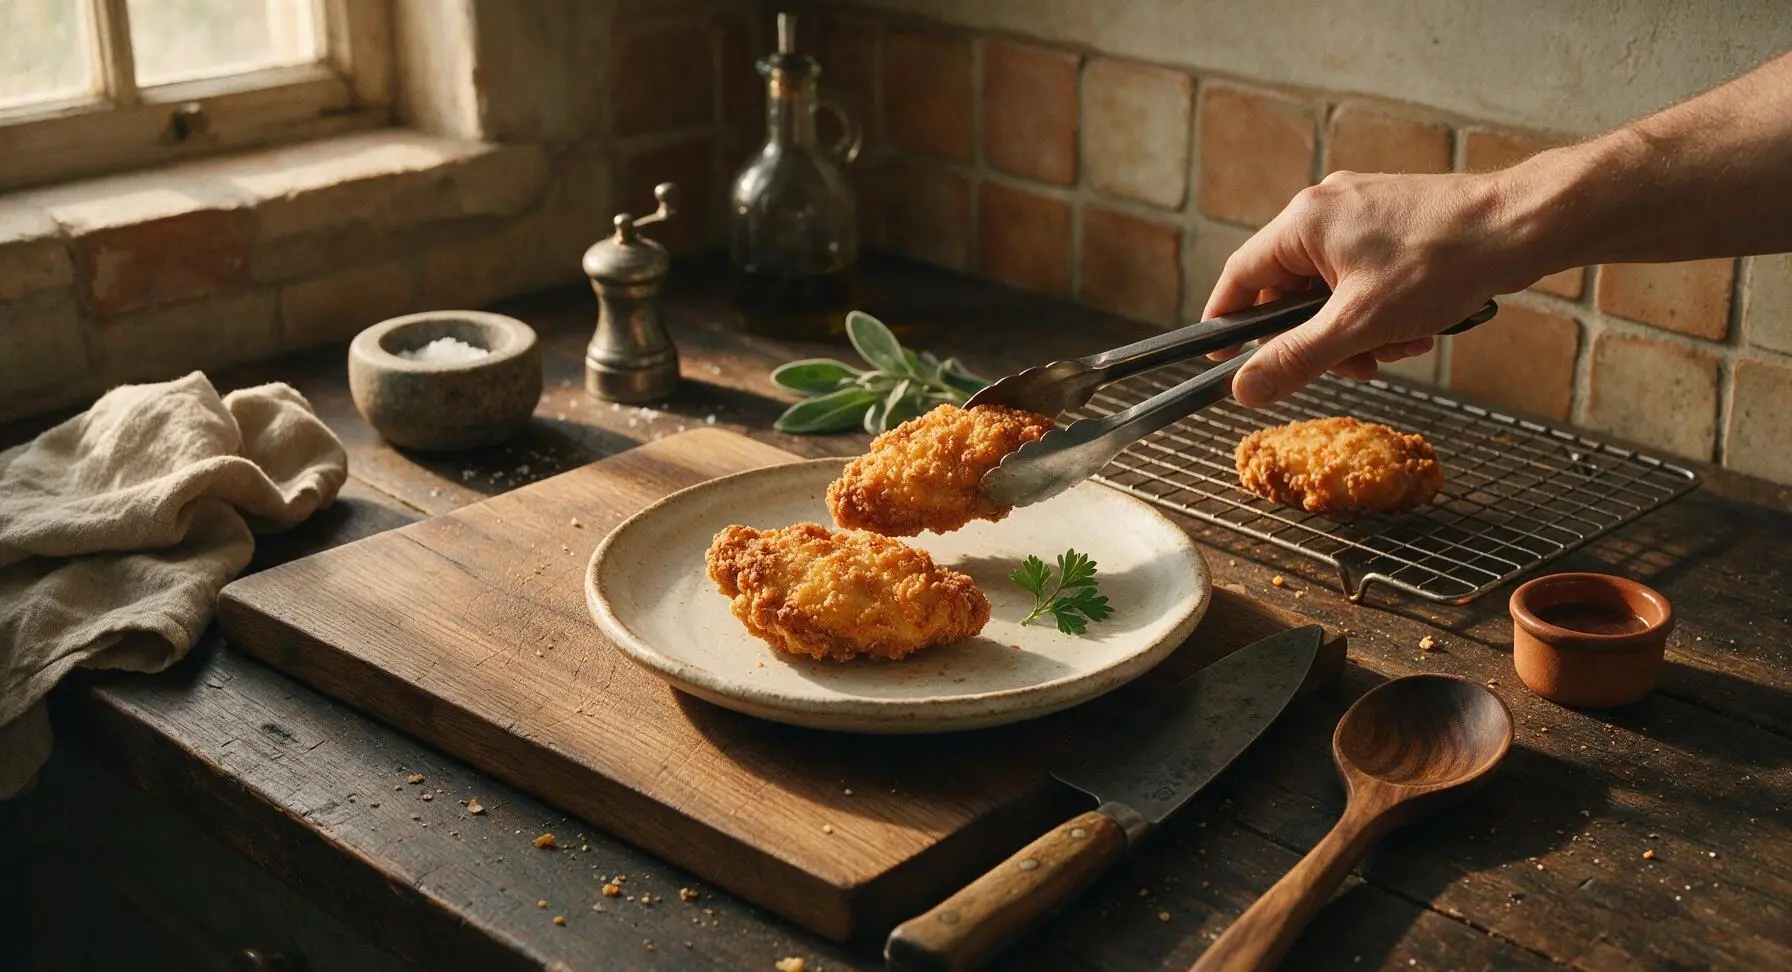
Arrange the rested, crispy chicken pieces loosely on the cream stoneware dinner plate, taking care not to stack pieces tightly (which traps steam and softens crust). Sprinkle with a tiny pinch of extra flaky salt if desired, and tuck a few small sprigs of fresh parsley between pieces for a bright pop of color. Serve immediately while the crust is shatteringly crisp.
Tips
2.Avoid overcrowding the skillet: adding too many chicken pieces at once drops the oil temperature by 50°F or more, which makes the chicken absorb excess oil and turn out greasy with a soft crust. Cook in 2 small batches for the crispiest results, letting oil return to 350°F between batches.
3.Skip the paper towel-lined plate for draining: placing hot fried chicken directly on a solid paper towel surface traps steam against the bottom crust, turning it soggy in minutes. A wire rack lets air circulate around every piece, keeping crust crisp on all sides while excess oil drips away.






OMG this fried chicken was the star of our weekend cookout! The crust was perfectly crispy, not greasy at all, and the meat was so juicy all the way through. My brother-in-law kept asking for the recipe all night, total game changer.
My kids loved it! I was worried the skillet method would be too fussy for a weeknight dinner but 35 minutes cook time is totally doable even with homework chaos going on. The crust had that perfect golden crunch we all crave, no sad soggy bits here. SO good, will be adding this to our regular rotation.
First time making fried chicken ever and this did NOT disappoint. I was intimidated because I thought fried chicken was super hard (medium difficulty had me sweating a little ngl) but the steps were super straightforward. My roommates demolished half the batch in 10 minutes flat.
Brought this to our neighborhood potluck last weekend and people were lined up for seconds before I even set the platter down! The golden crust looks so pretty on a serving platter, and the seasoning is spot on — not too salty, just enough herby depth that it doesn’t taste like plain boring fried chicken. I even had people ask if I bought it from that fancy new Southern spot downtown lmao.
Made this last night for dinner and it was fantastic! Quick question though — does this hold up well for meal prep? I make a big batch of protein on Sundays for the work week and I’ve been burned by soggy leftover fried chicken before, curious if this stays crisp when reheated.
Y’all, I’ve been making skillet fried chicken for 40 years and this recipe is hands down one of the best I’ve ever tried. The trick of letting the coated chicken rest 10 minutes before frying? Game. Changer. No more breading sliding off mid-fry, I’ll be using that tip from now on.
Uh, quick question — I tried this last night and my chicken got a little darker than the golden color in the photos before it hit 165 internal temp, did I have my heat too high? It still tasted good but was a little more dark brown than golden.
Took this to my buddy’s game day watch party and everyone raved. The crispy crust has the perfect craggy bits that hold so much flavor, and the brine tip? *Chef’s kiss* The chicken was juicy even in the breast meat, which I always manage to overcook somehow. Will absolutely be making this again for our next tailgate.
I made this for my grandkids when they visited last weekend and they begged me to send the recipe home to their parents! It reminded me of the fried chicken my own mom used to make in her cast iron skillet on Sunday suppers. Just the right amount of crunch, no heavy greasy aftertaste. 10/10.
Obsessed with this recipe! I swapped the regular flour for gluten free all purpose flour for my sister who has celiac and it still came out perfectly crispy and golden, no weird gritty texture at all. We had it with mashed potatoes and collards for our family dinner last night, zero leftovers.
Made this for our Eagles watch party yesterday and it was a total hit. Only note: I doubled the seasoning mix because I was making 12 pieces instead of 6, and I’m glad I did — the flavor was perfect. Crispy, juicy, that iconic golden color you want from skillet fried chicken. Way better than takeout.