
good grilled chicken

title 1
good grilled chicken
⏱️ cook time 25 minutes
🍽️ servings 4
⚡ Difficulty easy

intro

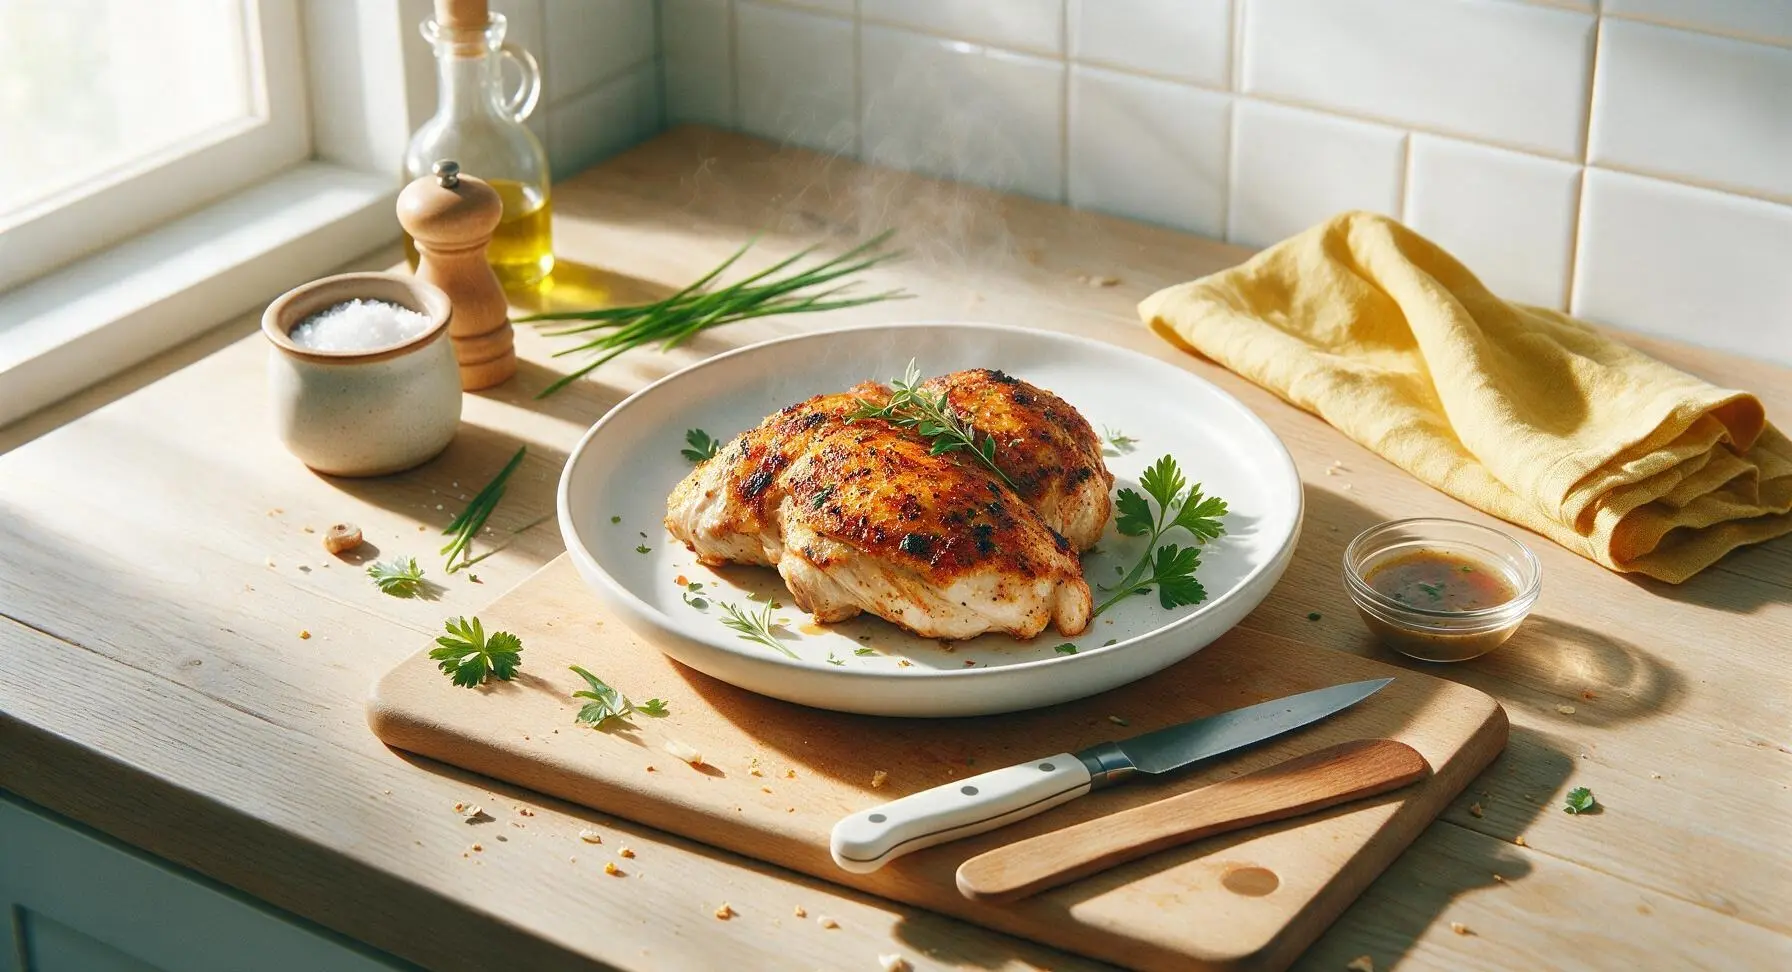
Crisp golden, spice-kissed grilled chicken with juicy, evenly cooked meat, zero dry spots, and perfect subtle char. A foolproof cookout recipe guests will rave over.

Ingredients
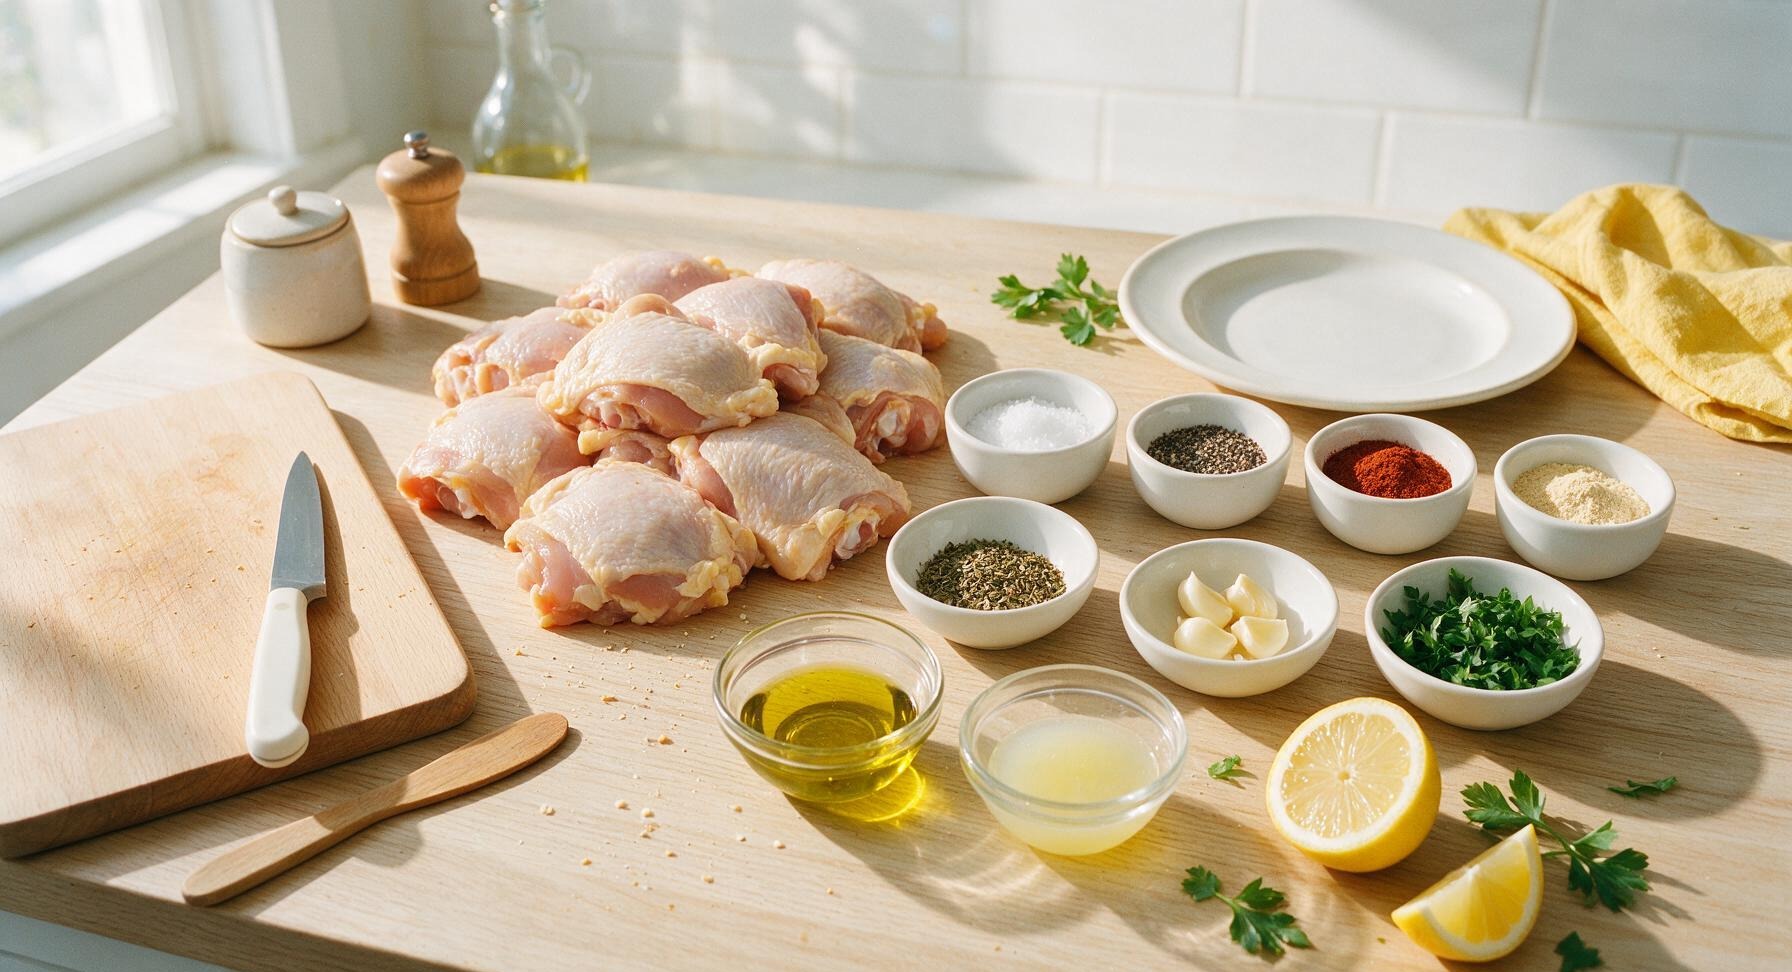
Bone-in, skin-on chicken thighs (trimmed of excess fat) 1.8kg (4 lbs, ~8 pieces)
Extra-virgin olive oil 3 tbsp
Kosher salt 1 tbsp
Freshly cracked black pepper 1 tsp
Smoked paprika 1 tsp
Garlic powder 1 tsp
Dried oregano 1 tsp
Fresh garlic cloves (crushed) 4 cloves
Fresh lemons (1 juiced, 1 cut into wedges) 2 whole
Fresh flat-leaf parsley (chopped, for garnish) 2 tbsp

Steps

1

Trim Excess Chicken Fat

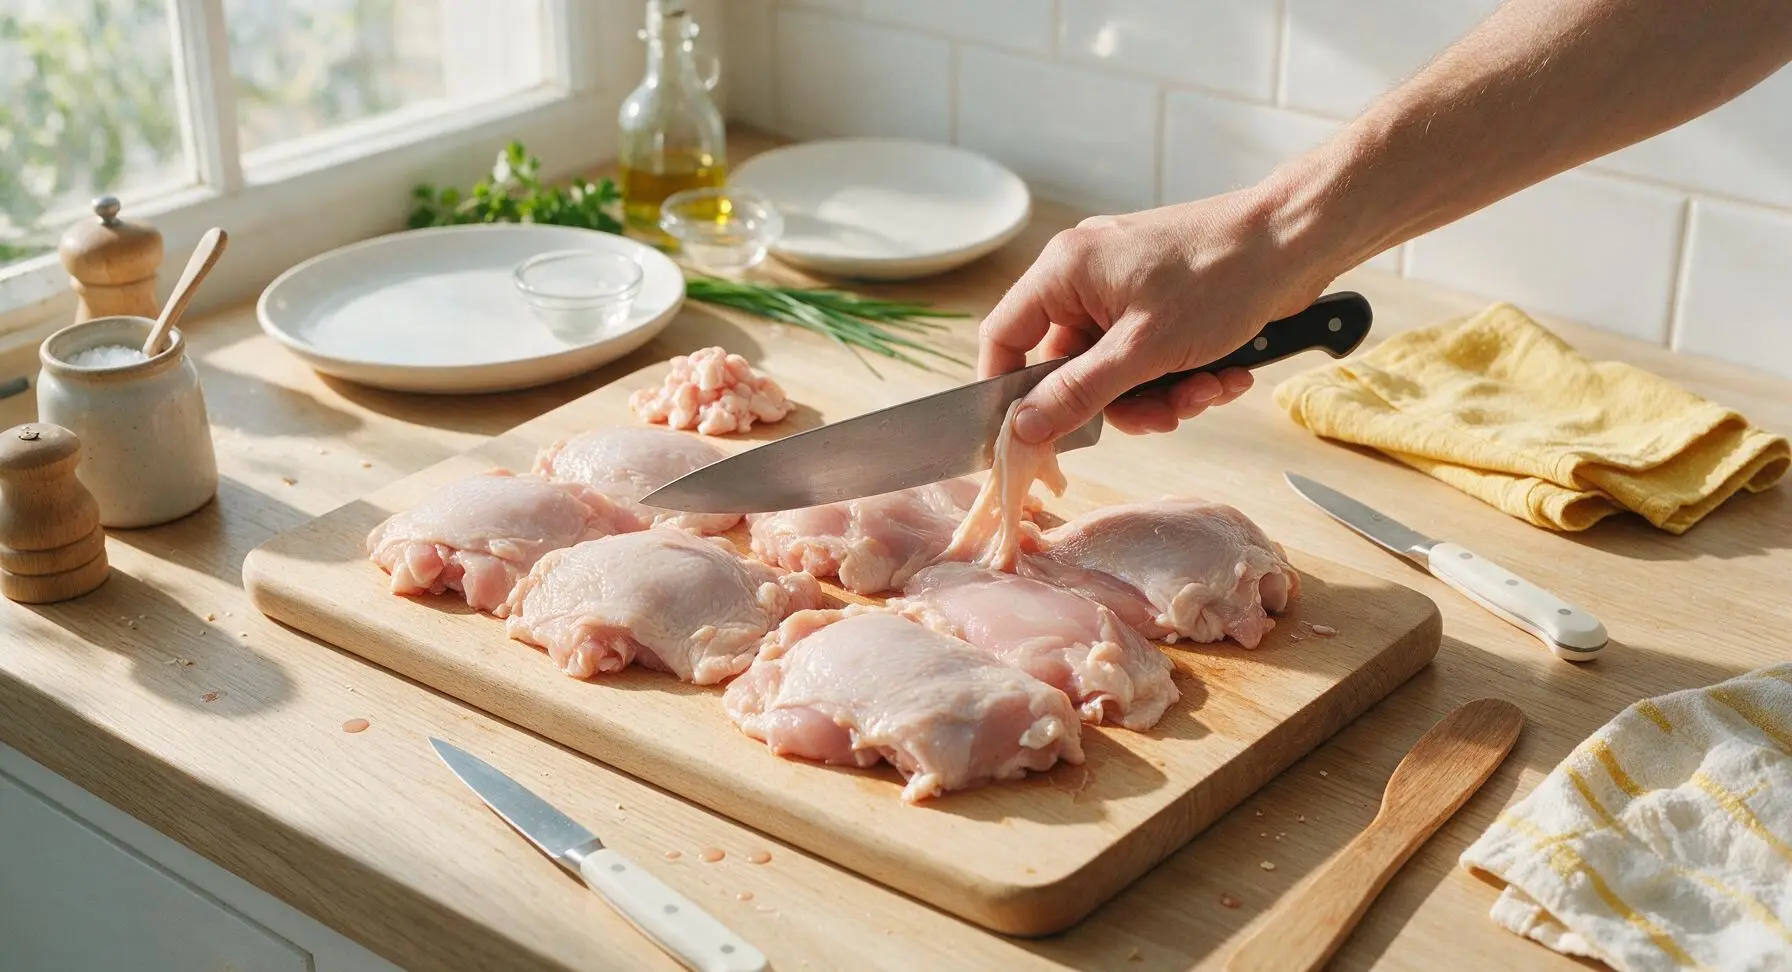
Remove chicken from packaging, pat completely dry with paper towels, then place on the acacia wood cutting board. Use the 8-inch chef knife to trim any loose, hanging skin and thick hard fat deposits from the edges of each thigh, leaving a uniform 1/4-inch layer of skin intact to render during grilling. Discard trimmed fat and skin in a waste bowl.
Step 1
step1:Trim Excess Chicken Fat
2

Mix Dry Spice Blend

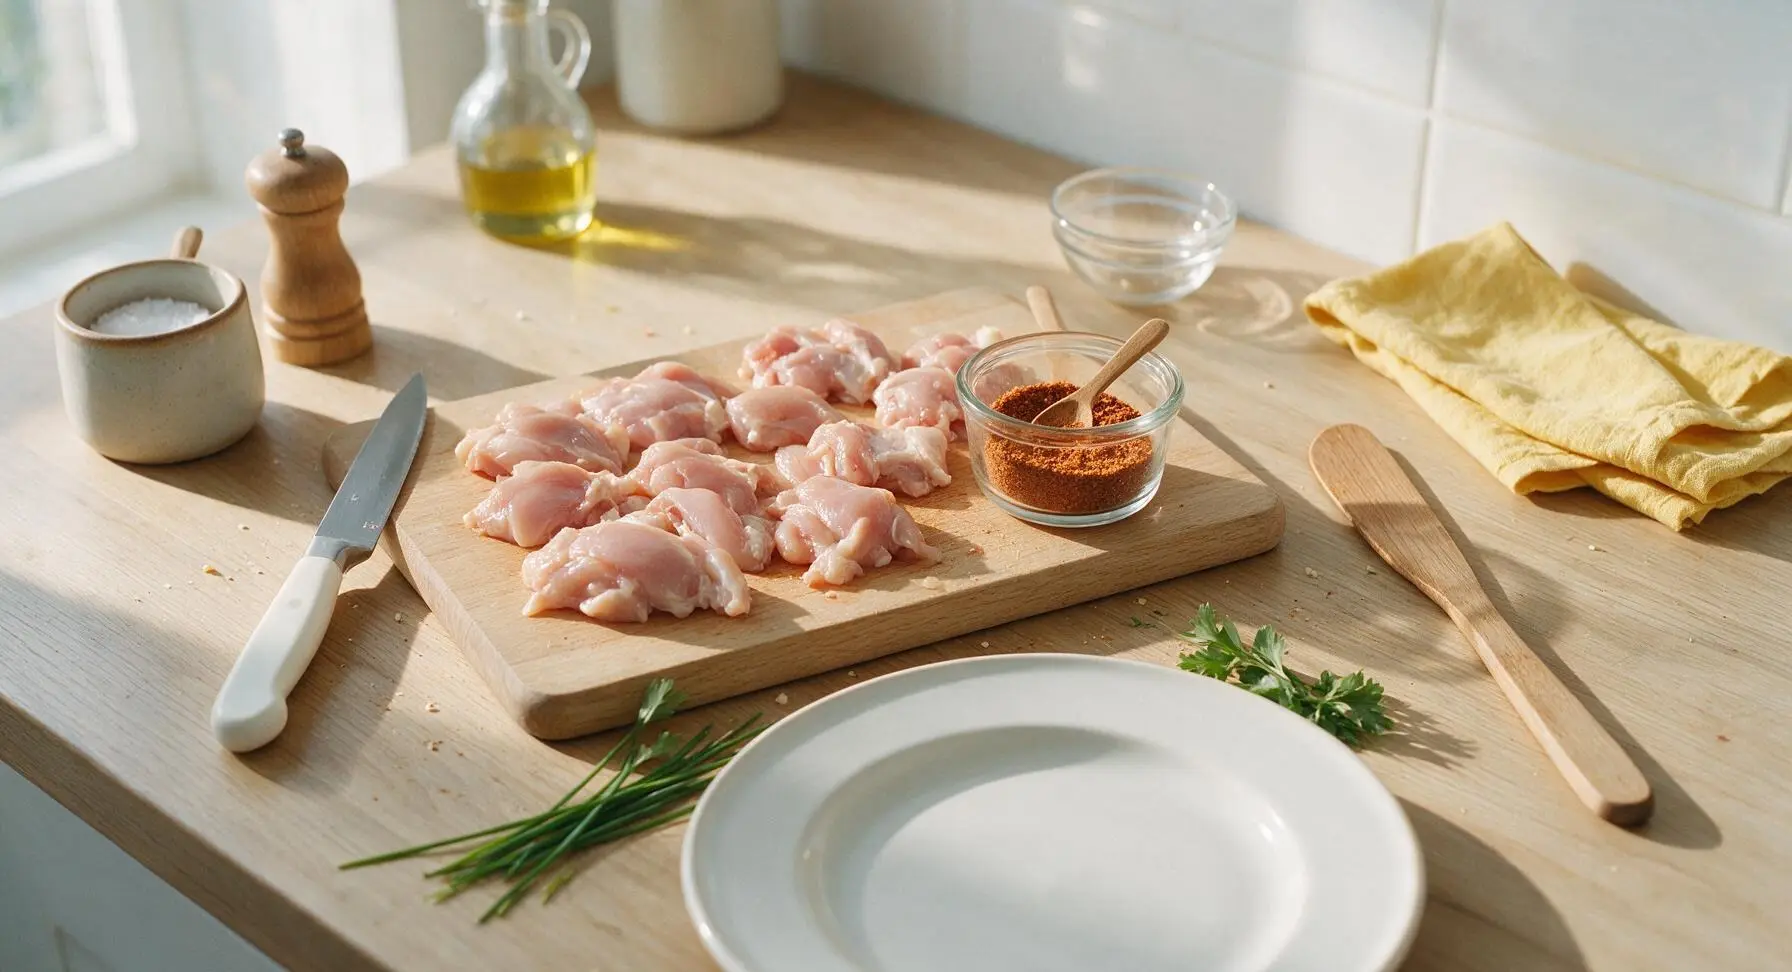
In the clear glass ramekin, combine 1 tbsp kosher salt, 1 tsp cracked black pepper, 1 tsp smoked paprika, 1 tsp garlic powder, and 1 tsp dried oregano. Stir with the small wooden spoon from the salt cellar until spices are evenly mixed, with no clumps of paprika or garlic powder remaining.
Step 2
step2:Mix Dry Spice Blend
3

Season Chicken Evenly

Drizzle 2 tbsp of extra-virgin olive oil over all chicken thighs, rubbing to coat every surface (both skin side and bone side). Add the crushed fresh garlic, rubbing it lightly into the chicken, then sprinkle the entire spice blend evenly over all sides of the chicken, pressing gently so spices adhere to the skin and meat. Let seasoned chicken rest at room temperature for 15 minutes while preheating the grill.
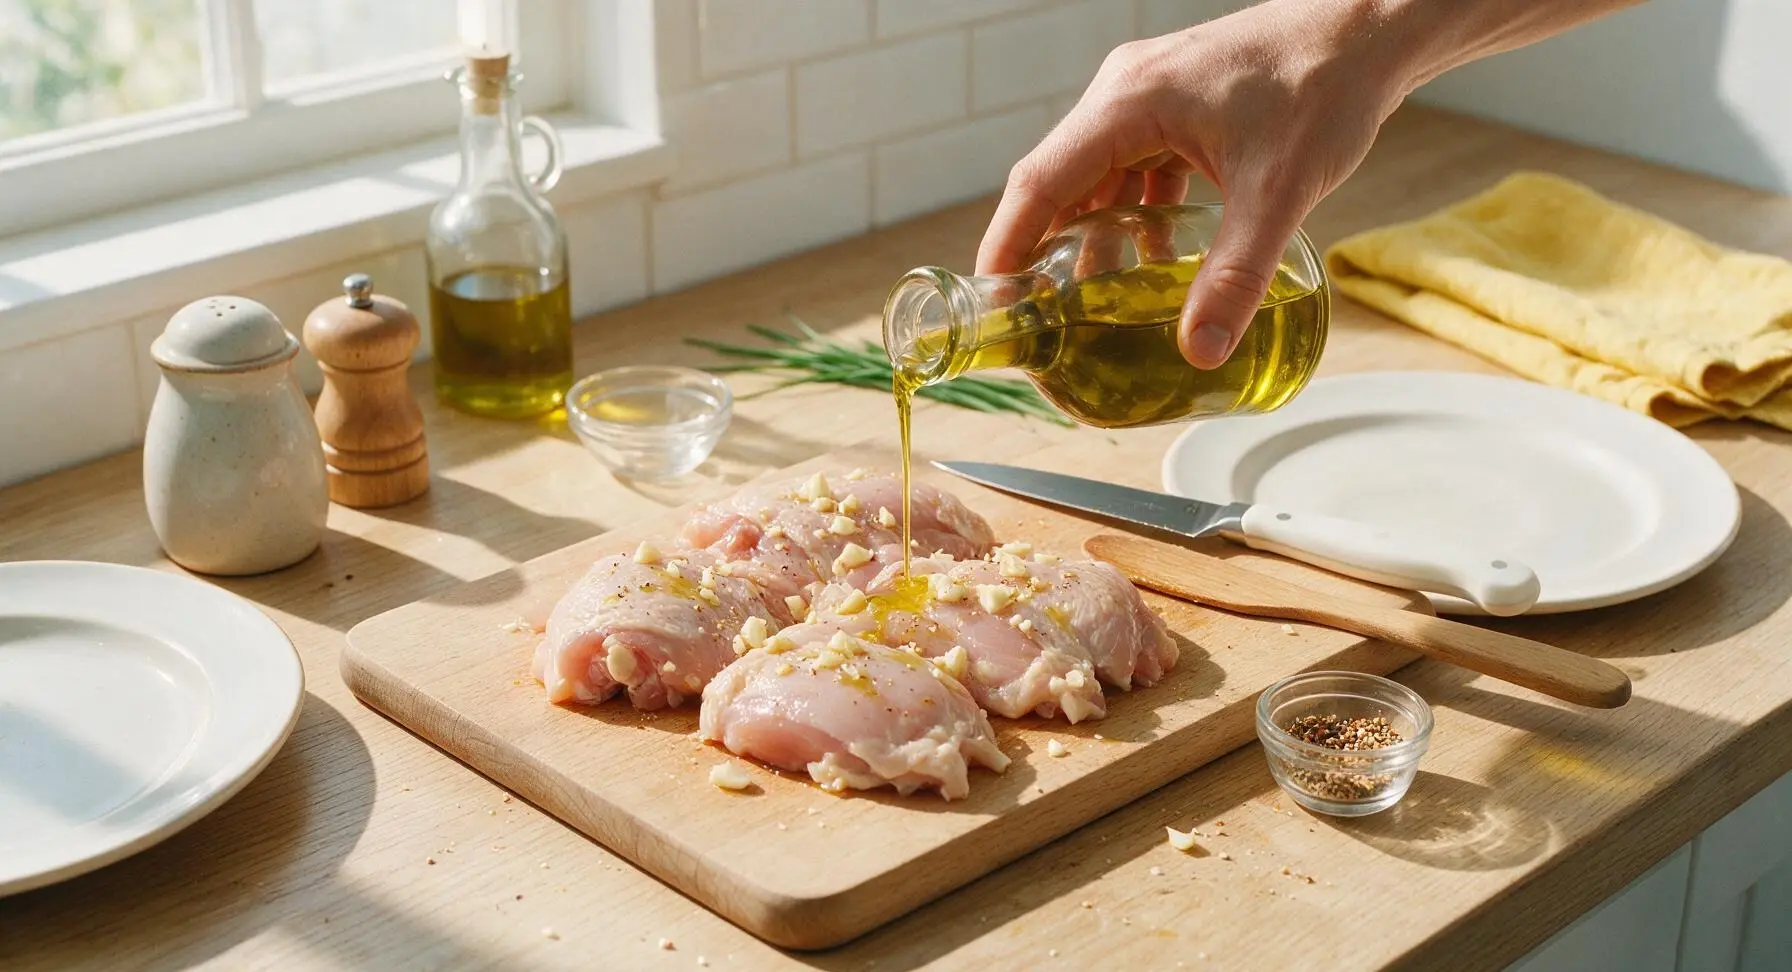
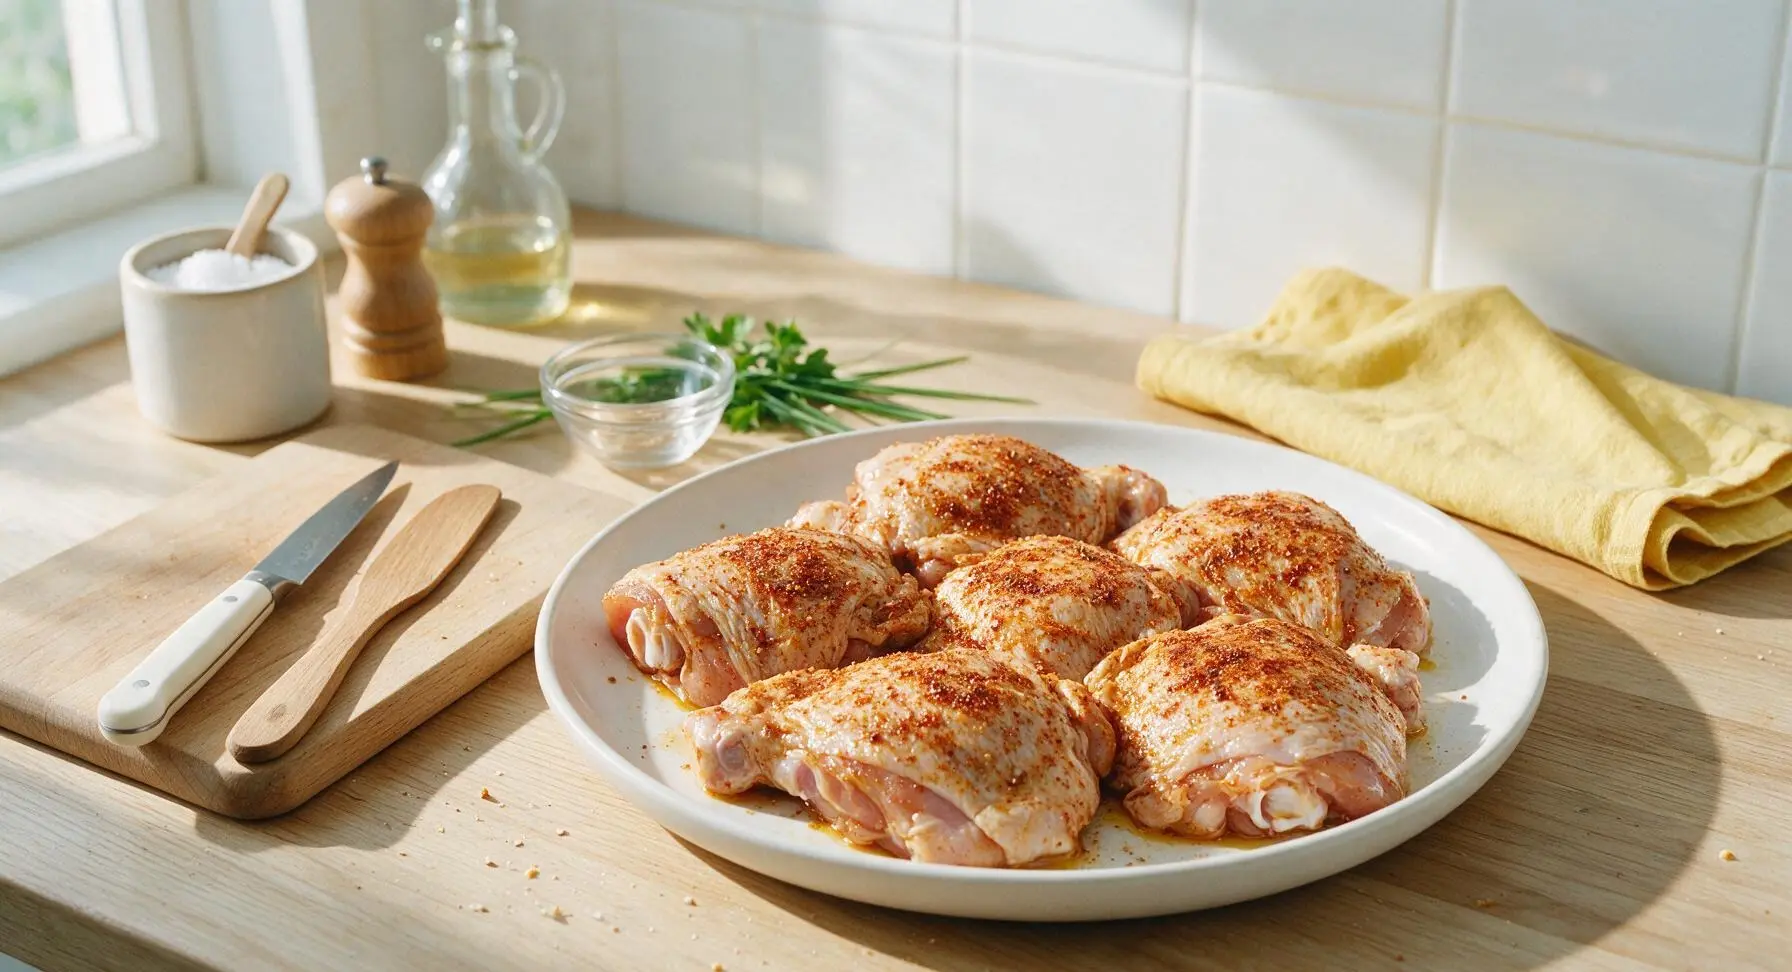
Step 3
step3:Season Chicken Evenly
Step 3
step3:Season Chicken Evenly
4

Preheat Charcoal Grill

Light hardwood lump charcoal in the kettle grill, letting it burn until coals are covered in a thin, even layer of light grey ash (approximately 15 minutes). Arrange coals for two-zone cooking: a hot direct-heat zone with coals spread evenly across half the grill, and a cooler indirect-heat zone with no coals under the grates. Scrape grill grates clean with a wire brush, then wipe grates with an oiled paper towel to prevent sticking. Target grill surface temperature is 220C / 425F on the direct heat side.
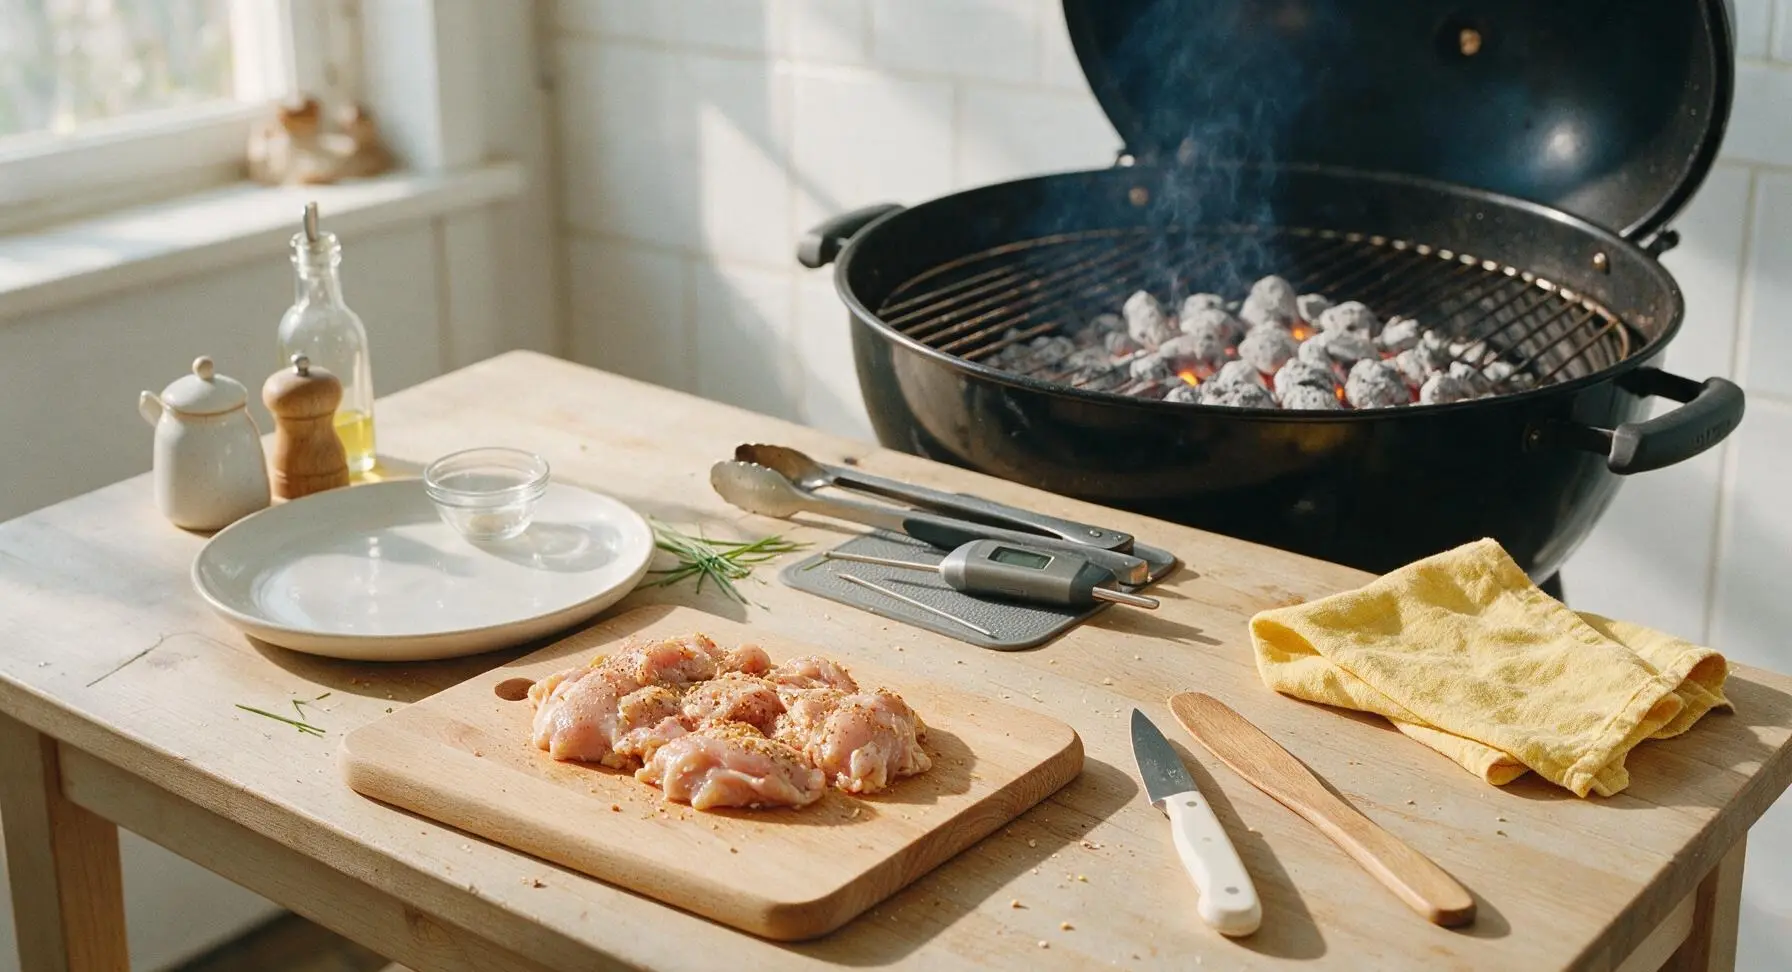
Step 4
step4:Preheat Charcoal Grill
5

Sear Chicken Skin-Side Down

Use the long grill tongs to place chicken pieces skin-side down on the direct heat zone of the grill. Do not move or shift the chicken for 6-7 minutes, until the skin is deep golden, crisp, and marked with dark grill lines, and rendered fat has created a non-stick surface. Close the grill lid while searing to maintain consistent temperature. Watch for flare-ups from rendered fat; shift chicken 2-3 inches if open flames burn directly on the skin for more than 2 consecutive seconds to avoid burnt spots.
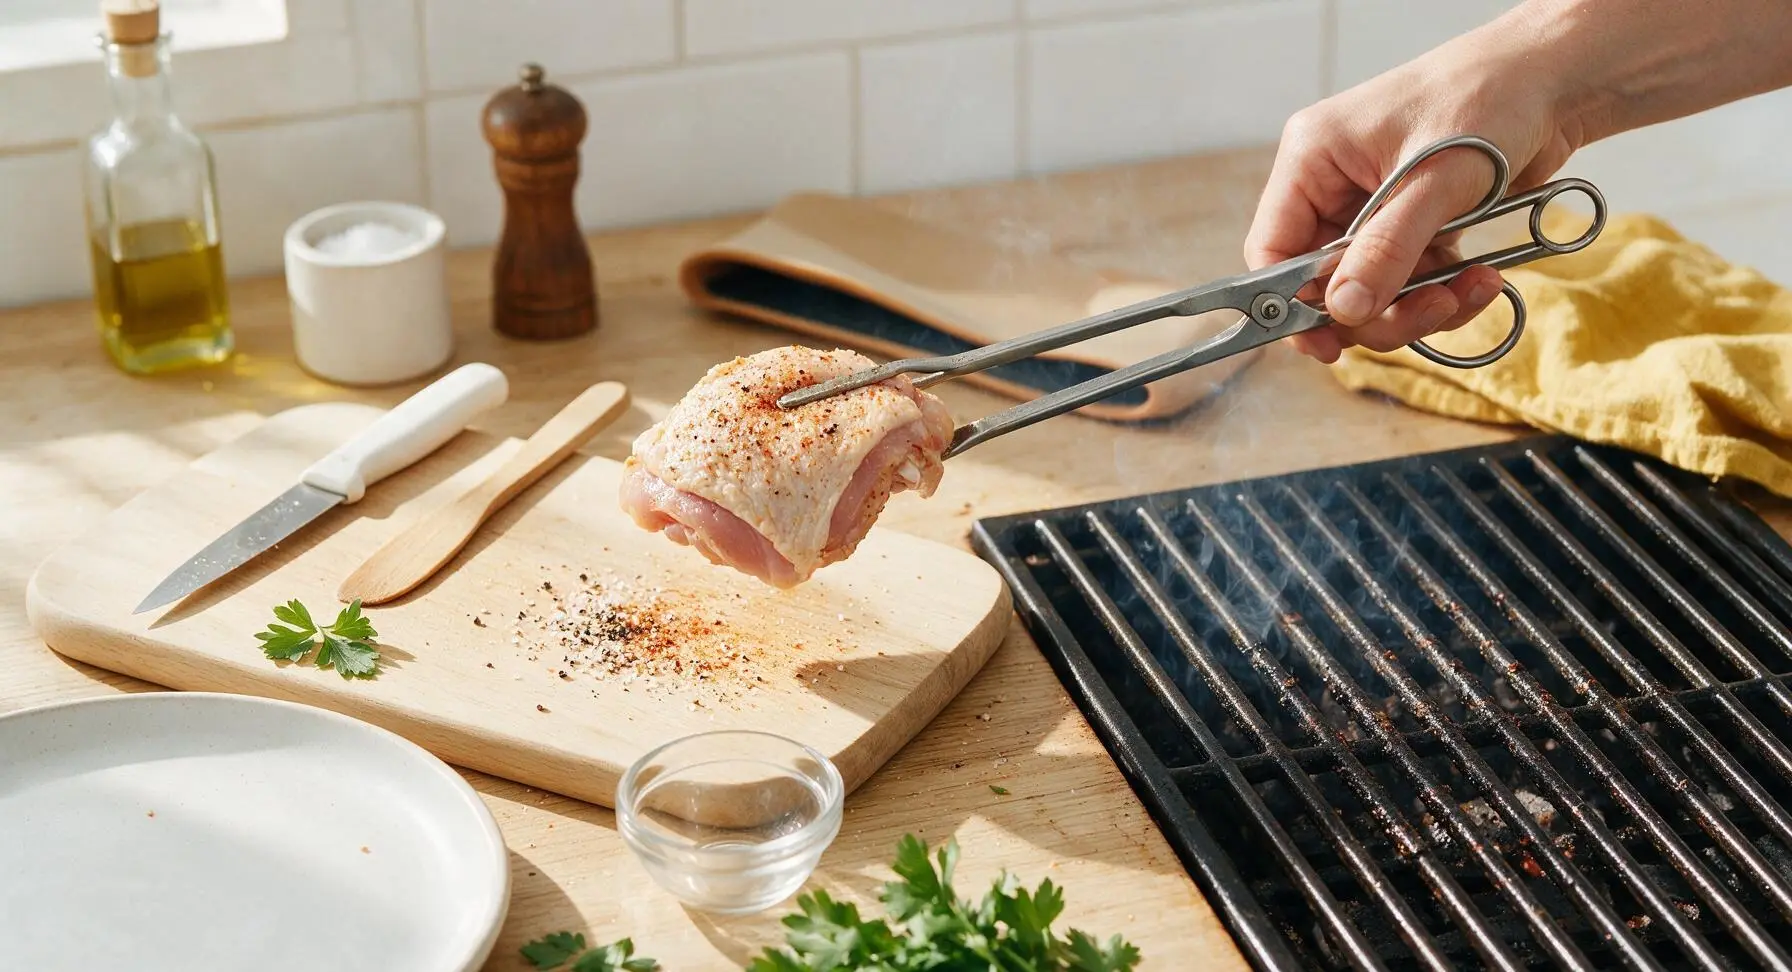
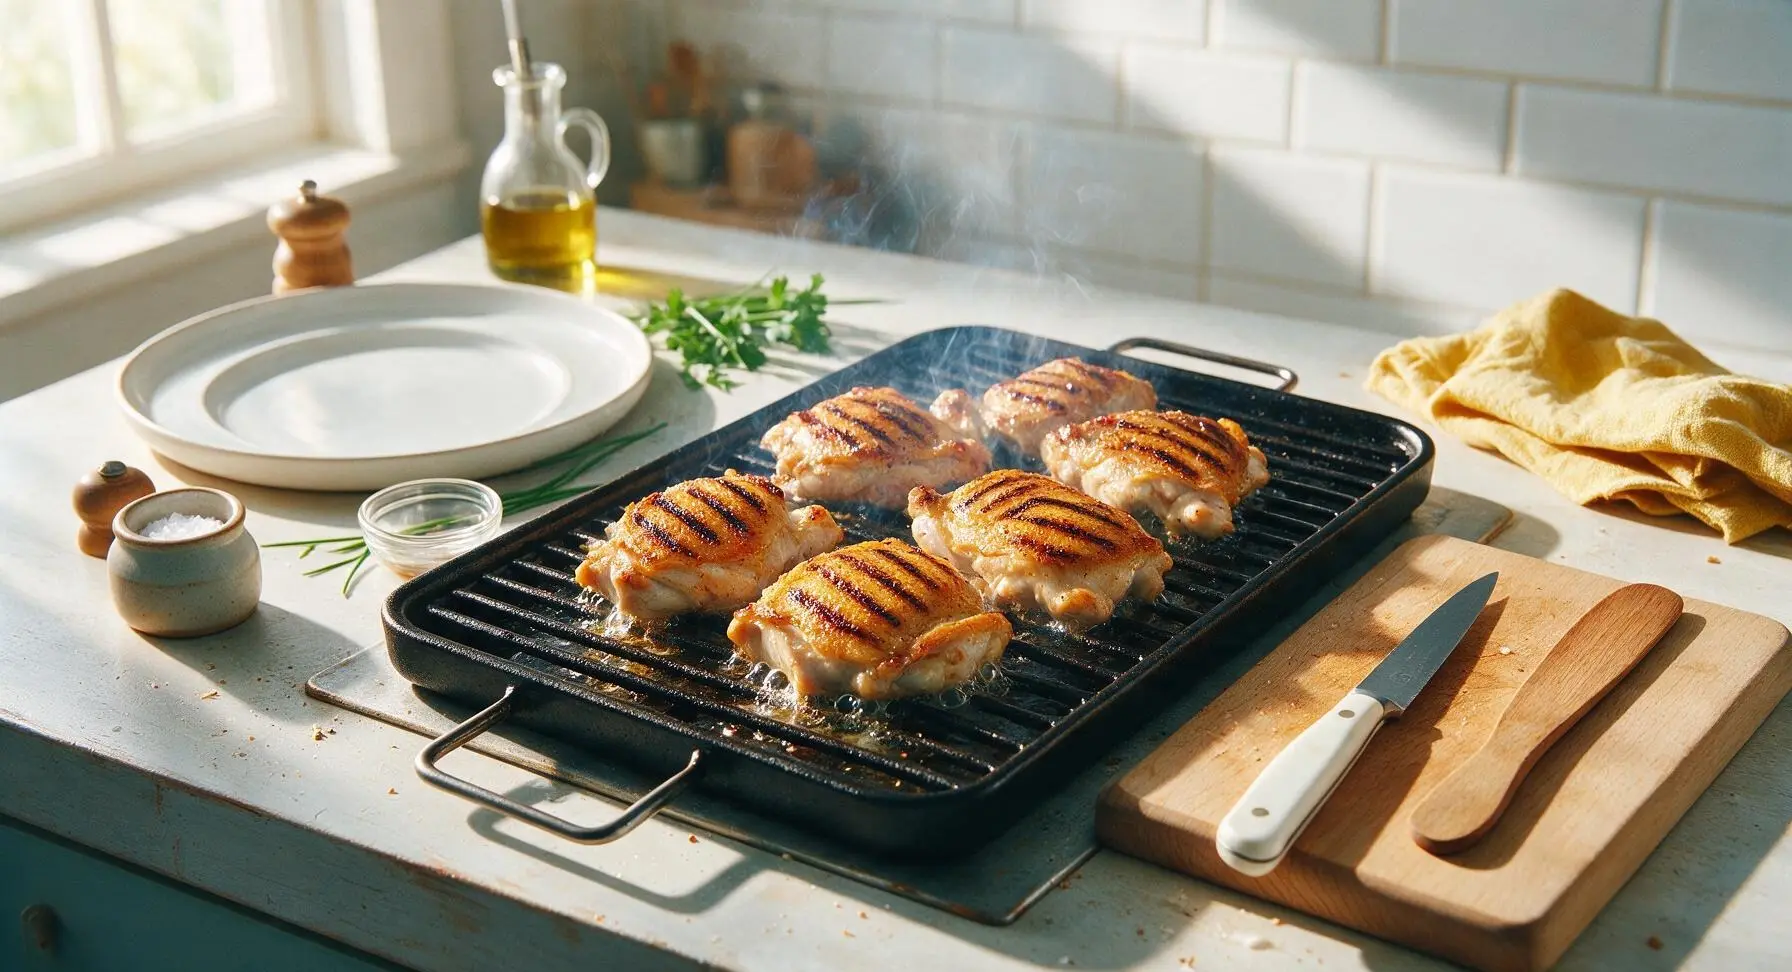
Step 5
step5:Sear Chicken Skin-Side Down
Step 5
step5:Sear Chicken Skin-Side Down
6

Cook Through Indirect Heat

Use tongs to flip all chicken pieces so they are skin-side up, then move them to the indirect heat zone of the grill. Close the lid, and cook for 12-15 minutes, until the instant-read thermometer inserted into the thickest part of the thigh (not touching bone) reads 75C / 165F. Avoid opening the lid repeatedly, as this drops grill temperature and extends cook time.
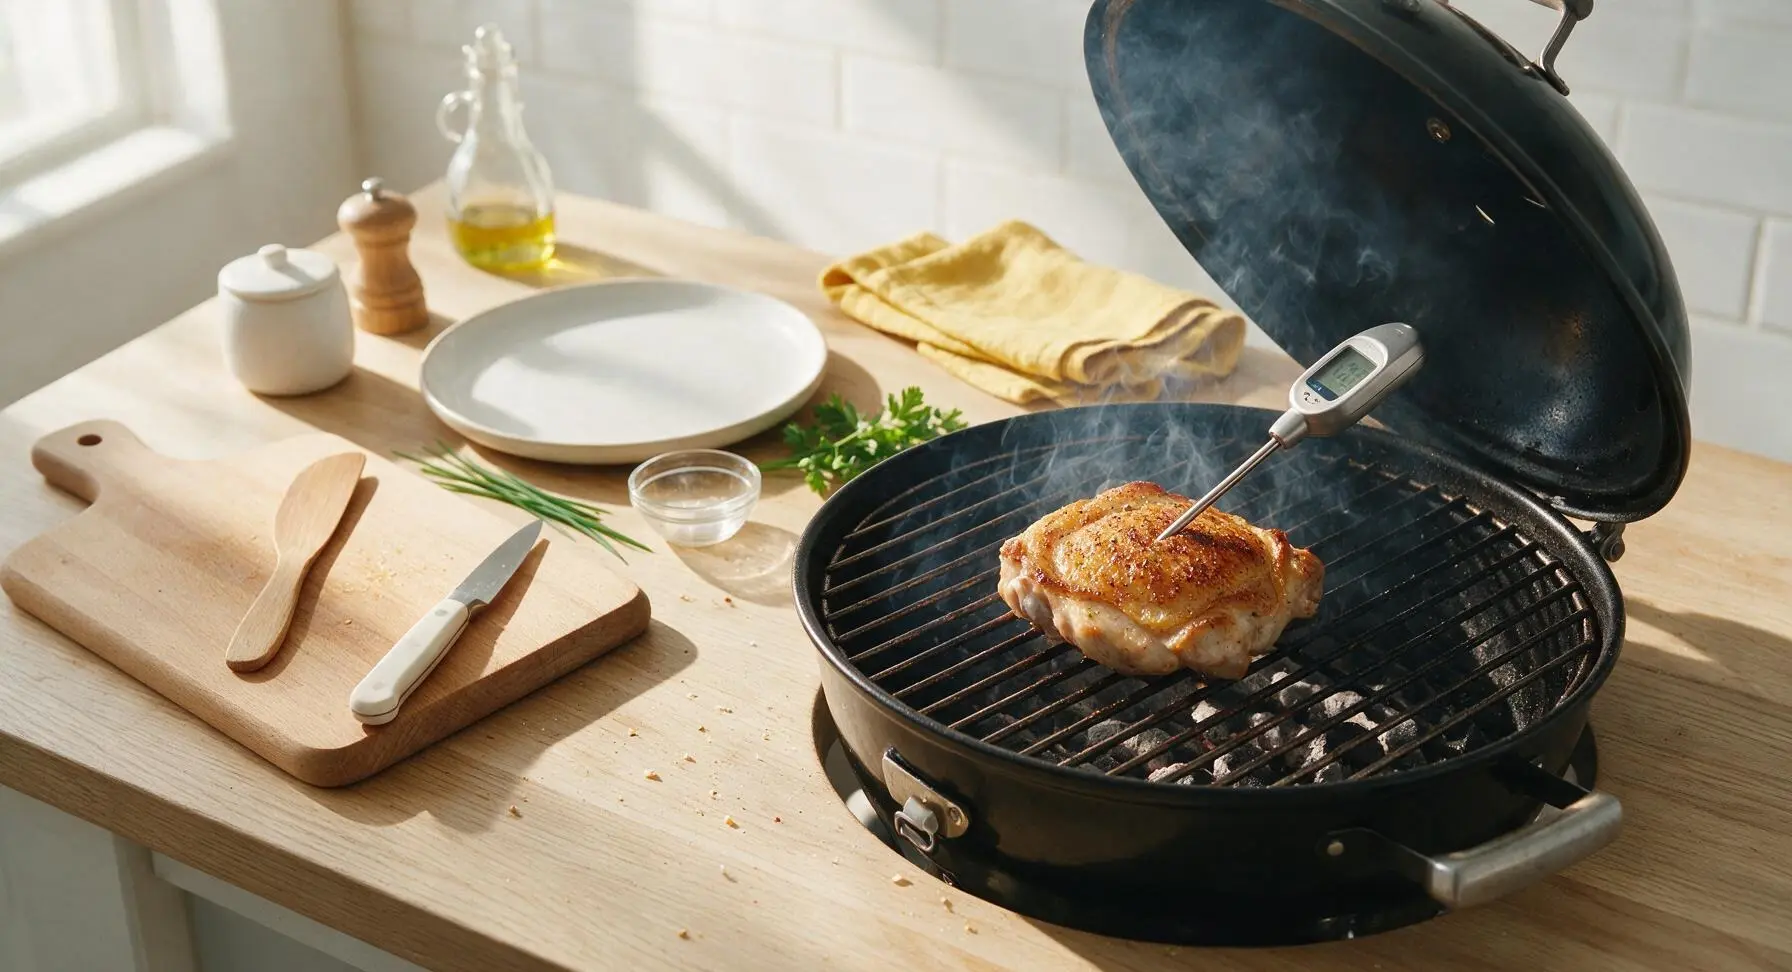
Step 6
step6:Cook Through Indirect Heat
7

Rest and Garnish Chicken

Use tongs to transfer cooked chicken from the grill to the top terracotta plate from the stacked set. Loosely tent a small piece of aluminum foil over the plate, and let the chicken rest for 5 minutes to allow muscle fibers to relax and juices to redistribute through the meat. Remove foil, squeeze the juice of 1 lemon evenly over the chicken, then sprinkle with 2 tbsp chopped fresh parsley from the potted plant on the counter. Serve with remaining lemon wedges.
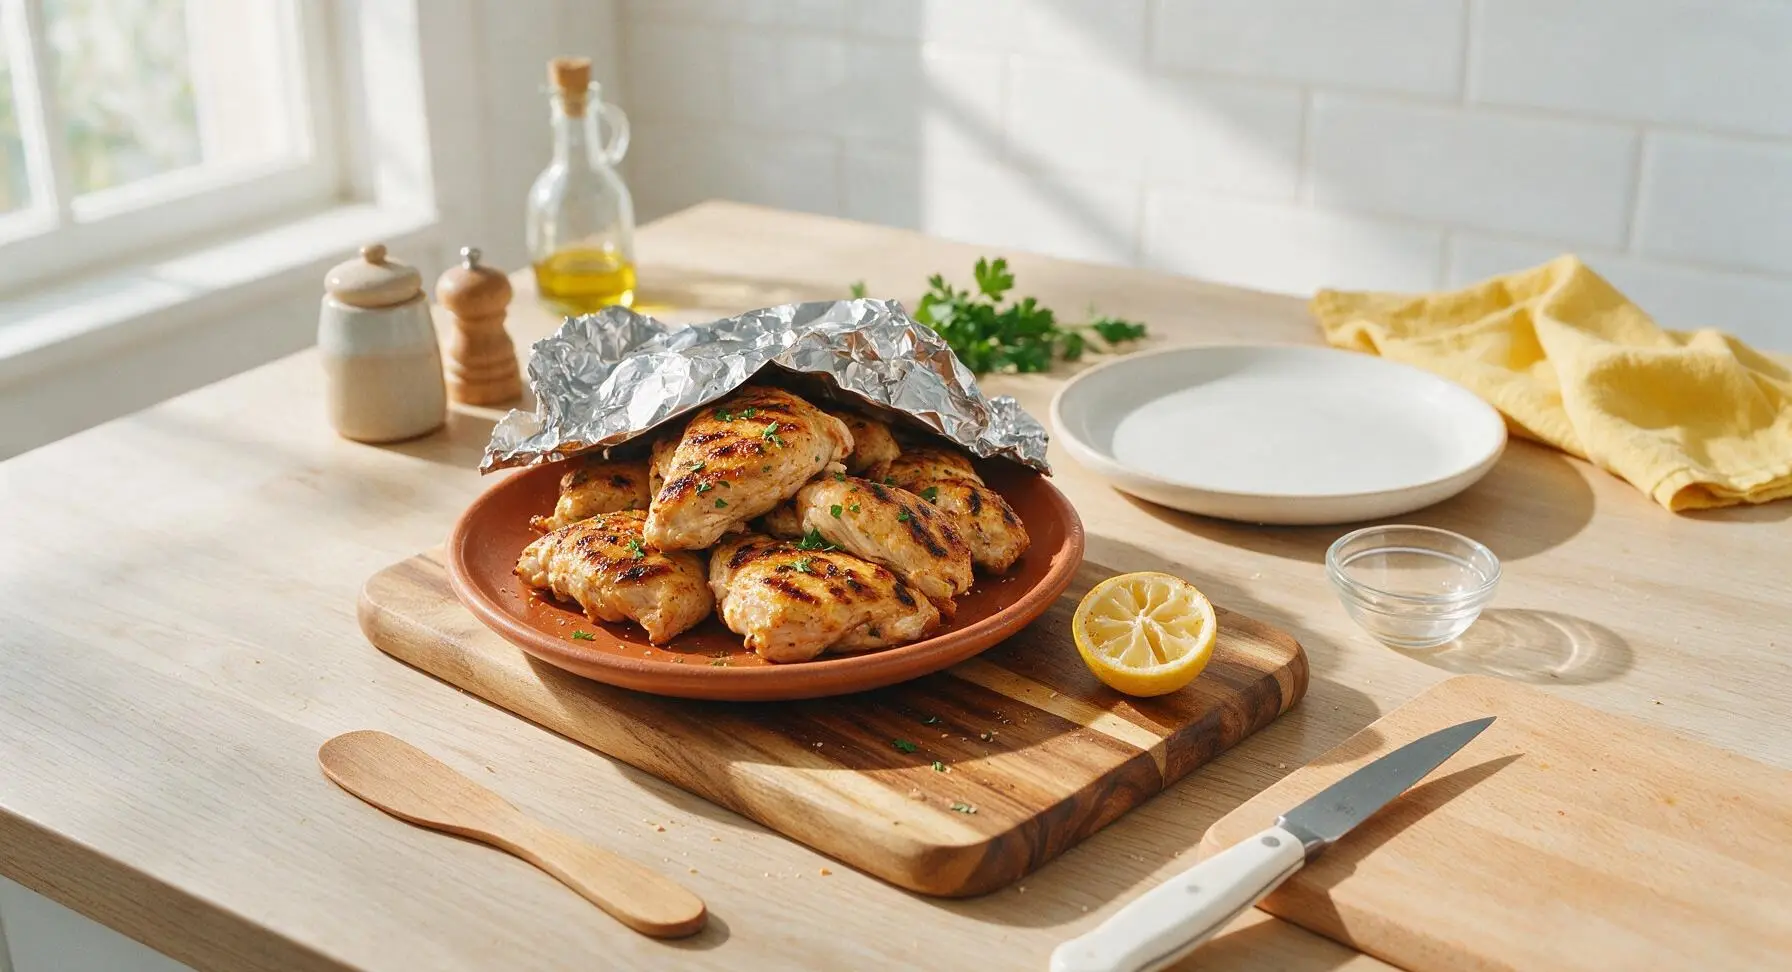
Step 7
step7:Rest and Garnish Chicken

Tips

1.Always pat chicken completely dry with paper towels before seasoning and grilling: excess surface moisture will steam the skin instead of crisping it, leading to rubbery, flabby skin instead of the desired golden, shatteringly crisp texture.
2.Stick to the two-zone grilling method instead of cooking over full high heat: searing over direct heat builds crisp skin and deep grill marks, while finishing over indirect heat cooks the meat evenly without burning the skin or drying out the tender interior.
3.Never press down on chicken with tongs while grilling, and never skip the 5-minute rest period: pressing squeezes out precious flavorful juices causing dry meat and flare-ups, while resting lets muscle fibers reabsorb liquid for juicy bites every time.


✨ You May Also Like

BBQ & Grilling
🍜 United States

Tender, melt-in-your-mouth beef brisket with a crisp, spiced bark, slow-smoked to deep smoky perfection, the iconic centerpiece of Texas backyard barbecue.

⏱️ 12 hours BBQ & Grilling ★ 4.4
BBQ & Grilling
🍜 Korea

Tender, sweet-savory marinated beef short ribs, a beloved Korean BBQ staple with caramelized, slightly charred edges and deep umami flavor, perfect for outdoor summer gatherings.

⏱️ 4 hours 2BBQ & Grilling ★ 4.8
BBQ & Grilling
🍜 United States

Juicy grilled beef patties topped with smoky homemade chili, melted cheddar, and tangy pickles on toasted brioche buns for a hearty, flavor-packed handheld meal.

⏱️ 40 minuteBBQ & Grilling ★ 4.7
BBQ & Grilling
🍜 United States

A sweet, smoky, tangy BBQ sauce brightened with peak-season dark cherries, ideal for glazing grilled ribs, chicken, pork, or summer roasted veggies.

⏱️ 35 minuteBBQ & Grilling ★ 4.7
BBQ & Grilling
🍜 United States

Rich, smoky, slightly sweet homemade bourbon BBQ sauce with deep caramel notes, ideal for glazing grilled ribs, chicken, and burgers at cookouts.

⏱️ 25 minuteBBQ & Grilling ★ 4.7
BBQ & Grilling
🍜 United States

Iconic Alabama-style BBQ featuring tender hickory-smoked chicken slathered in tangy creamy white sauce, a beloved regional Southern cookout staple.

⏱️ 3 hoursBBQ & Grilling ★ 5

good grilled chicken:Frequently Asked Questions

1.Why do you recommend bone-in, skin-on chicken thighs instead of other cuts for this recipe? ▾
Bone-in, skin-on thighs have evenly distributed fat that bastes the meat as it cooks, preventing dry spots even over hot charcoal. The bone adds deep, savory flavor, and the skin renders to that perfect crisp, golden char without the fast overcook risk of lean cuts like boneless, skinless breasts.
2.Can I use boneless, skinless thighs if that’s what I have on hand? ▾
Absolutely, just cut total cook time by 3-4 minutes to avoid overcooking, since there’s no bone to slow heat transfer. Baste lightly with a splash of extra olive oil halfway through cooking, and pull them once they hit 160°F internal temp to lock in juiciness without rendered skin fat to keep them moist.
3.How far in advance should I season the chicken before grilling? ▾
For the juiciest, most evenly seasoned result, salt the chicken at least 45 minutes before grilling, or even overnight covered in the fridge. This lets salt draw out moisture that dissolves then reabsorbs to season meat all the way through. Add pepper and smoked paprika 15 minutes before cooking so they don’t scorch.
4.What type of charcoal works best for that perfect subtle char? ▾
Skip lighter-fluid soaked briquettes—they leave a harsh chemical aftertaste on finished chicken. Opt for natural hardwood lump charcoal, which burns hot, clean, and imparts mild, pleasant smoky flavor. Let it burn until coated in a thin layer of gray ash before cooking to avoid acrid, sooty smoke on your meat.
5.How hot should my grill grates be before I add the chicken? ▾
Aim for a medium-high heat zone around 425-450°F, which is hot enough to crisp skin quickly without burning it before the meat cooks through. Test this by holding your palm 6 inches above the grates: you should only be able to keep it there for 3-4 seconds. Lightly oil the grates right before adding chicken to prevent sticking.
6.Do I need to set up a two-zone fire for this recipe? ▾
Yes, this is the number one trick to avoid burnt skin and raw, undercooked centers. Pile all lit charcoal on one half of the grill for a hot direct-heat zone, and leave the other half empty for indirect heat. You’ll sear skin over direct heat first, then move chicken to the indirect side to finish gently.
7.How long should I sear the chicken skin side down first? ▾
Sear chicken skin-side down over direct heat for 5-6 minutes total, resisting the urge to poke or move it early. Letting it sit undisturbed lets fat render fully and skin crisp into that golden, non-stick layer. If you see flare-ups from dripping fat, temporarily move chicken to the indirect zone until flames die down.
8.How do I stop charcoal flare-ups from burning the chicken skin? ▾
Flare-ups happen when rendered chicken fat drips directly onto hot coals, so never douse them with water—that kicks up ash and leaves a sooty, off flavor. Instead, keep a spray bottle of plain water handy to spritz small flare-ups, and move chicken to the indirect zone if large flames lick up around grates.
9.What internal temperature means the chicken is perfectly juicy, not overcooked? ▾
Pull chicken off the grill when the thickest part (right next to the bone, not touching it) hits 160°F on an instant-read thermometer. As it rests for 5-10 minutes, carryover cooking will bring it up to the food-safe 165°F, and juices will redistribute instead of running out when you cut into it.
10.Why does my grilled chicken skin always turn out rubbery instead of crisp? ▾
Rubbery skin almost always stems from one of three issues: grill grates that aren’t hot enough when you add chicken, excess surface moisture on the skin before grilling, or moving chicken too early while searing. Pat chicken completely dry with paper towels, preheat grates fully, and let skin sear undisturbed for the first 5 minutes.
11.How much excess fat should I trim off the chicken thighs before cooking? ▾
Trim off any large, loose hanging flaps of fat that extend past the edge of the thigh—those will just melt, cause constant flare-ups, and add no benefit. Leave the thin, even layer of fat directly attached to the skin intact, though; that fat renders slowly to baste meat and crisp skin to perfect golden texture.
12.Can I add extra seasonings or a marinade without ruining the juiciness? ▾
You can absolutely add complementary dry seasonings like garlic powder, onion powder, or a pinch of cayenne, but skip wet, sugary marinades for the initial cook—sugars burn fast over charcoal and leave a bitter crust. If you want barbecue sauce, brush it on in the last 2-3 minutes of cooking to set lightly.
13.Do I need to flip the chicken multiple times while it cooks? ▾
No, you only need to flip the chicken once, right after that initial 5-6 minute skin sear. Flipping it over and over prevents skin from crisping properly, increases the risk of skin sticking and tearing, and causes uneven cooking. After flipping, move it to the indirect heat zone to finish cooking through.
14.How long does the chicken need to rest after coming off the grill? ▾
Let chicken rest for a full 5-10 minutes tented loosely with aluminum foil after grilling. If you cut into it right away, all the hot, juicy liquid built up in the meat will run out onto your plate, leaving dry chicken. Resting lets those juices redistribute evenly through every bite for that perfect juicy result.
15.Can I cook this recipe on a gas grill if I don’t have a charcoal grill? ▾
You can get a similar result on a gas grill, though you’ll miss that subtle smoky charcoal depth. Preheat the gas grill to 425-450°F, set up two-zone heat by turning off burners on one side, and add a small smoker box of wood chips if you want to mimic that classic charcoal smokiness.
16.Why do I keep getting dry, chalky spots on my grilled chicken thighs? ▾
Those dry spots almost always come from overcooking, usually from cooking the entire time over unregulated high direct heat, or not pulling chicken early enough to account for carryover cooking. Use an instant-read thermometer instead of guessing by cook time, and use the two-zone setup to cook meat gently after searing.
17.Should I oil the chicken, the grill grates, or both to prevent sticking? ▾
Do both for the best no-stick results. Toss trimmed, dried chicken with the measured extra-virgin olive oil before seasoning to help spices stick and encourage even browning. Right before adding chicken, wipe preheated grates with an oiled paper towel held with tongs to create a thin, non-stick surface.
18.How far in advance can I prep this chicken for a cookout? ▾
You can trim chicken, pat it dry, and apply kosher salt up to 24 hours in advance, stored covered on a wire rack in the fridge. This actually makes skin even crispier, because circulating fridge air dries out the skin surface. Wait to add pepper, smoked paprika, and olive oil until 15 minutes before you’re ready to grill.
19.What’s the best way to store and reheat leftover grilled chicken? ▾
Store leftover chicken in an airtight container in the fridge for up to 4 days. To reheat without drying it out, place it skin-side up on a baking sheet in a 325°F oven for 10-12 minutes until warmed through. Skip the microwave—it makes skin rubbery and zaps moisture out, leading to that dry texture you worked to avoid.

Comments (4)

2 days ago

OMG this recipe is a total game changer! I’ve always dried out chicken on the charcoal grill no matter what I tried, but these came out so juicy even my picky 7 year old asked for seconds. Made it for our Sunday family dinner and my husband already asked me to make it again for our neighborhood potluck next weekend. SO good, 10/10 no notes!

yesterday

Wait did you follow the brining step exactly? I’m nervous to try because my last grilled chicken attempt was so tough I almost threw out my grill lol, did you make any tweaks or stick straight to the recipe?

yesterday

So thrilled your family loved the recipe! No fancy tweaks needed – just keep your coals at medium heat, don’t flip the chicken too often, and let it rest 5 minutes before serving and you’ll get perfect juicy results every time.

30 minutes ago

Wow, that 25 minute cook time is no joke! I threw these on the charcoal grill right after getting home from work last night, tossed some grilled corn and a quick salad together, and had a full weeknight dinner on the table in under 40 minutes total. The chicken stayed juicy even when I reheated a piece for lunch today, which never happens with my usual go-to grilled chicken recipes. This is saved to my permanent meal rotation!

5 minutes ago

Love that this works for your busy weeknights! Quick pro tip for meal prep: let the chicken rest a full 5 minutes after pulling it off the grill before slicing to lock in extra juiciness that holds up great for leftovers.

1 week ago

Took this recipe out for a test run on my new charcoal kettle grill yesterday and it did NOT disappoint. I was worried it’d be too fussy for a casual weekend cookout but it was so easy – no weird hard-to-find ingredients, no overcomplicated steps, just perfectly smoky, juicy chicken. My friends were raving the whole time, they thought I’d been practicing for weeks lmao.

5 days ago

Seconding this! I made this for my 4th of July cookout and people were coming back for thirds. That tip to keep the coals at medium heat instead of cranking them up blazing hot is what makes all the difference, I swear.

just now

I’m so glad I stumbled on this recipe! I’ve never grilled anything in my life and my partner is obsessed with charcoal grilled chicken, so I wanted to surprise him for our anniversary dinner next weekend. Seeing the difficulty marked as easy gave me the courage to give it a shot – will report back how it goes! Fingers crossed I don’t burn it 😂



