
gourmia air fryer chicken breast
intro
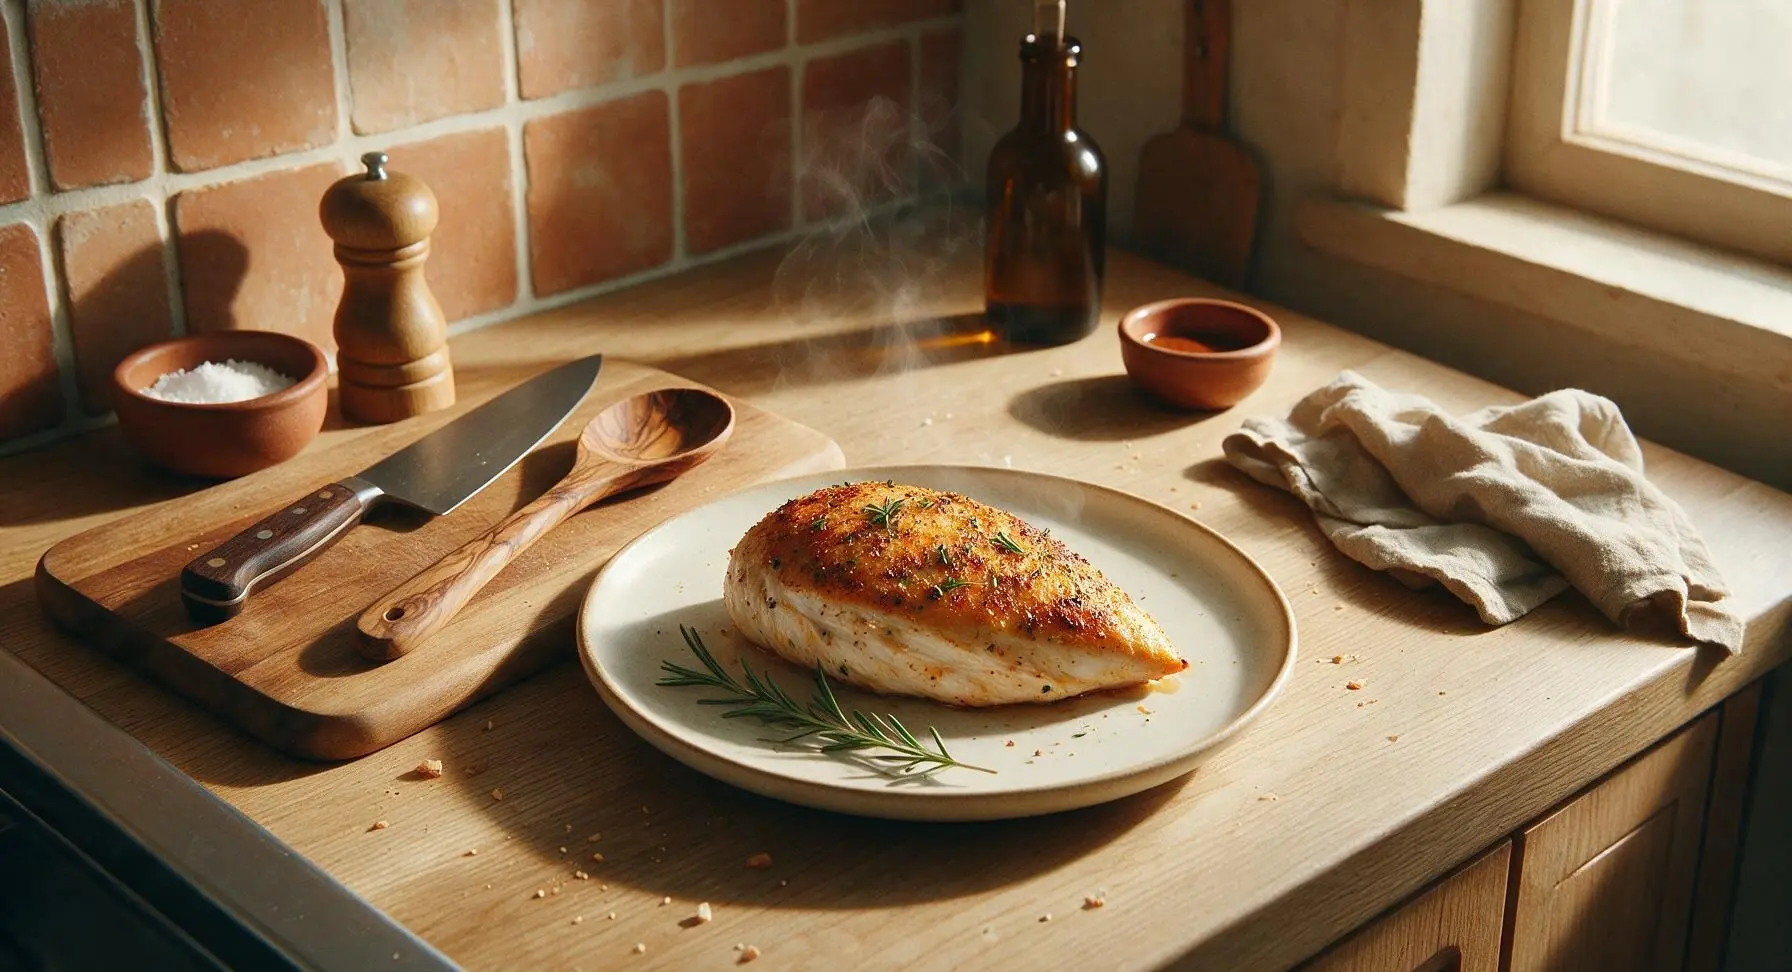
Juicy, perfectly seasoned chicken breast made in a Gourmia air fryer: crisp golden exterior, tender moist interior, zero dryness, ready in under 30 minutes for easy weeknight meals.
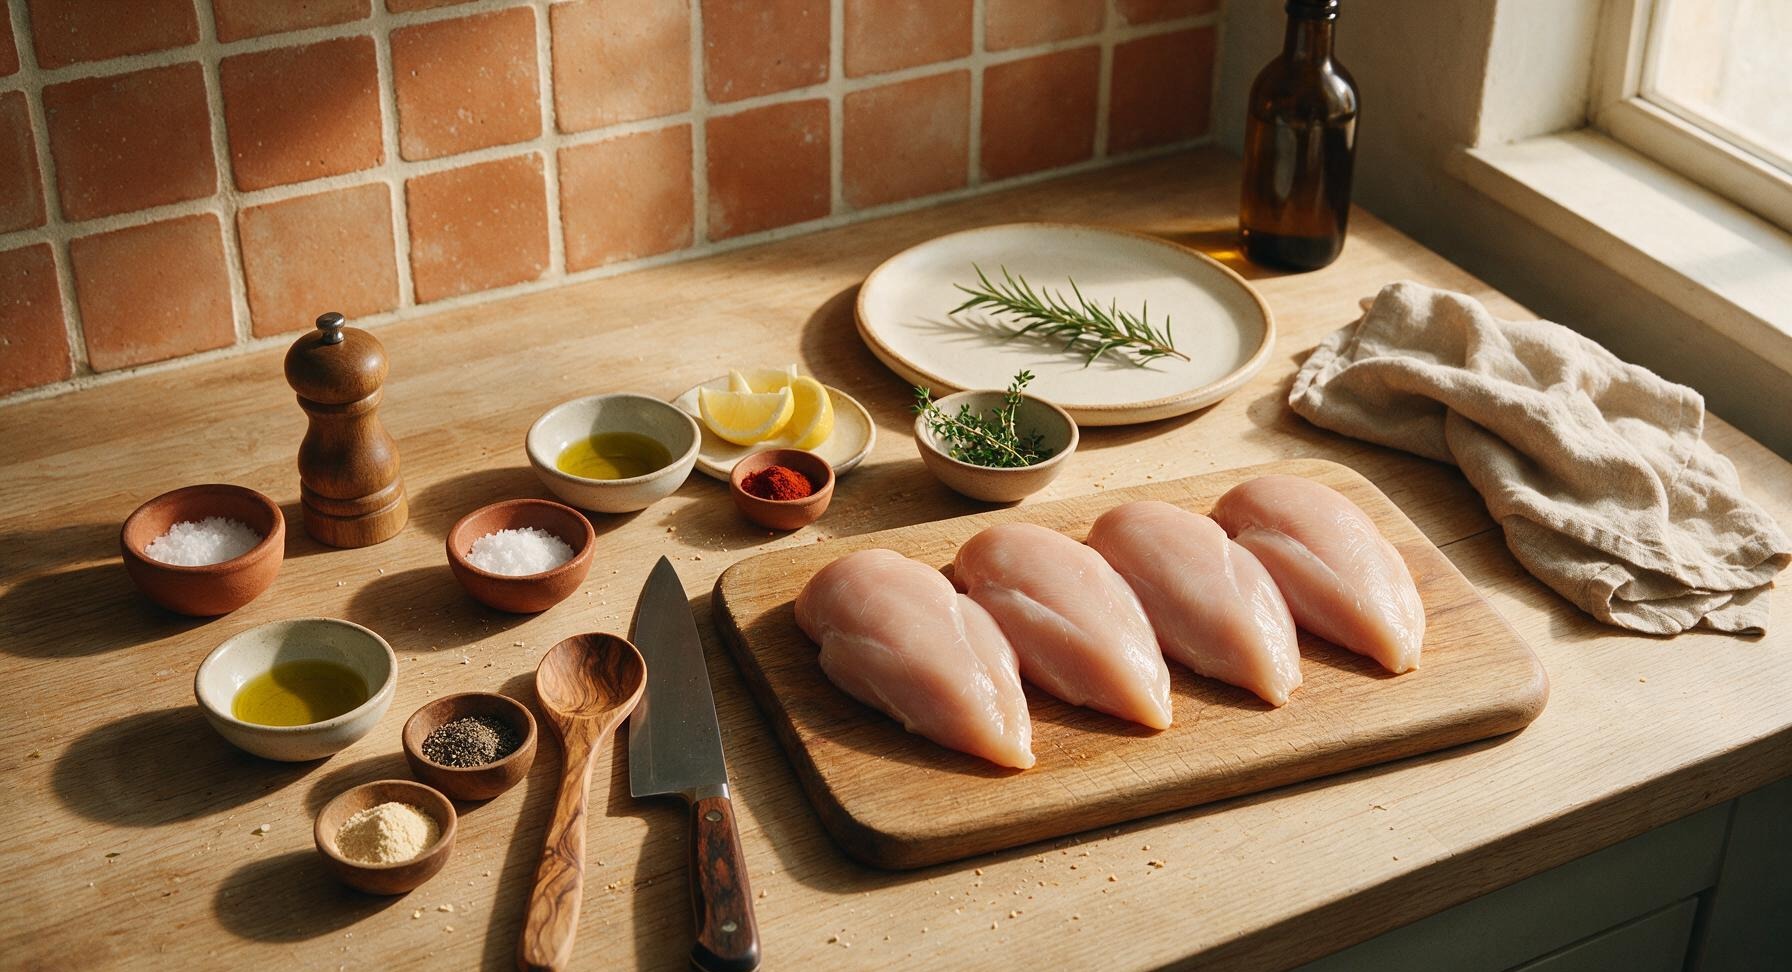
Ingredients
Steps
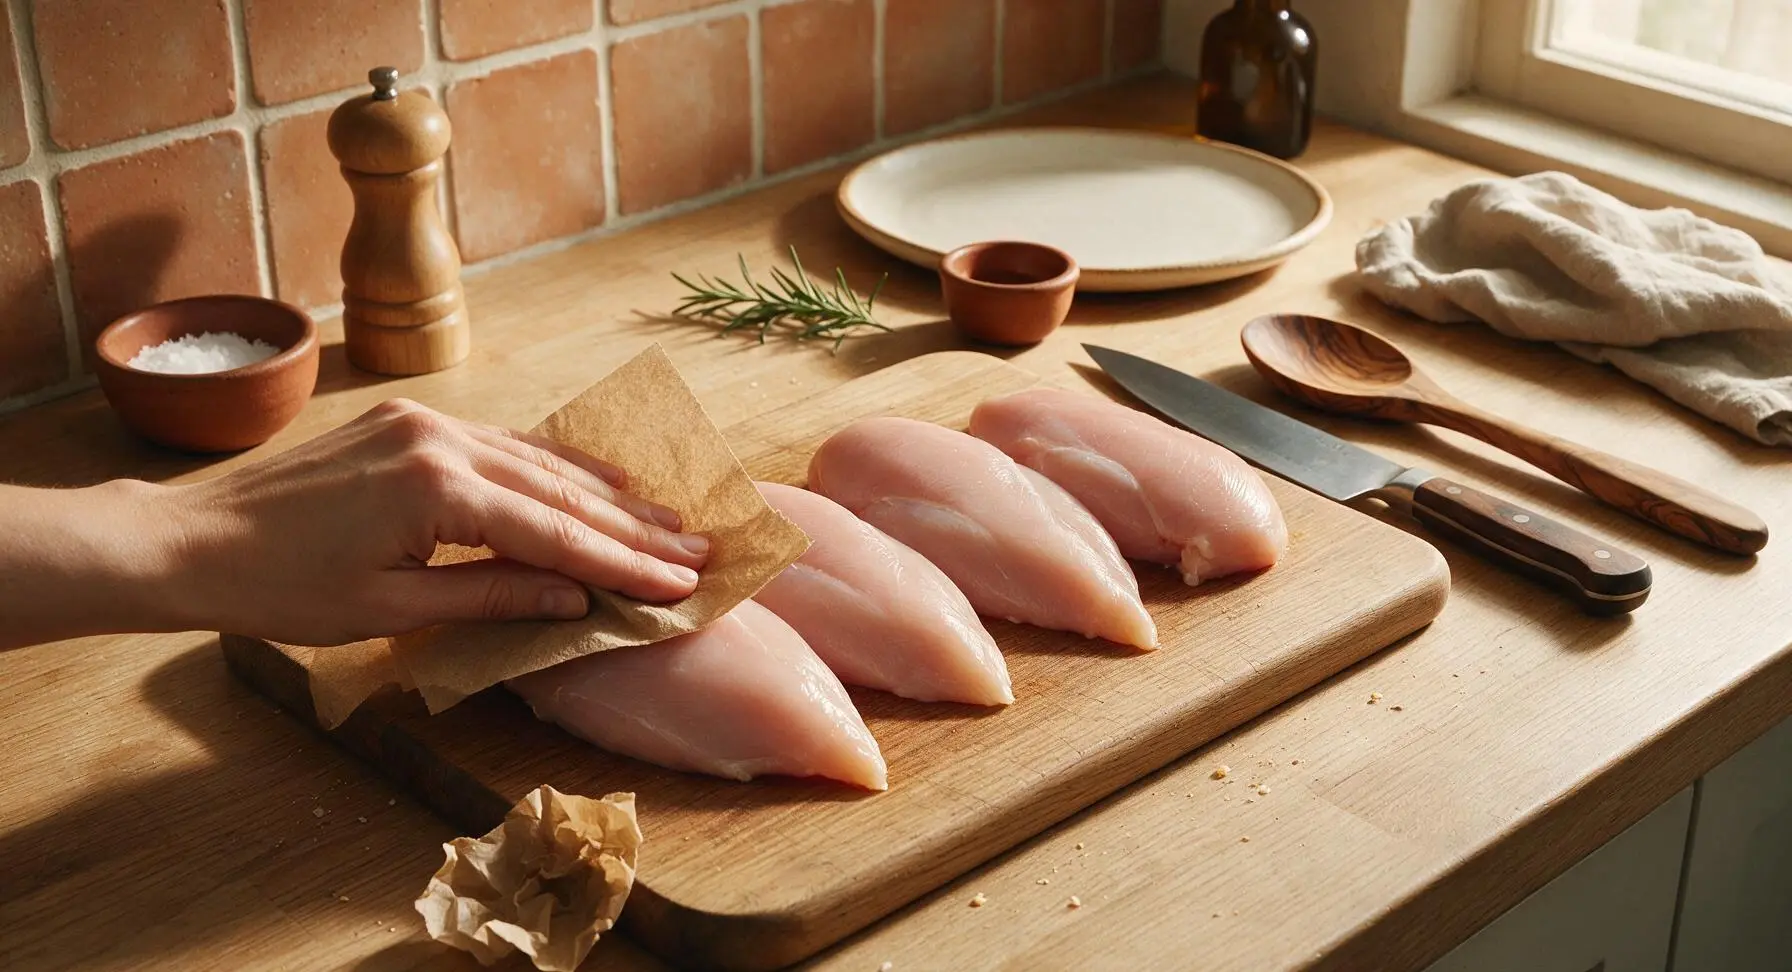
Pat Chicken Dry
Remove the 4 boneless skinless chicken breasts from packaging, place them on the acacia wood cutting board. Use the torn sheet of brown paper towel to firmly pat every surface of the chicken completely dry, including sides and any tucked edges. Discard the used paper towel. Dry chicken ensures a crisp, non-soggy exterior when air fried, as excess surface moisture will steam instead of brown.
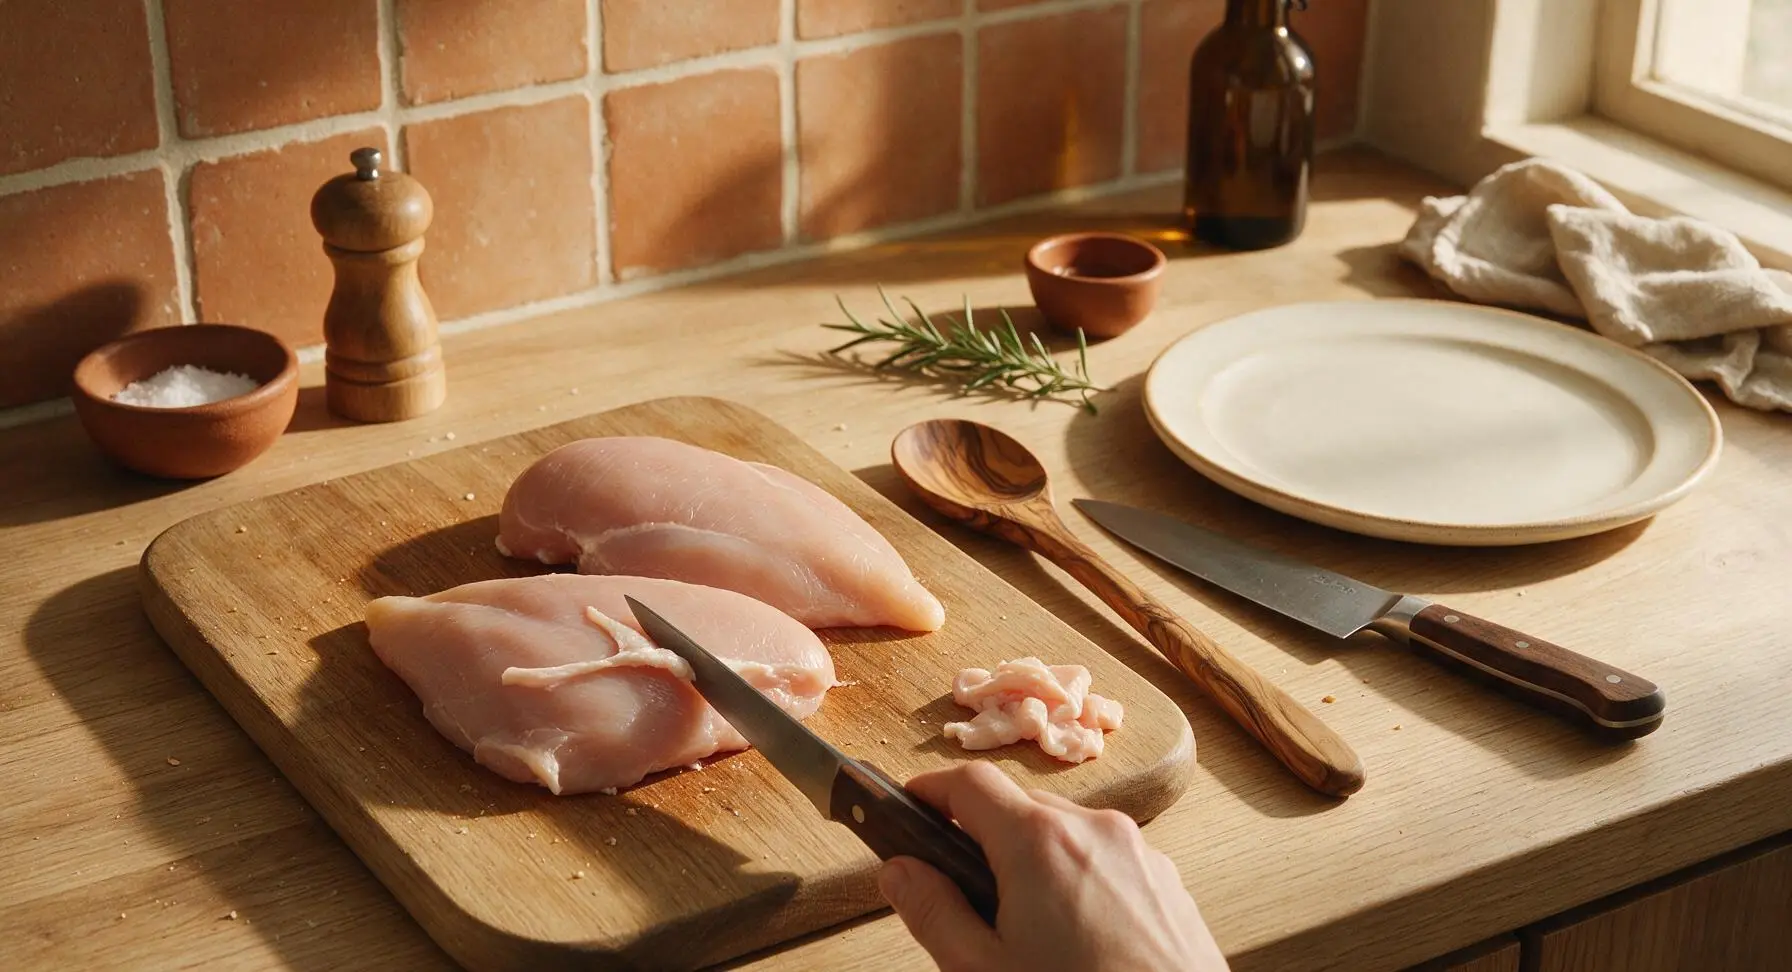
Trim Excess Fat
Use the 6-inch boning knife to trim away any visible loose fat, silver skin, or ragged edges from each chicken breast. Aim for uniformly 1 to 1.5 inch thick pieces; if one end of a breast is significantly thicker, gently butterfly the thick section to create even thickness across the whole breast, which prevents overcooked dry thin edges before the thick center reaches a safe temperature.
Coat With Olive Oil
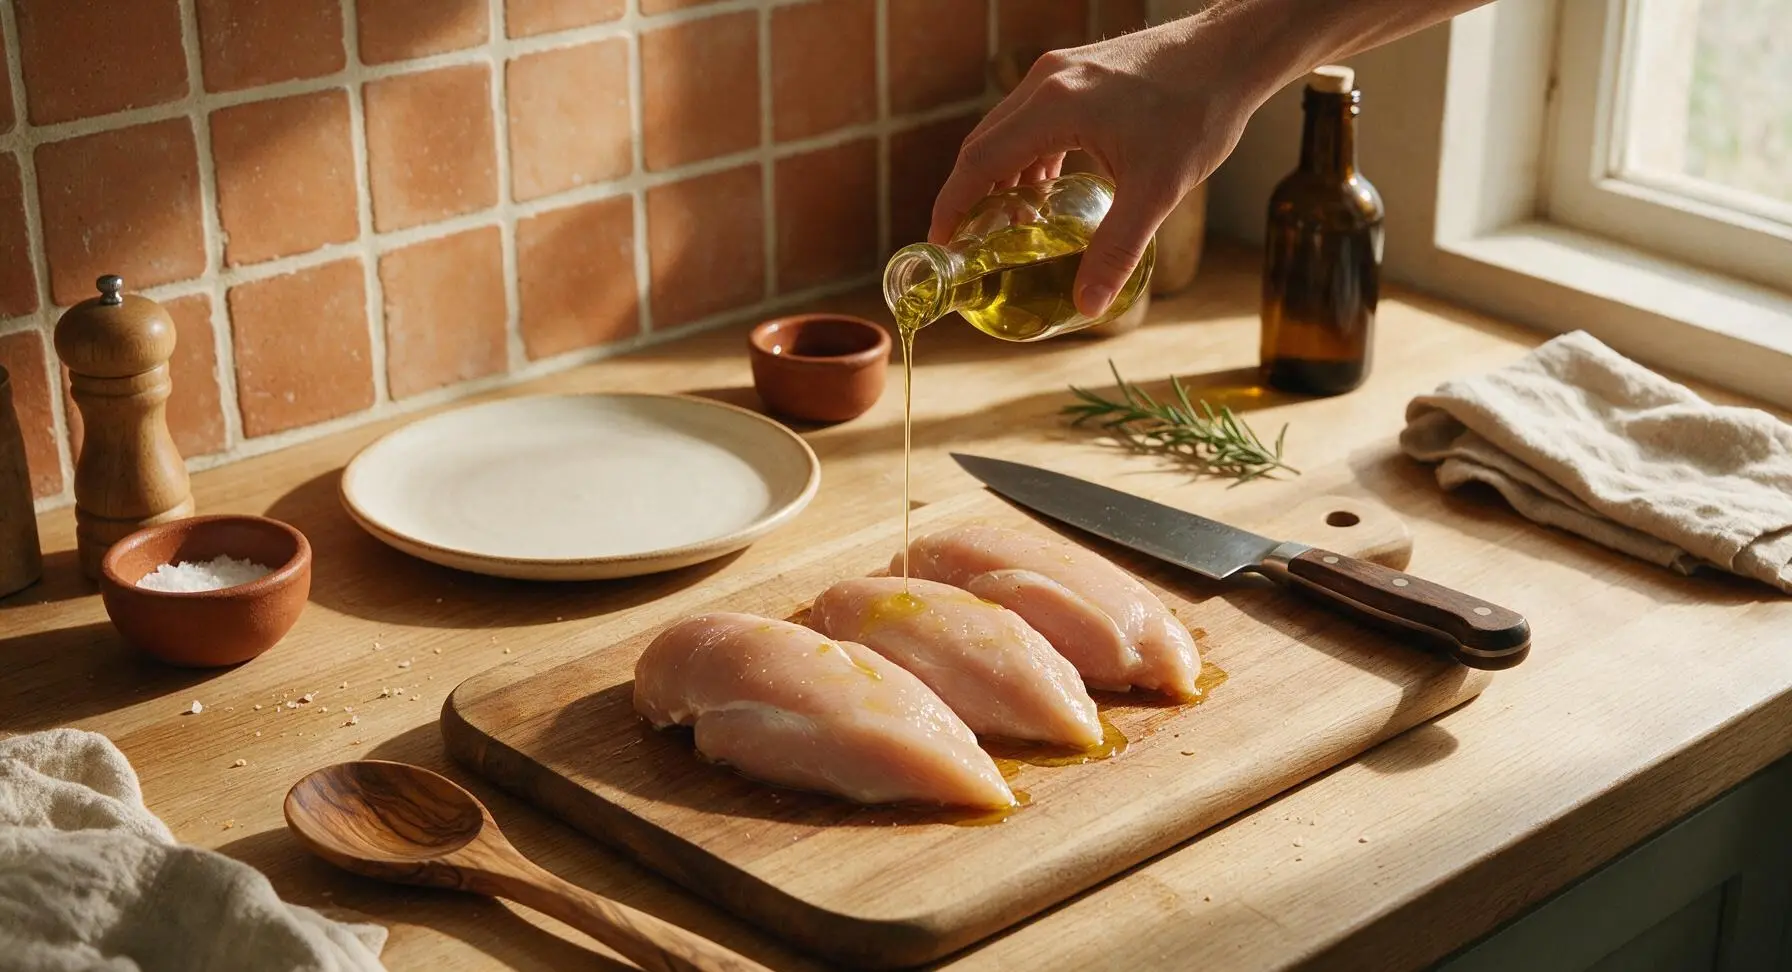
Drizzle the 2 teaspoons of extra-virgin olive oil evenly over all surfaces of the trimmed chicken breasts. Use clean hands to rub the oil across every side, creating a thin, uniform coating that helps spices adhere and promotes even golden browning in the air fryer. Avoid pooling excess oil, as this will cause smoking during cooking.
Apply Even Seasoning
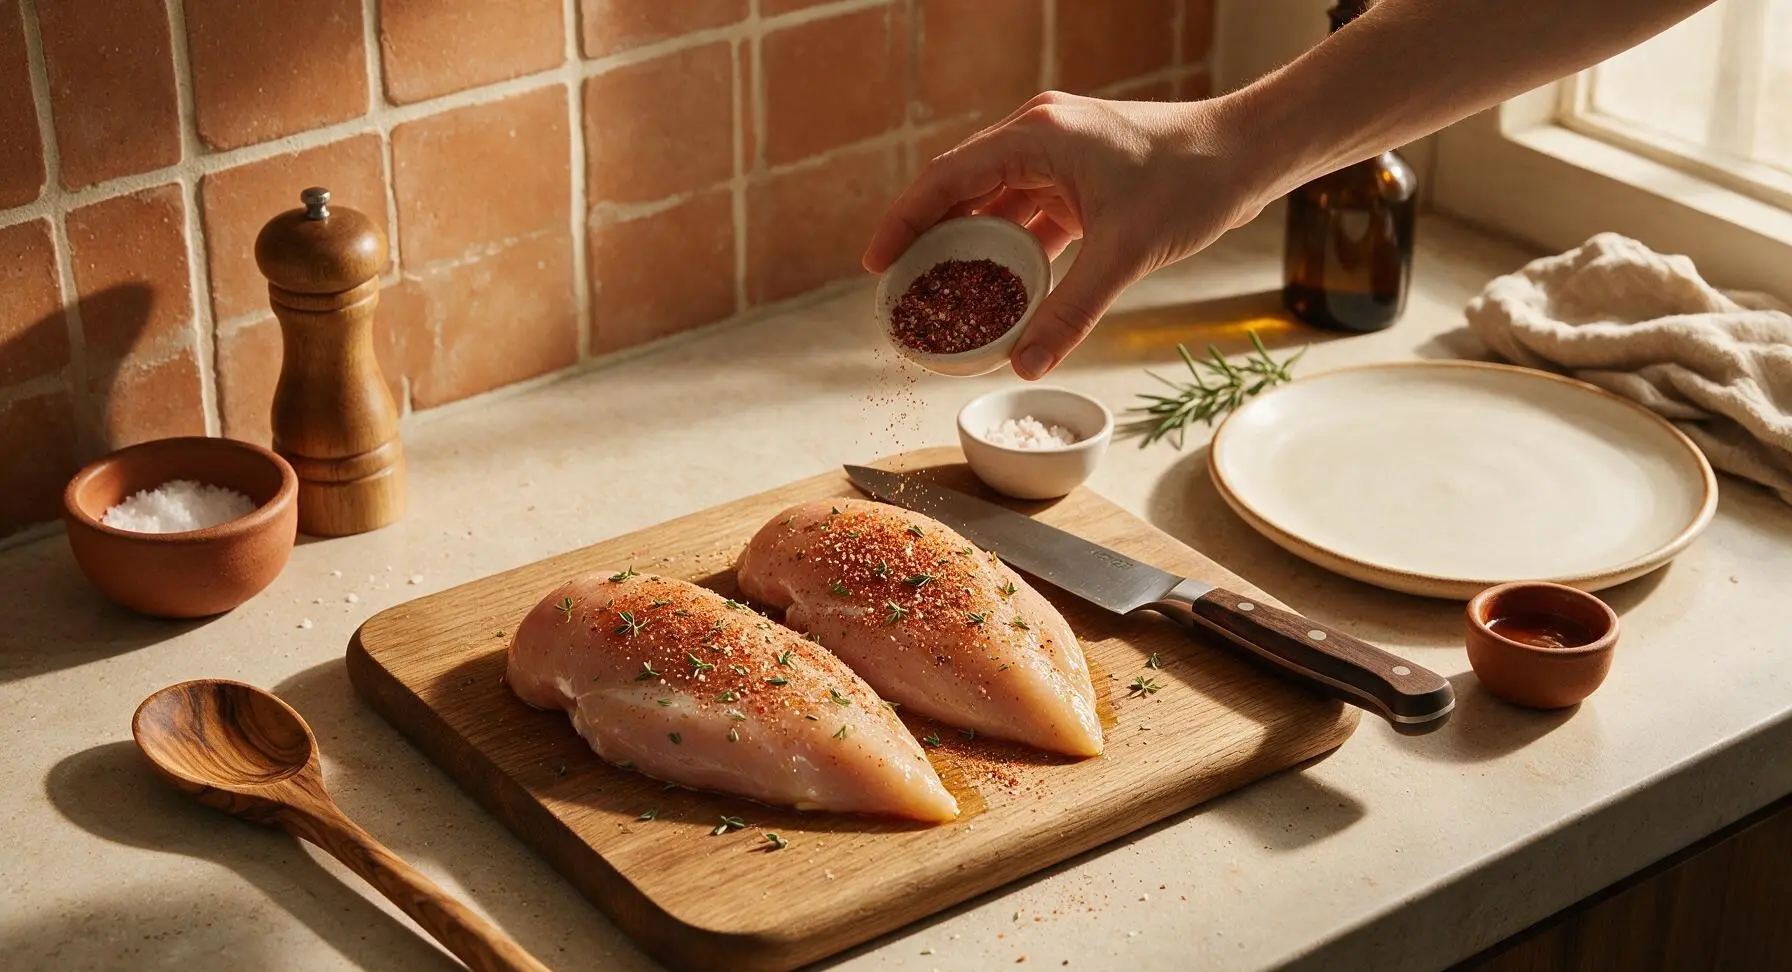
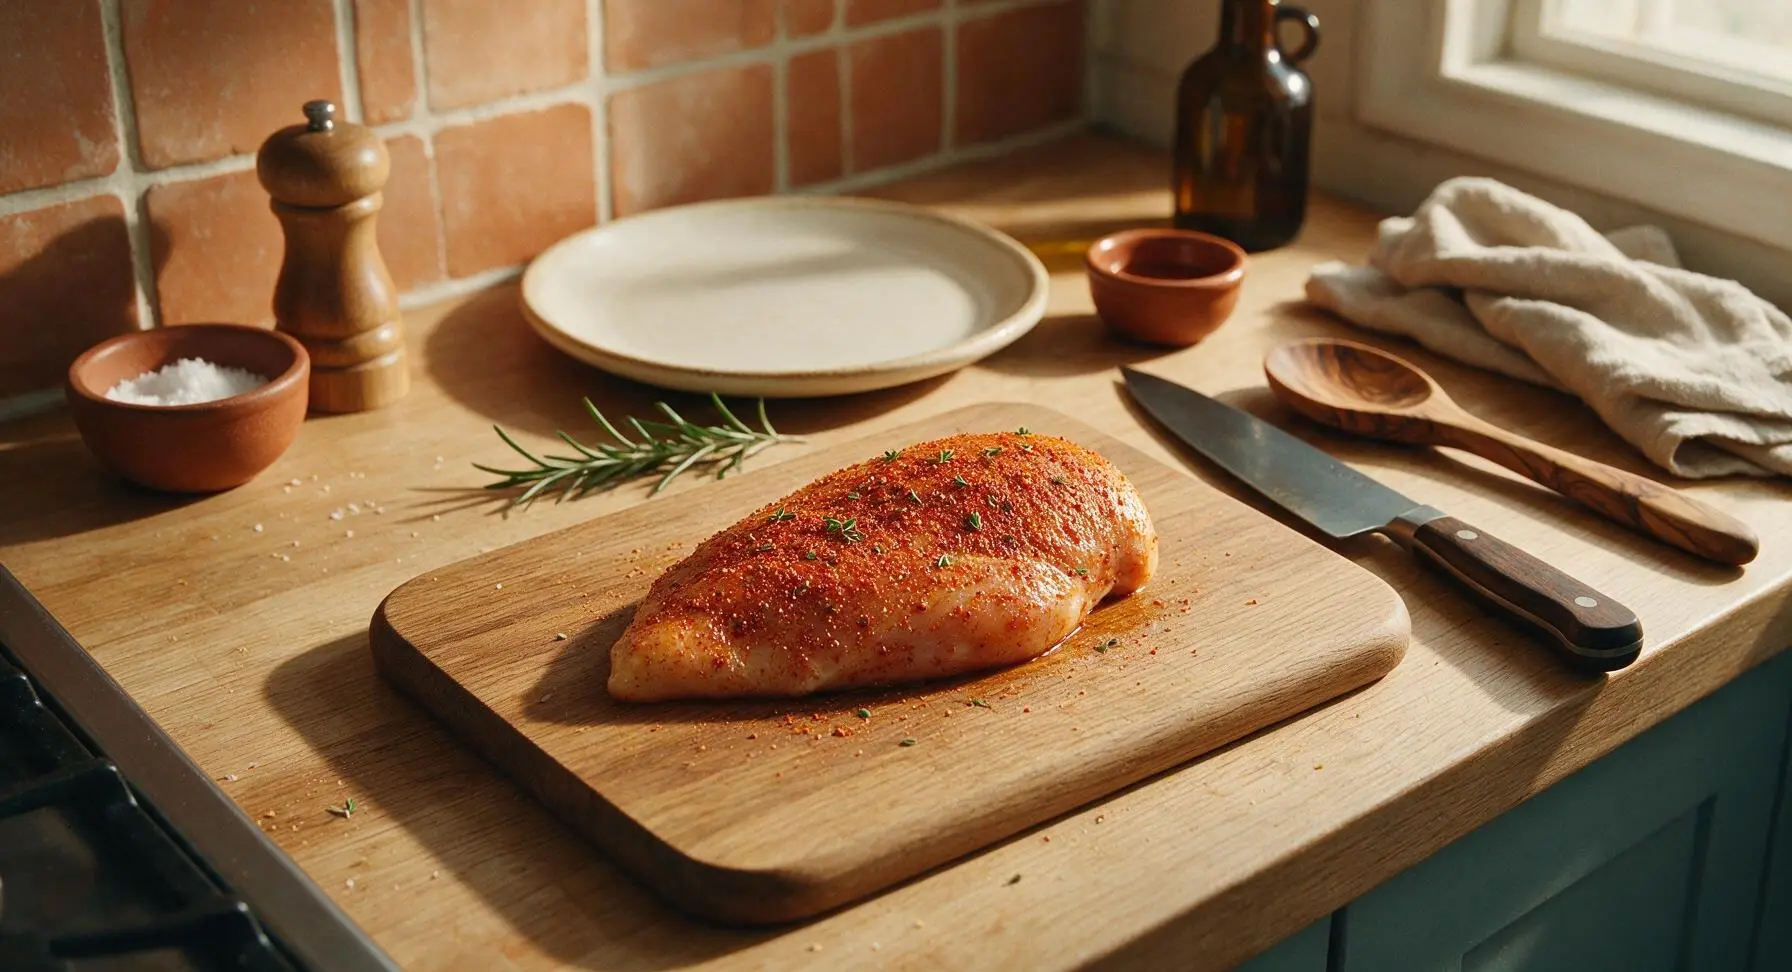
In one of the small white pinch bowls, mix the 1 teaspoon kosher salt, ½ teaspoon black pepper, 1 teaspoon garlic powder, ½ teaspoon smoked paprika, and ½ teaspoon onion powder until fully combined into a uniform reddish-brown mix. Sprinkle the spice mix evenly over all sides of the oiled chicken, pressing gently so the spices stick to the surface. Pick leaves from 1 sprig of fresh thyme and scatter them over the chicken as well.
Preheat Air Fryer
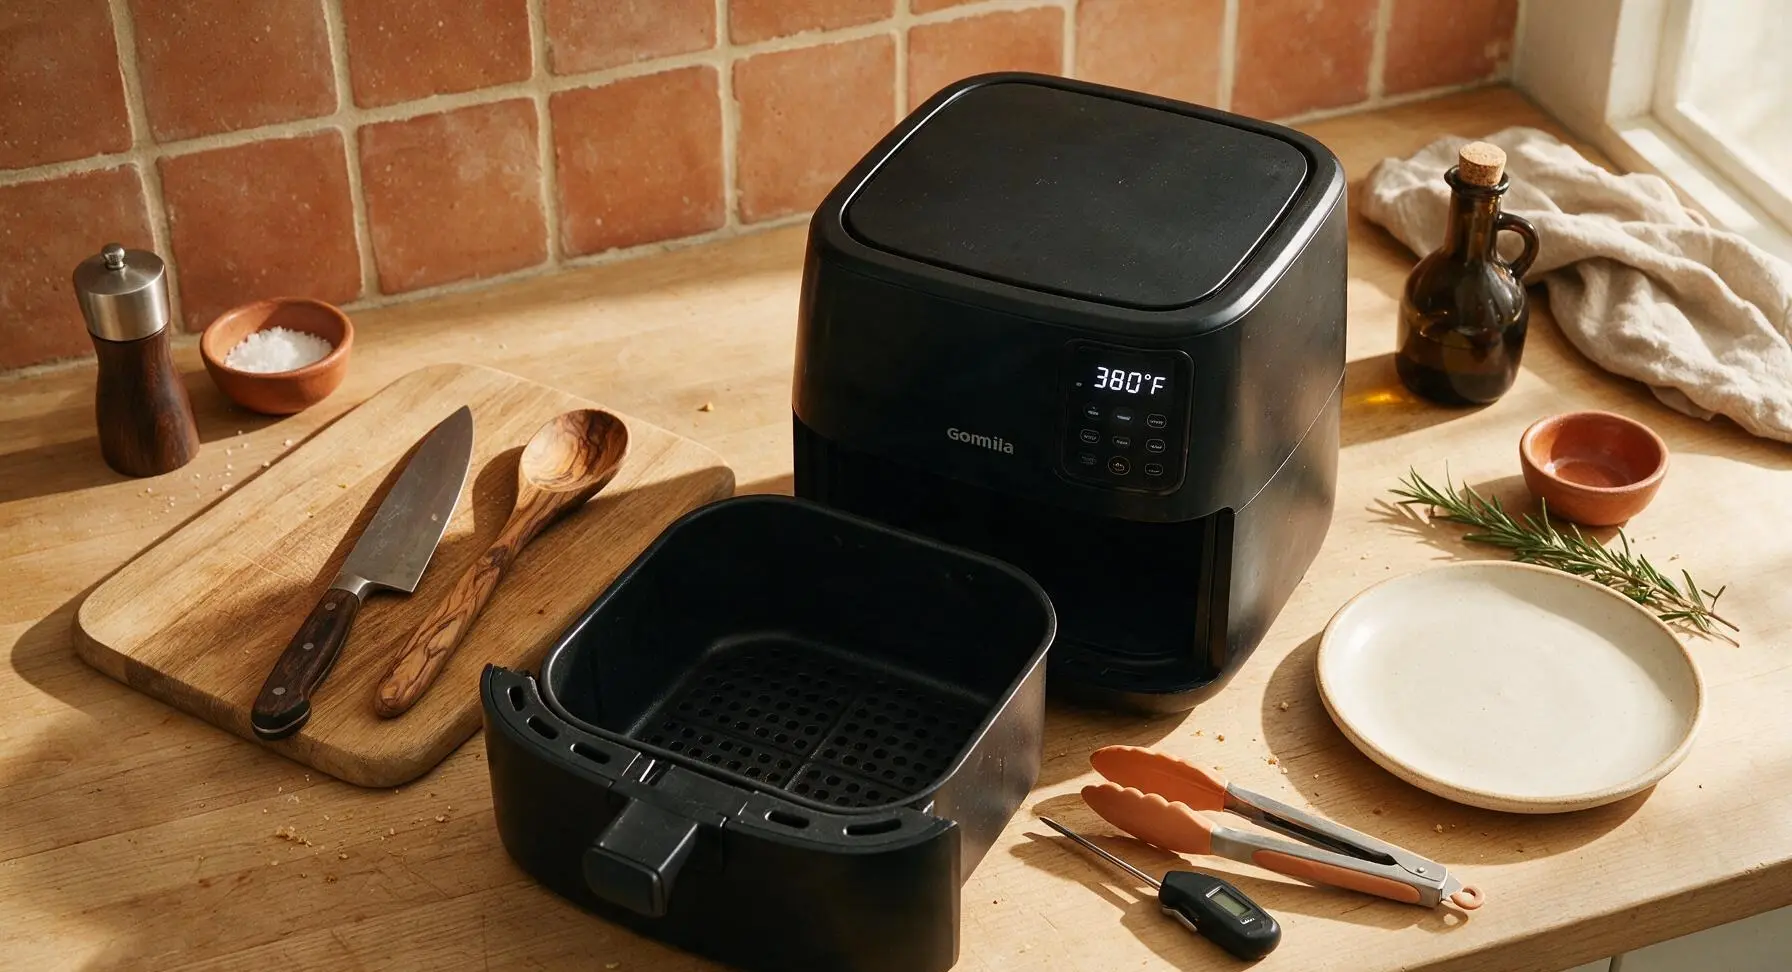
Slide the basket out of the matte black Gourmia air fryer, close the unit, and set it to preheat to 380°F (193°C) for 3 minutes. Do not use aerosol cooking spray, as it can damage the air fryer basket's nonstick coating over time; the thin oil coating on the chicken is enough to prevent sticking.
Arrange Chicken In Basket
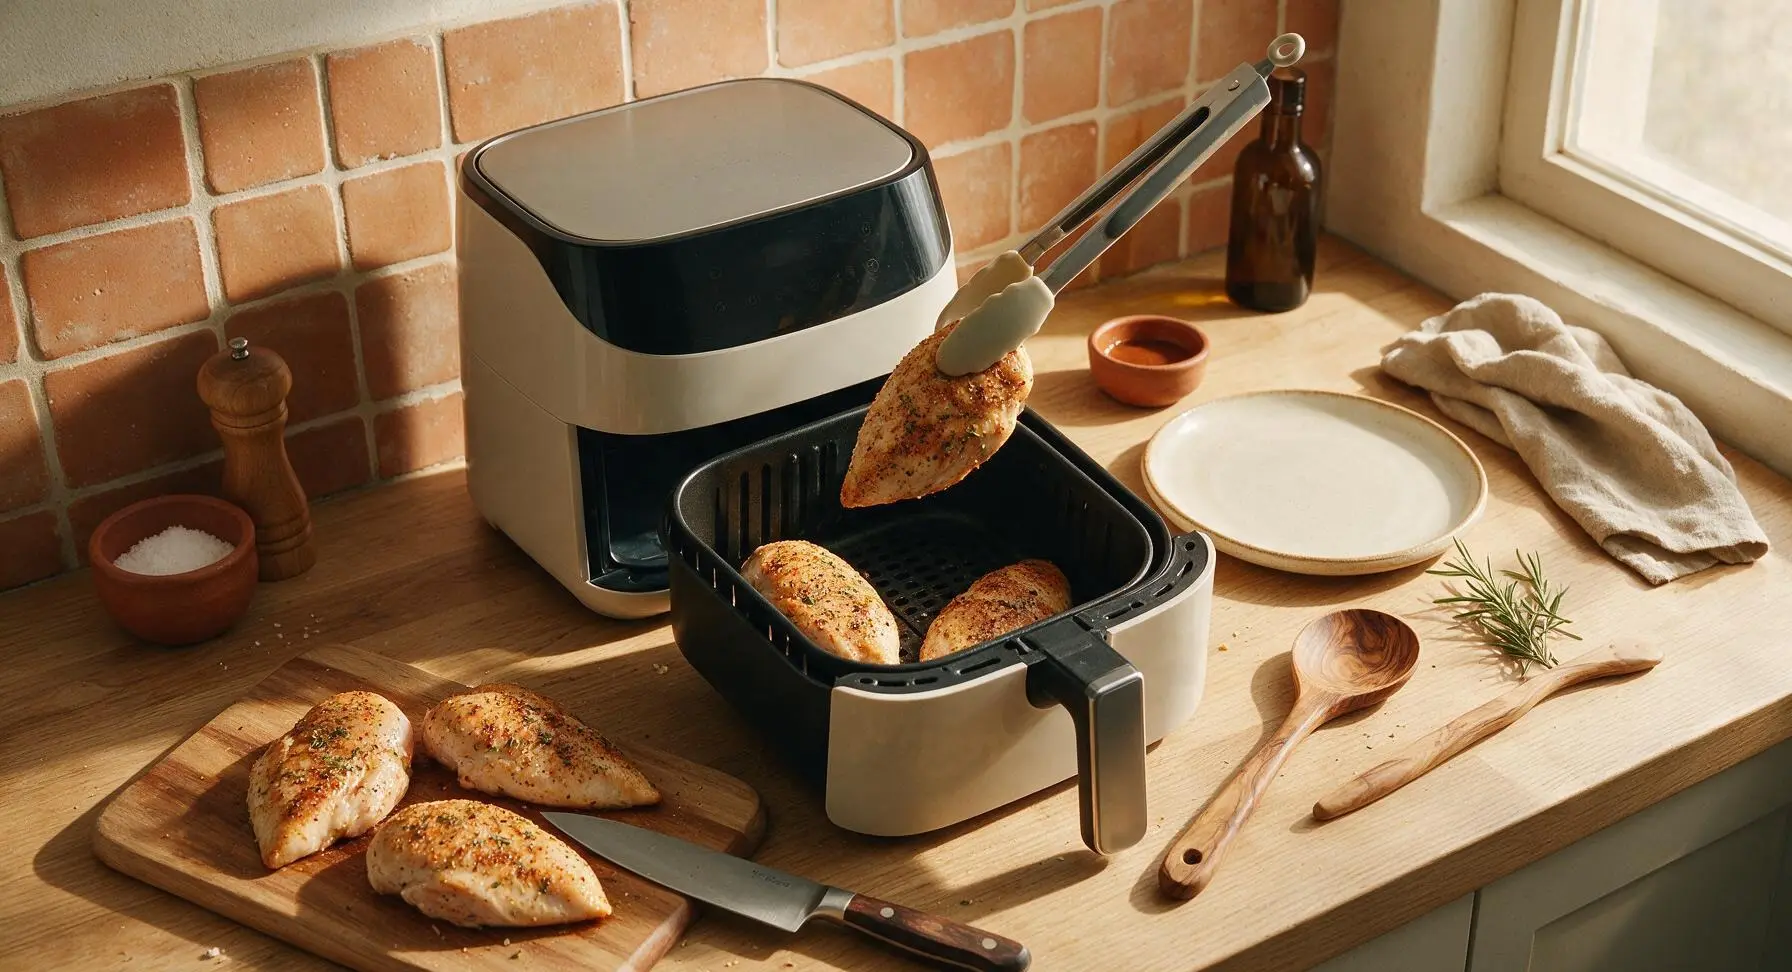
Once preheated, use the silicone-tipped tongs to place the seasoned chicken breasts in the air fryer basket in a single layer, leaving ½ inch of space between each piece to allow hot air circulation. Do not stack or overlap the chicken, as this will cause uneven cooking and steaming. If your chicken breasts are larger than 6oz, cook in two batches if needed to avoid overcrowding.
Cook, Flip Halfway
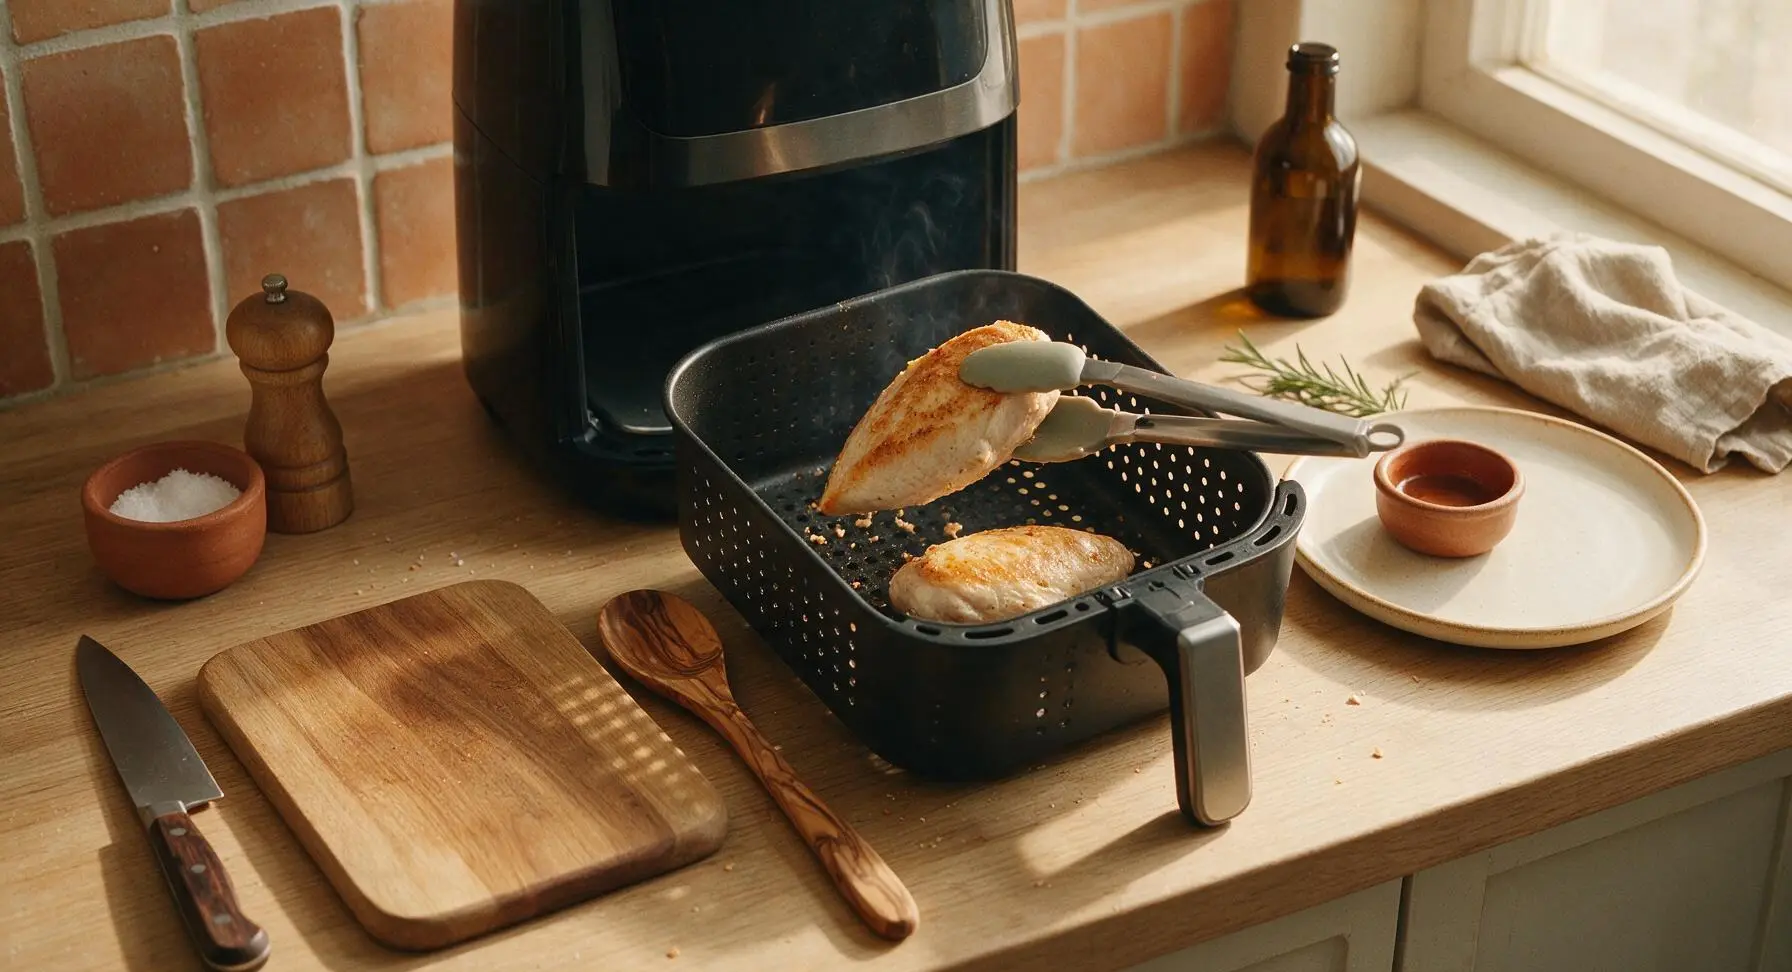
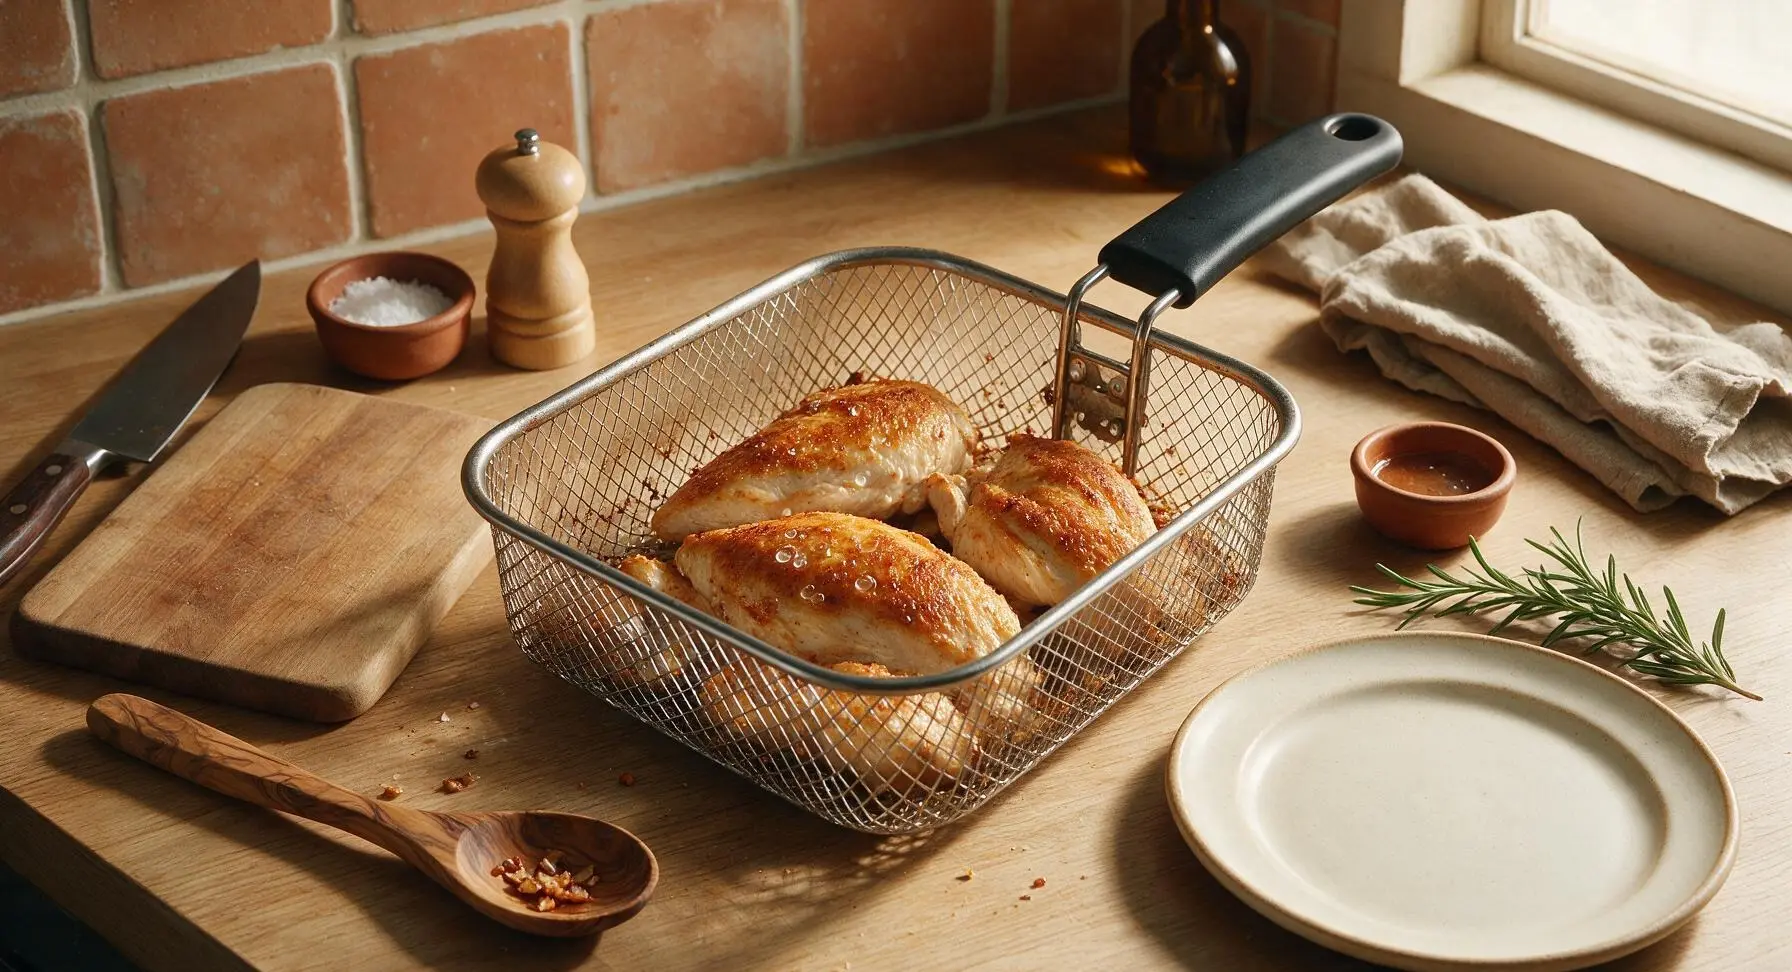
Slide the basket back into the air fryer, set the timer for 18 minutes total. After 9 minutes of cooking, pull the basket out and use the tongs to carefully flip each chicken breast over. The top side of the chicken should be light golden brown with slightly crisp edges at this halfway point. Return the basket to the air fryer to cook for the remaining 9 minutes, until the exterior is deep golden brown.
Check Internal Temperature
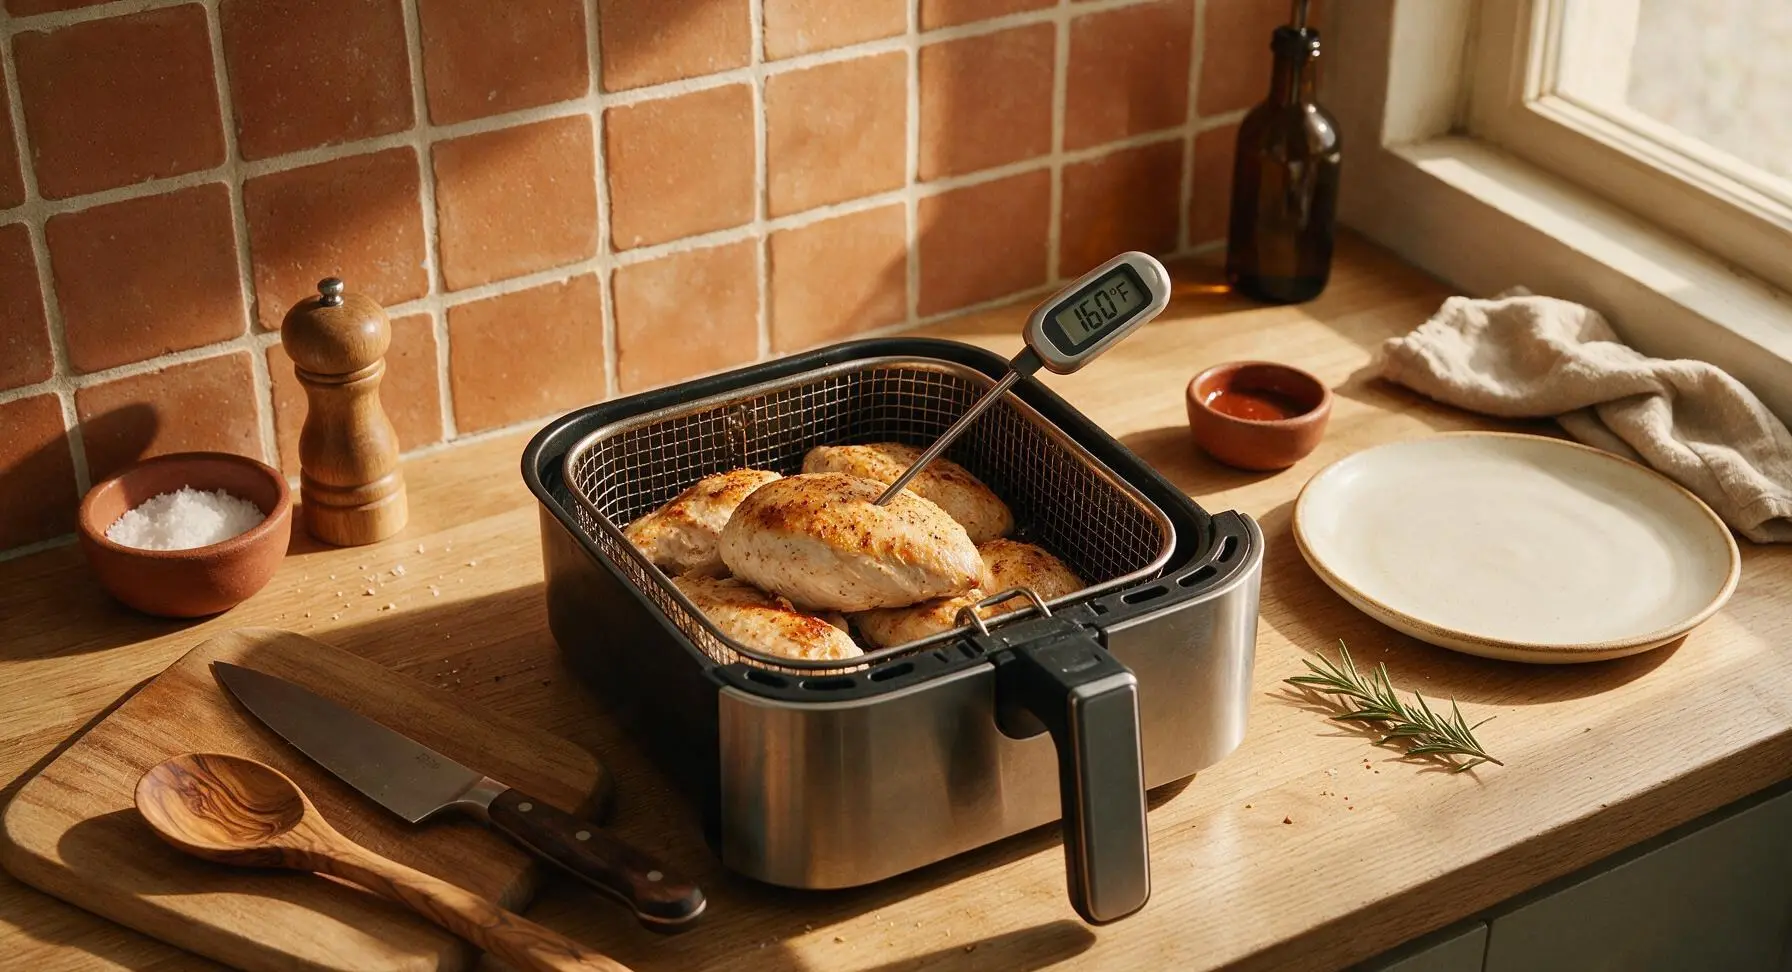
Once the timer goes off, insert the instant-read meat thermometer into the thickest part of the largest chicken breast, making sure not to touch the bottom of the air fryer basket for an accurate read. The internal temperature should read 160°F (71°C); carryover cooking will raise it to the food-safe 165°F (74°C) as it rests. If the temperature is lower, return the chicken to the air fryer for 2-3 additional minutes before checking again.
Rest Cooked Chicken
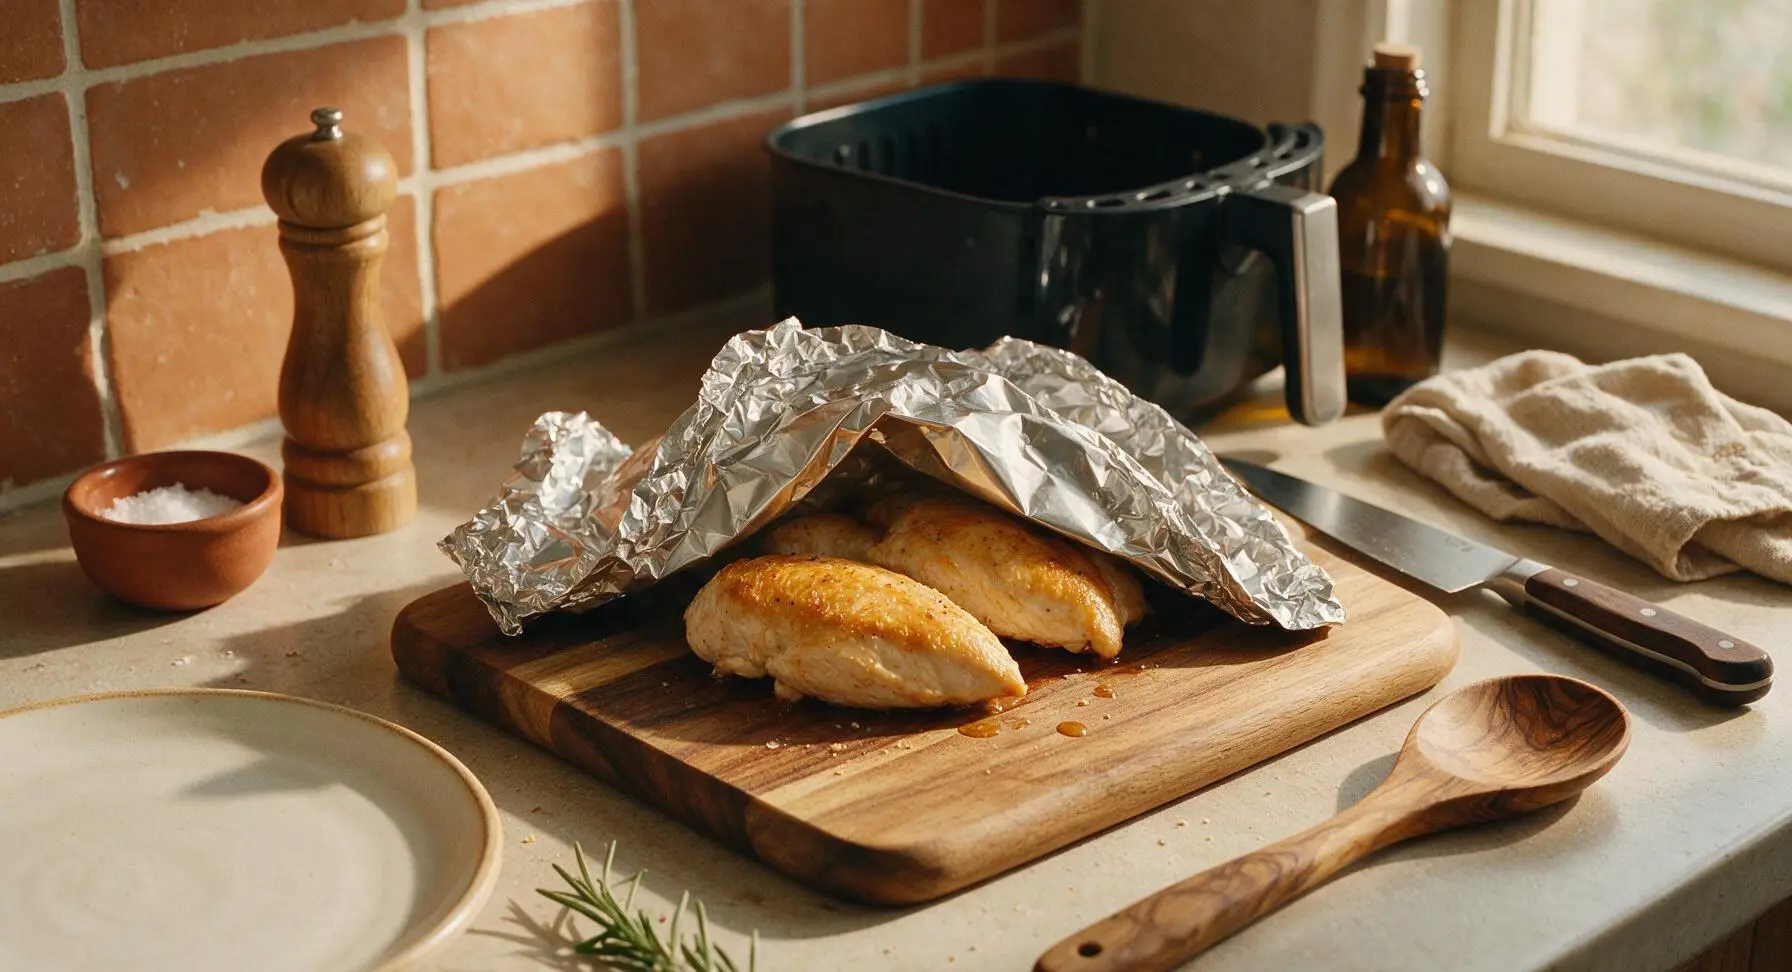
Use the tongs to transfer the cooked chicken breasts from the air fryer basket to the acacia wood cutting board. Loosely tent a small piece of aluminum foil over the top, and let the chicken rest for 5 full minutes. This allows the hot meat juices to redistribute back into the muscle fibers, so they don’t run out onto the plate when slicing, keeping every bite juicy.
Slice and Plate Chicken
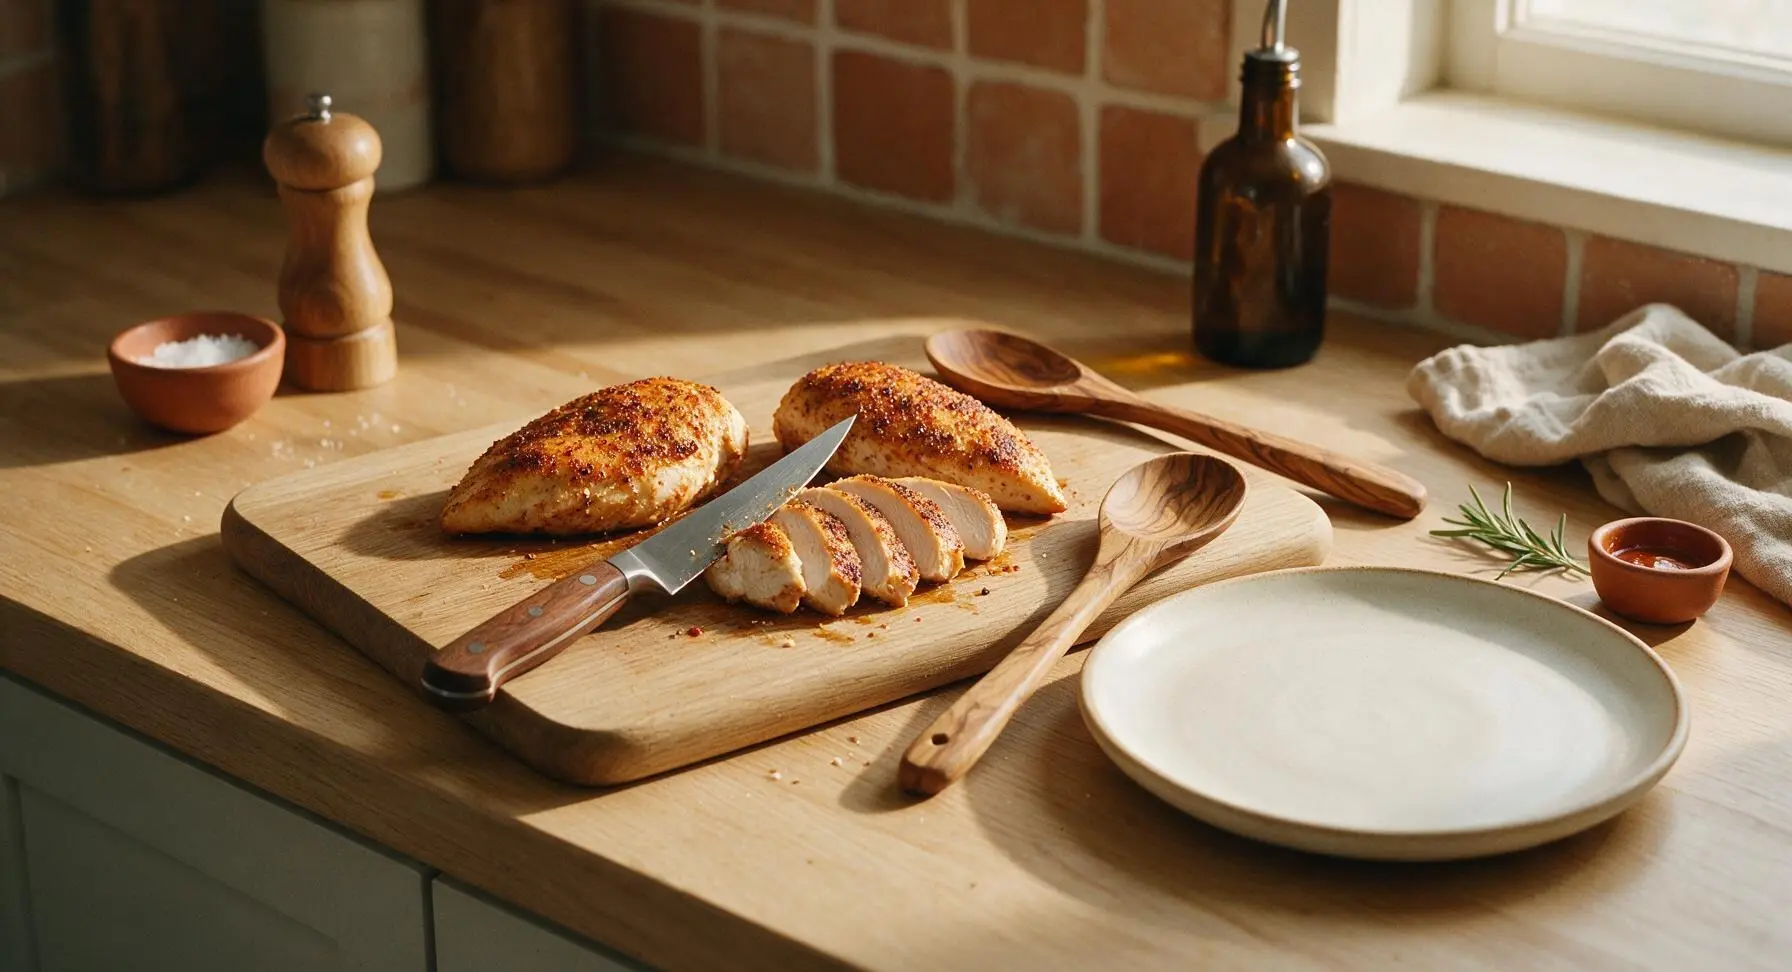
After resting, use the boning knife to slice the chicken breasts against the grain into ½-inch thick slices. Arrange the slices fanned out on the matte warm white stoneware dinner plate, garnish with leaves from the remaining fresh thyme sprigs, a light sprinkle of flaky sea salt from the maple salt cellar, and serve with lemon wedges on the side.
Tips
2.Don’t skip patting the chicken dry: excess surface moisture from packaging creates steam in the air fryer, which prevents the golden, slightly crisp exterior from forming and can leave the chicken surface rubbery instead of crisp.
3.Let the chicken rest for the full 5 minutes: slicing immediately after cooking causes all the hot, flavorful juices to pool on the plate instead of staying in the meat, leading to dry, bland chicken even if you cooked it to the perfect temperature.






OMG this is the juiciest air fryer chicken breast I’ve ever made! I was so tired of dry, rubbery chicken for meal prep and this recipe came out perfect first try. 18 minutes total cook time is *chef’s kiss* for busy weeknights. My kids even asked for seconds!
Total game changer! I’ve had my Gourmia air fryer for 6 months and never could get chicken breast right before this. It was seasoned perfectly, no weird dry spots, and I didn’t even have to flip it halfway? Wild. Will be making this every Sunday for work lunches.
Made this for family dinner last night and wow, SO good! I was a little worried because my kids are super picky about chicken being too “tough” but they devoured it. Only thing is I had to add 2 extra minutes of cook time because my chicken breasts were pretty thick. Still turned out amazing!
Honestly was skeptical that air fryer chicken could compete with grilled, but this held up! Nice little crisp on the outside, super juicy inside. Threw it on a salad for lunch and it was chef’s kiss. Super easy recipe too, no fancy ingredients needed.
This recipe is going into my permanent weekly rotation! 18 minutes is nothing when I’m prepping 5 days of lunches on Sunday. I paired it with roasted broccoli and quinoa and it held up perfectly in the fridge all week. No sad dry chicken for my work lunches anymore!
Wait, did I do something wrong? My chicken came out a little bland? I followed the seasoning measurements exactly, maybe my garlic powder is old? Also the edges got a little crispier than I like but that’s probably because I cranked the temp a tiny bit by accident. Gonna try again next week though!
Brought this to my neighborhood potluck last weekend and people were asking me for the recipe left and right! I cut the cooked chicken into slices and arranged it on a platter with dipping sauces, it was gone in 10 minutes. Who knew such an easy recipe would be such a crowd pleaser?
First time cooking chicken breast by myself ever and I didn’t mess it up!!! This recipe was so straightforward, I didn’t have to guess at timings or temps because the instructions were super clear. My roommate said it tasted like restaurant chicken, I’m so proud lol
This is perfect for my high protein diet! Each breast is like 35g of protein, no weird added oils or breading, and it actually tastes good instead of like the sad boiled chicken I used to eat for gains. 10/10, will make again and again.
As a single dad with two kids under 10, I need weeknight dinners that take basically zero effort and don’t taste like cardboard. This delivered! I tossed some frozen fries in the air fryer while the chicken cooked, and had a full dinner on the table in 20 minutes total. Unreal.
I paired this chicken with the air fryer Brussels sprouts recipe I found on here last week and *chefs kiss* the best weeknight meal I’ve made in months. The chicken was so juicy I didn’t even need a sauce, which is wild because I douse everything in ranch. Wait, do y’all think this would work with bone-in chicken breast too?
I didn’t have all the seasonings the recipe called for so I just used a packet of ranch seasoning mix on the chicken and it was SO good. The cook time was spot on even with the seasoning swap, no dry spots at all. This recipe is so forgiving for people who don’t keep a ton of spices on hand!
I’m 72 and just got my first air fryer last month, was really intimidated to use it for something other than frozen tater tots. This recipe was so easy to follow, I didn’t have to mess with a million settings on my Gourmia, and the chicken came out perfect. My granddaughter said it’s better than my oven-baked chicken! High praise.
Made this for my date last night since I didn’t want to spend hours cooking and mess up a fancy recipe, and she was so impressed! I served it with roasted asparagus and mashed cauliflower, she said I was a “natural cook” little does she know it only took 18 minutes lmao. 10/10, saved me from a date night disaster.
So happy this recipe is naturally gluten free! I have celiac so it’s hard to find easy chicken recipes that don’t call for breading or weird sauces with hidden gluten. This is perfect, I can eat it plain, put it on salads, toss it in gluten free pasta, so many options.
Wait, quick question—do I need to preheat my Gourmia air fryer before putting the chicken in? I forgot to preheat when I made this yesterday and it still came out good, but just curious if it would be even better if I preheated next time. Also, should I spray the basket with oil first?
I made a batch of this before my day hike last weekend, sliced it up, and put it in wraps with hummus and veggies for trail lunches. It was perfect, didn’t get soggy, kept me full for hours of hiking, and was way cheaper than buying pre-made trail wraps from the outfitter. Will be a staple for all my future trips.
This chicken is the perfect base for literally any sauce! I tossed half the batch in buffalo sauce for buffalo chicken wraps, and the other half in teriyaki for rice bowls, and both came out incredible. The cook time was exactly 18 minutes like the recipe said, no guesswork. Total game changer for quick weeknight meals.