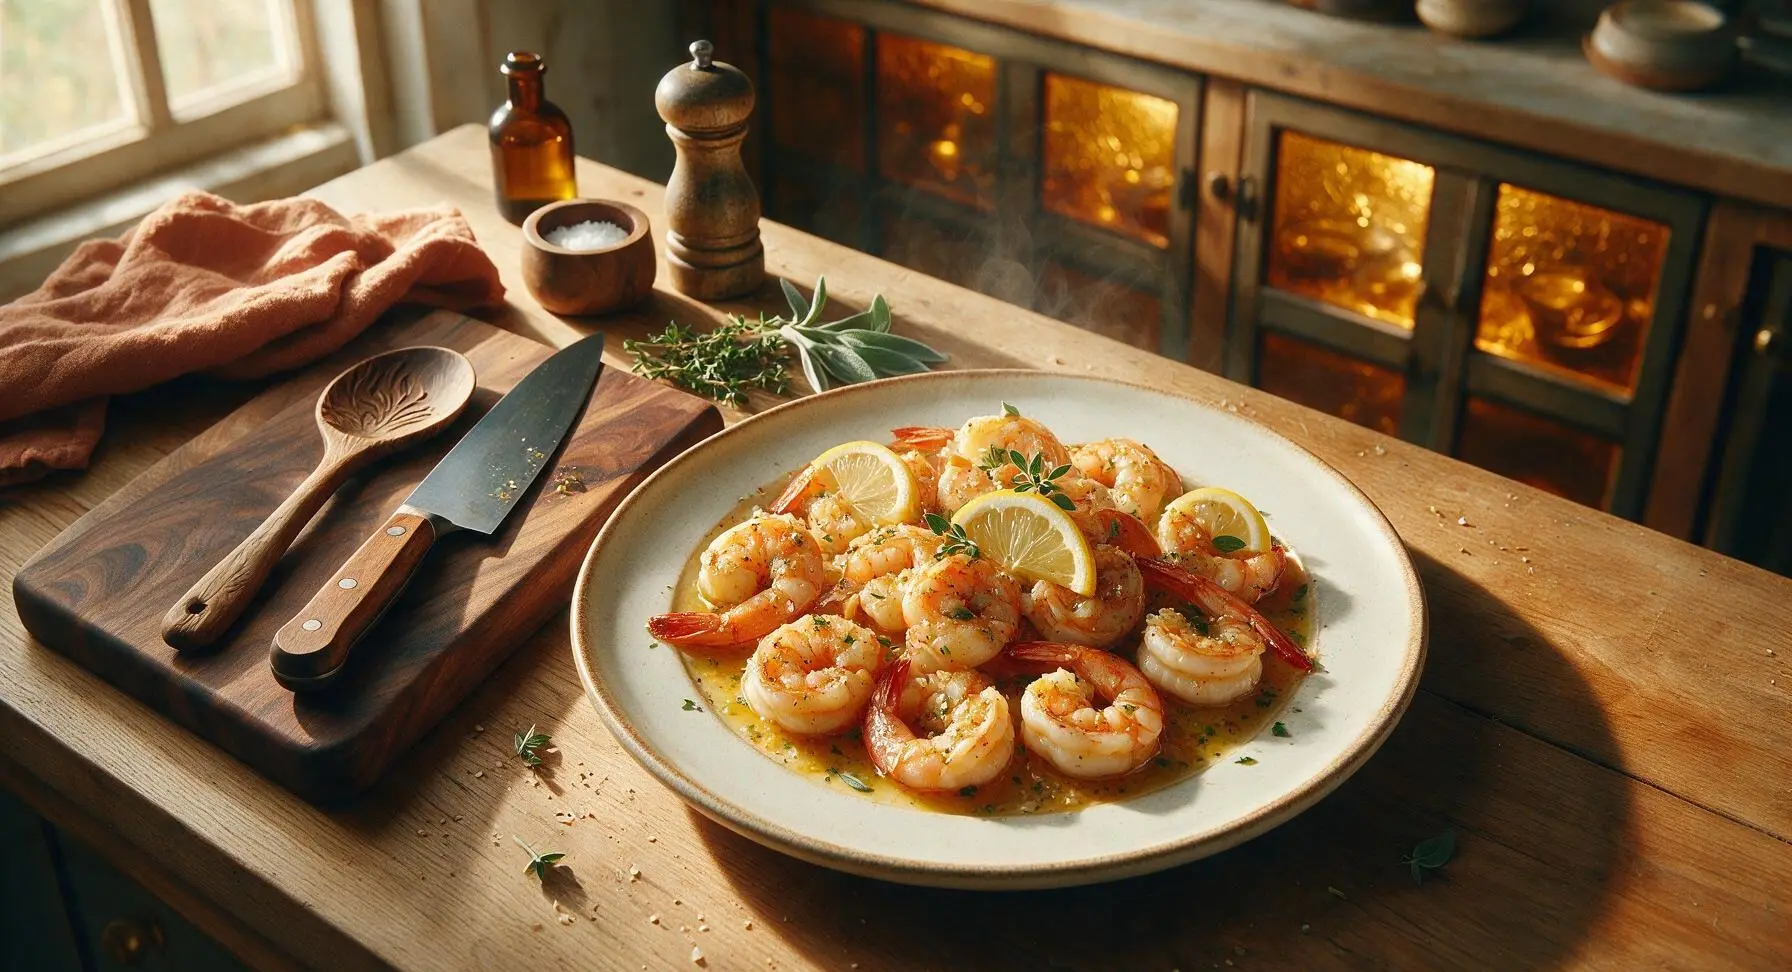
great shrimp

title 1
great shrimp
⏱️ cook time 8 minutes
🍽️ servings 4
⚡ Difficulty easy

intro

Plump, juicy shrimp coated in golden garlic butter, bright lemon, and fresh herbs—ready in 18 minutes, no rubbery texture, perfect for fast, flavorful weeknight meals.

Ingredients
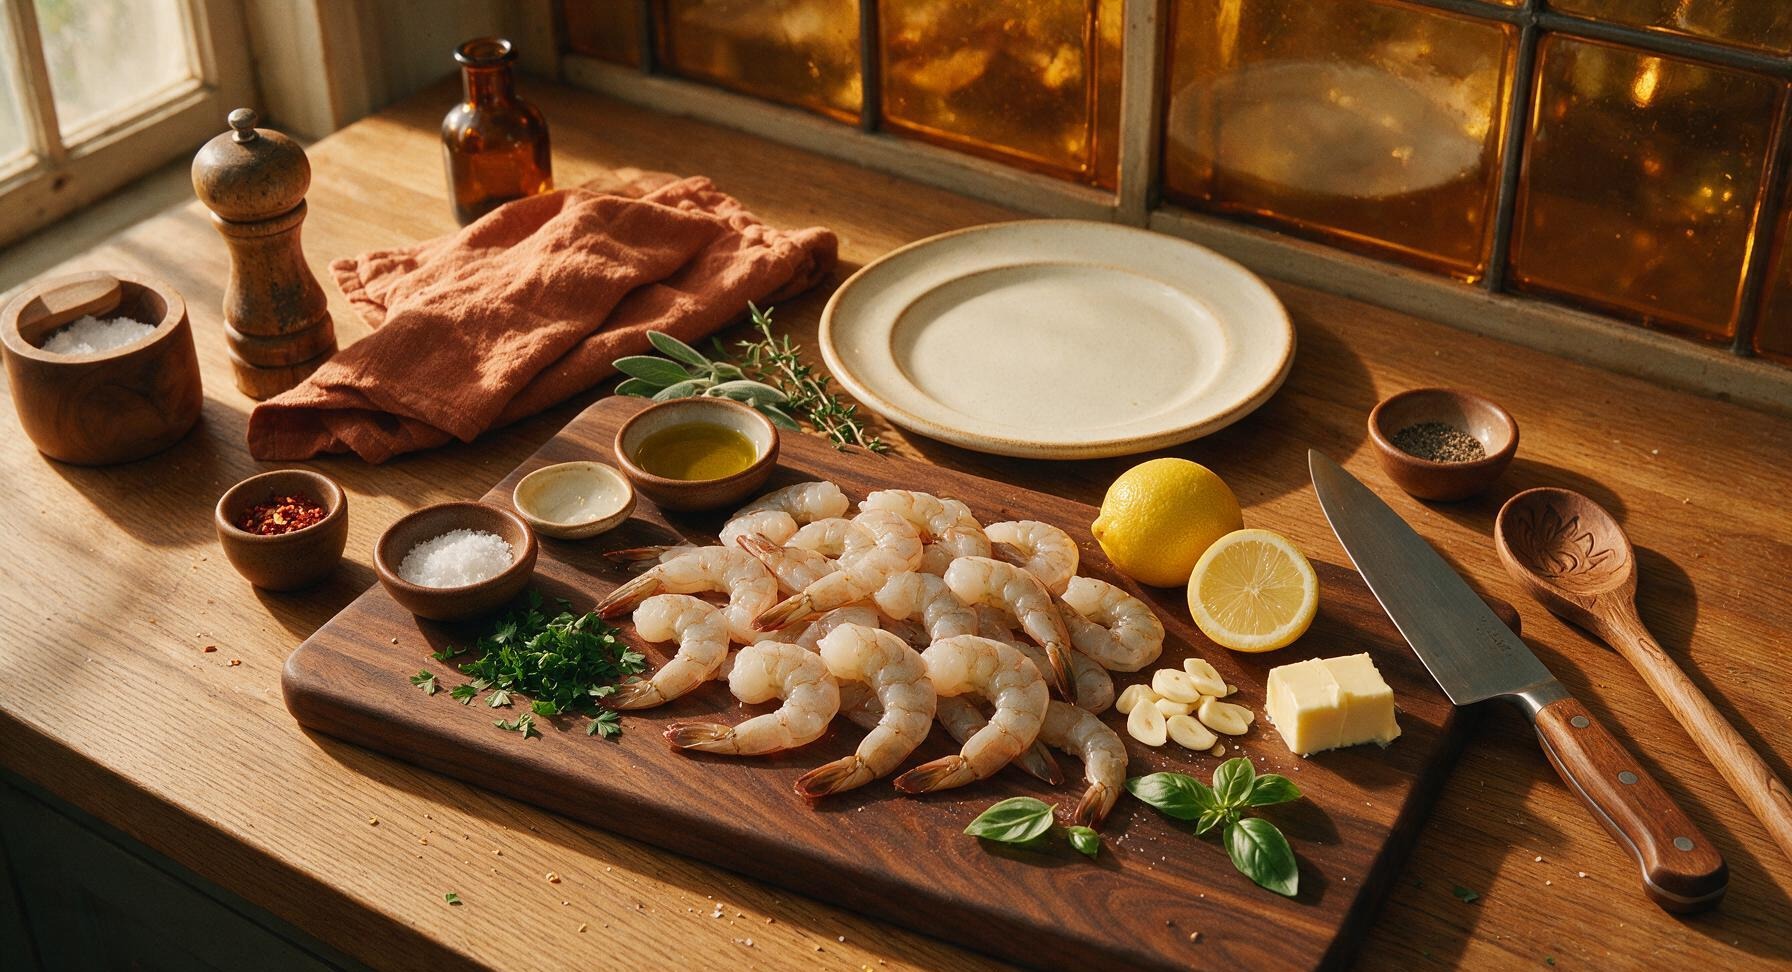
Large raw shrimp (16/20 count, peeled, deveined, tails intact) 450g (1 lb)
Unsalted butter 6 tbsp (85g)
Garlic cloves, thinly sliced 8 cloves (30g)
Fresh lemons (1 for zest/juice, 1 cut into wedges) 2 whole
Fresh flat-leaf parsley, chopped 2 tbsp (8g)
Red pepper flakes 1/4 tsp
Kosher salt 1 tsp
Freshly ground black pepper 1/2 tsp
Extra virgin olive oil 1 tbsp
Fresh basil leaves (for garnish) 5 leaves

Steps

1

Pat Shrimp Completely Dry

Place the peeled, deveined shrimp on the light grey cutting board. Tear 2 sheets of paper towel from the counter-mounted holder and firmly pat every surface of the shrimp completely dry, removing all visible excess surface moisture. Season all sides evenly with 1 tsp kosher salt and 1/2 tsp freshly ground black pepper. Fully dried shrimp will sear to a light golden crust instead of steaming in the pan.
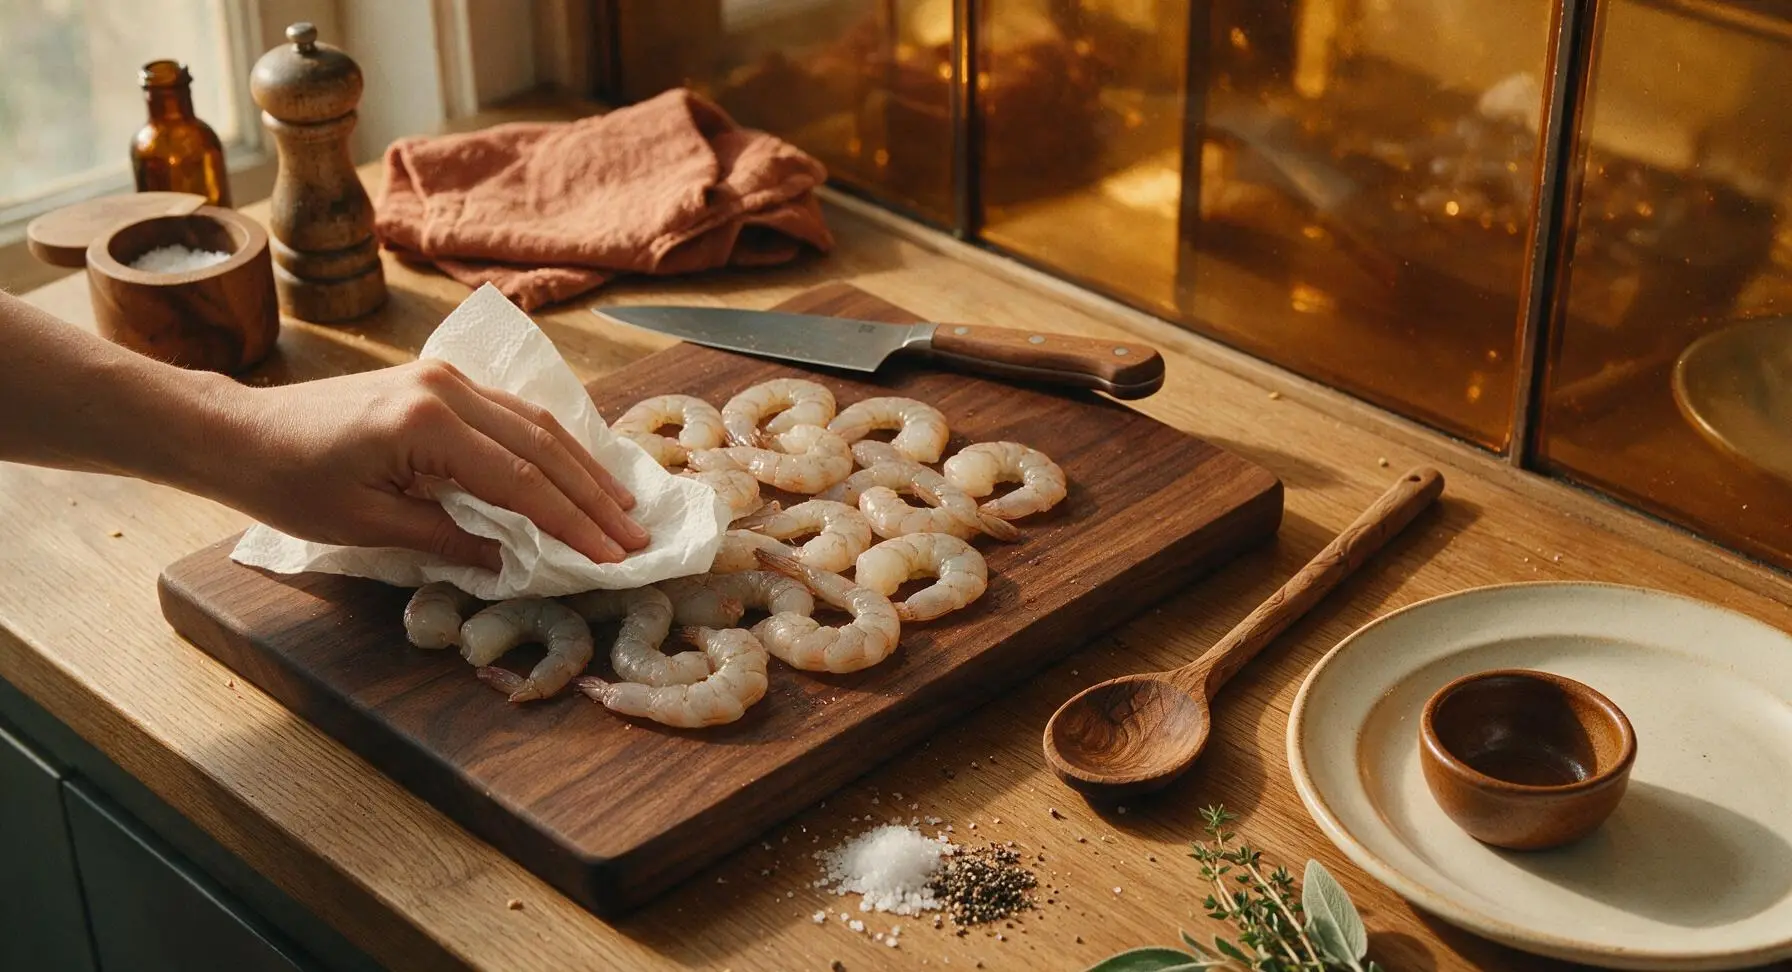
Step 1
step1:Pat Shrimp Completely Dry
2

Heat Pan and Melt Butter

Retrieve the 30cm stainless steel skillet from below the counter and place it centered on the stovetop cutout over medium heat (350°F / 175°C). Add 1 tbsp extra virgin olive oil and 6 tbsp unsalted butter to the pan. Allow the butter to melt fully, swirling the pan occasionally, until it forms small, fine bubbles and smells rich and nutty, about 2 minutes. Do not let the butter turn dark brown at this stage, as it will burn before the shrimp finish cooking.
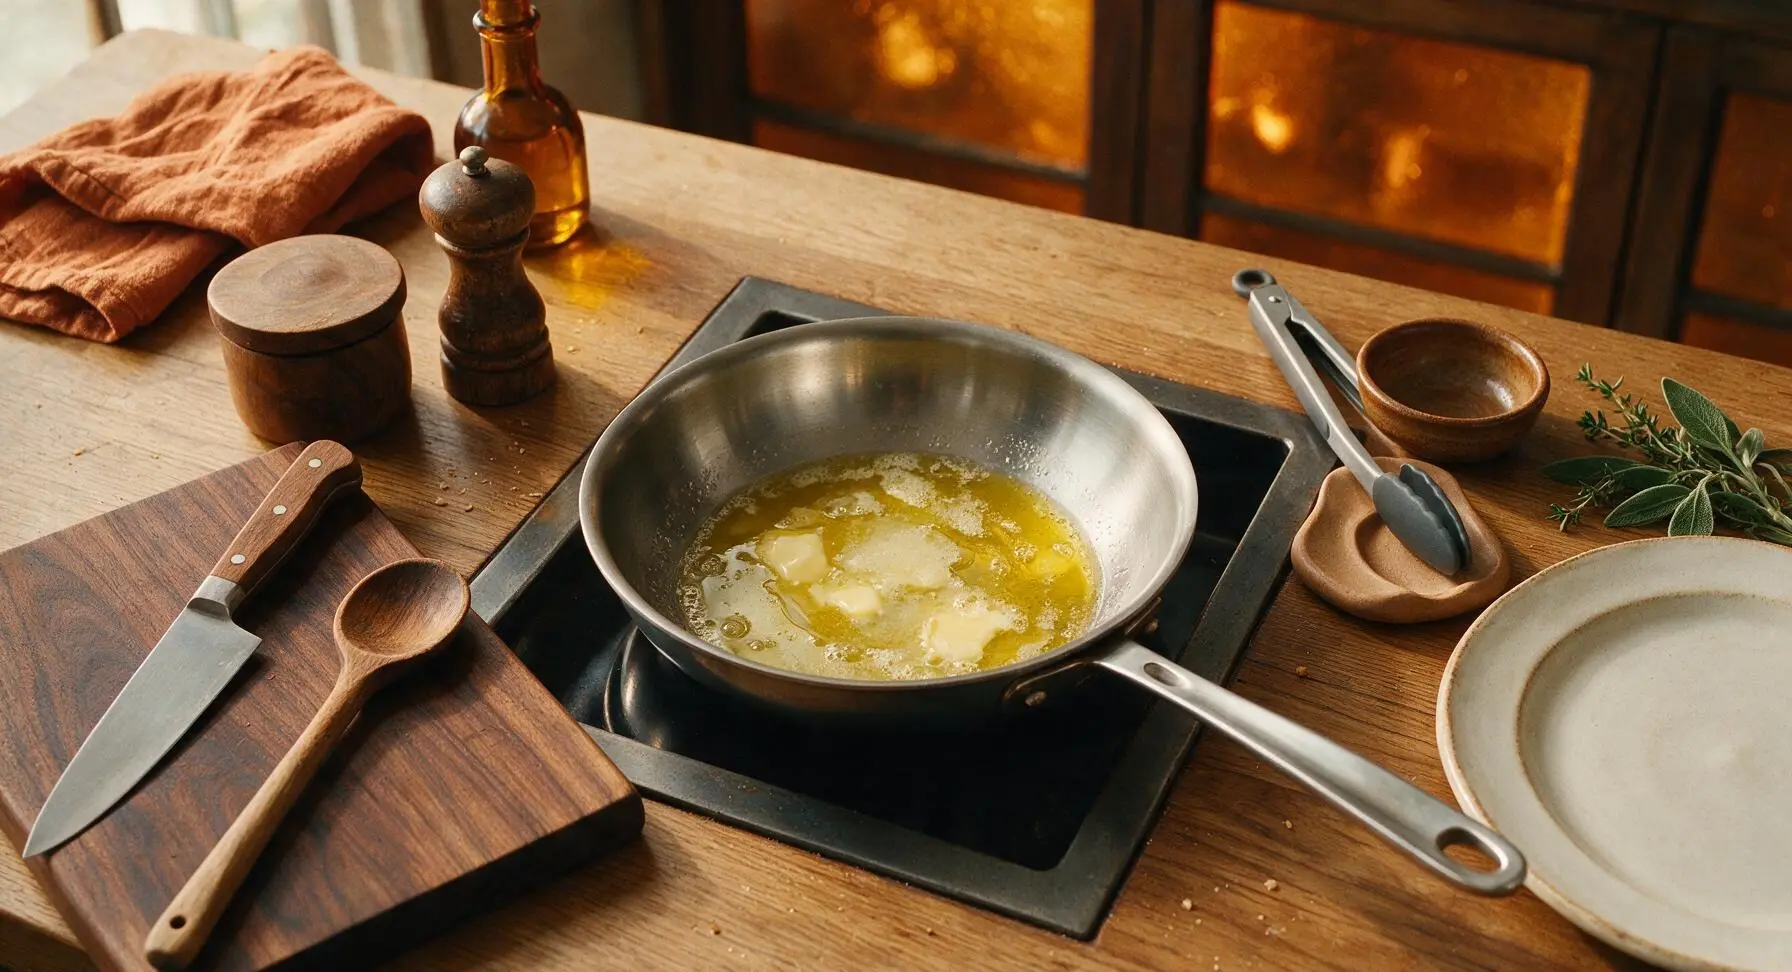
Step 2
step2:Heat Pan and Melt Butter
3

Sauté Garlic Until Fragrant

Add the thinly sliced garlic and 1/4 tsp red pepper flakes to the melted butter. Stir continuously with the tip of the silicone tongs for 30-45 seconds, until the garlic turns pale translucent gold and releases a strong, warm aromatic scent. Watch the pan closely during this step: sliced garlic burns in as little as 10 seconds, and burnt garlic will give the entire dish a harsh, bitter flavor.
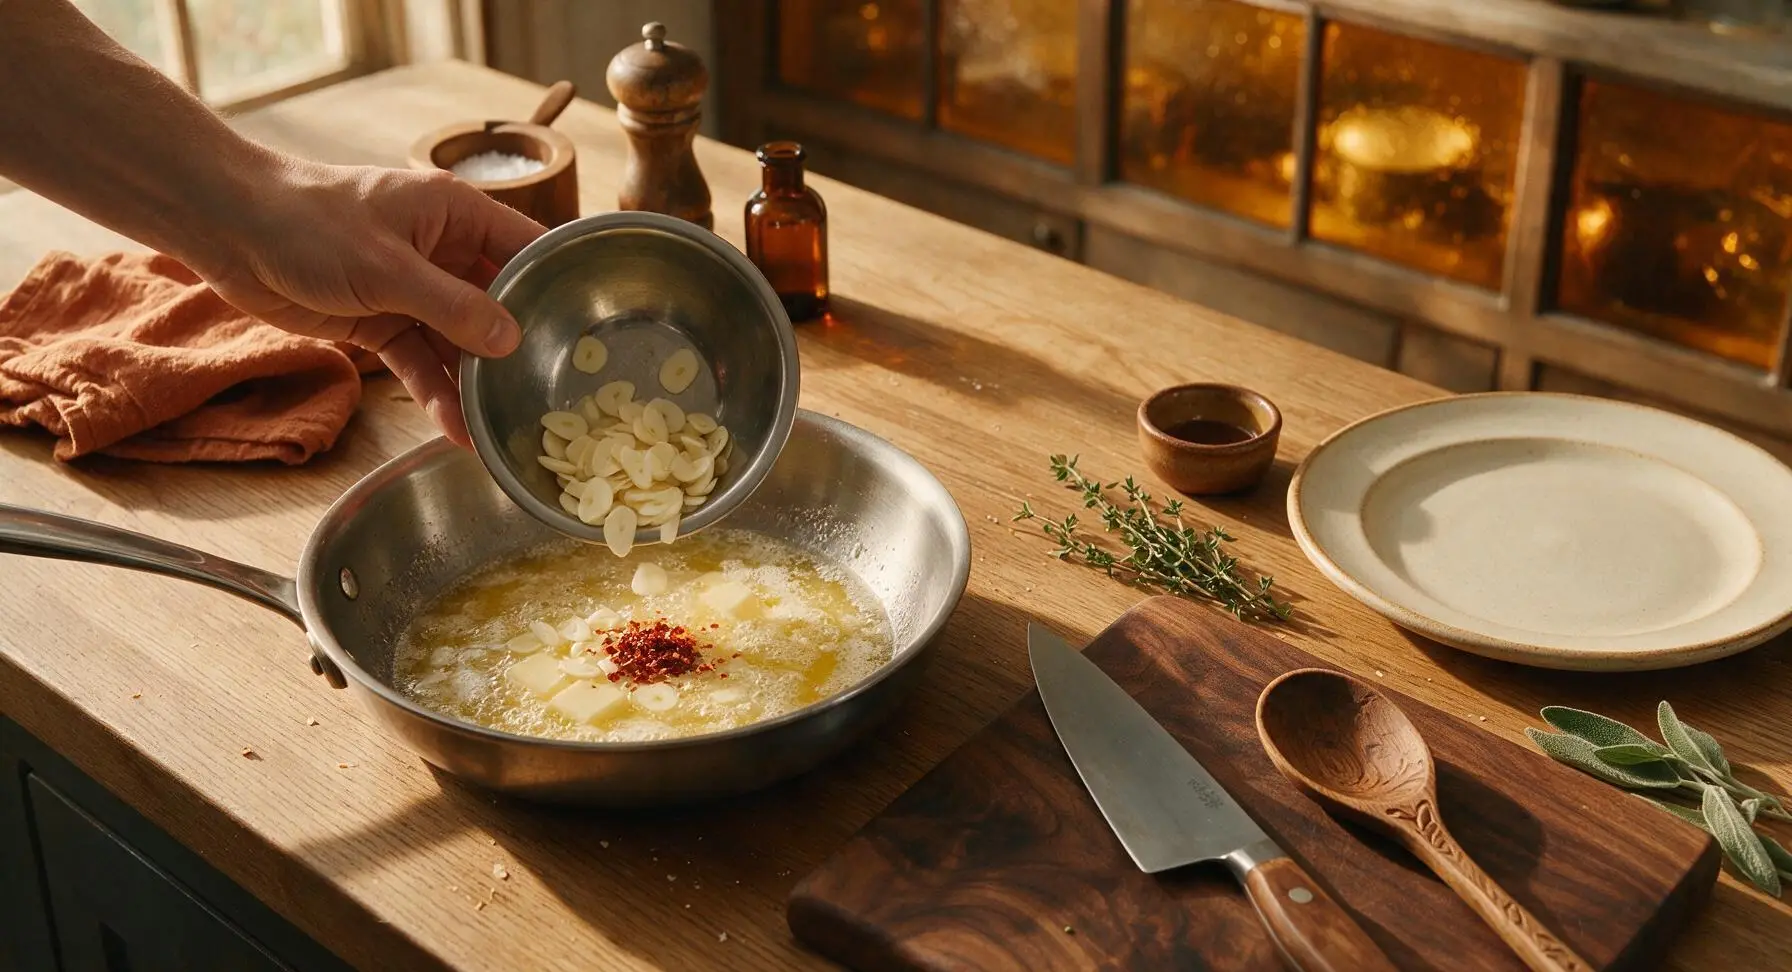
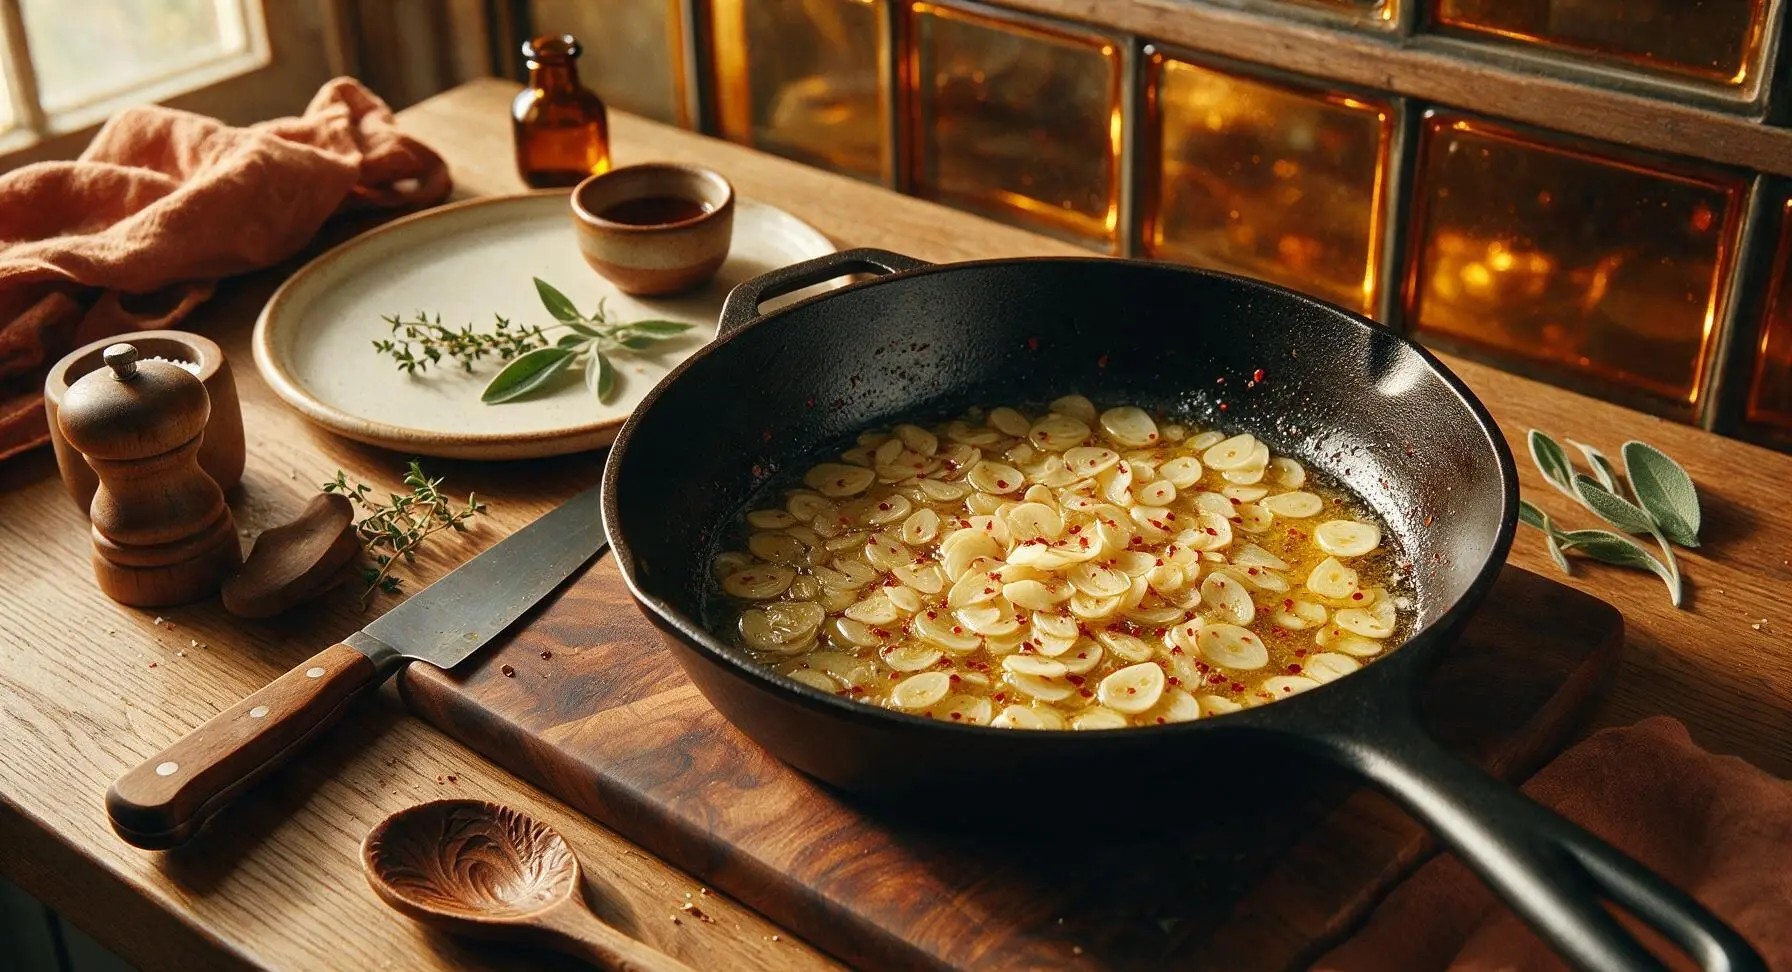
Step 3
step3:Sauté Garlic Until Fragrant
Step 3
step3:Sauté Garlic Until Fragrant
4

Sear Shrimp First Side

Use the silicone tongs to arrange the dried, seasoned shrimp in a single even layer in the skillet, leaving 1/2 inch of space between each shrimp to avoid overcrowding and steaming. Do not stir, poke, or move the shrimp once placed. Let cook undisturbed for 2 minutes, until the bottom surface turns opaque pink with faint light golden sear marks.
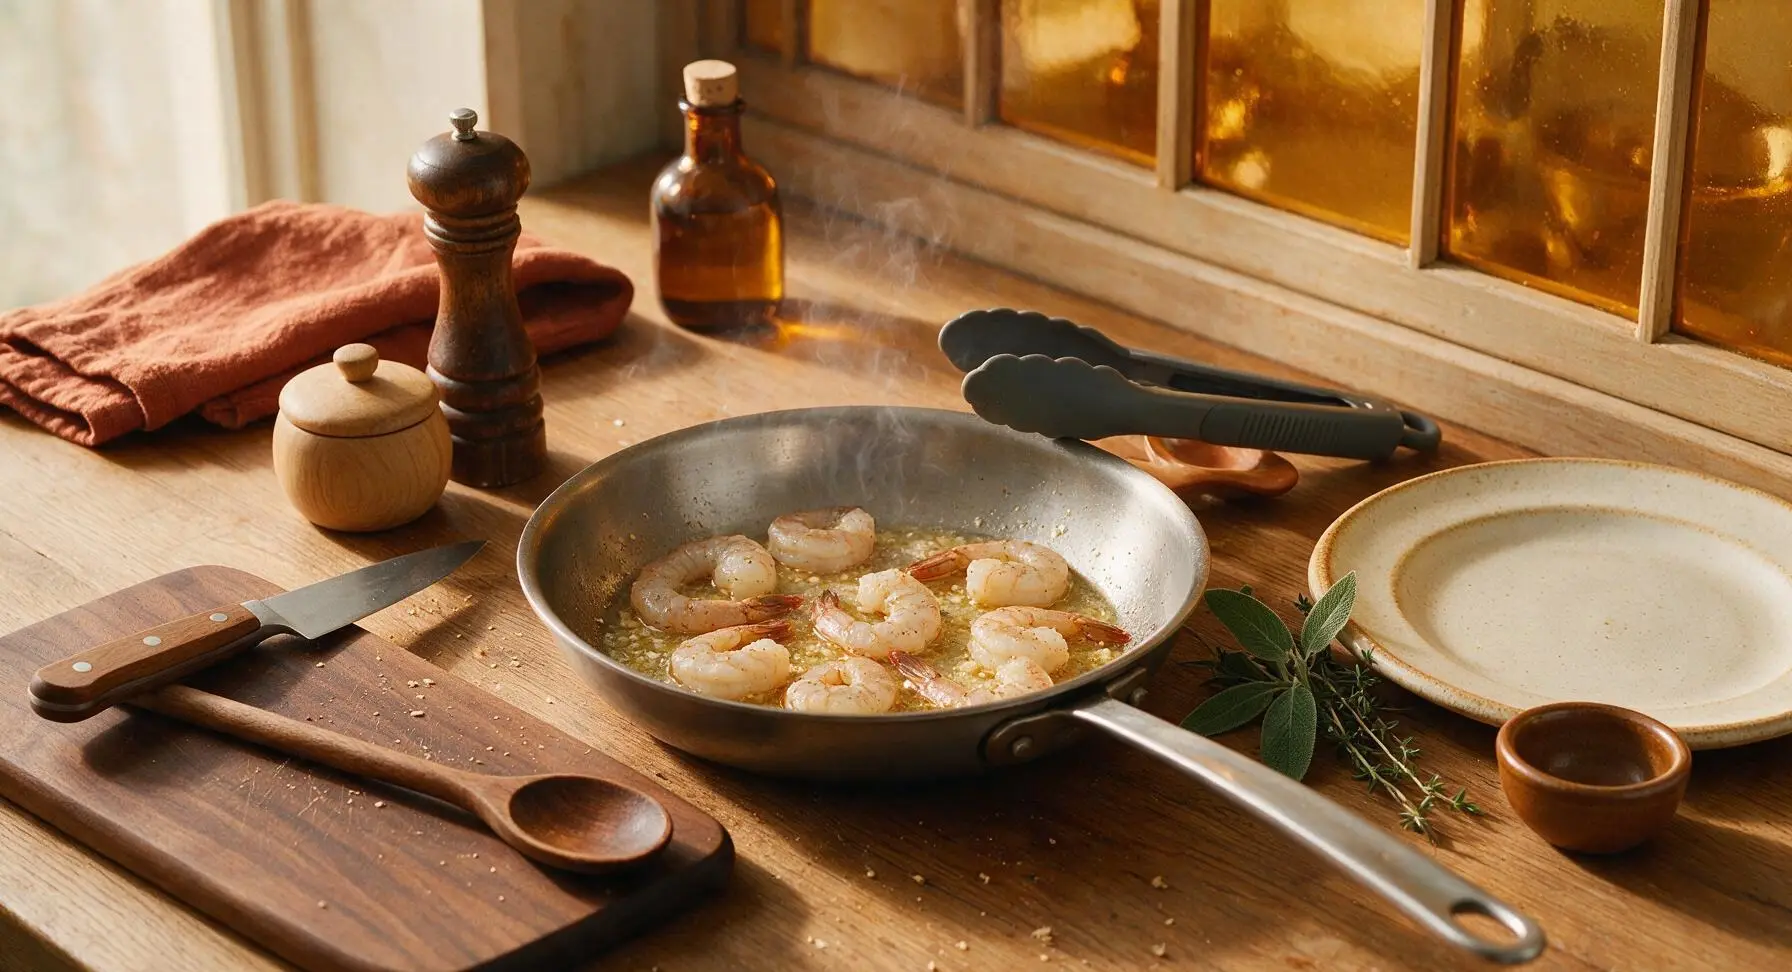
Step 4
step4:Sear Shrimp First Side
5

Flip Shrimp to Cook Through

Use the silicone tongs to flip each shrimp individually to its opposite side. Cook for an additional 1.5 to 2 minutes, until the shrimp are 90% opaque pink all the way through, with a slight firm bounce when pressed gently with the tong tip. Stop cooking when there is still a tiny thread of translucency in the thickest part of the shrimp: residual carryover heat will bring them to the FDA-recommended 145°F / 63°C doneness as they rest, preventing tough, rubbery overcooked shrimp.
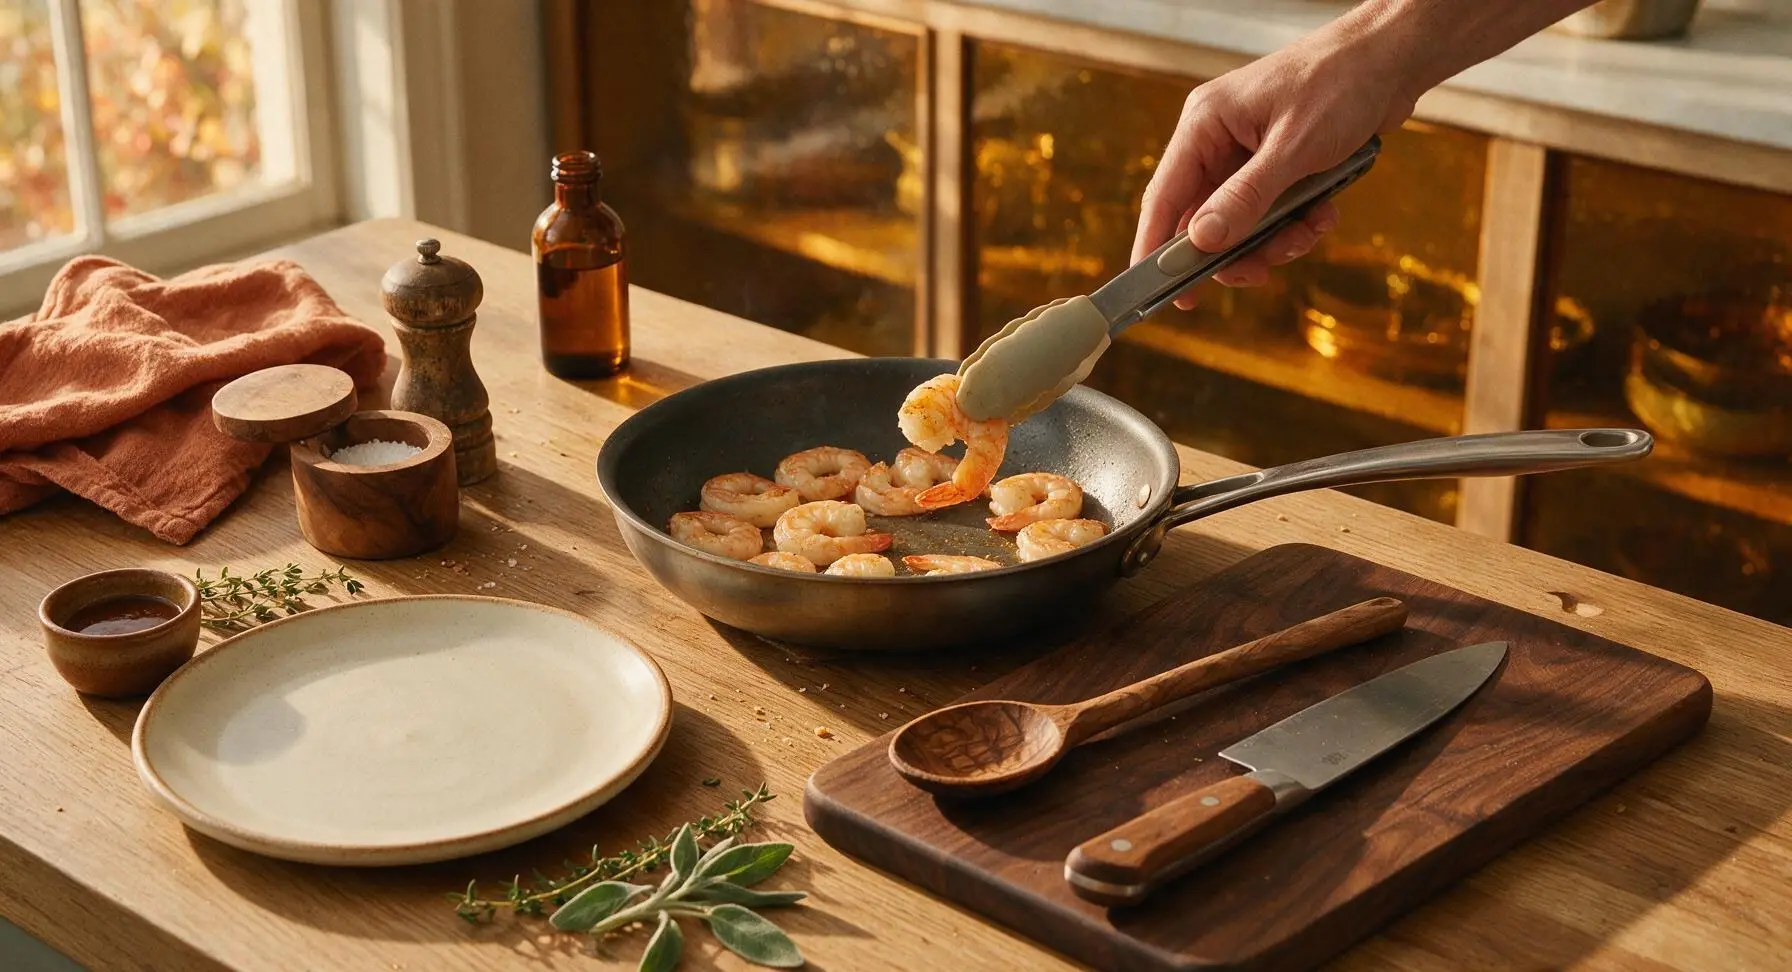
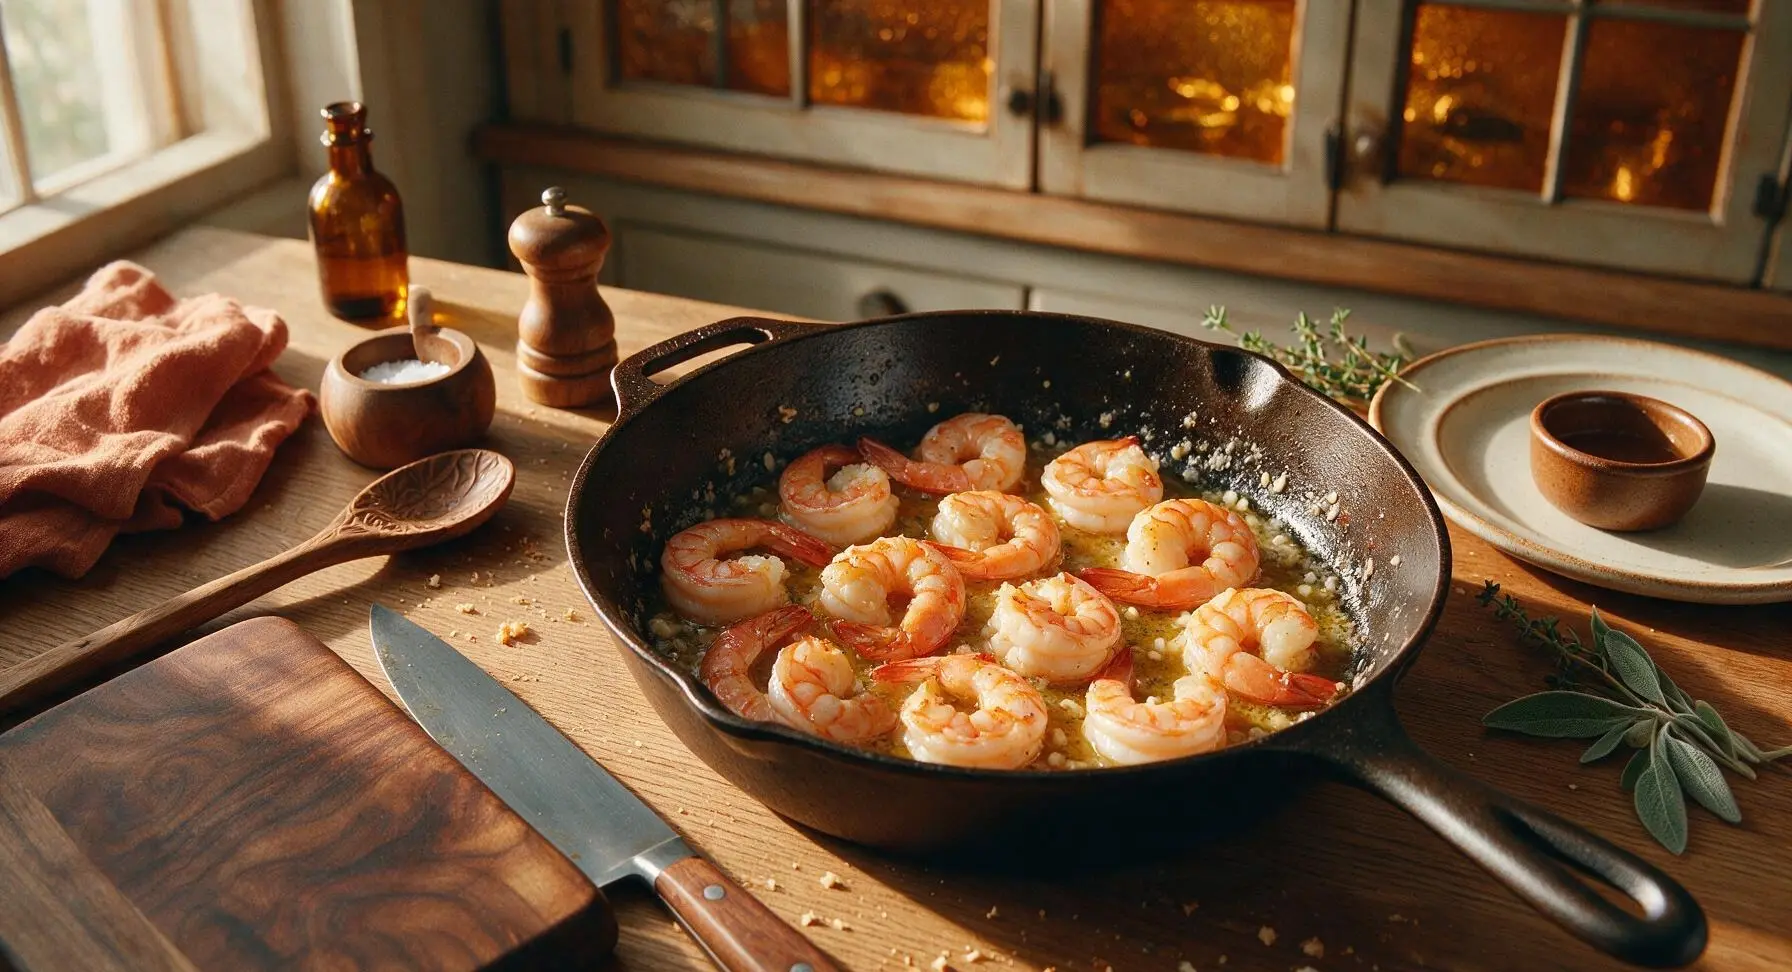
Step 5
step5:Flip Shrimp to Cook Through
Step 5
step5:Flip Shrimp to Cook Through
6

Add Lemon and Fresh Herbs

Turn off the stovetop heat. Use the zester to grate 1 tsp of bright yellow lemon zest directly into the pan, then squeeze 2 tbsp of fresh lemon juice over the shrimp. Add 1.5 tbsp of the chopped fresh flat-leaf parsley, then toss the shrimp gently with the tongs to coat every piece evenly in the bright lemon-garlic butter sauce.
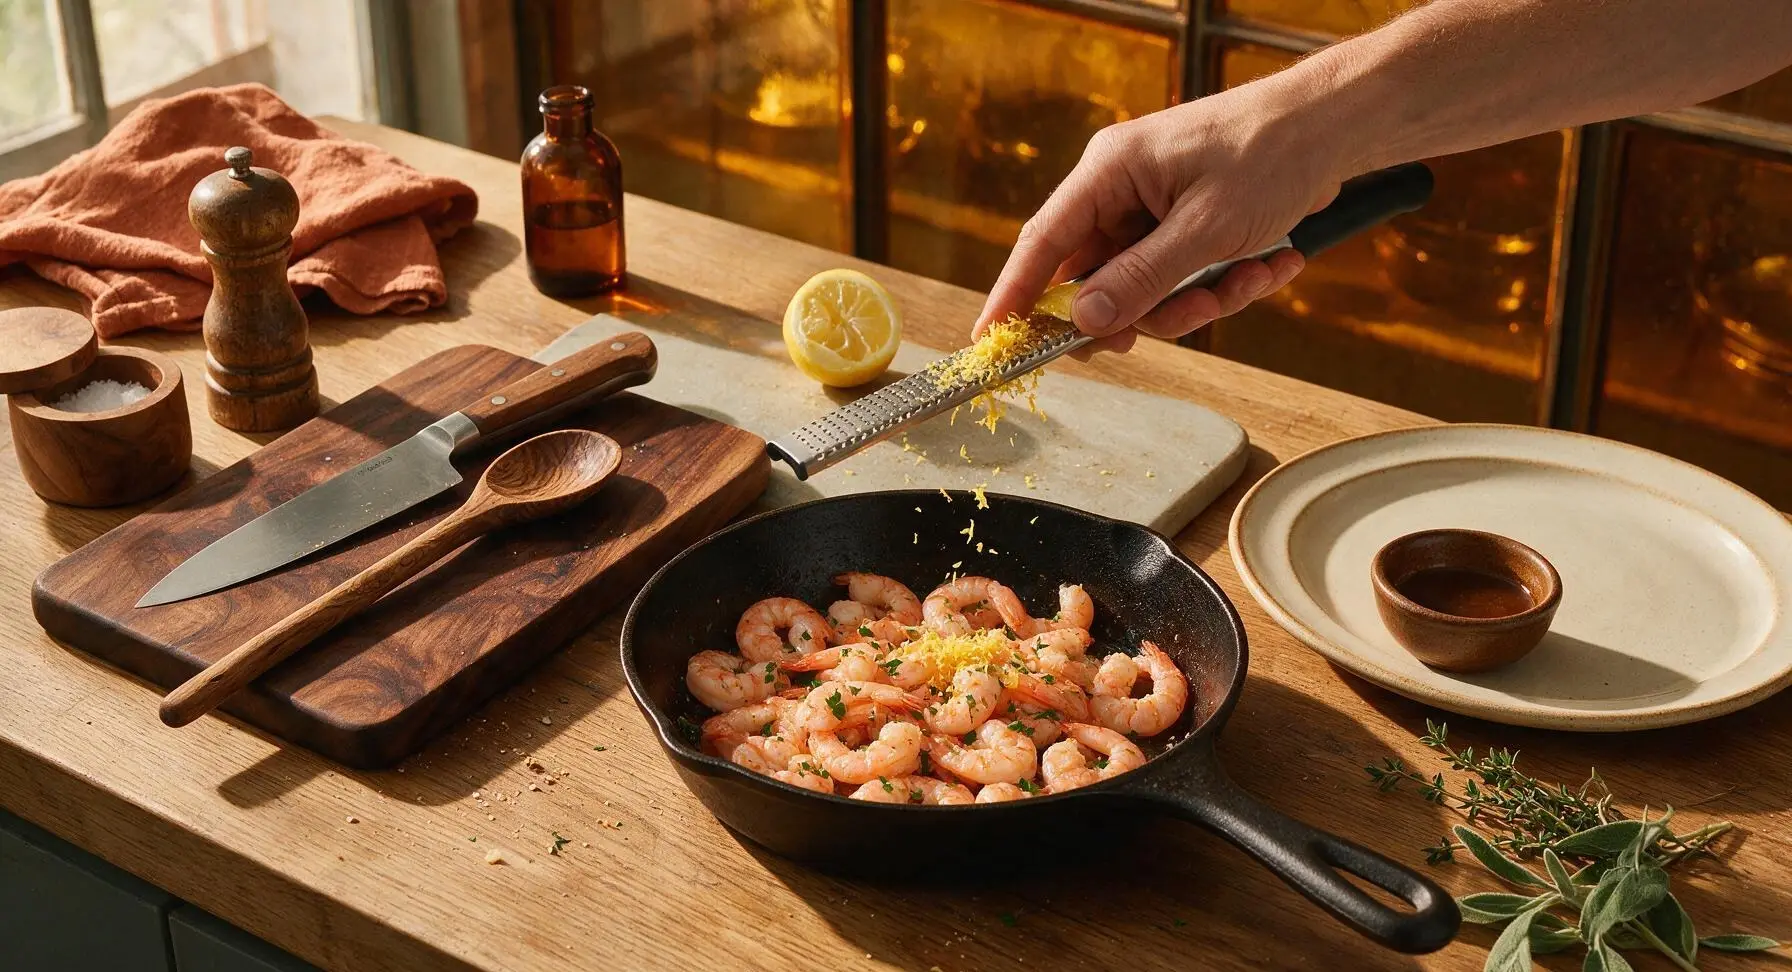
Step 6
step6:Add Lemon and Fresh Herbs
7

Plate and Garnish Shrimp

Use the silicone tongs to transfer the shrimp to the 24cm matte off-white ceramic dinner plate, piling them loosely in the center. Drizzle any remaining garlic butter from the pan over the top of the shrimp. Garnish with the remaining 0.5 tbsp chopped parsley, fresh basil leaves, and fill the small clear glass condiment bowl with extra lemon wedges for serving.
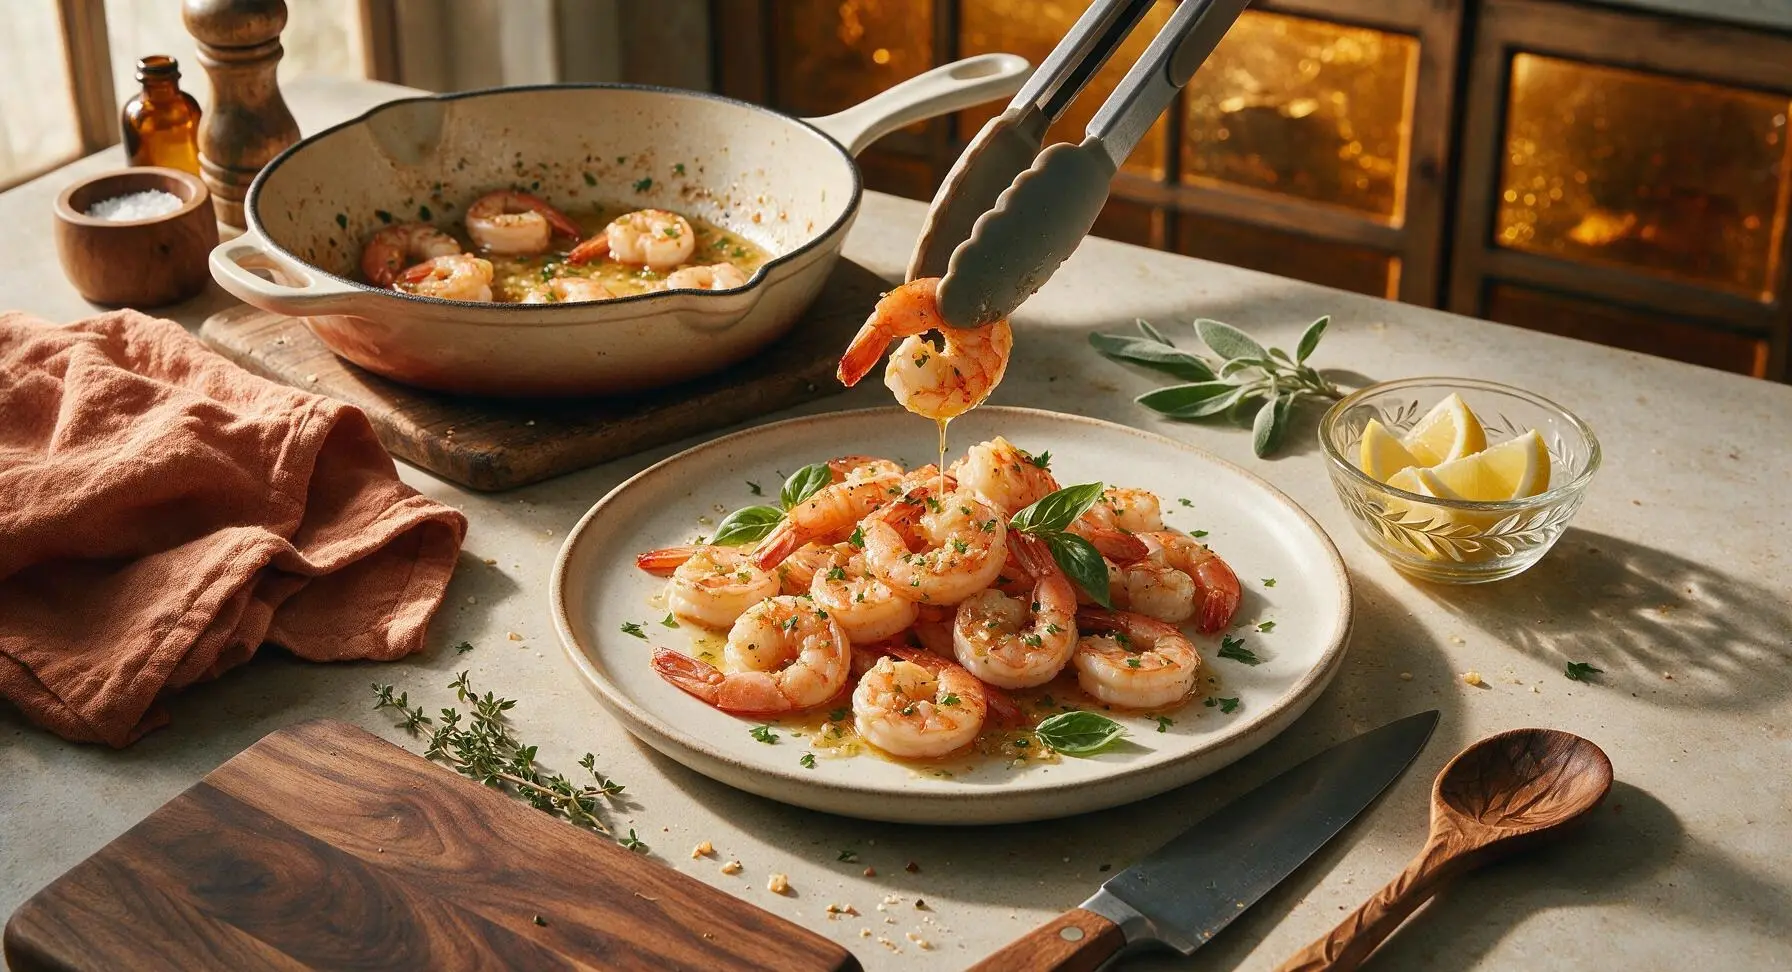
Step 7
step7:Plate and Garnish Shrimp

Tips

1.Always pat shrimp completely dry with paper towels before searing: excess surface moisture will drop the pan temperature rapidly, causing shrimp to steam instead of developing a light, flavorful golden sear, leading to a mushy, watery texture.
2.Stop cooking shrimp when they form a loose C-shape, not a tight O-shape: a tight curled shrimp means it has overcooked and become rubbery, while a loose C indicates juicy, tender doneness with just the right amount of bounce.
3.Slice garlic thinly instead of mincing it for this recipe: thin slices cook more evenly, are less likely to burn in the hot butter, and develop a soft, sweet garlic flavor instead of the harsh, bitter taste that comes from burnt tiny minced garlic bits.
✨ You May Also Like

Seafood
🍜 United States

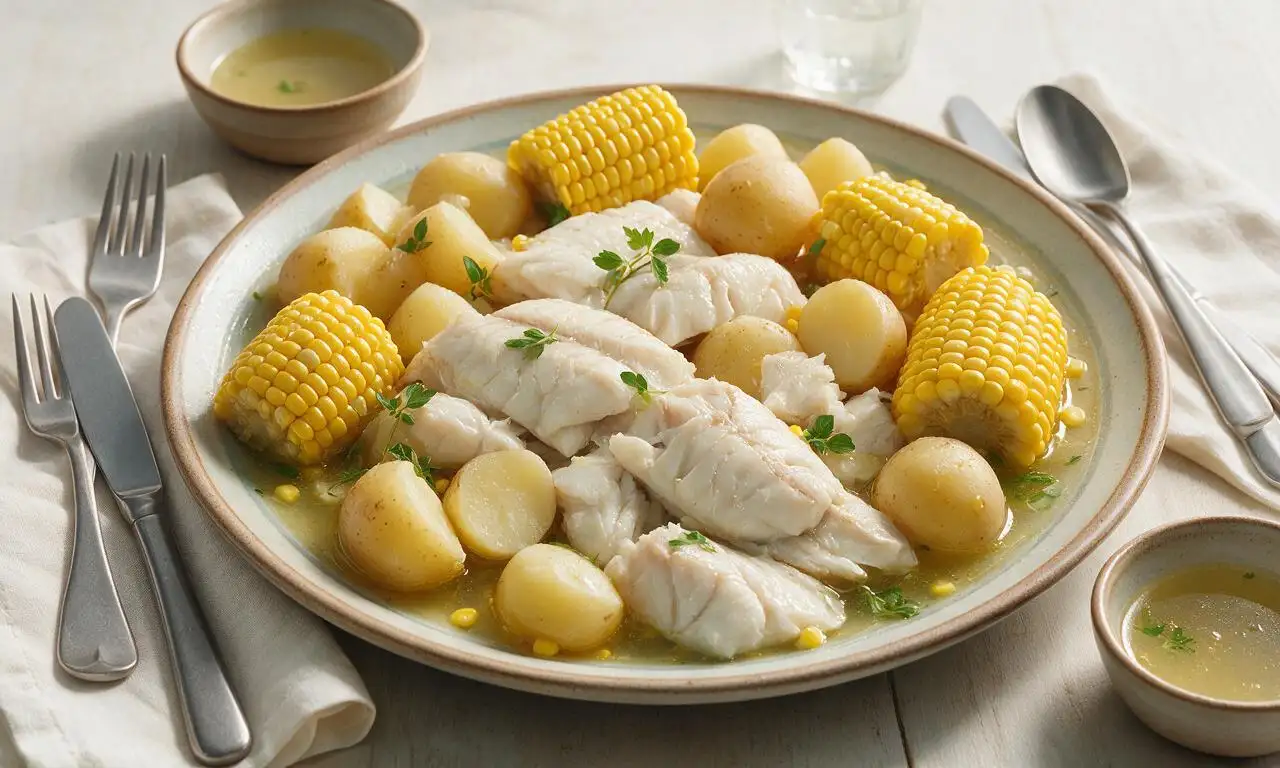
An iconic Door County, Wisconsin tradition of flaky boiled whitefish, tender potatoes, and sweet corn, cooked outdoors for casual, communal summer gatherings.

⏱️ 45 minuteSeafood ★ 4.7
Seafood
🍜 United States

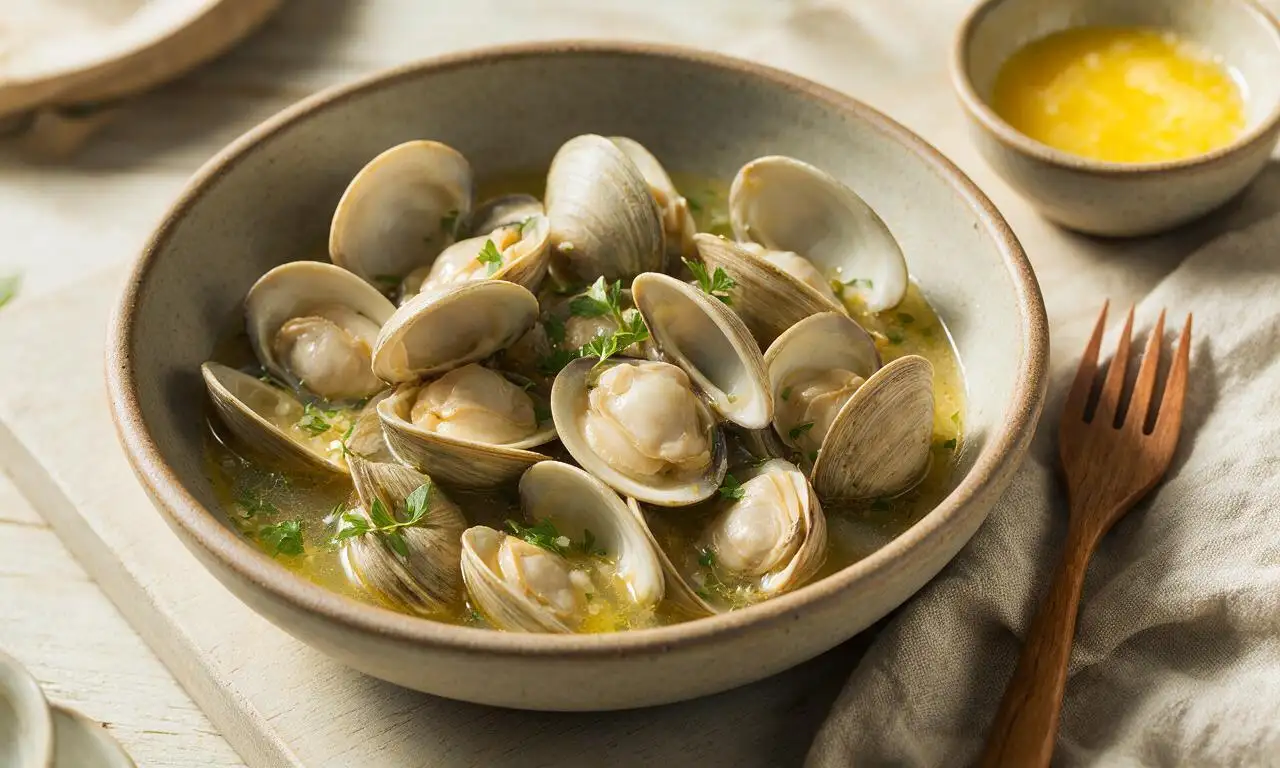
Tender, briny soft-shell clams steamed in garlicky white wine broth, served with warm broth and melted butter for dipping—classic coastal comfort food.

⏱️ 30 minuteSeafood ★ 4.7
Seafood
🍜 United States

Iconic zesty, savory spice blend from Maryland’s Chesapeake Bay, perfect for seafood boils, grilled fare, fries, and corn, made fresh without preservatives.

⏱️ 10 minuteSeafood ★ 4.9
Seafood
🍜 China

Tender, crisp, sweet blanched geoduck topped with fragrant sizzled ginger and scallion, a luxurious Cantonese dish highlighting the clam’s natural briny, delicate flavor.

⏱️ 30 minuteSeafood ★ 4.7
Seafood
🍜 United States

Succulent sweet crab legs coated in rich garlic butter, steamed to tender perfection for a juicy, indulgent seafood feast that requires minimal prep and cook time.

⏱️ 25 minuteSeafood ★ 4.7
Seafood
🍜 United States

A nostalgic chilled jellied seafood staple of 1950s American potlucks, loaded with tender shrimp, lump crab, crisp veggies, and bright creamy tang.

⏱️ 4 hours 2Seafood ★ 4.6

great shrimp:Frequently Asked Questions

1.Why do you recommend 16/20 count shrimp for this recipe? ▾
16/20 count shrimp means you’ll get 16 to 20 shrimp per pound, which is the ideal sweet spot for this recipe. They’re large enough to stay juicy and plump when seared, won’t overcook in seconds like smaller salad shrimp, and intact tails make them easy to pick up and add nice visual appeal to the finished dish.
2.How do I keep my shrimp from turning rubbery when making this dish? ▾
The #1 trick to avoid rubbery shrimp is to skip overcooking them. Pat shrimp completely dry before searing, cook over medium-high heat for just 1.5 to 2 minutes per side until they turn opaque and curl into a loose C-shape, then pull them immediately off the heat—residual sauce heat will finish cooking them gently.
3.Can I use pre-peeled, frozen shrimp for this recipe? ▾
Absolutely! Frozen shrimp works great here as long as you thaw it properly first. Thaw overnight in the fridge, or seal in a plastic bag and submerge in cold water for 15 to 20 minutes, then pat every shrimp completely dry with paper towels before searing to get a golden sear instead of soggy, steamed shrimp.
4.Why do you use thinly sliced garlic instead of minced garlic for the butter sauce? ▾
Thinly sliced garlic cooks more evenly and develops a sweet, mellow golden flavor without burning as quickly as finely minced garlic, which can turn bitter and acrid in 30 seconds or less over high heat. The tender, golden garlic slices also add a mild textural pop instead of disappearing entirely into the sauce.
5.Do I really need to leave the tails on the shrimp? ▾
Leaving tails on is totally optional, though it adds nice presentation and a built-in handle for picking up shrimp if you serve them as an appetizer. If you prefer no tails, snip them off with kitchen shears before cooking—just note tail-off shrimp may cook 30 seconds faster, so watch them closely to avoid overcooking.
6.Can I substitute salted butter for unsalted butter here? ▾
You can use salted butter, just adjust your added salt accordingly. If using salted butter, hold off on adding extra salt to the sauce until you taste it at the end—salted butter varies widely in sodium content between brands, so tasting first will keep your shrimp from ending up overly salty and throwing off the bright lemon balance.
7.How do I know when the garlic butter is done so I don’t burn the garlic? ▾
Cook your sliced garlic in melted butter over medium-low heat, stirring constantly, for 1 to 2 minutes until it turns pale golden yellow and smells fragrant and sweet. The second you spot dark brown edges or smell a sharp, bitter aroma, pull the pan off heat immediately—burnt garlic will make the whole sauce taste unpleasantly acrid.
8.What can I serve with this garlic butter lemon shrimp to make a full meal? ▾
This shrimp pairs beautifully with quick weeknight sides like buttered pasta, fluffy white rice, roasted asparagus, crusty sourdough bread to soak up extra sauce, or a simple arugula salad tossed in light vinaigrette. For a low-carb option, serve it over roasted cauliflower rice or zucchini noodles for a light, satisfying meal.
9.Can I add extra herbs besides parsley to this recipe? ▾
Absolutely! Fresh parsley is the classic base, but you can stir in a teaspoon of chopped fresh thyme, a tablespoon of chopped fresh basil, or a pinch of fresh dill right at the end for extra depth. Just avoid adding hardy herbs like rosemary too early, as they can overpower the delicate lemon and sweet shrimp flavor.
10.Why does my shrimp never get a golden sear when I cook it? ▾
Lack of a golden sear almost always comes from excess moisture on the shrimp surface. After peeling and deveining, pat every shrimp completely dry on all sides with paper towels, and don’t overcrowd the pan—cook in two batches if needed. Wet, crowded shrimp will steam instead of sear, leaving pale, mushy results.
11.Can I make this recipe ahead of time for meal prep? ▾
This shrimp is best served fresh right after cooking, but you can prep components ahead to cut down on weeknight time. Peel, devein, and pat shrimp dry 1 day ahead, slice garlic and chop parsley 2 days ahead, and zest and juice your lemon the morning of. Cooked shrimp keeps 3 days in the fridge, though texture firms up when reheated.
12.How should I reheat leftover shrimp without making them rubbery? ▾
The best way to reheat leftovers is low and slow to avoid rubbery texture. Warm leftover shrimp and sauce in a skillet over the lowest heat setting, stirring occasionally, for 2 to 3 minutes until just heated through. Avoid high-heat microwaving, as fast, intense heat overcooks shrimp protein and turns it tough and chewy in seconds.
13.Is there a way to add a little spicy kick to this dish? ▾
Absolutely! For a subtle, warm heat, add 1/4 teaspoon of red pepper flakes to the butter when you cook the garlic, or toss in a thin-sliced fresh jalapeño for a brighter, fresher spicy note. Start with a small amount, taste as you go, and remember you can always add more heat—you can’t take it out once mixed in.
14.Can I use bottled lemon juice instead of fresh lemons for this recipe? ▾
Bottled lemon juice will work in a pinch, but fresh lemon juice and zest have a bright, zesty, aromatic flavor that bottled juice can’t match—bottled juice often has a flat, slightly metallic aftertaste from processing. If you do use bottled, stick to 3 tablespoons of 100% juice with no added preservatives, and skip bottled zest entirely.
15.What size pan works best for cooking this shrimp? ▾
A 12-inch heavy-bottomed stainless steel or cast iron skillet works perfectly here. It gives you enough surface area to lay shrimp in a single layer without overcrowding, and the heavy base distributes heat evenly so your butter doesn’t burn in hot spots and your shrimp sears consistently across every piece.
16.Should I season the shrimp before searing them? ▾
Yes! Lightly season your patted-dry shrimp with a small pinch of kosher salt and black pepper right before you add them to the hot pan. Don’t season them too far ahead, though—salt will draw moisture out of the shrimp if left on for more than 10 minutes, which will ruin that crisp golden sear we want.
17.Can I use this same garlic butter lemon sauce for other proteins? ▾
Absolutely! This bright, rich sauce works beautifully with seared scallops, pan-roasted chicken breasts, baked salmon, or even tossed with roasted vegetables. Just adjust cooking times for whatever protein you’re using, and add the fresh lemon juice and parsley off heat to keep that bright, fresh flavor from getting muted.

Comments (7)

2 hours ago

OMG this was SO good! I threw this together on a busy weeknight when I forgot to plan dinner and it was done in literally 8 minutes just like the recipe says. My husband and two kids devoured the whole batch, even my picky 7 year old who usually turns up his nose at seafood asked for seconds! 10/10 will be adding this to our regular weeknight rotation.

30 minutes ago

Wait did you serve it with anything? I’m making this for my family tonight and trying to decide if pasta or rice is better!

5 minutes ago

So glad your family loved it! Both pasta and rice work fantastic as a side, but we also love serving it over crusty bread to soak up all that extra garlic butter lemon sauce!

3 days ago

Game changer for summer cookouts! I made a double batch for our neighborhood potluck this past weekend and people were hovering around the platter asking for the recipe before I even set it down. Pro tip: toss in a little extra red pepper flakes if you like a tiny kick, it pairs so well with the lemon and butter.

2 days ago

Love the red pepper flakes tip! That’s such an easy add to customize the flavor to your taste, so happy it was a hit at the potluck!

1 week ago

Perfect for meal prep! I cooked up a big batch on Sunday to toss over salads for my work lunches all week, and the shrimp stayed juicy and flavorful even after 3 days in the fridge. No rubbery texture at all, which is usually my problem with shrimp recipes. So easy too, I didn’t even break a sweat making it.

30 minutes ago

Wait, I’m a total newbie in the kitchen and I was nervous to make shrimp for the first time ever, but this recipe was so straightforward! Mine came out a little salty though—did I do something wrong? I used salted butter instead of unsalted, oops.

5 minutes ago

Oh I did the exact same thing my first time making it! If you use salted butter just skip the extra added salt at the end, that fixes it! Still tasted amazing even when I messed up that step tbh

just now

Great catch from Kate! If you only have salted butter on hand, just hold off on the additional salt the recipe calls for until you’ve tasted it first, so you can adjust to your preference. Don’t worry, even slightly salty garlic butter shrimp is still pretty tasty!

2 days ago

Made this for date night the other night and my girlfriend thought I ordered takeout from that fancy seafood place downtown. Little does she know it took me less than 10 minutes total and I only used one pan, so cleanup was a breeze. 10/10 will be pulling this trick out for future date nights for sure.

yesterday

Dude I did the exact same thing last month! My partner still talks about that ‘fancy shrimp dinner’ I made, I haven’t had the heart to tell her it was the easiest recipe I’ve ever found lmao

5 days ago

SO happy I found this! It’s naturally gluten free so I didn’t have to swap out any ingredients to make it work for my diet. I served it with roasted asparagus for a light, quick dinner after my spin class and it hit every single craving. Will be making this at least twice a month from now on.

2 weeks ago

Made this over the camp stove on our recent camping trip and it was chef’s kiss. We brought pre-peeled shrimp, a little tub of pre-minced garlic, butter and a lemon, and it came together so fast over the fire. Everyone in our camp group was jealous of our dinner while they were still waiting for their burgers to cook.

1 week ago

Camping prep hack unlocked! That’s such a smart idea to use pre-peeled shrimp and pre-minced garlic to make this on camp trips, we’re definitely stealing that tip for our next outdoor adventure. So glad it was a hit!