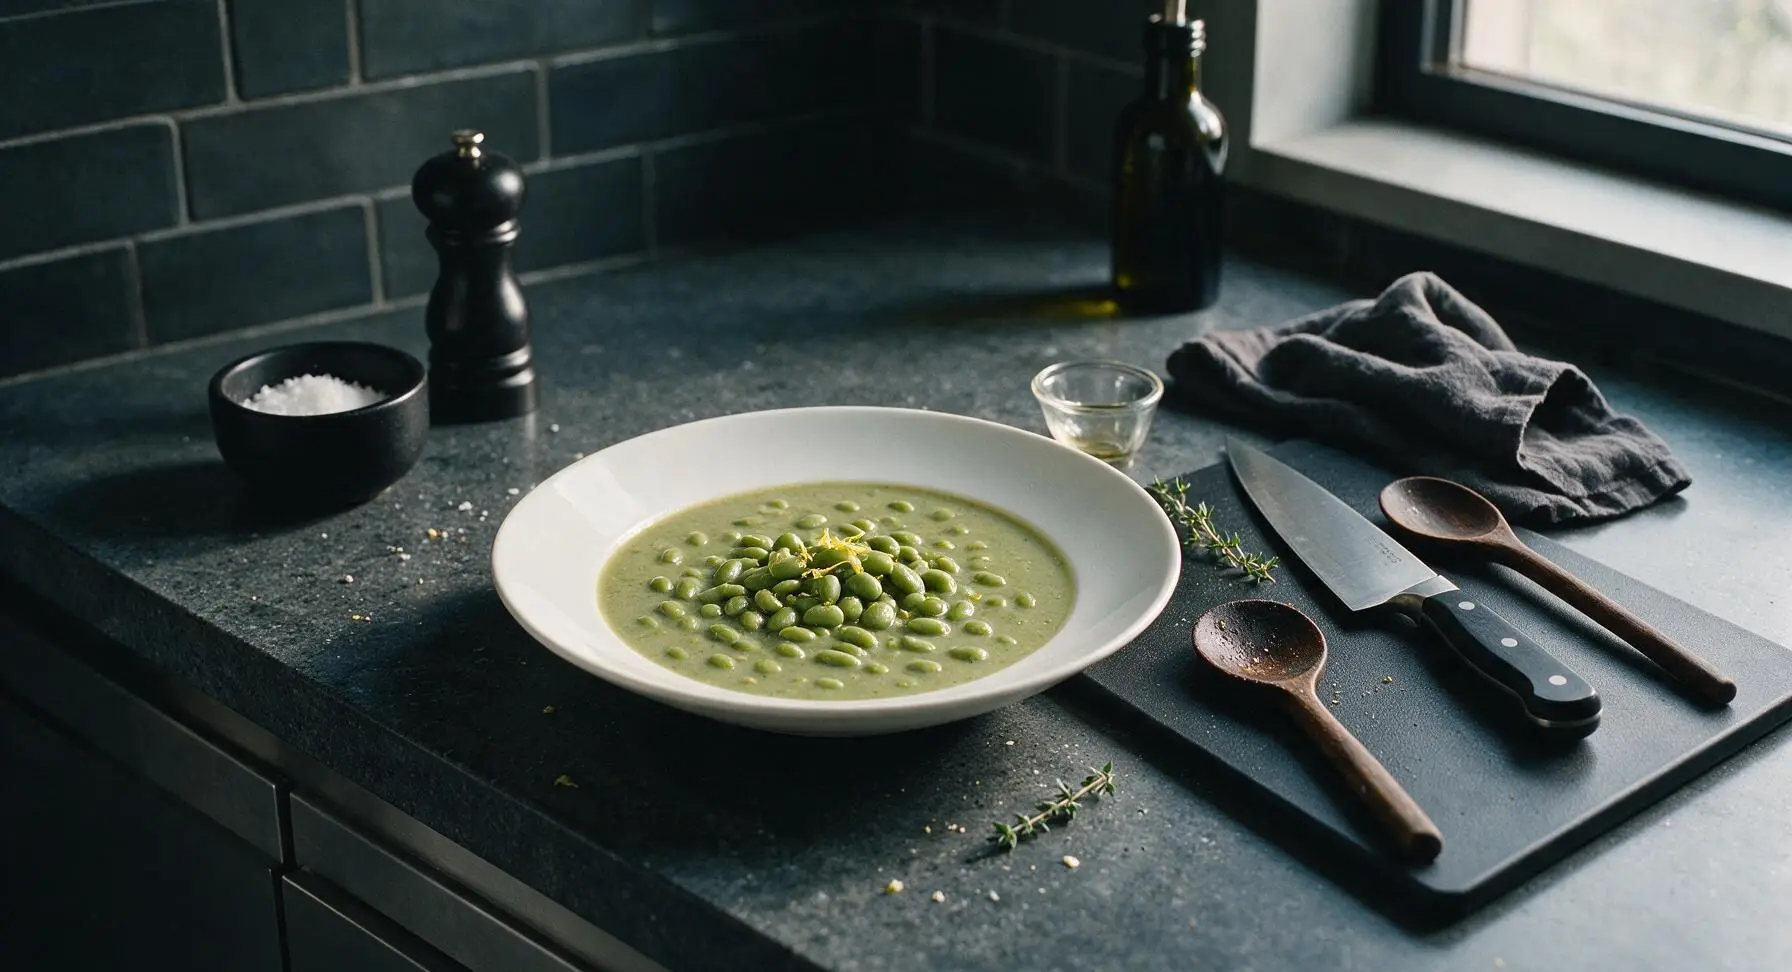
green bean soup

title 1
green bean soup
⏱️ cook time 40 minutes
🍽️ servings 4
⚡ Difficulty easy

intro

Light, subtly sweet, and gently cooling, this classic Southern Chinese green bean soup is the perfect low-effort summer refresher, with soft creamy beans and a faint citrus aroma.

Ingredients
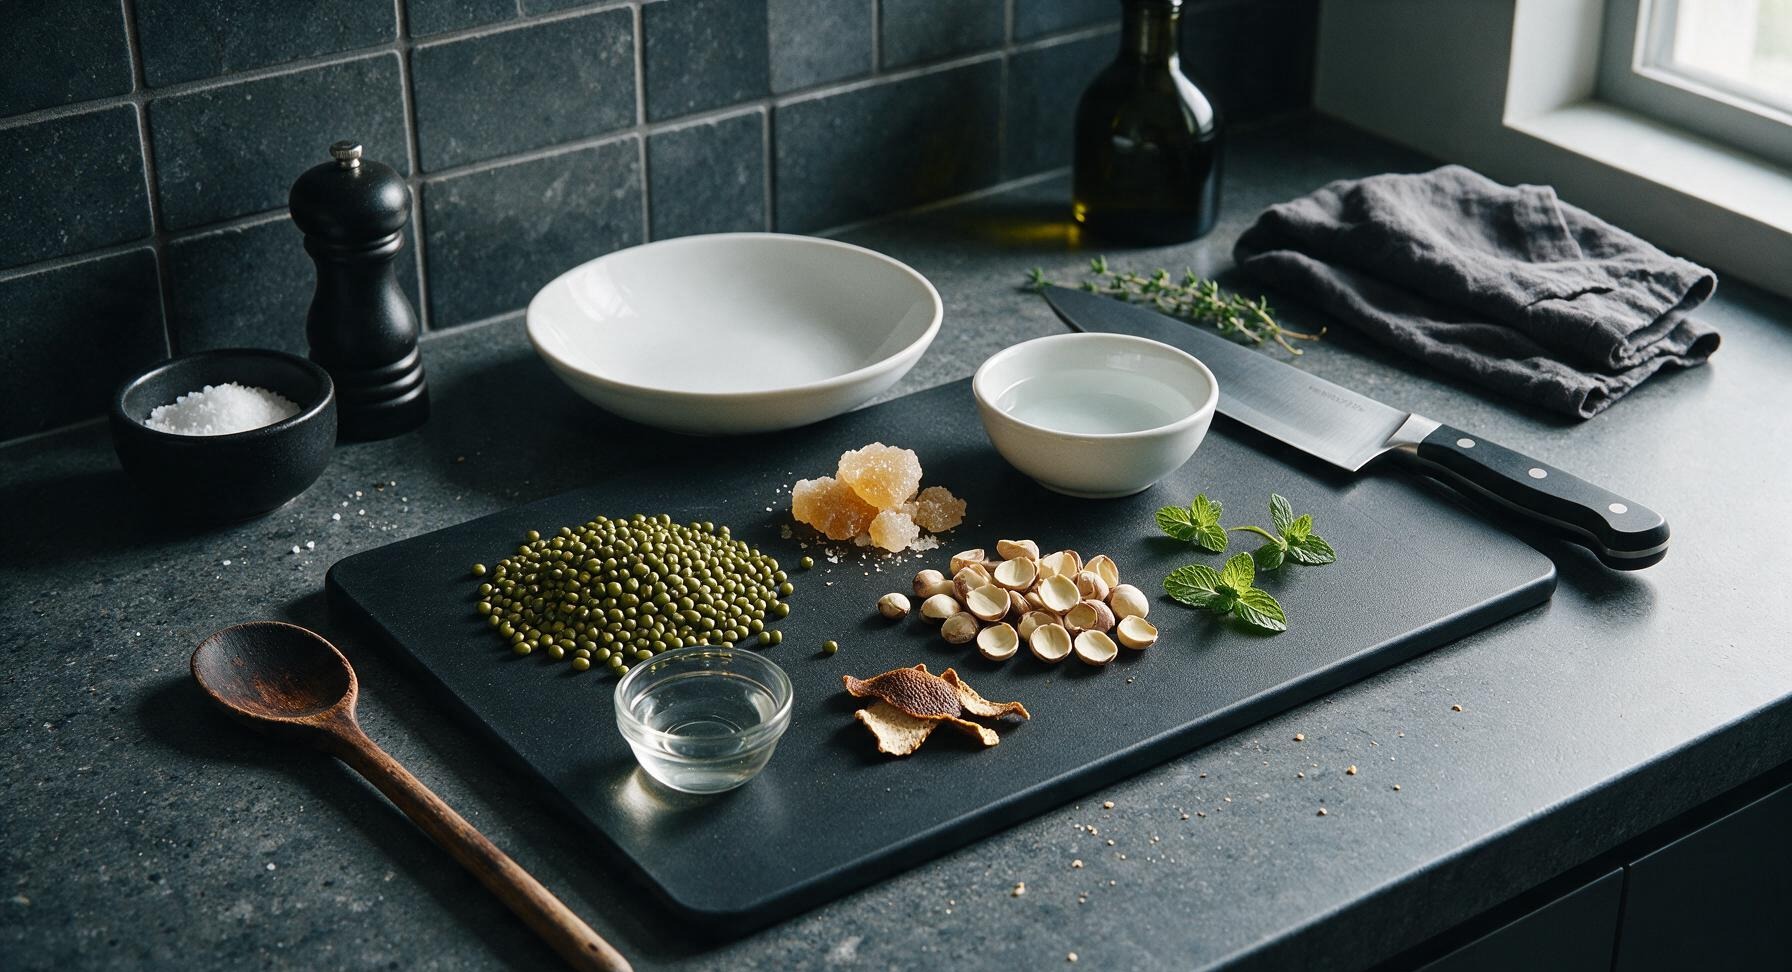
Dried mung beans (green beans) 200g
Yellow rock sugar 60g
Dried lotus seeds (halved, cores removed) 30g
Dried aged tangerine peel 2g (1 small piece)
Cold filtered water 1.2L
Fresh mint sprigs 4 small sprigs

Steps

1

Sort and Rinse Beans

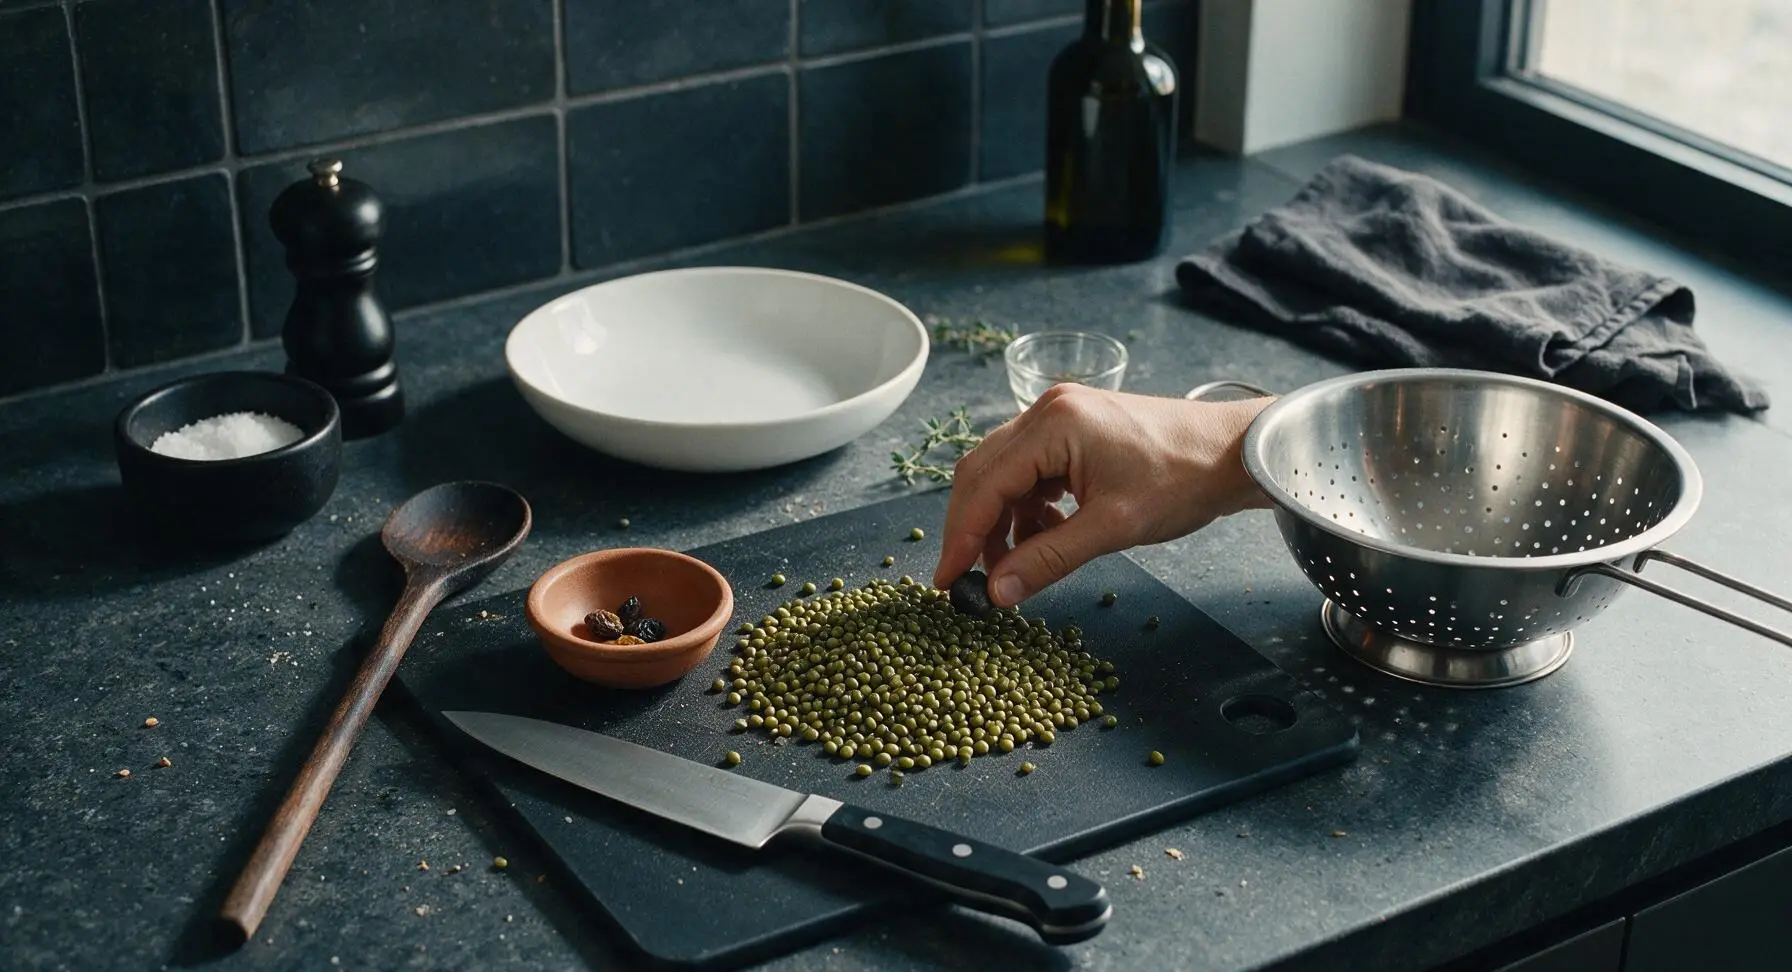
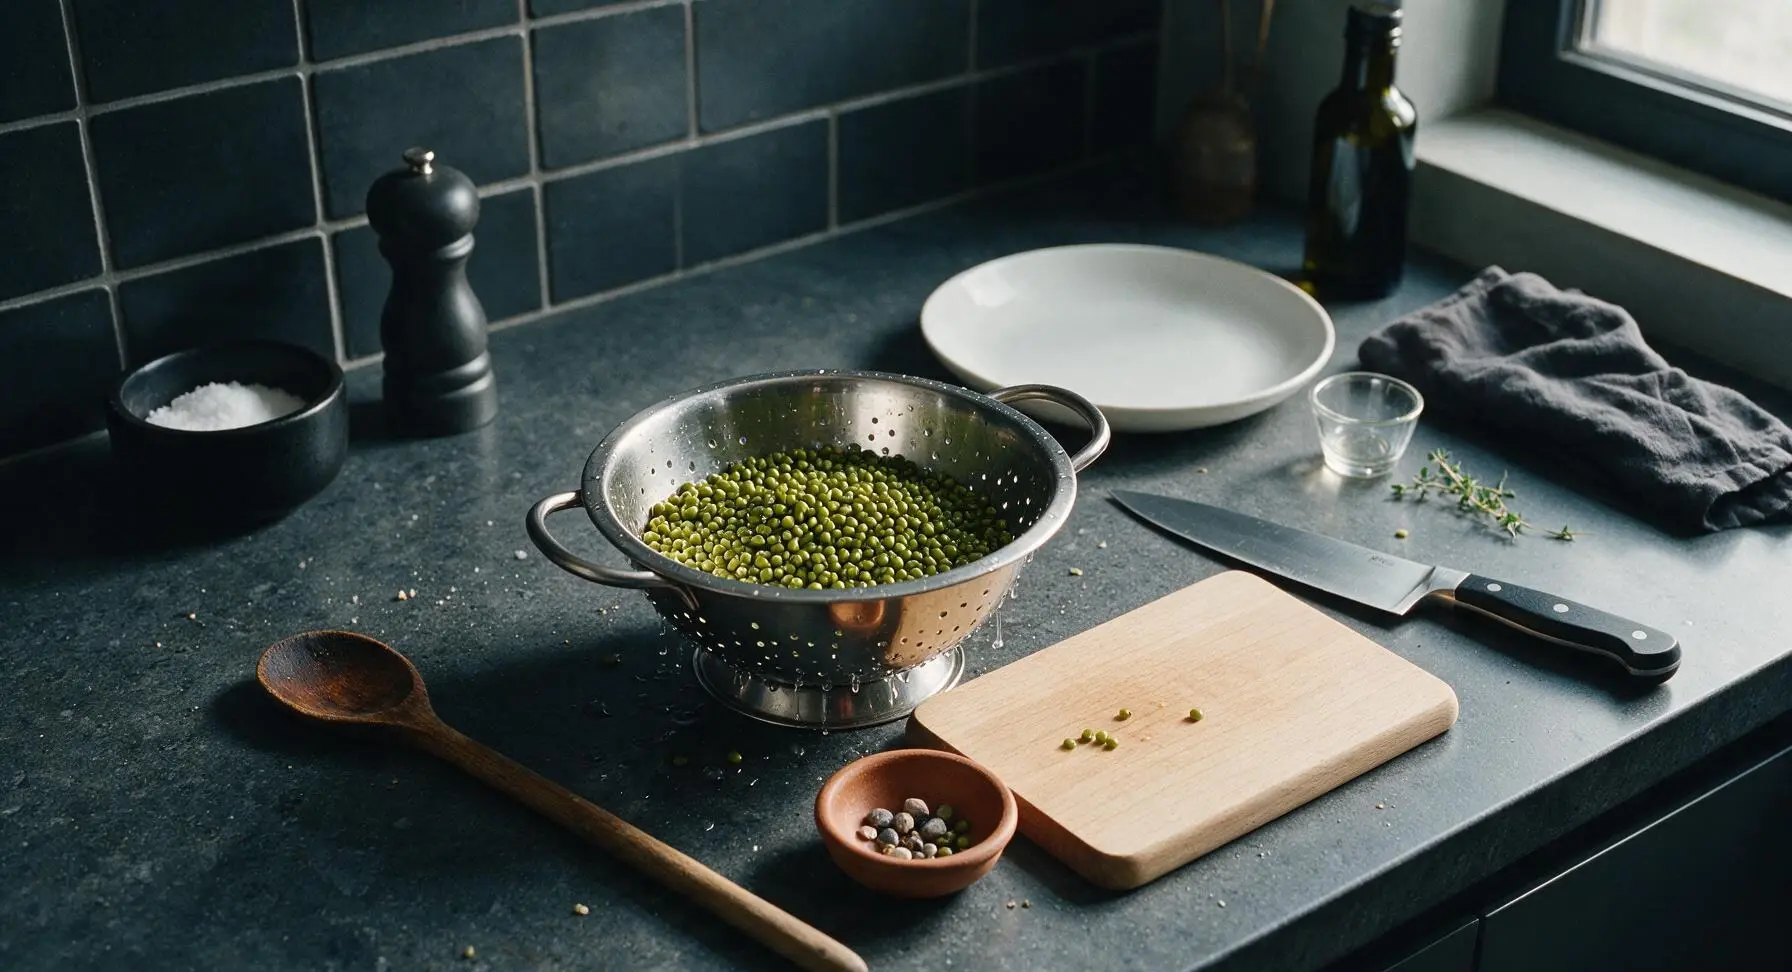
Pour the 200g of dried mung beans onto the light beech cutting board. Slowly pick through the beans to remove any small pebbles, discolored shriveled beans, or outer husk debris, placing all discards into the terracotta pinch pot. Transfer the sorted beans to the polished stainless steel colander, and rinse under cold running tap water for 60 seconds, swishing the beans with your fingers, until the water draining from the colander runs completely clear with no cloudiness. Shake the colander gently to drain excess water from the beans.
Step 1
step1:Sort and Rinse Beans
Step 1
step1:Sort and Rinse Beans
2

Add Ingredients to Pot

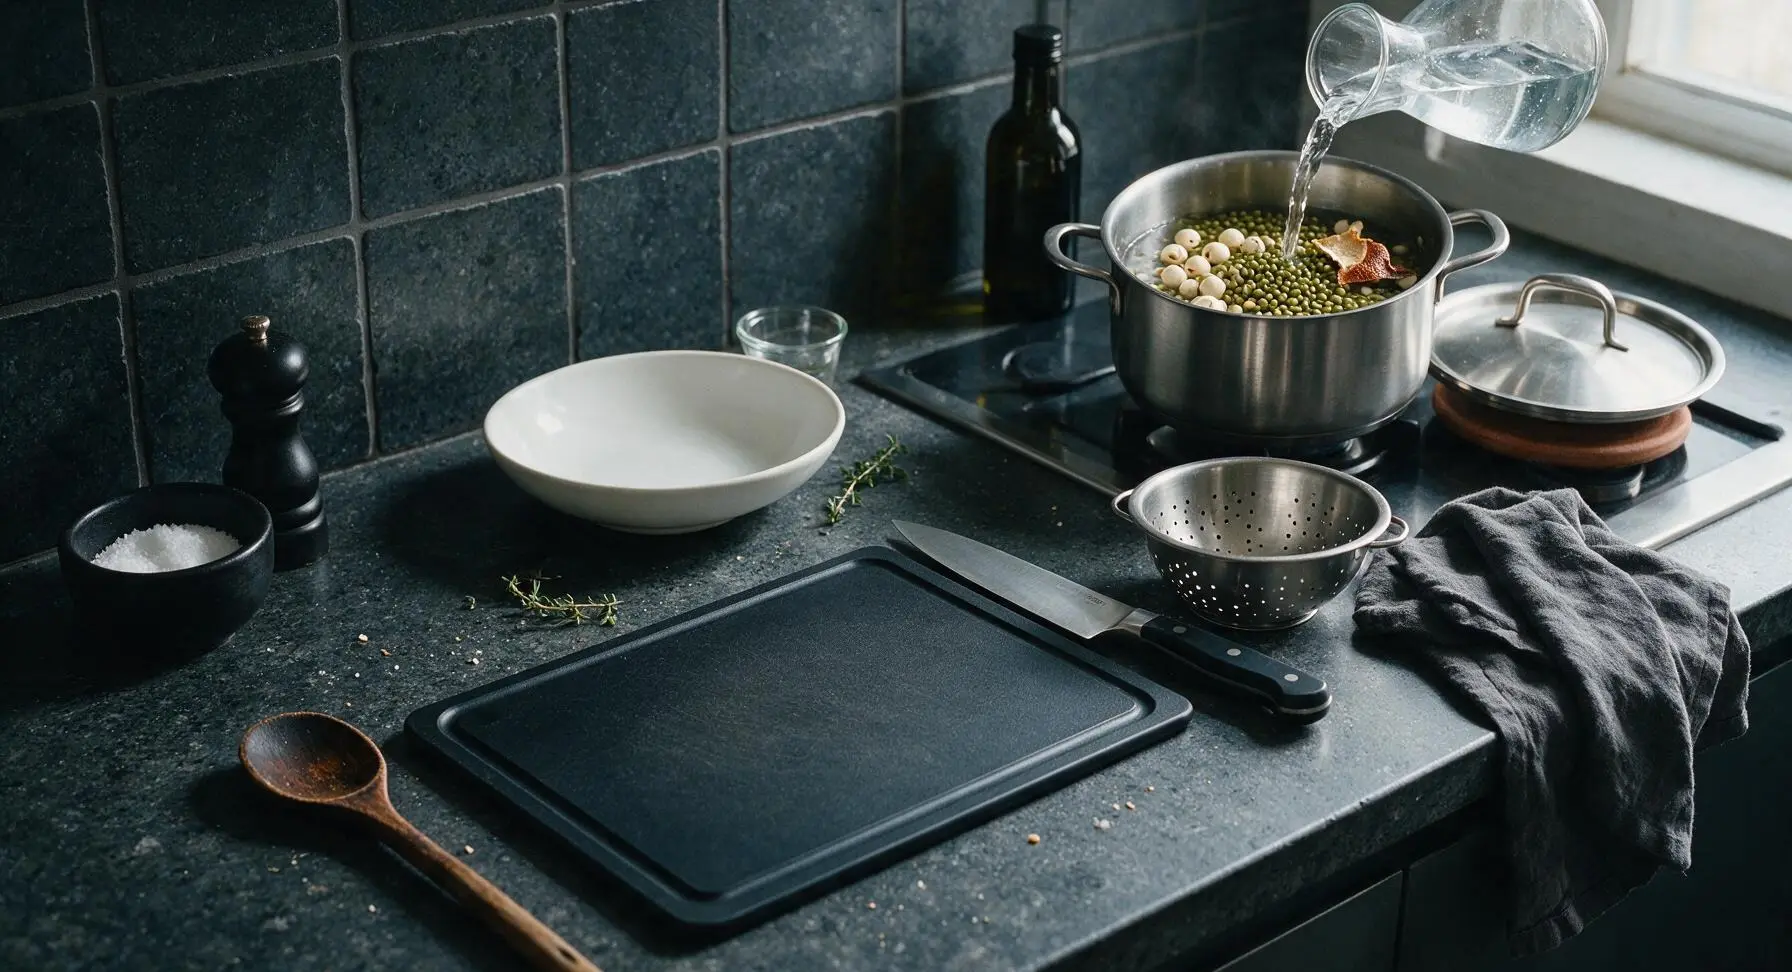
Transfer the rinsed, drained mung beans from the colander into the 3L matte stainless steel soup pot. Add the 30g of dried lotus seeds, the small rinsed piece of dried tangerine peel, and 1.2L of cold filtered water poured from the glass carafe. Place the stainless steel lid securely on the pot, and turn the stovetop burner to medium-high heat (170C/340F) to bring the water to a rolling boil, approximately 8-10 minutes.
Step 2
step2:Add Ingredients to Pot
3

Simmer Until Beans Soften

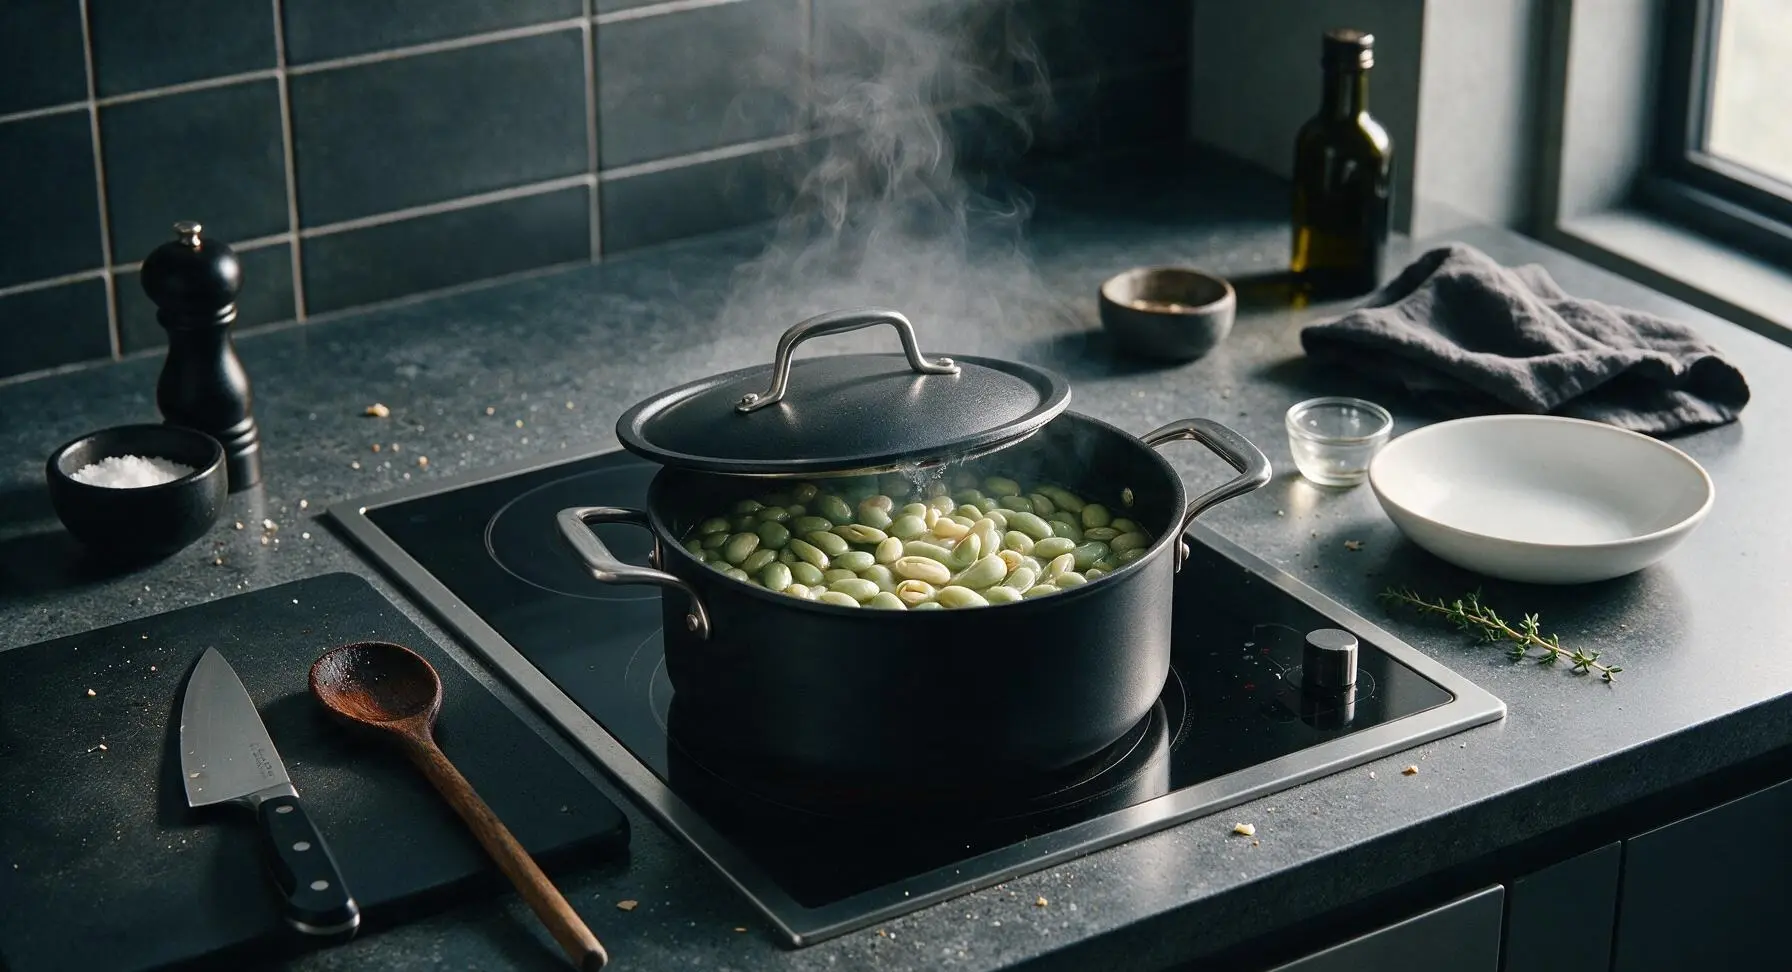
Once the water reaches a full rolling boil (visible large bubbles breaking rapidly at the surface, steady steam escaping from the lid’s steam vent), turn the heat down to the lowest setting to maintain a gentle, quiet simmer. Prop the lid slightly ajar (5mm gap) to prevent boiling over, and set a timer for 30 minutes. As the beans cook, they will swell to twice their original size, fade to a soft pale jade green, and roughly 30% of the beans will split open naturally to release their starchy, creamy interior. Do not stir vigorously during simmering, as this can break the beans into mush.
Step 3
step3:Simmer Until Beans Soften
4

Sweeten with Rock Sugar

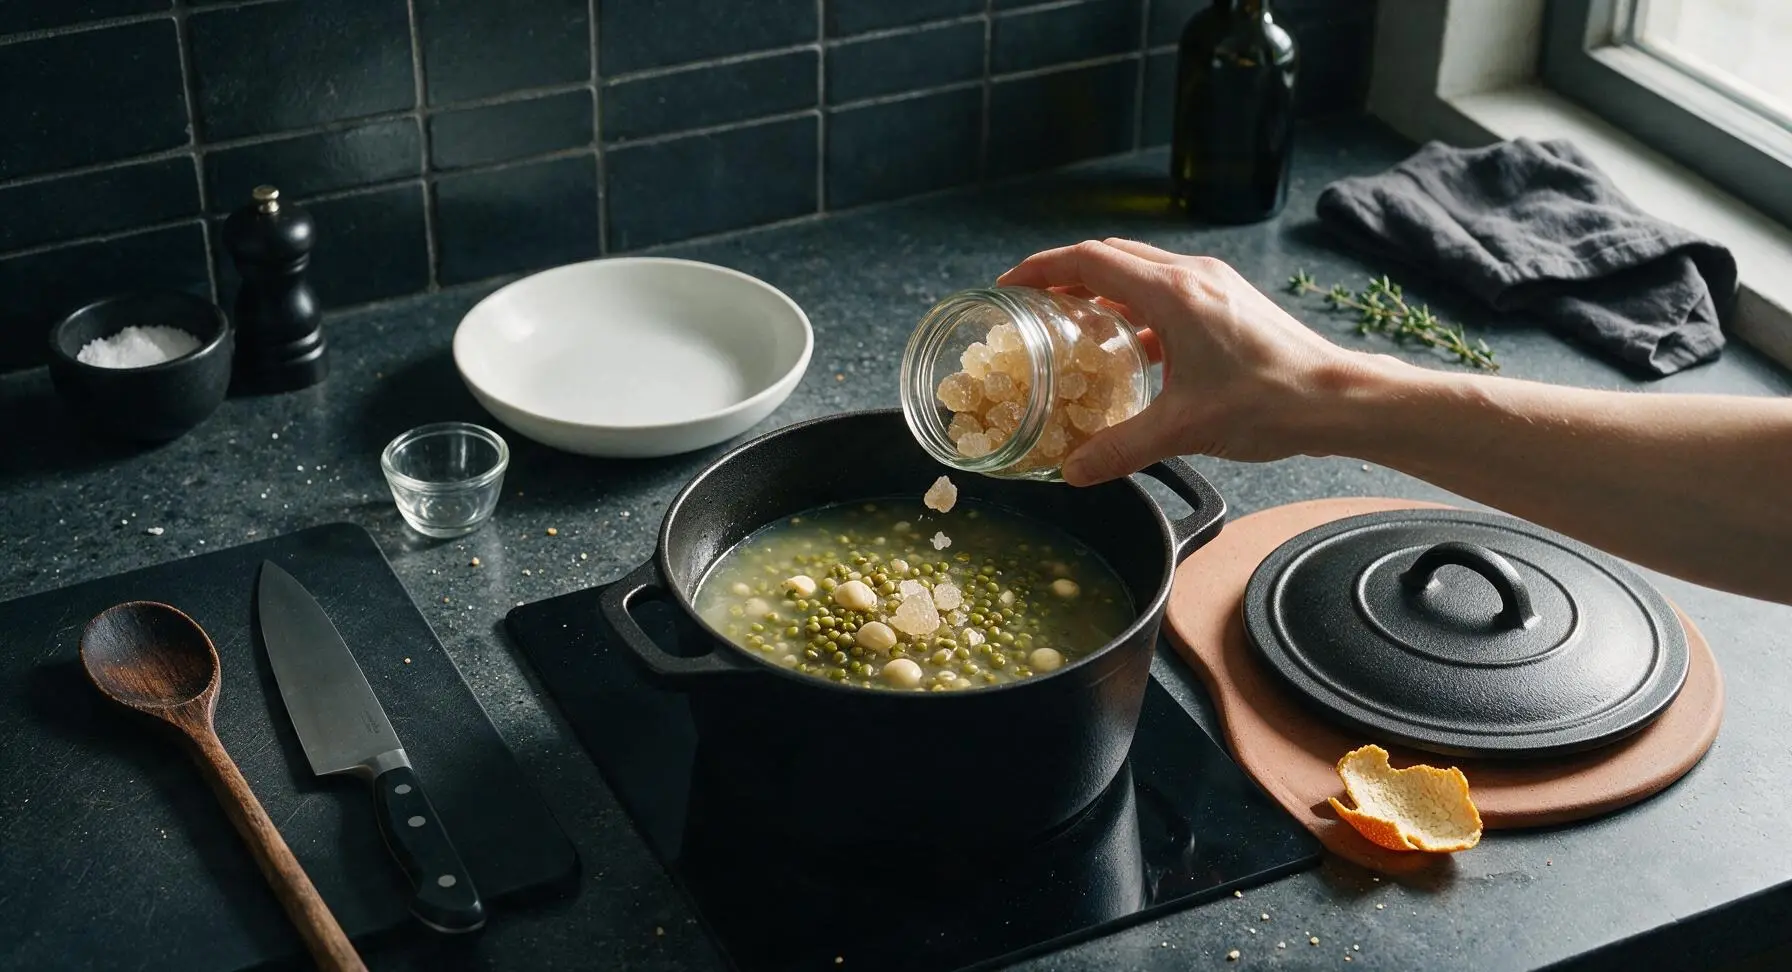
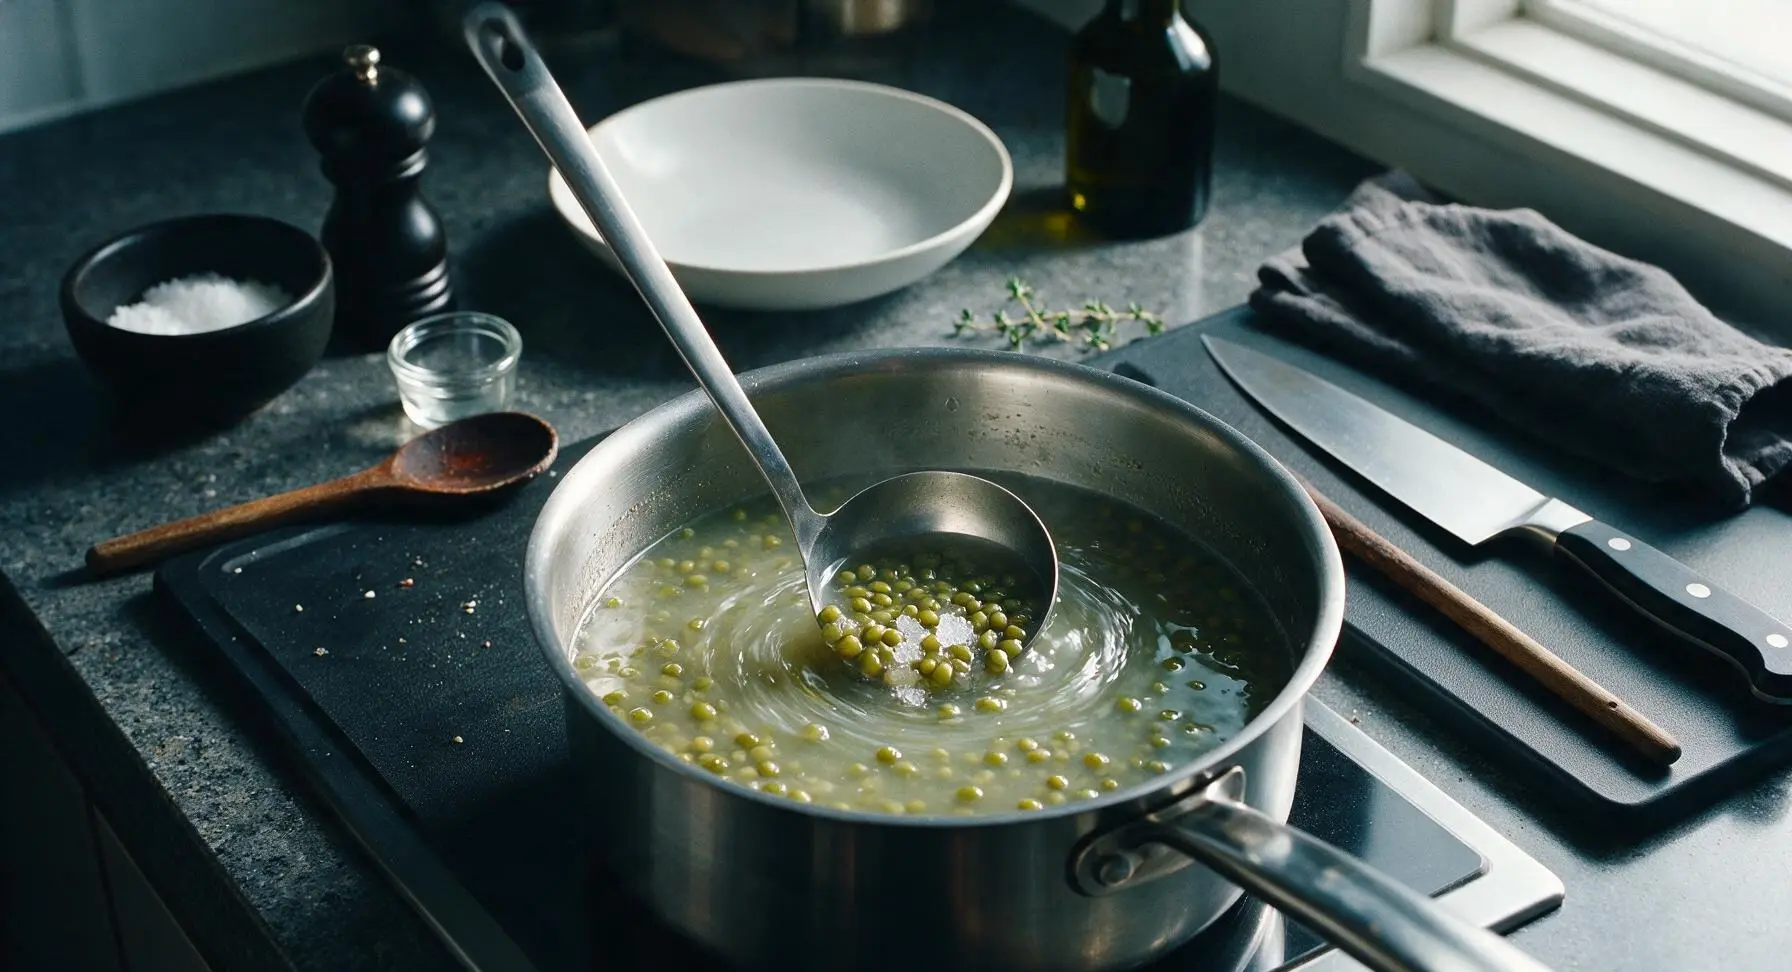
After 30 minutes of simmering, turn off the stovetop heat. Use the ladle to fish out the piece of tangerine peel and discard it into the pinch pot. Add the 60g of yellow rock sugar to the pot, stirring gently in slow circular motions with the ladle until all sugar crystals fully dissolve, about 60 seconds. Taste a small spoonful of broth: it should have a mild, clean sweetness; add up to 10g extra rock sugar if you prefer a sweeter profile, avoiding an overly cloying taste that masks the bean flavor.
Step 4
step4:Sweeten with Rock Sugar
Step 4
step4:Sweeten with Rock Sugar
5

Chill for Serving

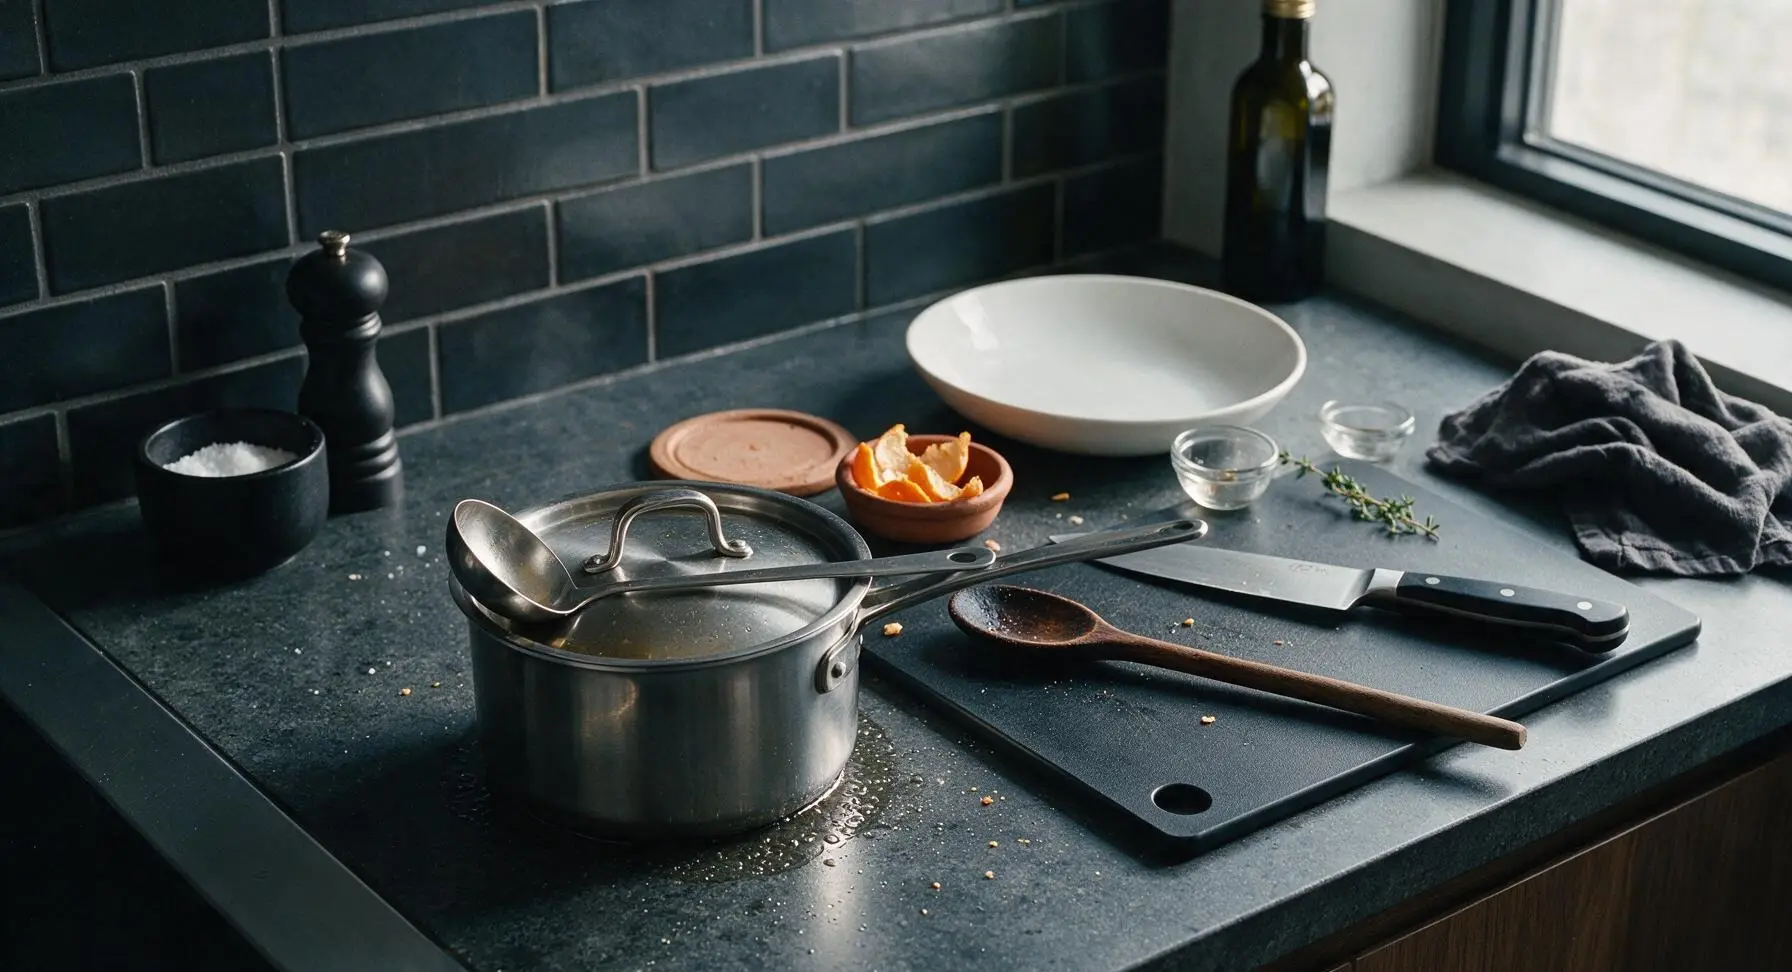
Place the lid back fully on the pot, and let the soup cool to room temperature on the counter for 20 minutes (the pot will be warm to the touch but not hot). Once cooled, transfer the covered pot to the refrigerator to chill for a minimum of 2 hours, until the soup reaches 4C/40F. For immediate serving, you can skip chilling and serve warm, but the chilled version is traditionally enjoyed for summer cooling. Do not freeze the soup, as ice crystals will break down the bean texture and turn the broth watery when thawed.
Step 5
step5:Chill for Serving
6

Ladle and Garnish Soup

Remove the chilled soup pot from the refrigerator and set it back on the counter. Use the stainless steel ladle to scoop 1.5 cup portions of soup (including an even mix of clear broth, tender split beans, and soft lotus seeds) into each clear glass soup bowl. Rest a pale celadon ceramic soup spoon across each bowl rim, and float one small fresh mint sprig on the surface of the soup for a bright, aromatic garnish. Serve immediately before the soup warms to room temperature.

Step 6
step6:Ladle and Garnish Soup

Tips

1.Skip pre-soaking dried mung beans for this recipe: unsoaked beans hold their shape better during slow simmering, and the gradual starch release creates a clearer, smoother broth instead of the murky, mushy texture that comes from cooking pre-soaked beans.
2.Use yellow rock sugar instead of white granulated sugar: rock sugar dissolves into a mild, clean sweetness that does not overpower the delicate earthy, nutty flavor of mung beans, and it produces a crystal-clear broth rather than the slightly sharp, harsh sweetness of white sugar.
3.Add a tiny pinch (less than 1g) of fine salt to each bowl just before serving: the salt will not make the soup taste salty, but will amplify the sweet, nutty notes of the beans and balance the flavor for a more complex, well-rounded taste.


✨ You May Also Like

Soups & Stews
🍜 Japan

Rich, umami-dense Hokkaido-style miso ramen with chewy noodles, savory fermented broth, and classic toppings, a cozy, deeply satisfying warm meal.

⏱️ 45 minuteSoups & Stews ★ 4.5
Soups & Stews
🍜 United States

A hearty, peppery tripe and root vegetable stew with colonial Philadelphia roots, thick, warming, and packed with bold savory flavor for cold winter days.

⏱️ 2 hours 3Soups & Stews ★ 4.6
Soups & Stews
🍜 Mexico

Hearty, warming red pork posole loaded with tender hominy, slow-simmered in a rich smoky chile broth, served with zesty fresh garnishes for a deeply comforting, satisfying meal.

⏱️ 2 hours 3Soups & Stews ★ 4.7
Soups & Stews
🍜 United States

Warm, soothing classic chicken noodle soup loaded with tender chicken, soft egg noodles, and savory veggies, perfect for chasing chills and feeding the whole family.

⏱️ 40 minuteSoups & Stews ★ 4.9
Soups & Stews
🍜 France

Deeply savory caramelized onion broth topped with crusty bread and bubbly melted Gruyère, a timeless French bistro comfort food ideal for cold days.

⏱️ 1 hour 25Soups & Stews ★ 4.8
Soups & Stews
🍜 United States

Hearty, briny Maryland crab soup loaded with sweet blue crab, tender summer vegetables, and zesty Old Bay, a beloved Chesapeake Bay coastal comfort staple.

⏱️ 55 minuteSoups & Stews ★ 4.9

green bean soup:Frequently Asked Questions

1.Do I need to soak dried mung beans before cooking this soup? ▾
You don’t have to, but soaking them in cold filtered water for 2–4 hours cuts cook time by nearly half and helps them cook evenly to that ideal soft, creamy texture. If you’re crunched for time, a 30-minute hot water soak works; just avoid soaking longer than 8 hours, as beans can turn overly mushy and lose their subtle, fresh flavor.
2.Can I use regular white granulated sugar instead of yellow rock sugar? ▾
You can, but yellow rock sugar gives the soup a softer, less sharp sweetness than granulated sugar, with a faint honeyed note that doesn’t overpower the beans and citrus. If you swap, use about 25% less granulated sugar than the rock sugar amount called for, and add it gradually to taste so the soup doesn’t end up cloyingly sweet.
3.Why do I need to remove the cores from dried lotus seeds? ▾
The small, green core at the center of dried lotus seeds has a very bitter, grassy flavor that will throw off the gentle, sweet balance of the soup. If you buy whole lotus seeds instead of pre-halved, cored ones, split each seed open with a small paring knife and pop the tiny green core out before adding them to the pot.
4.How do I prepare dried aged tangerine peel for this recipe? ▾
First, rinse the peel under cool running water to scrub off surface dust or residual salt from the aging process, then soak it in warm water for 10 minutes to soften. Gently scrape off the soft, white inner pith with a spoon before adding it—this cuts out unwanted bitter edge so only the bright, warm citrus aroma comes through.
5.How long does this soup need to cook for the right texture? ▾
If using unsoaked mung beans, plan for 45–55 minutes of gentle simmering over medium-low heat; soaked beans only need 25–35 minutes. You’ll know it’s done when most beans have split open, lotus seeds are tender enough to pierce easily with a fork, and the broth is pale green with a slight creamy sheen.
6.Can I make this soup in an Instant Pot or pressure cooker to save time? ▾
Absolutely! Add all ingredients except the rock sugar to your pressure cooker, seal the lid, and cook on high pressure for 10 minutes, then do a quick pressure release. Stir in the rock sugar until fully dissolved, let the soup cool to room temp, then chill—this cuts total cook time to under 30 minutes start to finish.
7.Why does my green bean soup turn out bitter sometimes? ▾
The two most common culprits are unscraped tangerine peel pith and leftover lotus seed cores, both of which leach bitter compounds as they simmer. It can also turn bitter if you boil it too hard over high heat, which scorches beans at the pot bottom and ruins the whole batch—stick to a gentle, low simmer.
8.How long should I chill the soup before serving for the best flavor? ▾
Let the cooked soup cool to room temperature first (about 1 hour on the counter) before transferring it to a sealed fridge container, then chill for a minimum of 2 hours, up to 4 hours, for that perfectly cold, refreshing bite. Don’t chill longer than 24 hours before serving, as beans get starchy and the citrus aroma fades.
9.Can I add other ingredients like sago or tapioca pearls to this soup? ▾
Definitely! Small sago pearls or cooked tapioca make a great textural addition, just cook them separately per package directions and stir them into the soup right before chilling so they don’t absorb too much broth and turn gummy. Avoid adding starchy add-ins while the soup boils, as they can make the batch thick and gluey.
10.How can I make a lighter, less starchy version of this soup? ▾
If you prefer a clearer, lighter broth, cook the beans for less time—stop simmering right when beans are tender but haven’t fully split open and released their starchy interior into the water. You can also add 1–2 extra cups of cold filtered water off heat to thin it, adjusting sugar slightly to keep sweetness balanced.
11.How do I store leftover chilled green bean soup, and how long does it keep? ▾
Transfer leftovers to an airtight, sealed container and keep them in the fridge for up to 3 days. Give the soup a quick stir before serving, as beans will settle to the container bottom as it sits. I don’t recommend freezing this soup, as mung beans and lotus seeds turn mushy and grainy when thawed, ruining the texture.
12.Can I use fresh tangerine zest if I don’t have aged tangerine peel? ▾
Aged tangerine peel has a deep, warm, muted citrus aroma that’s very different from bright, sharp fresh zest, but you can swap in a 1-inch strip of fresh tangerine zest (avoid the white pith!) in a pinch. Just add the zest during the last 5 minutes of cooking so it doesn’t turn bitter, instead of simmering it the whole time.
13.What’s the difference between this green bean soup and red bean soup? ▾
Red bean soup is a separate, equally classic Chinese sweet soup, but it has a nuttier, earthier flavor and thicker texture than light green mung bean soup. Mung beans are prized for their light, cooling properties in traditional Chinese food therapy, which is why they’re the star of this particular chilled summer refresher.
14.Can I make this soup lower in sugar? ▾
Of course! Yellow rock sugar is easy to adjust, so just add half the called-for amount first, taste the warm soup, and add more a little at a time until it hits your preferred sweetness level. You can also swap in a heat-stable zero-calorie granulated sweetener, adding it at the end of cooking to avoid any odd aftertaste.
15.Why did my mung beans stay hard even after simmering for a long time? ▾
This almost always happens if you add sugar too early in the cooking process. Sugar draws moisture out of beans and toughens their outer skins, making them impossible to soften no matter how long you cook them. Wait to add your yellow rock sugar until the beans and lotus seeds are fully tender, then stir until the sugar dissolves.
16.Can I use canned mung beans instead of dried to cut down on prep? ▾
You can in a pinch, but the texture will be noticeably softer and less creamy than dried beans cooked from scratch. If you use canned, rinse the beans thoroughly to get rid of the canned brine flavor, add them to the pot with pre-softened lotus seeds and tangerine peel, simmer 10 minutes to meld flavors, then sweeten and chill.
17.Is this soup suitable for vegan and gluten-free diets? ▾
Yes! All the core ingredients—dried mung beans, yellow rock sugar, dried lotus seeds, aged tangerine peel, and filtered water—are naturally 100% vegan and gluten-free, with no hidden animal products or wheat-based additives. Just double-check your dried tangerine peel for added wheat-based preservatives if you’re strictly gluten-free.
18.What’s the ideal ratio of beans to water for the classic consistency? ▾
For that perfect not-too-thick, not-too-watery texture, use 1 cup of dried mung beans to 8 cups of cold filtered water, plus ¼ cup dried lotus seeds and one small piece of aged tangerine peel. Cut water to 6 cups for a thicker, creamier soup, or add 2 extra cups for a very light, brothy version.
19.Can I serve this soup warm instead of chilled? ▾
Absolutely! While it’s most popular chilled in the summer, this soup is delicious served warm or at room temperature too, especially on cooler rainy days. You don’t have to change anything about the cooking process—just skip the fridge chill step and serve once it cools to a comfortable eating temperature, adjusting sweetness to taste.

Comments (20)

2 days ago

OMG this chilled sweet green bean soup is exactly what my grandma used to make when I was a kid growing up in LA! I’ve been chasing that flavor for years and this recipe is dead on. So easy to throw together on a Sunday for meal prep, I’ve been eating a bowl after every walk this week because it’s been so hot out. 10/10 no notes.

yesterday

Wait do you add the optional sago pearls? I’ve been debating if it’s worth the extra step!

2 hours ago

The sago pearls add such a fun chewy texture if you have them on hand, but the soup is absolutely delicious even without them! Feel free to skip if you don’t feel like the extra step.

1 week ago

Made this for our neighborhood potluck last weekend and it was a total hit! I cut the sugar just a tiny bit because my family prefers less sweet desserts, and it still turned out great. Only reason I’m not giving 5 stars is I overcooked the beans the first try so they got a little mushy, totally my bad though.

5 days ago

Pro tip: turn the heat off right when the beans just start to split! I learned that the hard way too, makes such a difference for texture.

3 days ago

Great call on the sugar adjustment to fit your taste! And Amy’s tip is perfect — beans can go from perfectly tender to mushy in just a couple minutes, so keeping an eye on them towards the end of cook time helps a ton.

3 days ago

Game changer for summer! I’m vegan so I swapped the regular rock sugar for coconut sugar and it gave it the loveliest subtle caramel note. My roommate who hates all “healthy” desserts went back for two bowls. Will be making this on repeat all August.

2 days ago

Oh the coconut sugar swap sounds genius! Did you use the same amount as the recipe calls for?

yesterday

Yep! Used the exact same measurement, it worked perfectly. I think next time I might add a little pandan leaf too for extra aroma.

2 weeks ago

My kids loved it!!! I was worried the “green bean” part would turn them off because they turn their nose up at veggies, but I told them it was a sweet summer slush soup and they ate every last drop. Even asked if we could have it for dessert after dinner tonight. Total mom win.

1 week ago

Wait my kids are the exact same way! Did you chill it for the full 4 hours before serving, or can I get away with 2 if I’m short on time?

5 days ago

So glad the kids enjoyed it! If you’re short on time, you can chill it for 2 hours in the fridge, or speed it up by popping it in the freezer for 30 minutes (just give it a good stir so it doesn’t freeze solid around the edges).

5 days ago

SO good. I packed a thermos of this for a day hike in Rock Canyon last weekend and it was the perfect refreshing pick-me-up at the summit. Light, not too heavy, sweet but not cloying. Way better than bringing sugary sports drinks. Already added this to my regular trail snack rotation.

3 days ago

This is such a smart hiking snack idea! Did you keep it chilled in your pack, or does it hold up okay when it warms up a little?

2 days ago

I stuck it in an insulated thermos and it was still nice and cold 4 hours in! I bet it would still taste good a little warmer, but cold hits so much better after climbing uphill for 2 hours.

yesterday

The flavor is great, but I wish the recipe noted how much the beans expand when soaked! I used a small pot and it boiled over all over my stovetop, made a huge sticky mess. Definitely use a bigger pot than you think you need, y’all.

2 hours ago

So sorry to hear about the stovetop mess! That’s such a great callout — we’ve added a note to the recipe to recommend using a larger stock pot to account for bean expansion and bubbling while cooking, so no one else runs into that issue. Thanks for the helpful feedback!

30 minutes ago

Oh no, I almost did the same thing! I remembered my mom always using a huge pot for mung bean soup so I grabbed my big stock pot last minute, total lifesaver.

30 minutes ago

Just finished making this, it’s chilling in the fridge right now! I snuck a warm spoonful while it was still on the stove and it already tastes incredible. Can already tell this is going to be a summer staple for me. The 40 minute cook time is no joke, super fast and low effort.

5 minutes ago

Yay, so glad the warm test bite passed! Make sure to give it a good stir before serving once it’s fully chilled, and enjoy!

1 week ago

Brought this to our church potluck last Sunday and people were asking me for the recipe before we even got to the dessert table! I added a handful of cubed honeydew on top for garnish and it was so pretty and fresh. 10/10, will be making for every summer gathering from now on.

5 days ago

The honeydew garnish sounds amazing! I’m making this for our family reunion next weekend, definitely stealing that idea.

3 days ago

Perfect for meal prep! It stays good in the fridge for almost 5 days, which is ideal for grabbing a quick sweet bite after work. I knocked a star off because I found it a little too sweet for my taste the first go around, so next time I’ll cut the sugar by a quarter.

2 days ago

So glad it works for your meal prep routine! The sweetness level is totally adjustable — feel free to add sugar a little at a time while cooking until it hits exactly what you like.

2 hours ago

112 degrees out today in Phoenix and this soup is the only thing that sounds good. I keep a big batch in the fridge at all times now, it’s better than popsicles for cooling down. I love adding a tiny pinch of salt on top to make the sweetness pop even more, chef’s kiss.

30 minutes ago

The pinch of salt trick is genius! I’m making a batch tonight to beat this ridiculous heat wave.

5 days ago

I added boba to mine instead of sago and it was literal perfection. Tastes like the sweet green bean soup I get at my favorite boba shop but way cheaper and so easy to make at home. Why did I never think to make this myself before?!

3 days ago

Boba is such a fun swap! We love how customizable this recipe is — chewy toppings of any kind pair so well with the mild, sweet bean flavor.

2 weeks ago

My wife used to make this all the time when we were first married, she passed a few years back and I haven’t had it since. This recipe was so easy to follow even for an old guy like me who barely cooks, it tasted just like hers. Made me tear up a little, thank you.

1 week ago

Rick, that means the world to us. We’re so glad this recipe could bring back such warm memories for you, and we hope you get to enjoy many more bowls of it this summer.

yesterday

Made this in my tiny dorm kitchen with just a hot plate and it actually turned out! Super easy, minimal ingredients, no fancy equipment needed. Only issue was I didn’t have a fine mesh strainer so a few bean skins got in, but it didn’t ruin the flavor at all.

2 hours ago

Wait I’m in a dorm too! Did you use dried beans or canned? I don’t have time to soak beans for hours tbh.

just now

Took a chance making this for my very picky Taiwanese mom who swears her own green bean soup is the only good one, and she asked for a second bowl!!! That’s the highest possible praise I could ever get for a recipe. Absolute 10/10, no changes needed.

just now

If it passes the picky Asian parent test it’s officially a winner! Adding this to my must-make list immediately.

2 days ago

Love that this is a sweet treat that doesn’t leave me feeling bloated or over-sugared. I make a big batch on Sundays and have a small bowl after my evening workouts, it’s the perfect light sweet fix. Way better than reaching for a candy bar.

3 days ago

Nice, refreshing dessert for when it’s too hot to turn the oven on for cookies or cake. I added a splash of coconut milk to mine for extra creaminess, it was delicious. Will definitely make again, maybe with a little ginger next time for warmth even though it’s cold?

1 week ago

So easy! I’m definitely not a skilled cook, most of my meals are takeout or frozen dinners, but this came out perfectly on the first try. The instructions were super clear, no confusing steps, and the end result is so tasty. I’m actually proud of myself for making it!

5 days ago

Yesss finally a gluten-free, dairy-free dessert recipe that doesn’t require 10 weird specialty ingredients! All stuff I already had in my pantry. I served this at my gluten-free book club meetup and everyone loved it, even the people who don’t have dietary restrictions.

2 weeks ago

Tasted good, but I prefer my green bean soup a little thicker, almost like a porridge. Next time I’ll cook it a little longer and mash up some of the beans to get that thicker consistency I like. Base recipe is solid though, easy to tweak to your preference.

1 week ago

Packed this for our Central Park picnic last weekend and it was the perfect cool treat on a 90 degree day. I served it in little disposable cups with lids so it was easy to carry around and no mess. Everyone kept asking where I bought it, feels good to say I made it myself!