
green chile casserole

title 1
green chile casserole
⏱️ cook time 35 minutes
🍽️ servings 6
⚡ Difficulty easy

intro

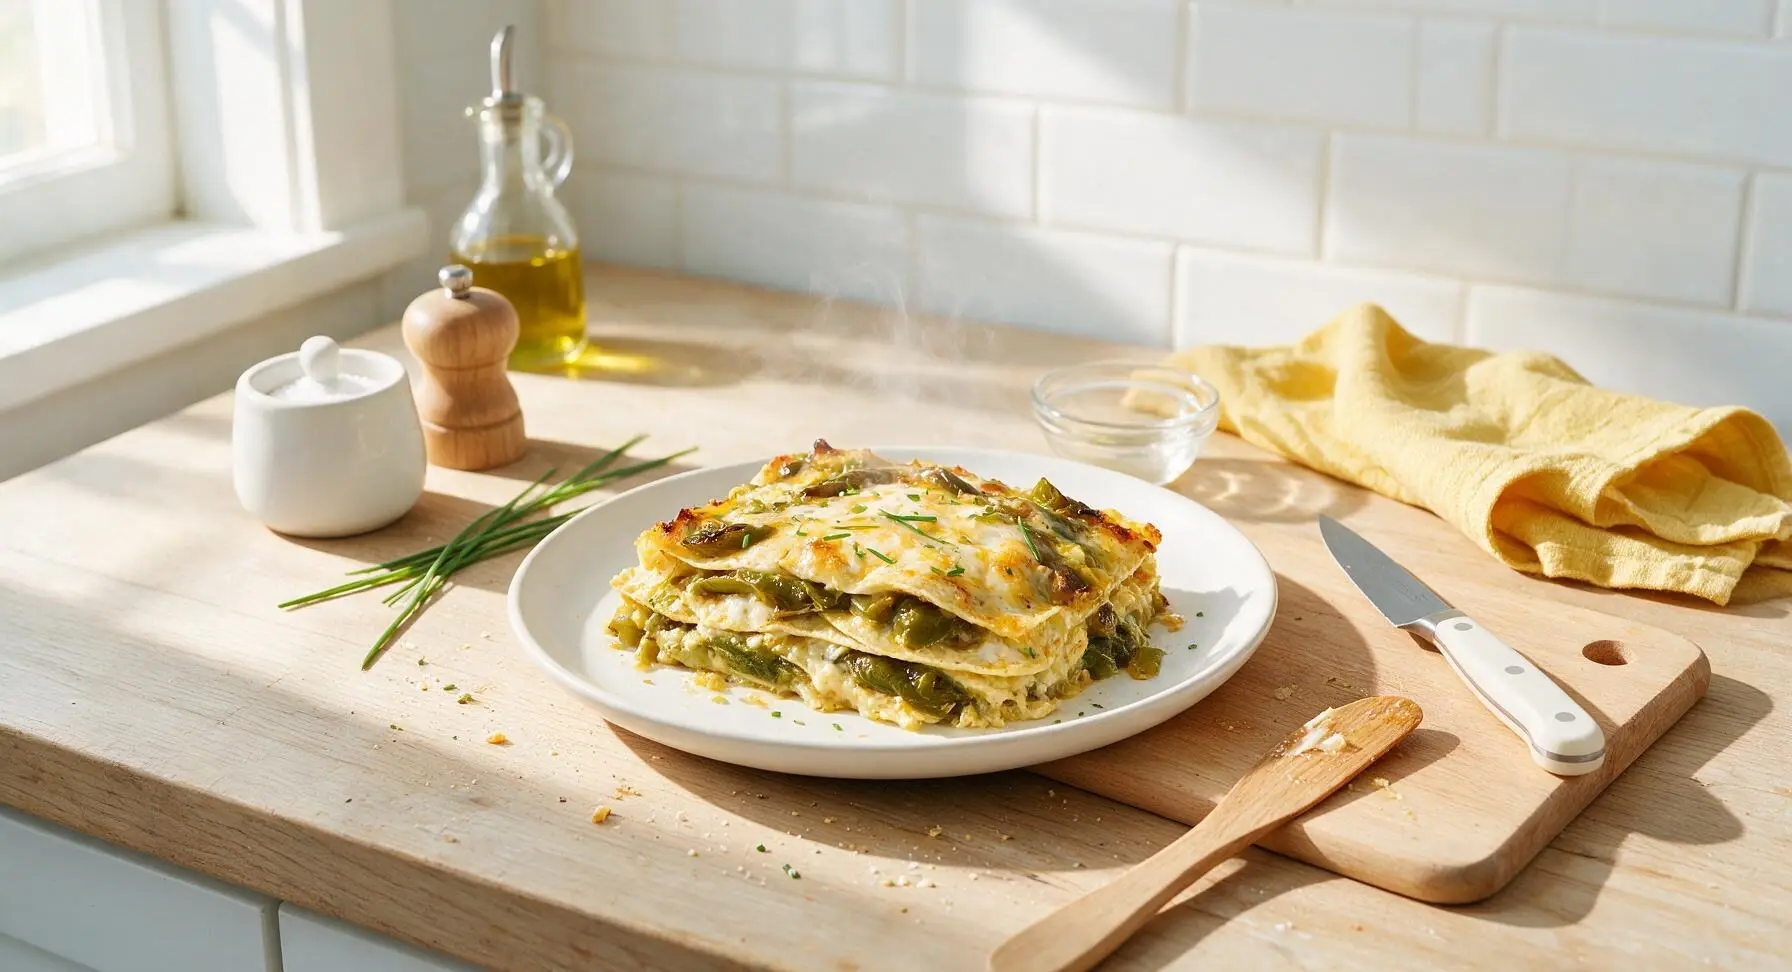
Creamy, gently spicy green chile casserole layers roasted Hatch chiles, soft corn tortillas, and melted cheese for a cozy, crowd-pleasing baked comfort meal.

Ingredients
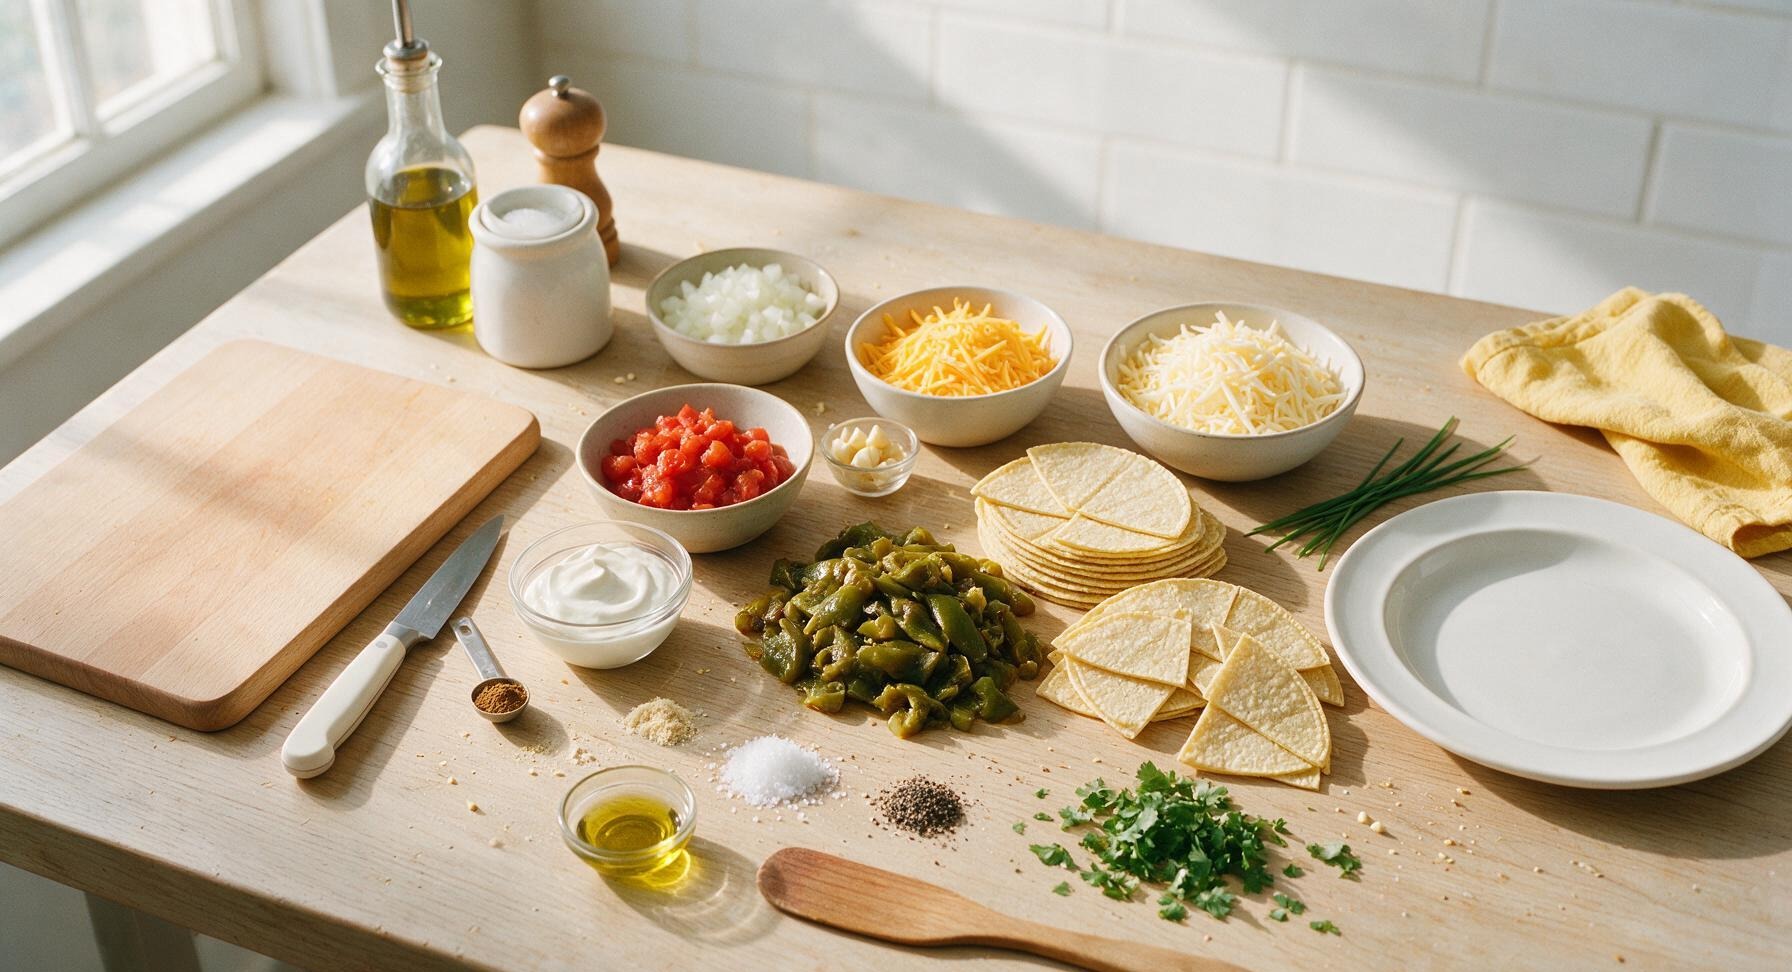
Roasted Hatch green chiles (peeled, seeded, chopped) 450g
6-inch corn tortillas (quartered) 12 each
Monterey Jack cheese 225g
Sharp cheddar cheese 115g
Small yellow onion (diced) 120g
Garlic cloves (minced) 3 each (9g)
Fire-roasted diced tomatoes (drained) 280g
Full-fat sour cream 120g
Ground cumin 1 tsp
Garlic powder 1/2 tsp
Kosher salt 1 tsp
Freshly ground black pepper 1/2 tsp
Olive oil 1 tbsp
Fresh cilantro (chopped, for garnish) 2 tbsp

Steps

1

Sauté Aromatic Base

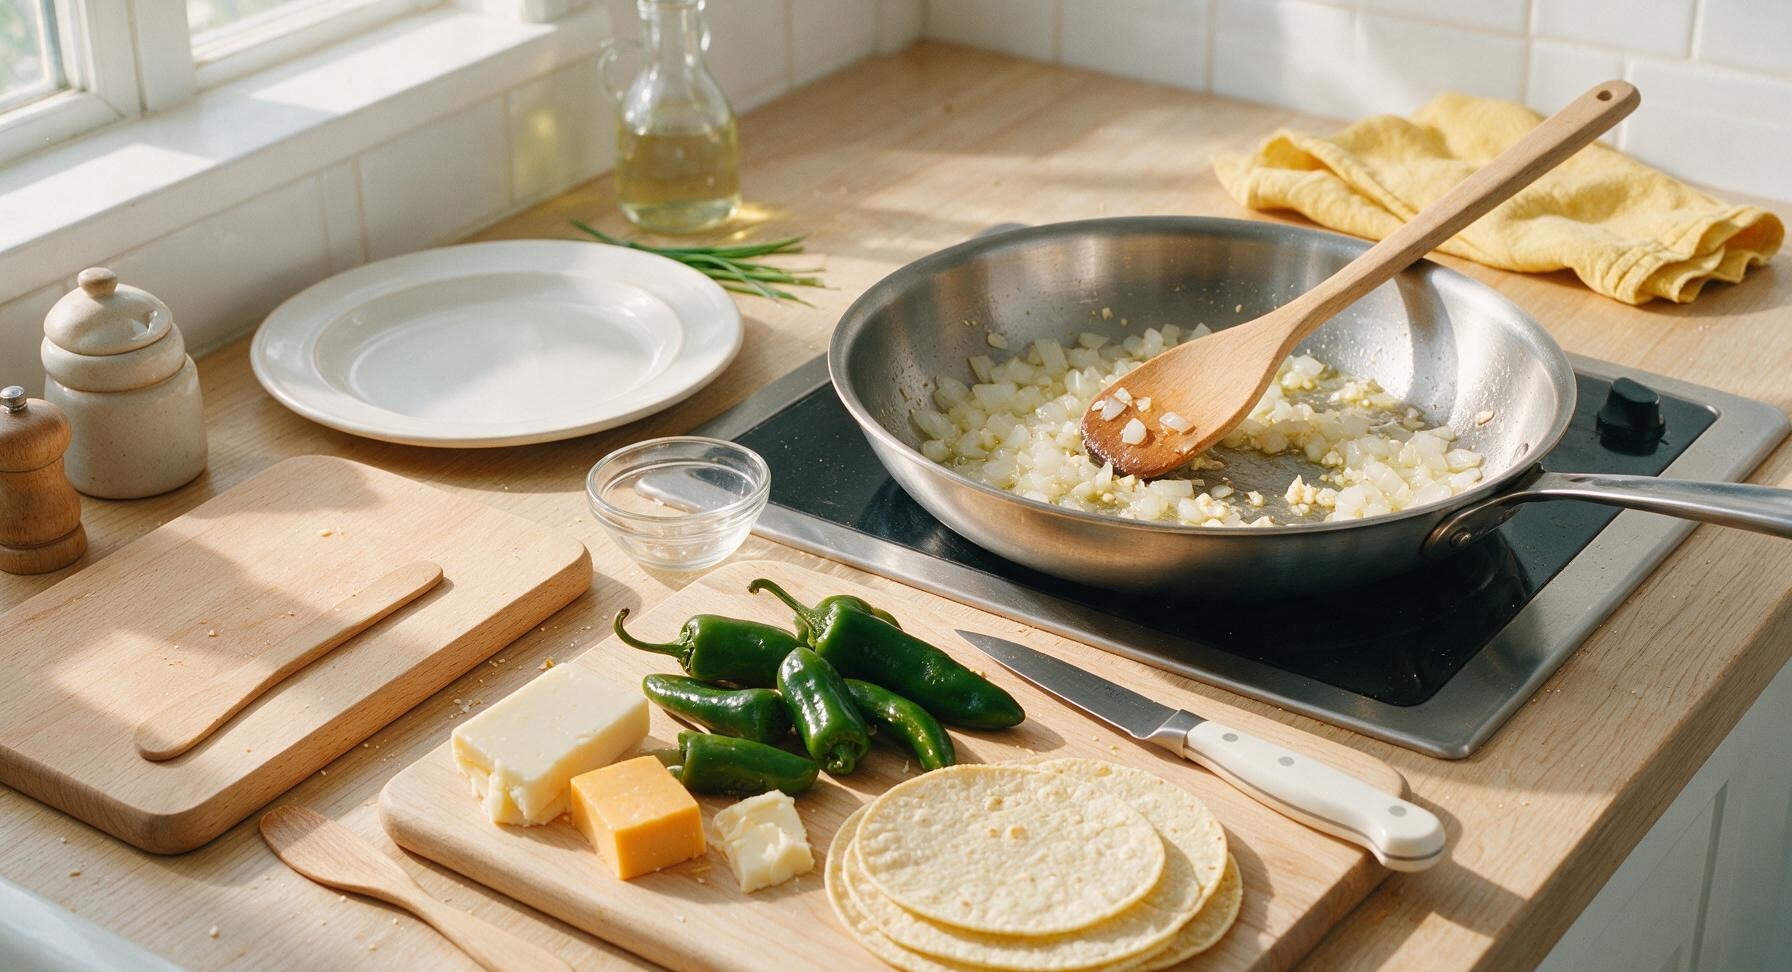
Preheat your oven to 190°C (375°F). Place the 25cm stainless steel skillet over medium heat, add 1 tablespoon olive oil poured from the dark green glass bottle. Once oil shimmers (about 1 minute), add the diced small yellow onion, sauté for 4 minutes until soft and translucent, stirring occasionally with the long maple wooden spoon. Add the 3 minced garlic cloves, cook for 30 seconds until fragrant, taking care not to burn the garlic (burnt garlic will add a bitter taste to the final casserole). Season with 1/2 teaspoon kosher salt, 1 teaspoon ground cumin, and 1/2 teaspoon garlic powder, stir to coat the aromatics evenly.
Step 1
step1:Sauté Aromatic Base
2

Build Chile Sauce Base

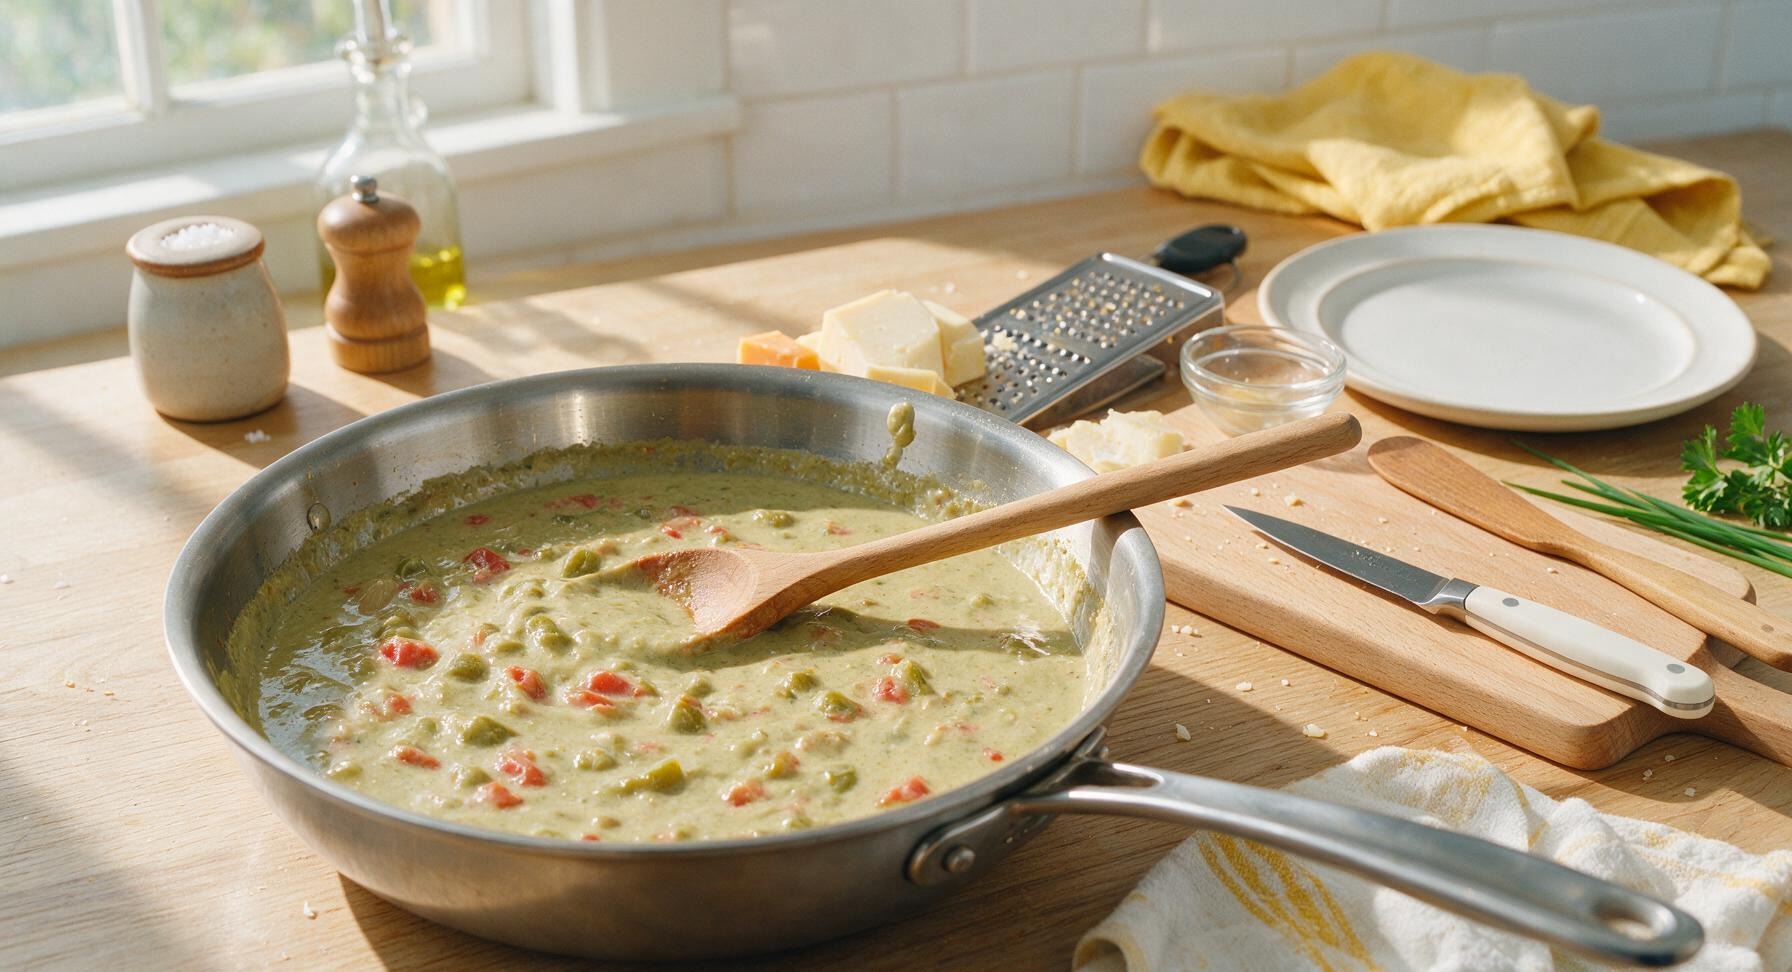
To the skillet with sautéed aromatics, add the 450g chopped roasted green chiles and fully drained 280g fire-roasted diced tomatoes (excess tomato liquid will make the casserole soggy). Stir to combine with the wooden spoon, cook for 3 minutes over medium heat until the mixture is warmed through and any remaining excess liquid has reduced to a thick, saucy consistency. Remove the skillet from heat, stir in 120g full-fat sour cream, remaining 1/2 teaspoon kosher salt, and 1/2 teaspoon freshly ground black pepper from the matte black grinder. Stir until the sauce is smooth, creamy, and evenly combined, with no white streaks of sour cream remaining.
Step 2
step2:Build Chile Sauce Base
3

Shred Cheese Blend

Place the stainless steel box grater on the left side of the maple cutting board. Shred the 225g Monterey Jack and 115g sharp cheddar cheese into the 24cm stainless steel mixing bowl, using the large holes of the grater for soft, even shreds that melt smoothly. Toss the two cheeses gently with your fingers to create an even blend, then set aside 1/2 cup of the cheese mixture in one of the small white ramekins to use as the crispy top layer later. Avoid pre-shredded bagged cheese, as it contains anti-caking agents that prevent smooth, even melting.
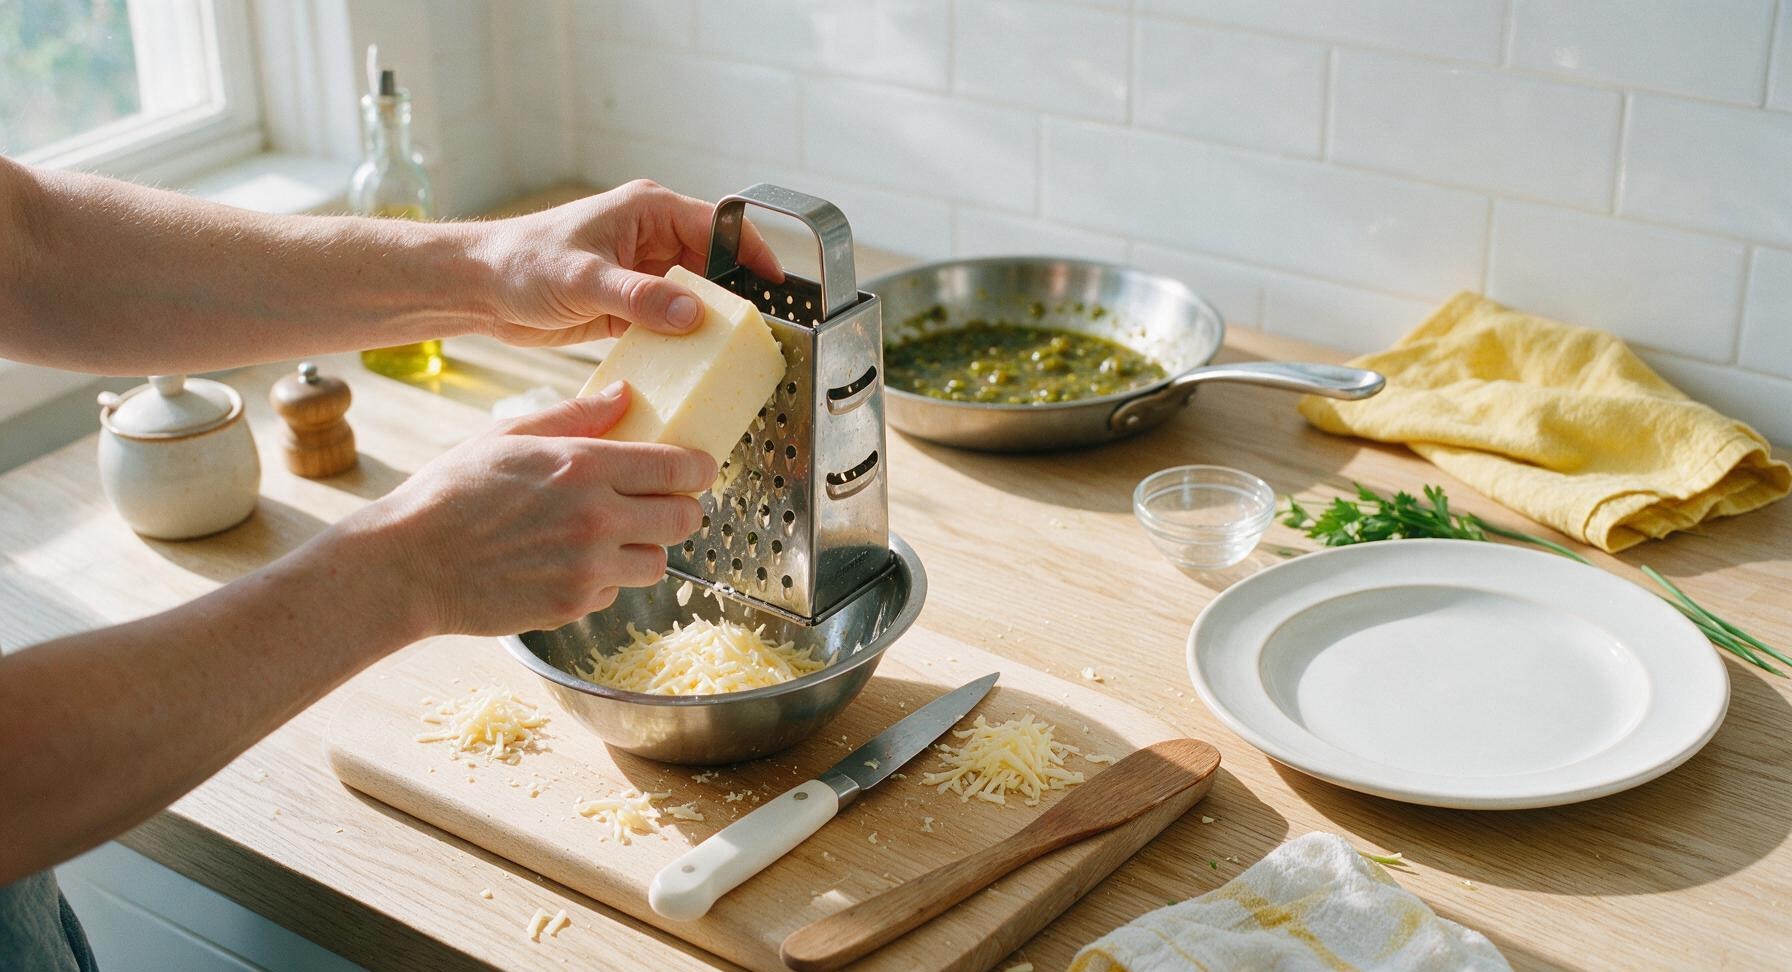
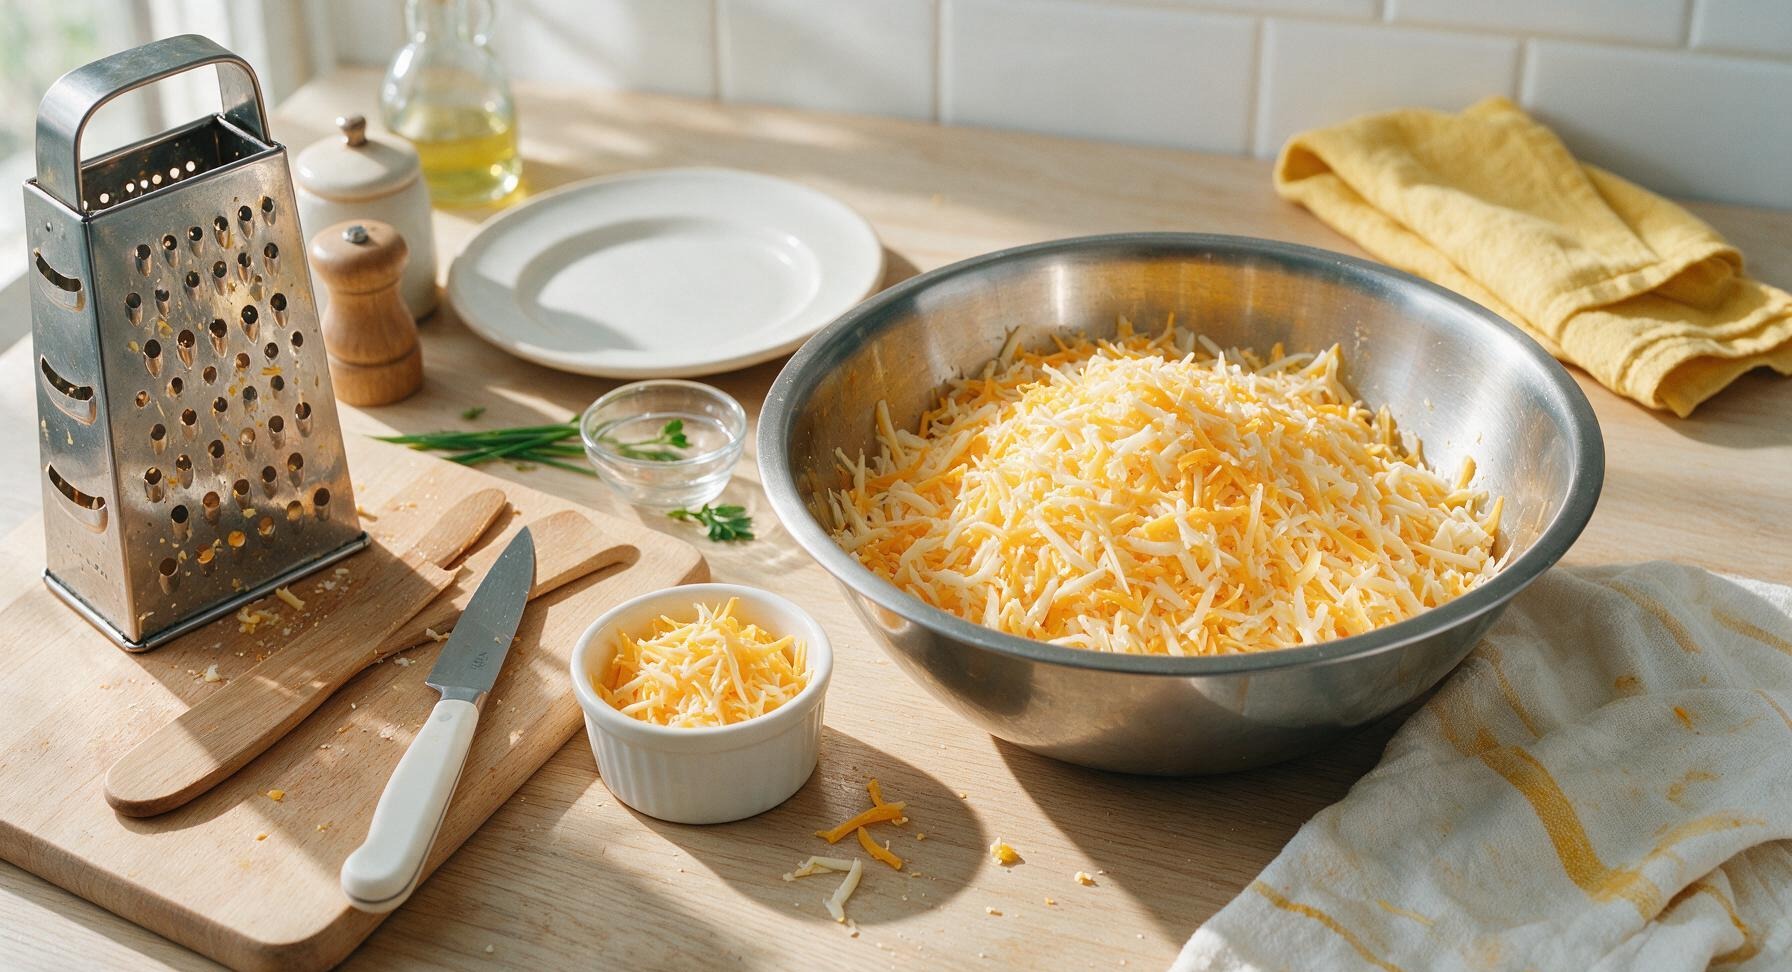
Step 3
step3:Shred Cheese Blend
Step 3
step3:Shred Cheese Blend
4

Layer Casserole Ingredients

Move the 9x13 inch matte white ceramic baking dish from its position behind the cutting board to the center of the maple cutting board. Spread 1/3 of the green chile sauce across the bottom of the dish in an even layer to prevent tortillas from sticking. Top the sauce with a single overlapping layer of quartered 6-inch corn tortillas (using 1/3 of the tortilla pieces), followed by 1/3 of the shredded cheese blend spread evenly over the tortillas. Repeat the layering sequence two more times—sauce, tortillas, cheese—finishing with the final 1/3 of the sauce spread smoothly across the top tortilla layer, ensuring no dry tortilla edges are exposed (exposed tortillas will turn hard and crispy during baking).
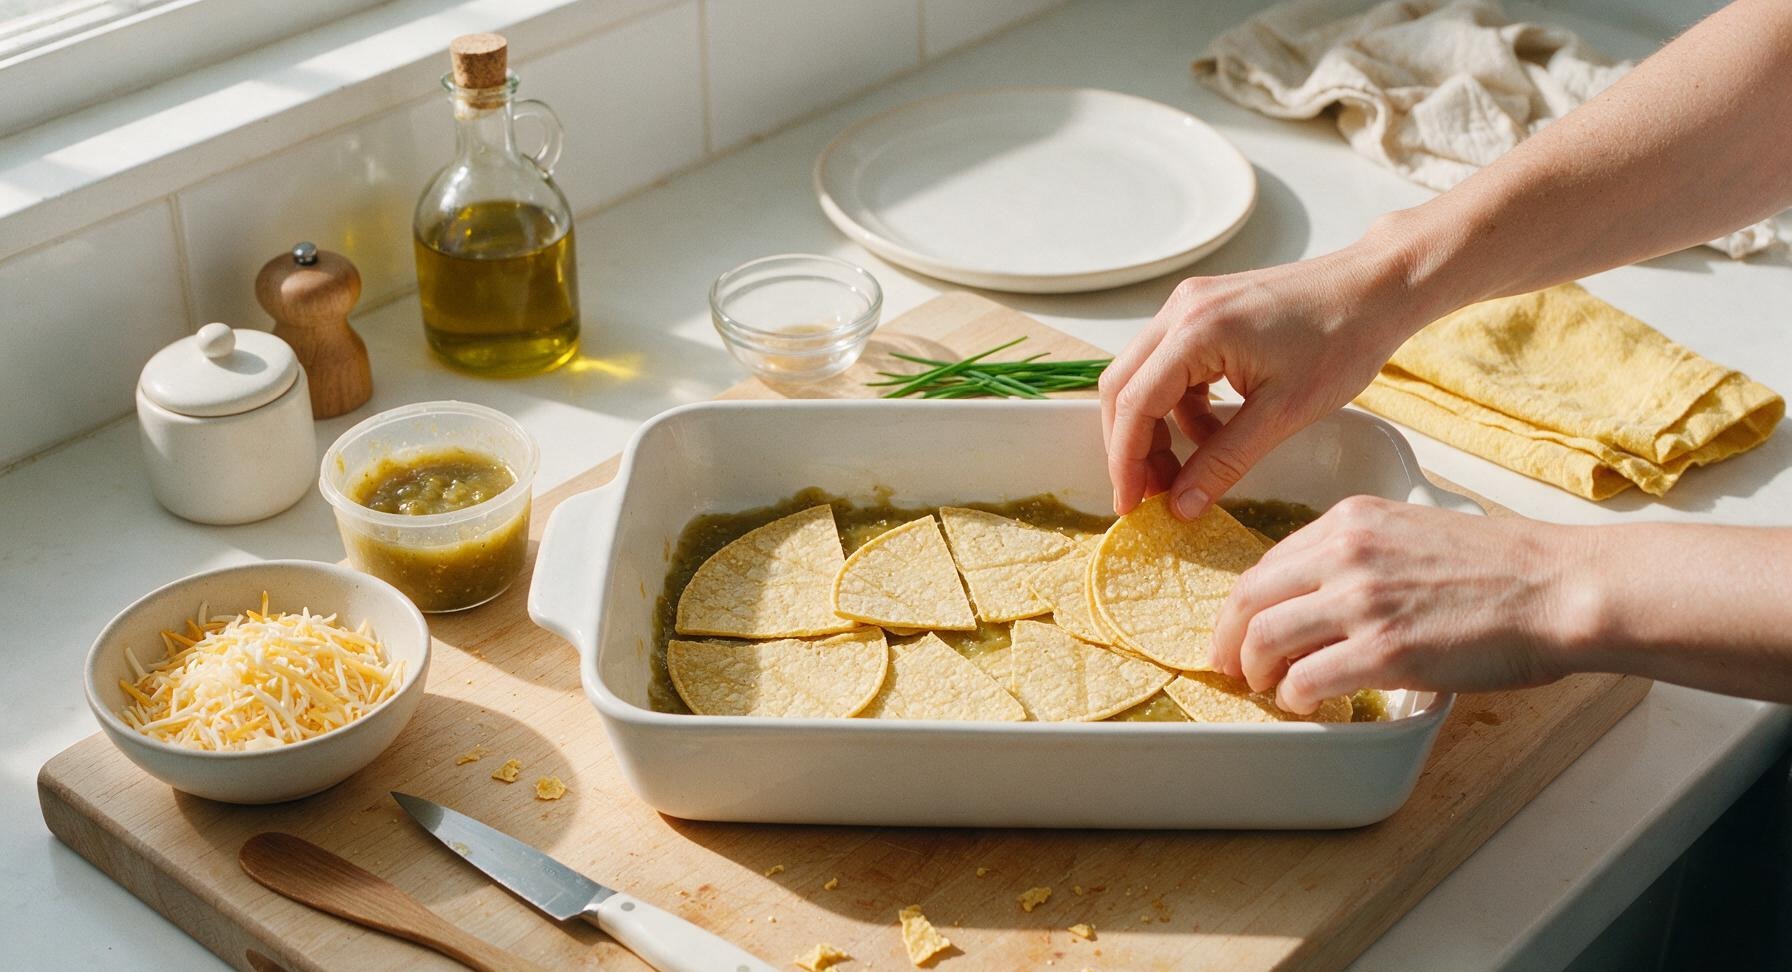
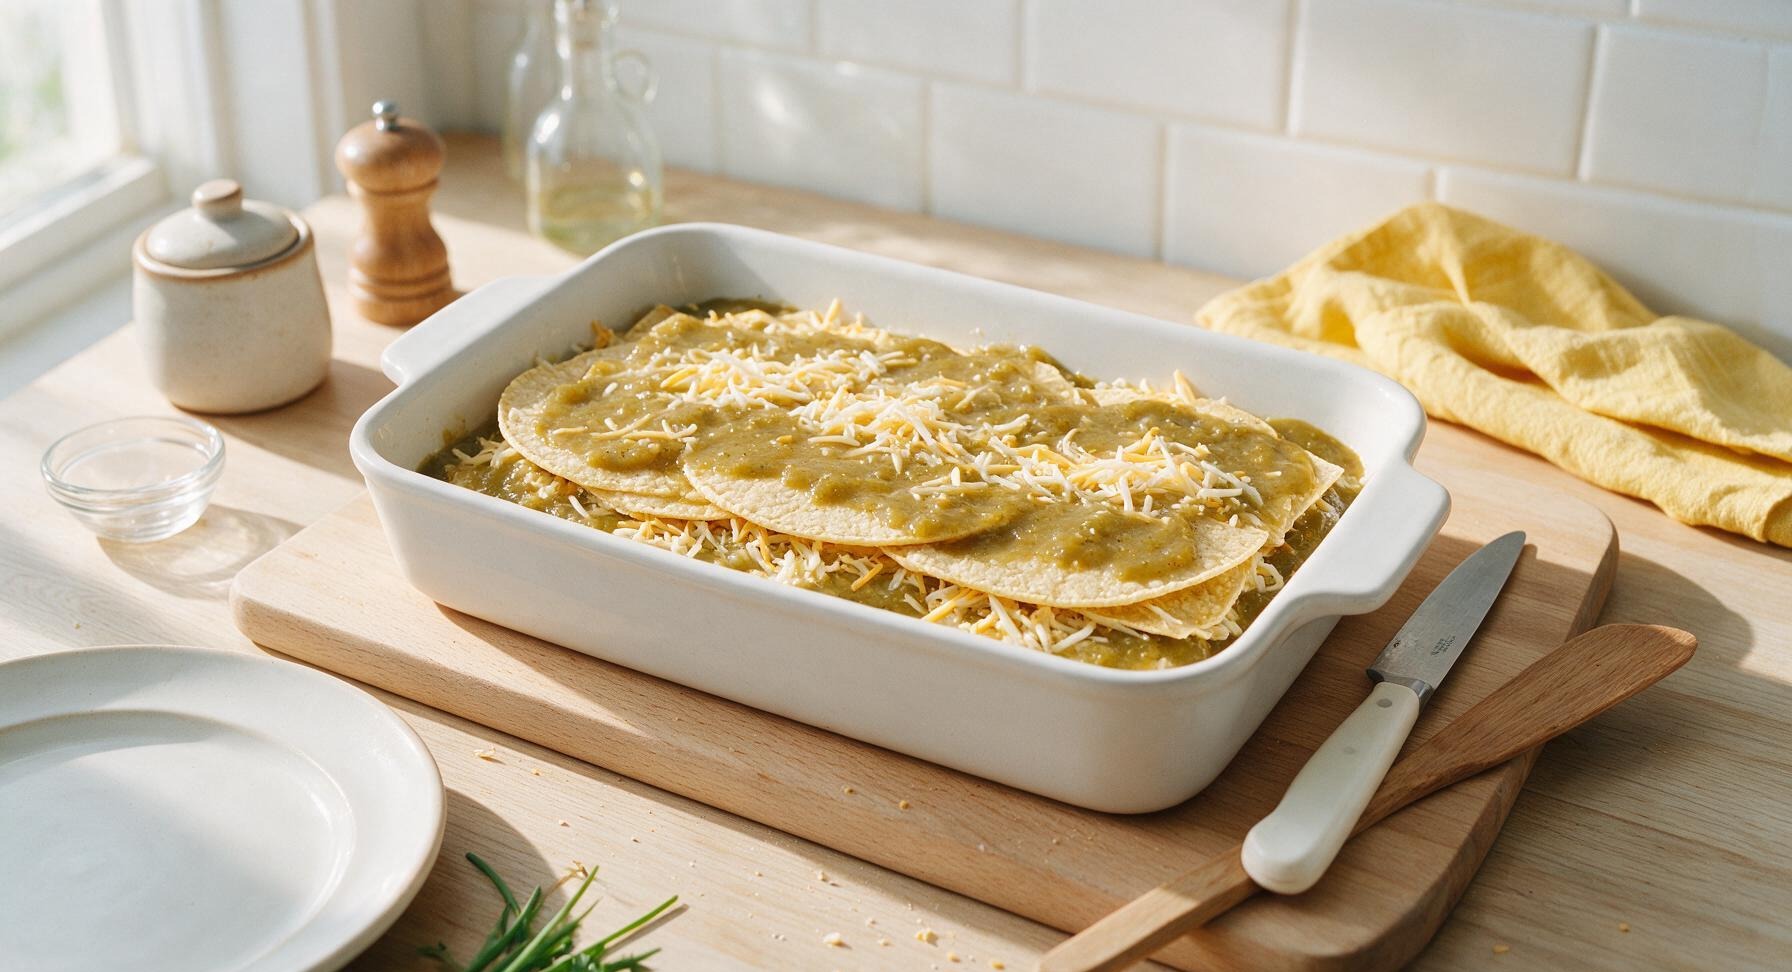
Step 4
step4:Layer Casserole Ingredients
Step 4
step4:Layer Casserole Ingredients
5

Bake Until Bubbly

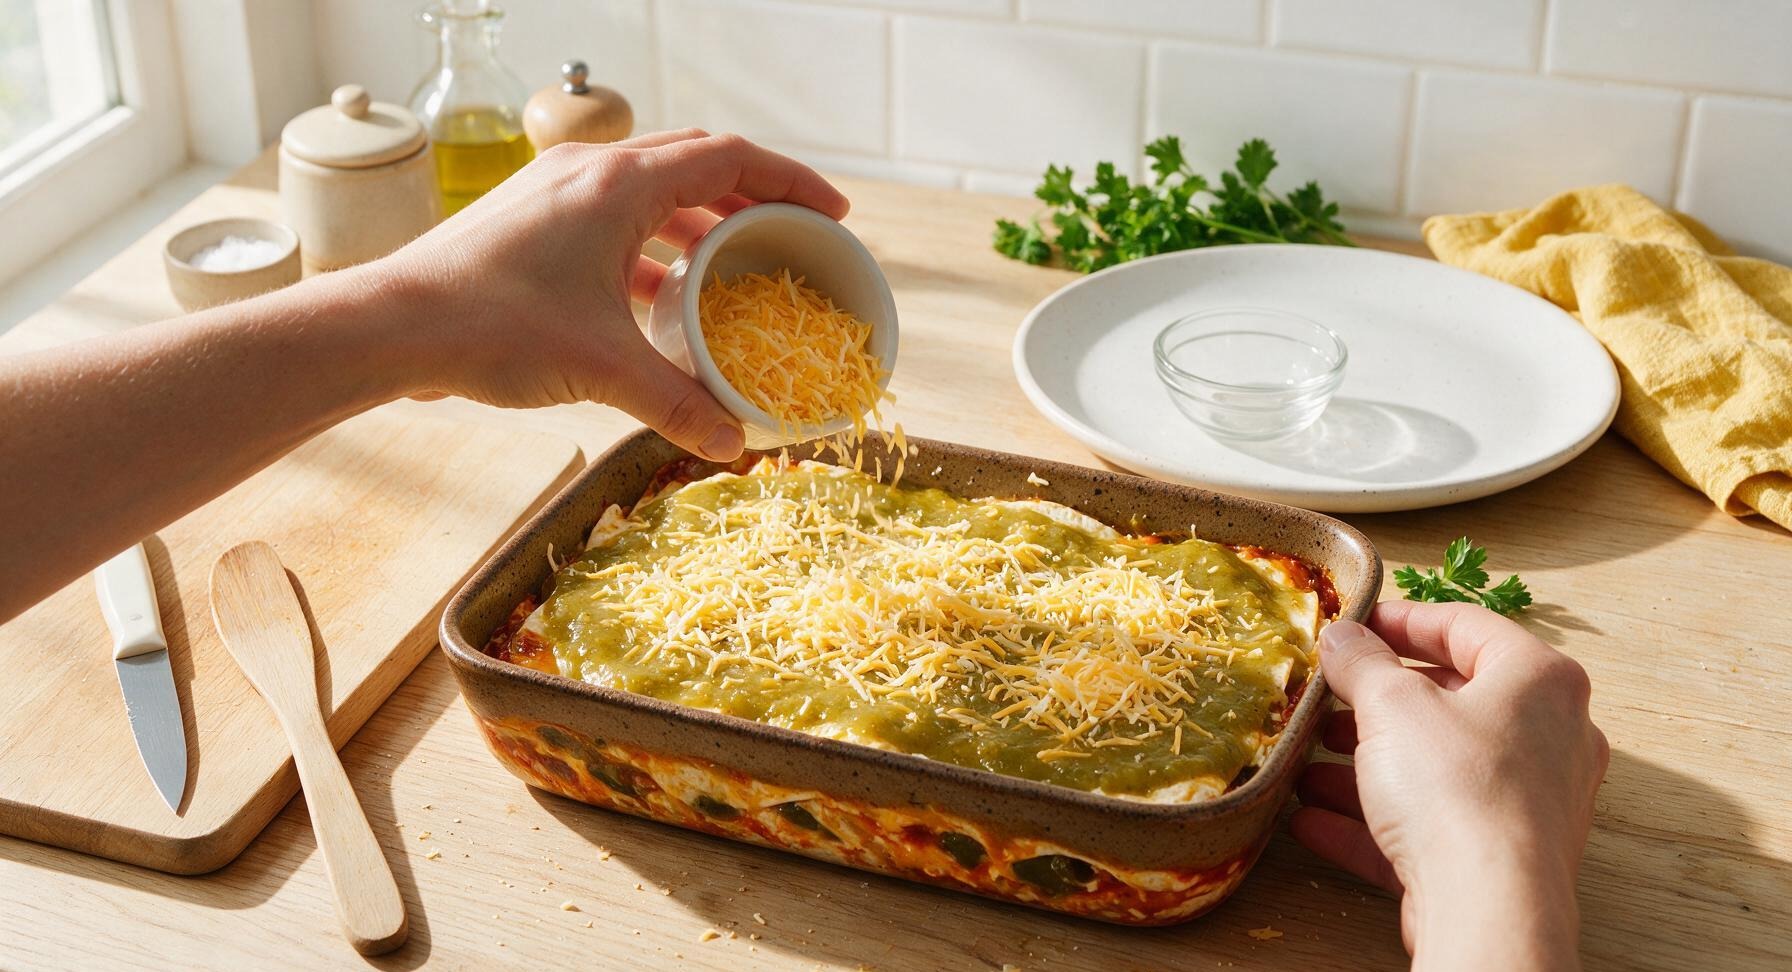
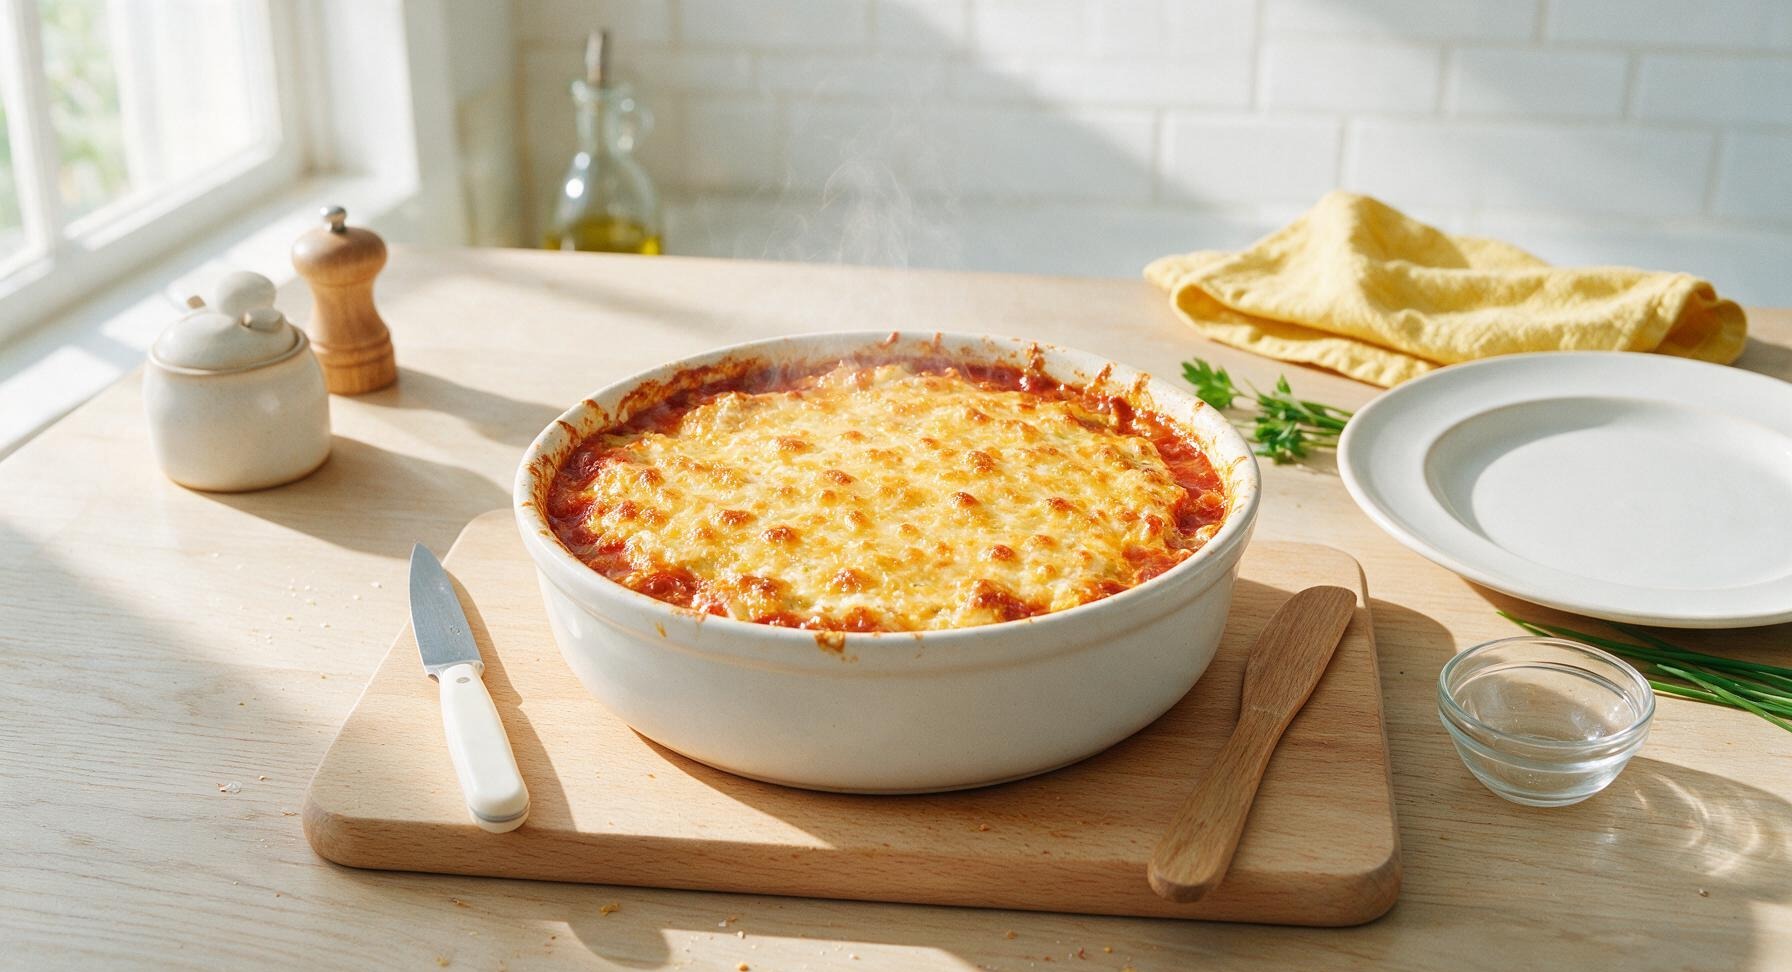
Sprinkle the reserved 1/2 cup of shredded cheese blend from the small white ramekin evenly across the top sauce layer of the assembled casserole. Carefully transfer the baking dish to the middle rack of the preheated 190°C (375°F) oven. Bake for 30 minutes, until the cheese on top is fully melted, golden brown in spots around the edges, and the sauce is bubbling vigorously around the sides of the dish. If the top cheese browns too quickly before the casserole is heated through, tent loosely with a sheet of aluminum foil for the final 10 minutes of baking to prevent burning.
Step 5
step5:Bake Until Bubbly
Step 5
step5:Bake Until Bubbly
6

Rest and Garnish

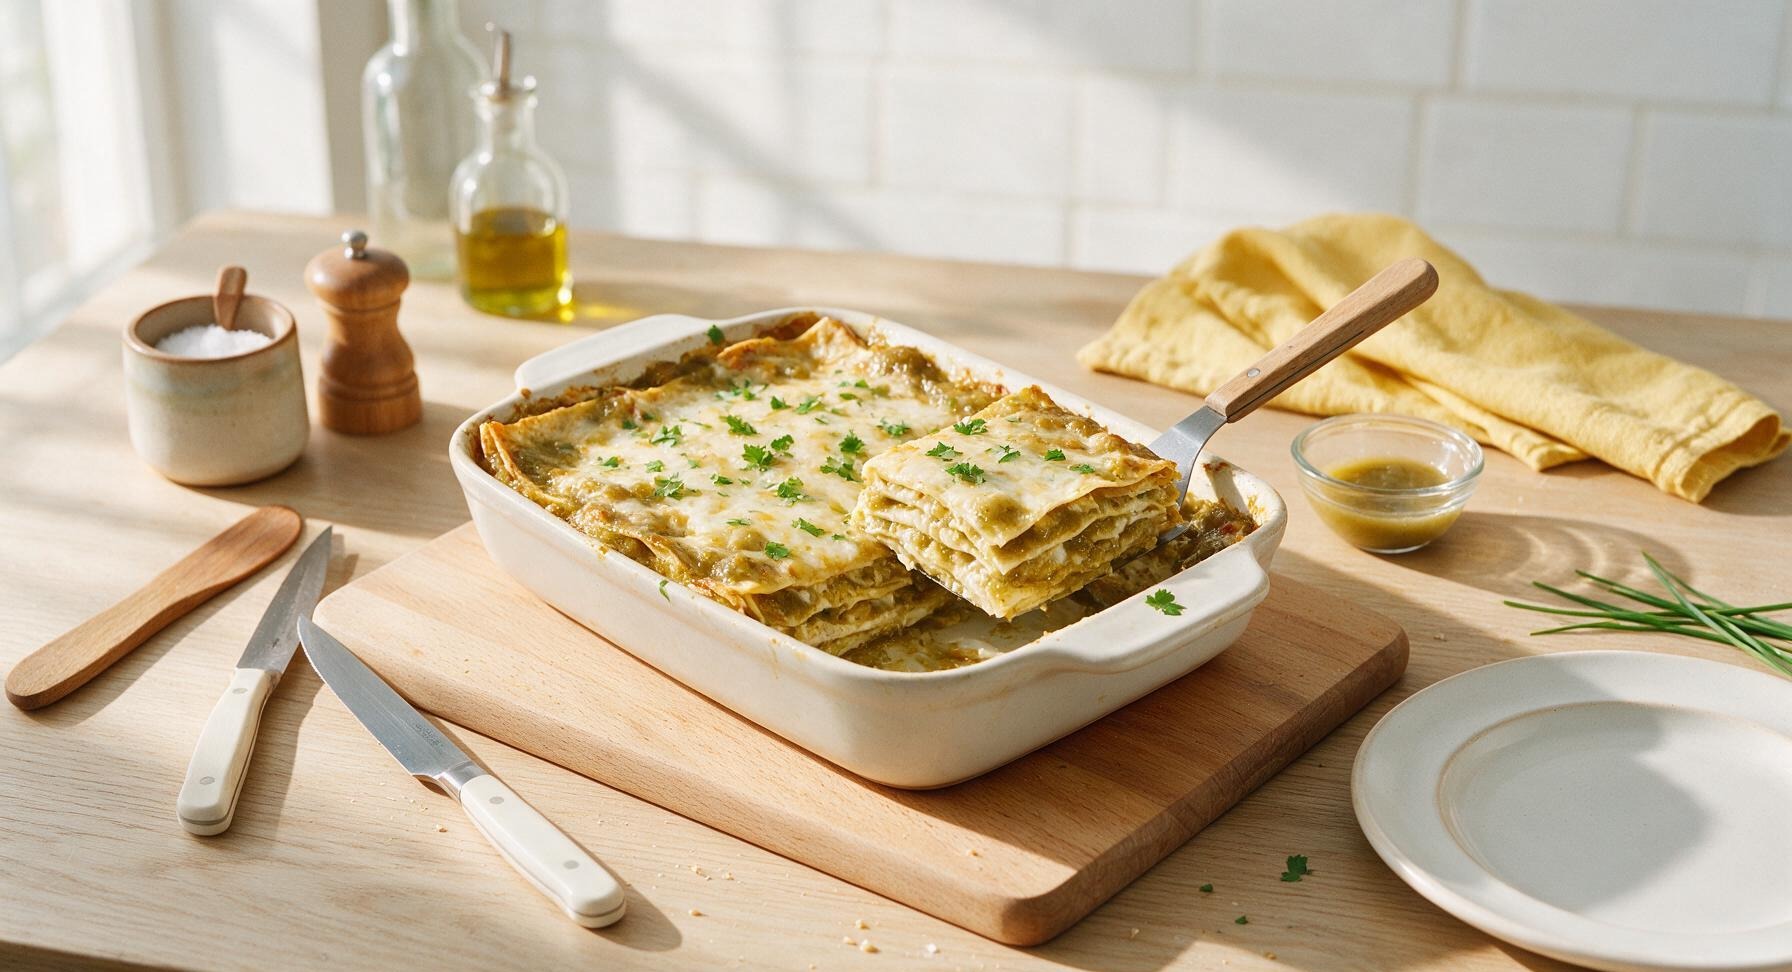
Remove the casserole from the oven, transfer it back to the maple cutting board, and let it rest for 10 minutes at room temperature. This resting period allows the layers to set fully, so slices hold their clean shape instead of sliding apart when served. After resting, sprinkle 2 tablespoons of chopped fresh cilantro (plucked from the bunch at front right) evenly across the top of the casserole. Slice into 6 equal square portions, and serve warm on the matte off-white dinner plate.
Step 6
step6:Rest and Garnish

Tips

1.For the most authentic, bright flavor, use freshly roasted Hatch green chiles during their late summer/early autumn harvest season; frozen roasted Hatch chiles work perfectly year-round, as canned green chiles often have a flat, briny taste that mutes the chiles’ earthy, slightly sweet heat.
2.Always fully drain your diced tomatoes before adding them to the sauce: excess tomato liquid will seep into the corn tortillas, resulting in a soggy, waterlogged casserole instead of a creamy, cohesive dish with set layers.
3.Let the casserole rest for the full 10 minutes after baking: cutting into it immediately will cause the hot cheese and sauce to run, leading to messy, uneven slices that fall apart, rather than clean, sturdy portions that hold their shape.


✨ You May Also Like

Main Course
🍜 United Kingdom

A showstopping classic of tender seared beef, savory mushroom duxelles, and crisp prosciutto wrapped in flaky golden puff pastry, baked to juicy perfection.

⏱️ 2 hours 1Main Course ★ 4.7
Main Course
🍜 India

Tender charred marinated chicken simmered in a rich, spiced creamy tomato sauce, this iconic Anglo-Indian curry pairs perfectly with basmati rice or warm naan.

⏱️ 50 minuteMain Course ★ 4.6
Main Course
🍜 Thailand

Classic tangy, sweet, and savory Thai stir-fried rice noodles with shrimp, tofu, and crunchy garnishes, balancing all five core Thai flavor profiles.

⏱️ 30 minuteMain Course ★ 4.5
Main Course
🍜 United Kingdom

Crispy golden beer-battered cod and fluffy double-fried chips, served with tangy tartar sauce and malt vinegar: the timeless, beloved British pub comfort classic.

⏱️ 45 minuteMain Course ★ 4.7
Main Course
🍜 Mexico

Smoky, chile-marinated pork tacos with caramelized pineapple, fresh cilantro, and lime: a beloved classic Mexican street food perfect for casual summer gatherings.

⏱️ 1 hour 45Main Course ★ 4.8
Main Course
🍜 United States

Crunchy Fritos corn chips layered with savory beef chili and melted cheddar, topped with cool, zesty fixings for a beloved, cozy Tex-Mex comfort food.

⏱️ 35 minuteMain Course ★ 4.8

green chile casserole:Frequently Asked Questions

1.Can I use canned Hatch green chiles instead of fresh roasted ones? ▾
Absolutely! If fresh roasted Hatch chiles are out of season, drained fire-roasted canned Hatch chiles work beautifully for that signature smoky, gently spicy flavor. Pat them lightly with paper towels first to remove excess moisture that causes sogginess, and cut back on added salt if you pick salted canned varieties.
2.Do I have to pre-cook the corn tortillas before layering the casserole? ▾
You don’t need to fully cook them, but a quick 10-second toast per side in a dry hot skillet keeps them from turning mushy as the casserole bakes. Skipping this quick step often leads to tortillas that dissolve into the filling, so it’s worth the small effort for distinct, soft-but-structured layers.
3.Can I make this casserole ahead of time for a potluck or gathering? ▾
Totally! This cozy, crowd-pleasing dish is perfect for make-ahead prep. Assemble the full layered casserole up to 24 hours in advance, cover tightly, and store it in the fridge. Add 15 minutes of covered bake time to account for the cold start, then uncover to get that bubbly, golden cheese top.
4.What’s a good cheese swap if I don’t have Monterey Jack and sharp cheddar? ▾
For the creamy, smooth melt Monterey Jack provides, swap in mild Oaxaca or low-moisture mozzarella. You can replace sharp cheddar with pepper Jack if you want an extra kick of heat. Skip crumbly cheeses like feta or extra-hard aged cheeses, as they won’t create that signature gooey, stretchy melted layer.
5.How spicy is this casserole, and can I adjust the heat level? ▾
Traditional roasted Hatch chiles land between a mild jalapeño and poblano on the heat scale, so the base recipe is gently warm, not mouth-burning. To lower heat, fully seed and devein all chiles, or mix in a few roasted poblanos. To boost heat, leave some chile seeds in or add a diced roasted jalapeño.
6.Do I need to sauté the diced yellow onion before adding it to the layers? ▾
I highly recommend sautéing diced onion for 3 to 4 minutes over medium heat until soft and translucent before layering. Raw onion releases harsh, sharp flavors and extra moisture as it bakes, which throws off the creamy, balanced flavor and can make your casserole watery instead of rich.
7.Can I add protein to this casserole to make it a more filling main dish? ▾
Absolutely! This flexible base works great with added protein for a heartier meal. Try mixing in 2 cups of shredded cooked chicken, browned ground pork, or rinsed black beans between the chile and cheese layers. Just make sure any added protein is fully cooked first and patted dry to avoid excess sogginess.
8.Why does my casserole turn out watery, and how do I fix that next time? ▾
A watery final casserole almost always traces back to excess moisture in your ingredients. Fix this by fully draining (and patting dry) roasted chiles, toasting tortillas to help them hold structure, and sautéing onions long enough to cook off their released water before layering.
9.How should I store leftovers, and how long will they keep? ▾
Let leftover casserole cool completely to room temperature within 2 hours of baking, then cover it tightly or transfer slices to airtight containers. It will keep well in the fridge for up to 4 days, and you can reheat slices in the microwave or a 350°F oven until the cheese is melty again.
10.Can I freeze this casserole for later quick meals? ▾
Yes, this casserole freezes beautifully! You can freeze it either fully baked and cooled, or assembled unbaked, wrapped tightly in a double layer of plastic wrap and foil for up to 3 months. Thaw fully in the fridge overnight before baking, adding 10 to 15 minutes of bake time if partially thawed.

Comments (15)

2 days ago

OMG this casserole was such a hit at our Sunday family dinner! I was worried the Hatch chiles would be too spicy for my toddlers, but I used mild ones and they both asked for second helpings. 35 minutes total cook time is a total win for busy weeknights too, 10/10 will make again.

1 week ago

Game changer! I brought this to our office potluck last week and every single person asked for the recipe. I added a little extra shredded chicken to bulk it up for protein and it worked perfectly. SO good.

5 days ago

So glad it was a potluck hit! Adding shredded chicken is such a smart protein boost, I do that too when I’m prepping meals for the week. Thanks for sharing your tip!

3 days ago

Wait, can I make this with frozen Hatch chiles instead of fresh? My grocery store was out of fresh ones this week and I’m craving this casserole so bad.

2 days ago

I used frozen last month and it turned out exactly the same! Just thaw them first and pat off a little extra moisture so the casserole doesn’t get soggy. Worked like a charm.

yesterday

Great tip from DesertDwellerDan! Frozen Hatch chiles work perfectly here, just make sure to drain any excess liquid after thawing to keep that perfect casserole texture. Hope you love it!

2 weeks ago

This is my new go-to meal prep staple! I make a pan on Sunday, portion it out, and it heats up perfectly for lunches all week. The flavor gets even better after a day or two in the fridge, no cap.

1 week ago

Oh that’s such a good idea! I’ve only made this for dinner the night of, never thought to prep it for lunches. Gonna double the recipe this weekend for sure.

5 days ago

Made this for our neighborhood block party last weekend and people were literally lining up for seconds. I topped it with a little crumbled cotija and a squeeze of lime right before serving and it was chef’s kiss. No leftovers at all, which is the best sign.

1 week ago

I grew up eating Hatch chile everything, so I’m super picky about recipes using them. This one tastes exactly like the casserole my abuela used to make! The only thing I did differently was roast my chiles over an open flame on my gas stove for that extra smoky flavor. 10/10, no notes.

5 days ago

Oh the open flame roast tip is genius! I usually just buy pre-roasted ones from the store but I’m definitely trying that next time for that extra smokiness.

3 days ago

Love that open flame roasting trick! That’s exactly how my grandma used to prep her chiles too, that deep smoky flavor takes this casserole to the next level. So happy it felt like a taste of home for you.

2 days ago

Quick question – is this easy to make gluten free? I have celiac and have been hunting for a good Hatch chile casserole that doesn’t use regular flour or breadcrumbs.

30 minutes ago

Absolutely! Just swap the regular all-purpose flour for a 1:1 gluten free flour blend, and skip the breadcrumb topping (or use gluten free panko if you want that crunch!) It turns out just as delicious, I make it that way for my gluten free sister all the time.

5 days ago

Taste was great, but mine came out a little watery? I followed the recipe exactly, not sure what I did wrong. Still ate the whole pan though lmao, the flavor was fire even with the weird texture.

3 days ago

Oh honey, that happens if you don’t drain your chiles well enough! I always give mine a good squeeze in a paper towel after chopping to get all the extra juice out before adding them to the mix. Fixes that watery issue every time.

2 days ago

Granny Mae is exactly right! Excess moisture from the chiles (or canned chiles if you used those) is usually the culprit for a watery bake. Next time, give them a good gentle squeeze to remove extra liquid before mixing, and you’ll get that perfect set casserole texture. So glad the flavor still hit for you!

2 hours ago

As someone who burns toast 50% of the time, I was shocked how easy this was to pull off! No fancy skills, minimal prep, done in 35 minutes flat. My roommate thought I ordered takeout from our favorite New Mexican spot, lmao. Win.

1 week ago

Made this for our football tailgate last weekend and it was gone before kickoff. I swapped half the cheese for pepper jack to add an extra kick, and served it with tortilla chips for dipping. Absolute crowd pleaser.

5 days ago

Pepper jack swap is genius! I’m making this for our Cowboys watch party this Sunday, gonna steal that idea. Thanks for the tip!

30 minutes ago

Is there a way to make this vegetarian without losing that hearty, savory flavor? My whole family is veg and we’ve been craving a good green chile bake.

5 minutes ago

Totally! Swap any meat add-ins for roasted corn or black beans, use vegetable broth instead of chicken if the recipe calls for it, and load up on extra cheese. It’s just as hearty and flavorful, I make the veg version for meatless Mondays all the time at my house.

yesterday

I used hot Hatch chiles instead of mild and WOW, that kick is unreal. If you love spice, do not sleep on using the hot variety. My sinuses were clear for hours after eating, but I still went back for a third helping. SO good.

3 days ago

My kids loved it! I’ve been struggling to find dinners that both my 7 year old and 10 year old will eat without complaining, and they both cleared their plates and asked if we can have this every week. Total mom win.

2 days ago

Same here! My toddlers devoured it when I used mild chiles, it’s so hard to find meals that work for the whole family without making separate dishes. This one is a staple for us now.

yesterday

Nothing beats a dinner that gets two thumbs up from the kids! It’s such a family-friendly recipe, I love that it works for little ones with mild chiles and can be amped up with hot chiles for the adults. So glad it was a hit at your house!

just now

Made this with stuff I already had in my pantry and fridge, no extra grocery run needed! Super affordable, feeds 6 people easily, and tastes way fancier than it is. Perfect for when you’re trying to save money but still eat good food.

2 weeks ago

First time cooking with Hatch chiles ever, and this recipe made me a total convert. I was intimidated at first but the steps are so straightforward, even a total Hatch newbie like me nailed it on the first try. 10/10.

1 week ago

Same! I was so nervous I’d mess up working with fresh chiles but this recipe was so easy to follow. I already bought extra chiles to make it again next weekend!



