
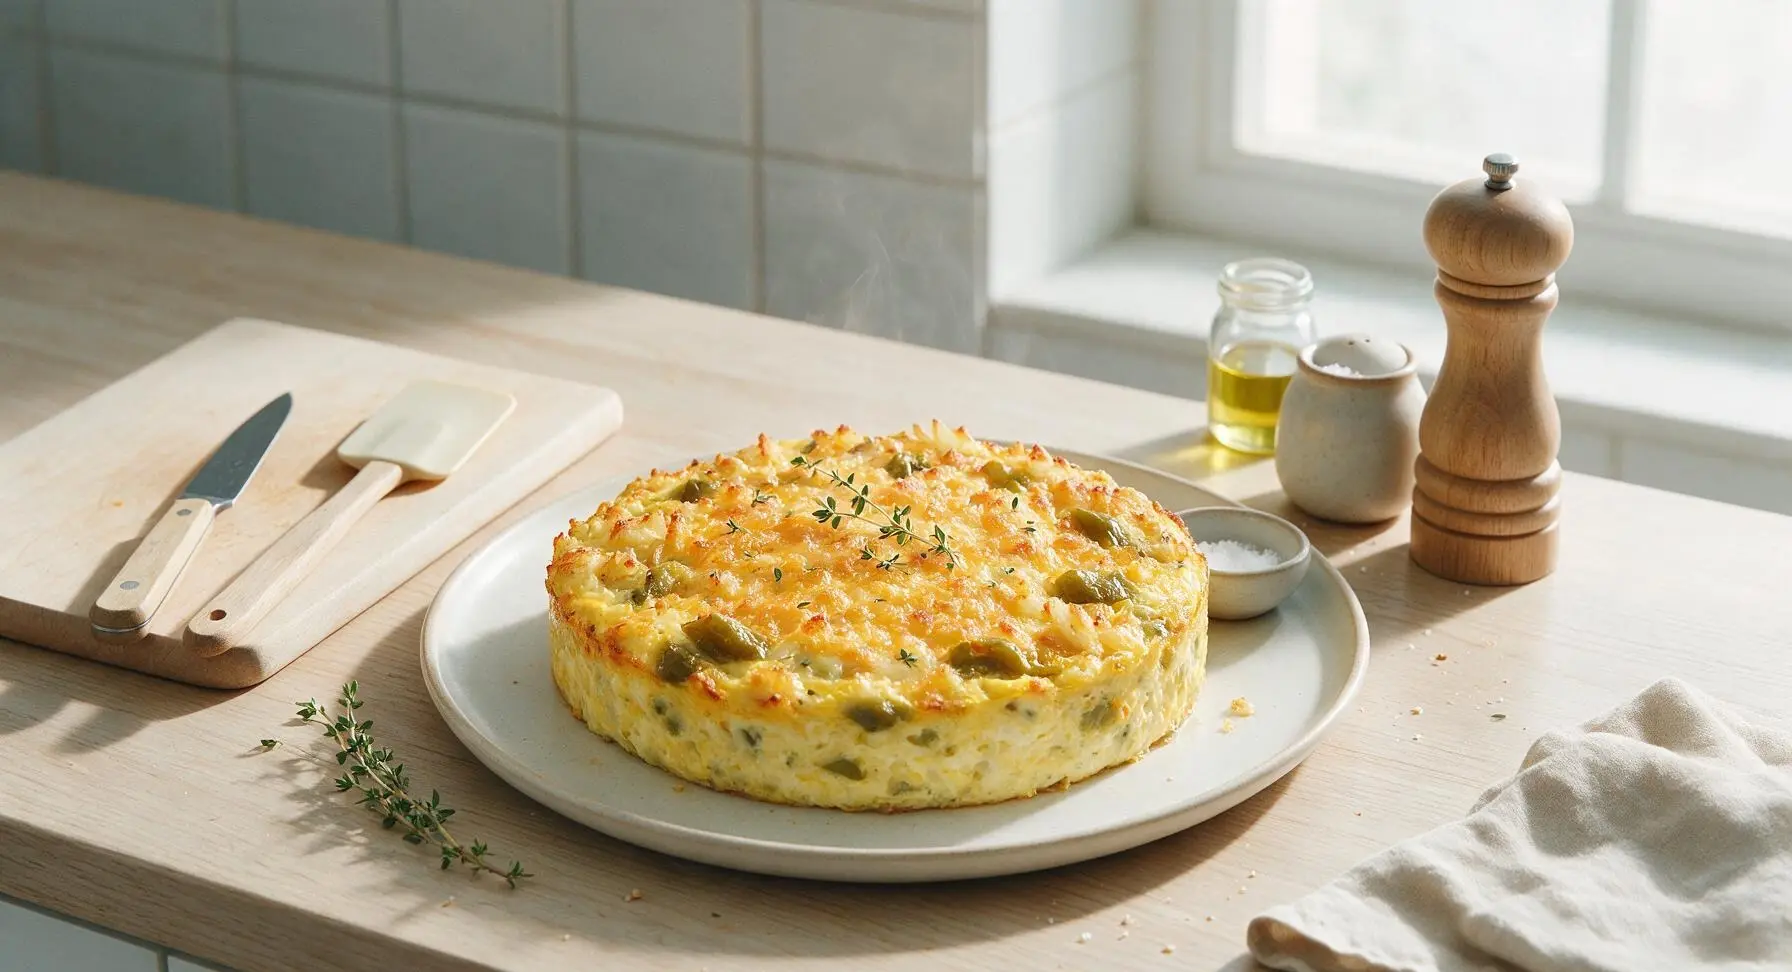
green chili breakfast casserole

title 1
green chili breakfast casserole
⏱️ cook time 45 minutes
🍽️ servings 6
⚡ Difficulty easy

intro

Hearty, cheesy make-ahead breakfast bake loaded with smoky roasted green chiles, fluffy eggs, and crispy hash browns, perfect for feeding a crowd with minimal morning effort.

Ingredients
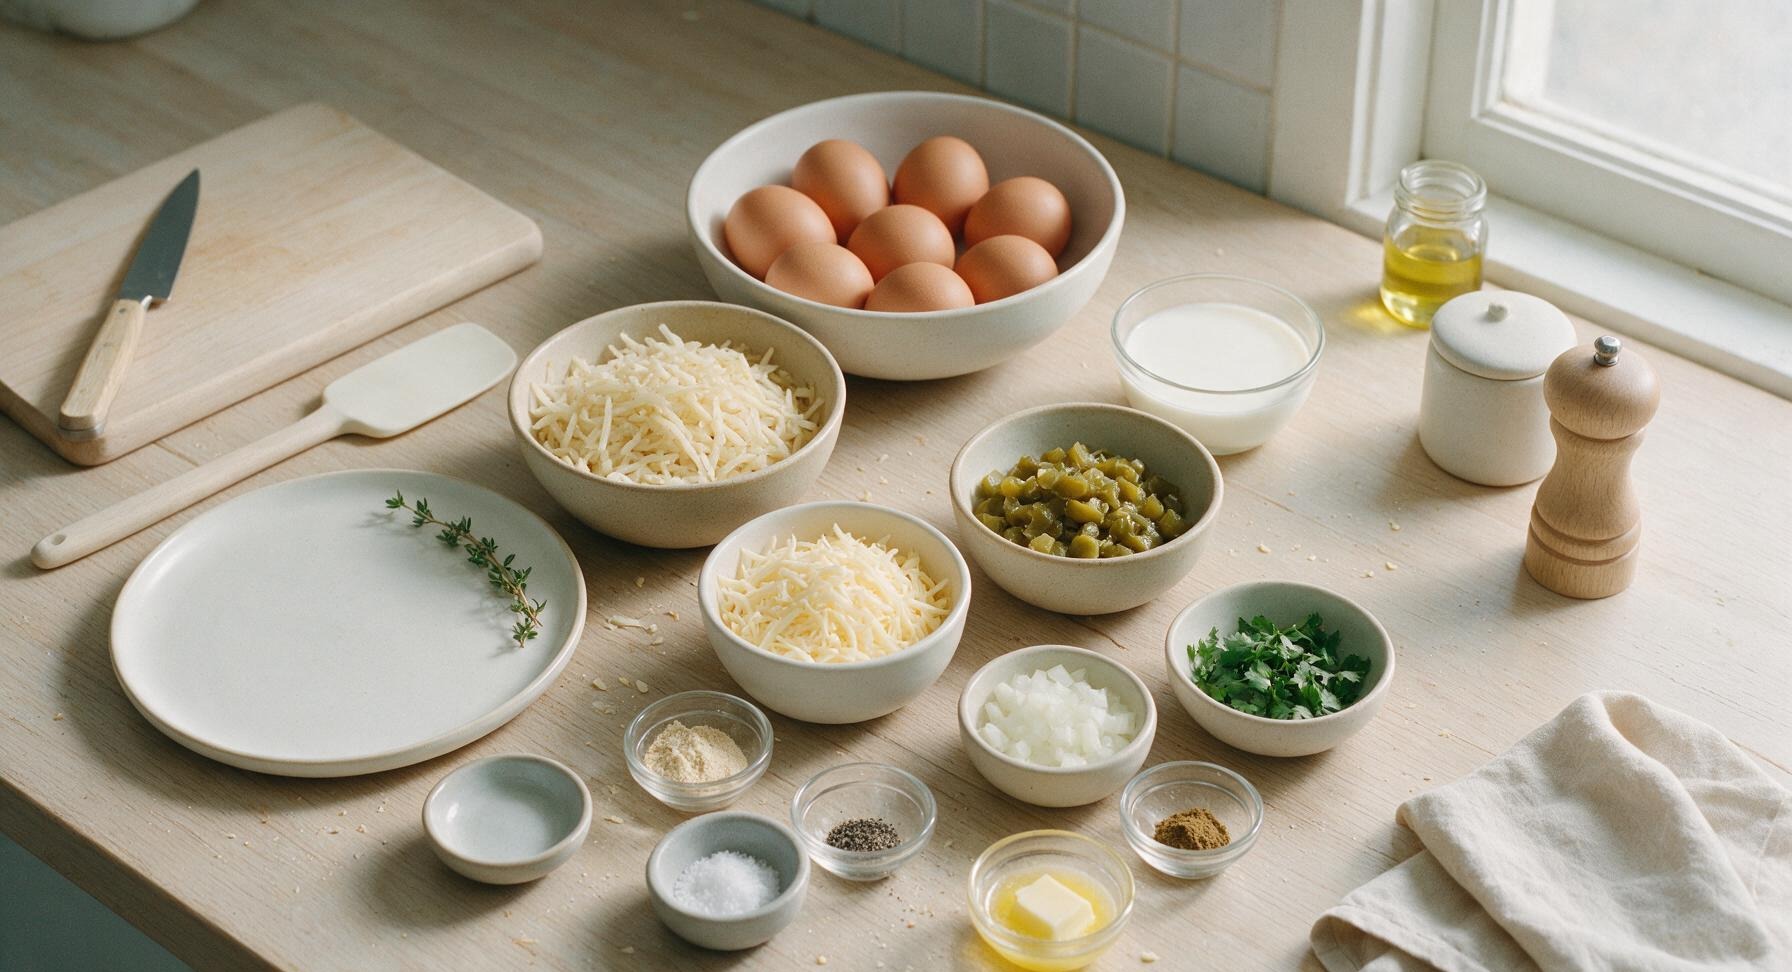
Large eggs 8 count
Whole milk 1 cup
Frozen shredded hash browns, thawed 2 cups
Shredded Monterey Jack cheese 1.5 cups
Diced roasted mild green chiles (Hatch/Anaheim) 1 cup
Diced yellow onion 1/2 cup
Garlic powder 1 tsp
Kosher salt 1 tsp
Ground black pepper 1/2 tsp
Ground cumin 1/2 tsp
Unsalted butter 1 tbsp
Fresh cilantro, chopped 2 tbsp

Steps

1

Preheat and Grease Dish

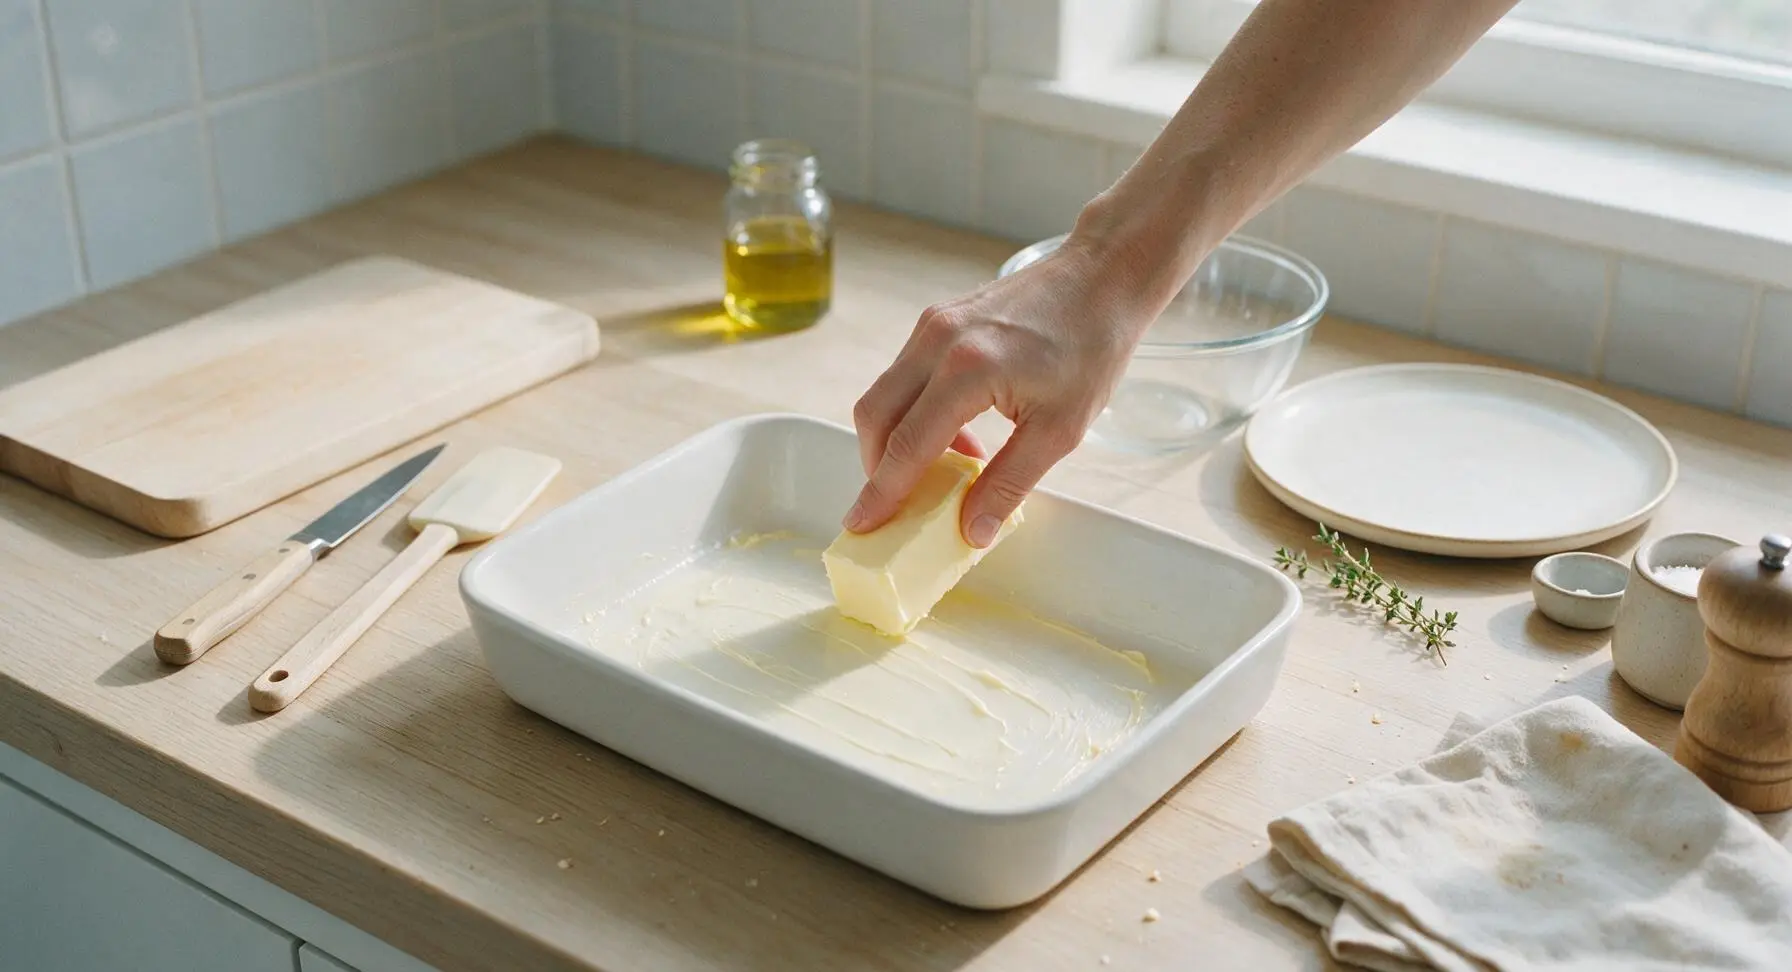
Adjust your oven rack to the middle position and preheat oven to 350°F (175°C). Use the 1 tbsp unsalted butter to thoroughly coat the bottom and all interior sides of the 9x13 inch matte white ceramic baking dish, ensuring no dry spots remain to prevent sticking. Set the greased dish at the center of the work counter.
Step 1
step1:Preheat and Grease Dish
2

Press Hash Browns Dry

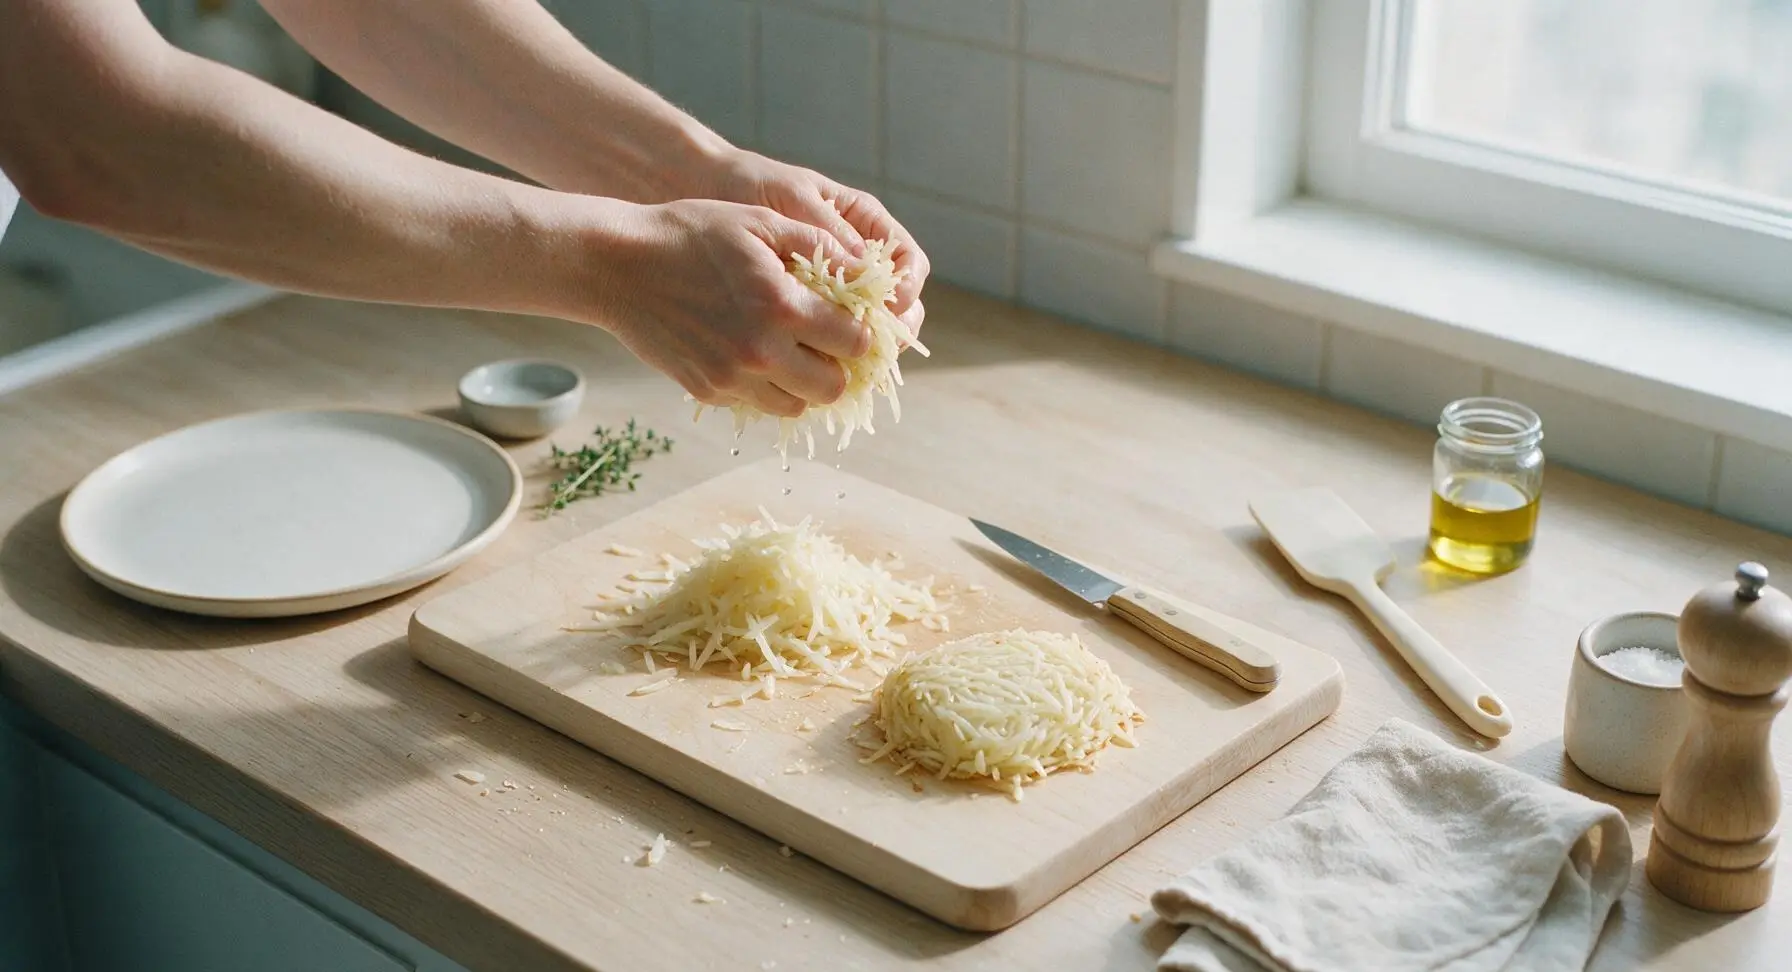
Place the thawed shredded hash browns on the honey beech wood cutting board. Use clean hands to firmly squeeze handfuls of the shredded potato, pressing out all excess moisture until no more liquid drips out when you squeeze a clump. Excess moisture is the top cause of soggy casserole, so take 2-3 minutes to complete this step thoroughly.
Step 2
step2:Press Hash Browns Dry
3

Layer Casserole Base

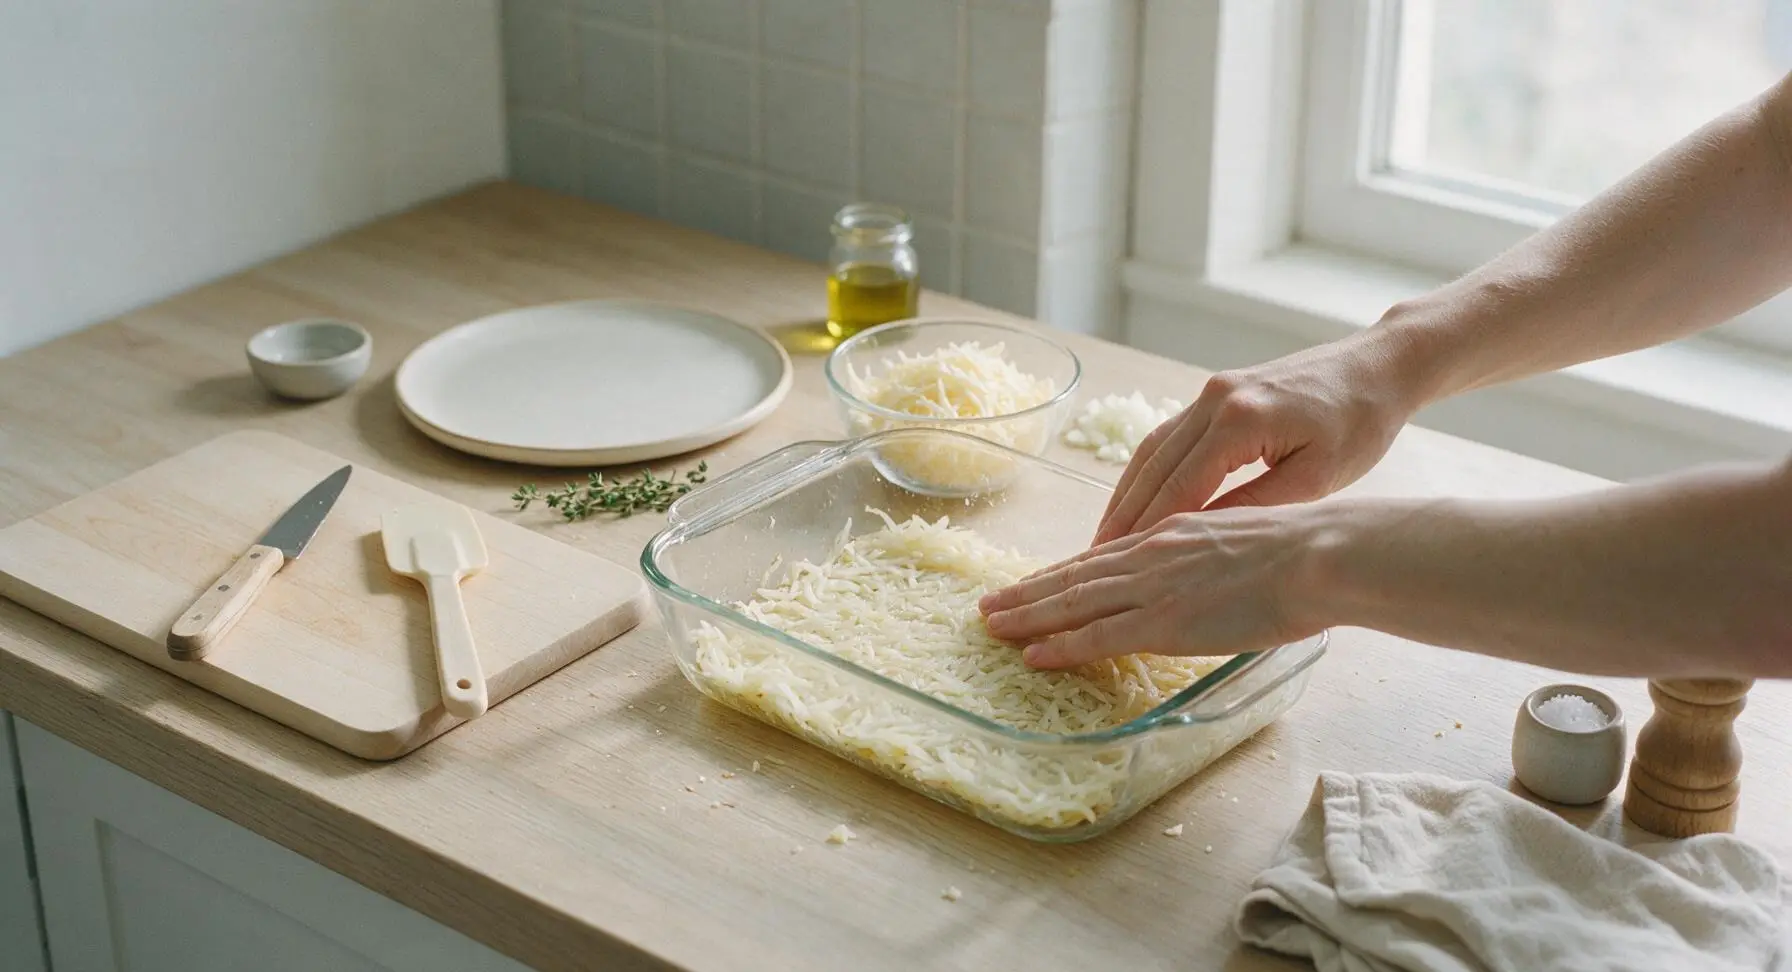
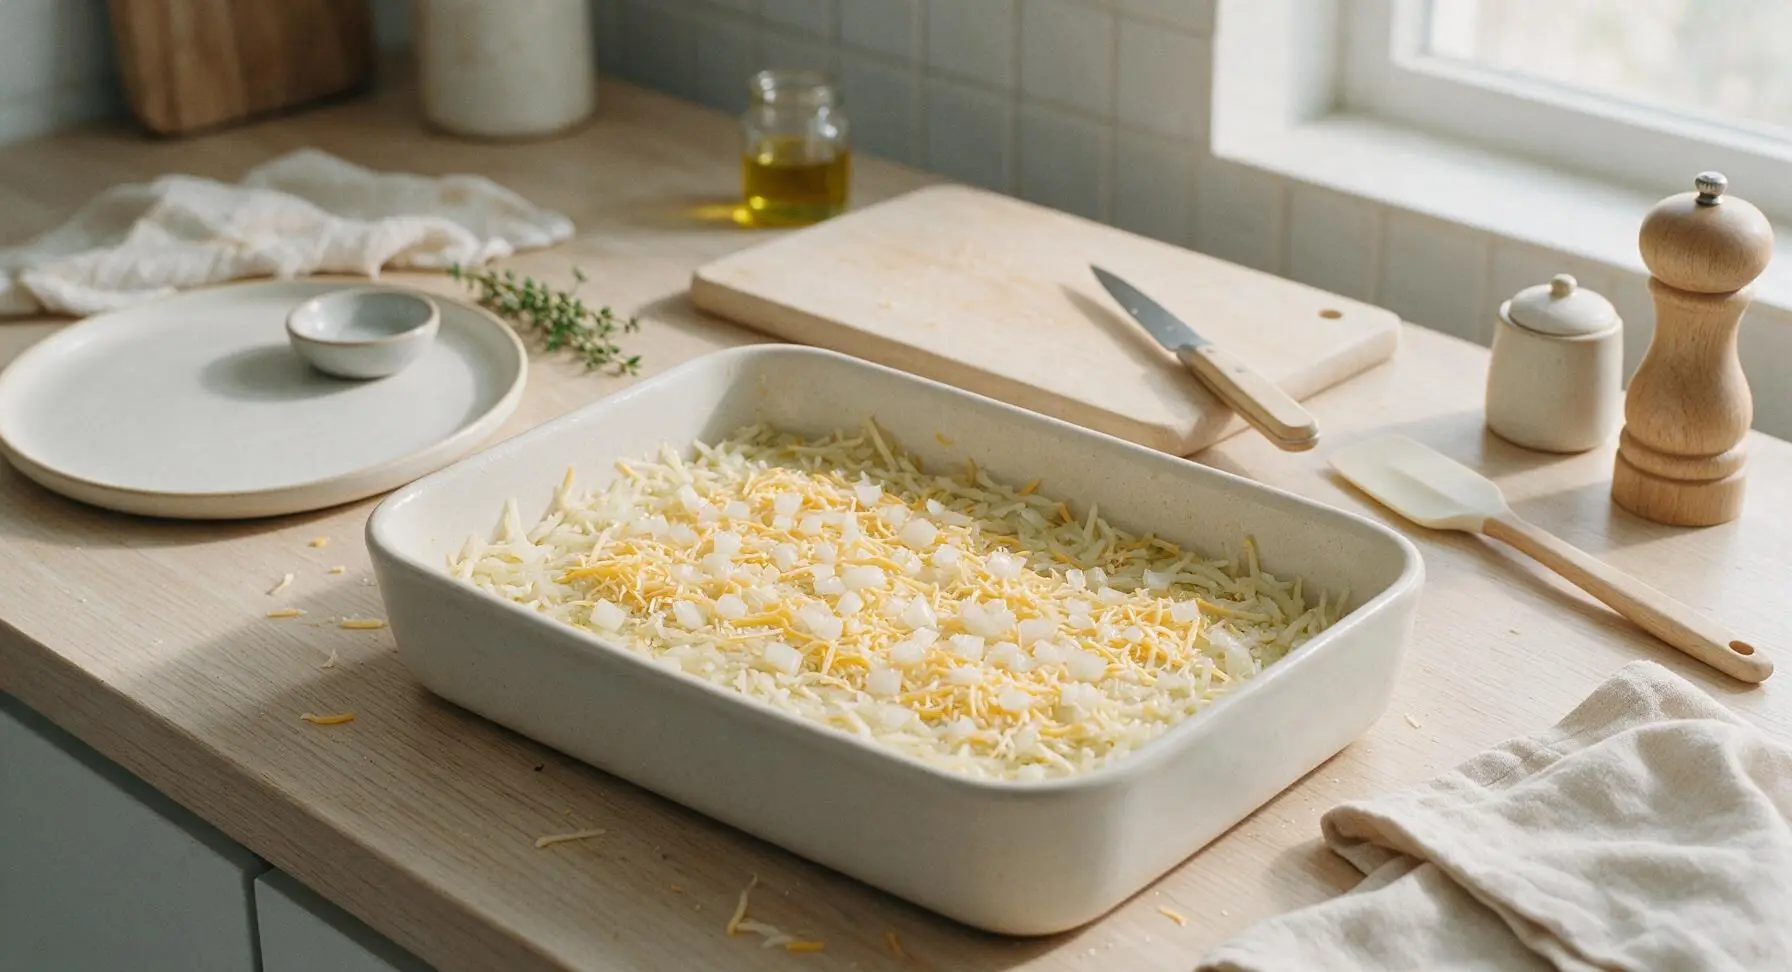
Spread the fully squeezed, dry hash browns in an even, thin layer across the bottom of the greased baking dish. Top the hash brown layer with the diced yellow onion and 3/4 cup of the shredded Monterey Jack cheese, spreading both evenly across the potatoes. Sprinkle half the measured kosher salt, black pepper, and ground cumin over the cheese layer.
Step 3
step3:Layer Casserole Base
Step 3
step3:Layer Casserole Base
4

Whisk Egg Custard Mix

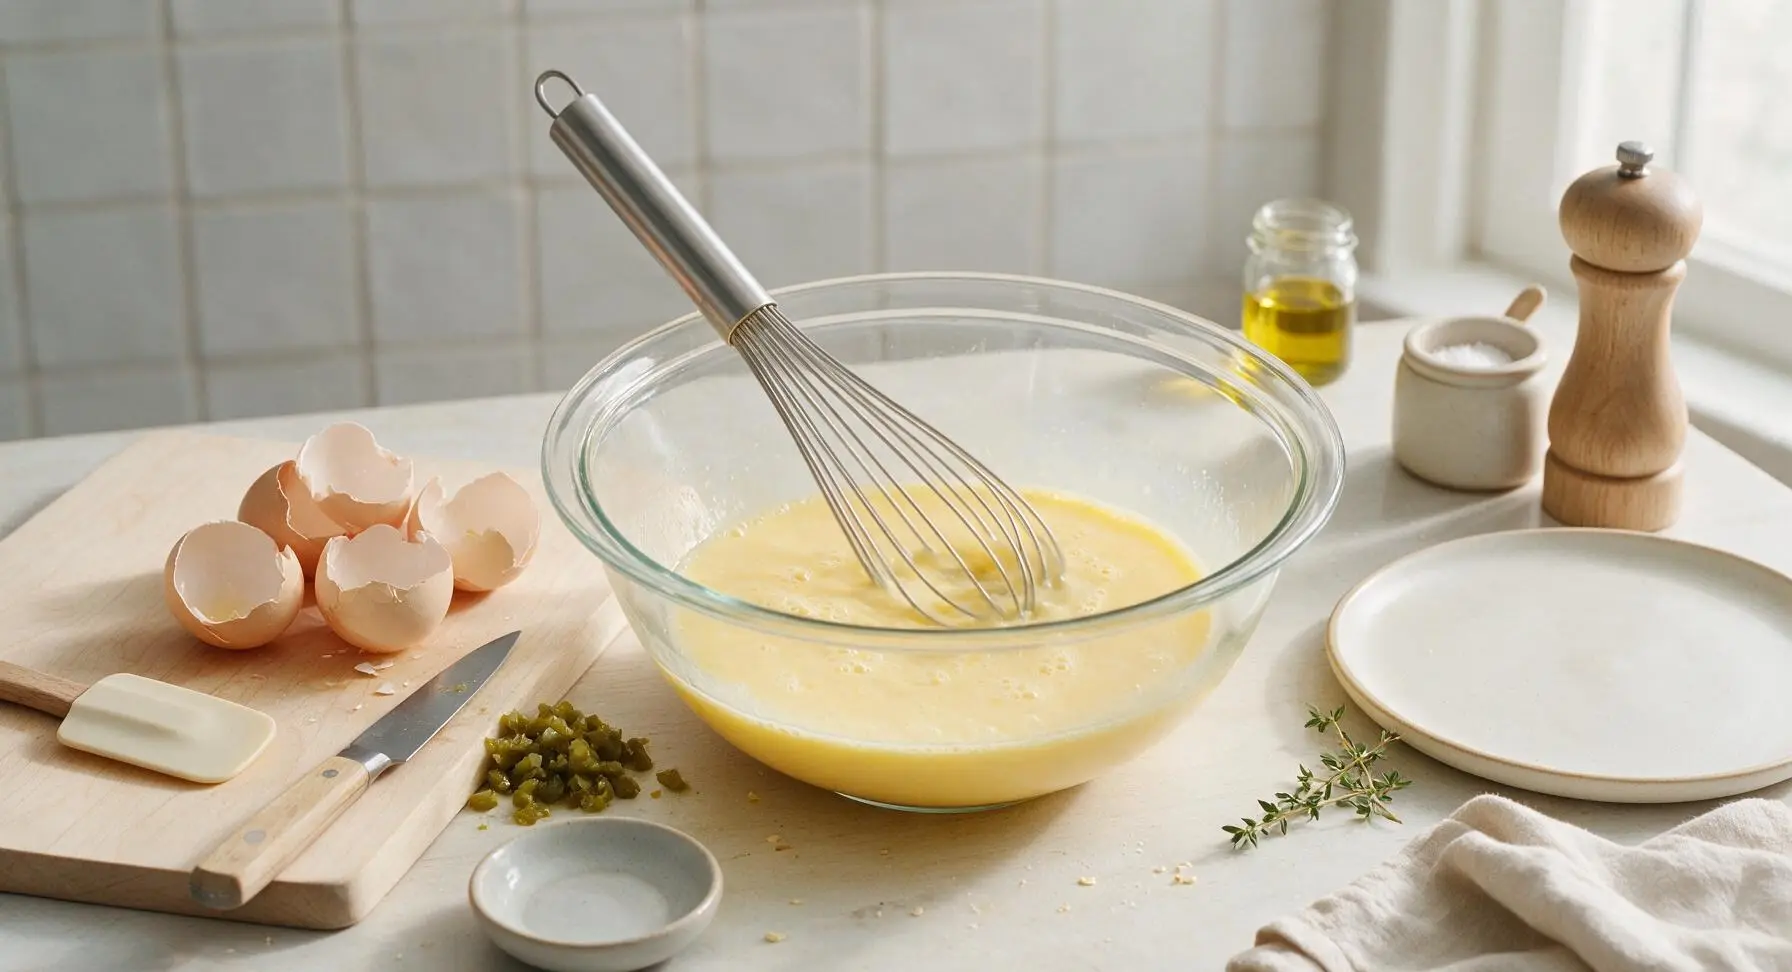
Crack all 8 large eggs into the clear glass 2-quart mixing bowl. Add the 1 cup whole milk, remaining kosher salt, black pepper, ground cumin, and garlic powder. Use the stainless steel wire whisk to beat the mixture for 45-60 seconds, until fully combined, pale uniform yellow, and no streaks of clear egg white remain. Stir 3/4 cup of the diced roasted green chiles into the custard.
Step 4
step4:Whisk Egg Custard Mix
5

Pour Custard and Top

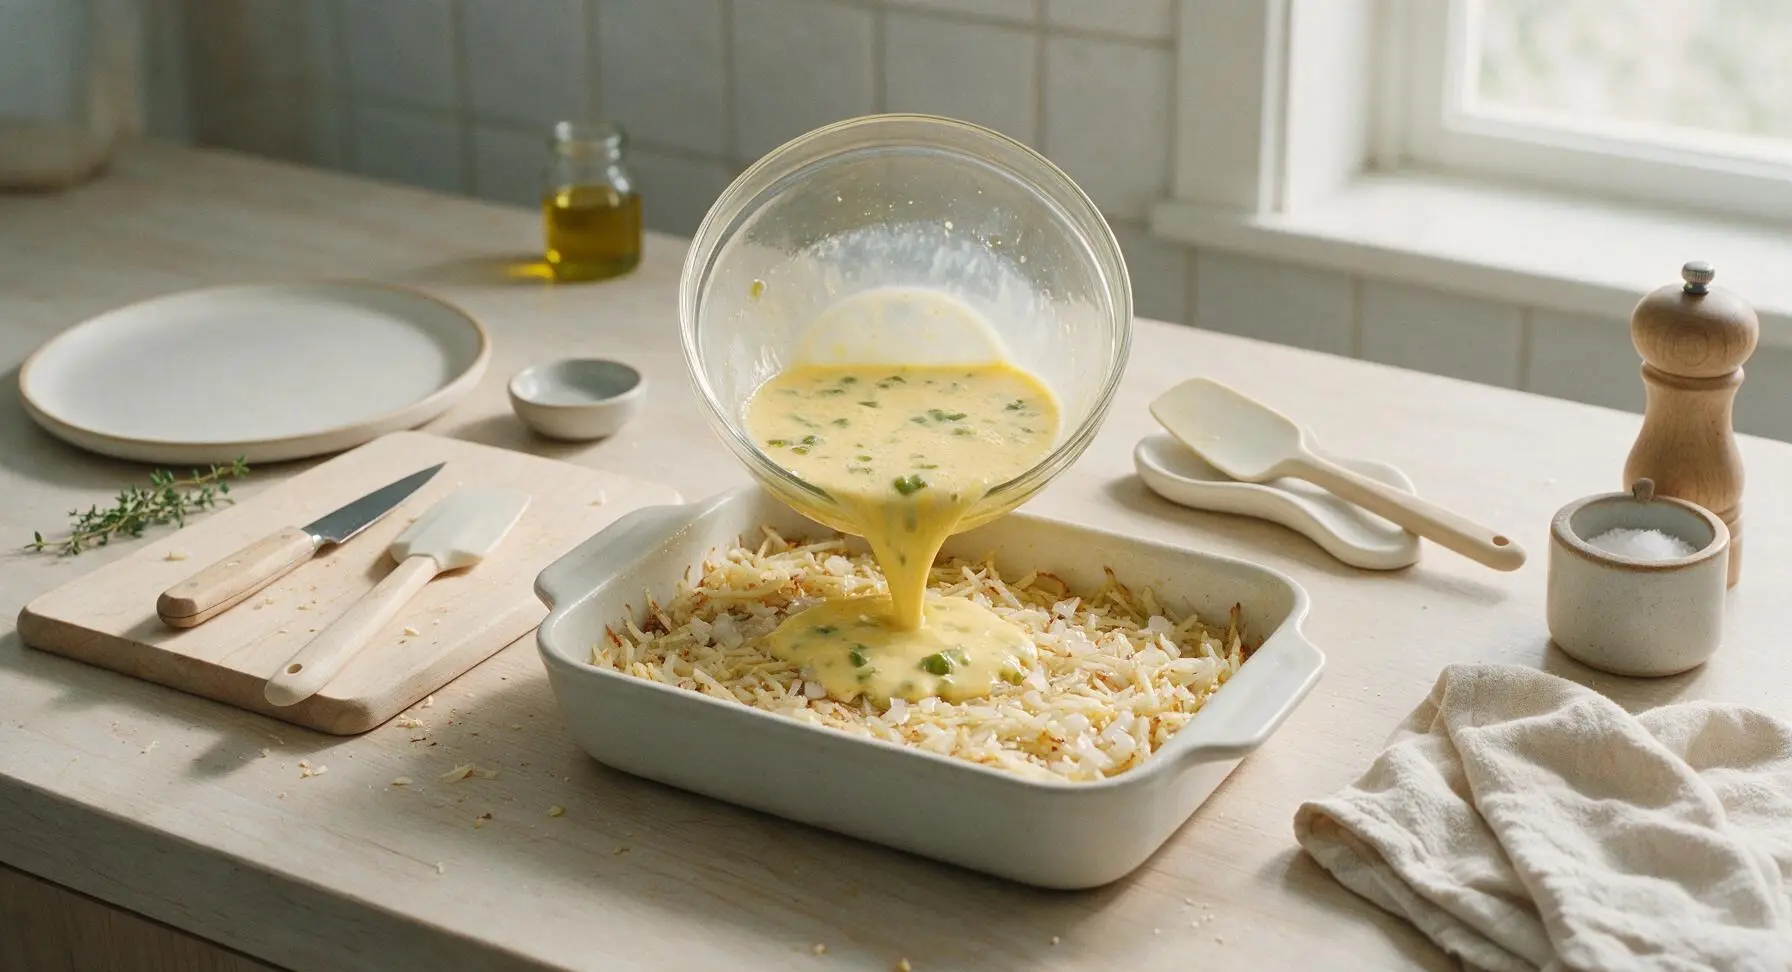
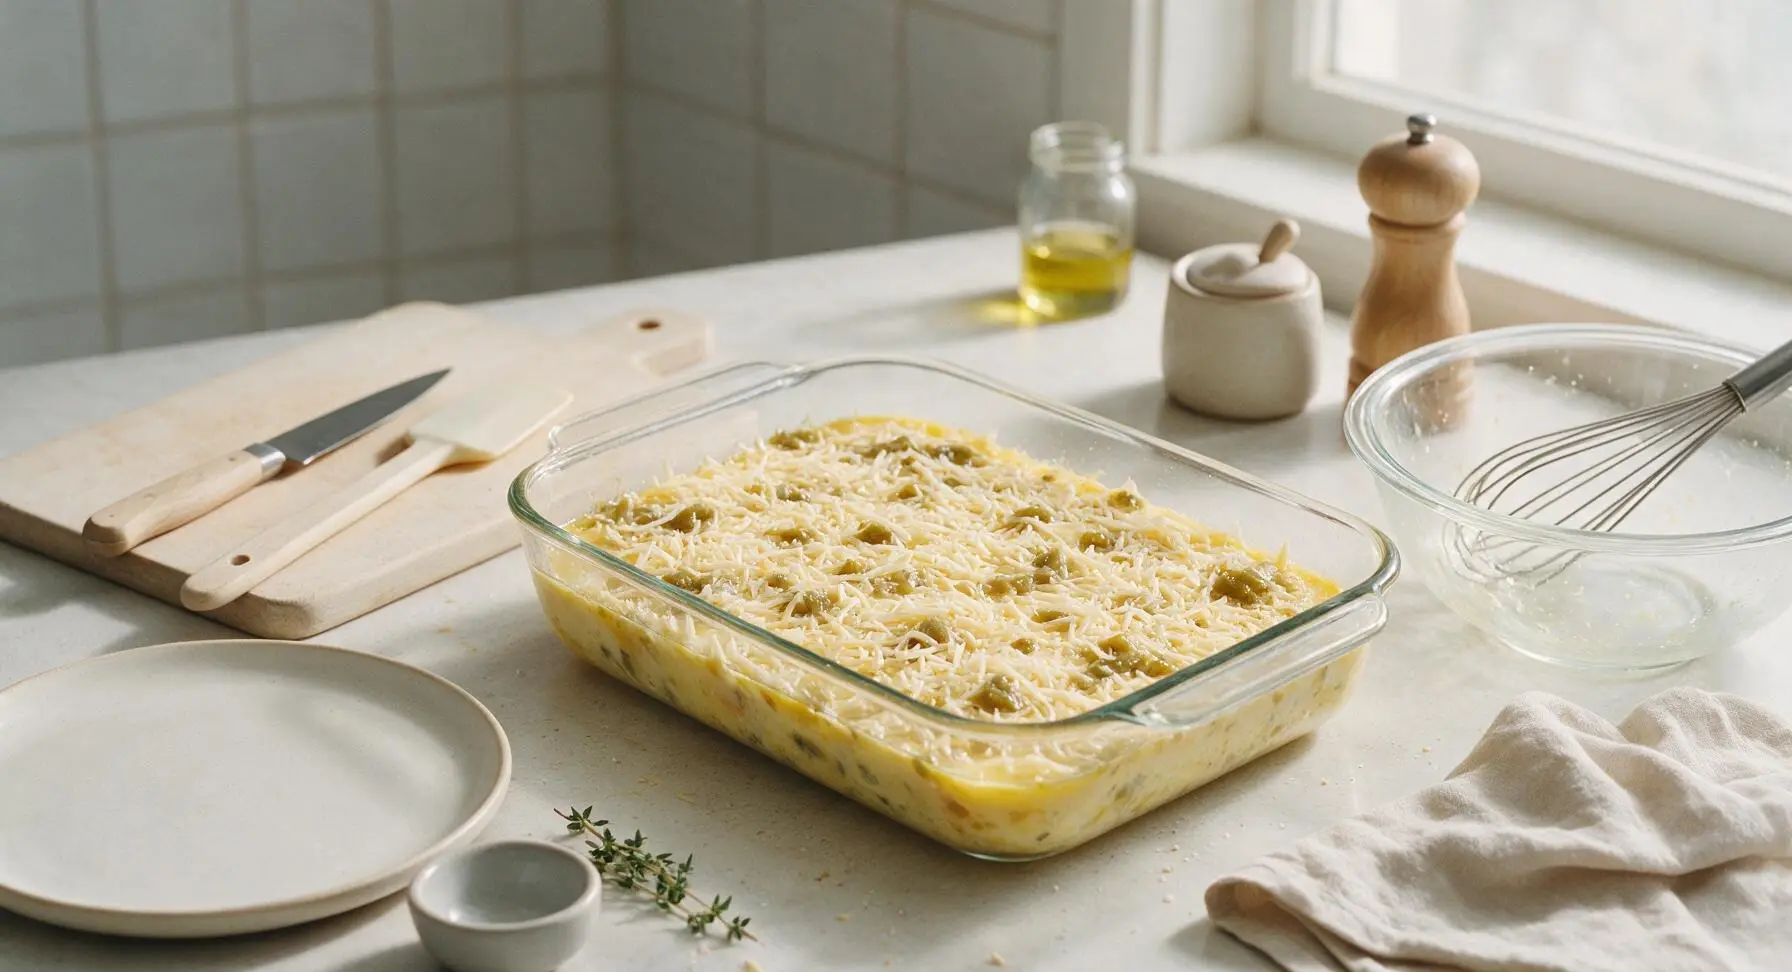
Slowly pour the whisked egg and chile custard evenly over the layered hash brown, onion, and cheese base in the baking dish. Press gently on the top layer with the sage green silicone spatula to ensure the custard seeps down to coat all potato shreds. Sprinkle the remaining 3/4 cup shredded Monterey Jack cheese and remaining 1/4 cup diced green chiles evenly across the top of the casserole.
Step 5
step5:Pour Custard and Top
Step 5
step5:Pour Custard and Top
6

Bake Until Golden Set

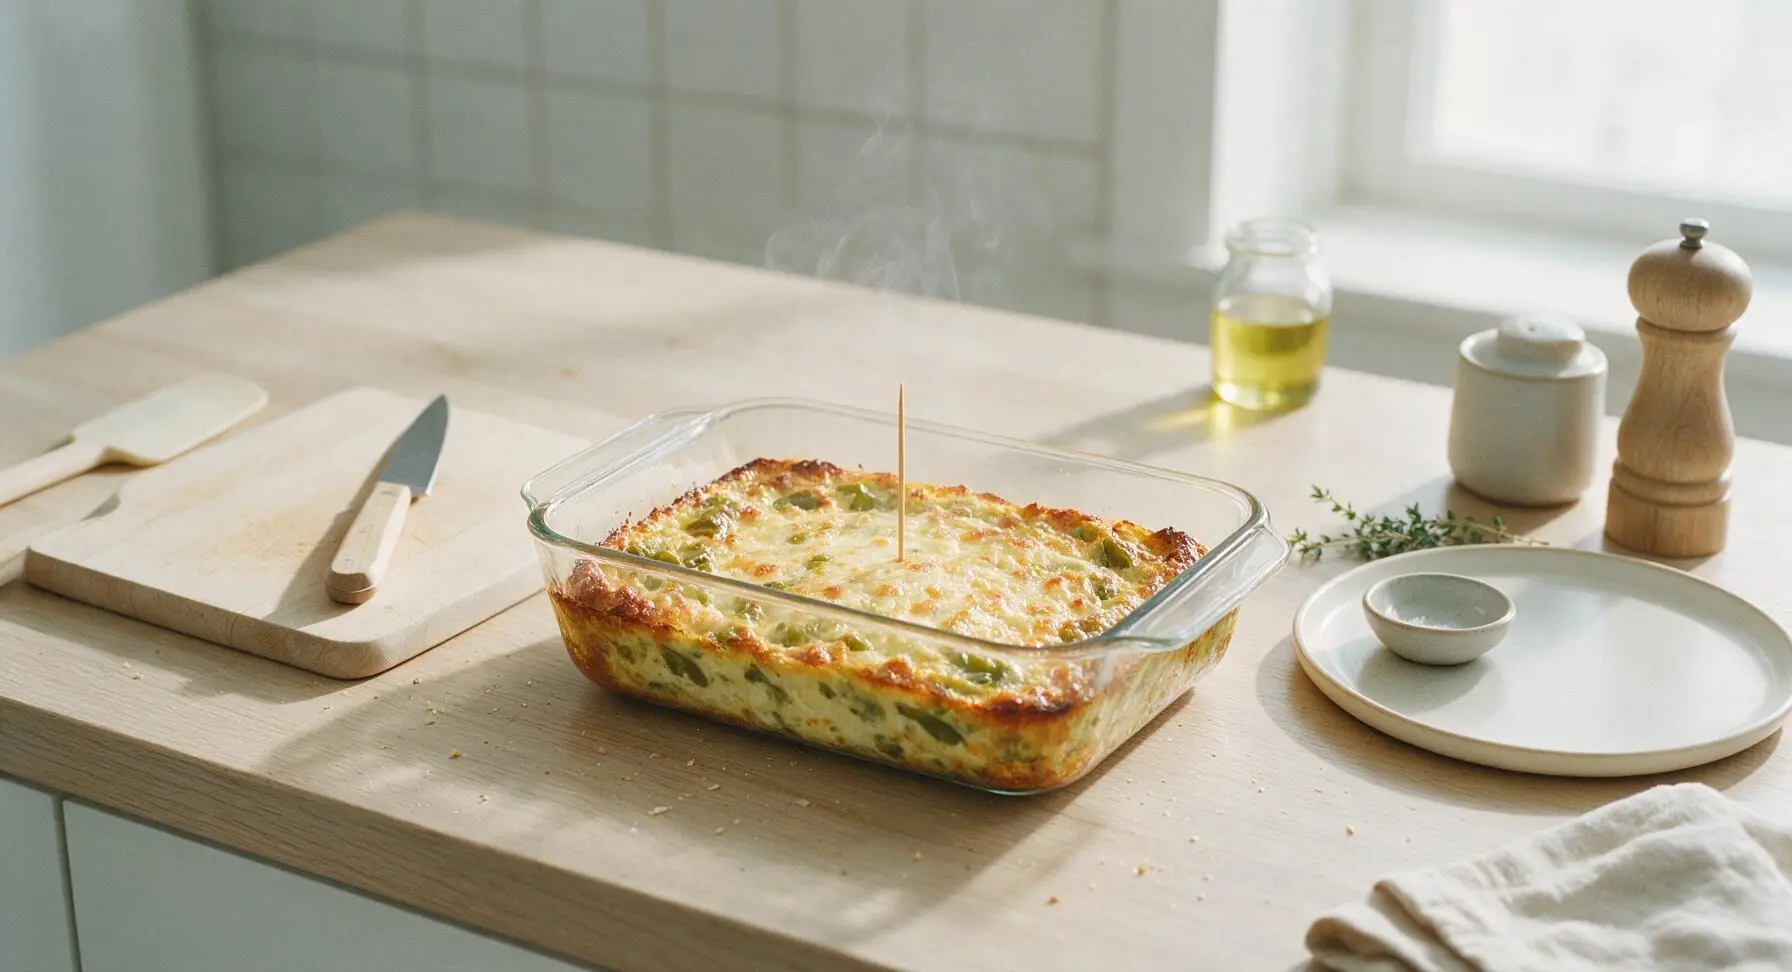
Carefully transfer the assembled casserole to the preheated oven’s middle rack. Bake for 45 minutes at 350°F (175°C), until the top is golden and bubbly, the center is fully set (no liquid jiggling when you gently nudge the dish), and a wooden toothpick inserted into the center comes out clean with no runny egg residue attached.
Step 6
step6:Bake Until Golden Set
7

Rest and Garnish

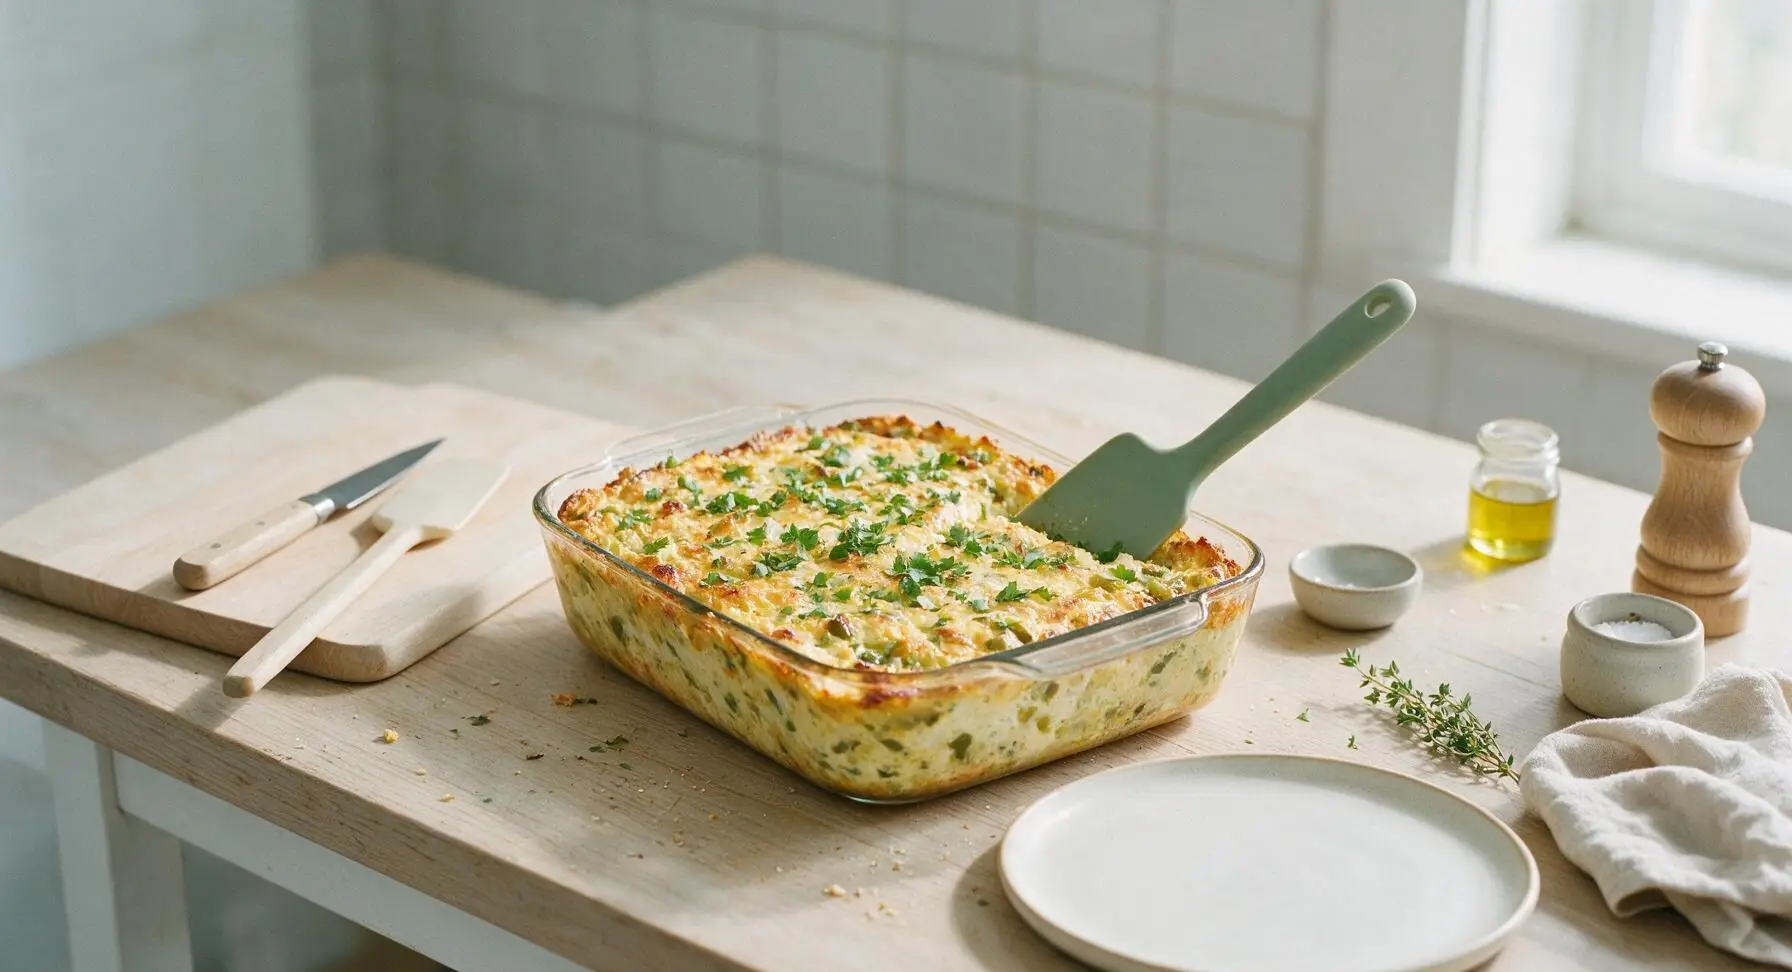
Let the baked casserole rest for 10 minutes at room temperature to allow the layers to set fully for clean, neat slicing. Sprinkle the top with the 2 tbsp of chopped fresh cilantro right before serving.
Step 7
step7:Rest and Garnish

Tips

1.Squeeze every last drop of moisture from thawed hash browns: excess starchy potato water will make the casserole base soggy instead of crispy, so take the extra 2-3 minutes to press shreds dry with clean hands or paper towels for the best texture.
2.Make this casserole up to 12 hours ahead: assemble all layers, cover tightly with plastic wrap, and refrigerate overnight. Bake directly from the fridge, adding 5-10 minutes to cook time, for a zero-fuss morning meal perfect for house guests or potluck events.
3.For a smoky flavor upgrade, roast fresh green chiles over a gas stovetop flame or under the broiler until blackened all over, then steam for 10 minutes, peel, seed, and dice instead of using canned chiles. The charred, smoky notes add deep, complex flavor that pre-canned chiles can’t match.


✨ You May Also Like

Breakfast
🍜 United States

Crisp-edged, fluffy lard griddle cakes are a nostalgic homestyle staple, with rich savoriness from rendered lard, perfect topped with maple syrup or savory gravy.

⏱️ 25 minuteBreakfast ★ 4.8
Breakfast
🍜 United States

Flaky, buttery homemade buttermilk biscuits smothered in creamy, peppery pork sausage gravy: a beloved, hearty Southern American comfort food classic.

⏱️ 35 minuteBreakfast ★ 4.8
Breakfast
🍜 United States

Golden, custardy brioche stuffed with sweet cream cheese and fresh berries, pan-fried to crisp perfection. An indulgent, cozy breakfast perfect for slow weekend mornings.

⏱️ 30 minuteBreakfast ★ 4.7
Breakfast
🍜 United States

Flaky, buttery Southern-style biscuits stuffed with savory salty country ham, a portable, satisfying classic perfect for casual on-the-go meals.

⏱️ 25 minuteBreakfast ★ 4.8
Breakfast
🍜 United States

Iconic puffy baked pancake popularized in Seattle, with crisp golden edges and soft custardy center, served warm with classic sweet toppings.

⏱️ 35 minuteBreakfast ★ 4.6
Breakfast
🍜 United States

Fluffy, golden pancakes studded with juicy peak-summer mixed berries, drizzled with maple syrup for a bright, comforting, crowd-pleasing family breakfast.

⏱️ 25 minuteBreakfast ★ 4.7

green chili breakfast casserole:Frequently Asked Questions

1.How far in advance can I assemble this casserole before baking it? ▾
You can fully assemble it, cover tightly with plastic wrap, and refrigerate for up to 24 hours before baking. This rest time lets the flavors meld beautifully, but be sure to squeeze excess moisture from your thawed hash browns first to avoid a soggy final bake. You won’t need to add extra baking time when putting it in straight from the fridge.
2.Can I use fresh green chiles instead of canned roasted ones? ▾
Absolutely! Roast 6 to 7 fresh Hatch or Anaheim chiles over a gas flame or under your broiler until skins are fully blackened, then steam in a sealed bag for 10 minutes, peel, seed, and dice. Fresh roasted chiles have a brighter, smokier flavor—just remove all tough, charred skins to avoid chewy bits in the finished dish.
3.Can I use still-frozen hash browns if I don’t have time to thaw them? ▾
I don’t recommend it, because frozen hash browns hold tons of trapped ice that melts while baking and leaves your casserole watery and mushy. If you’re crunched for time, thaw them quickly on the microwave’s defrost setting, then squeeze firmly between paper towels to wring out as much excess moisture as possible before mixing in.
4.What’s a good substitute for Monterey Jack cheese if I don’t have any on hand? ▾
Mild cheddar, pepper Jack, or a pre-shredded Mexican cheese blend all work great as swaps. Pepper Jack adds a subtle extra kick of heat that pairs perfectly with green chiles, while mild cheddar brings a nuttier, sharper flavor. Skip crumbly cheeses like feta, since they won’t melt into that smooth, creamy texture we want.
5.How do I tell when the casserole is fully finished baking? ▾
Stick a butter knife straight into the center of the dish—if it comes out clean with no runny, liquidy egg residue, and the top is golden and bubbly around the edges, it’s done. For a standard 9x13-inch pan, this usually takes 45 to 50 minutes at 375°F; you’ll also notice the edges pull slightly away from the pan sides when set.
6.Can I add meat to this casserole to make it extra hearty? ▾
Definitely! Cooked, crumbled breakfast sausage, diced crispy bacon, or chopped leftover ham all mix in beautifully. Just make sure any meat you add is fully cooked first and patted dry of excess grease, so you don’t add extra oil that makes the final dish greasy. Aim for 1 to 1.5 cups of cooked meat, stirred in with the hash browns and chiles.
7.Can I freeze this casserole to eat weeks later? ▾
Yes, it freezes exceptionally well! You can freeze it either fully assembled before baking, or after it’s baked and cooled completely. Wrap it tightly in two layers of plastic wrap and one layer of aluminum foil, and it will keep for up to 3 months. Thaw fully in the fridge overnight before baking or reheating to avoid uneven cooking.
8.What can I use if I don’t have whole milk for the egg base? ▾
Half-and-half will make the egg base extra rich and creamy, while 2% milk works perfectly fine if that’s what you have on hand. Skip skim milk, since it’s too watery and will make the egg layer thin and rubbery. For a dairy-free swap, use unsweetened plain oat milk, which has a creamy consistency closest to whole milk.
9.Why did my casserole turn out watery even when I followed the recipe steps? ▾
The most common culprit is unaddressed excess moisture from either the hash browns or green chiles. Always squeeze thawed hash browns thoroughly to remove starchy water, and drain canned chiles really well before adding them. If you mix in extra veggies like raw tomatoes or onions, cook them first to cook off their natural water content.
10.How should I store leftovers, and how long will they stay good? ▾
Let leftover casserole cool fully to room temperature within 2 hours of baking, then cover the pan tightly or transfer slices to airtight containers. It will keep in the fridge for 3 to 4 days. Reheat individual slices in the microwave for 60 to 90 seconds, or in a 350°F oven for 10 minutes if you prefer a crispier top.

Comments (6)

yesterday

OMG this green chili breakfast casserole was a total game changer for our Sunday brunch! I threw it together last minute before my in-laws came over and everyone went back for seconds. Even my picky 7 year old asked for more! I added a little extra cheese on top because duh, cheese makes everything better. 10/10 will make again for our next potluck.

2 hours ago

Wait how much extra cheese did you add? I’m making this for my work meal prep this week and want to make sure it’s cheesy enough!

30 minutes ago

So glad your family loved it! Extra cheese is always a great call — I usually add about 1/4 cup of shredded pepper jack on top for an extra little kick if you’re feeling fancy!

2 days ago

Super easy to throw together on Sunday night, and it reheats perfectly all week for quick breakfasts before work. The green chilis add the perfect amount of heat without being overpowering, I didn’t even need to add hot sauce (and I put hot sauce on literally everything). Cook time was exactly 45 minutes like the recipe said, no guesswork needed.

3 days ago

This was SO good! I used hatch green chilis I had frozen from last summer’s farmers market and it tasted incredible. Only reason I’m not giving 5 stars is I wish it had a little more egg to hold everything together, next time I’ll add an extra egg. Perfect post-hike breakfast for our group last weekend!

2 days ago

Great tip using frozen hatch chilis — they’re my absolute favorite for this recipe! Adding an extra egg is a perfect adjustment if you prefer a firmer casserole, thanks for sharing that hack with other readers!

1 week ago

Brought this to our neighborhood block party potluck last weekend and the pan was completely empty in 15 minutes. Multiple people came up to ask for the recipe! I made it the night before and popped it in the oven when we got to the park, super easy to transport. 10/10, this is going in my regular rotation for group events.

5 days ago

Wait were you the one who brought that green chili casserole?? I had two slices and was raving about it all week! Small world! I’m making it for my grandson’s birthday brunch this weekend 😊

3 days ago

That’s the highest compliment we can get — when a recipe is a hit at a potluck! Prepping it the night before is such a smart time-saver, so glad it worked out for your block party!

5 days ago

I was worried this would be too mild for my taste since I love super spicy food, so I swapped the regular green chilis for hot hatch chilis and added a sprinkle of red pepper flakes. Game. Changer. My husband said it’s the best breakfast I’ve ever made, and he’s not even a big breakfast person! So easy too, I’m not much of a cook and I pulled it off no problem.

2 days ago

Oh that’s such a good idea! I’m a total beginner cook too, did you change anything else besides the hot chilis and red pepper flakes? I want to make it for my boyfriend’s birthday breakfast!

2 weeks ago

Made this for a lazy Saturday morning with my roommates and we all devoured it. I love that it’s not too heavy, even after a big slice I didn’t feel sluggish for the rest of the day. I served it with a side of avocado and a dollop of sour cream, chef’s kiss. The 45 minute cook time was totally accurate, I didn’t have to wait around forever to eat which is a win in my book.



