
grill hot dogs on stove

title 1
grill hot dogs on stove
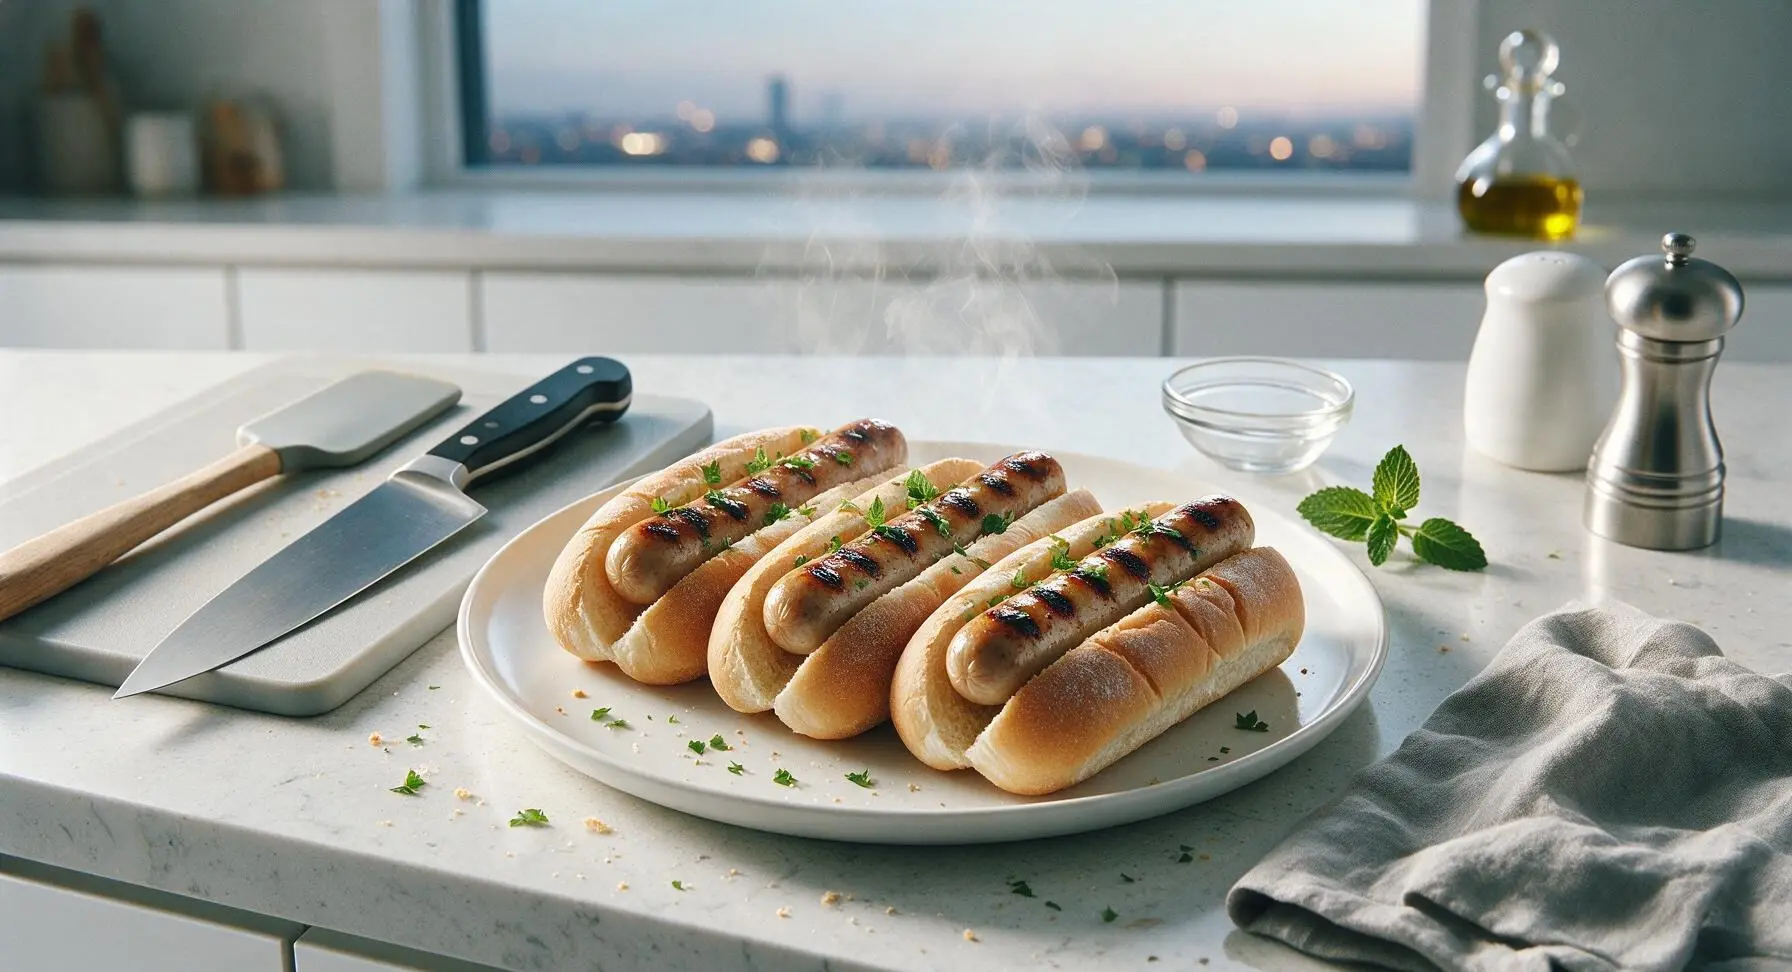
⏱️ cook time 10 minutes
🍽️ servings 4
⚡ Difficulty easy

intro

Juicy, snappy, char-marked hot dogs made entirely on your stovetop—no outdoor grill required. Ready in 15 minutes total, perfect for fast, satisfying summer weeknight meals.

Ingredients
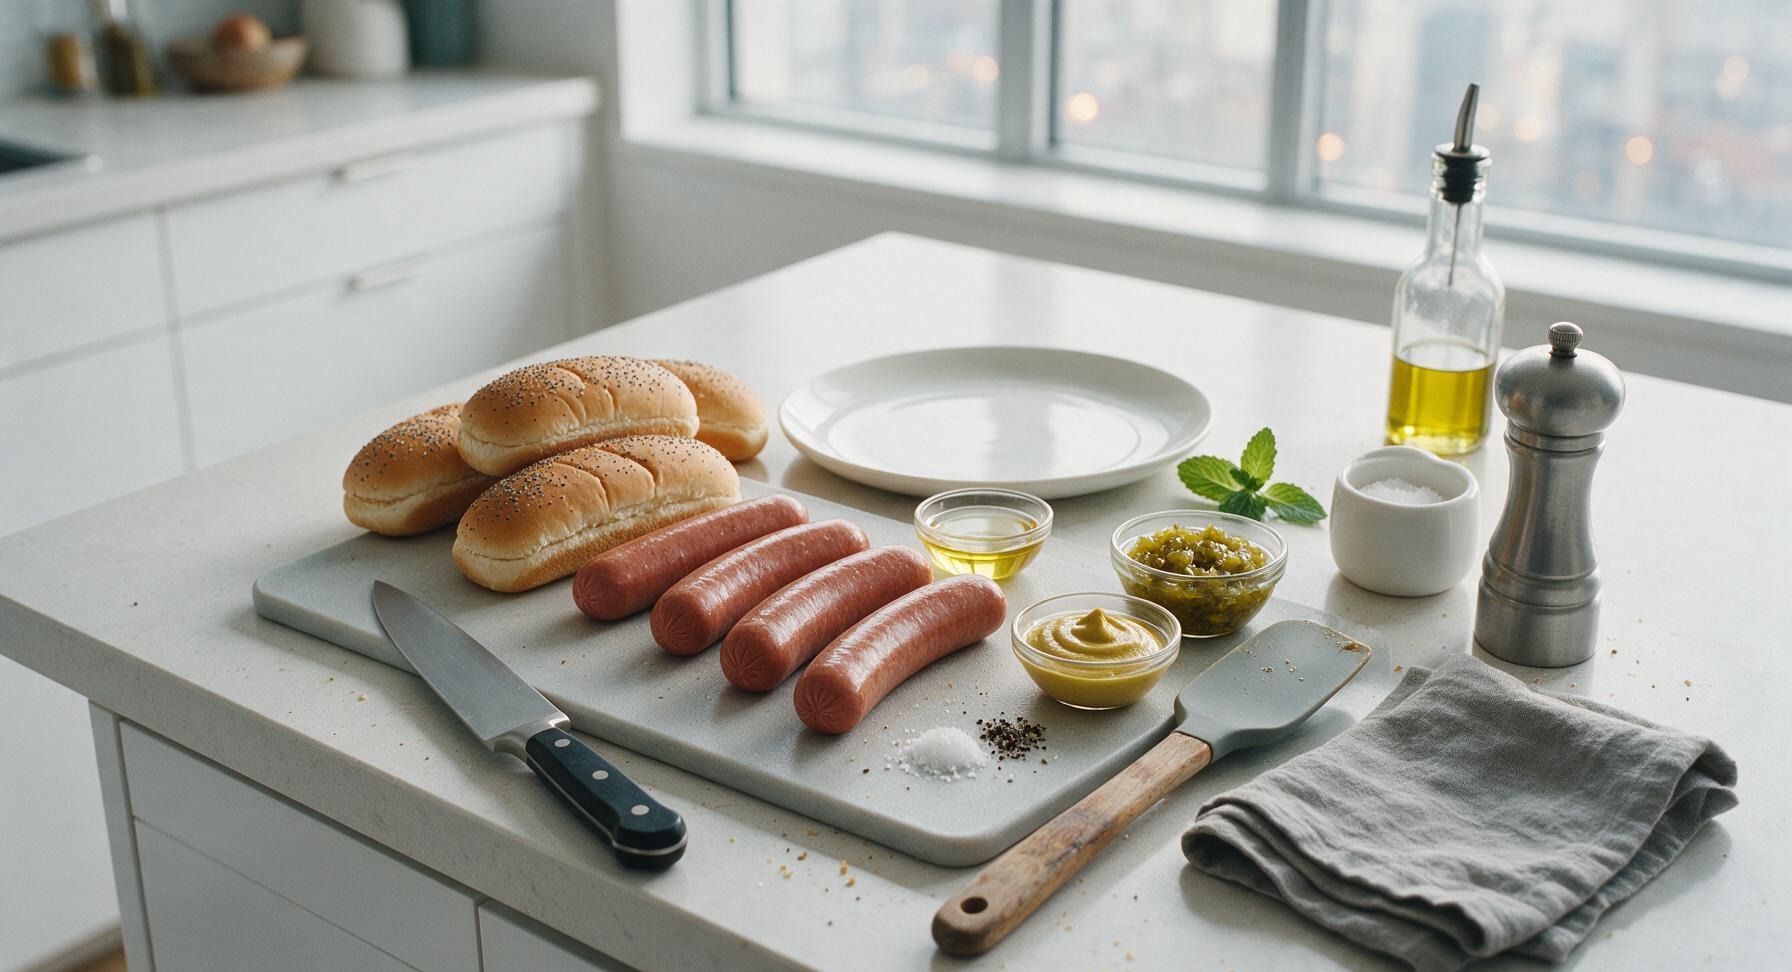
Natural-casing all-beef hot dogs 4 (2 oz / 56g each, 8 oz total)
Poppy seed hot dog buns 4
Canola oil 1 tbsp
Yellow mustard 1/4 cup
Sweet dill relish 1/4 cup
Kosher salt 1/4 tsp
Freshly ground black pepper 1/8 tsp

Steps

1

Prep Hot Dogs and Pan

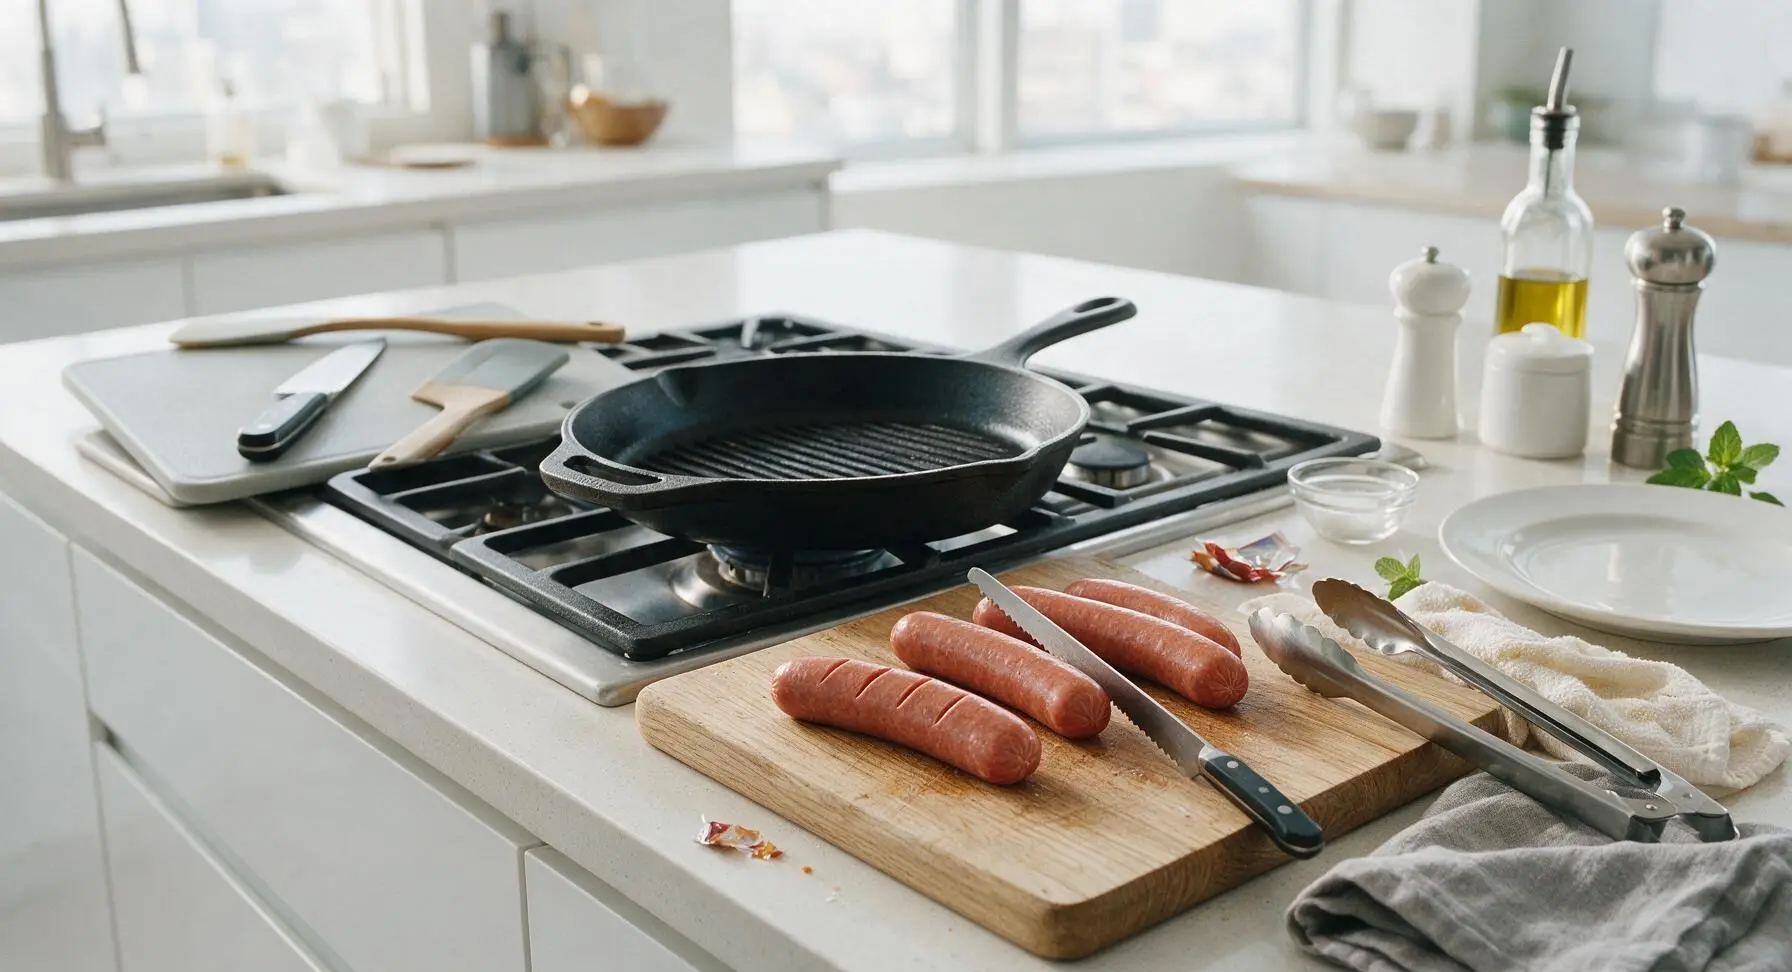
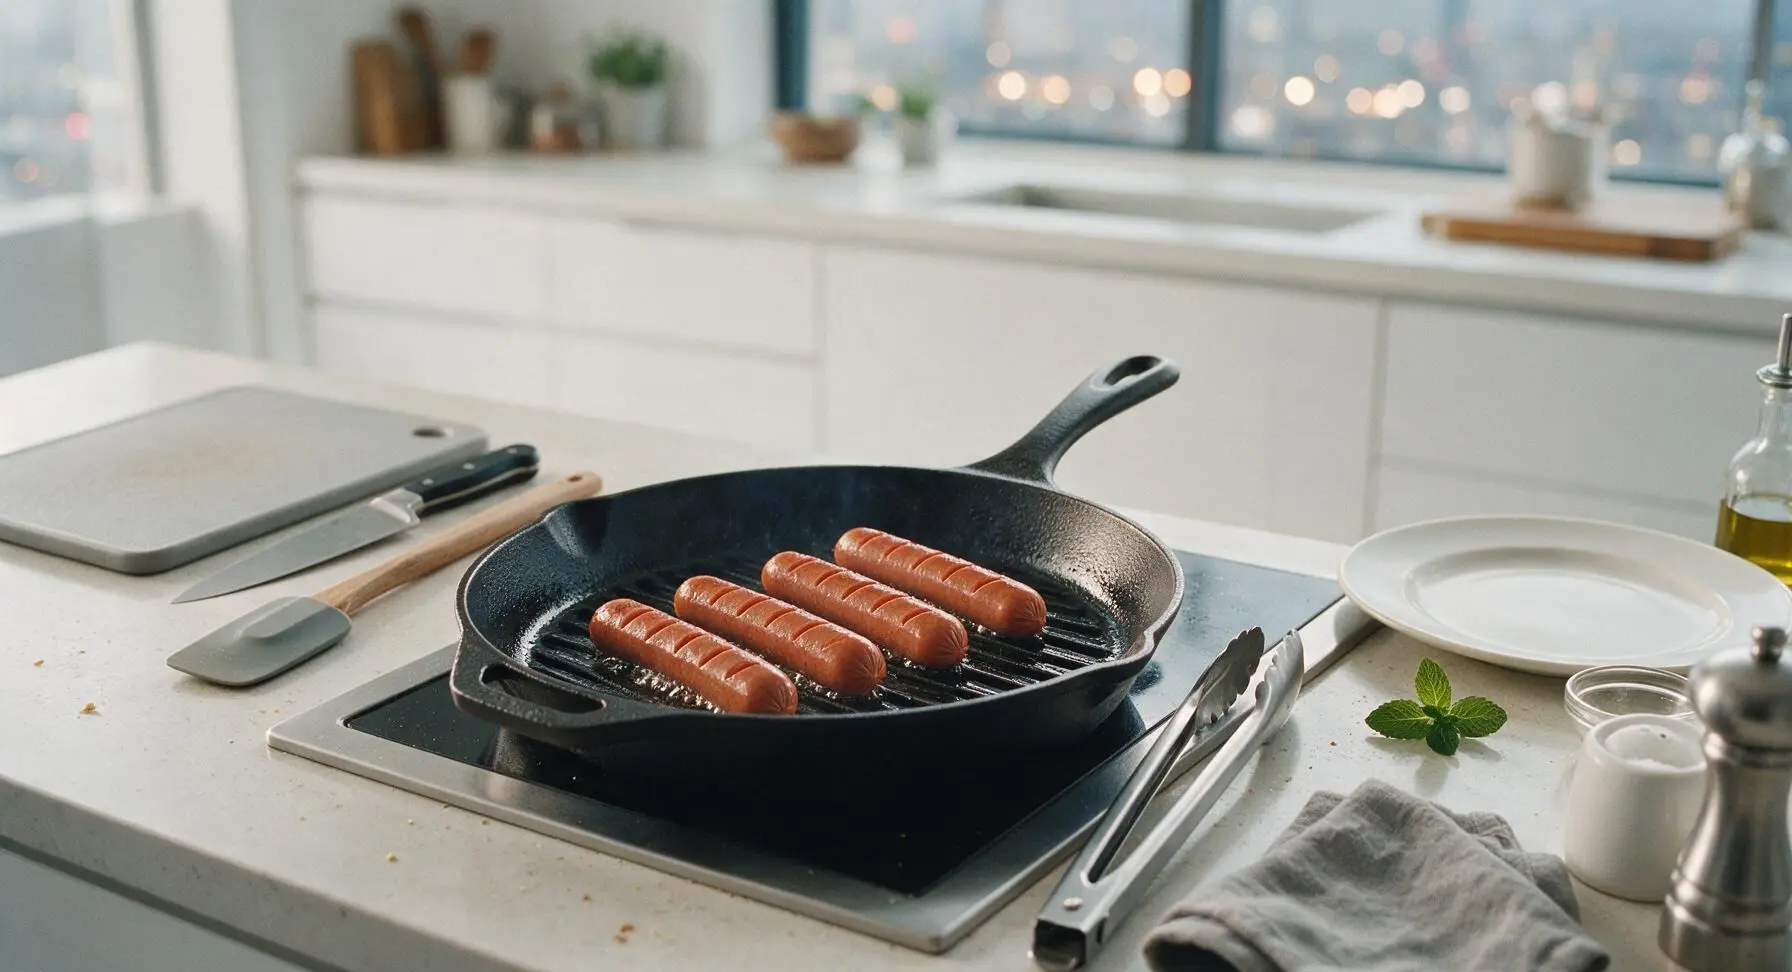
Remove 4 natural-casing all-beef hot dogs from packaging, pat completely dry with the cream cotton kitchen towel to remove excess surface moisture—this guarantees snappy casings and dark, even grill marks. Use the tip of the serrated bread knife to cut 3 shallow, 1/4-inch deep diagonal slits spaced 1 inch apart across each hot dog to prevent casing burst during cooking. Retrieve the cast iron grill pan from lower cabinet storage and set it on the center stovetop burner.
Step 1
step1:Prep Hot Dogs and Pan
2

Preheat Grill Pan

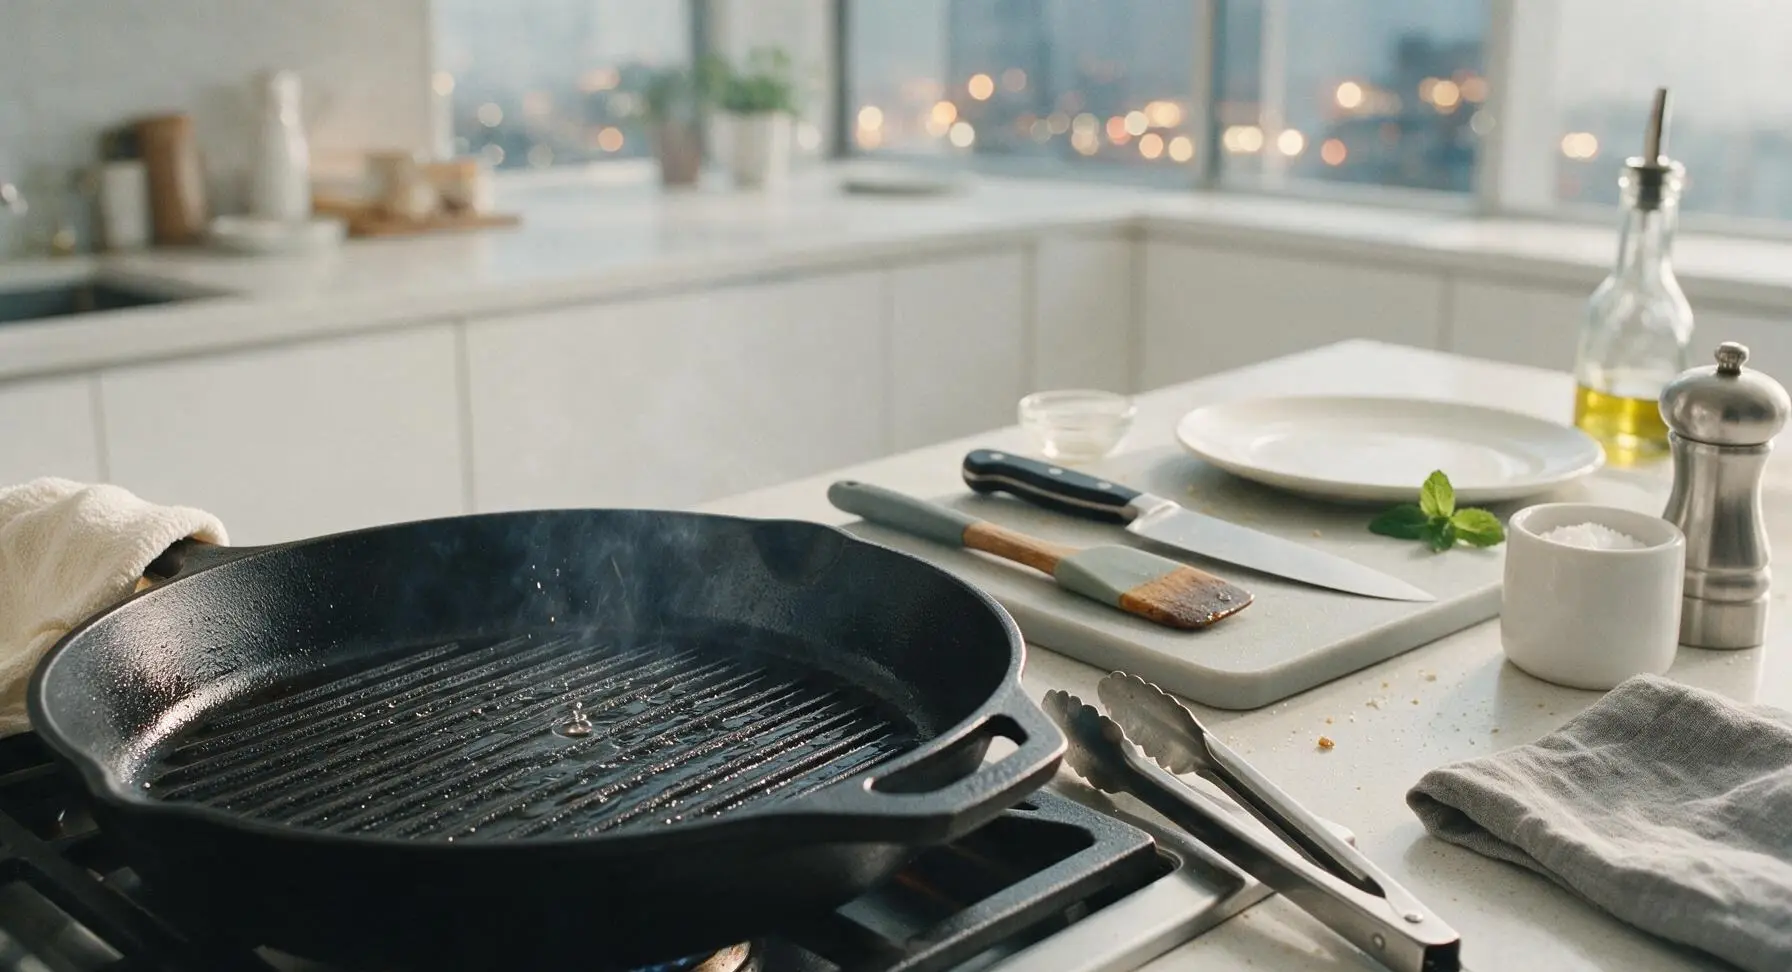
Turn the stovetop burner under the grill pan to medium-high heat (375°F / 190°C). Drizzle 1 tablespoon of canola oil across the raised grill ridges, use a folded corner of the cream cotton kitchen towel to spread the oil evenly across the pan surface, wiping away any excess to prevent smoking. Preheat the pan for 3 full minutes, until the oil just begins to shimmer and a drop of water flicked onto the surface dances and evaporates within 2 seconds.
Step 2
step2:Preheat Grill Pan
3

Add Hot Dogs to Pan

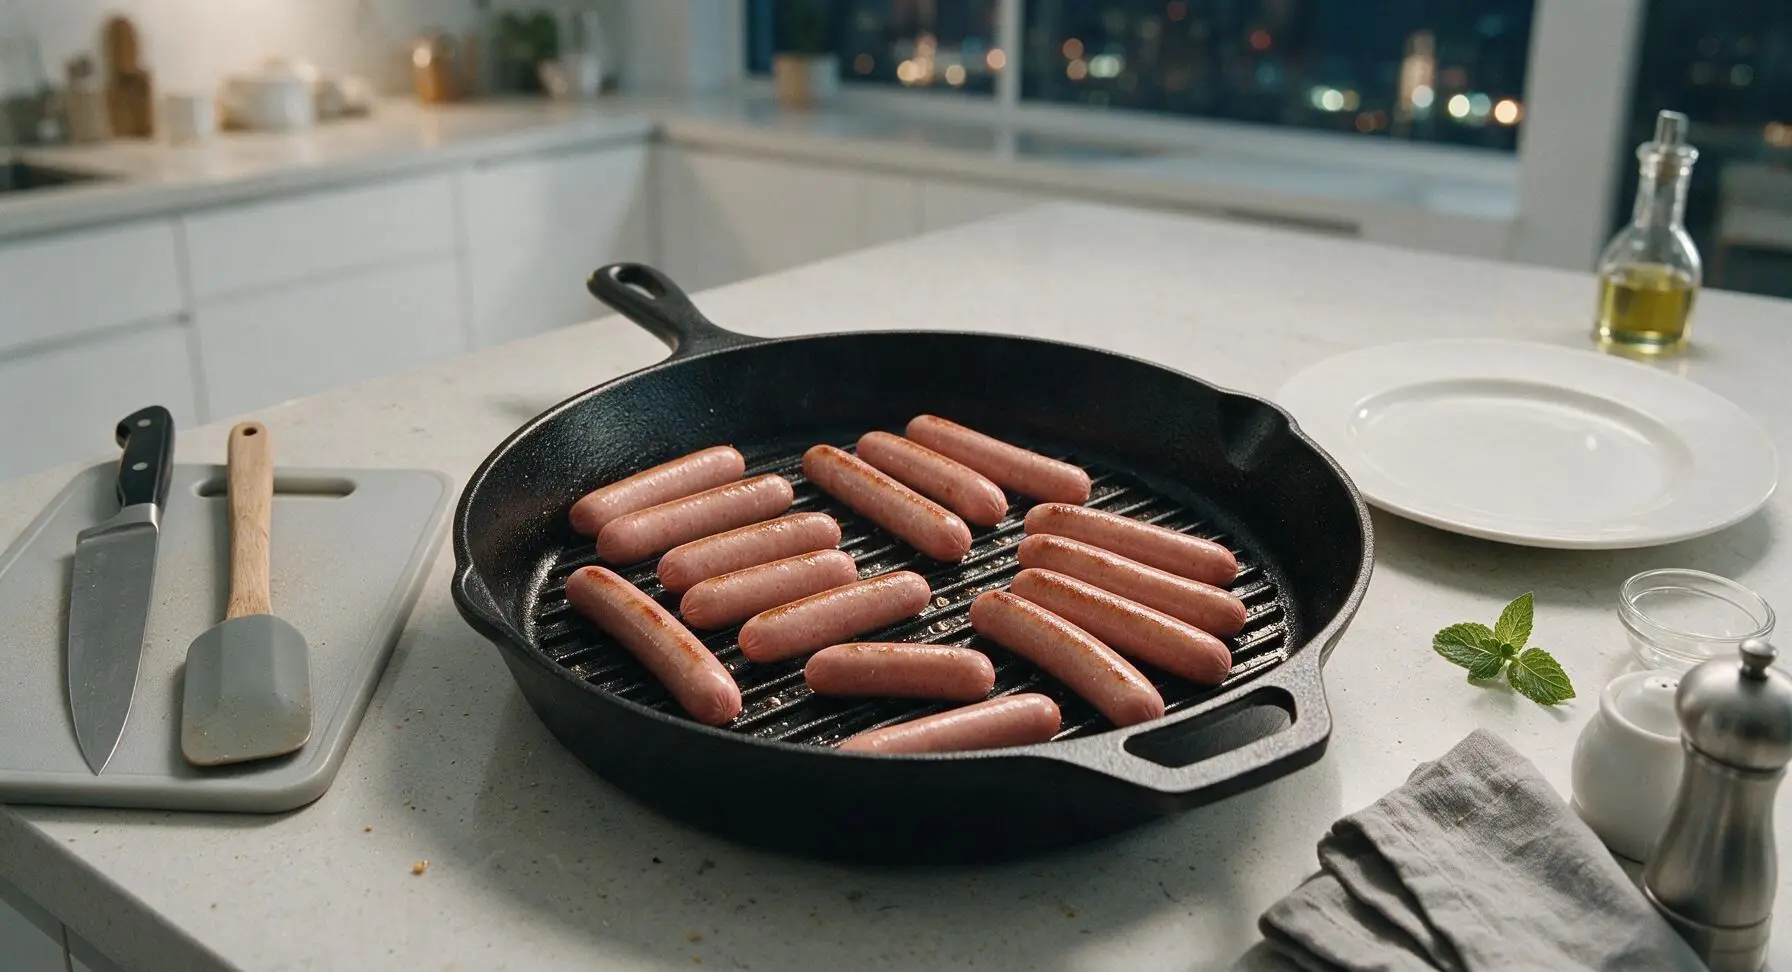
Use the stainless steel tongs to carefully place the scored hot dogs diagonally across the grill ridges, arranging them so they leave 1/2 inch of space between each dog to ensure even air flow and charring, rather than steaming. Do not move or adjust the hot dogs once they are placed on the hot ridges.
Step 3
step3:Add Hot Dogs to Pan
4

Grill First Side

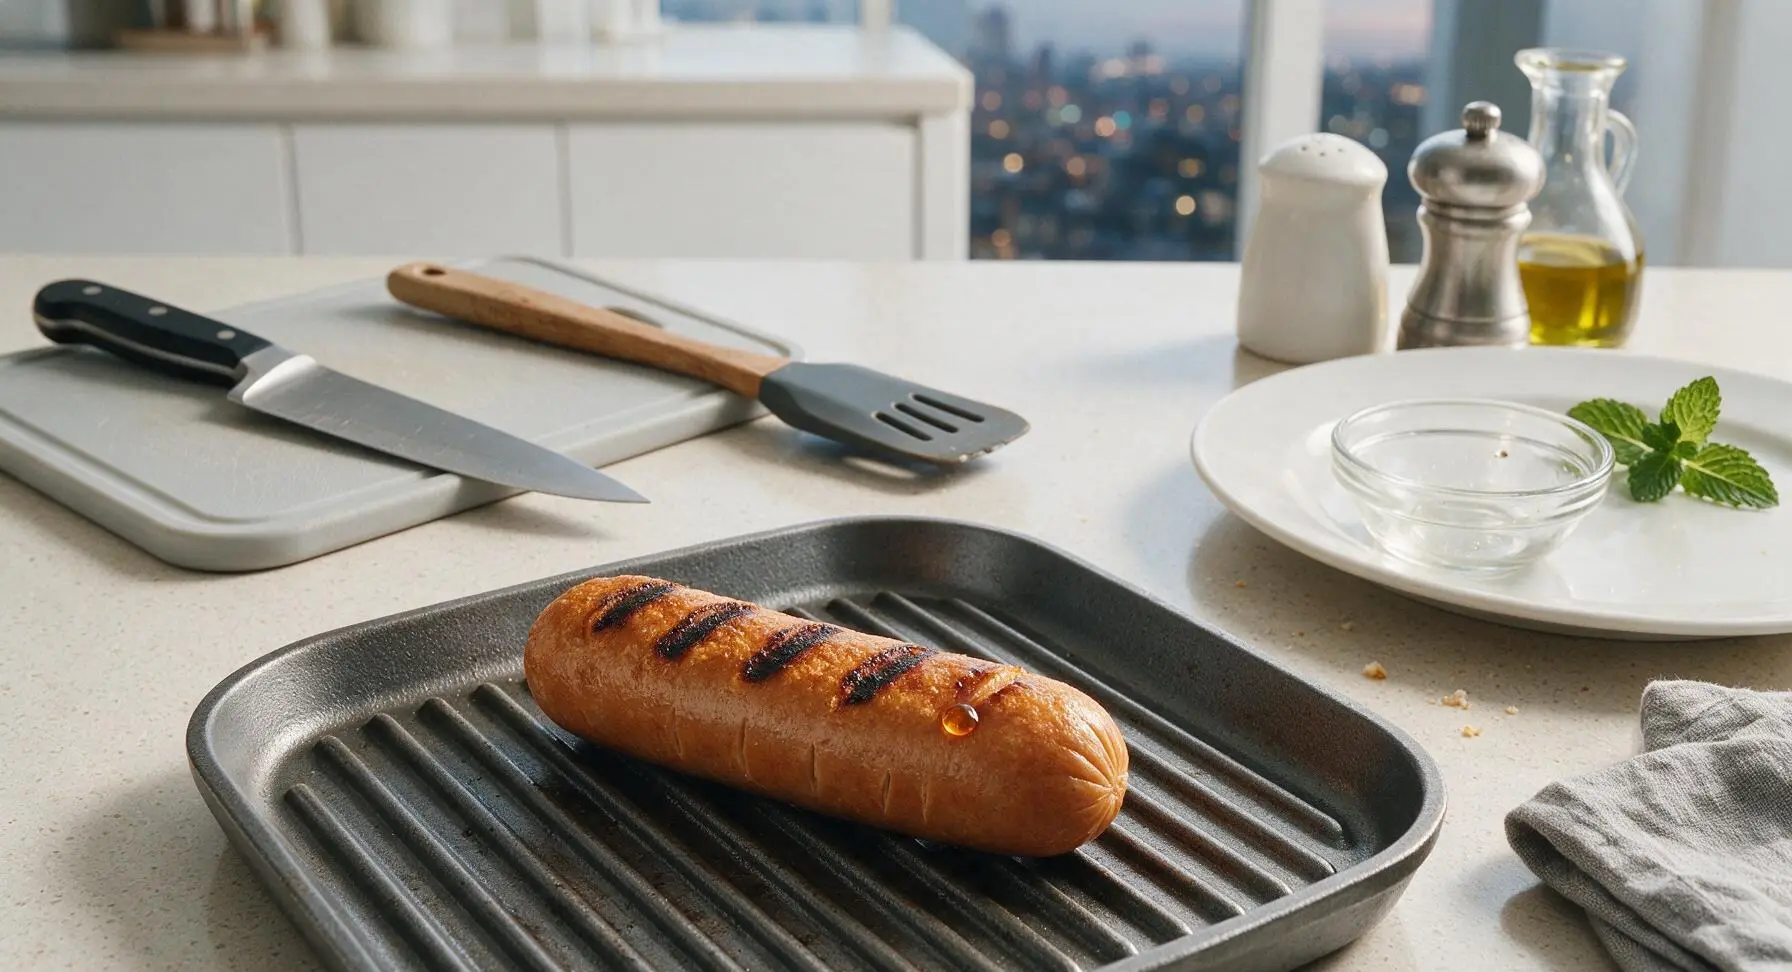
Let the hot dogs cook undisturbed for 2 full minutes on the first side. Resist the urge to move, lift, or press the hot dogs, as this will squeeze out flavorful rendered fat and prevent deep, dark grill marks from forming. The side touching the ridges will develop rich golden-brown to slightly charred black grill marks, and the casings will begin to puff and crisp as they heat.
Step 4
step4:Grill First Side
Step 4
step4:Grill First Side
5

Flip and Finish Cooking

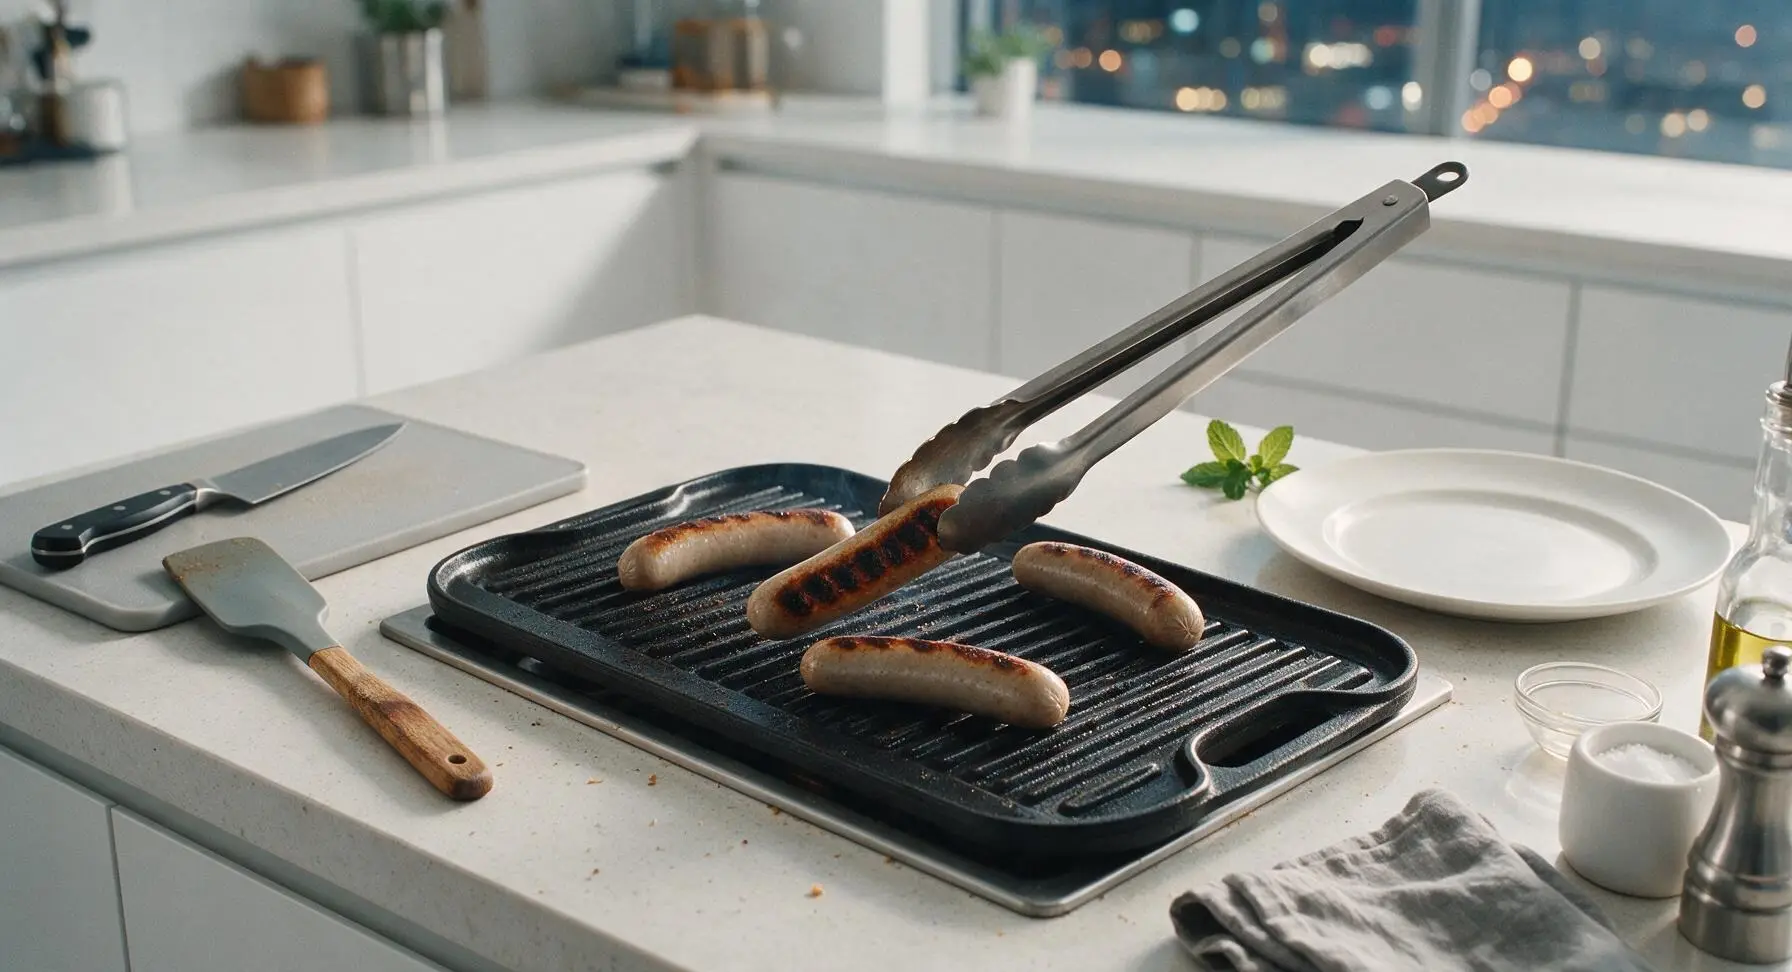
Use the stainless steel tongs to gently roll each hot dog a quarter turn, so an uncooked side rests against the grill ridges. Cook for 2 more minutes, then roll a final quarter turn and cook for 2 more minutes, for a total of 6 minutes cooking time for the hot dogs. The hot dogs are fully done when they have dark, even grill marks on all sides, the casings are snappy to the touch, and internal temperature reaches 160°F / 71°C. Sprinkle lightly with 1/4 teaspoon kosher salt and 1/8 teaspoon freshly ground black pepper immediately after removing from heat.
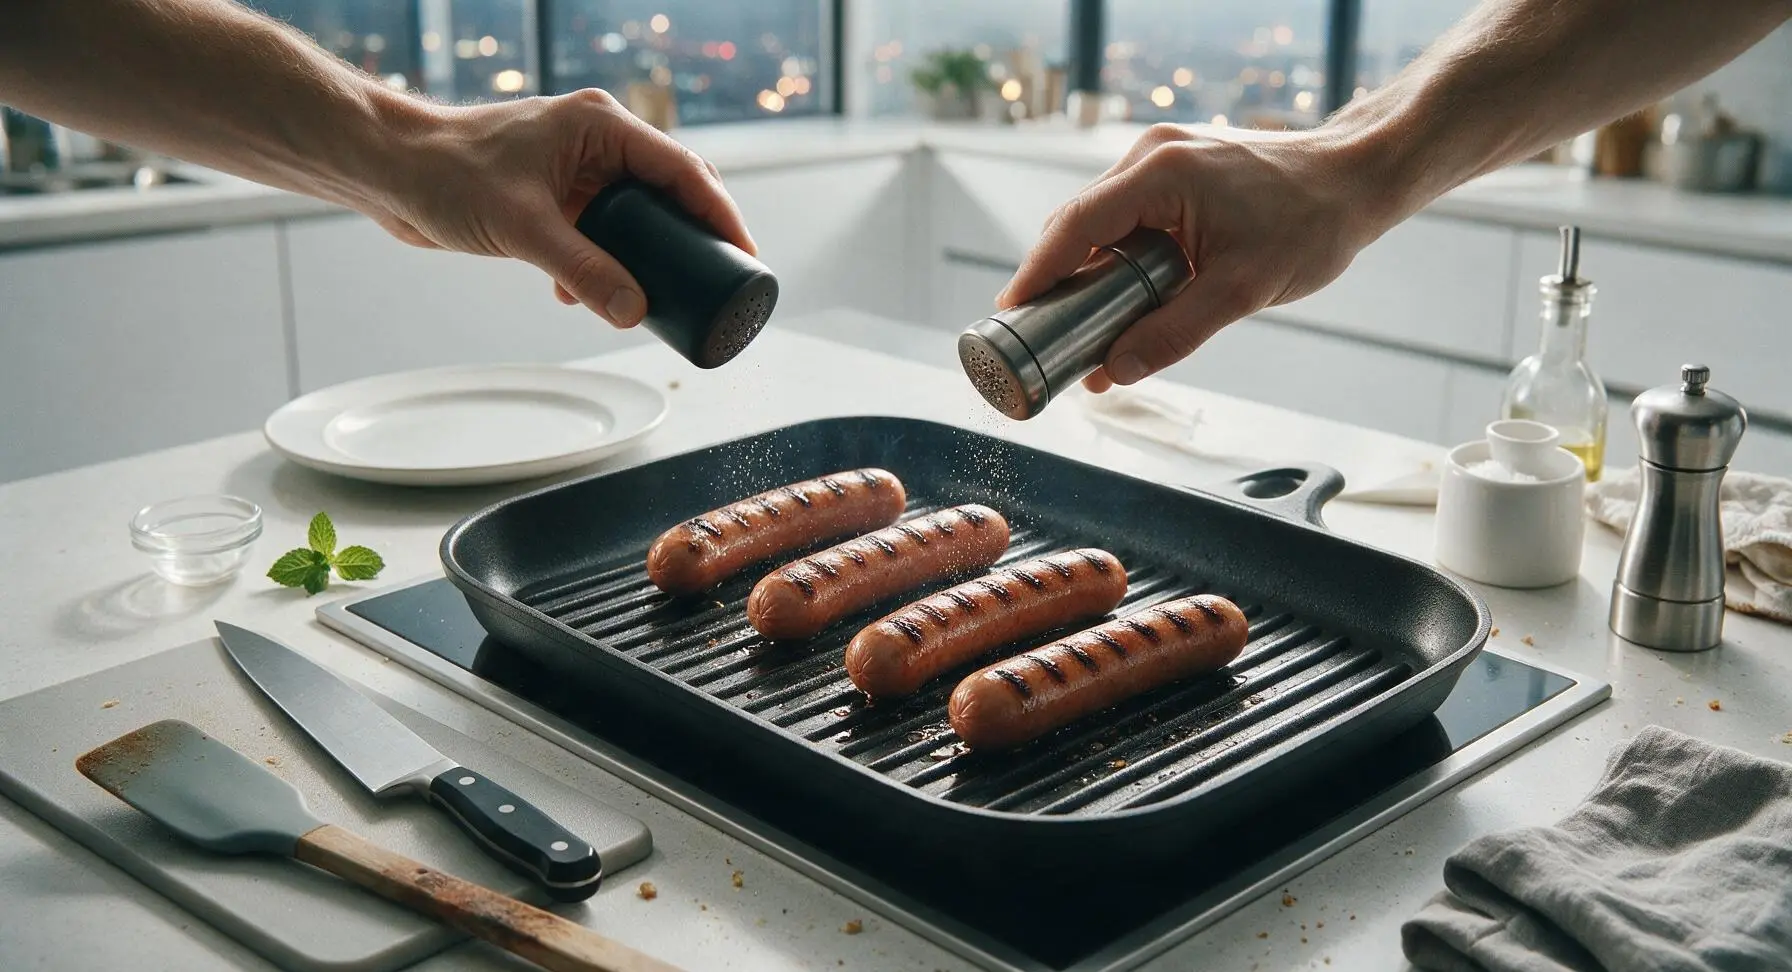
Step 5
step5:Flip and Finish Cooking
Step 5
step5:Flip and Finish Cooking
6

Toast Hot Dog Buns

Transfer the cooked, seasoned hot dogs to a temporary spot on the edge of the light honey oak cutting board. Place the split poppy seed hot dog buns cut-side down directly onto the hot grill ridges, using residual pan heat to toast them for 30 to 45 seconds. The buns will develop faint light golden grill marks and a crisp toasted surface that prevents sogginess from toppings and juices. Do not toast longer than 45 seconds, as the thin bread will burn quickly.
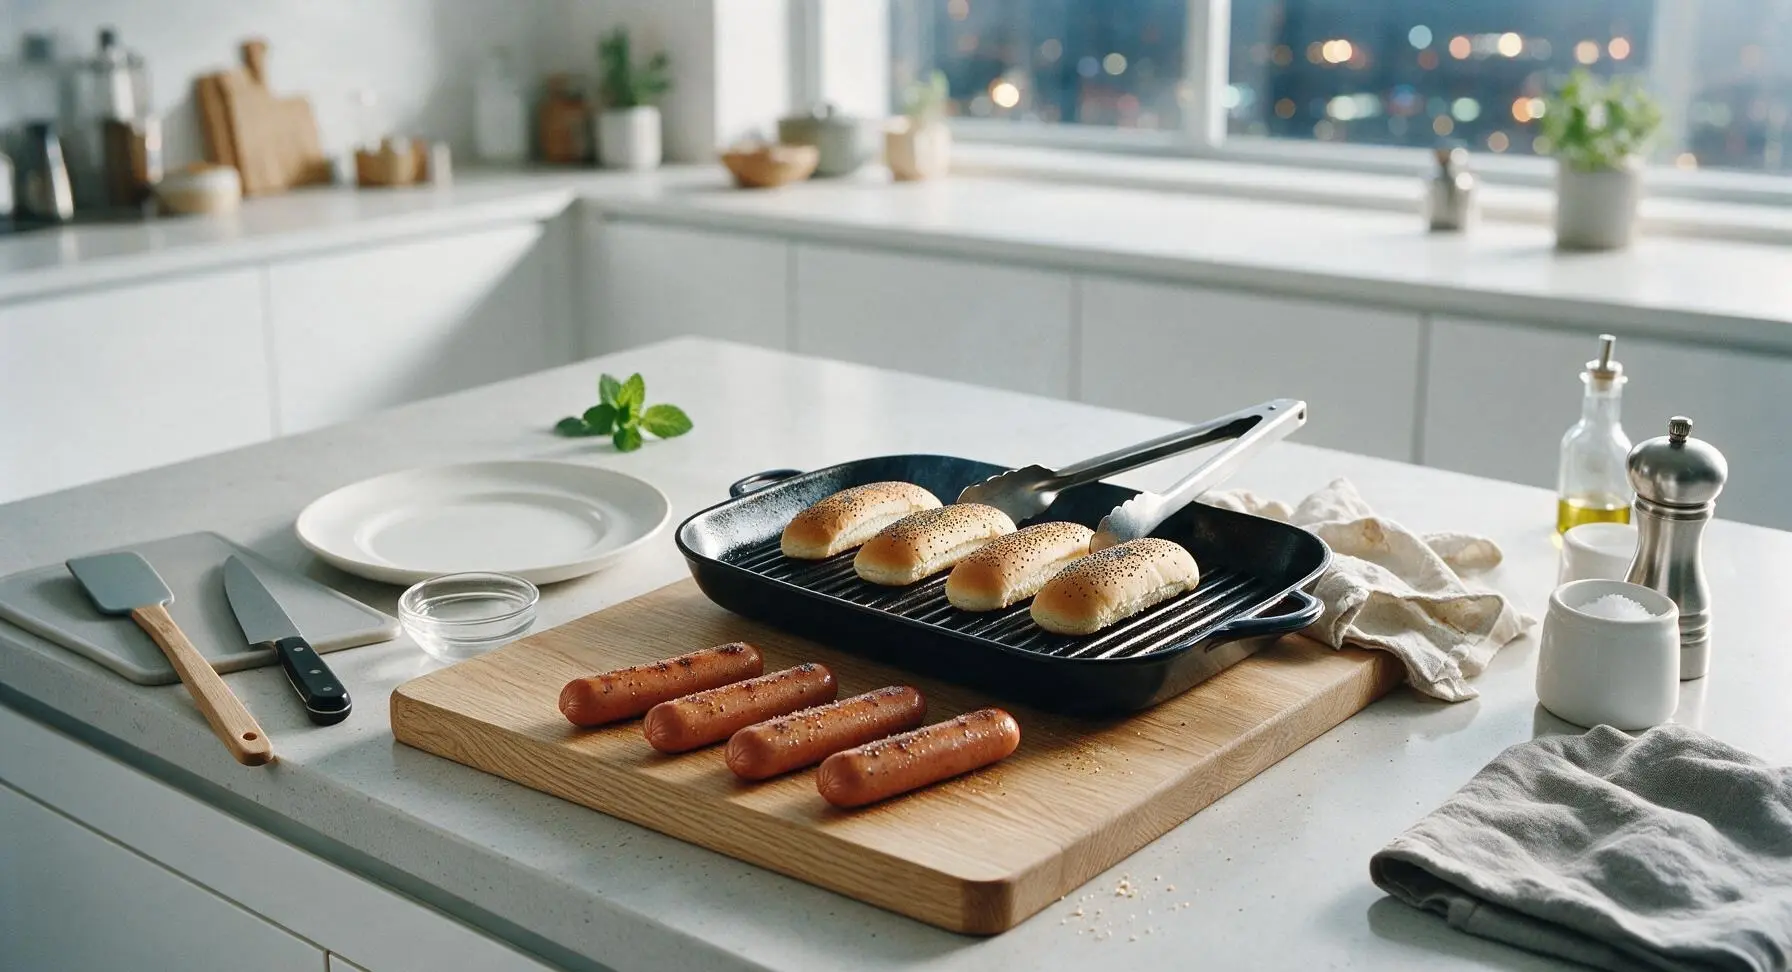
Step 6
step6:Toast Hot Dog Buns
7

Plate and Add Toppings

Remove the toasted buns from the pan using tongs, placing one bun on each cream white matte ceramic dinner plate. Nestle one grilled hot dog inside each toasted bun, then top each with 1 tablespoon of yellow mustard and 1 tablespoon of sweet dill relish, or your preferred toppings. Serve immediately while the hot dogs are hot, casings snappy, and buns crisp.
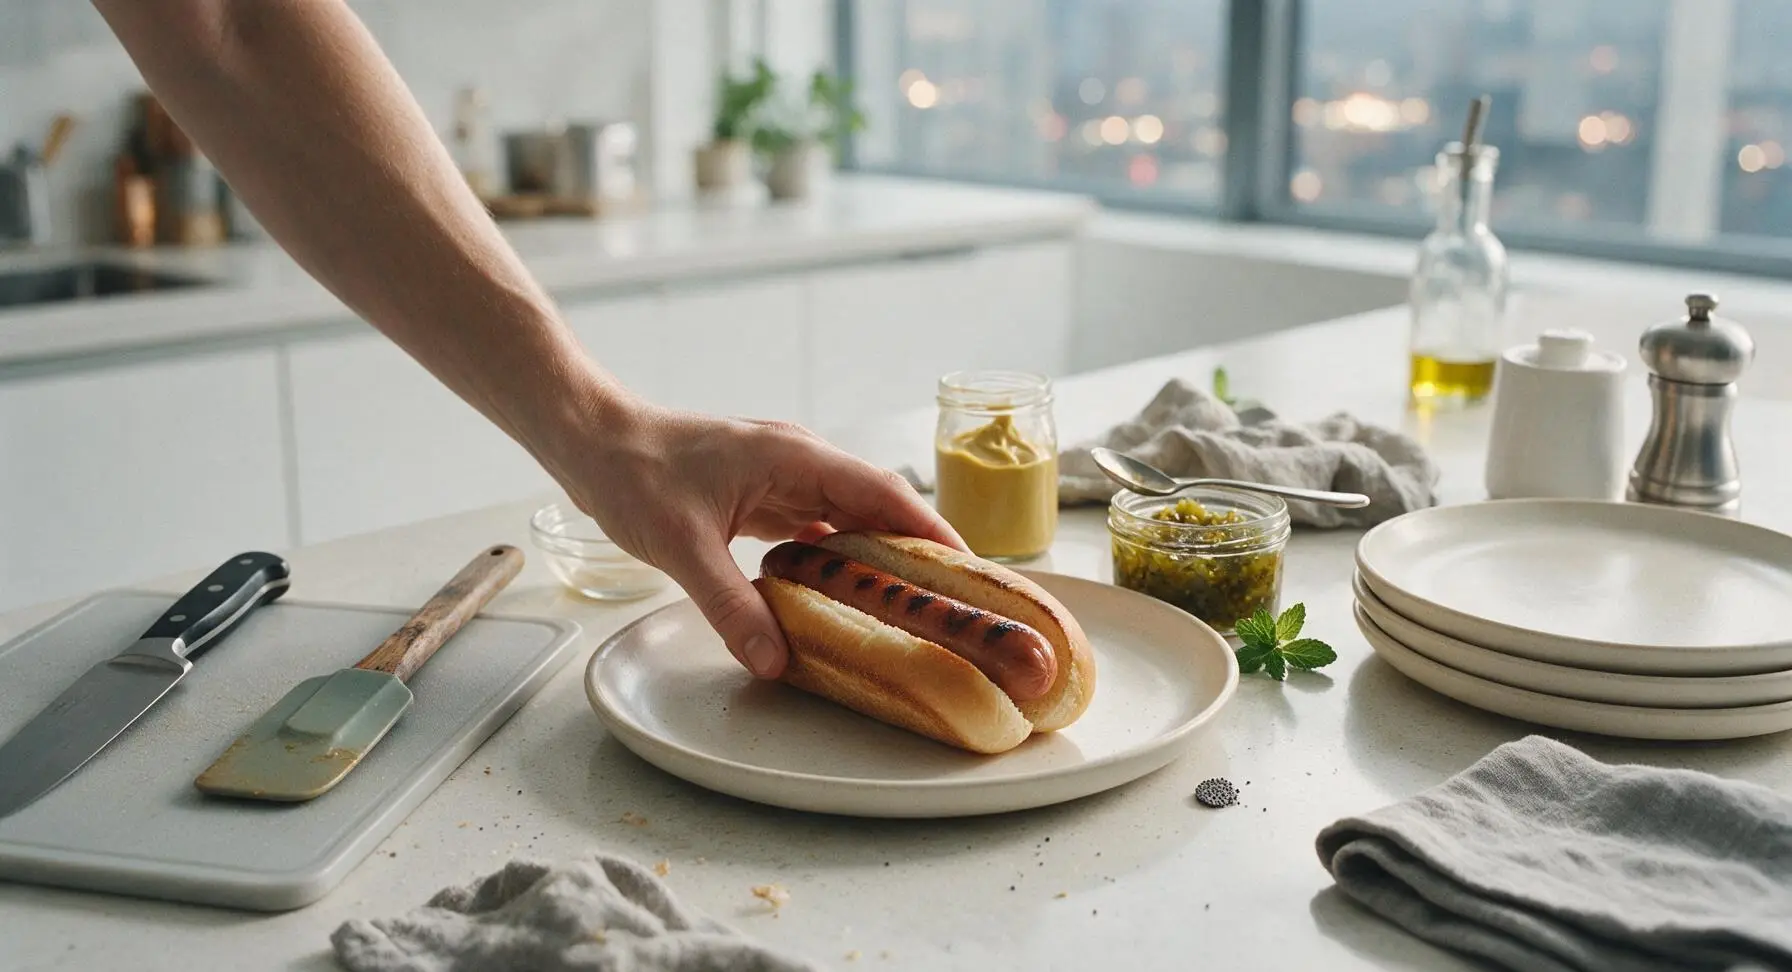
Step 7
step7:Plate and Add Toppings

Tips

1.Always pat hot dogs completely dry with a kitchen towel before adding to the hot pan. Excess surface moisture will create steam instead of a dry sear, leading to soft, rubbery casings and faint, gray grill marks instead of the deep, charred lines that give grilled hot dogs their classic smoky flavor.
2.Never press down on hot dogs with tongs or a spatula while they cook. Squeezing the casings forces flavorful rendered beef fat out into the pan, leaving you with dry, less juicy hot dogs and causing hot oil splatter that can burn skin or make a mess on your stovetop.
3.Toast buns directly on the hot grill pan immediately after removing the hot dogs. The residual heat and thin layer of oil on the pan ridges toasts the cut side of the buns to a delicate crisp without extra butter, creating a barrier that prevents sogginess from condiments and hot dog juices as you eat.


✨ You May Also Like

BBQ & Grilling
🍜 United States

Tender, melt-in-your-mouth beef brisket with a crisp, spiced bark, slow-smoked to deep smoky perfection, the iconic centerpiece of Texas backyard barbecue.

⏱️ 12 hours BBQ & Grilling ★ 4.4
BBQ & Grilling
🍜 Korea

Tender, sweet-savory marinated beef short ribs, a beloved Korean BBQ staple with caramelized, slightly charred edges and deep umami flavor, perfect for outdoor summer gatherings.

⏱️ 4 hours 2BBQ & Grilling ★ 4.8
BBQ & Grilling
🍜 United States

Juicy grilled beef patties topped with smoky homemade chili, melted cheddar, and tangy pickles on toasted brioche buns for a hearty, flavor-packed handheld meal.

⏱️ 40 minuteBBQ & Grilling ★ 4.7
BBQ & Grilling
🍜 United States

A sweet, smoky, tangy BBQ sauce brightened with peak-season dark cherries, ideal for glazing grilled ribs, chicken, pork, or summer roasted veggies.

⏱️ 35 minuteBBQ & Grilling ★ 4.7
BBQ & Grilling
🍜 United States

Rich, smoky, slightly sweet homemade bourbon BBQ sauce with deep caramel notes, ideal for glazing grilled ribs, chicken, and burgers at cookouts.

⏱️ 25 minuteBBQ & Grilling ★ 4.7
BBQ & Grilling
🍜 United States

Iconic Alabama-style BBQ featuring tender hickory-smoked chicken slathered in tangy creamy white sauce, a beloved regional Southern cookout staple.

⏱️ 3 hoursBBQ & Grilling ★ 5

grill hot dogs on stove:Frequently Asked Questions

1.Do I have to use natural-casing all-beef hot dogs for this recipe, or will skinless varieties work? ▾
Natural-casing all-beef franks deliver that iconic snappy, juicy bite and hold up great to high stovetop heat without premature splitting, but skinless hot dogs work fine in a pinch. Just turn the heat down slightly, rotate them more often to prevent uneven blistering, and note you won’t get that signature crisp “pop” when you take your first bite.
2.What kind of pan works best for getting classic char marks without an outdoor grill? ▾
A heavy-bottomed cast iron skillet or ridged stovetop grill pan is ideal here, as it retains high, even heat that creates deep, authentic char marks without steaming the franks. If you only have a regular stainless steel skillet, that works too—you’ll get tasty, crispy browned spots even without ridges, as long as you don’t overcrowd the pan.
3.How do I keep my hot dogs from splitting open while they cook on the stovetop? ▾
Start by letting hot dogs come to room temperature for 10 minutes before cooking, so they don’t shock from cold to high heat. Avoid poking holes in them, which lets juicy fat leak out, and cook over medium-high instead of blazing high heat, rotating every minute or so so they heat evenly without pressure building up too fast on one side.
4.Do I need to add oil directly to the pan, or can I cook the hot dogs dry? ▾
You only need a very thin layer of canola oil—about a teaspoon—to coat the preheated pan, per the recipe. Too much oil will cause messy splattering and make your hot dogs greasy instead of crisp, while cooking completely dry can lead to uneven sticking and patchy char, especially if you’re using a pan that isn’t well-seasoned.
5.How long do the hot dogs actually take to cook through on the stovetop? ▾
Total cook time for standard-sized franks is 6 to 8 minutes over medium-high heat, rotating every 60 to 90 seconds to get even char on all sides. You’ll know they’re done when they have deep golden char marks, are plump all around, and hit 165°F internally, fitting the recipe’s quick 15-minute total timeline from prep to plate.
6.Should I toast the poppy seed hot dog buns, and if so, how do I do that on the stovetop? ▾
Absolutely—toasting adds a nice crisp texture that keeps buns from getting soggy from juicy franks and condiments. Once your hot dogs are done cooking, turn the heat to low, place the split poppy seed buns cut-side down in the same pan, and toast for 30 to 45 seconds until they’re lightly golden and warm right before assembly.
7.Can I make these stovetop hot dogs ahead of time for weeknights or small gatherings? ▾
These franks taste best fresh off the pan, but you can prep them 1 to 2 days ahead if needed: cook them fully, let them cool completely, store in an airtight container in the fridge, and reheat for 30 seconds per side in a dry skillet over medium heat before serving. Avoid freezing them, as the casing turns mushy when thawed.
8.I don’t have sweet dill relish—what are good substitutes that pair well here? ▾
Sweet dill relish adds that perfect tangy-sweet, briny balance, but you can swap it for regular dill relish mixed with a tiny pinch of sugar, chopped dill pickles, tangy sauerkraut, or even pickled jalapeños if you want a little heat. Just avoid overly sweet, syrupy relishes that overpower the smoky, charred frank flavor.
9.Is yellow mustard the only condiment that works, or can I add other favorite toppings? ▾
Yellow mustard is a classic, bright, tangy pairing that cuts through the rich beef flavor, but you can absolutely add your go-to toppings. Try diced white onion, tomato slices, sport peppers for a Chicago-style twist, melted cheese, or chili, just wait to add toppings until serving so your toasted buns don’t get soggy.
10.Why do my stovetop hot dogs end up steamed instead of charred and snappy? ▾
That almost always happens from overcrowding the pan, which traps moisture and steams franks instead of searing them, or using heat that’s too low. Cook 3 to 4 franks max per batch, make sure your pan is fully preheated before adding the dogs, and resist constant fidgeting so a nice, crisp char has time to develop.
11.Can I use this same stovetop method for plant-based hot dogs? ▾
You absolutely can, though you’ll need to adjust the heat slightly. Most plant-based franks have a softer texture than natural-casing beef ones, so cook them over medium instead of medium-high heat, rotate a little more gently to avoid breaking them, and aim for 4 to 6 minutes of cook time until heated through with light char marks.
12.How do I cut down on grease splatter when cooking hot dogs on the stovetop? ▾
First, pat your hot dogs dry with a paper towel before adding them to the oiled pan, as excess surface moisture is the top cause of splatter. Use a thin, lightweight splatter screen over the skillet to catch popping grease without trapping steam (which makes dogs soggy), and don’t turn heat higher than medium-high to avoid burning fat.
13.Do I need to score or cut slits in the hot dogs before cooking them? ▾
Skip the slits for natural-casing all-beef hot dogs! Cutting into the casing lets all the delicious, juicy rendered fat leak out into the pan, leaving you with dry, less flavorful franks. Scoring is only useful for extra-thick, skinless franks that are extra prone to splitting, even with careful temperature control and regular rotation.
14.Can I cook the hot dogs straight from the freezer, or do they need to thaw first? ▾
It’s always best to thaw frozen hot dogs in the fridge overnight first for the most even, snappy results. If you’re in a huge rush, you can cook them from frozen over medium-low heat, adding 4 to 5 minutes of extra cook time and rotating often to make sure they heat all the way through without burning the outside.

Comments (7)

2 days ago

OMG this is such a game changer! I don’t have an outdoor grill at my apartment so I’ve been boiling hot dogs for years and they’re always so sad and soggy. These came out perfectly charred just like the cookout ones, my kids devoured 2 each at dinner last night! Total cook time was actually under 10 minutes too, perfect for busy weeknights.

yesterday

Wait do you use a regular cast iron skillet for this? I’ve been scared to try stovetop grilling cause I don’t want to set off my smoke alarm lol

2 hours ago

Great question! A regular cast iron skillet works perfectly—just turn your range hood on high and keep the heat at medium instead of high to cut down on smoke. You’ll get that great char without the alarm going off!

3 days ago

Made these for our pre-game potluck this past weekend since the park grill was already taken when we showed up. Everyone kept asking how I got that classic grilled smoky flavor without an actual grill! SO good, I’ll be keeping this method in my back pocket from now on.

2 days ago

So stoked these worked out for your tailgate! If you want an extra smoky kick, try adding a tiny pinch of smoked paprika to the pan while they cook—game day guests will go crazy for it.

1 week ago

Super easy, quick, and way better than microwaved hot dogs for my weekly lunch prep. I toss them in a whole wheat bun with some sauerkraut and mustard and they hold up great in the fridge for 3-4 days. Only thing I’d note is don’t walk away from the pan, they char fast if you’re not paying attention!

5 days ago

My 7 year old turns his nose up at literally every hot dog that isn’t ‘cooked over fire’ according to him. Tried this stovetop method last night and he didn’t even notice the difference! He said it was ‘the best camp hot dog ever’ lmao. 10/10, will be making these every Friday from now on.

3 days ago

Wait that’s so funny, my campers say the exact same thing about fire-cooked dogs! I’m gonna test this method for our indoor rainy day cookout next week, hope it works as well for a big batch!

2 days ago

This made our day! For big batches, you can use two large skillets at once to keep cook time quick, and they stay nice and warm in a covered dish for 20-30 minutes after cooking. Hope the campers love them!

yesterday

Wow, I can’t believe how simple this was! I always overcomplicate weeknight meals but these came together in literally no time. I served them with homemade mac and cheese and roasted broccoli and my husband said it felt like a summer cookout in the middle of January. Only note is I wish I’d buttered the buns a little before toasting them in the pan too!

2 hours ago

Oh toasting the buns in the same pan after the dogs are done is chef’s kiss! The little bits of char from the hot dogs get on the bread, it’s so good. Thanks for the reminder to try that!

30 minutes ago

This was the first real meal I made in my new apartment lmao, I was so nervous I’d mess it up but it was literally impossible to screw up. The cook time was exactly as advertised, no fancy tools needed, and they tasted way better than the gas station hot dogs I’ve been living on for the past week. 10/10 for beginner cooks!

5 minutes ago

Solid base recipe! I added a little chili powder and garlic powder to the pan while the dogs cooked, then topped them with pickled jalapeños and cheese sauce for a loaded version. So much better than boiling, the char adds so much depth of flavor I didn’t even know hot dogs could have.

just now

Those loaded additions sound incredible! We love seeing people customize the recipe to their taste—your spice combo is going on our next batch for sure.



