
Grilled Cheese Pizza
intro
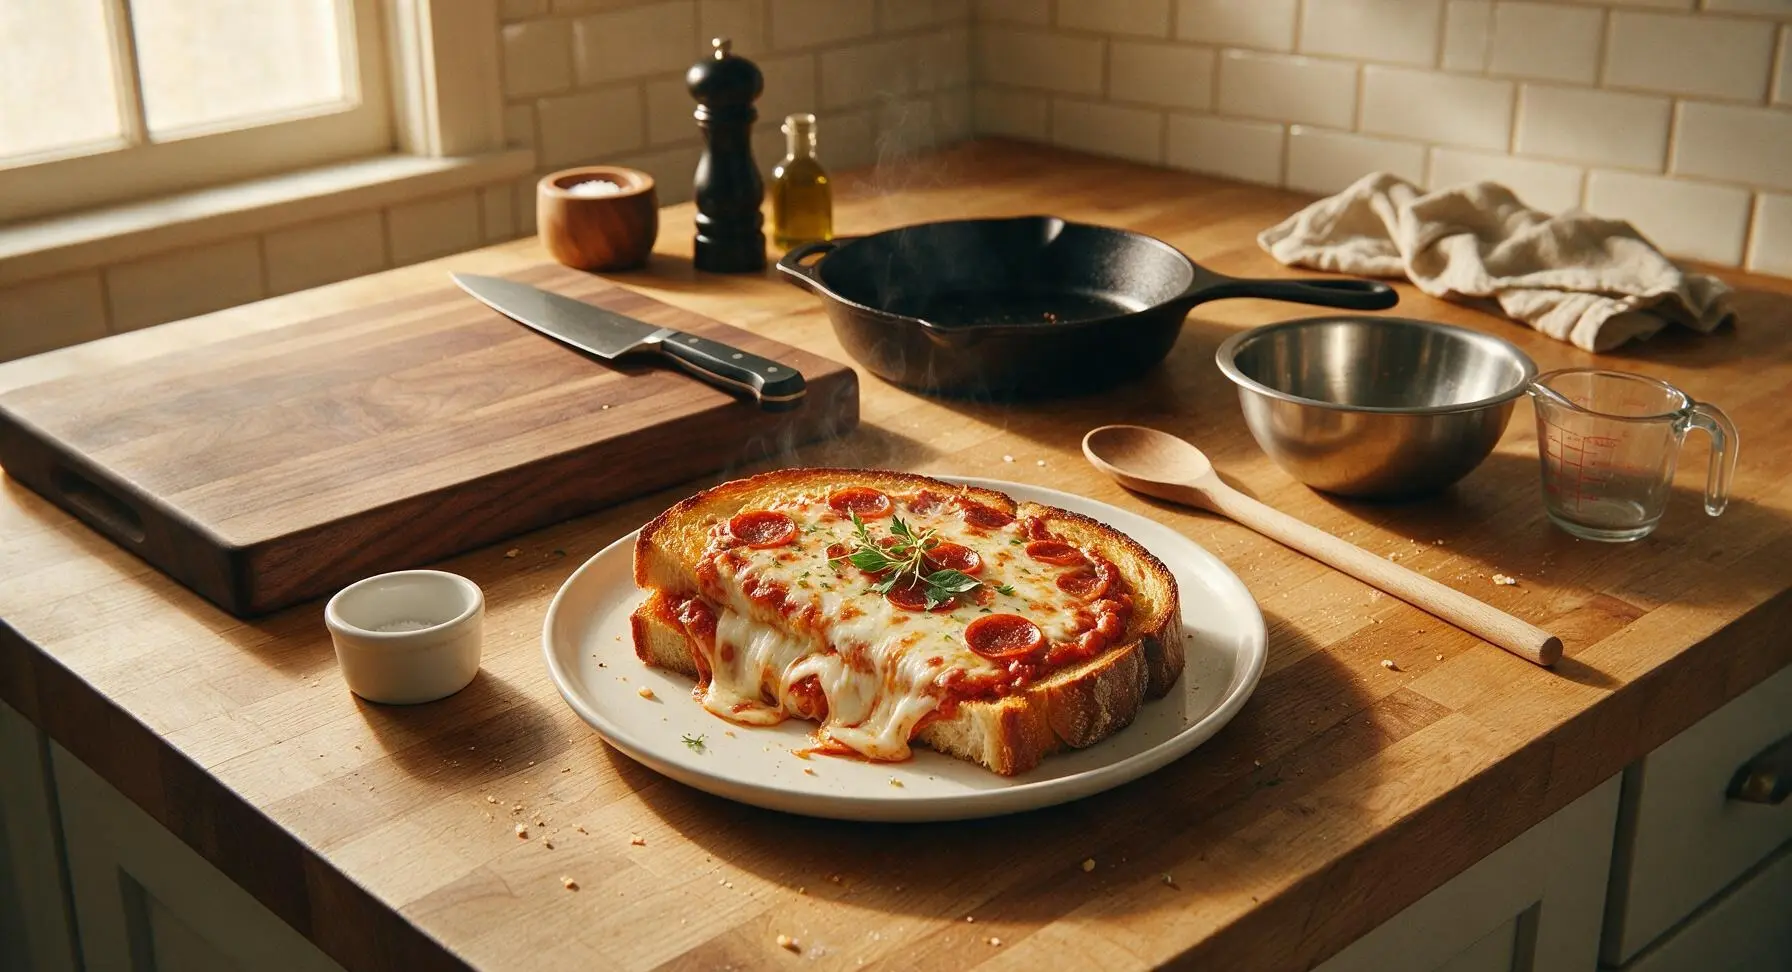
Crispy buttered sourdough oozing with stretchy melted mozzarella, zesty pizza sauce, and savory pepperoni—this grilled cheese pizza is the ultimate fast, cozy comfort meal.
Ingredients
Steps
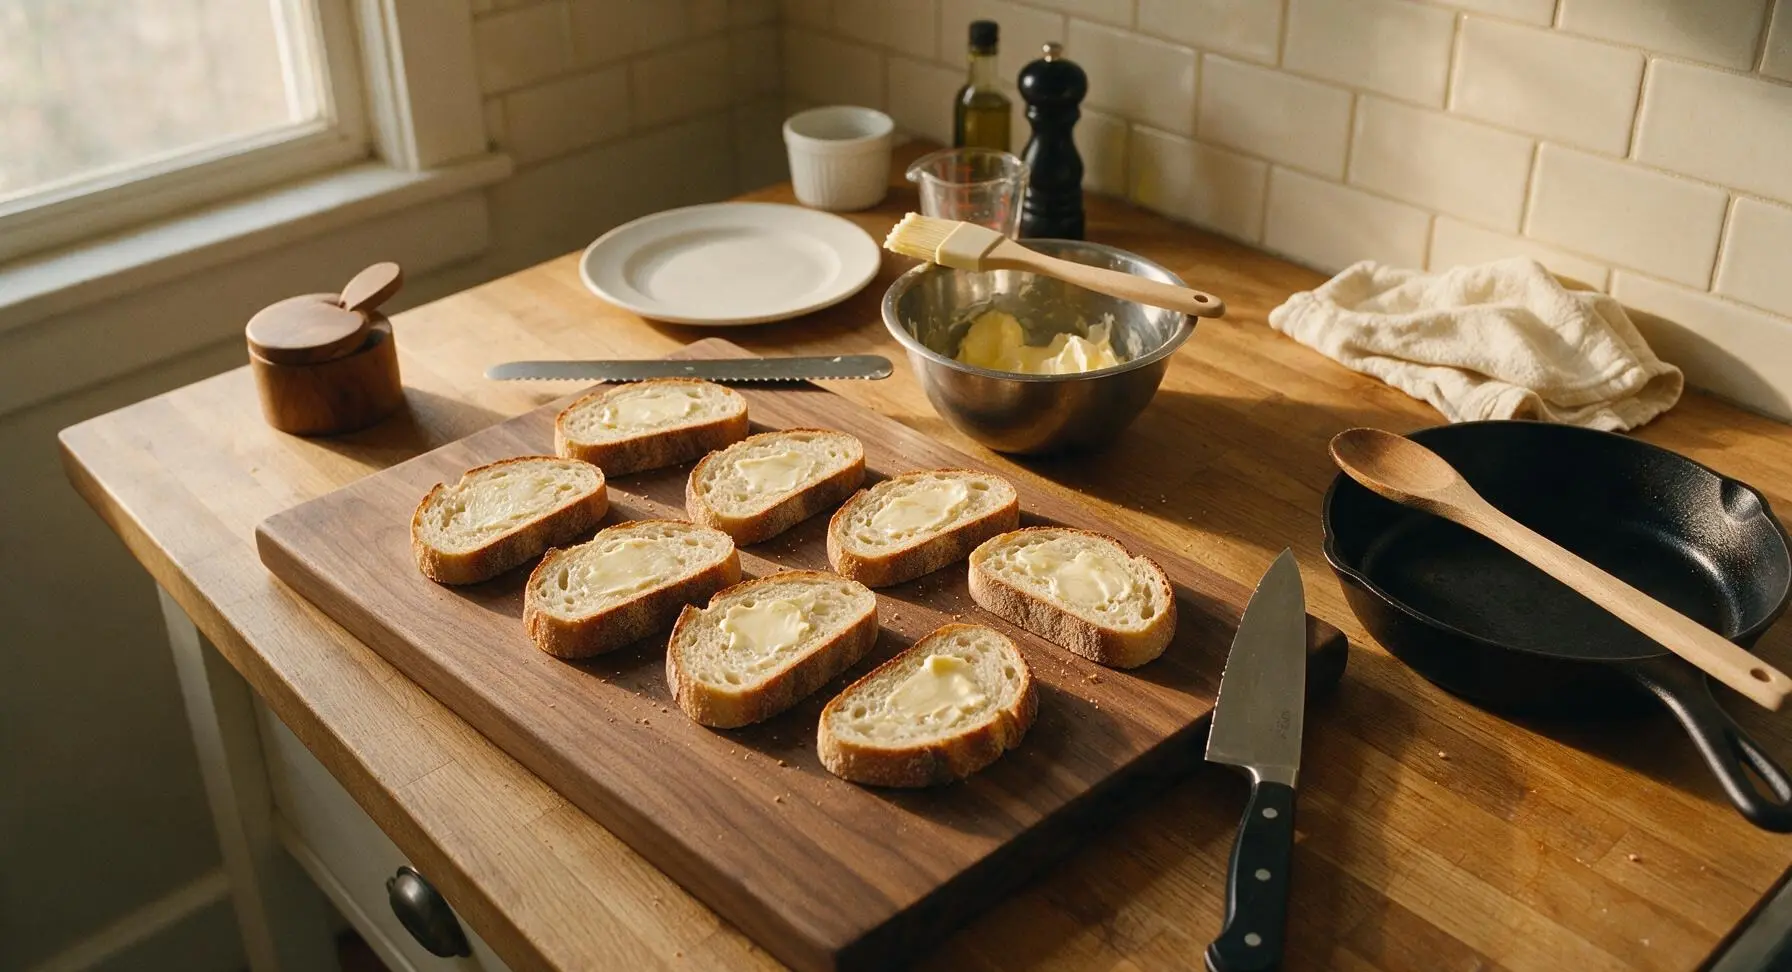
Butter Bread Slices
Lay all 8 thick sourdough slices flat on the central acacia wood cutting board. Scoop softened butter into the small stainless steel mixing bowl, then use the silicone basting brush to spread 1 teaspoon of butter evenly across one full side of each slice. Dust each buttered surface with a tiny pinch of garlic powder for subtle savory depth. Ensure no dry bread spots remain on the buttered side, but avoid spreading butter so thick that it drips off the edges.
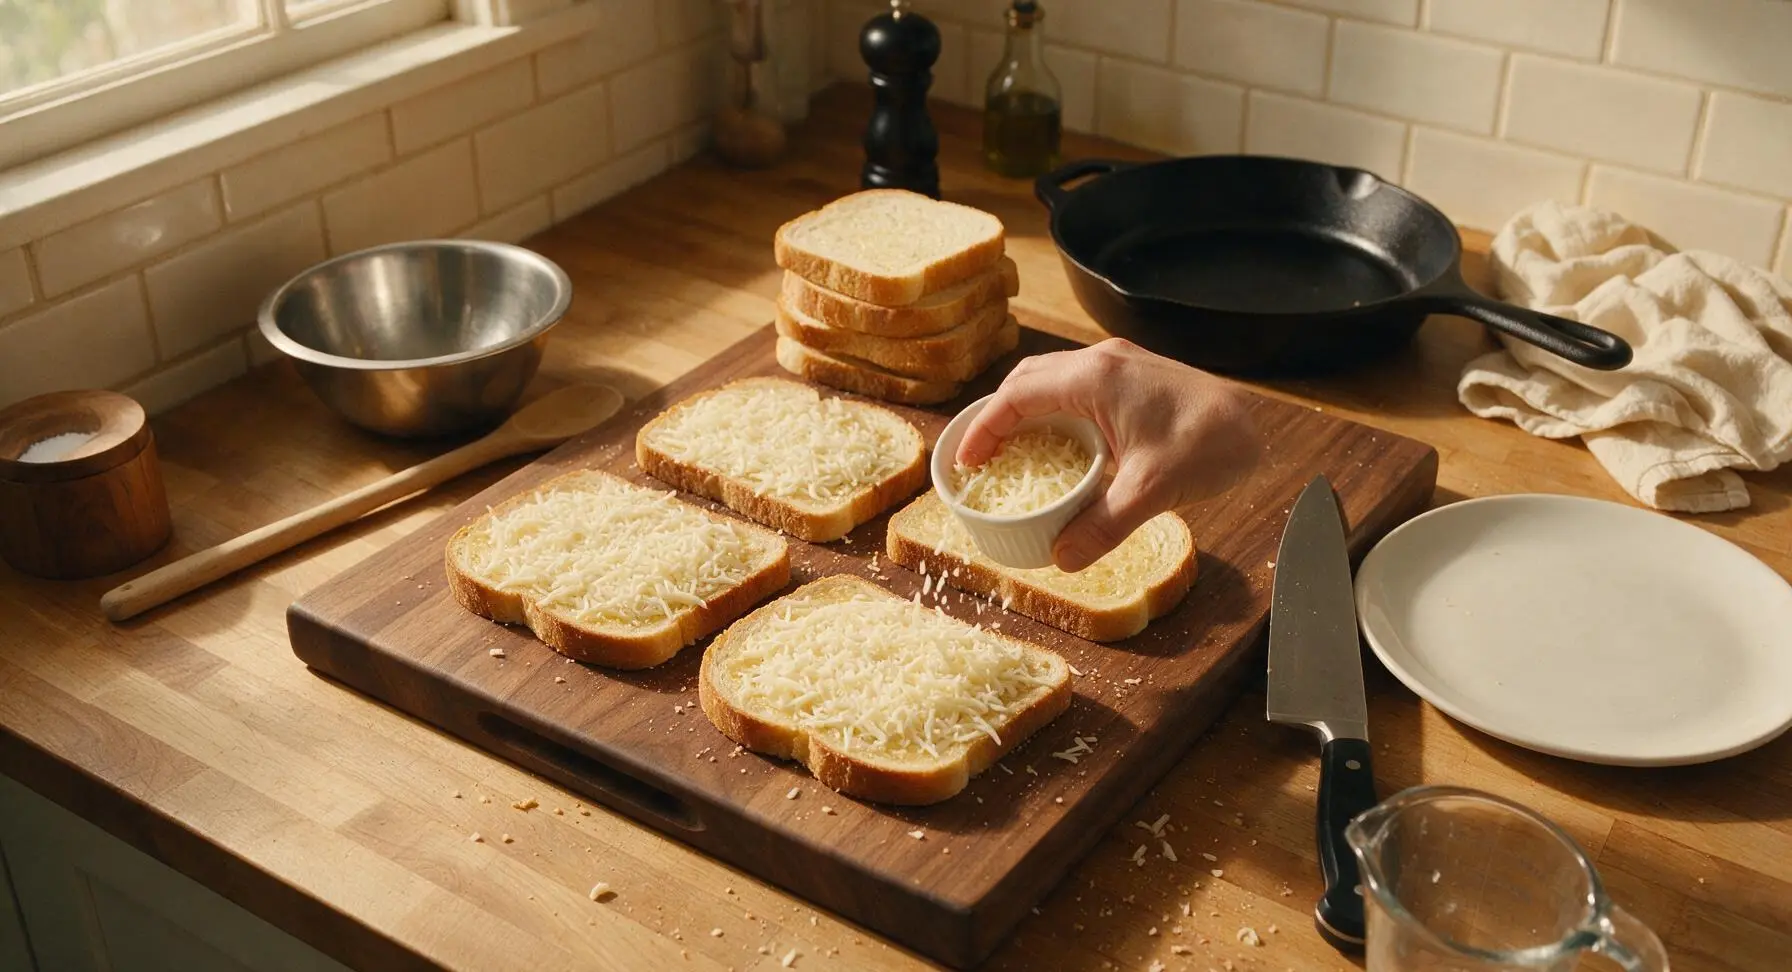
Layer Base Cheese
Flip 4 of the bread slices so their buttered sides face down against the cutting board. Sprinkle 2 tablespoons (about 15g) of shredded low-moisture mozzarella evenly across the unbuttered face of each flipped slice, leaving a 5mm clear border around the edge to contain melted cheese during cooking. Press the cheese lightly into the bread to help it adhere.
Spread Sauce and Toppings
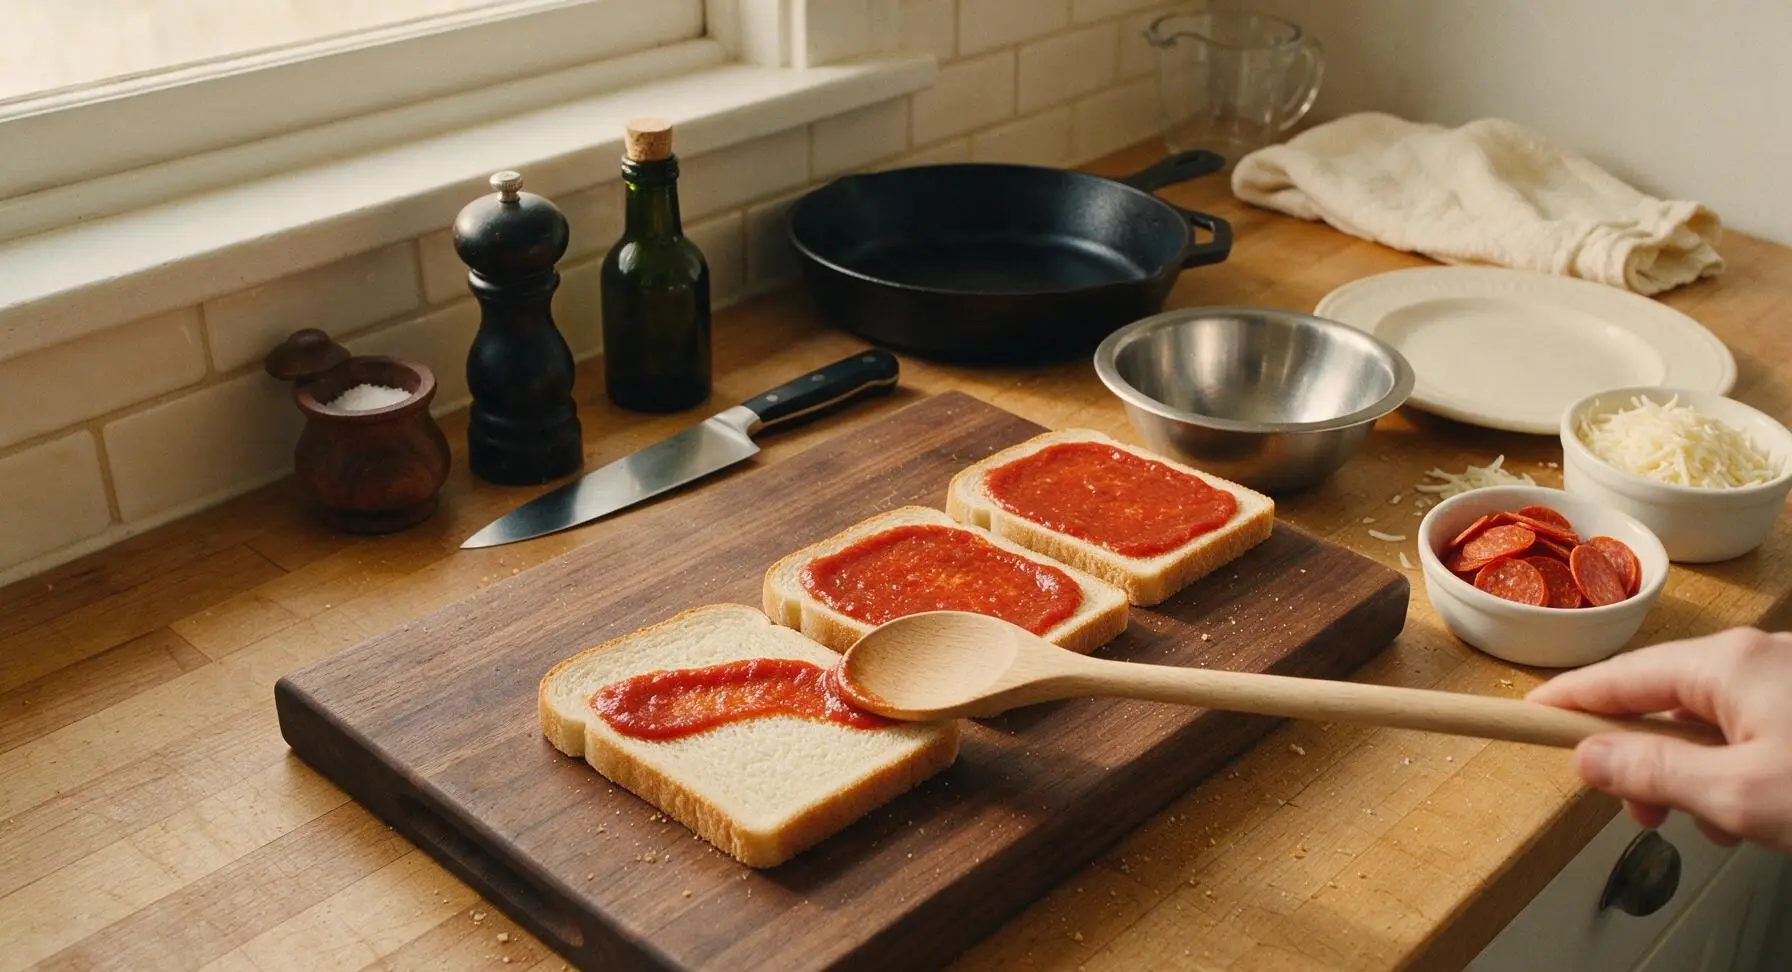
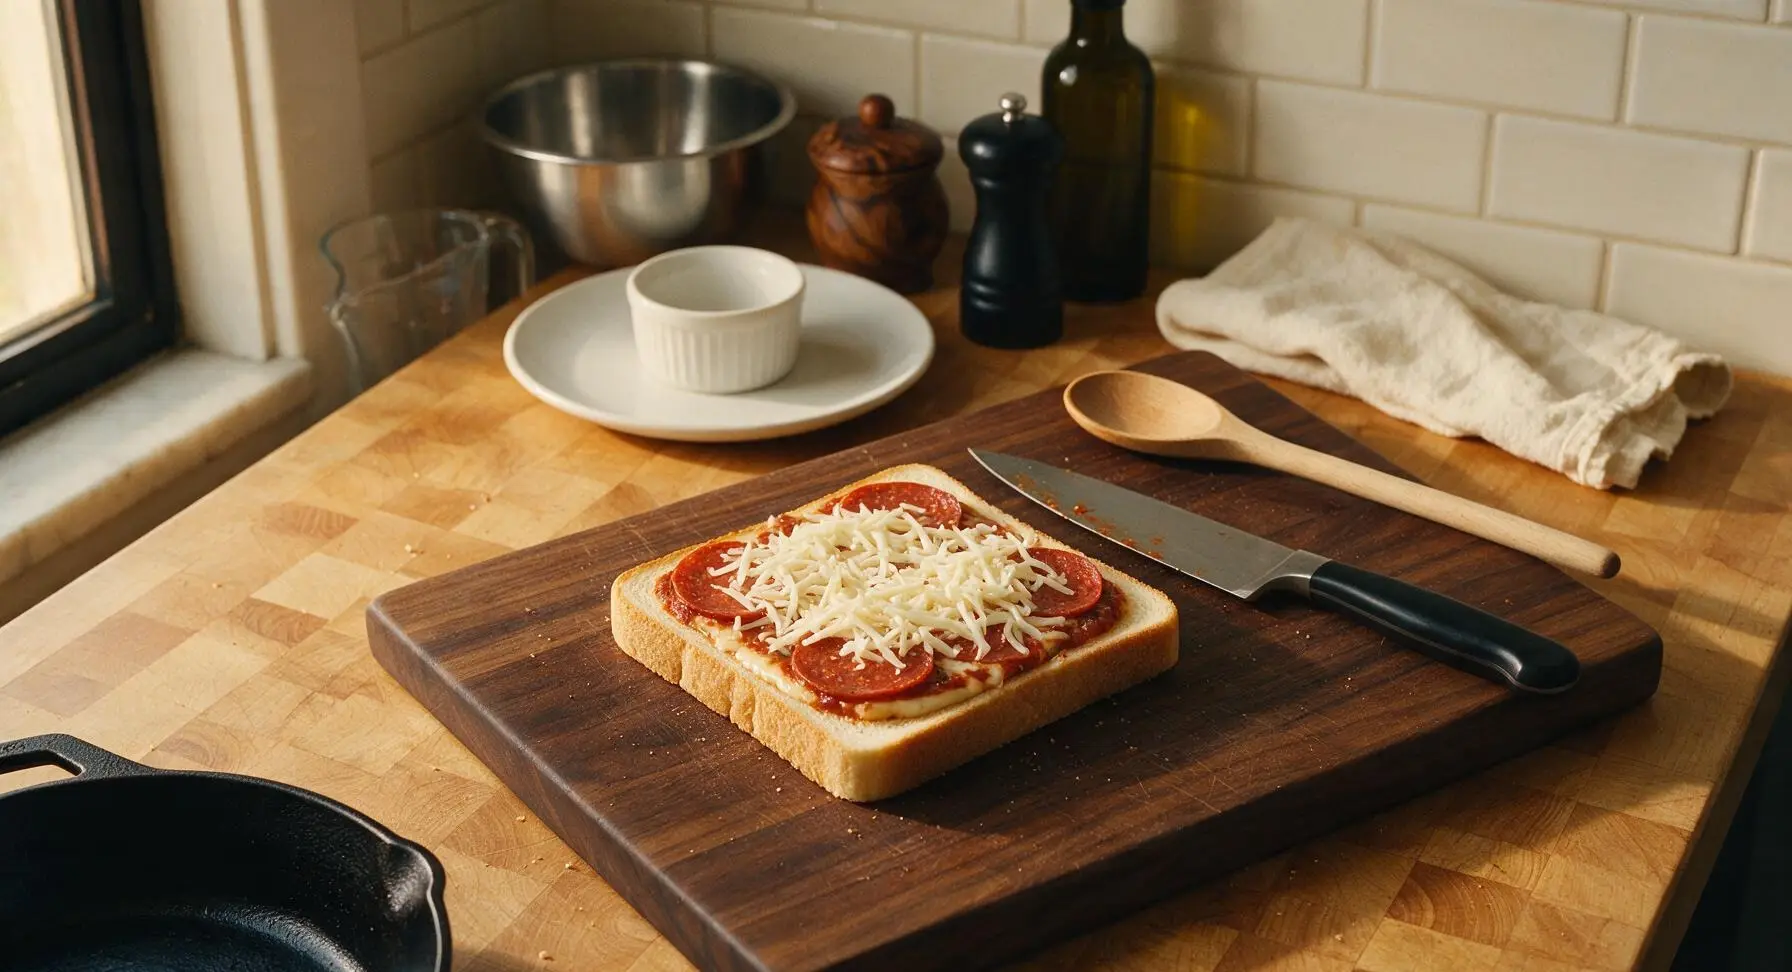
Spoon 1.5 tablespoons of pizza sauce over the cheese layer on each base slice, spreading it into a thin, even coat with the back of a spoon—do not over-sauce, as excess moisture will make the bottom bread soggy. Divide the sliced pepperoni evenly across the sauced bases, laying 4-5 slices in a single layer per sandwich, then top the pepperoni with another 2 tablespoons of shredded mozzarella per sandwich to act as a glue for the top bread.
Assemble Sandwich Stacks
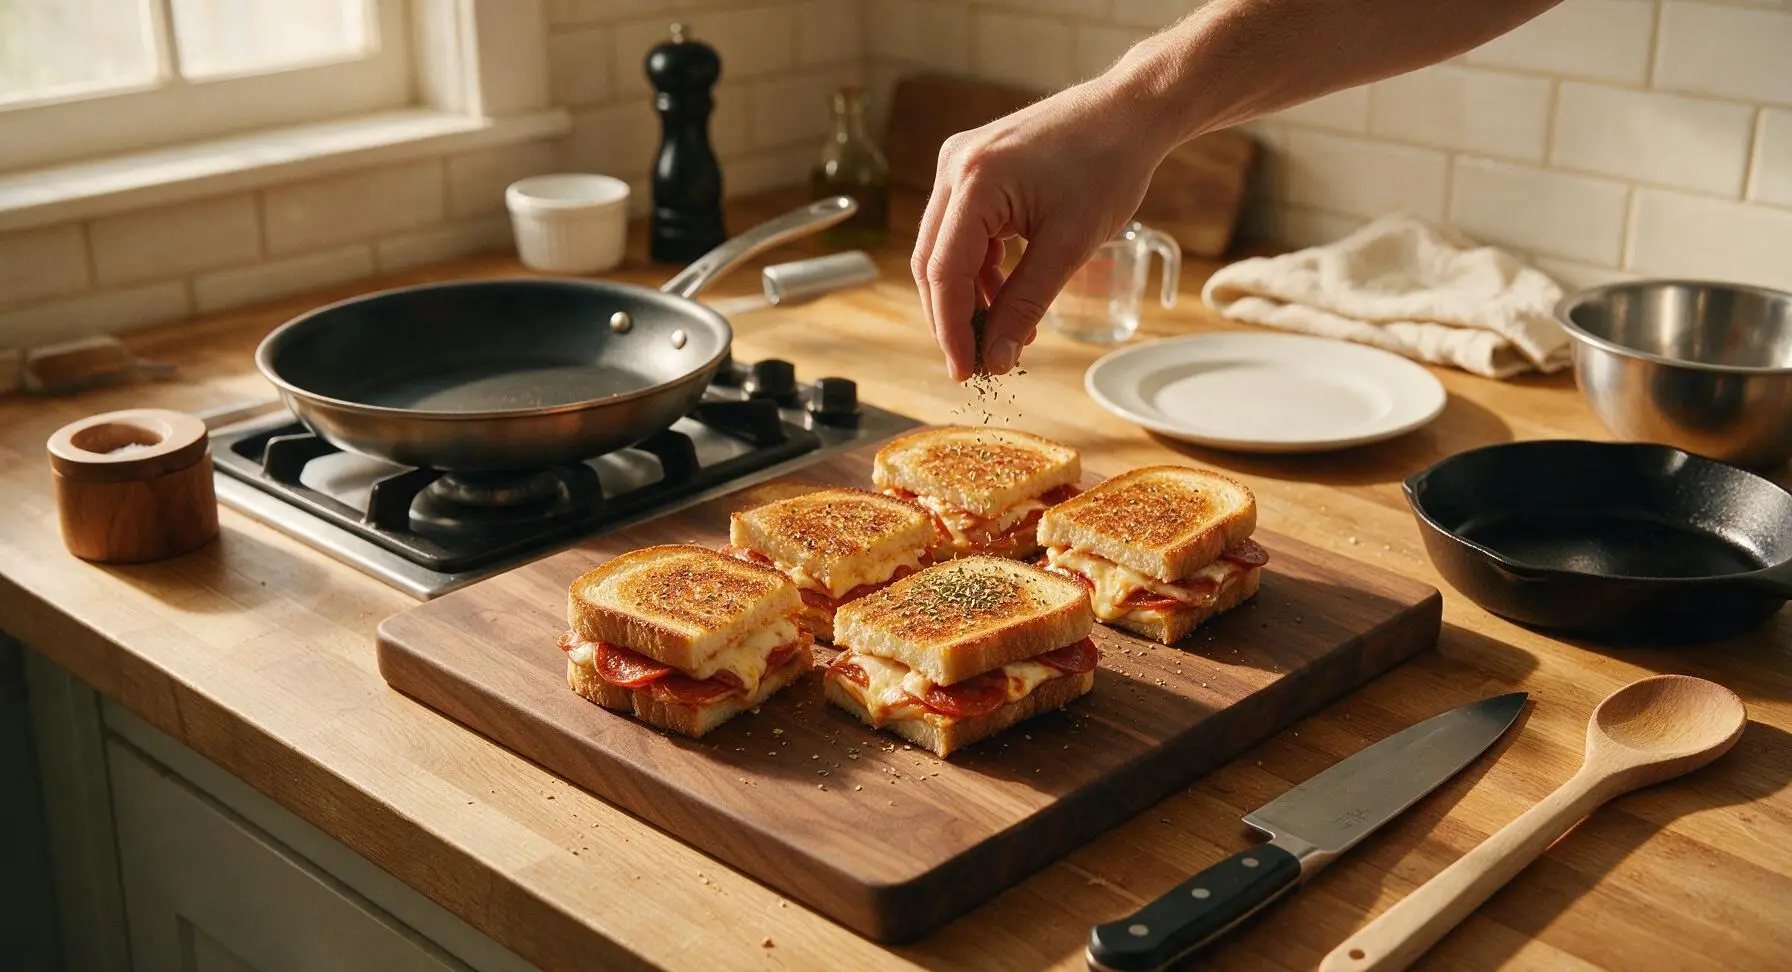
Place the remaining 4 bread slices on top of the layered bases, with their buttered sides facing outward. Press each sandwich stack gently with the palm of your hand to compact the layers slightly, which helps prevent toppings from sliding out during cooking. Sprinkle a light pinch of dried oregano over the top buttered surface of each assembled sandwich. Place the 10-inch non-stick skillet on the back-left stovetop burner to preheat over low heat (160C/320F).
Grill First Side Crisp
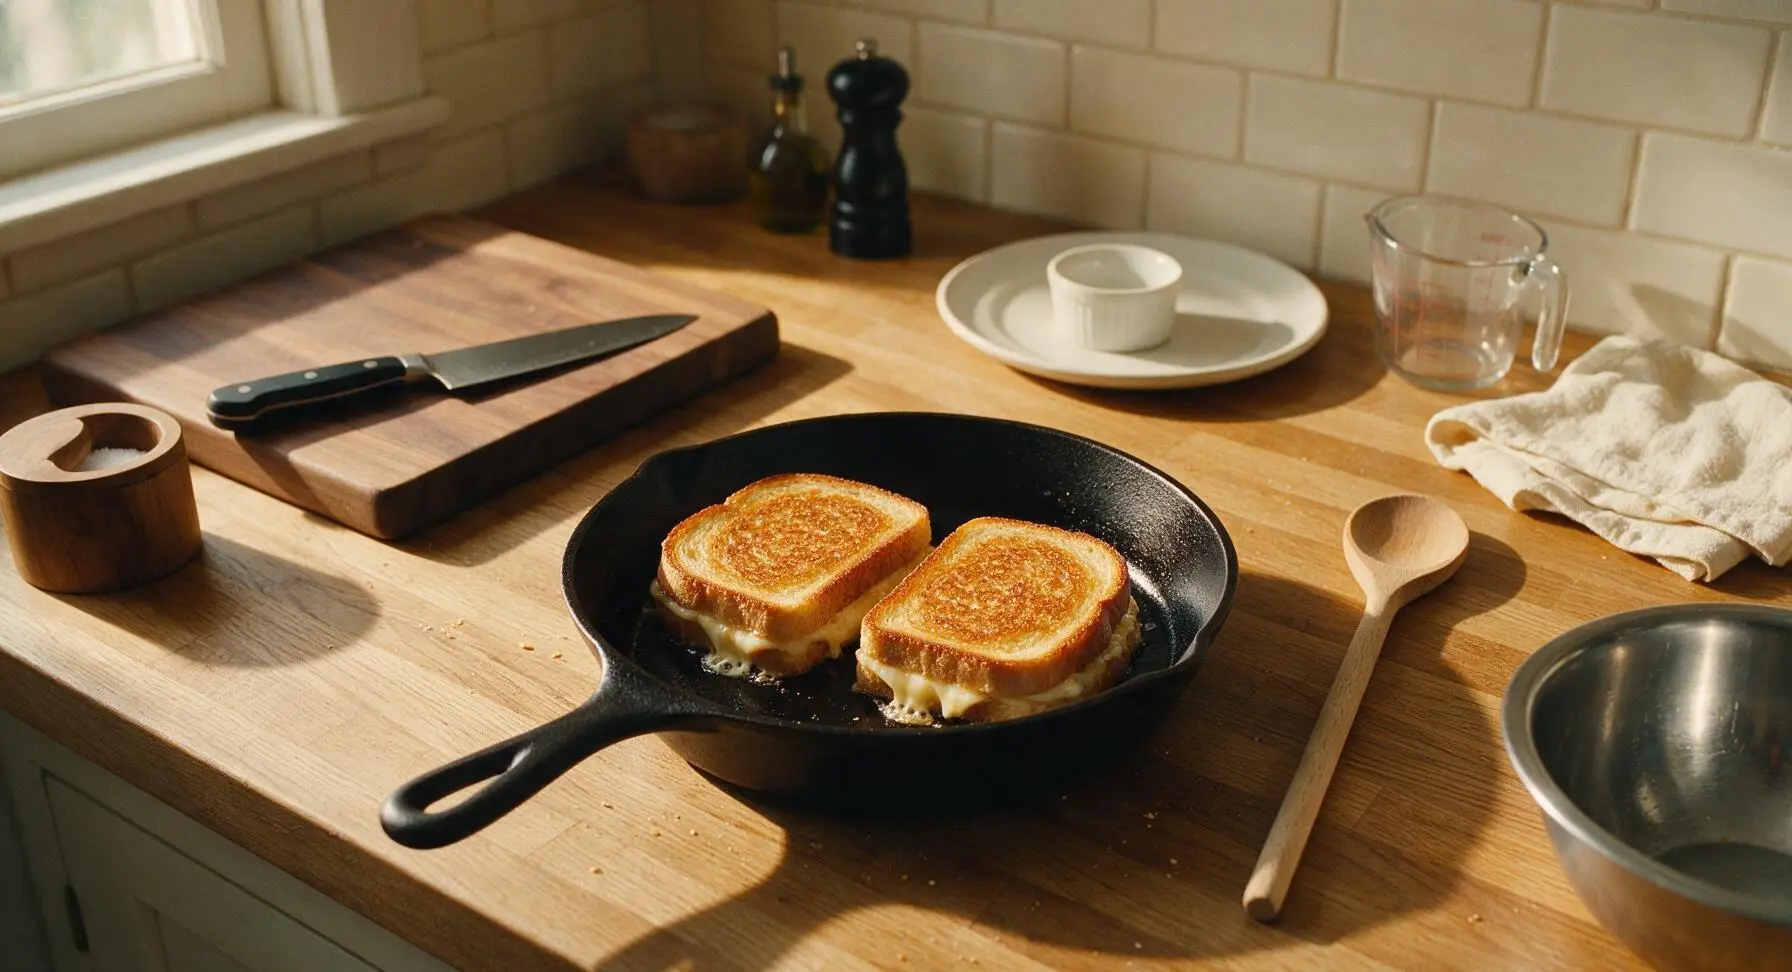
Once the skillet is preheated (test by sprinkling a drop of water— it should sizzle gently, not violently pop), use the stainless steel offset spatula to lift one or two assembled sandwiches (depending on skillet size, leaving 2cm between them for even cooking) and lower carefully into the pan. Cook for 3-4 minutes per batch, without pressing down on the sandwiches, until the bottom bread is a deep, even golden brown and the cheese closest to the pan has started to turn soft and melty. Do not increase heat, as higher temperatures will burn the bread crust before the center cheese melts.
Flip and Finish Cooking
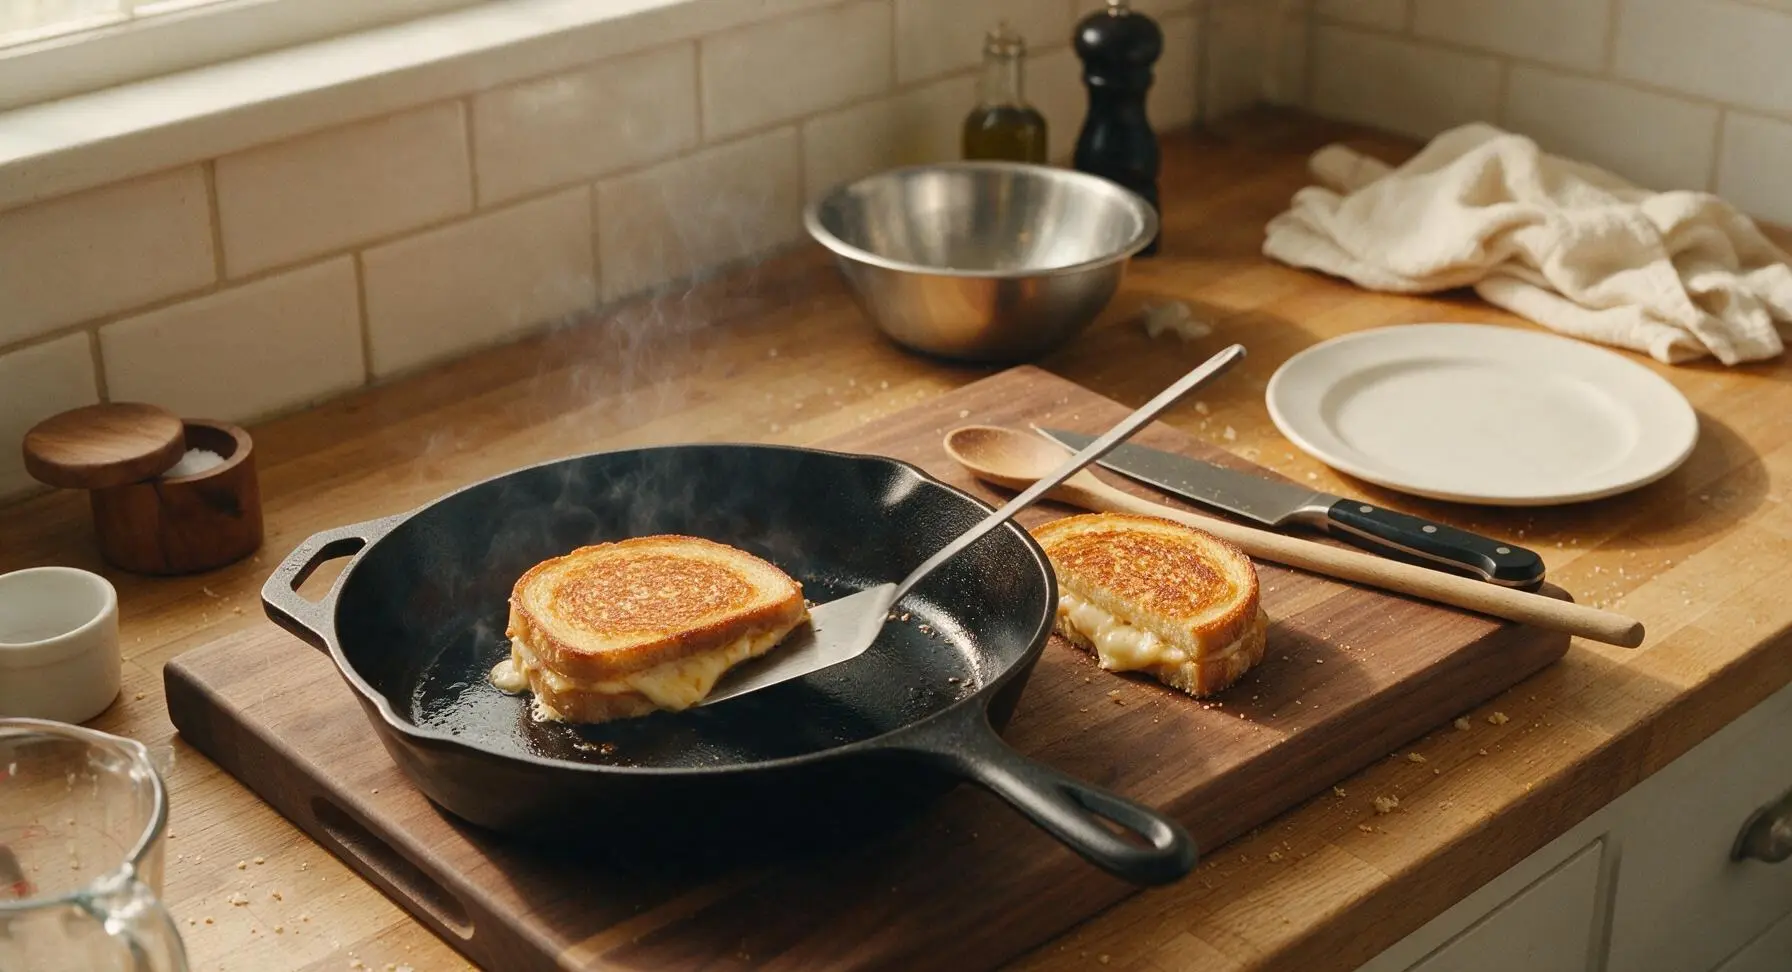
Slide the offset spatula fully under each sandwich to support it, then flip in one smooth motion to cook the second side. Cook for another 3-4 minutes, until the second side is equally golden and crispy, and all cheese in the center is fully melted (check by gently lifting the top bread corner with the spatula—cheese should be stringy and fully liquified, not clumpy and solid). If bread browns too quickly, cover the skillet with a lid for 1 minute to trap steam and speed cheese melting. Transfer finished sandwiches to a clean spot on the cutting board to rest, and repeat the cooking process for the remaining sandwiches.
Slice and Plate Servings
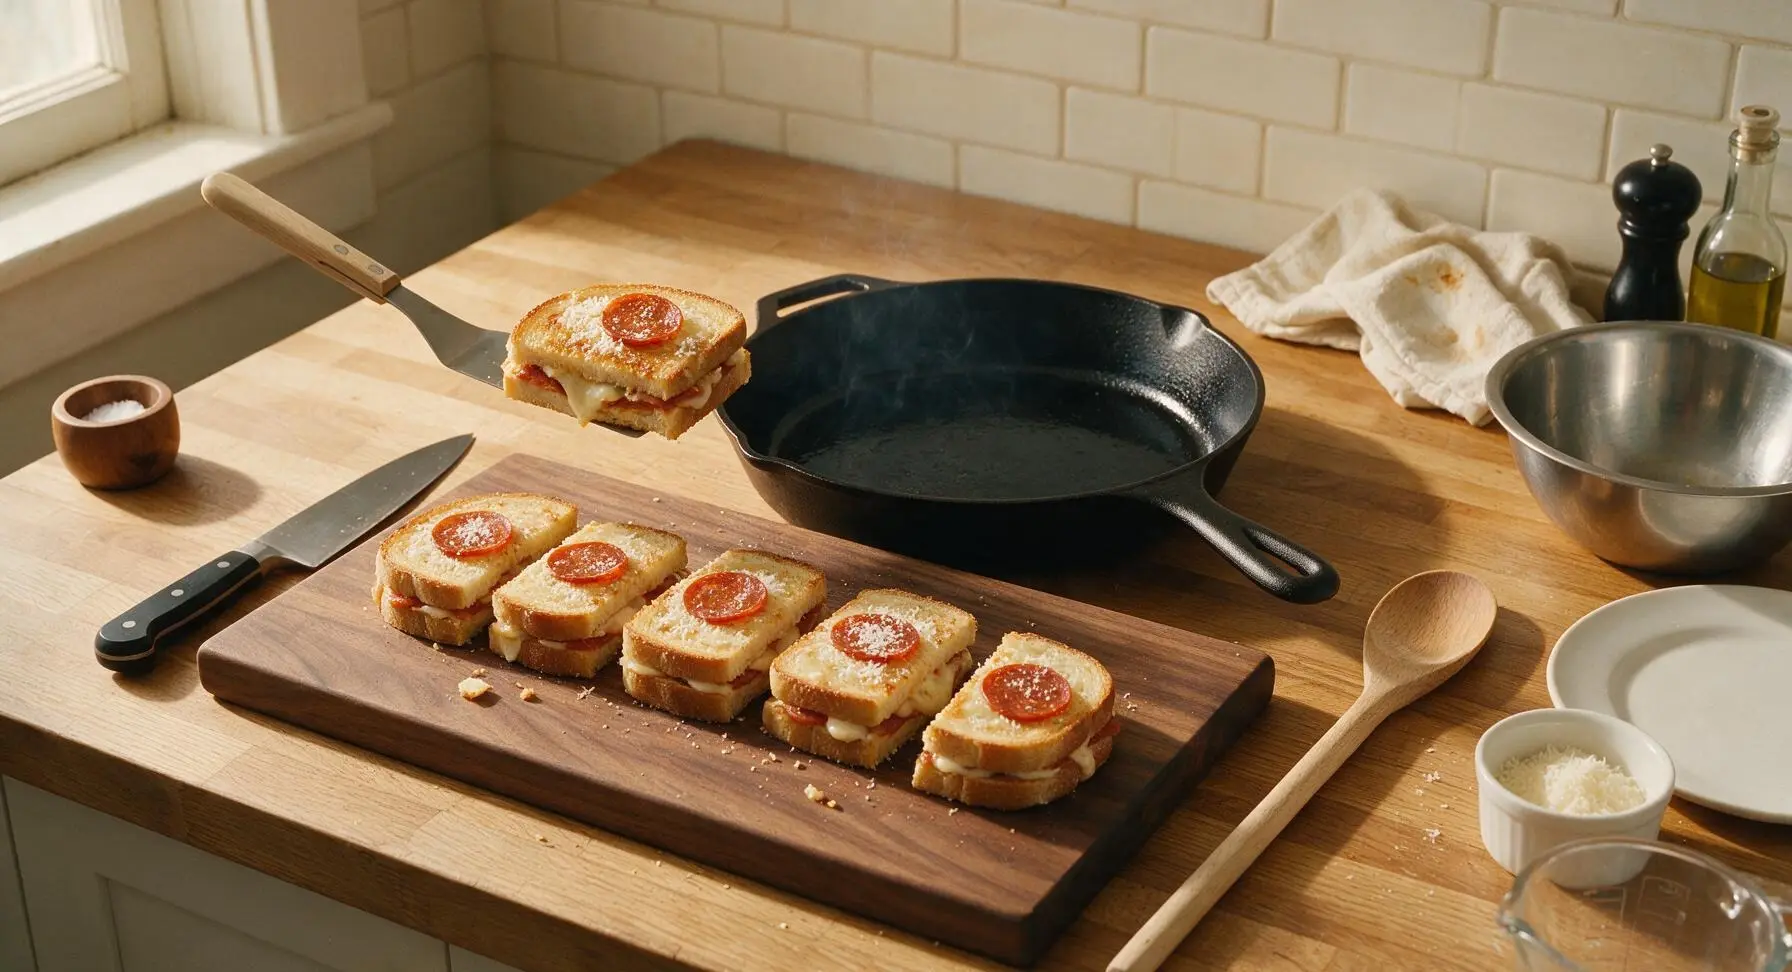
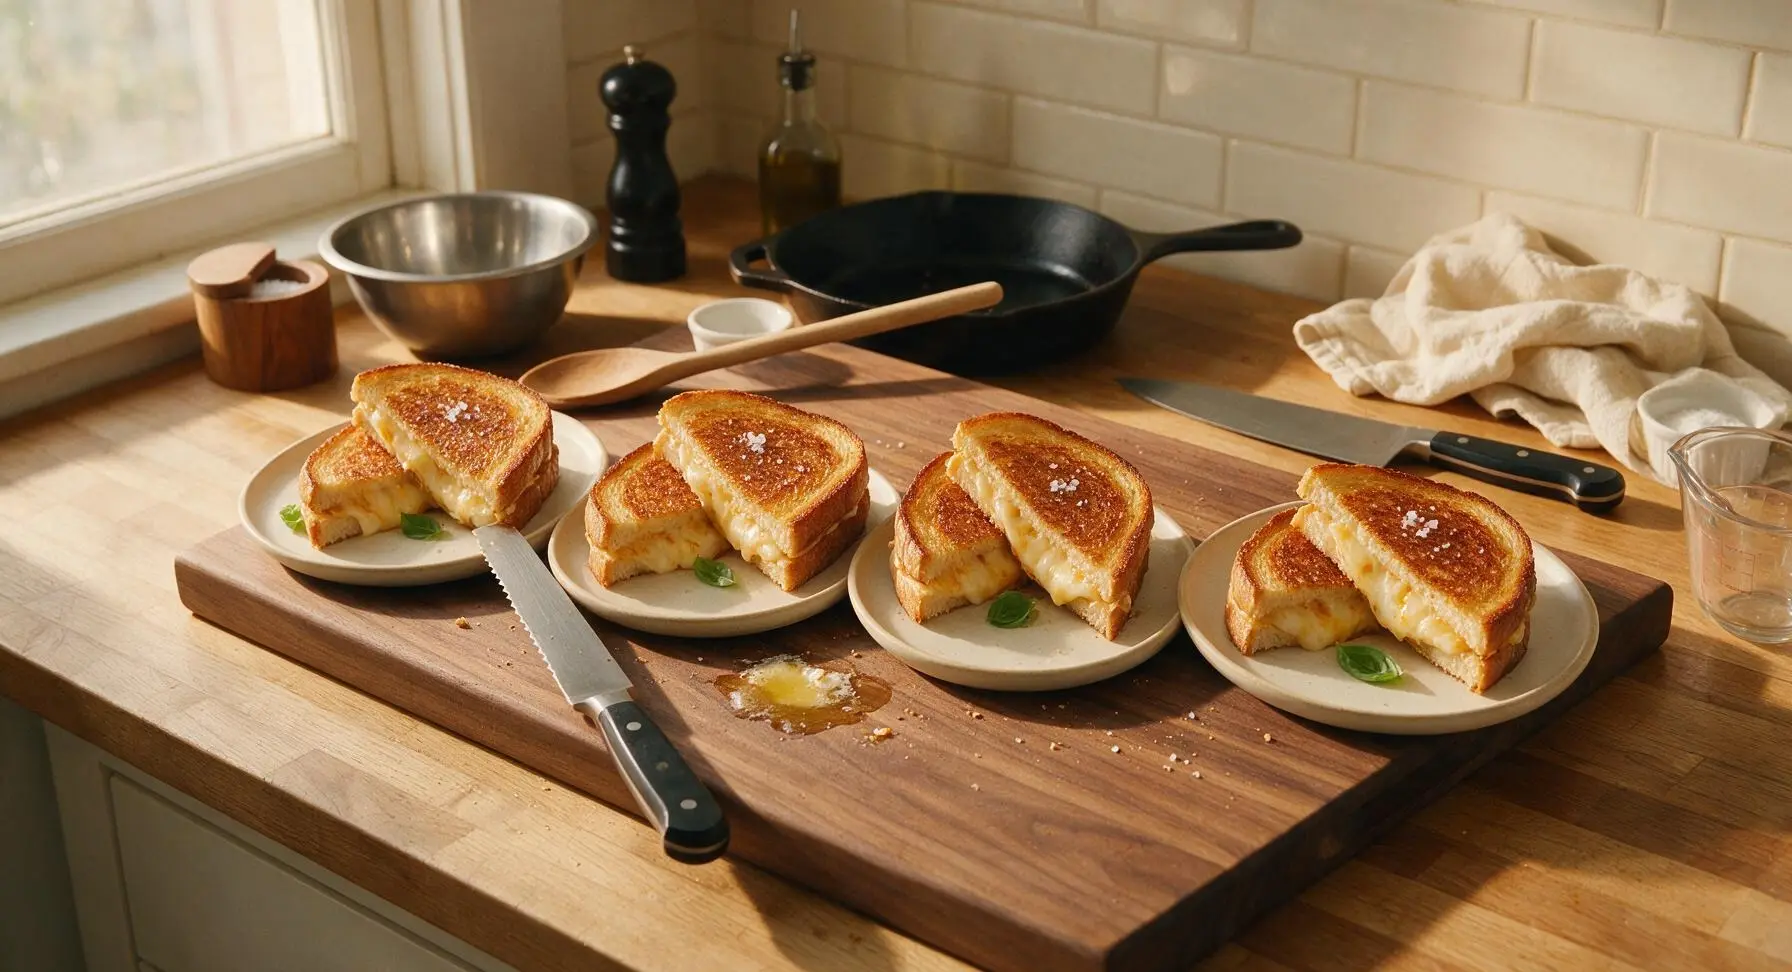
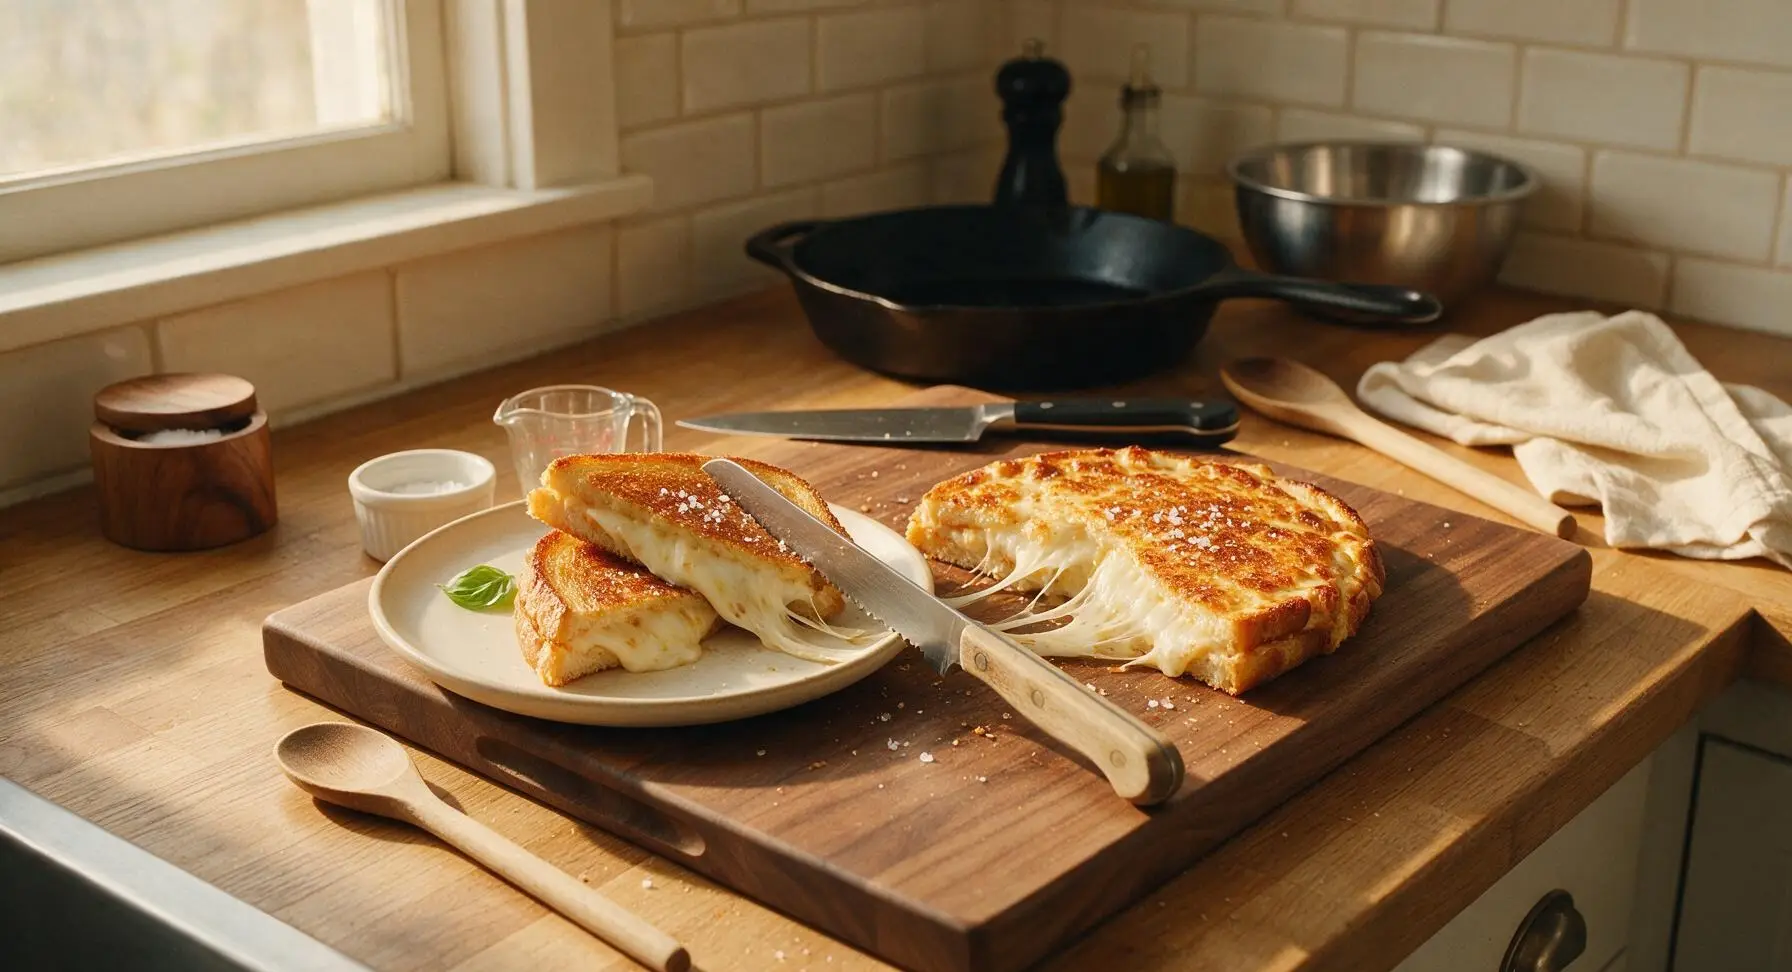
Let all cooked sandwiches rest for 1 full minute to allow the melted cheese to set slightly (this prevents excessive oozing when cut). Use the serrated bread knife to cut each sandwich diagonally into two equal triangular halves. Arrange two halves per person on the matte cream ceramic dinner plates, leaning the halves against each other to show the melted cheese interior. Tuck one small fresh basil leaf next to each serving, and sprinkle a tiny pinch of flaky sea salt over the crispy top crust.
Tips
2.Cook over consistent low heat (160C/320F): high heat will burn the buttered bread crust in 1-2 minutes, leaving the center cheese cold and unmelted. Low heat slowly toasts the bread to a shatteringly crisp crust while giving the cheese time to melt evenly all the way through.
3.Let cooked sandwiches rest for 1 full minute before slicing: cutting immediately after cooking causes all the hot, runny melted cheese to pour out the sides, while a short rest lets the cheese thicken slightly for perfect pullable slices without messy oozing.






OMG this is such a game changer! I was sick of ordering takeout on busy weeknights and this only took 16 minutes total? My two picky kids devoured every bite, no complaints at all. Used sourdough bread and extra mozzarella, chef’s kiss.
Brought this to our neighborhood potluck last weekend and people were asking for the recipe before I even set the platter down! Pro tip: add a little sprinkle of parmesan on the bread crust before grilling for extra crunch.
SO good. I make a batch of these on Sunday for quick work lunches all week, they reheat way better than I thought they would in the toaster oven. 10/10, no notes.
Wait, grilled cheese AND pizza combined? Why did I not think of this sooner? I added pepperoni slices inside and it tasted like a crispy pizza pocket but way fresher. Only downside is I ate three of them in one sitting oops.
Okay full transparency, I burn literally everything I try to make. This was labeled easy so I gave it a shot and I actually didn’t mess it up! It was so melty and delicious, my girlfriend was impressed. Win for me.
Solid quick dinner for the family. Kids went back for seconds, which almost never happens on a school night. I did add a little garlic butter to the outside of the bread and it was *chef’s kiss*.
Made this with vegan mozzarella and added sautéed mushrooms and bell peppers for a veggie version, and it still slapped! Even my meat-eating brother stole a bite and said it was better than regular pizza. Only reason it’s not 5/5 is I wish the recipe had quick veggie variation notes, but otherwise will absolutely make again.
Made these for our college football tailgate last Saturday and they were gone in 10 minutes flat. Cut them into bite-sized squares with a little side of marinara for dipping, perfect finger food. Will be a staple for every game day from now on.
I made this at 1am after a late shift and it was the best late night meal I’ve ever made. No fancy ingredients, no long cook time, just pure cheesy carby goodness. 10/10 would burn my mouth on it again.
Used gluten free sourdough for this and it turned out perfect! I was worried the bread would get too crispy or fall apart, but it held up great with all the cheese and sauce. Finally a quick GF meal that doesn’t taste like cardboard.
Made this in my dorm room on my tiny panini press and it was elite. Way cheaper than ordering pizza delivery, tastes better too. All my hall mates are asking when I’m making it again.
This is good, but I found that cooking it on medium-low heat instead of medium kept the bread from burning before the cheese was fully melted. Just a heads up for anyone who has a finicky stovetop like me!
My kids beg for this every single week now. I let them pick their own toppings to put inside – one does pineapple (don’t judge), one does extra olives, one just does plain cheese – and it makes dinner time so much less stressful. Total lifesaver.
Great for meal prep! I wrap these individually in foil and throw them in the fridge, they heat up perfectly in the air fryer at 375 for 5 minutes. Crispy outside, melty inside, no sogginess. Way better than the frozen pizza rolls I used to buy.
Added a drizzle of hot honey and a sprinkle of red pepper flakes to mine and oh my GOD it was life changing. The sweet heat with the salty cheese and crispy bread? I’m never making a regular grilled cheese again.
Wait, quick question – do you put the pizza sauce inside the sandwich or dip it on the side? I tried putting it inside last time and the bread got a little soggy, but maybe I used too much? It still tasted really good, just not as crispy as I wanted.
Made this for my at-home date night with my partner last night, paired with a little caesar salad and a bottle of wine, and it felt fancy even though it only took 15 minutes to make. 10/10, way less stressful than making a whole homemade pizza.
Total budget-friendly win! I already had all the ingredients in my fridge – bread, cheese, leftover pizza sauce from last week – so I didn’t even have to run to the grocery store. Tasted like a million bucks though. Will be making this on repeat when my grocery budget is tight at the end of the month.
Okay, full transparency, I messed this up the first time I made it. I used super soft white sandwich bread and it got all mushy when I added the sauce. Tried again today with thicker sourdough, cooked it low and slow, and it was perfect! Don’t give up if your first try is wonky, it’s so worth it.
Made this for a lazy weekend brunch with mimosas and my friends lost their minds. Added a little crispy bacon to a few of them, and they were better than any brunch spot pizza we’ve ever ordered. Easy, cheap, crowd-pleasing – what more could you want?