
grinder sub
intro
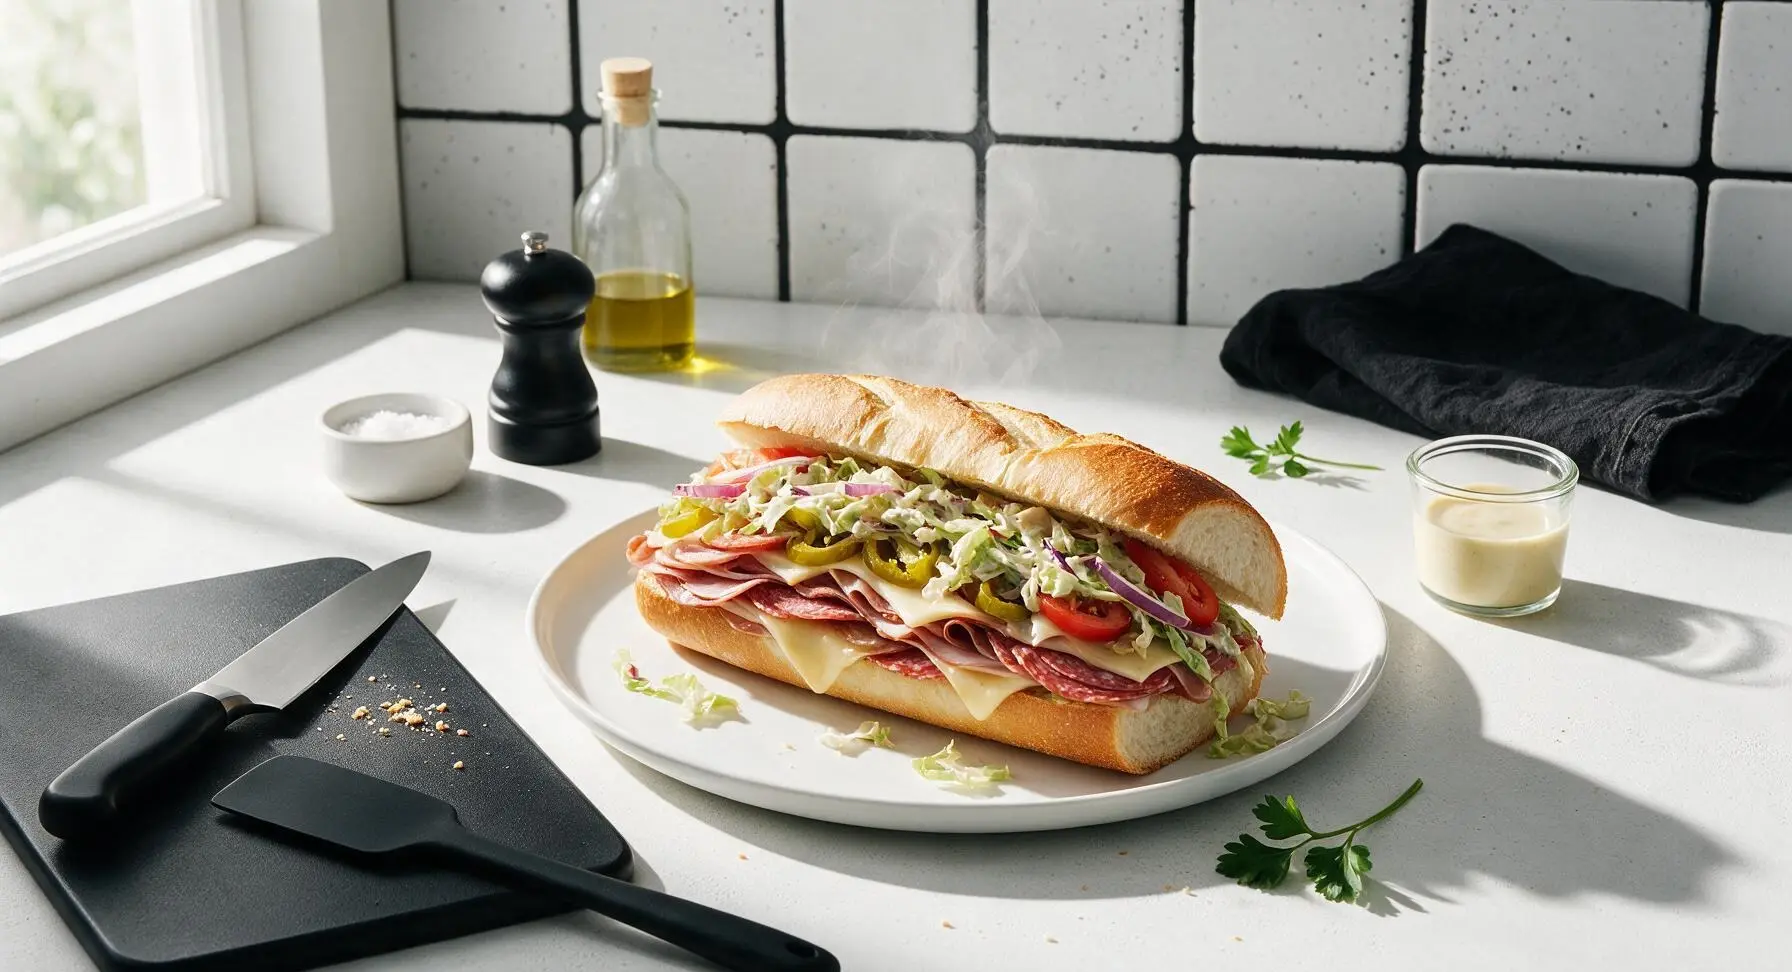
Crispy toasted Italian grinder sub stacked with savory cured meats, melted provolone, tangy pickled peppers, and zesty dressed veggies: the ultimate handheld comfort food for casual gatherings.
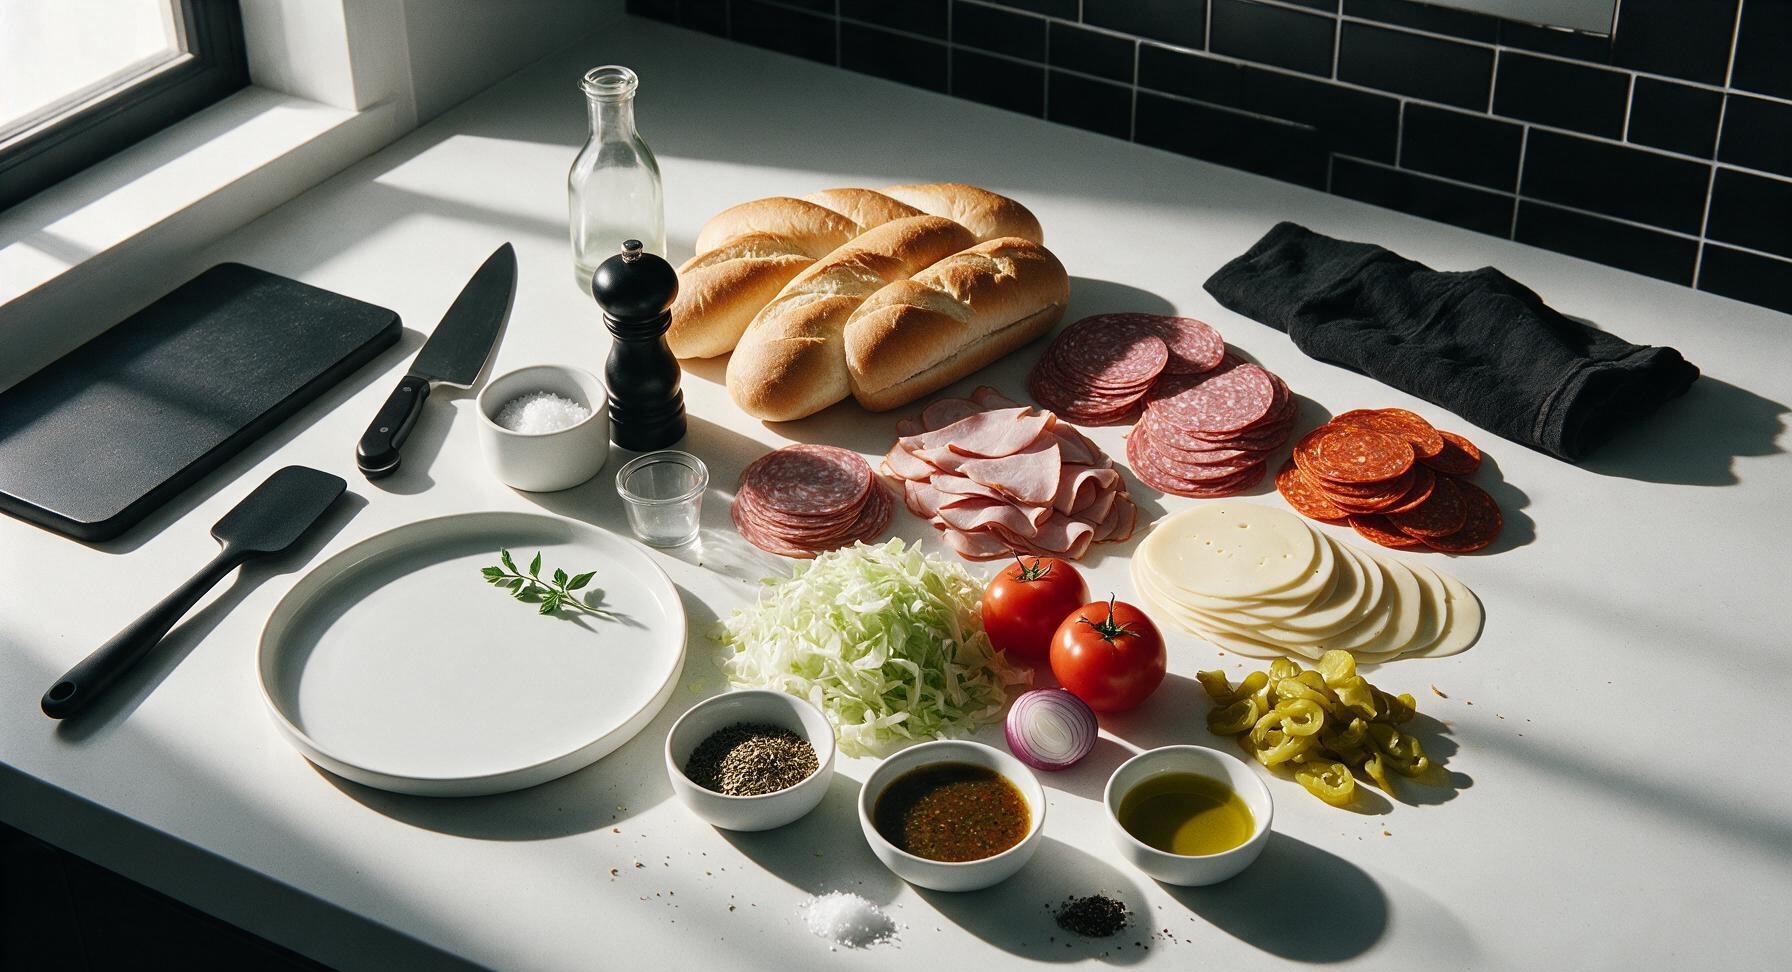
Ingredients
Steps
Prep and Split Rolls
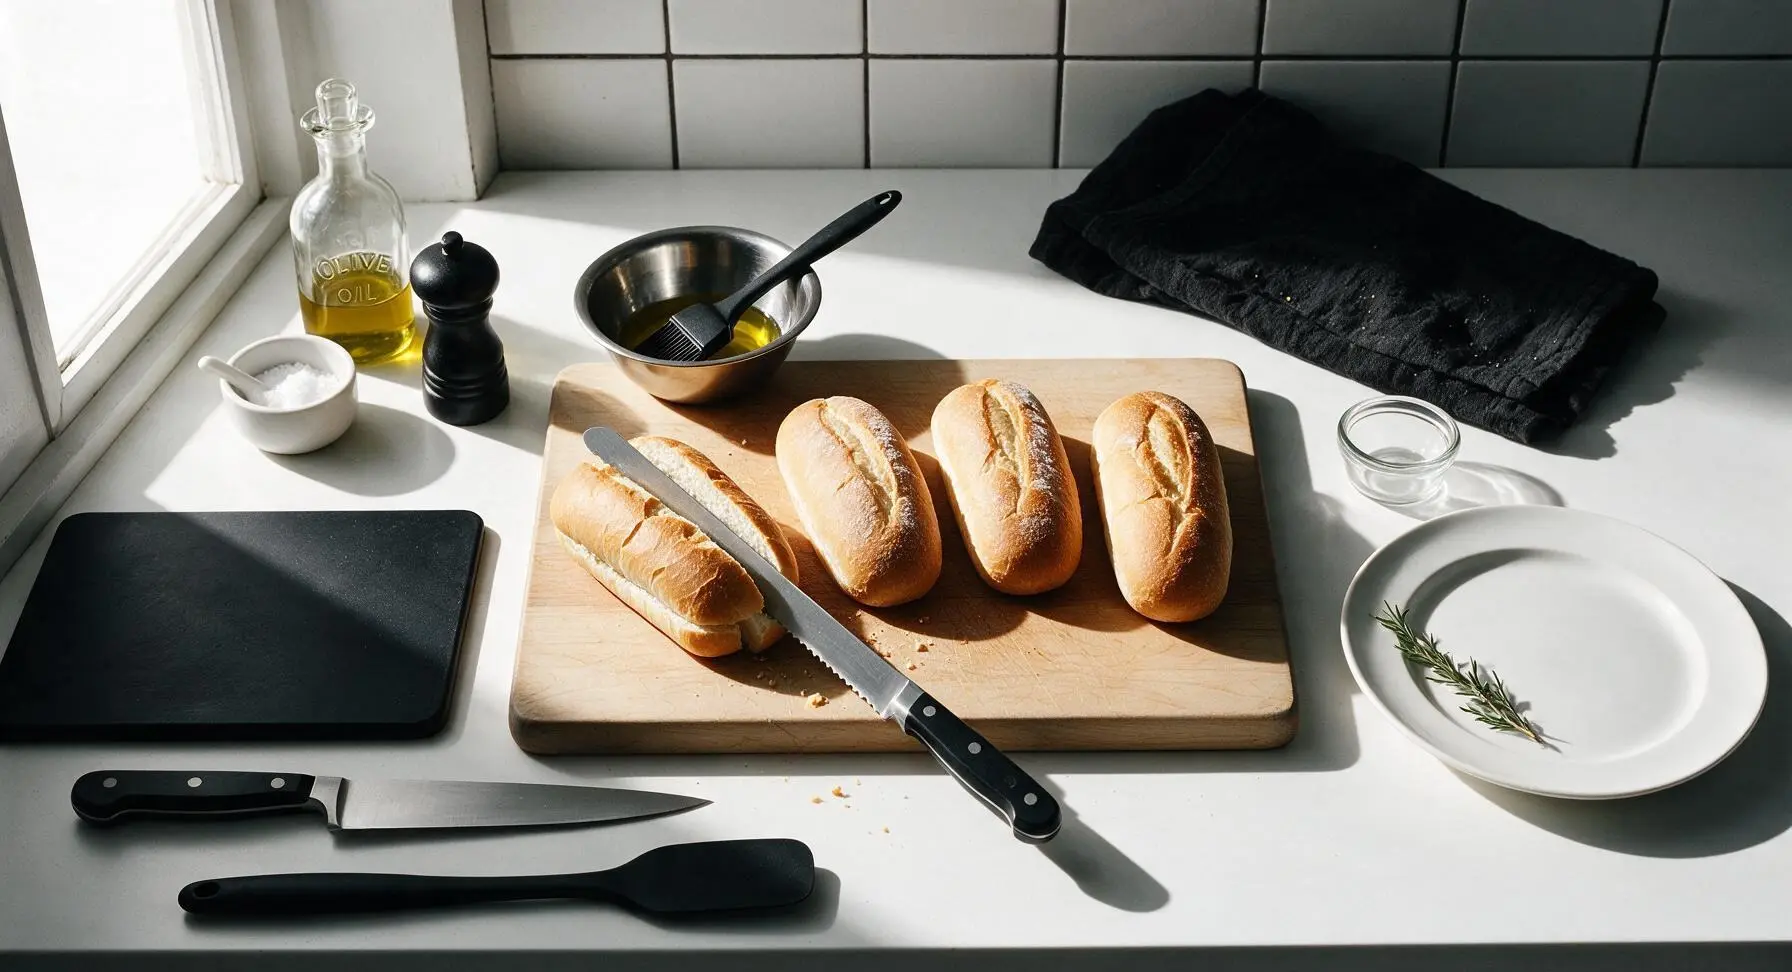
Place the 4 hoagie rolls on the light maple cutting board. Using the serrated bread knife, split each roll lengthwise down the center, leaving a 1-inch hinge along the bottom edge so the two halves stay connected (do not cut all the way through). Lightly brush the cut interior sides of each roll with the 1 tablespoon of extra virgin olive oil using the silicone basting brush. Preheat oven to 400°F (200°C) while you prep remaining fillings.
Slice Fresh Vegetables
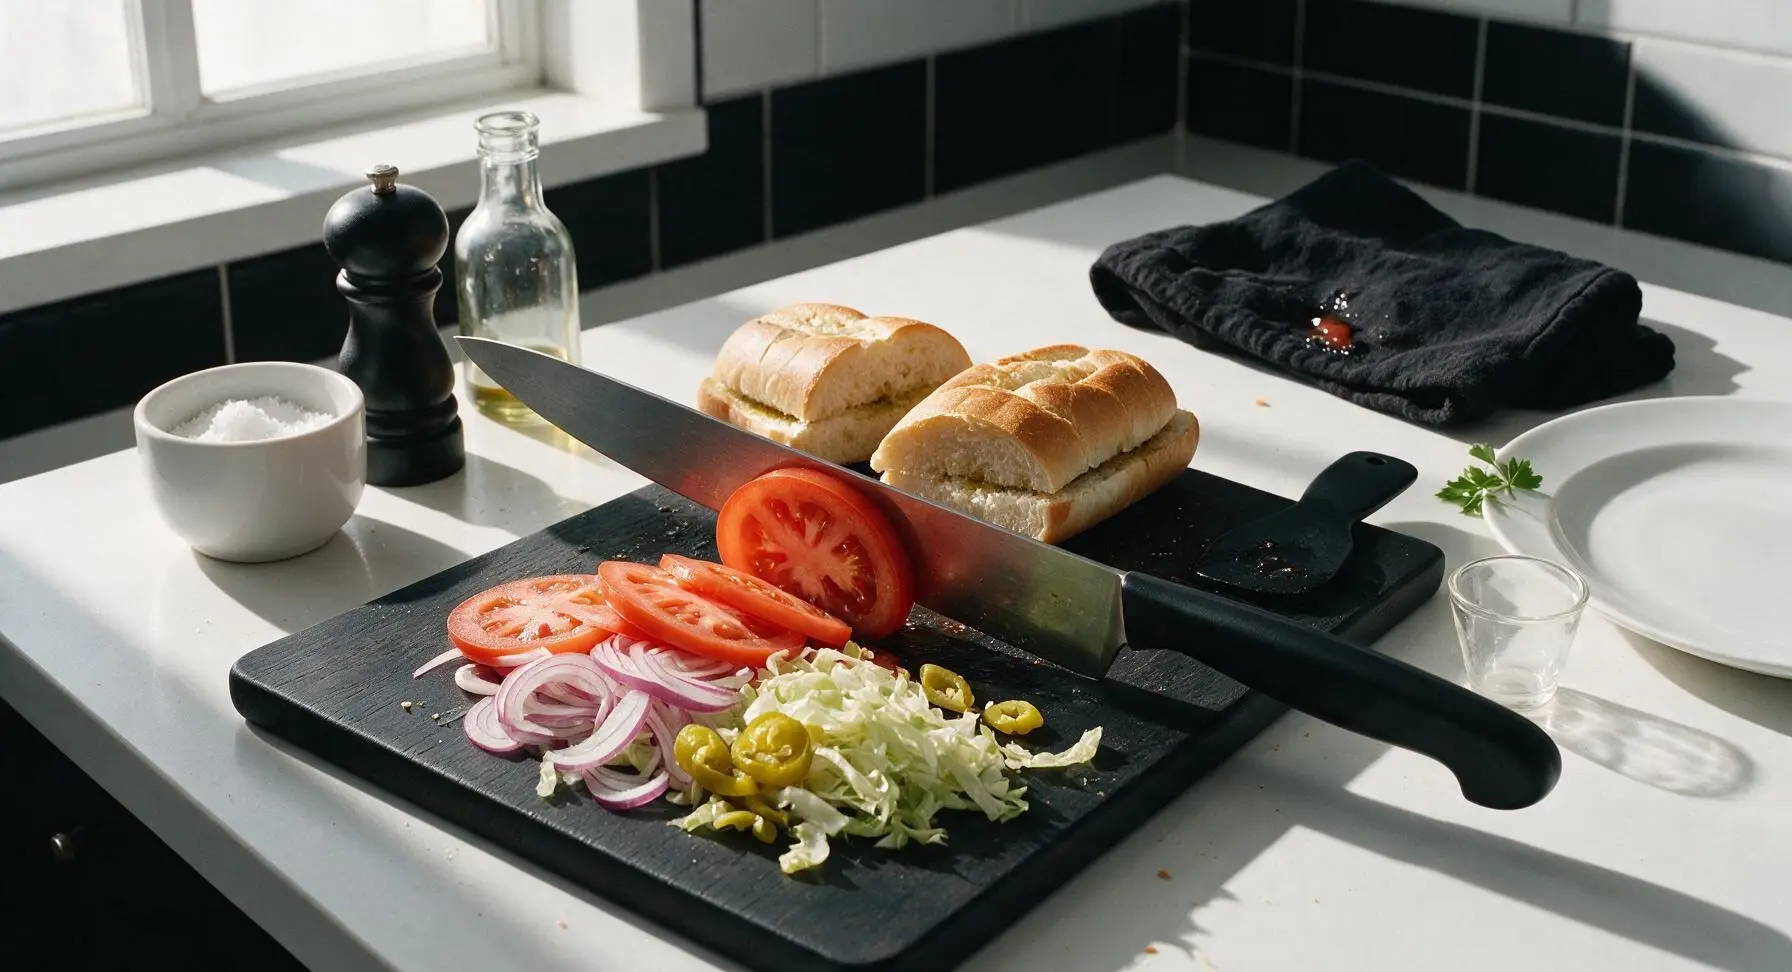
Set the split, oil-brushed rolls at the back edge of the cutting board. Use the 8-inch chef knife to thinly slice the ripe tomatoes into 1/4-inch rounds, and slice the red onion into paper-thin half-moons. Pat the tomato slices lightly with a corner of the faded indigo kitchen towel to remove excess juice, which prevents soggy bread during toasting. Pile sliced tomatoes, onion, drained banana peppers, and shredded iceberg lettuce in a loose mound at the front edge of the cutting board.
Layer Meats and Cheese
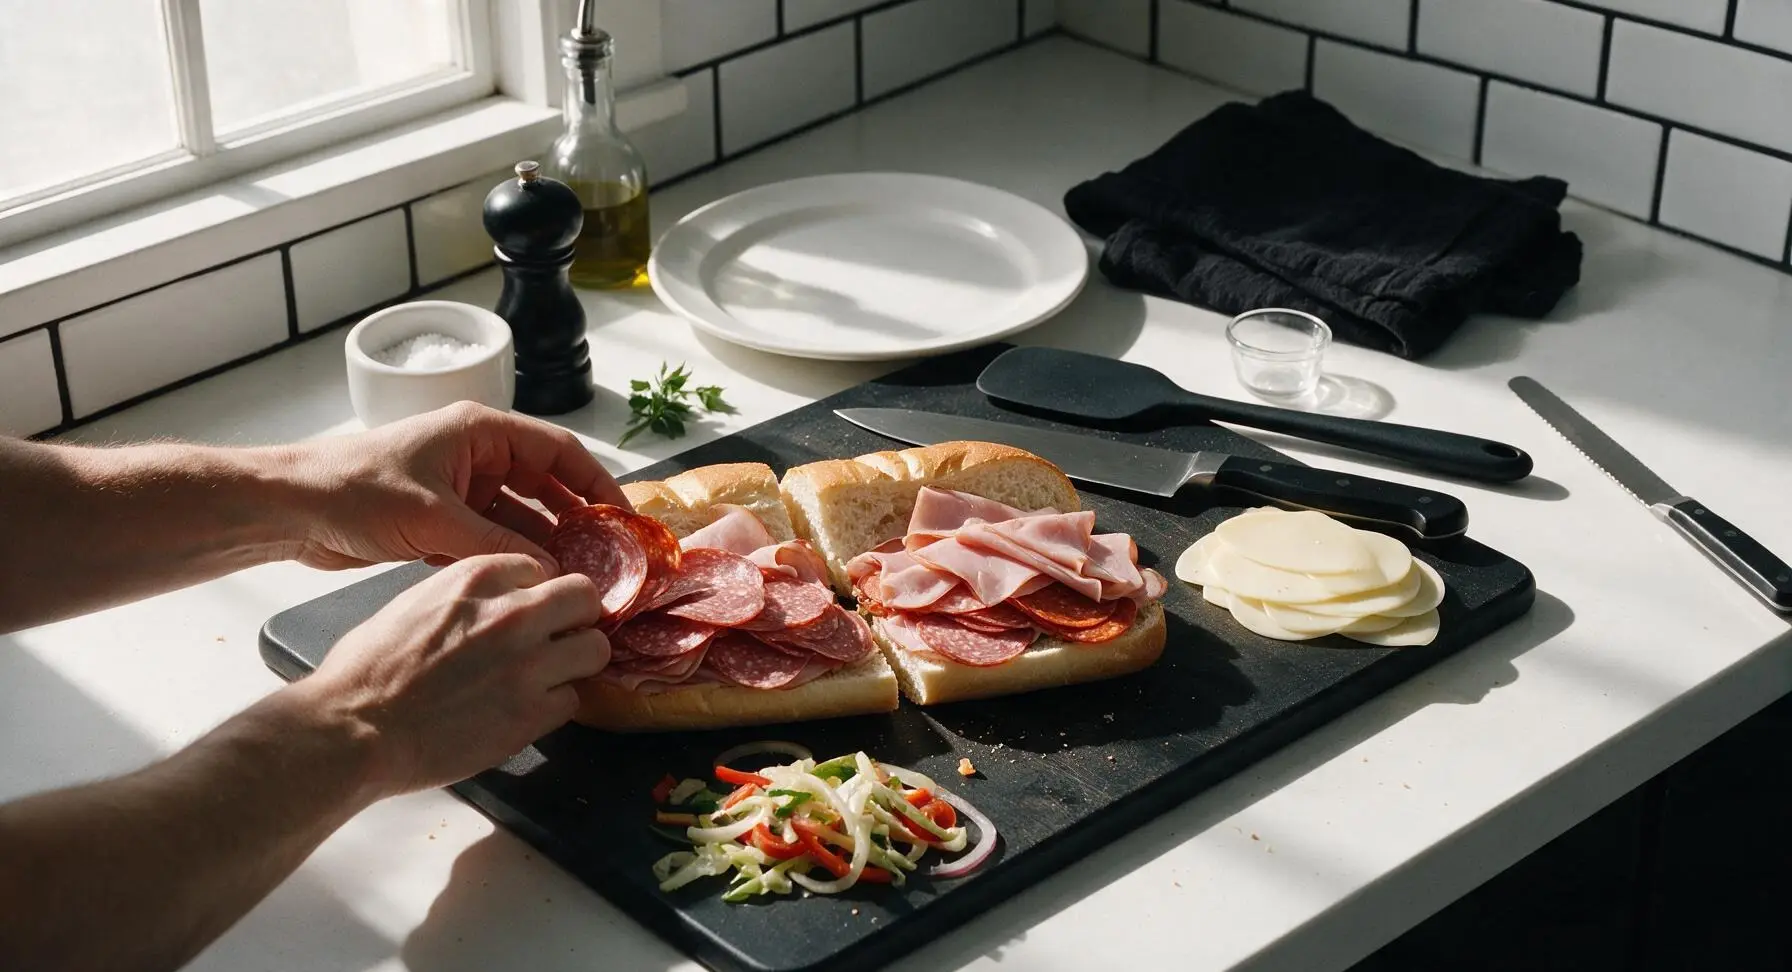
Open each split roll flat on the center of the cutting board. Divide the sliced salami, ham, and pepperoni evenly across the bottom half of each roll, folding slices slightly to create fluffy volume rather than laying them completely flat. Top the meat layers with 2 slices of provolone cheese per sub, overlapping the cheese slightly so it covers the meat fully and extends just to the edges of the roll to prevent bread from getting soggy as the cheese melts.
Toast Until Cheese Melts
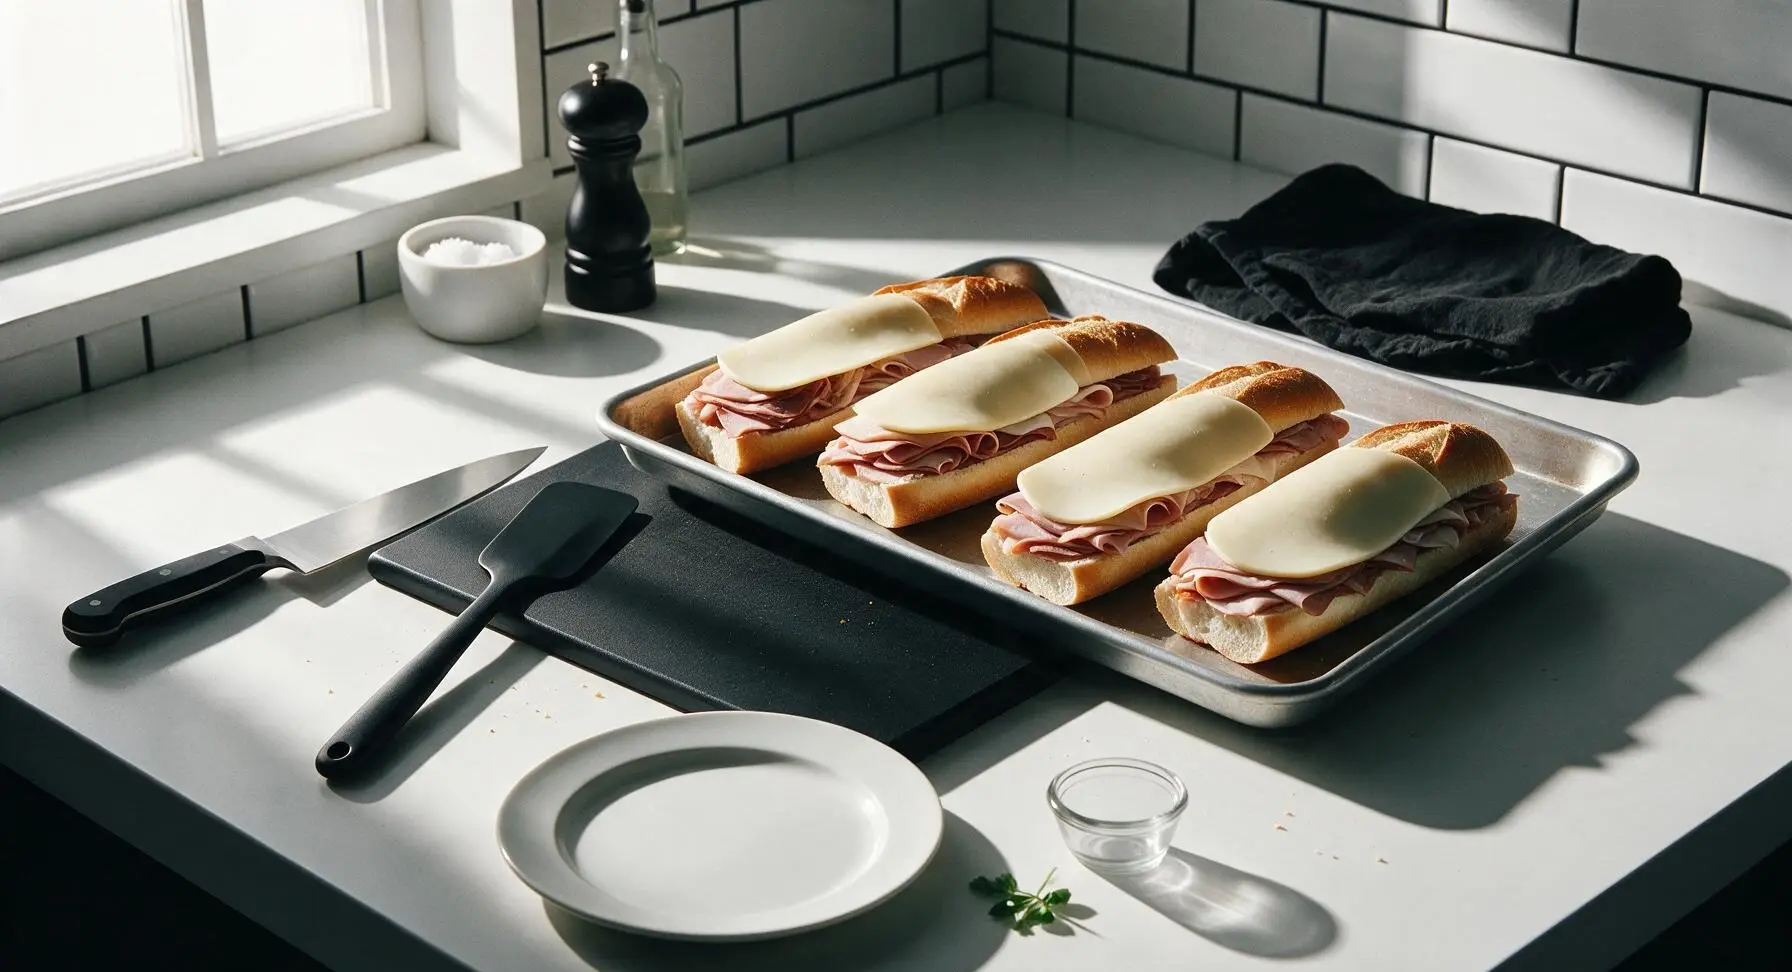
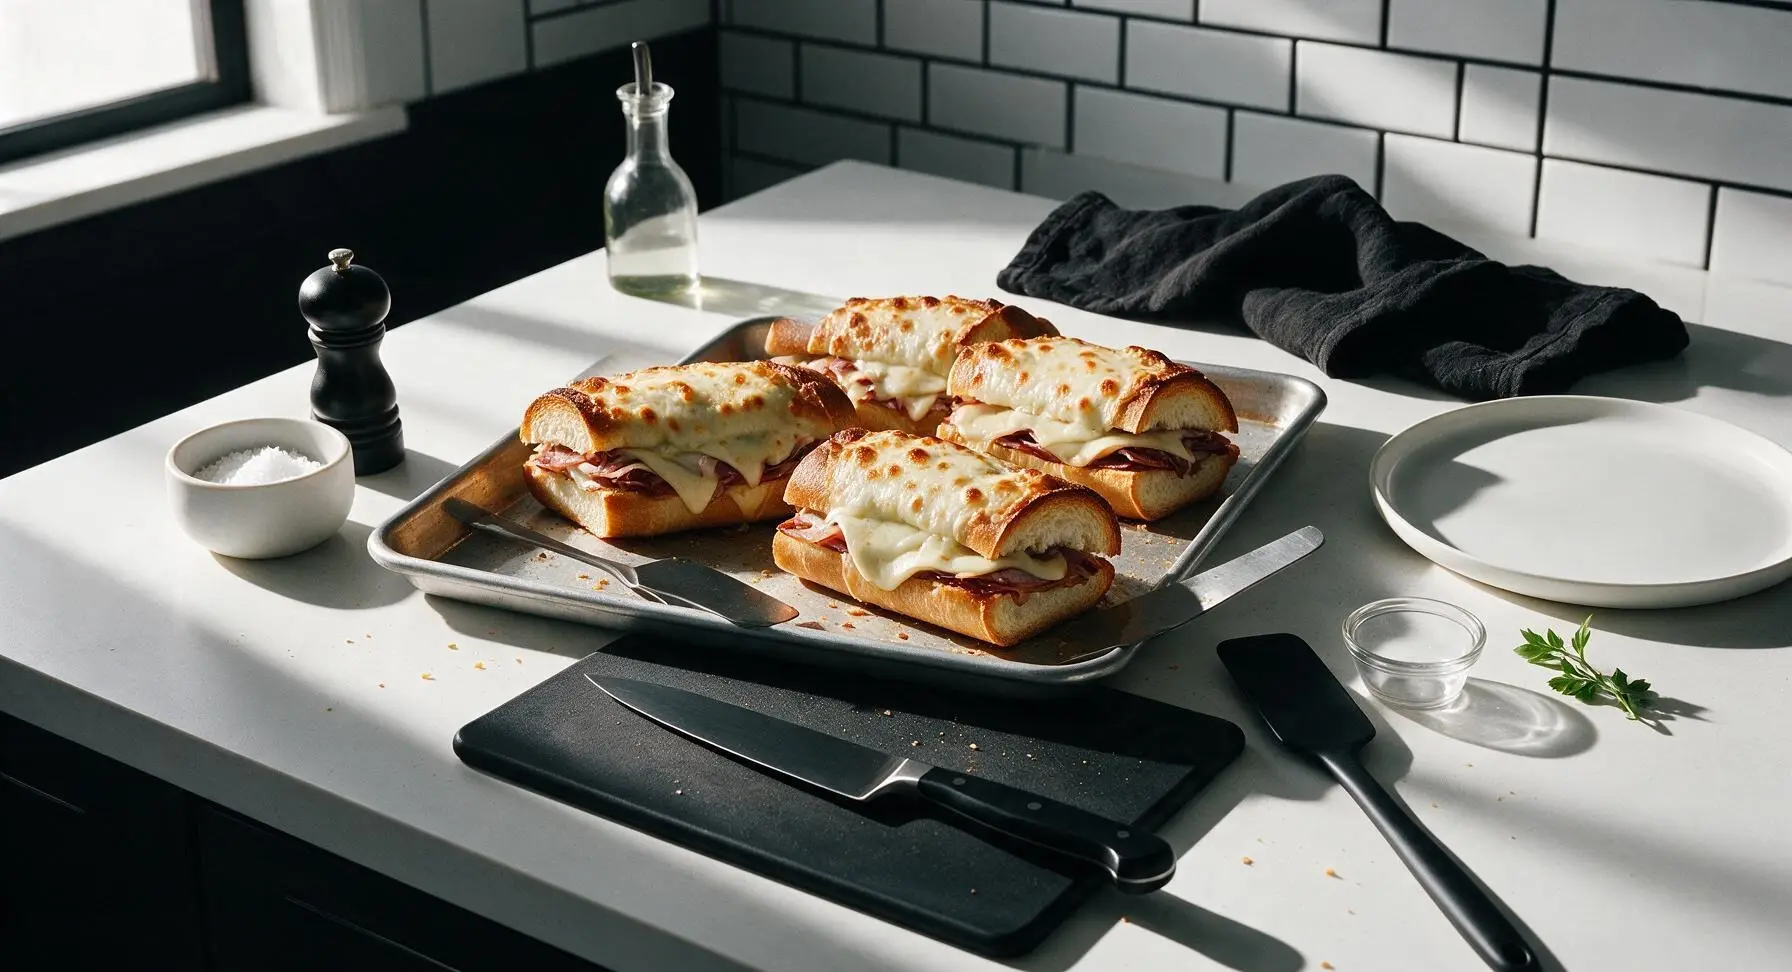
Arrange the open, meat-and-cheese filled rolls on the rimmed aluminum baking sheet, leaving 1 inch of space between each sub to allow air circulation for even toasting. Place the baking sheet on the middle rack of the preheated 400°F (200°C) oven. Bake for 7-9 minutes, until the provolone is fully melted and bubbly, and the cut edges of the rolls are golden and crisp to the touch. Watch closely during the last 2 minutes to avoid burning the thin bread edges.
Toss Veggies with Dressing
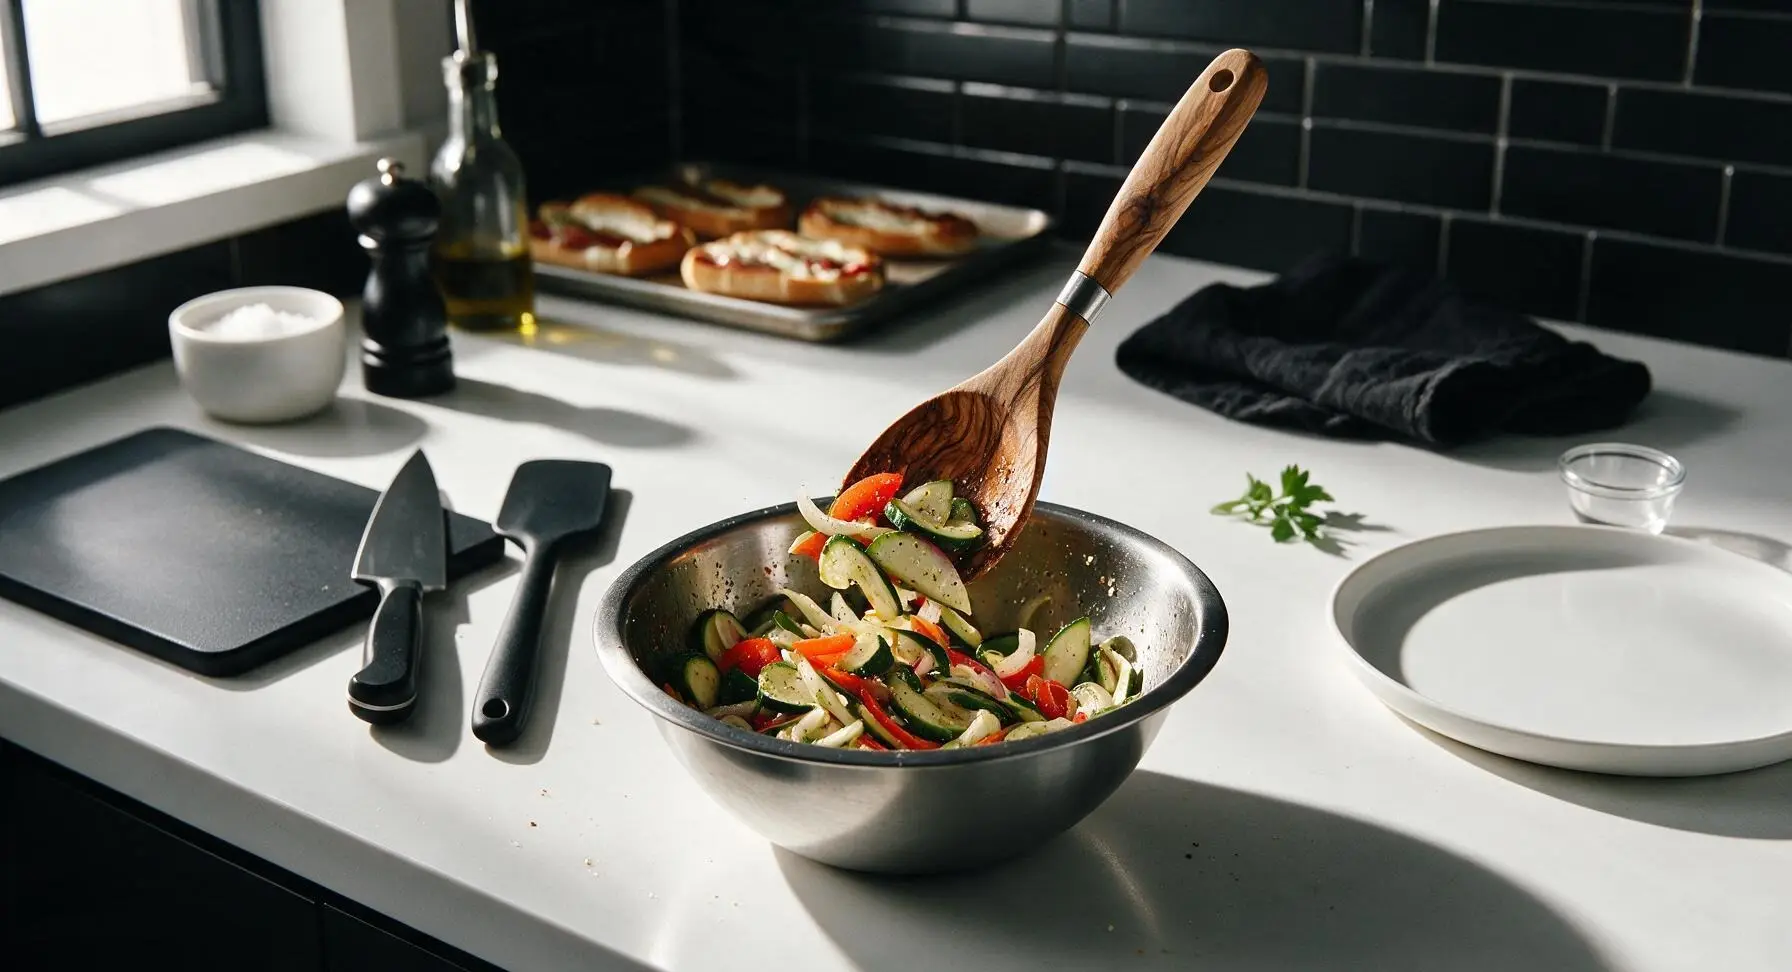
While the subs toast, transfer the pre-sliced veggies from the cutting board into the small stainless steel mixing bowl. Drizzle with 2 tablespoons of the Italian dressing, add 1/4 tsp kosher salt and 1/4 tsp black pepper, and toss gently with the olive wood spoon until veggies are evenly coated. Do not over-toss or bruise the lettuce, and do not dress the veggies more than 5 minutes before assembling to avoid soggy fillings.
Fill Toasted Subs
Remove the baking sheet of toasted rolls from the oven and set it back on the counter behind the cutting board. Use the offset spatula to transfer each toasted roll back to the center of the cutting board. Pile a generous 1/2 cup of the dressed veggie mixture evenly on top of the melted cheese layer of each sub. Drizzle the remaining Italian dressing over the veggies, then sprinkle each sub with 1/4 tsp of dried oregano.
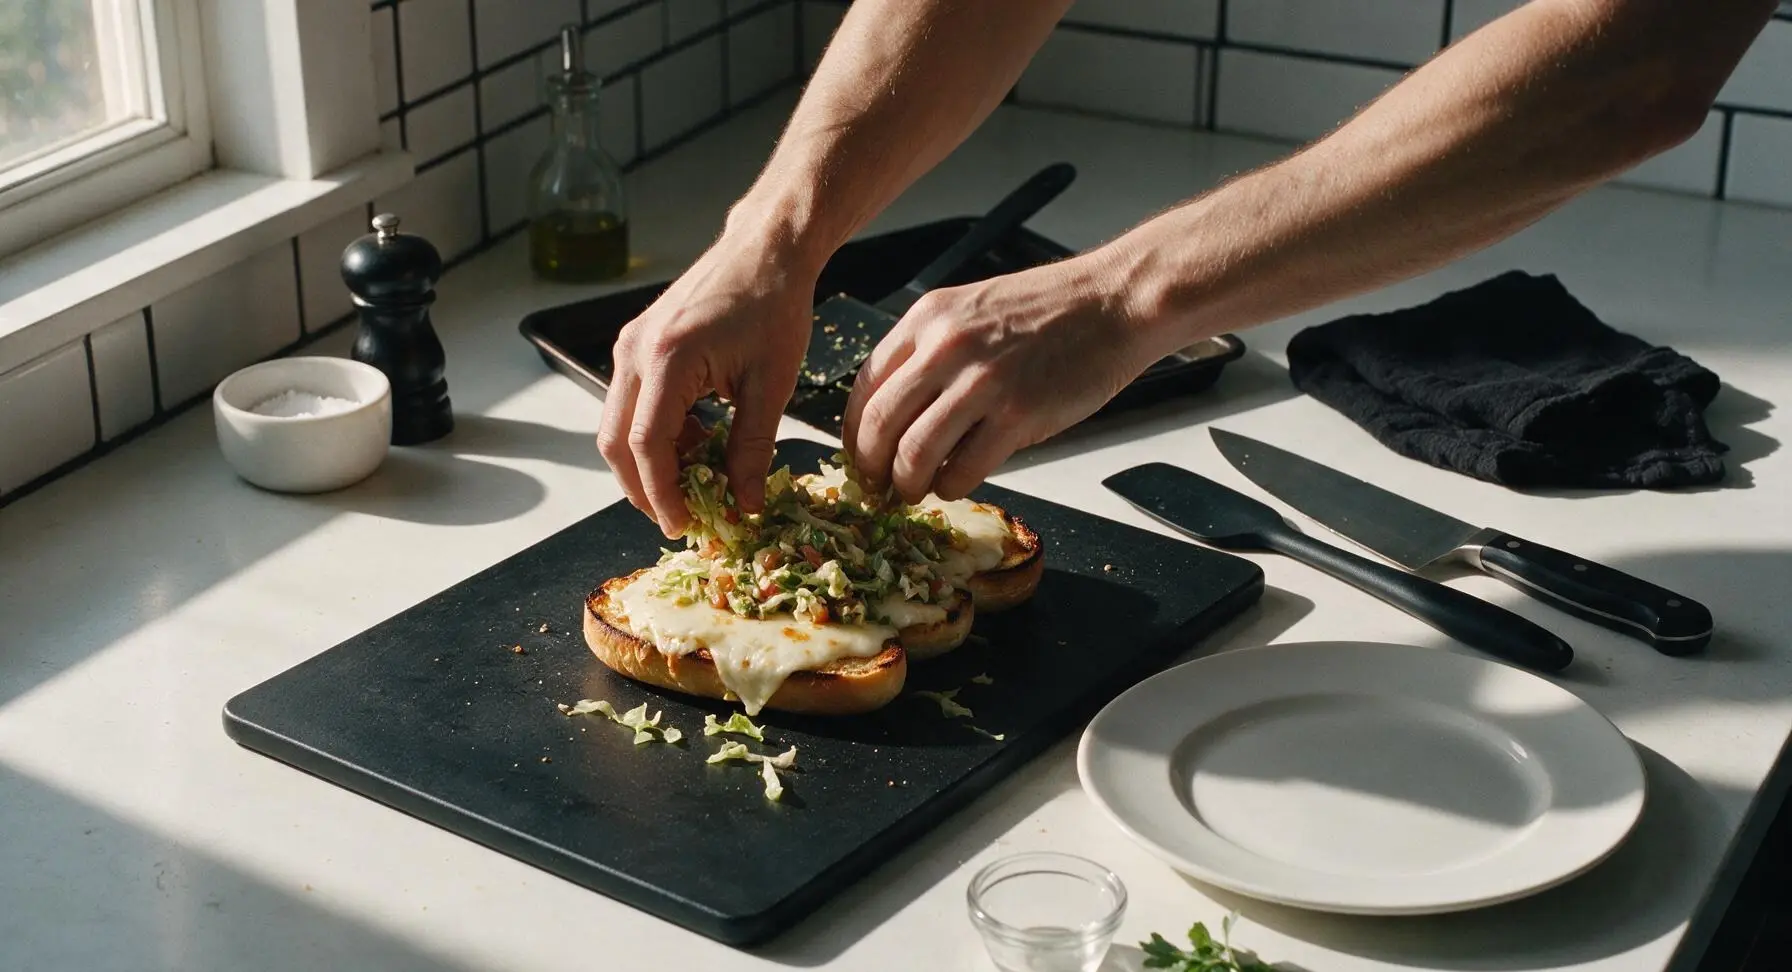
Press and Cut Subs
Close the top half of each roll over the filled bottom half, pressing down gently but firmly with the palm of your hand to compact the fillings slightly so they do not fall out when eaten. Use the serrated bread knife to cut each sub diagonally into two equal pieces, making a clean, smooth sawing cut through the crusty bread without pressing down hard enough to squish fillings out the sides.
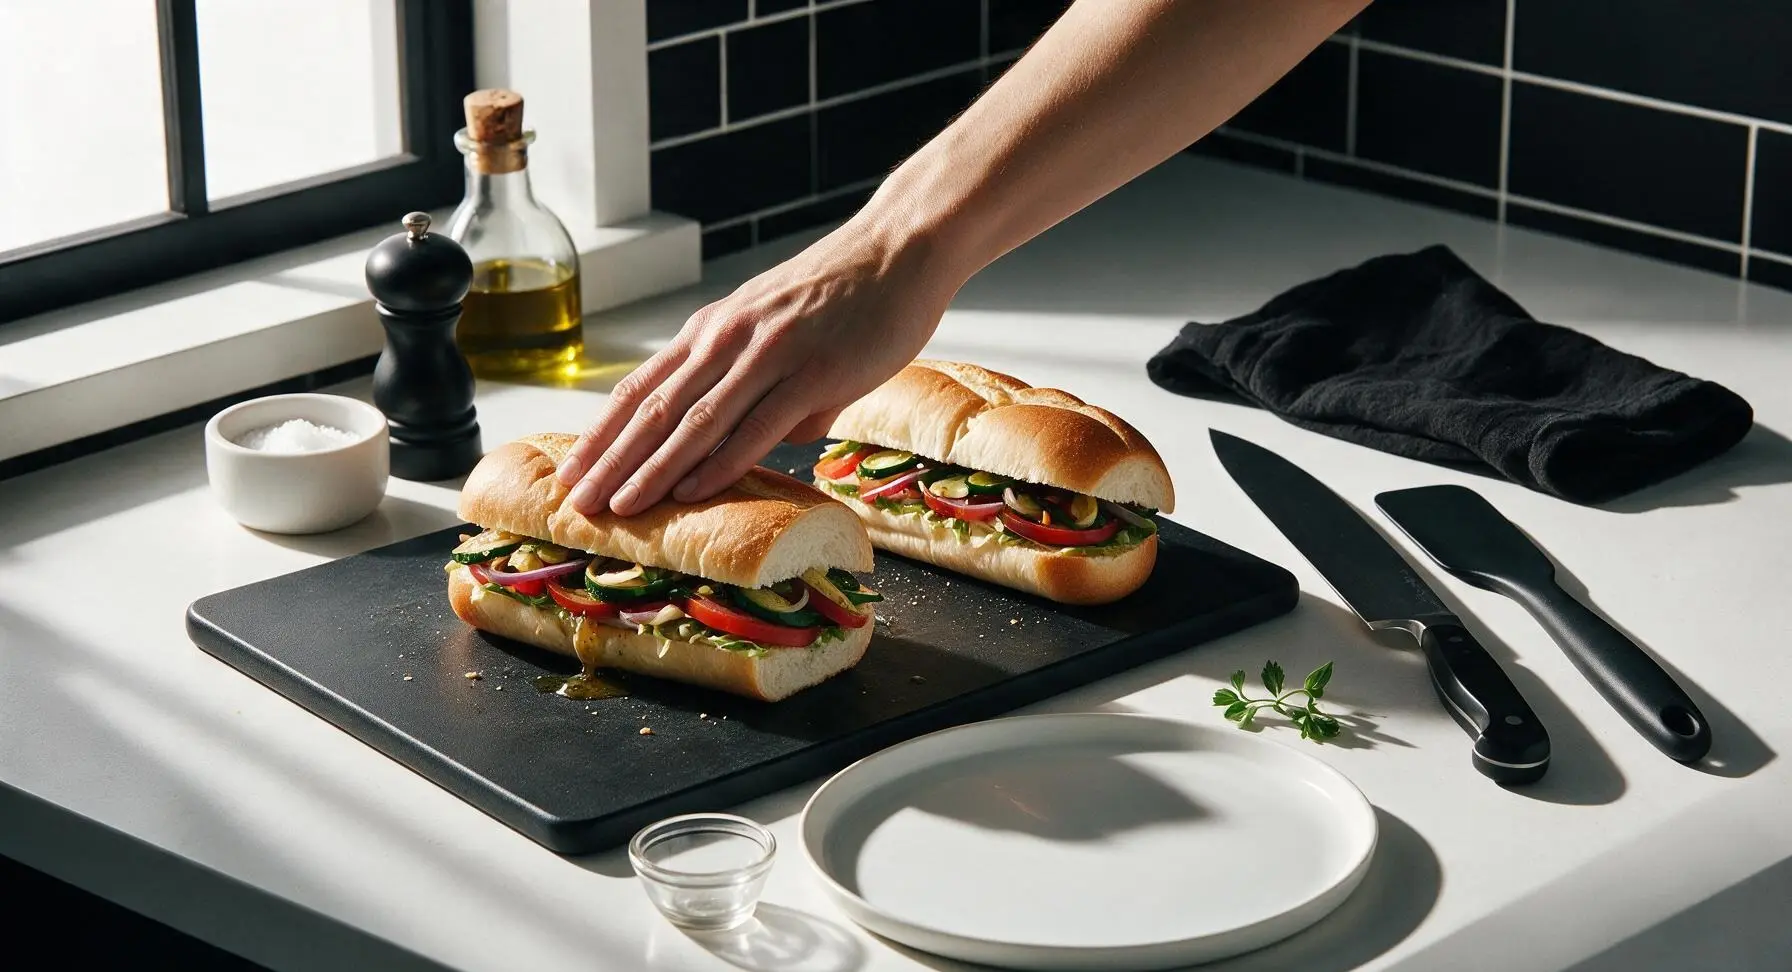
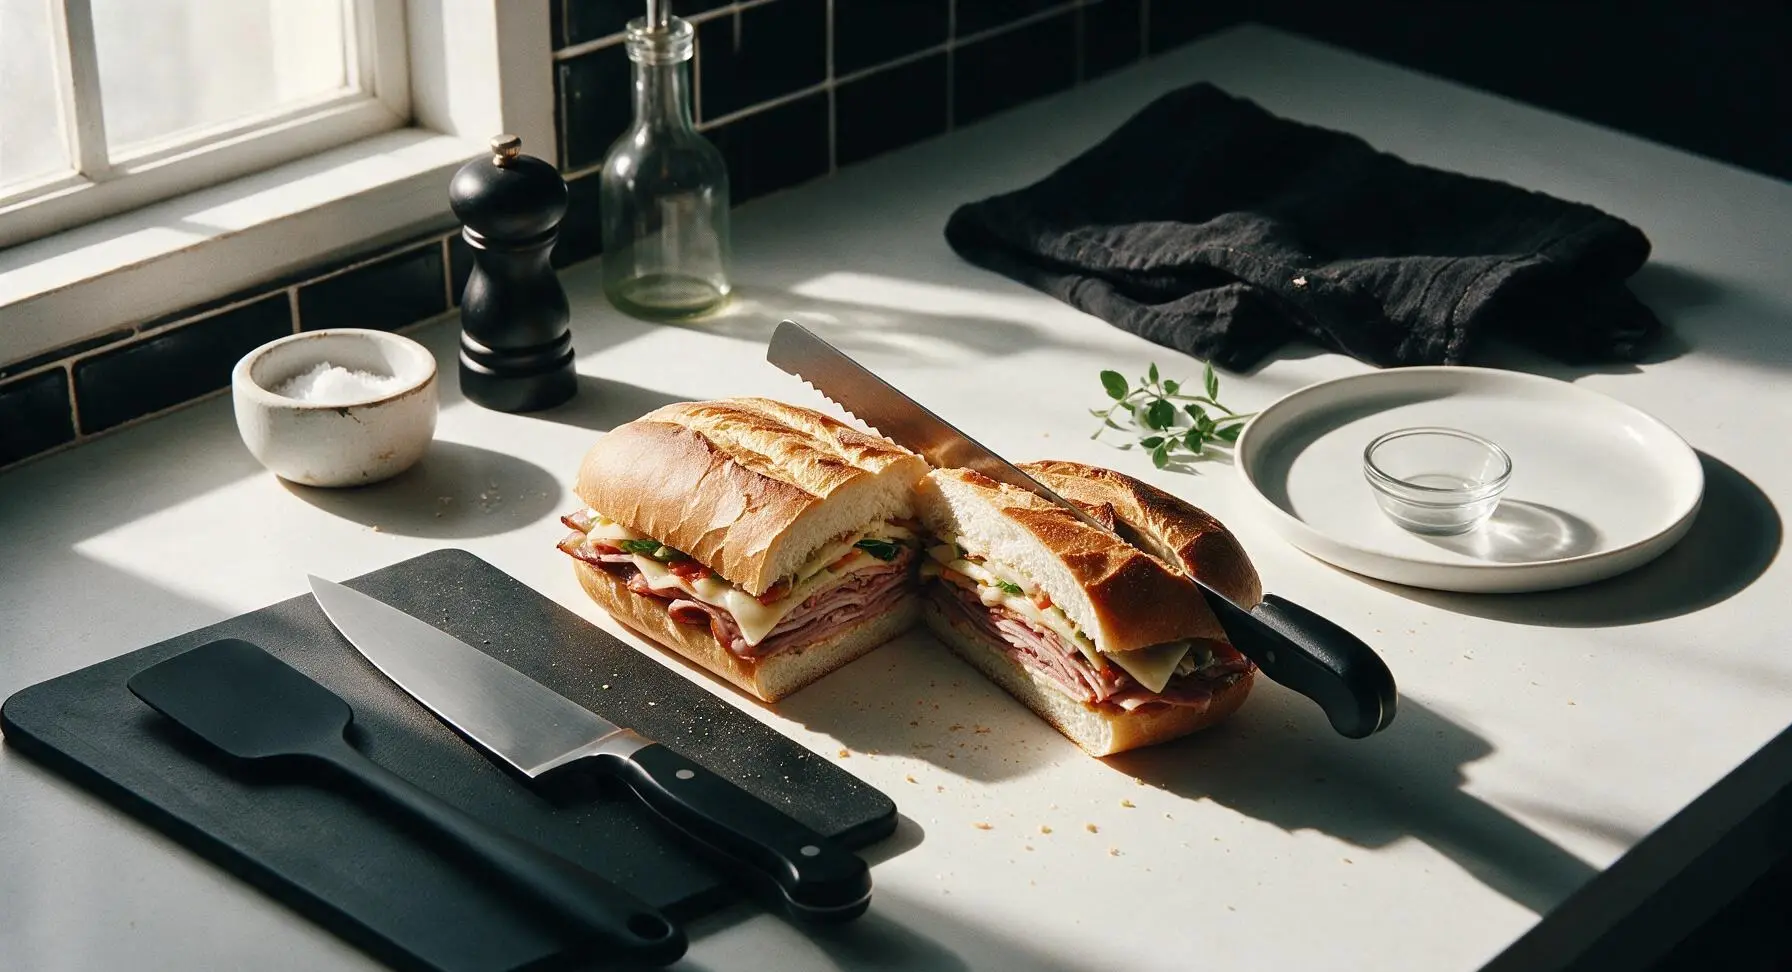
Plate and Serve
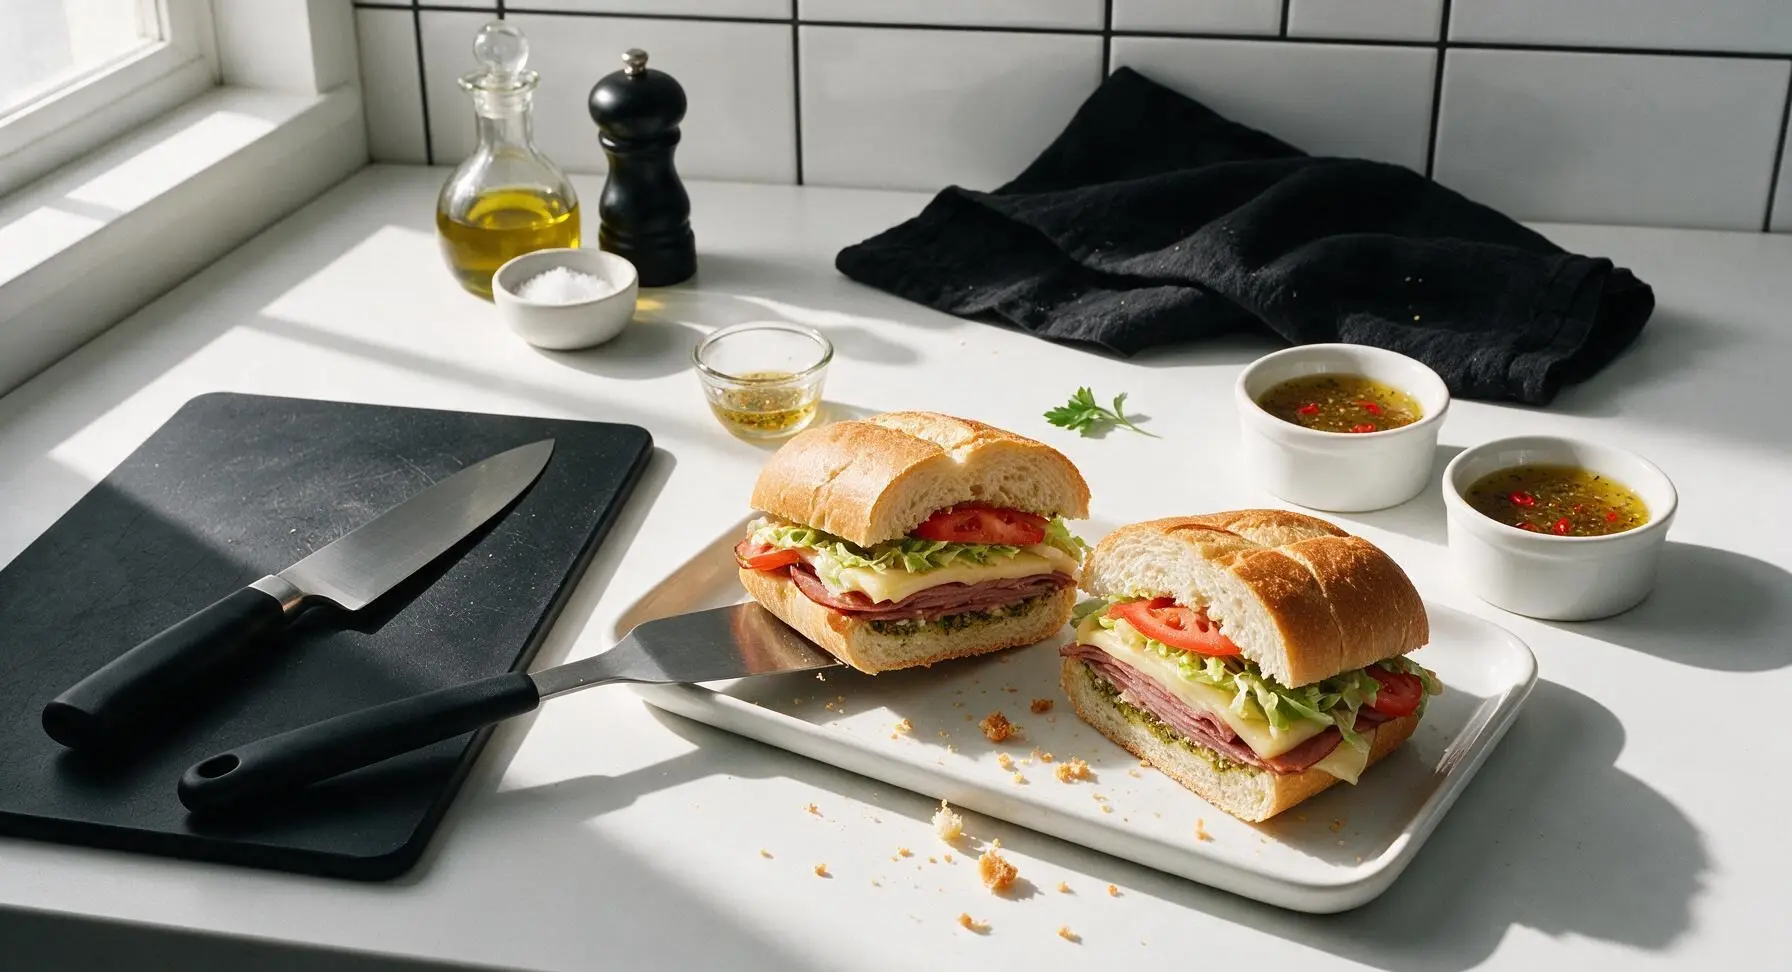
Arrange the cut sub halves on the rectangular matte white ceramic serving platter, fanning them slightly to show the layered cross-sections. Serve immediately while the bread is crisp and the cheese is warm, with extra Italian dressing or banana peppers in the small ceramic ramekins on the side if desired.
Tips
2.Pat tomato slices dry before adding: Excess tomato juice will soak through the toasted bread and make the bottom soggy, so removing surface moisture keeps the roll crisp for longer.
3.Add veggies only after toasting: Keeping cold, dressed veggies off the rolls during baking keeps them crisp and bright, rather than wilting into a mushy texture under oven heat.






OMG this grinder is SO good! I made it for our extended family dinner potluck last weekend and every single person asked for the recipe. The combo of salty cured meats, tangy grinder salad, and melted provolone? Total game changer. Even my super picky 8 year old ate a whole half without complaining! That 10 minute cook time is no joke too, perfect for chaotic busy weeknights when I don’t feel like spending an hour in the kitchen.
Took me 12 minutes total from grabbing ingredients out of the fridge to taking my first bite, so that 10 minute cook time is totally accurate if you chop your lettuce and onions ahead like I do for weekly meal prep. Used some leftover hot capicola I had from a weekend charcuterie board and it slapped. Will absolutely be adding this to my regular work lunch rotation, way cheaper than buying subs out every day.
Really solid grinder recipe! I swapped the regular hoagie roll for a gluten-free version and toasted it an extra 2 minutes so it wouldn’t get soggy from the creamy grinder salad dressing. Only knock is I wish the recipe noted how long to let the dressed salad rest before piling it on—my first batch was a little watery, but I drained off the excess dressing the second time and it was perfect. Still a great easy weeknight meal I’ll make again!
My kids loved it! I was scrambling last minute for dinner after my oldest’s soccer practice and saw this recipe pop up, and turns out I had all the ingredients on hand (deli ham, salami, provolone, shredded iceberg, mayo, red wine vinegar) so I threw it together super fast. No complaints from anyone at the table, even my husband who swears the only good Italian subs come from the corner bodega by his office. SO good, will be making this on repeat.
I’m literally brand new to cooking (like, just moved into my first apartment last week new) and this was so easy to make! I was worried I’d mess it up since I barely know how to boil pasta, but the steps were super straightforward, no fancy equipment or weird hard-to-find ingredients needed. My roommate thought I ordered it from the fancy Italian place downtown, I felt so proud lol.