
Gus's World Famous Fried Chicken
intro
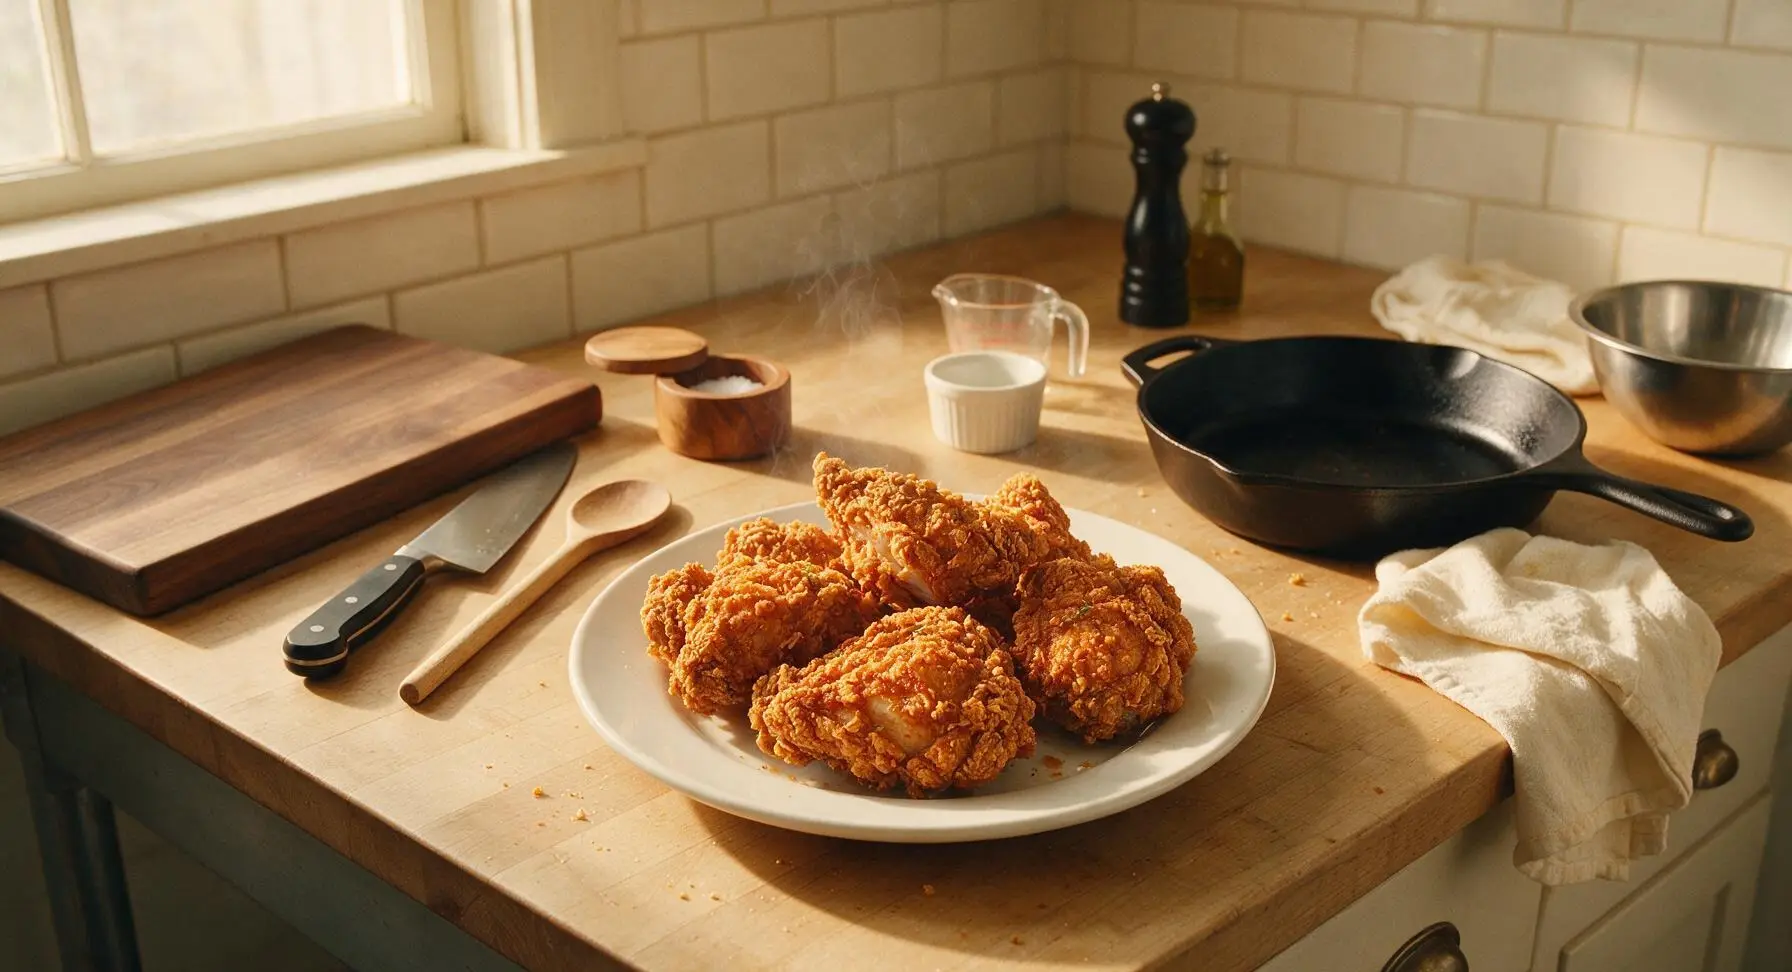
Shatteringly crisp, spicy golden fried chicken with juicy, tender meat, the iconic Memphis recipe from Gus’s World Famous, recreated perfectly for home cooking.
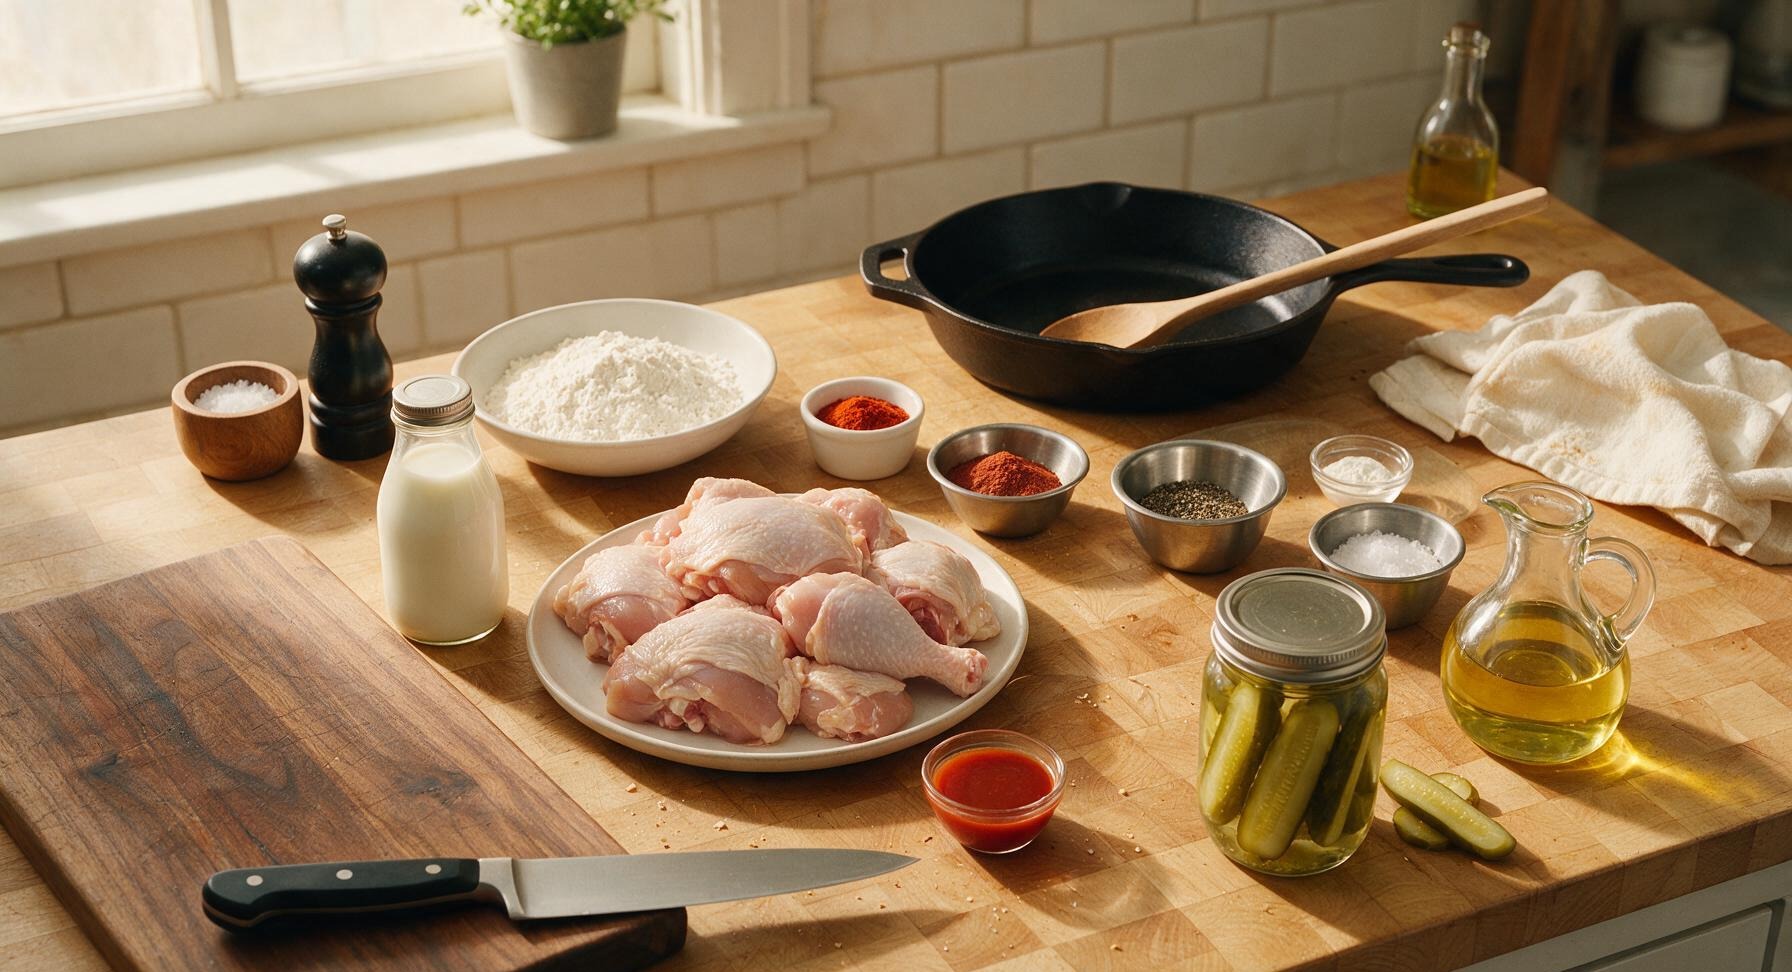
Ingredients
Steps
Prep and Brine Chicken
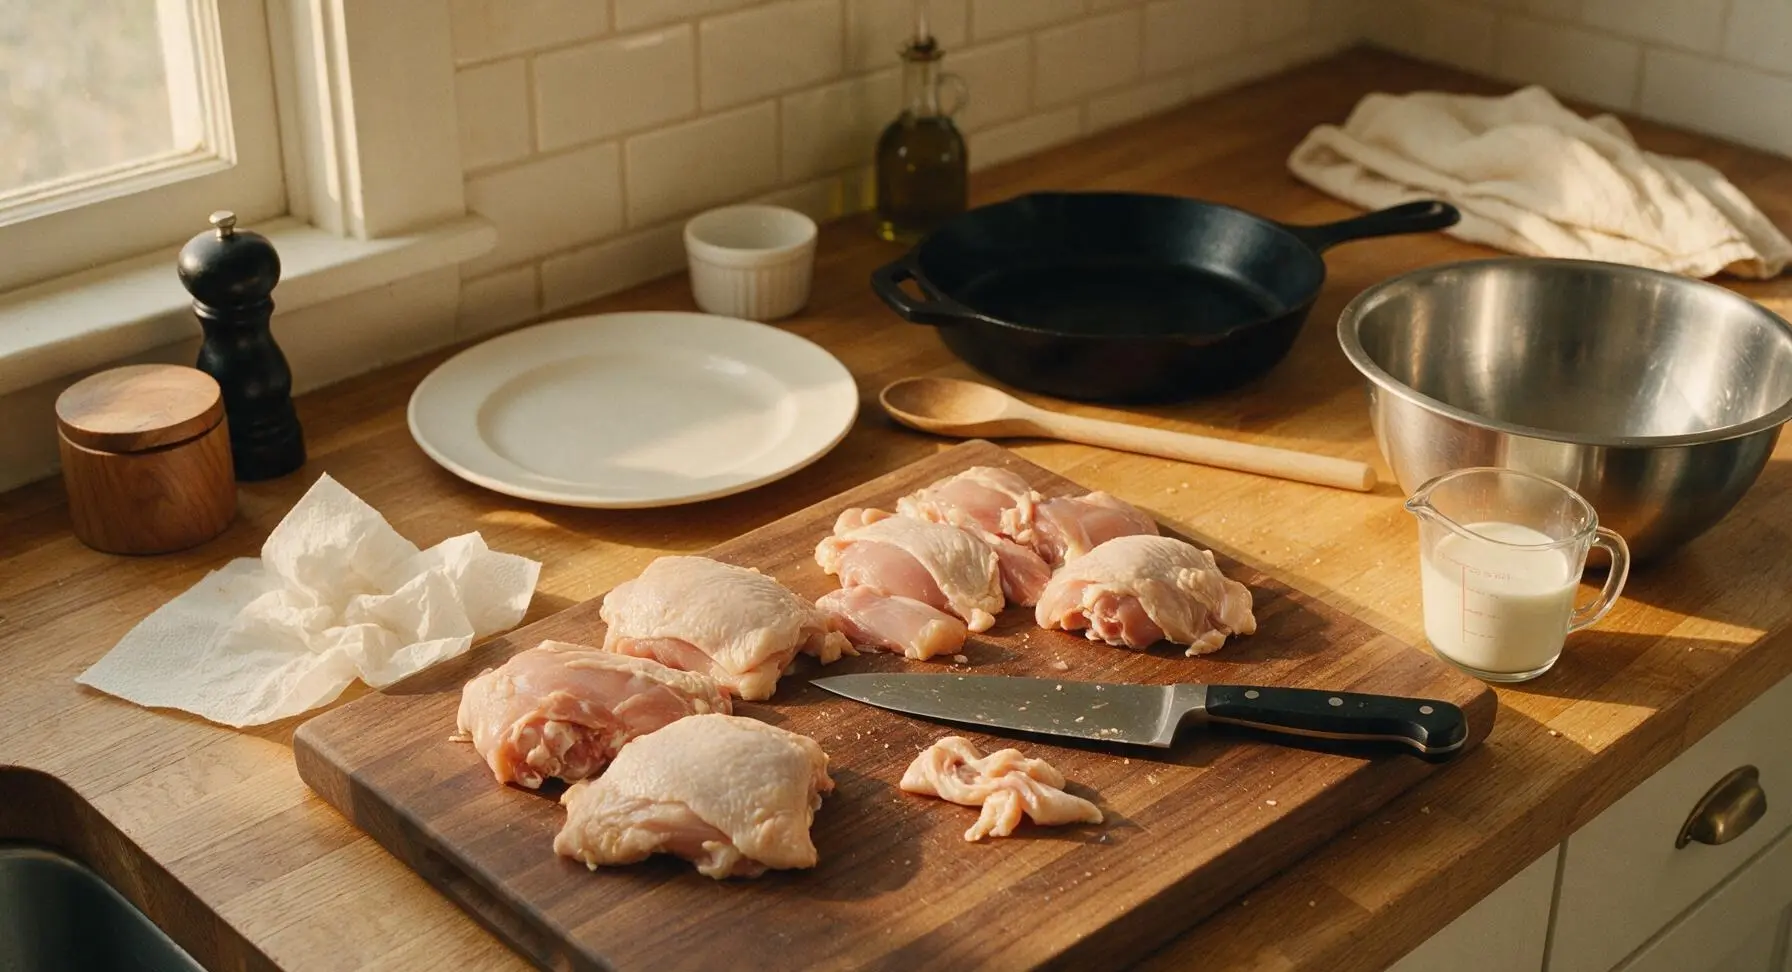
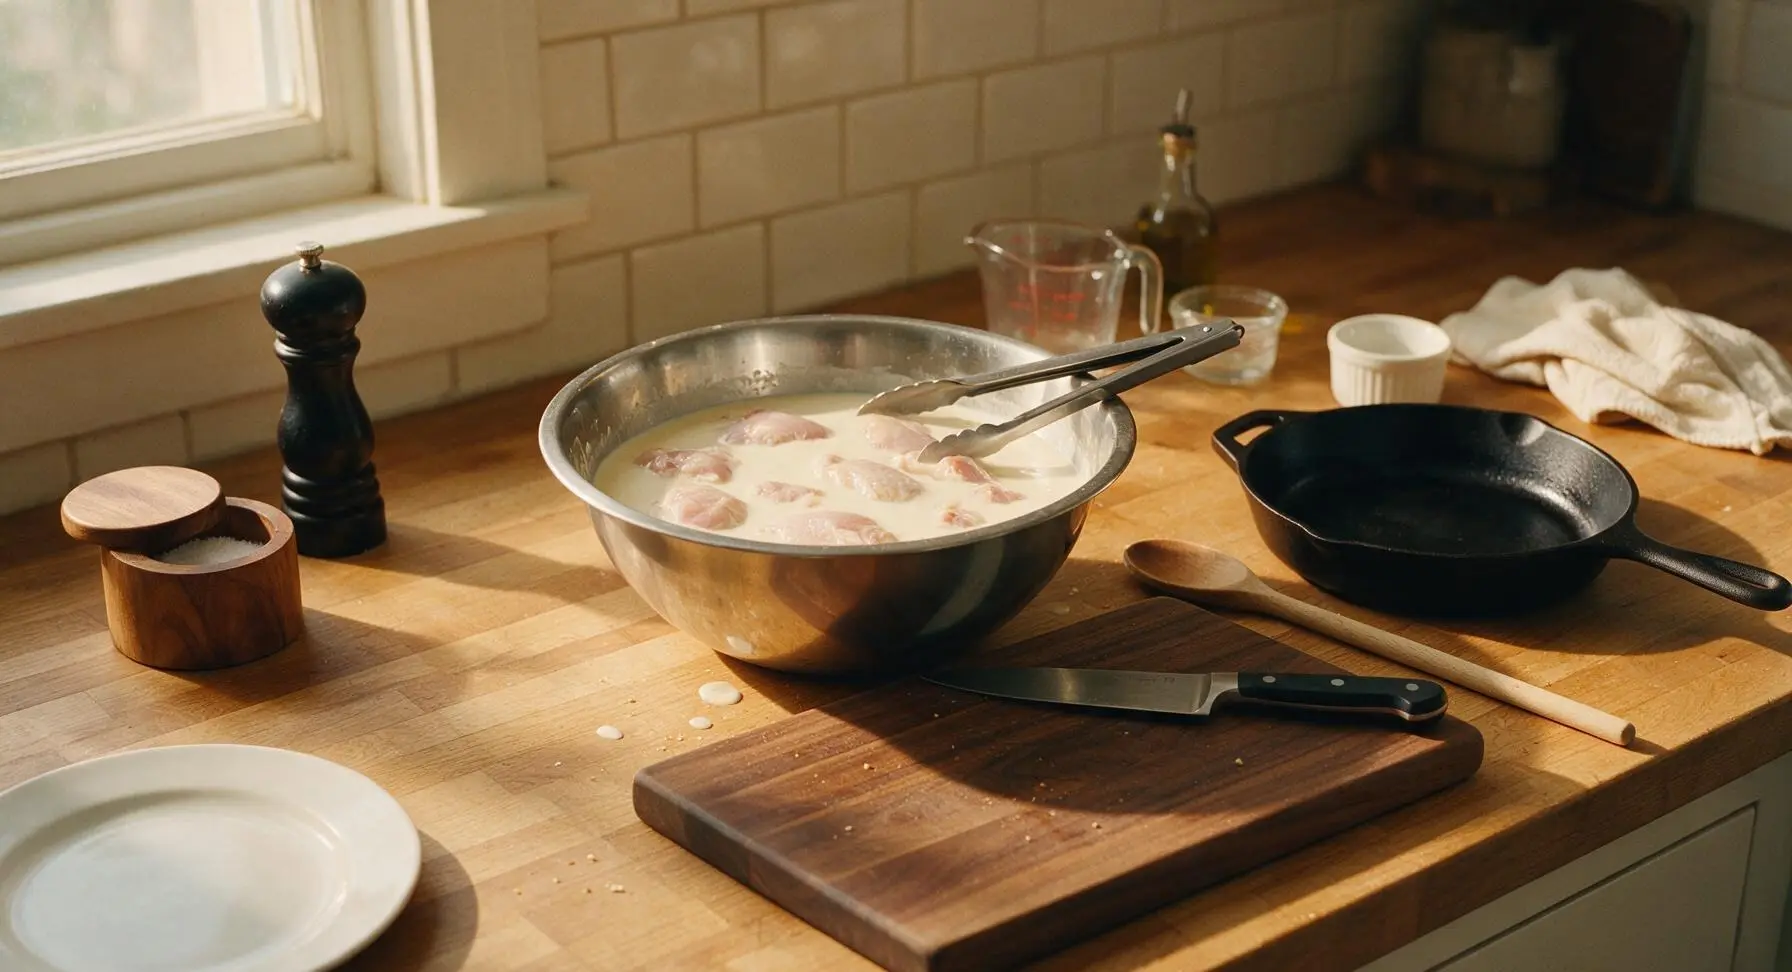
Pat chicken pieces dry with paper towels on the maple cutting board, using the chef knife to trim any excess loose skin or hard fat deposits. In the large stainless steel mixing bowl, whisk together buttermilk, 1 tsp kosher salt, and hot sauce until smooth. Submerge all chicken pieces fully in the buttermilk brine, cover loosely, and refrigerate for 4 hours (up to 12 hours) to tenderize. The chicken will absorb subtle tang and moisture from the brine for juicy, flavorful meat.
Mix Spiced Flour Coating
After the chicken finishes brining, combine all-purpose flour, remaining 1 tbsp kosher salt, cayenne pepper, smoked paprika, garlic powder, black pepper, and baking powder in the medium stainless steel mixing bowl. Whisk vigorously for 30 seconds to fully incorporate all spices, breaking up any small clumps with your fingers. The finished coating should be a uniform pale tan with evenly distributed red and black spice flecks, no un-mixed streaks of white flour.
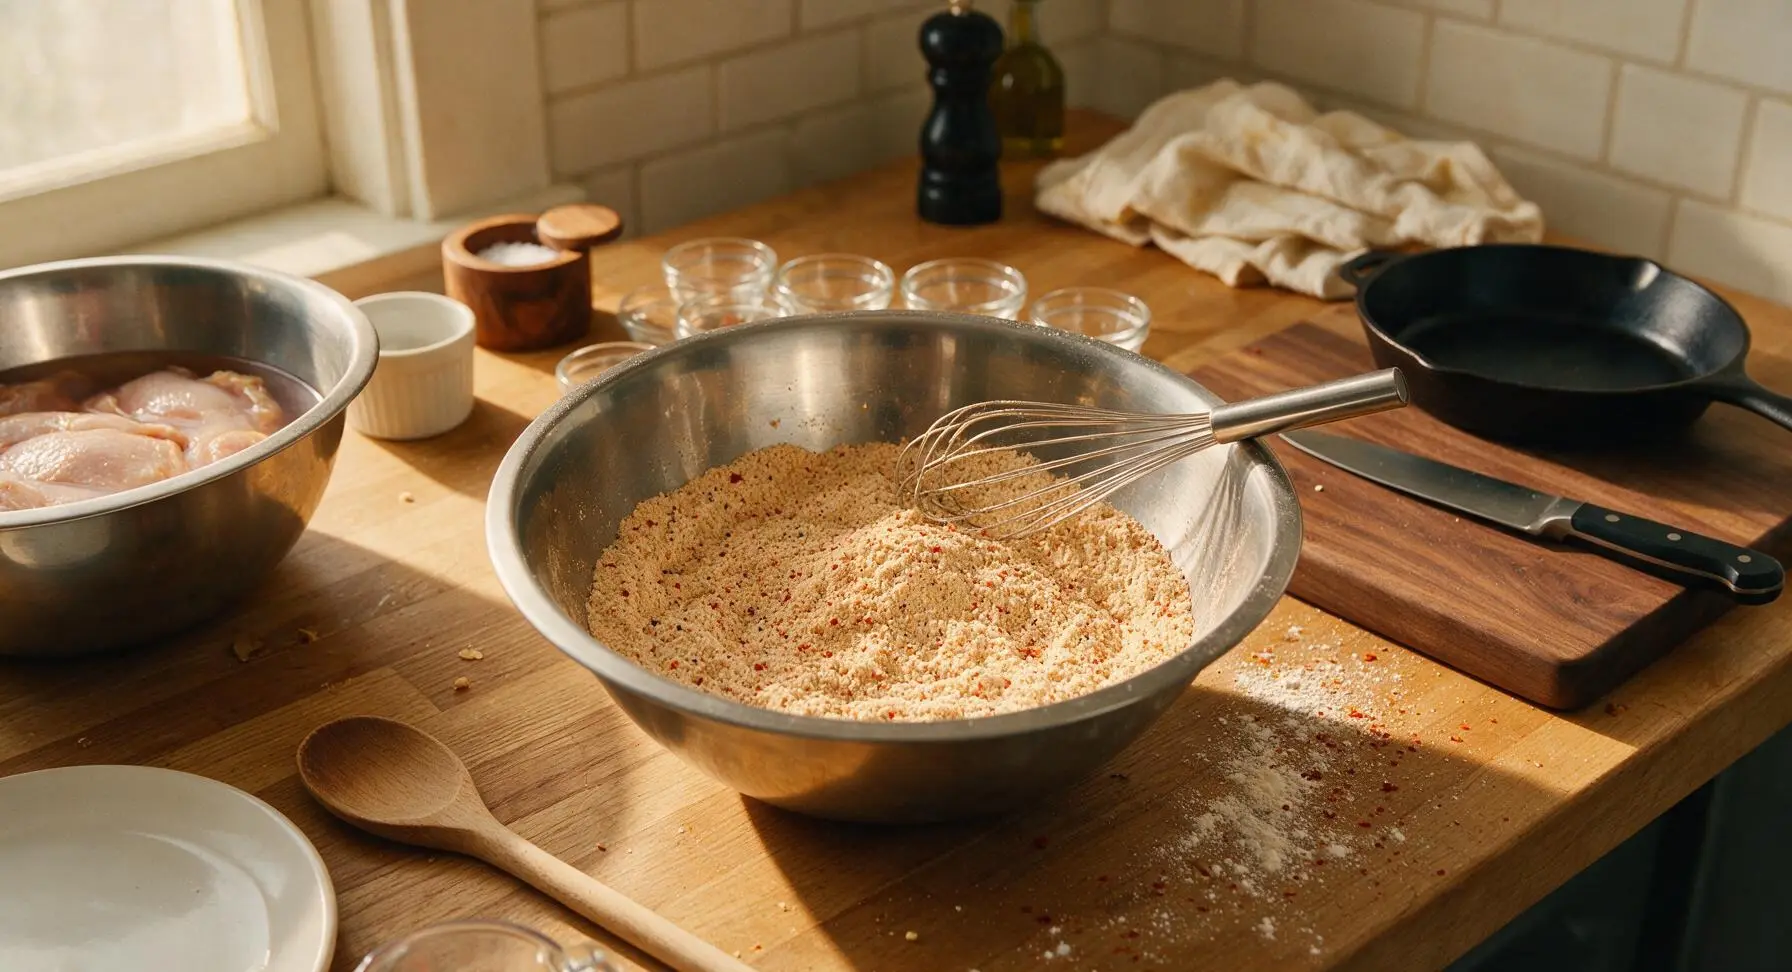
Heat Frying Oil
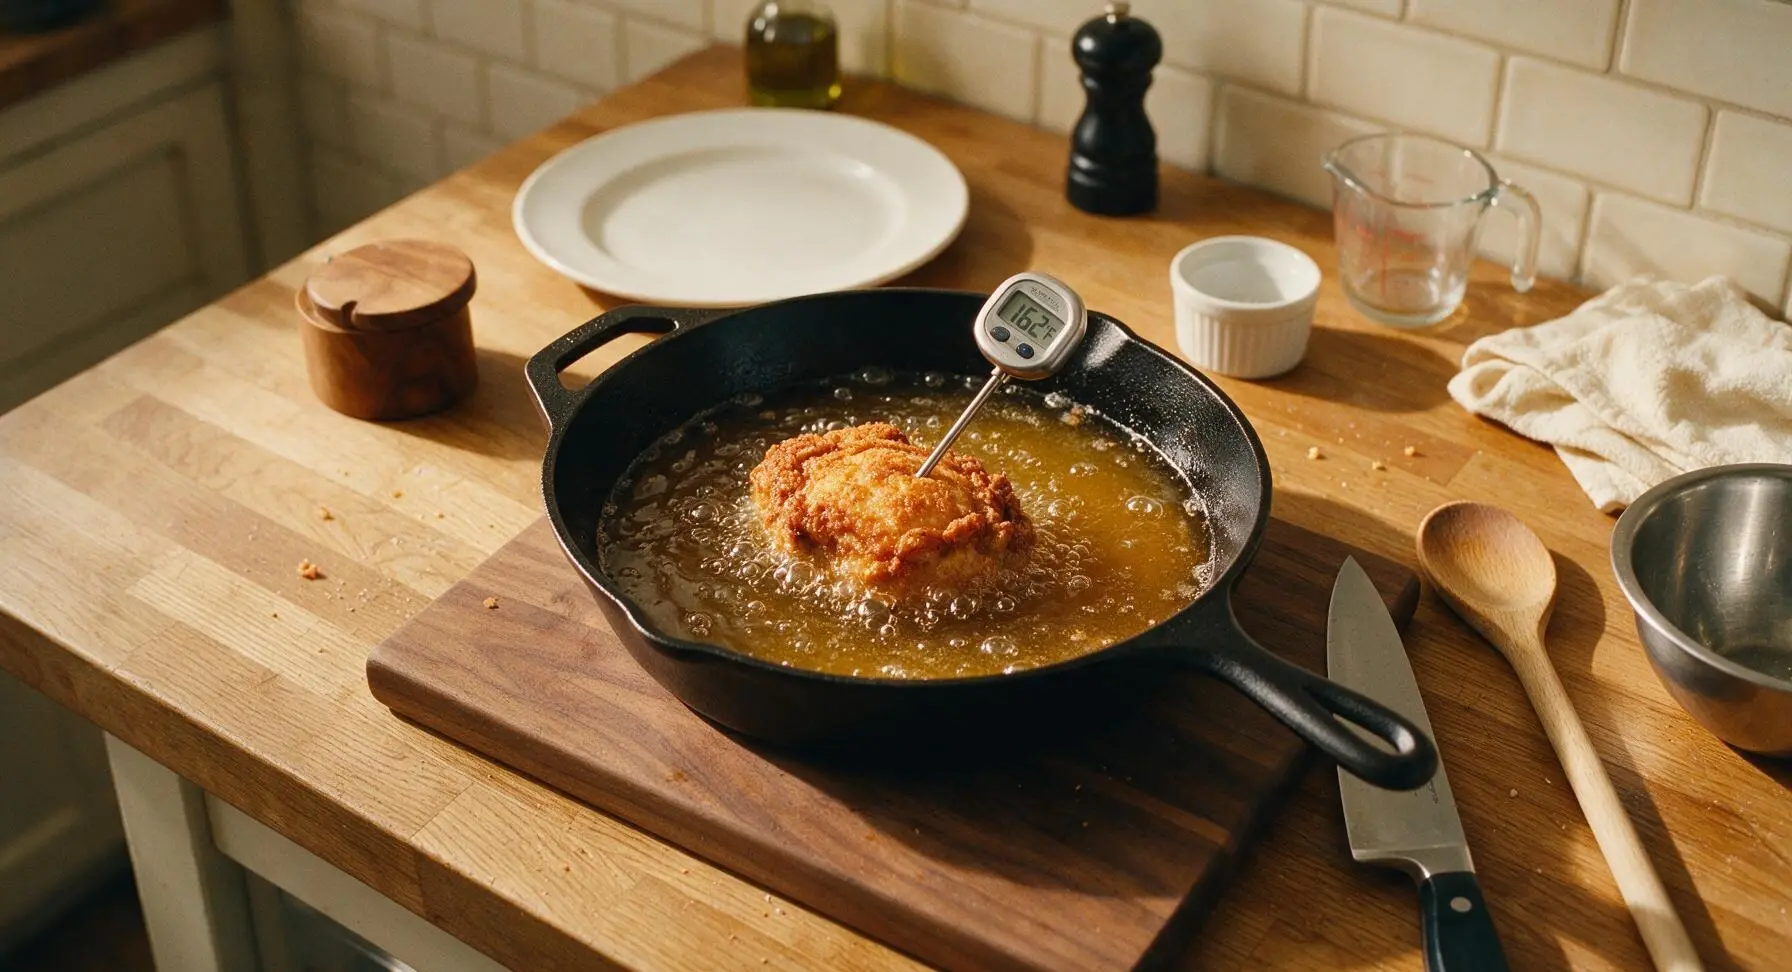
Set the cast iron Dutch oven on the countertop induction burner, pour in canola oil to a 3-inch depth, and heat to a steady 350°F (175°C), clipping the instant-read thermometer to the pot rim to monitor temperature. This will take 8-10 minutes; the oil will have a light shimmer but will not smoke when at correct temperature. Adjust burner settings as needed to hold temperature steady.
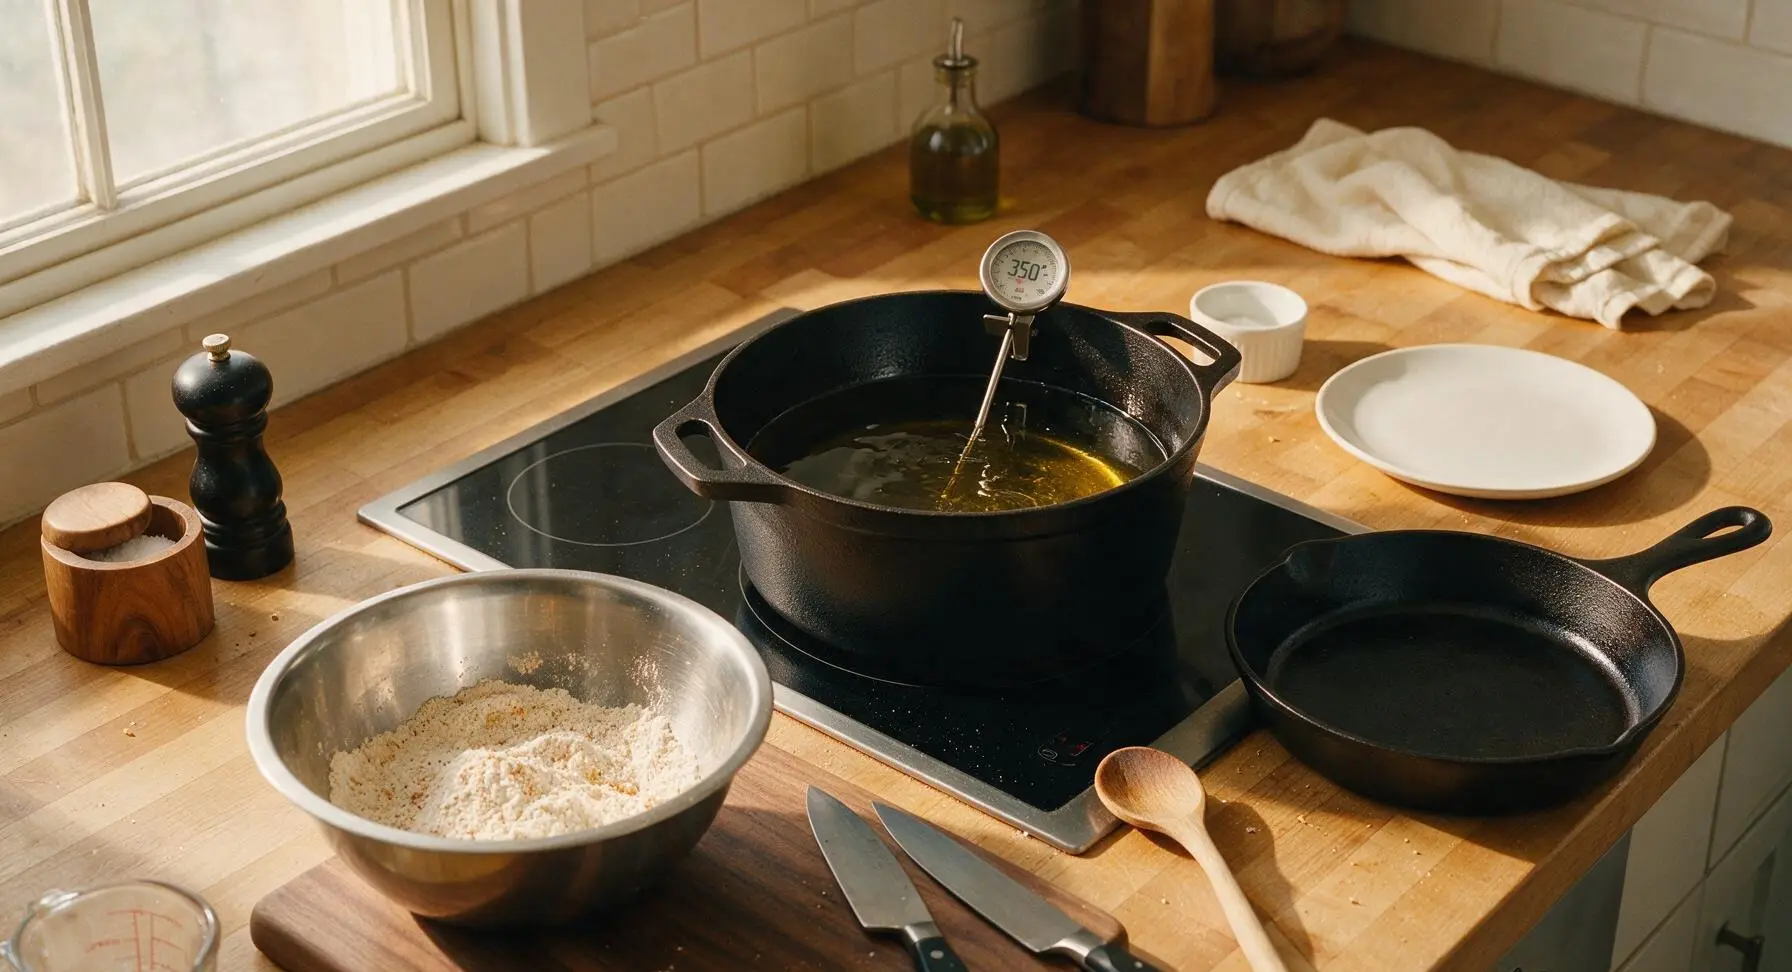
Dredge Chicken Pieces
Remove chicken from the buttermilk brine one piece at a time, holding each piece above the bowl for 3 seconds to let excess buttermilk drip off. Dredge each piece fully in the spiced flour mixture, pressing firmly to work the coating into every skin crevice for full coverage. Set coated pieces on the wire rack (set atop the rimmed baking sheet) to rest for 10 minutes; the coating will look slightly matte and pasty when set, which prevents it from sliding off during frying.
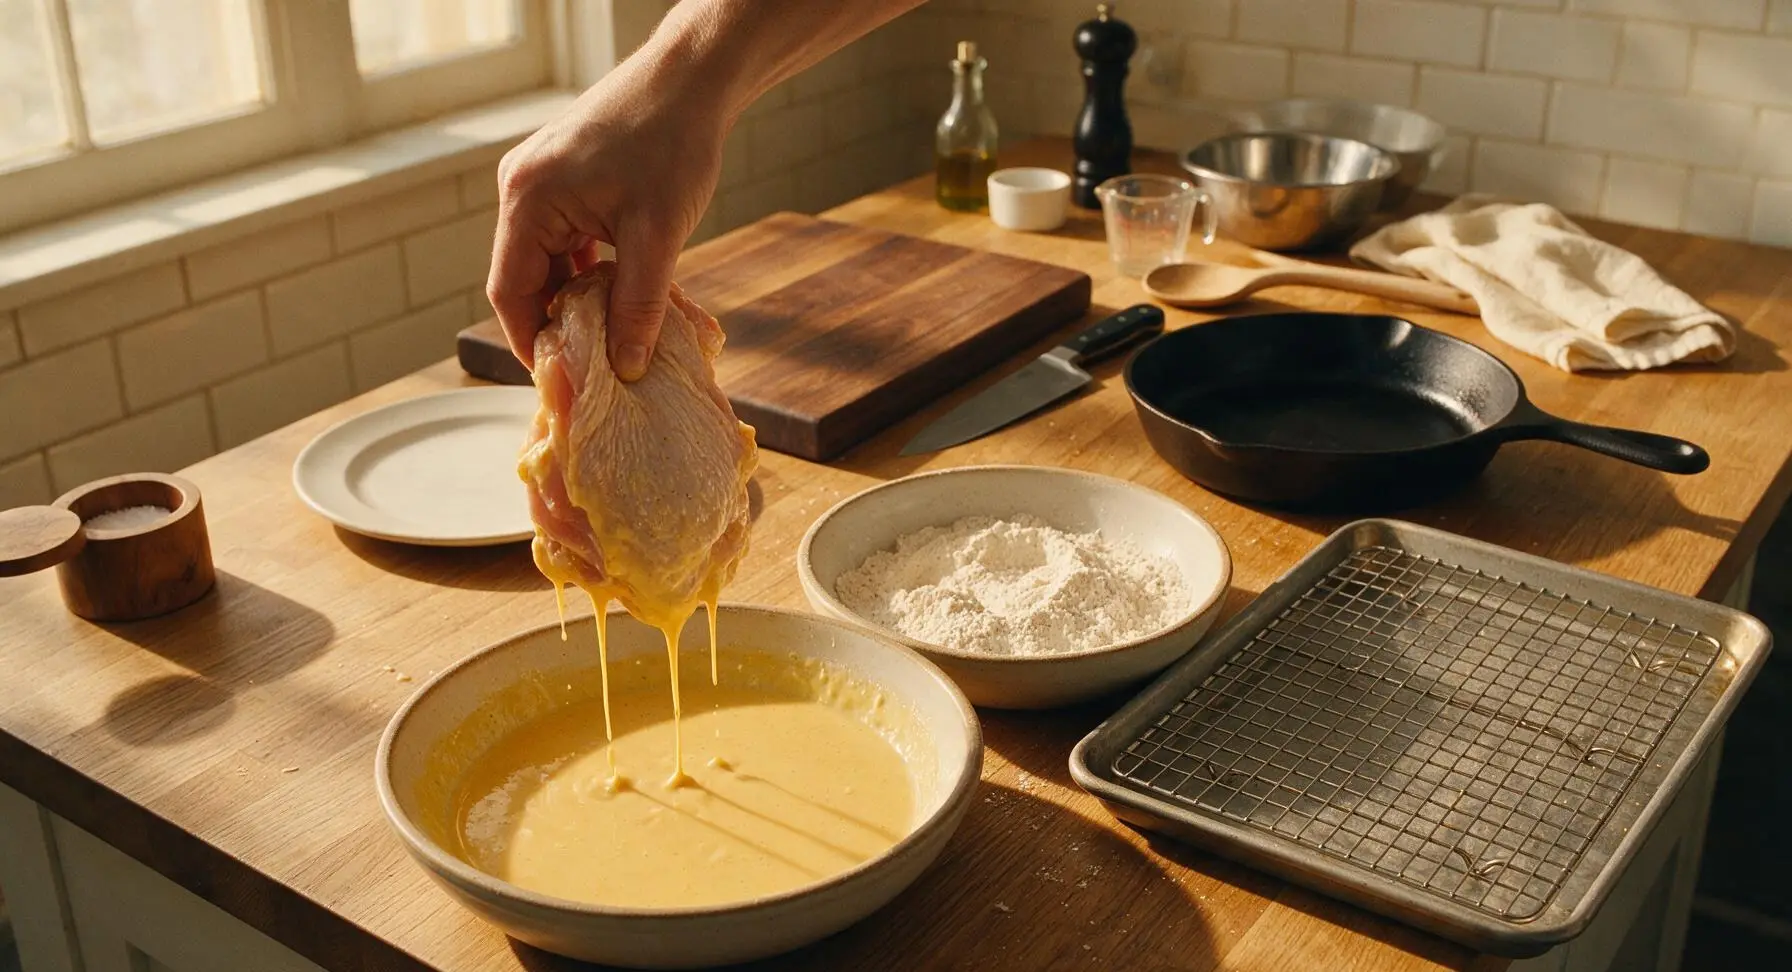
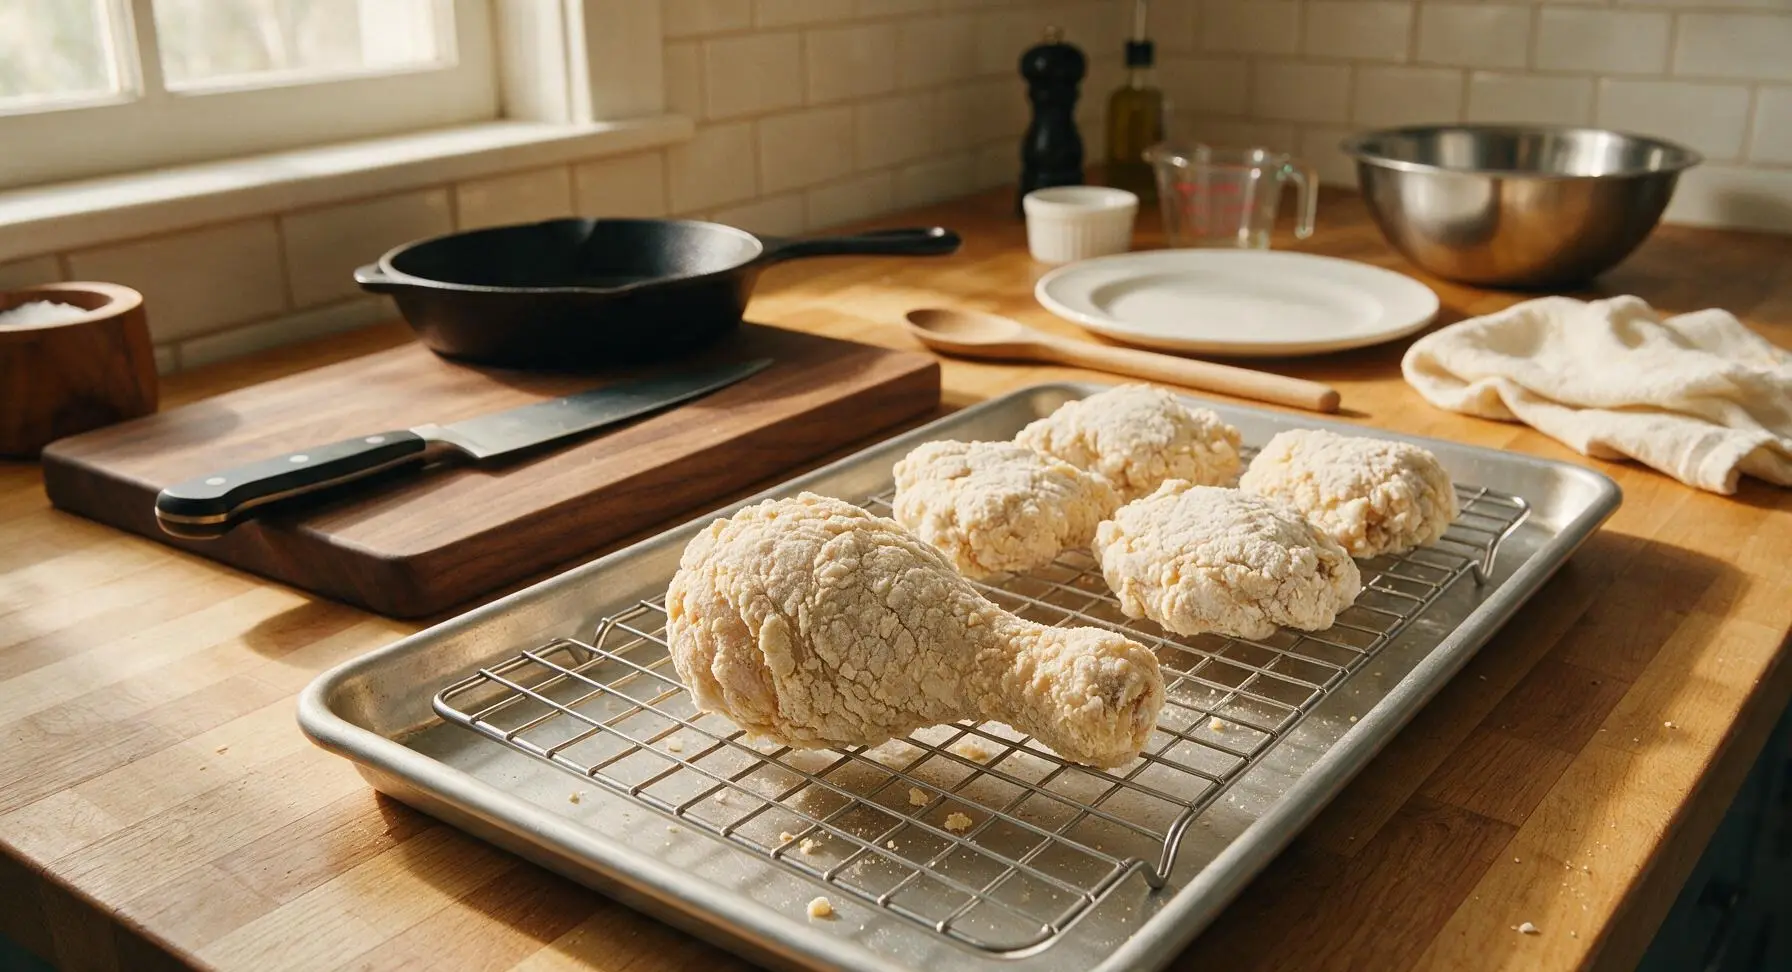
Fry Chicken in Batches
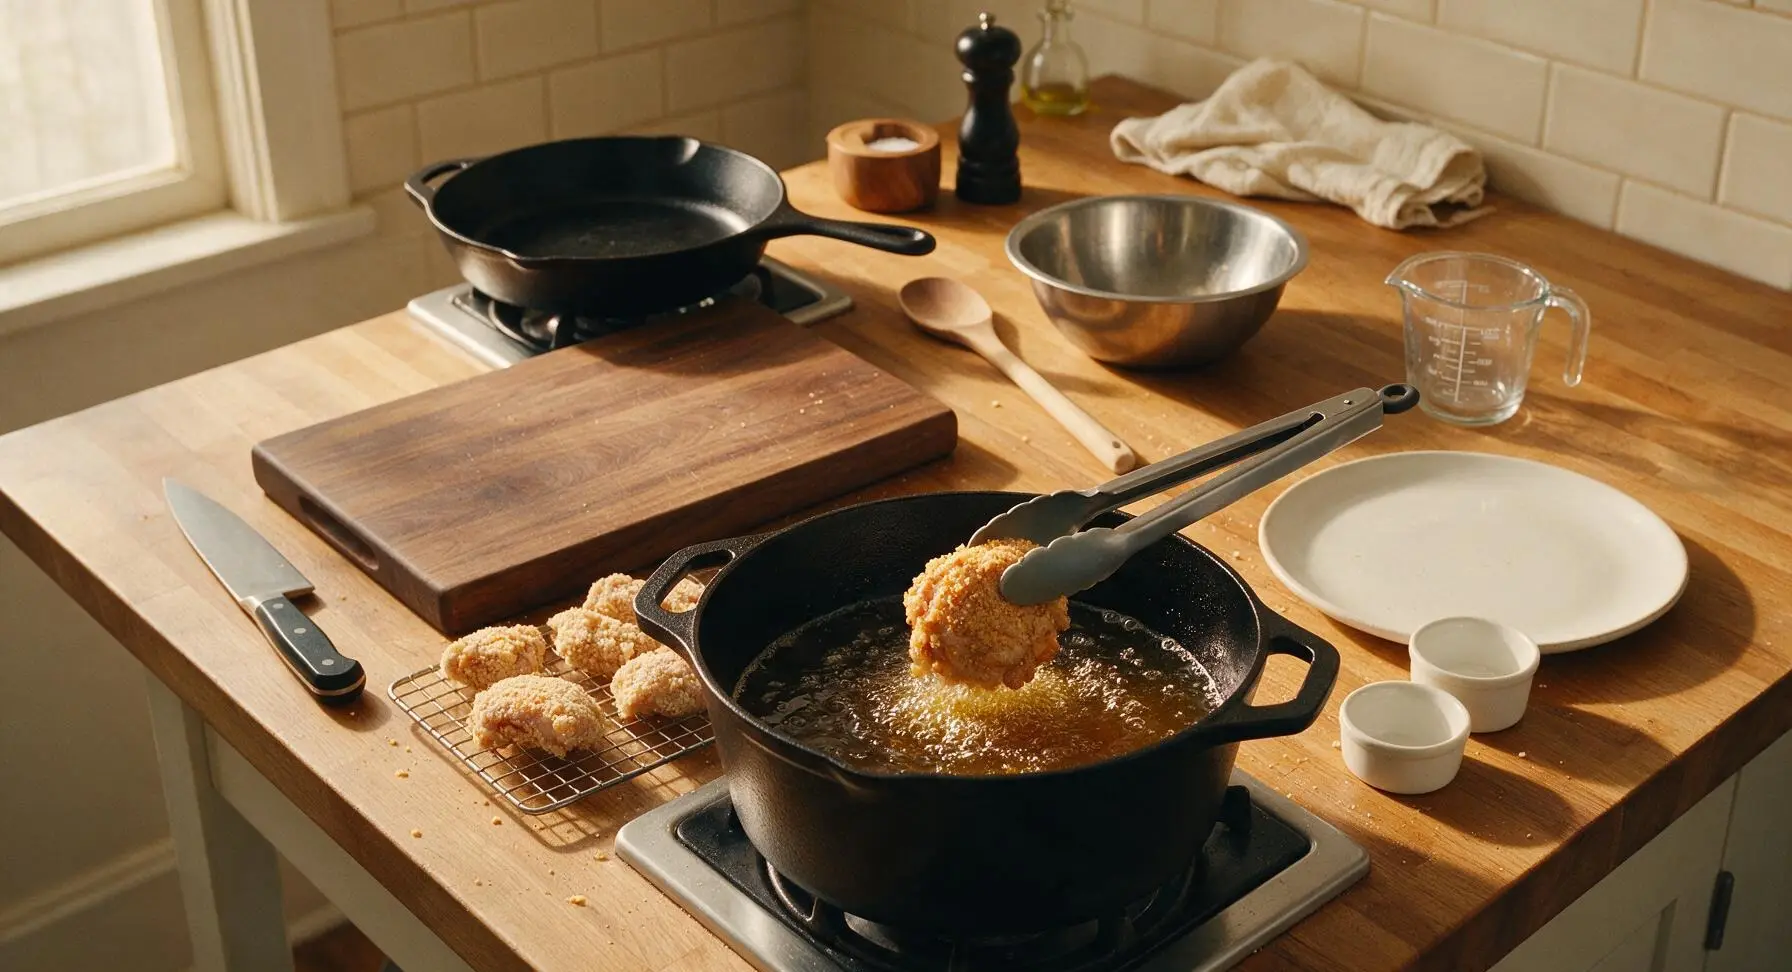
Using the silicone-tipped tongs, carefully lower 2-3 chicken pieces into the hot oil at a time, taking care not to splash hot oil. Do not overcrowd the pot, as this will drop oil temperature too quickly and produce greasy chicken. Adjust the burner to hold oil at a steady 325°F (160°C) throughout frying, turning pieces once halfway through cooking. Fry for 12-15 minutes total, until the crust is a deep golden bronze and the internal temperature at the thickest part of the meat reads 165°F (74°C) on the instant-read thermometer.
Drain and Rest Chicken
As each batch finishes frying, use tongs to lift chicken from the oil, holding each piece above the pot for 5 seconds to let excess oil drip off. Transfer pieces back to the wire rack (set over the baking sheet) to rest for 5 minutes, which allows the crust to set and juices to redistribute through the meat. Lightly sprinkle warm chicken with a tiny pinch of extra kosher salt if desired. Do not line the rack with paper towels, as trapped steam will soften the crisp crust.
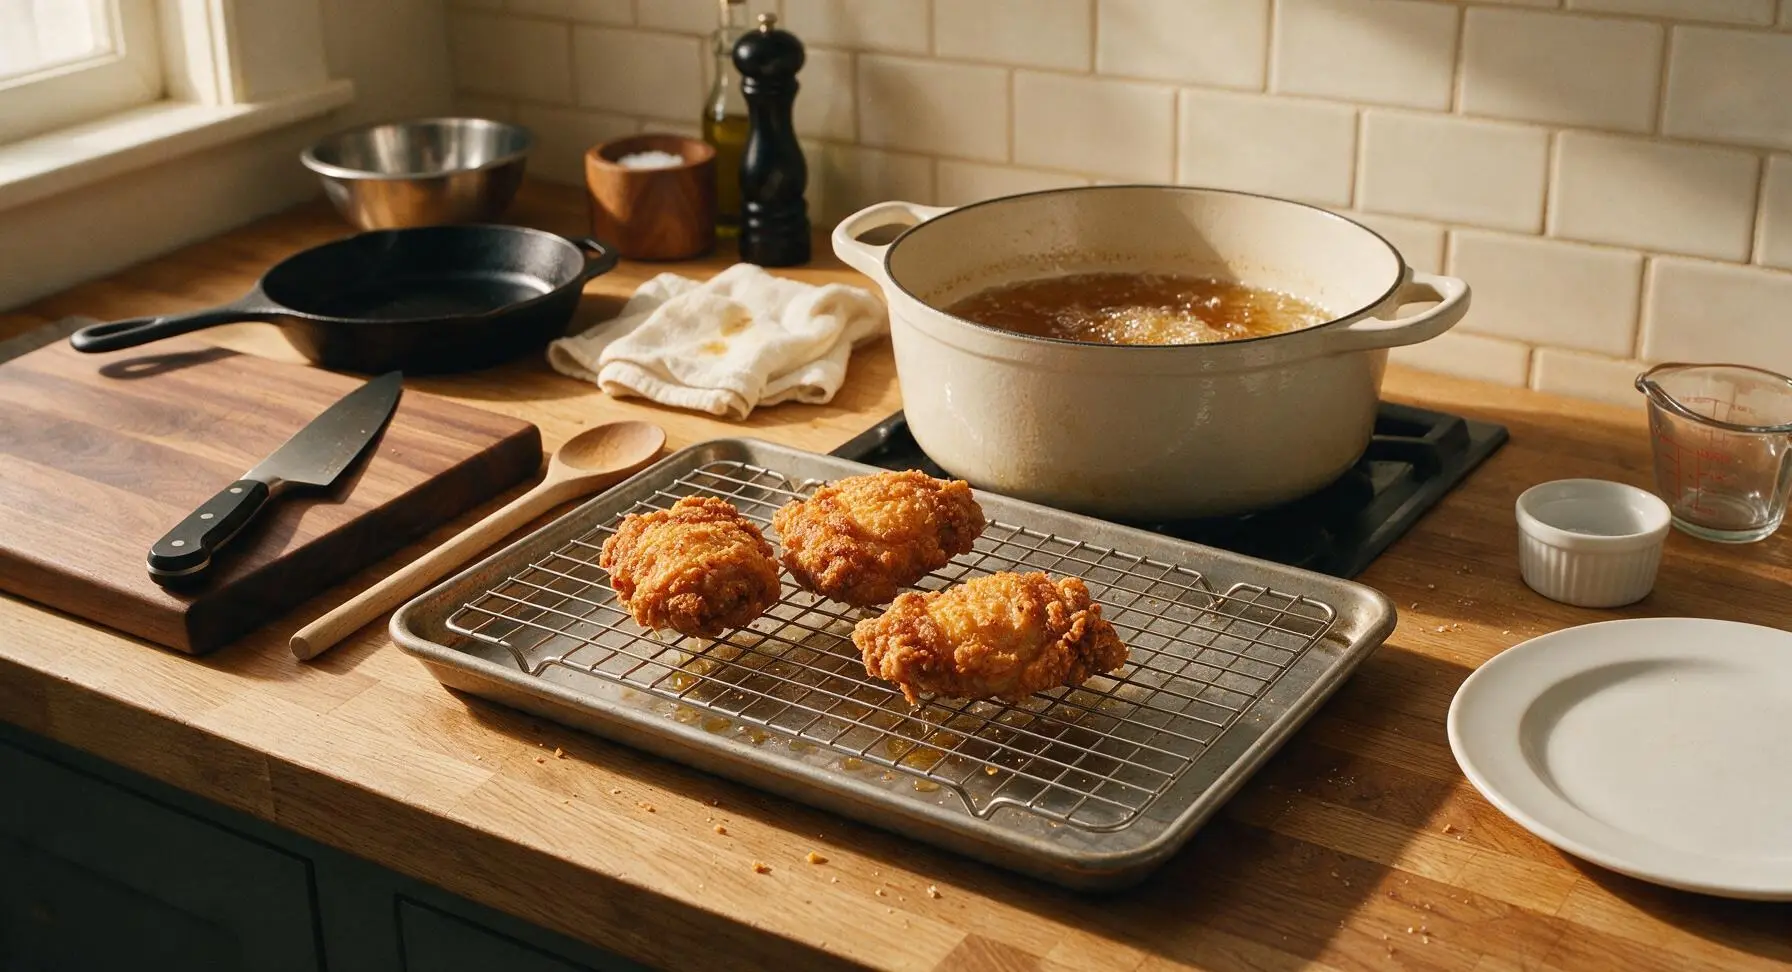
Plate and Serve
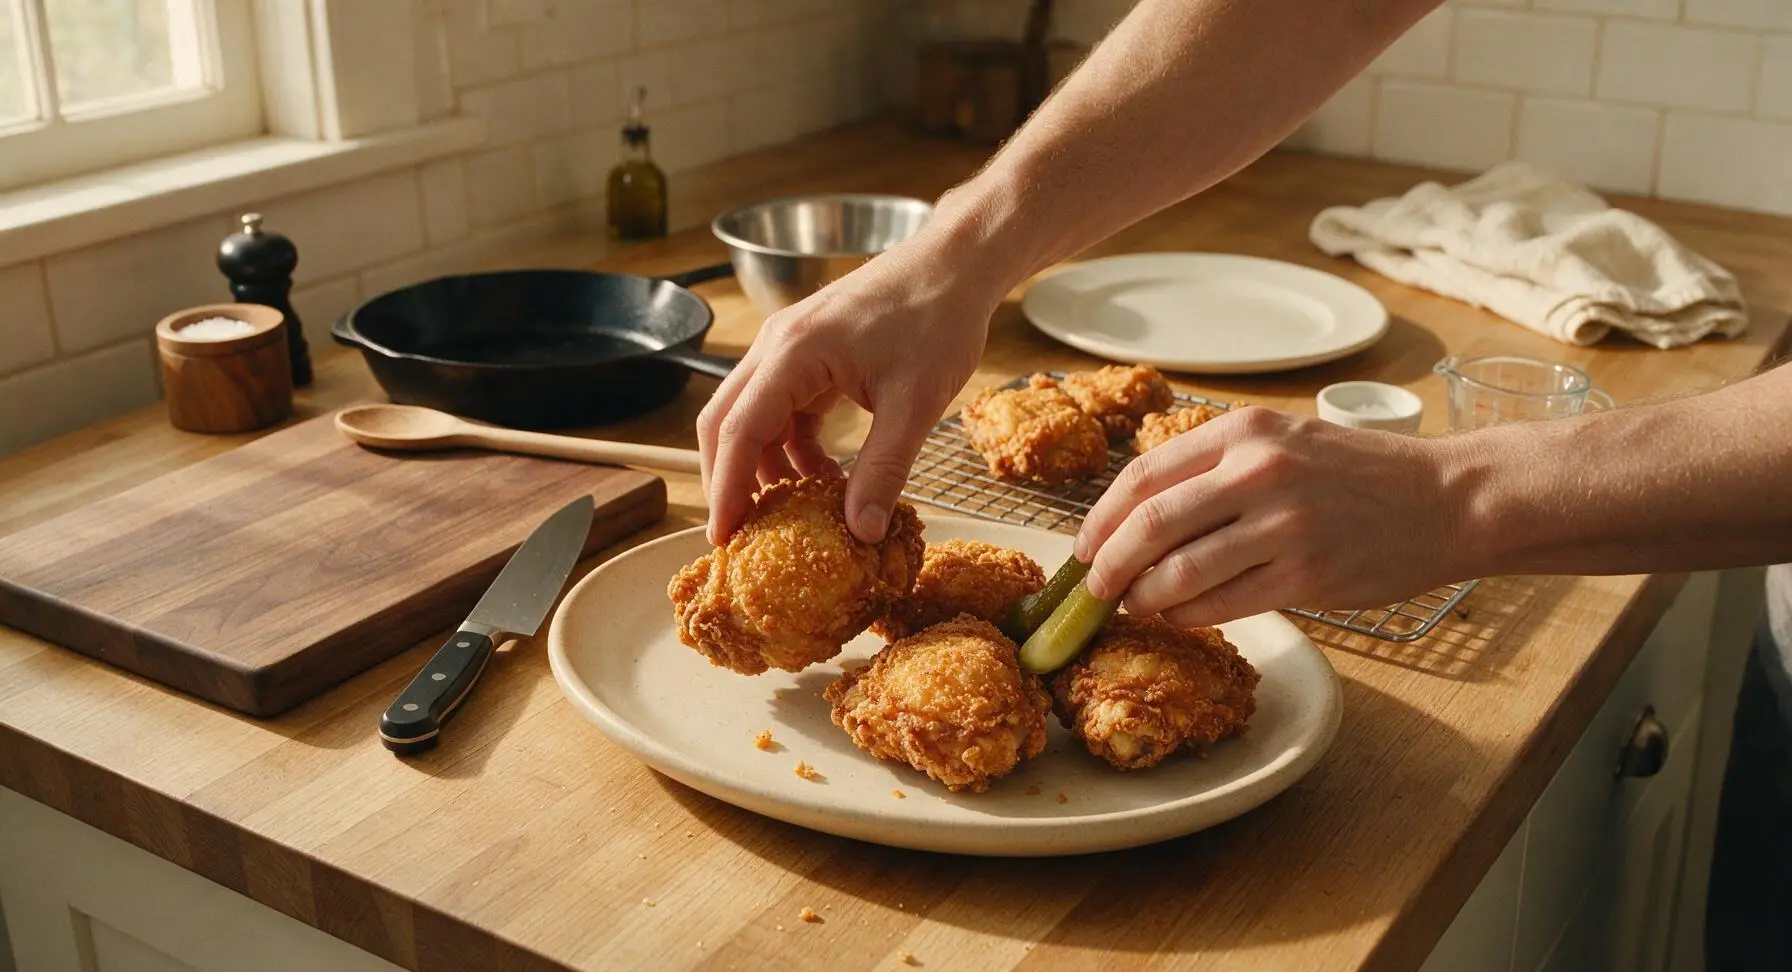
Arrange the rested fried chicken pieces in a casual overlapping pile on the matte cream stoneware serving platter, tucking dill pickle spears between pieces for the classic Gus’s serving style. Serve immediately while the crust is shatteringly crisp, with extra hot sauce on the side for guests who prefer additional heat.
Tips
2.Hold frying oil steady at 325-350°F: oil that is too hot will burn the spicy crust before the chicken cooks through, while oil below 320°F will soak into the breading and leave chicken greasy. Always check oil temperature between batches, as adding cold chicken will drop the heat quickly.
3.Drain chicken on a raised wire rack instead of paper towels: air circulation under the chicken keeps all sides of the crust crisp, while placing chicken directly on paper towels traps steam that softens the bottom crust in as little as 2 minutes.






OMG this fried chicken is a total game changer! I made it for our Sunday family dinner last night and even my super picky 10 year old asked for seconds. The crust was perfectly crispy, not too greasy, and that hint of spice was chef’s kiss. Took a little more effort than my usual go-to fried chicken recipe but so worth it. 10/10 will be making this for our neighborhood potluck next month!
Tried this last night for meal prep for the week and wow, SO good. I was worried medium difficulty meant I’d mess it up since I’m pretty new to frying, but the step by step instructions were super clear. Only thing I did differently was add a little extra paprika because I love that smoky flavor. Held up great even when I reheated a piece for lunch today!
My partner and I waited 2 hours in line at the actual Gus’s in Memphis a couple years ago and this recipe tastes EXACTLY like the real deal. I was skeptical I could replicate that iconic crispy, spicy crust at home but this nailed it. The 25 minute cook time was spot on too, no raw chicken, no burnt crust. Obsessed!
Made this for my kid’s soccer team cookout this weekend and every single parent asked for the recipe! I will say, make sure your oil temp is right before you drop the chicken in— I let my oil get a little too hot for the first batch and the crust got darker than I wanted, but the rest came out perfect. Game day staple from now on!
This was solid! I was worried 25 minutes wouldn’t be enough cook time for bone-in thighs, but I followed the timing exactly and they came out juicy all the way through. My only tiny note is I wish the spice level was a little more clear upfront— it’s got a nice little kick that my toddler wasn’t a huge fan of, so next time I’ll cut the cayenne in half for her portions.
First time making fried chicken that didn’t turn out a soggy mess! The crust had that perfect crunch that didn’t fall off when you took a bite, which has always been my white whale with fried chicken recipes. My buddies came over for fight night and we demolished a whole 8 pieces in like 15 minutes. Worth every minute of prep.
I’ve been making fried chicken for 60 years and I have to say, this seasoning blend is top tier. I used my cast iron skillet like I always do, followed the recipe to a T, and my grandkids said it’s better than the fried chicken I make for our annual Fourth of July cookout. High praise coming from them, let me tell you!
SO good. I made this for a casual date night in with my girlfriend and she said it’s better than any fried chicken we’ve gotten at restaurants around Seattle. I paired it with coleslaw and cornbread like the recipe suggests and it was the perfect comfort food meal. Not too hard to pull off after work even on a weeknight, 10/10.