1.What cut of beef is best for authentic gyudon, and how thin do I need to slice it?
▾
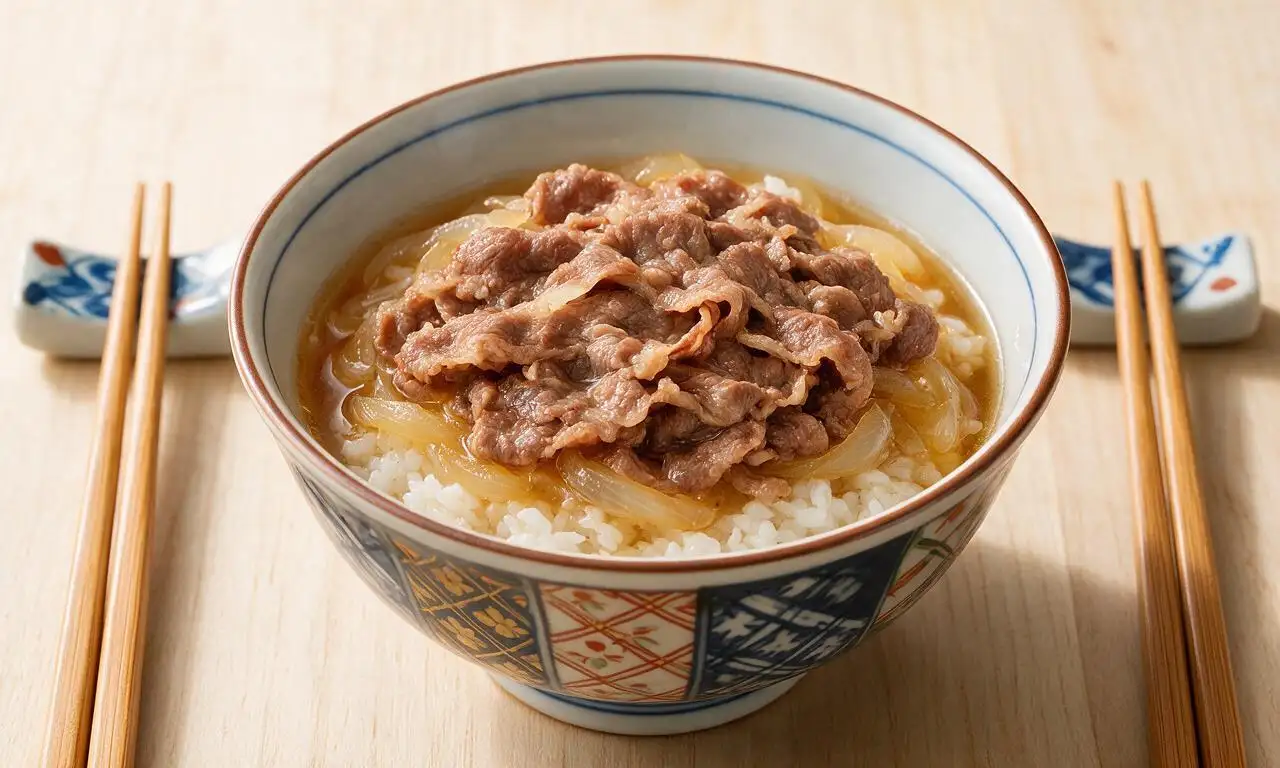
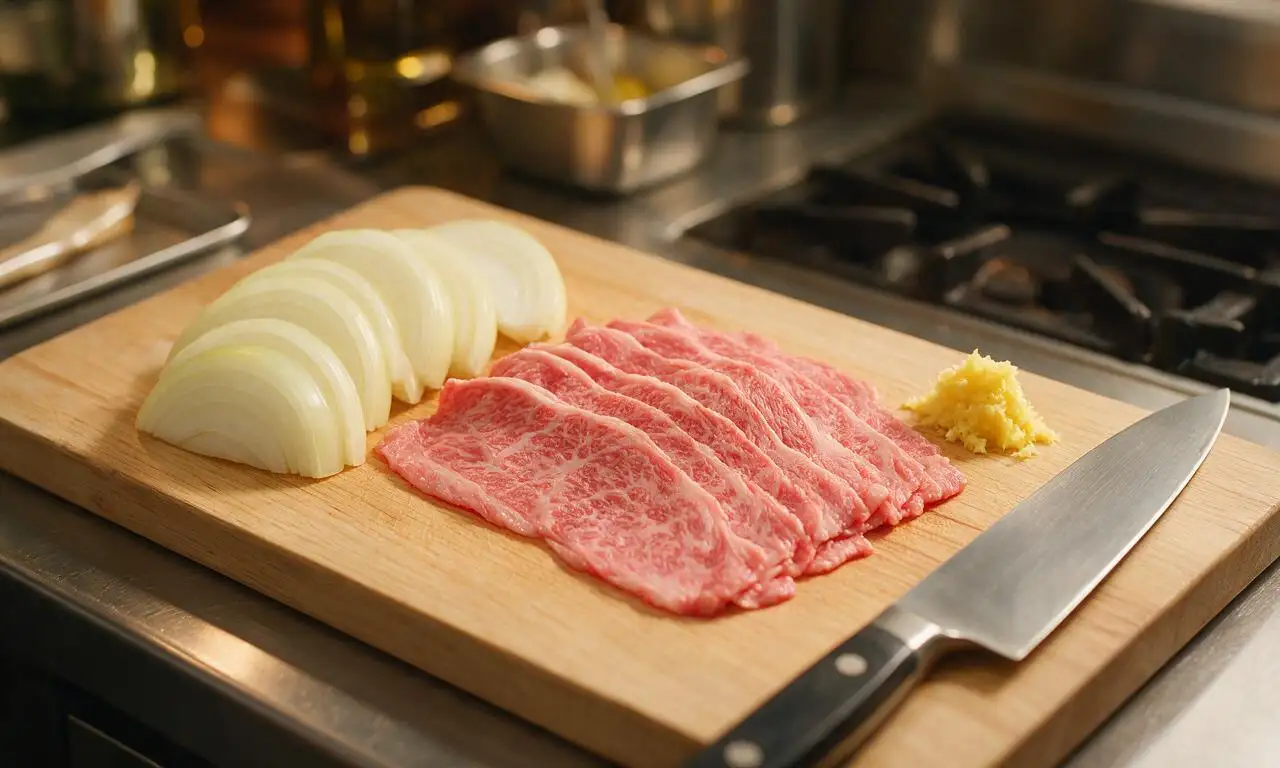
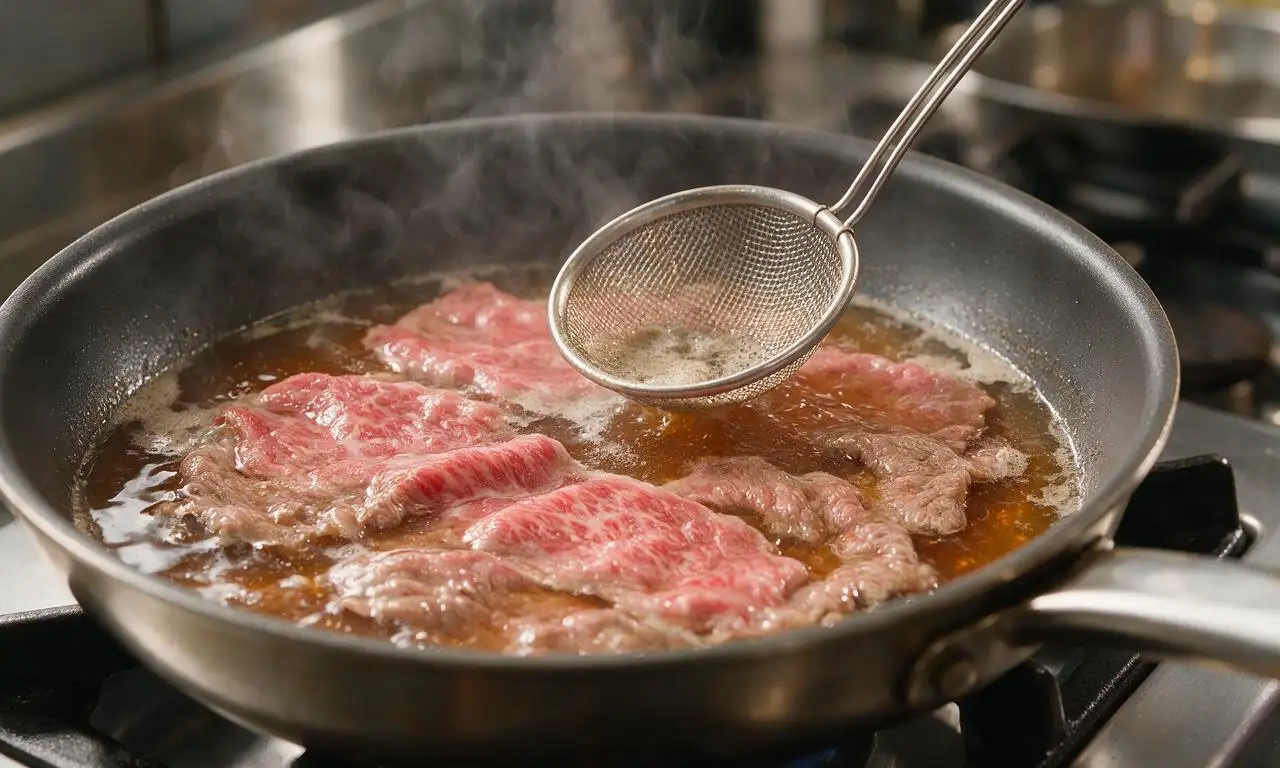
For that classic melt-in-your-mouth texture, opt for well-marbled chuck or ribeye, sliced to a thin 2mm thickness—about as thick as a standard credit card. If you can’t find pre-sliced beef at your local Asian market, pop the cut in the freezer for 45 minutes to firm up, then slice against the grain with a sharp knife to get clean, even cuts without tearing.
2.Can I use long-grain white rice instead of short-grain for this recipe?
▾
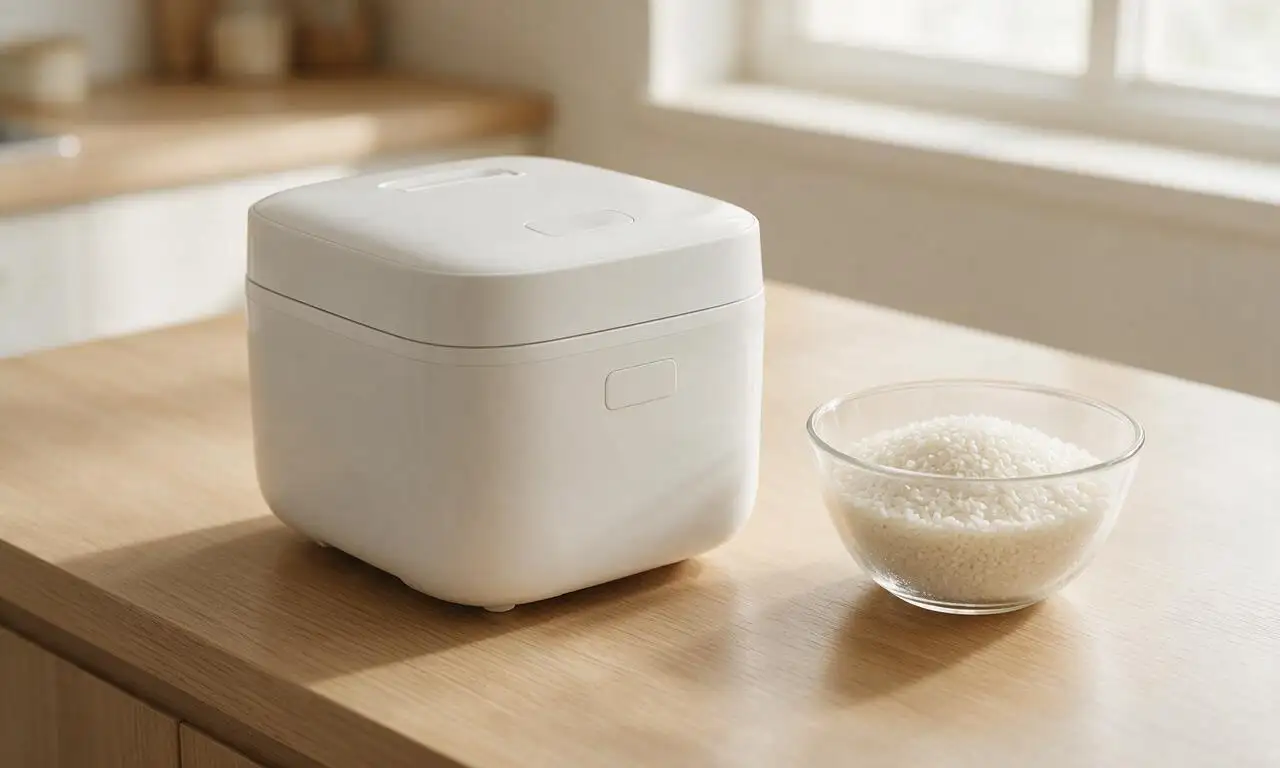
Short-grain white rice is ideal for authentic gyudon, because its sticky, fluffy texture clings just enough to the savory-sweet broth and beef for cohesive bites. Long-grain rice is drier and more separate, so broth will run straight to the bottom of the bowl instead of soaking in nicely. If you’re in a pinch, medium-grain sushi rice is an acceptable substitute, but skip long-grain entirely.
3.Do I need to make homemade dashi, or is store-bought dashi okay to use?
▾
Store-bought dashi—whether granulated, powdered, or ready-to-use liquid—works perfectly for quick weeknight gyudon, and it’s what many Japanese home cooks reach for regularly. For a deeper, more complex umami kick, homemade kombu and bonito dashi only takes 15 minutes to prep, but don’t stress over it; just avoid low-sodium dashi, which will make your broth taste flat.
4.Why do my onions turn out either mushy or too crunchy when I make gyudon?
▾
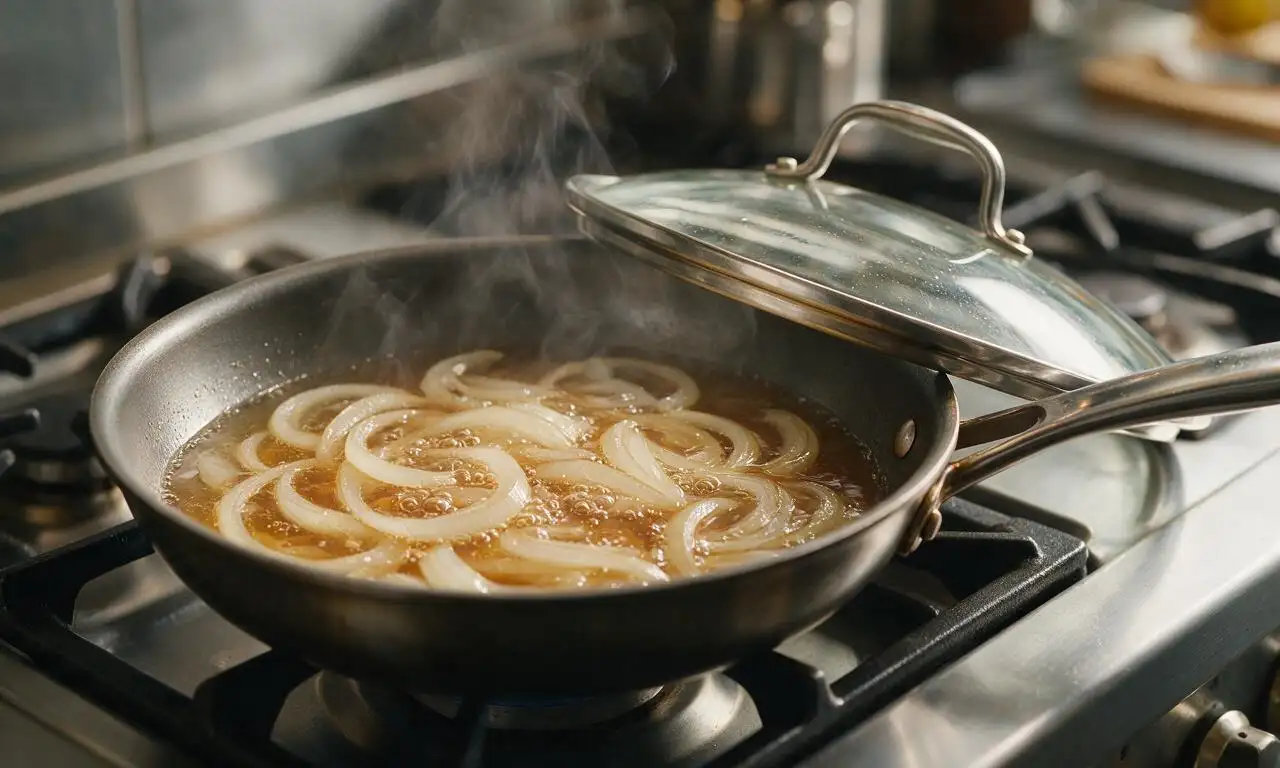
This almost always comes down to cut size and cook timing! Slice your yellow onion into ½-inch thick half-moons, not paper-thin slices, and add them to the simmering dashi first, before the beef. Let them cook 3 to 4 minutes until just translucent and tender with a tiny bite, then add the beef—they’ll soften slightly as the meat simmers without turning to mush.
5.What’s the correct ratio of seasonings to get that classic savory-sweet broth?
▾
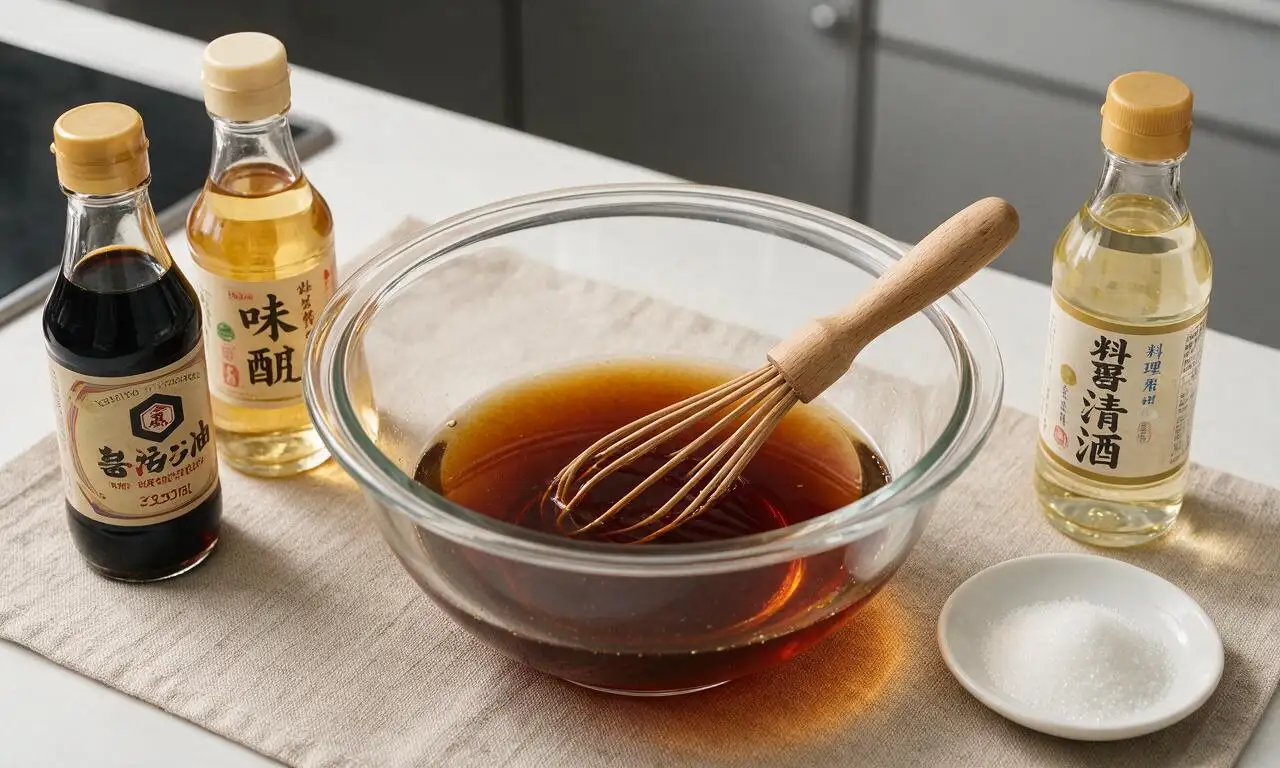
For a balanced, traditional gyudon broth that’s not too salty or cloying, aim for a 4:1 ratio of dashi to soy sauce, plus a small amount of sugar and mirin to round out the umami. Taste as you go: the broth should taste slightly stronger than you want the final dish to be, since it will dilute a little as it soaks into the rice and softens the onions.
6.Can I prep gyudon ahead of time for weekly meal prep?
▾
Absolutely! The simmered beef and onion filling stores beautifully in an airtight container in the fridge for up to 4 days, or in the freezer for up to 3 months. Just be sure to store the filling separate from your cooked rice, so the rice doesn’t get soggy. When you’re ready to eat, reheat the filling gently on the stovetop or microwave, then serve over freshly steamed rice.
7.Why does my beef turn out tough and chewy instead of tender?
▾
Tough, chewy gyudon beef usually stems from three common mistakes: slicing with the grain instead of against it, cutting slices too thick, or overcooking the meat. Since your slices are only 2mm thick, they only need 1 to 2 minutes of simmering in hot broth—any longer, and the proteins will seize up. Pull the beef as soon as it’s no longer pink for the best texture.
8.What are traditional toppings I should serve with gyudon?
▾
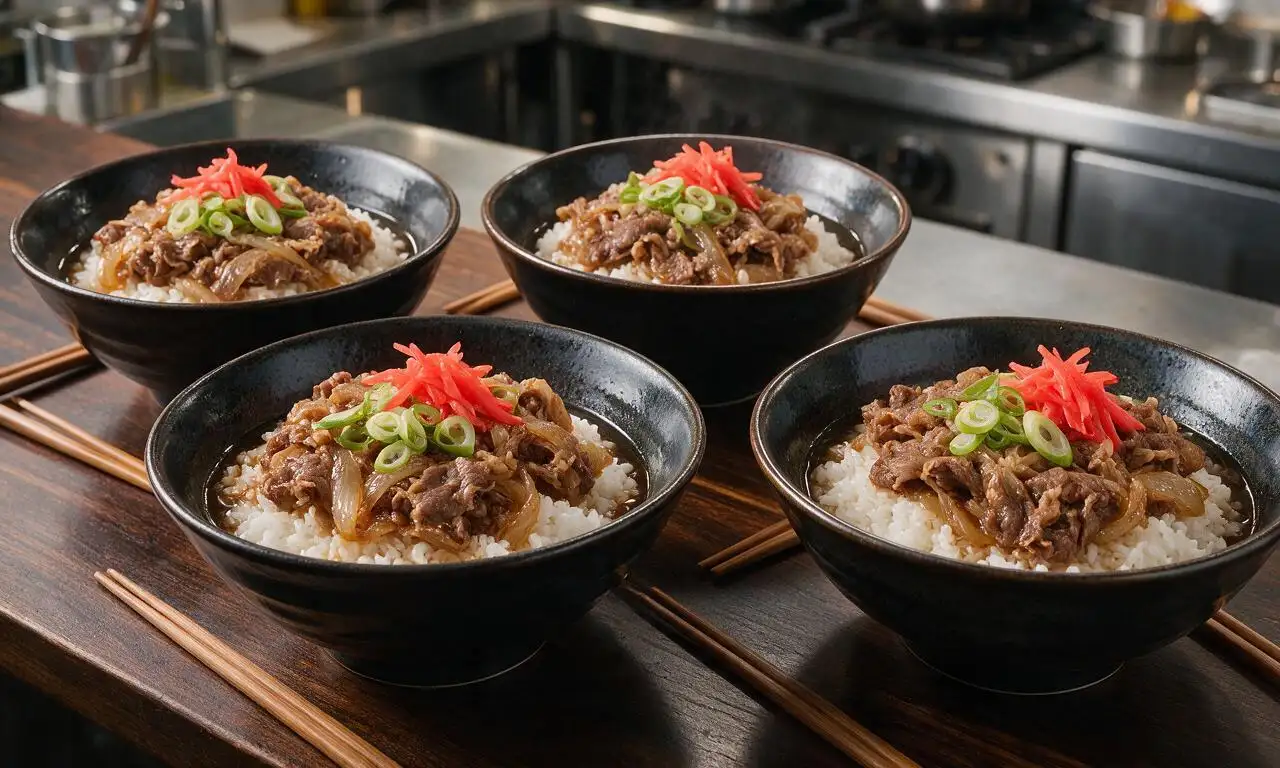
Classic gyudon is kept fairly simple to let the beef and broth shine, but common traditional toppings include a runny soft-boiled (onsen) egg stirred into the bowl, a sprinkle of shichimi togarashi for mild heat, tangy pickled red ginger (beni shoga) for a bright contrast, or a pinch of chopped green onion. Skip heavy add-ins like cheese or avocado for the most authentic flavor.
9.Can I make this recipe gluten-free without losing authentic flavor?
▾
You can absolutely make gluten-free gyudon without any flavor tradeoffs! Just swap regular soy sauce for tamari, a wheat-free Japanese soy sauce with the same deep umami profile. Double check that your dashi is also gluten-free, as some powdered versions contain hidden wheat fillers, and you’ll end up with a bowl that tastes identical to the traditional version.
10.Should I drain all the rendered fat from the beef while simmering?
▾
A small amount of marbling fat from chuck or ribeye is what gives gyudon its rich, luxurious mouthfeel, so you don’t need to drain all of it. That said, if you see large globs of rendered white fat floating on top of the broth after the beef cooks, skim a little off with a spoon so the broth doesn’t feel greasy. Aim for just enough fat to add depth, not coat your mouth.
11.How much rice and beef should I plan per serving?
▾
For a filling, restaurant-sized serving, plan for 1 cup of cooked short-grain white rice per person, which works out to roughly ⅓ cup of uncooked rice. Top that with 4 to 5 ounces of the simmered beef and onion mixture, plus a few spoonfuls of broth to drizzle over the rice so it soaks in slightly without turning soggy. That portion works perfectly for a satisfying lunch or dinner.
12.My broth is too salty or too sweet—how do I fix it mid-cook?
▾
It’s easy to rebalance an off gyudon broth without starting over! If it’s too salty, add a splash more dashi and a tiny pinch of sugar to mellow the saltiness. If it’s too sweet, stir in a small extra splash of soy sauce and a tiny squeeze of fresh lemon juice to cut the sweetness. Always adjust in small increments, tasting as you go, so you don’t overcorrect.







OMG this gyudon is a total game changer for our weeknight dinners! I was so intimidated to make Japanese takeout at home but this was so easy, took barely 25 minutes just like the recipe said. My kids devoured two bowls each and asked when we’re making it again next week. Even my picky husband went back for seconds! Already added it to our regular meal prep rotation.
Really solid gyudon recipe! Super quick to throw together on a Sunday for my weekly meal prep, holds up really well in the fridge for 3-4 days. My only tiny note is I would cut the sugar a tiny bit next time, it was just a touch sweeter than the gyudon I get at my local ramen shop. Otherwise perfect, will definitely make again.
Bro I cannot cook, like at all, and this still turned out SO good. I used thinly sliced chuck I found at the Asian market, followed the directions exactly, and it tasted exactly like the gyudon I paid $15 for at the campus food court. Total win for my broke college student budget. 10/10.
I made a big batch of this for our office potluck yesterday and people were lined up for seconds! I served it with a side of pickled ginger and little ramekins of extra sauce on the side, and multiple people asked for the recipe before they even finished their first serving. So easy to scale up for a crowd too, which is a huge win for me.
Made this for my date night in last weekend and my boyfriend said it was better than the gyudon we had on our trip to Tokyo last year! I served it with miso soup and a little cucumber salad on the side, and we ate the whole batch while binging our favorite show. Will 100% be a regular date night meal from now on.
Great base recipe! I swapped the regular soy sauce for tamari to make it gluten free, and it turned out delicious. I also added a handful of sautéed shiitake mushrooms to bulk it up a bit, and it was so hearty and filling. Cook time was spot on too, super quick for a busy weeknight.
The flavor was really good, but I messed up the beef by slicing it too thick because I didn’t catch the note about thin slices first! It was a little chewy, which was a bummer. I’ll definitely try again though, next time I’ll freeze the beef first like I saw other people suggest so I can get those paper thin slices.