
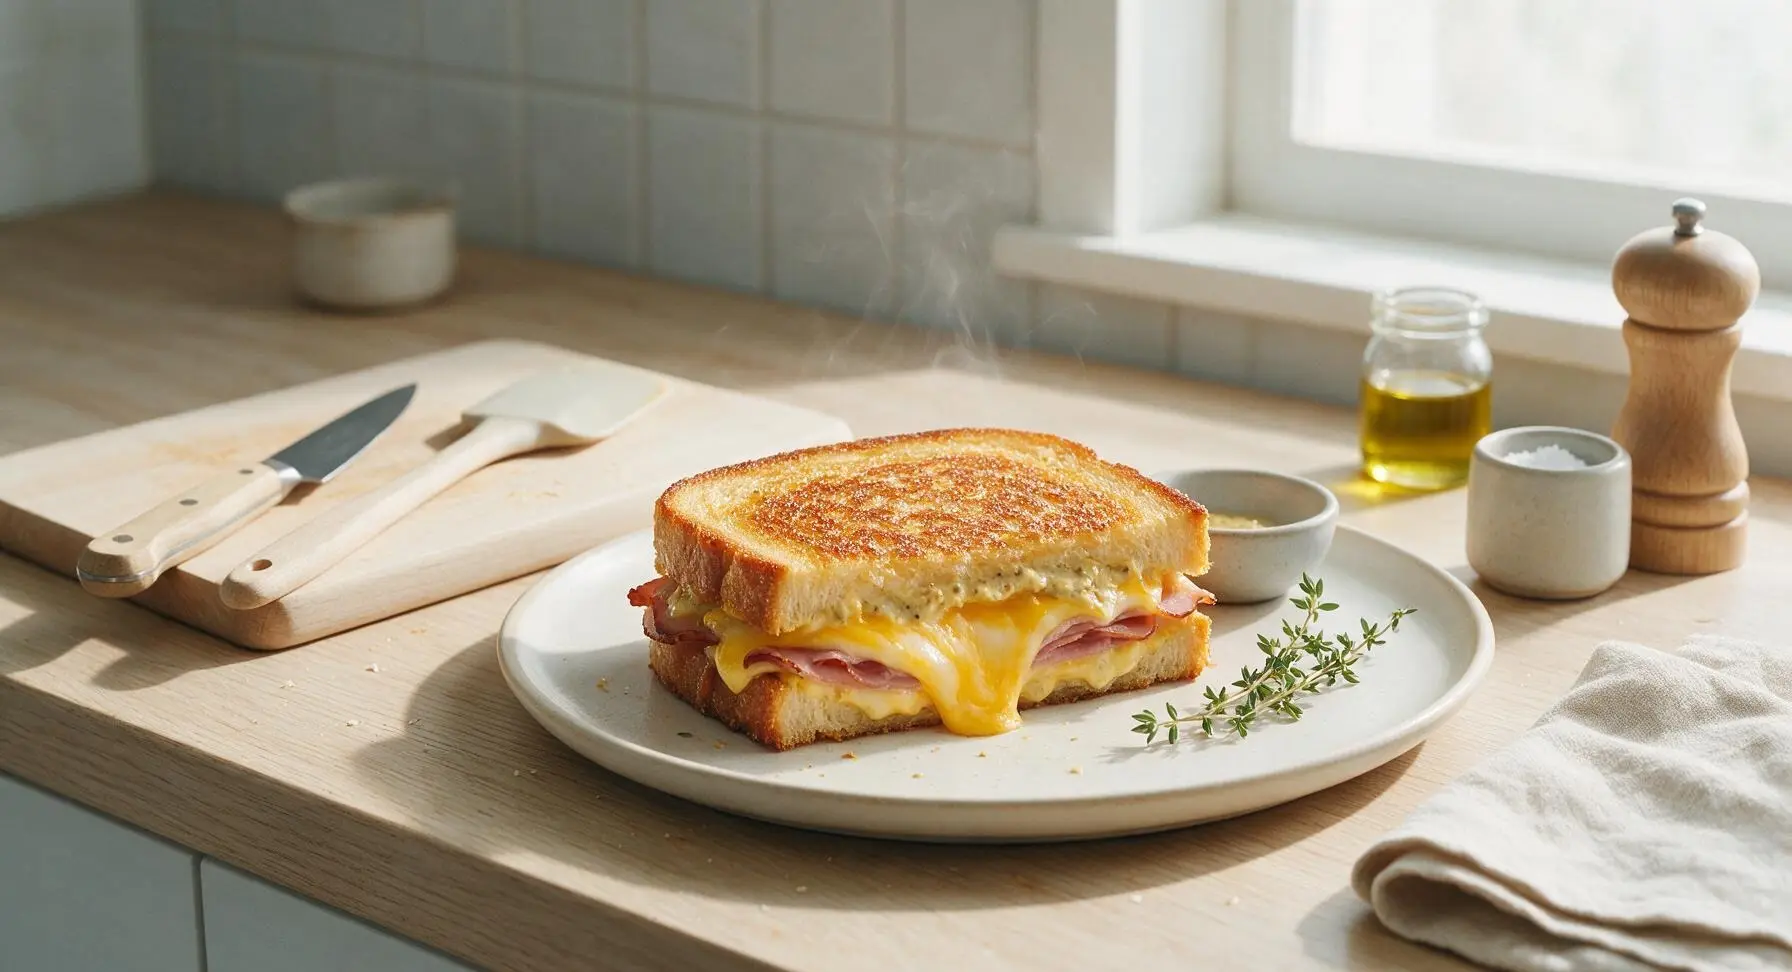
ham and cheese

title 1
ham and cheese
⏱️ cook time 8 minutes
🍽️ servings 2
⚡ Difficulty easy

intro

Golden crispy buttered bread oozing with melted sharp cheddar, layered with smoky ham and slathered with tangy dijon butter — a quick, satisfying cozy classic.

Ingredients
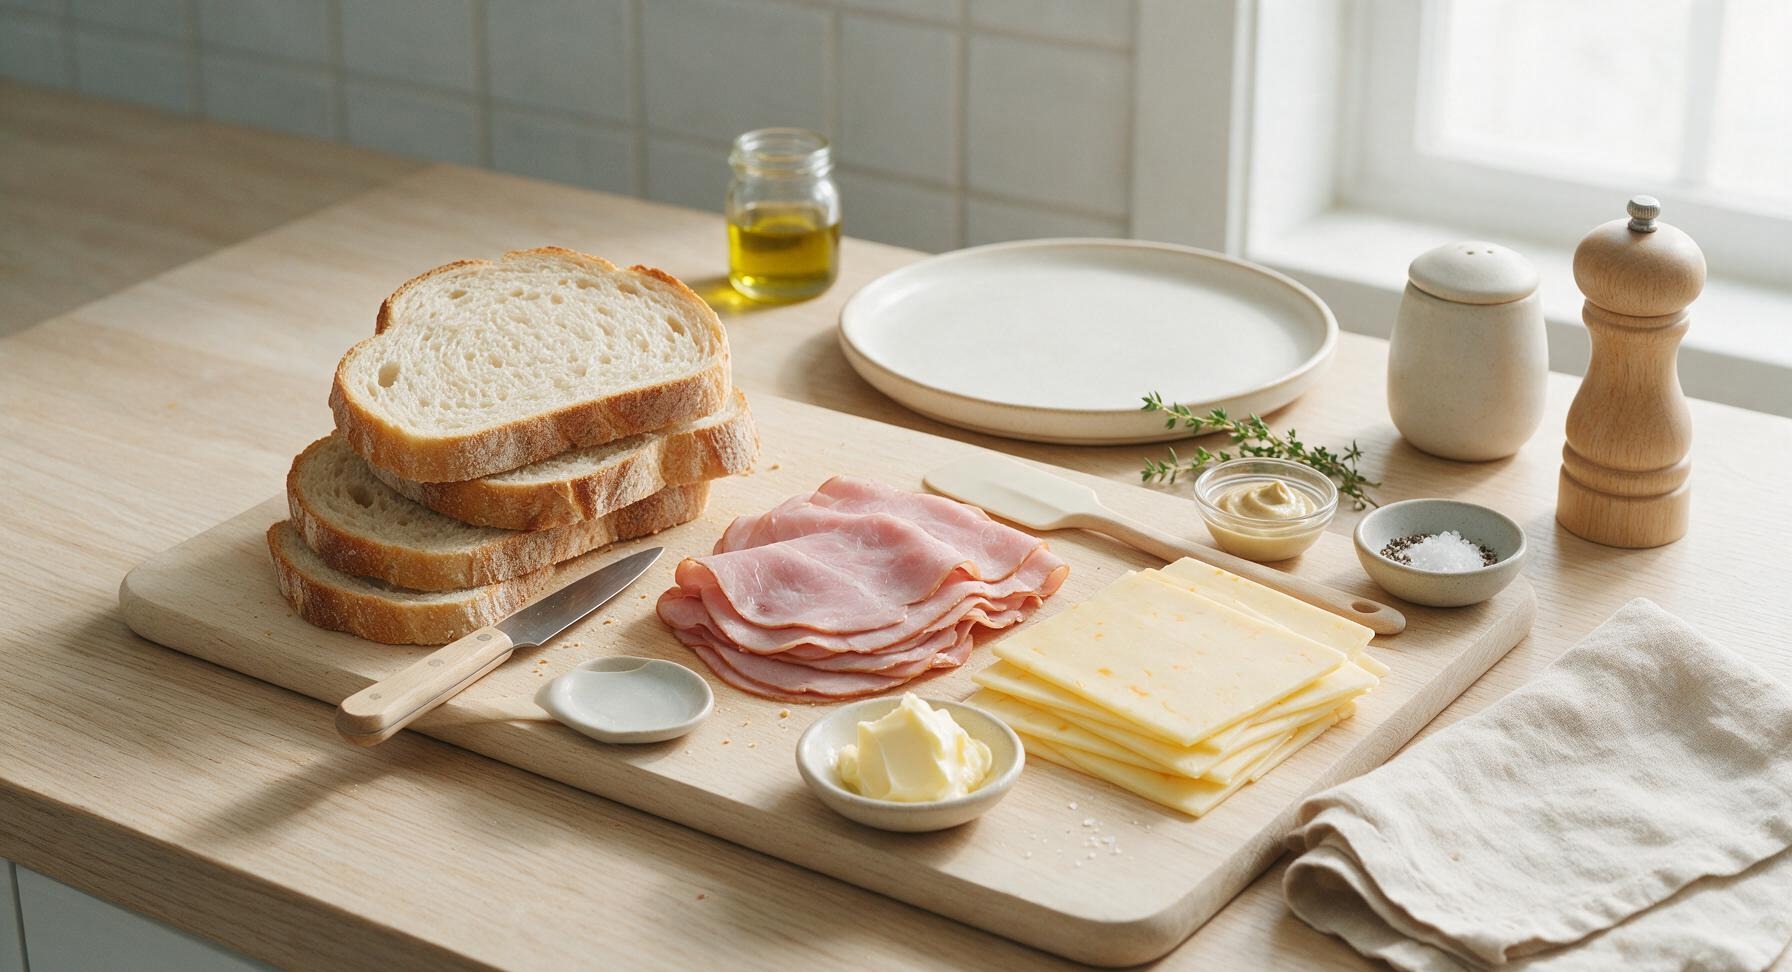
Thick-cut sourdough bread 4 slices (45g each, 1.5cm thick)
Thinly sliced smoked deli ham 100g
Sharp cheddar cheese 80g, thinly sliced
Unsalted butter 1.5 tbsp (21g), softened to room temperature
Dijon mustard 1 tsp
Flaky sea salt 1/8 tsp
Freshly ground black pepper 1/8 tsp

Steps

1

Prep Dijon Butter

Place 1.5 tablespoons of softened room-temperature unsalted butter into the small matte white ceramic ramekin. Add 1 teaspoon Dijon mustard, 1/8 teaspoon flaky sea salt, and 1/8 teaspoon freshly ground black pepper. Stir with the tip of the serrated bread knife until the mixture is completely smooth, with no visible streaks of mustard remaining. Set the ramekin on the right edge of the maple cutting board.
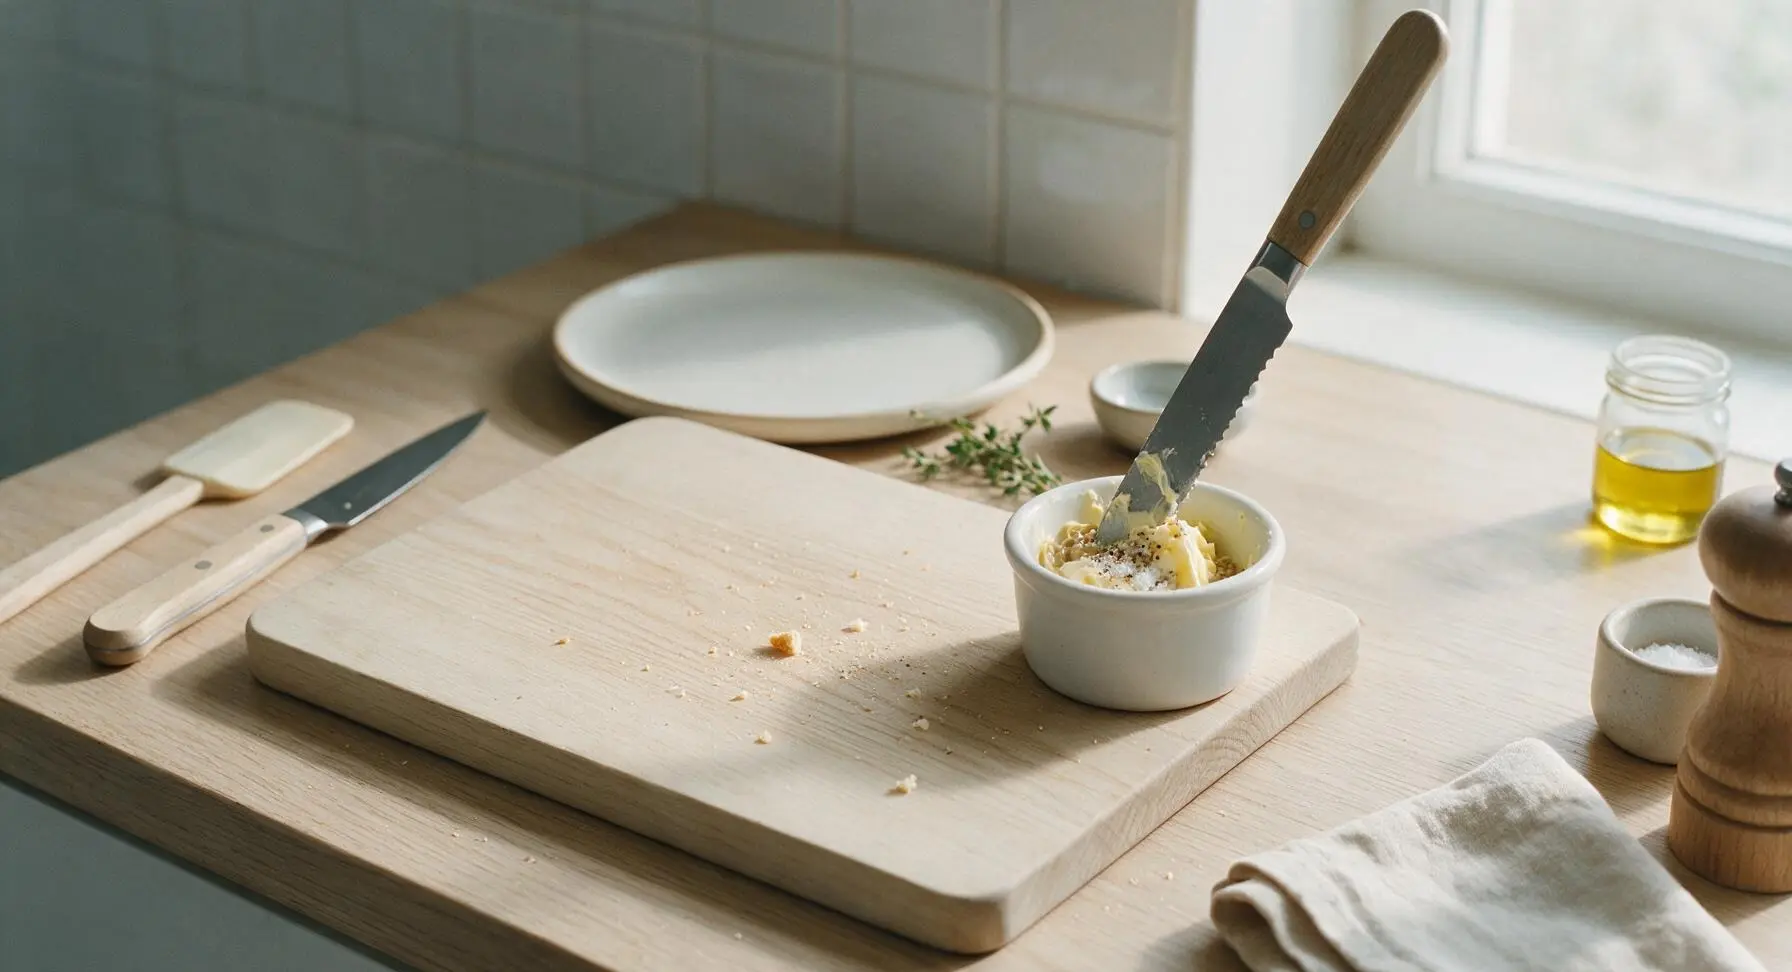
Step 1
step1:Prep Dijon Butter
2

Build Sandwich Layers

Lay all 4 slices of sourdough bread flat on the maple cutting board. Spread a thin, even layer (about 1/4 teaspoon per slice) of the Dijon butter mixture on the inward-facing side of each bread slice. Layer half the cheddar slices, followed by half the smoked ham (folded loosely for texture), then the remaining half of the cheddar for that sandwich, on two of the bread slices. Top with the remaining two bread slices, buttered side facing in toward the filling. Press down gently on each assembled sandwich to compact the layers slightly.
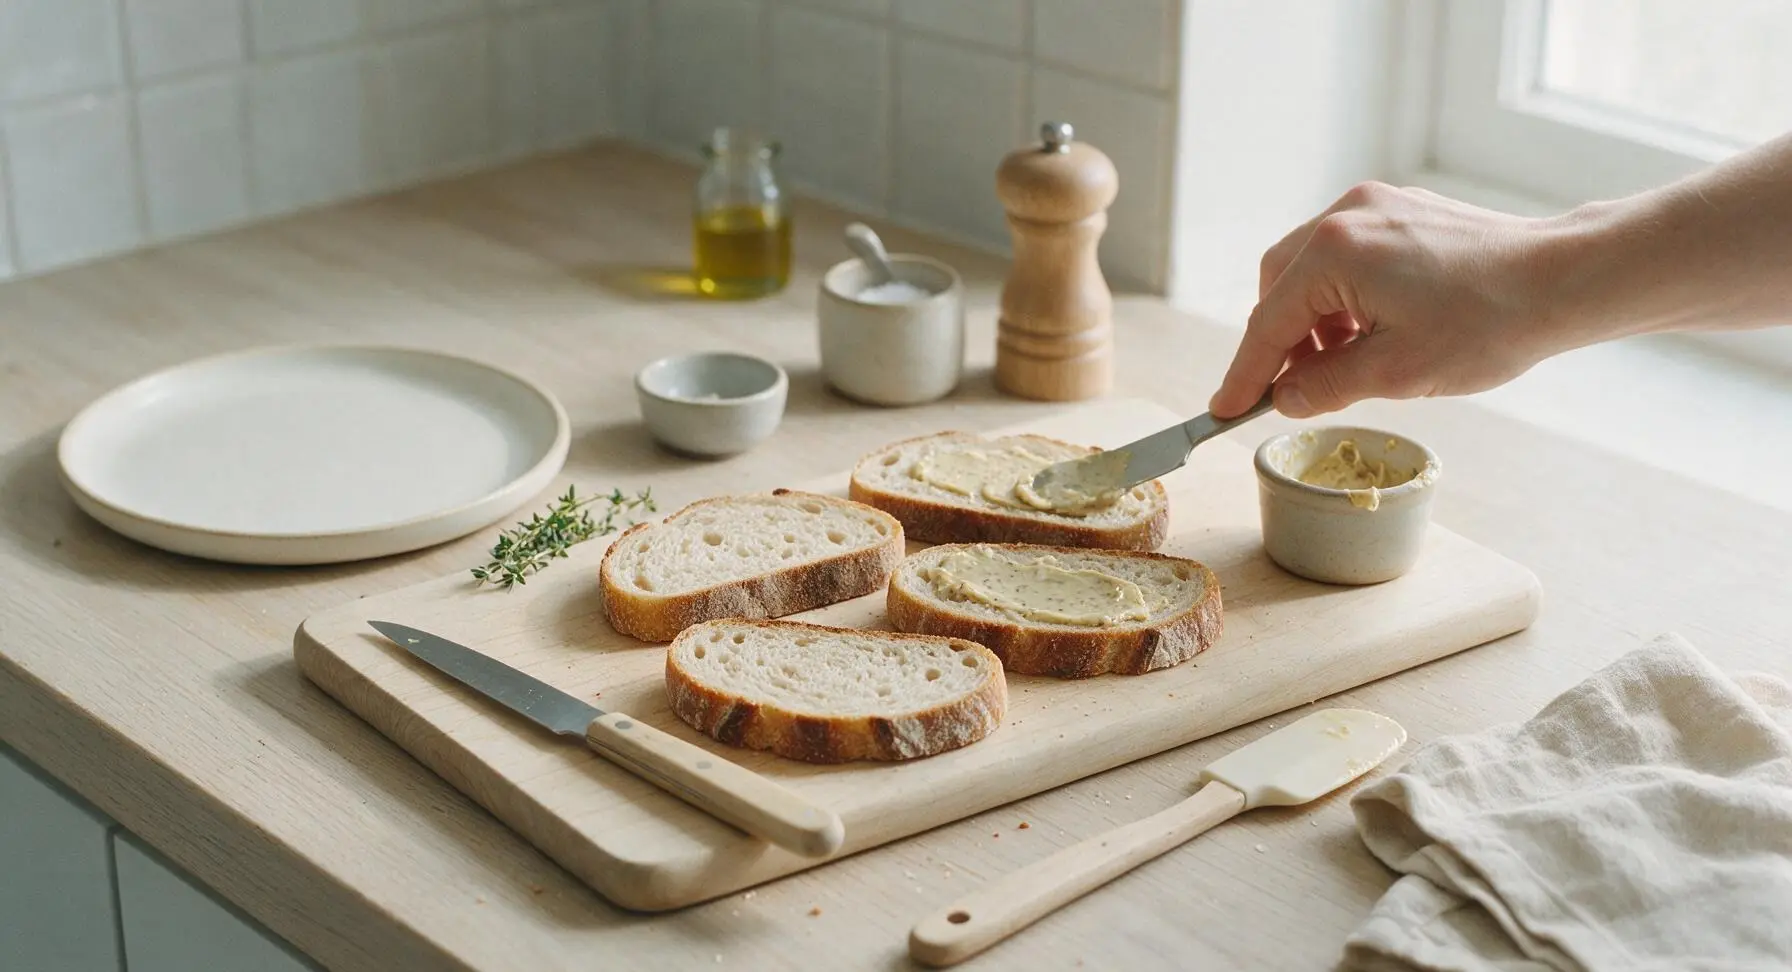
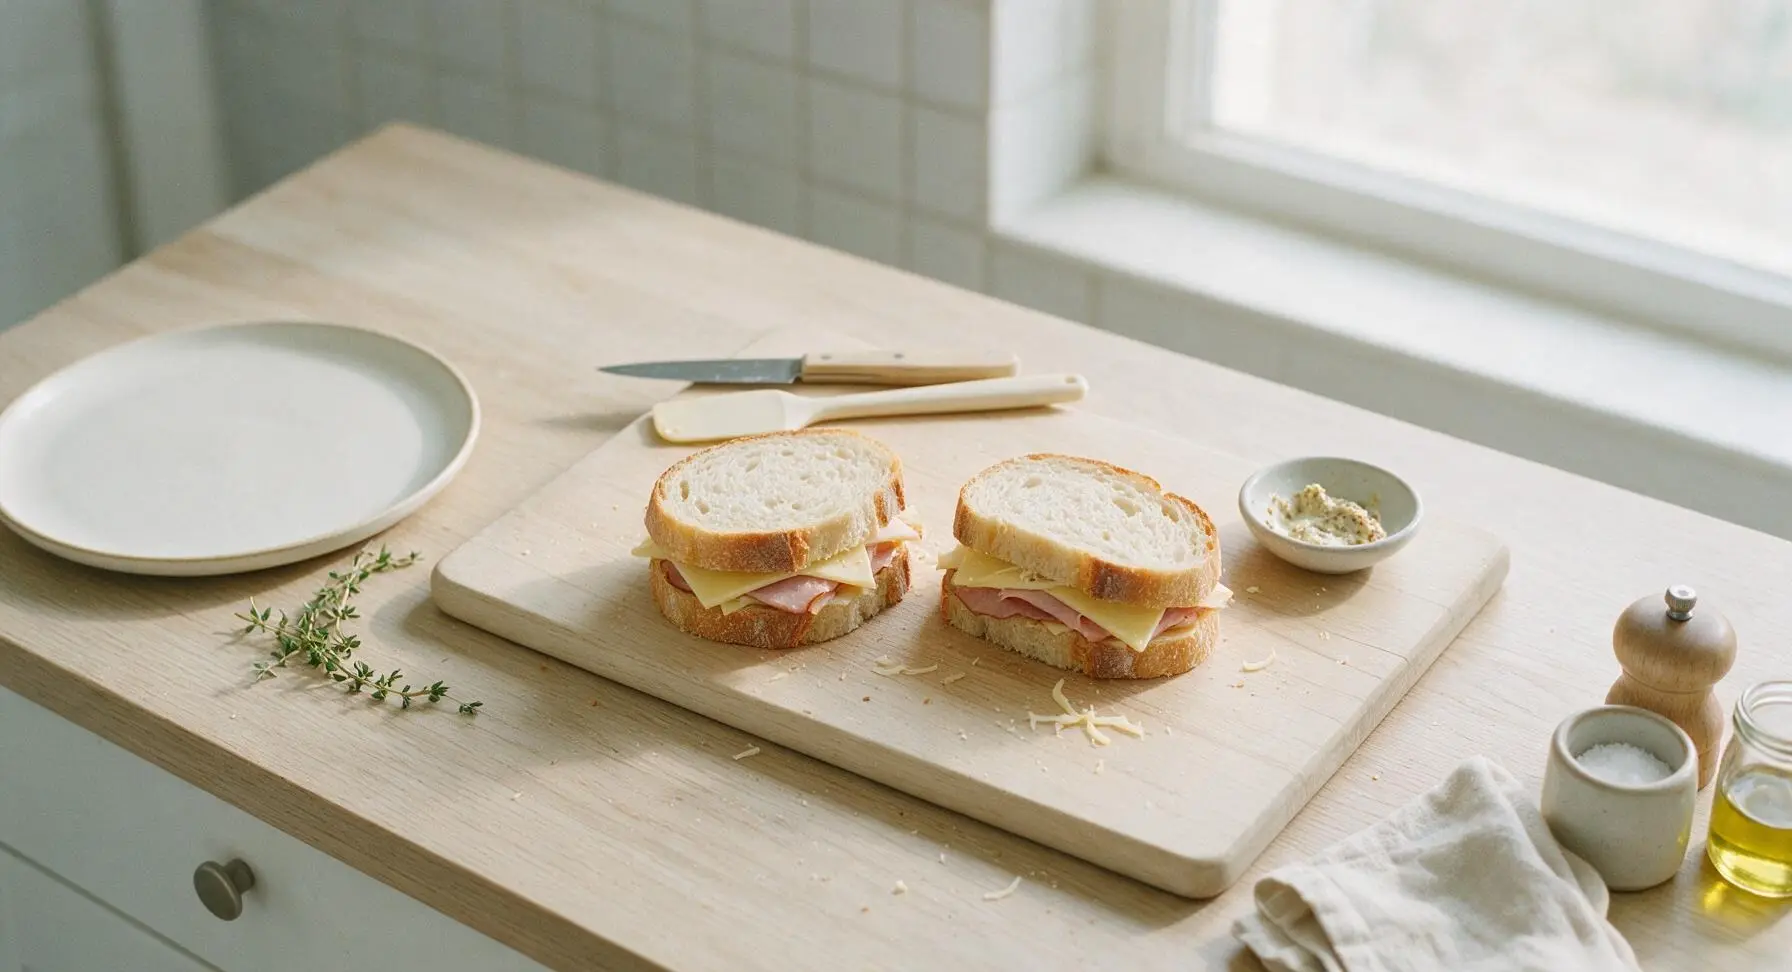
Step 2
step2:Build Sandwich Layers
Step 2
step2:Build Sandwich Layers
3

Butter Sandwich Exteriors

Use the remaining Dijon butter mixture to spread a thin, even layer across the entire outer top and bottom surface of both assembled sandwiches. Coat all the way to the bread edges to prevent pale, dry crust spots during cooking, and wipe any excess butter drips from the cutting board.
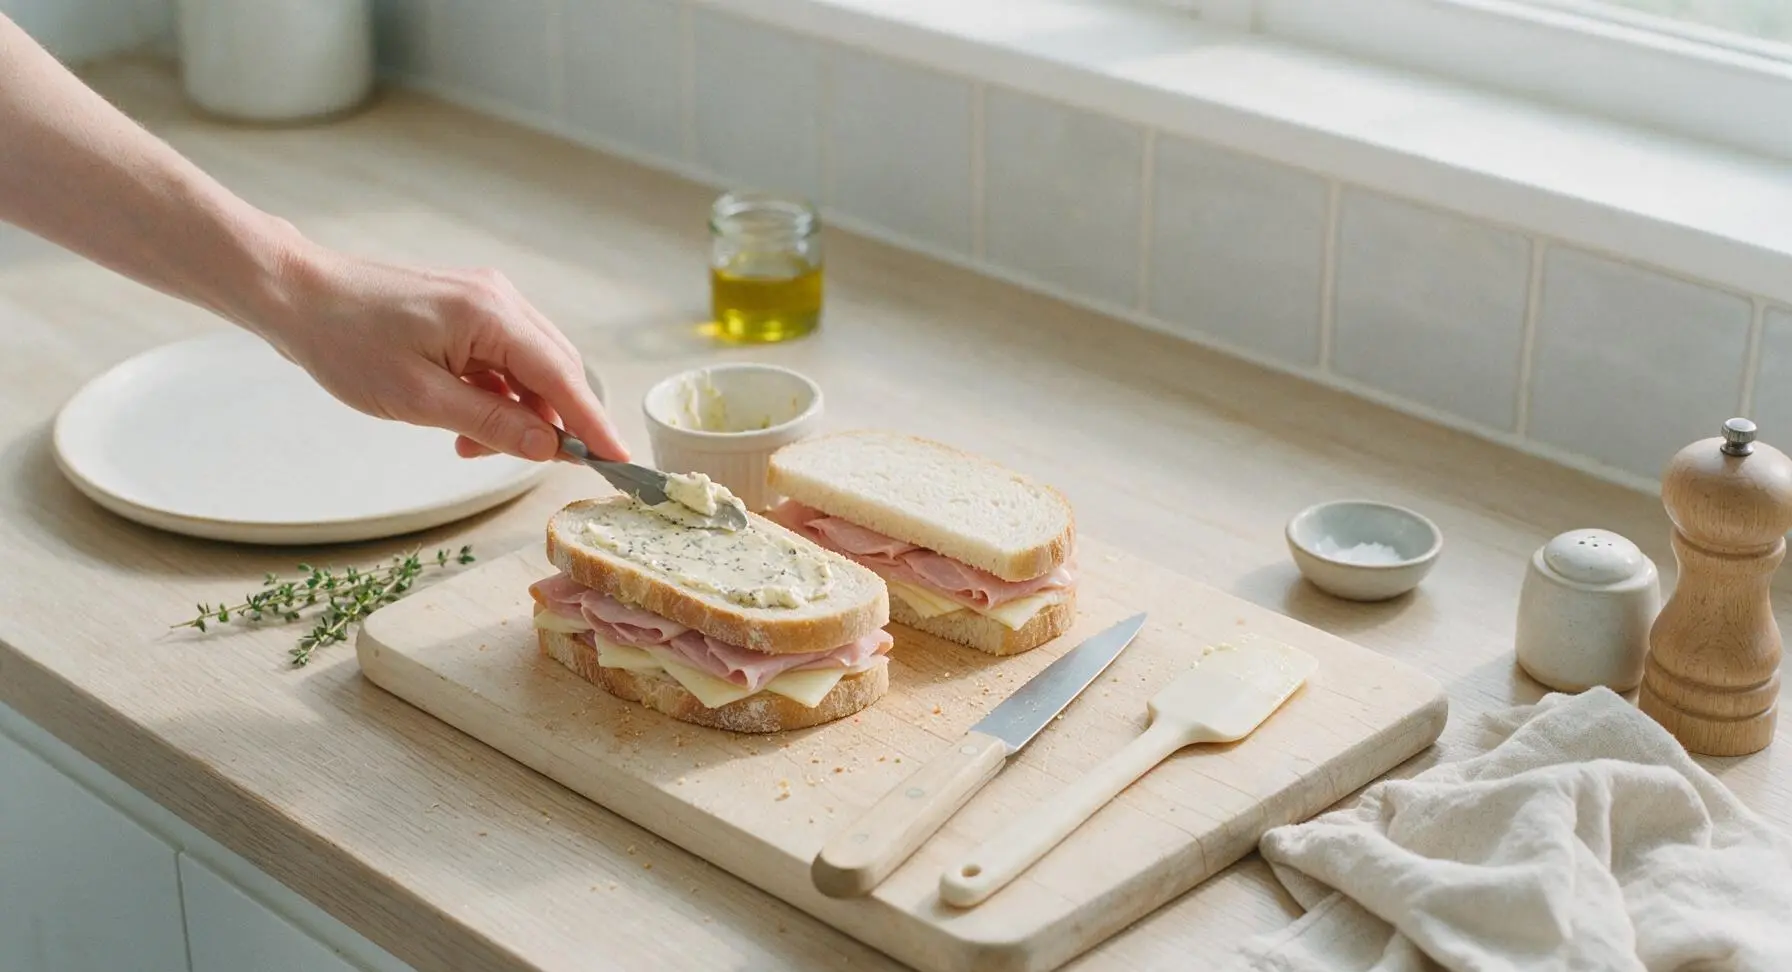
Step 3
step3:Butter Sandwich Exteriors
4

Preheat Cooking Skillet

Retrieve the 26cm seasoned carbon steel skillet from lower storage and place it on the center induction cooktop. Heat over medium-low heat (325°F / 160°C) for 2 minutes, until the pan is evenly warm. Test heat by sprinkling a single drop of water: it should sizzle and dance across the pan surface without evaporating instantly. Rest the black metal turner spatula on the right edge of the skillet handle.
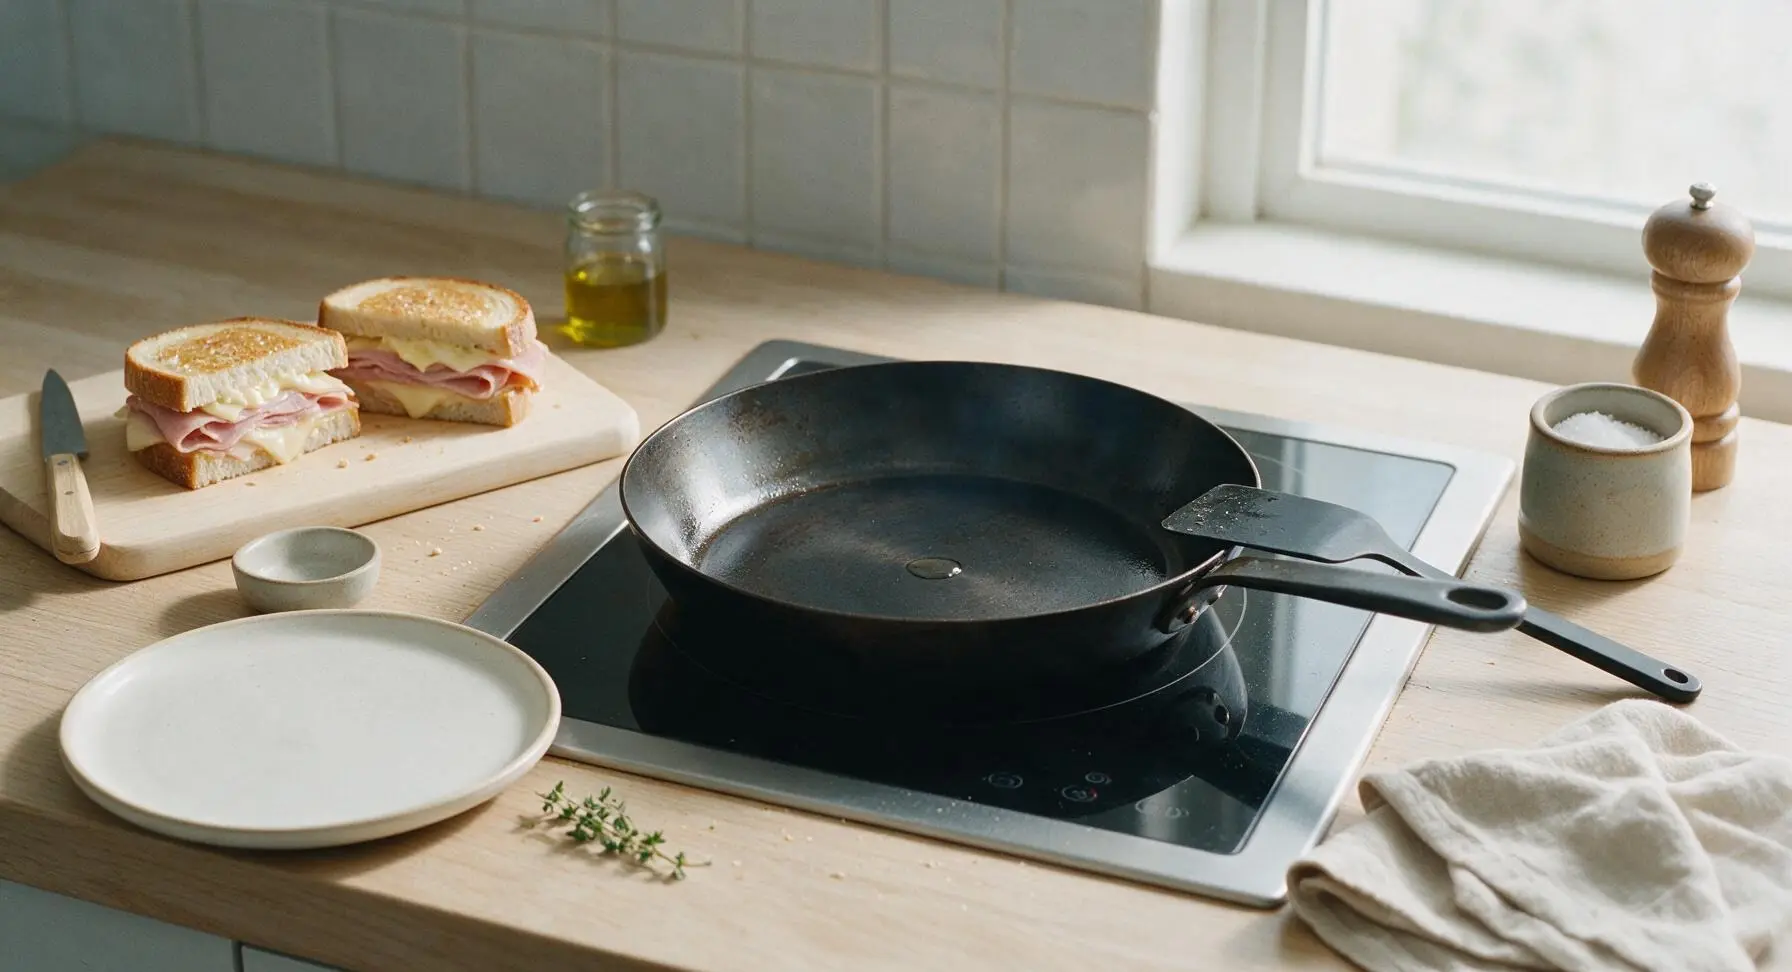
Step 4
step4:Preheat Cooking Skillet
5

Cook First Sandwich Side

Carefully place one sandwich into the preheated skillet. Cook for 3 to 4 minutes, adjusting heat slightly if the bread browns too quickly, until the bottom bread slice is deep even golden brown and crispy, and the cheese closest to the pan has started to melt. Do not press down hard on the sandwich while cooking, as this will squeeze out melted cheese and create dry spots.
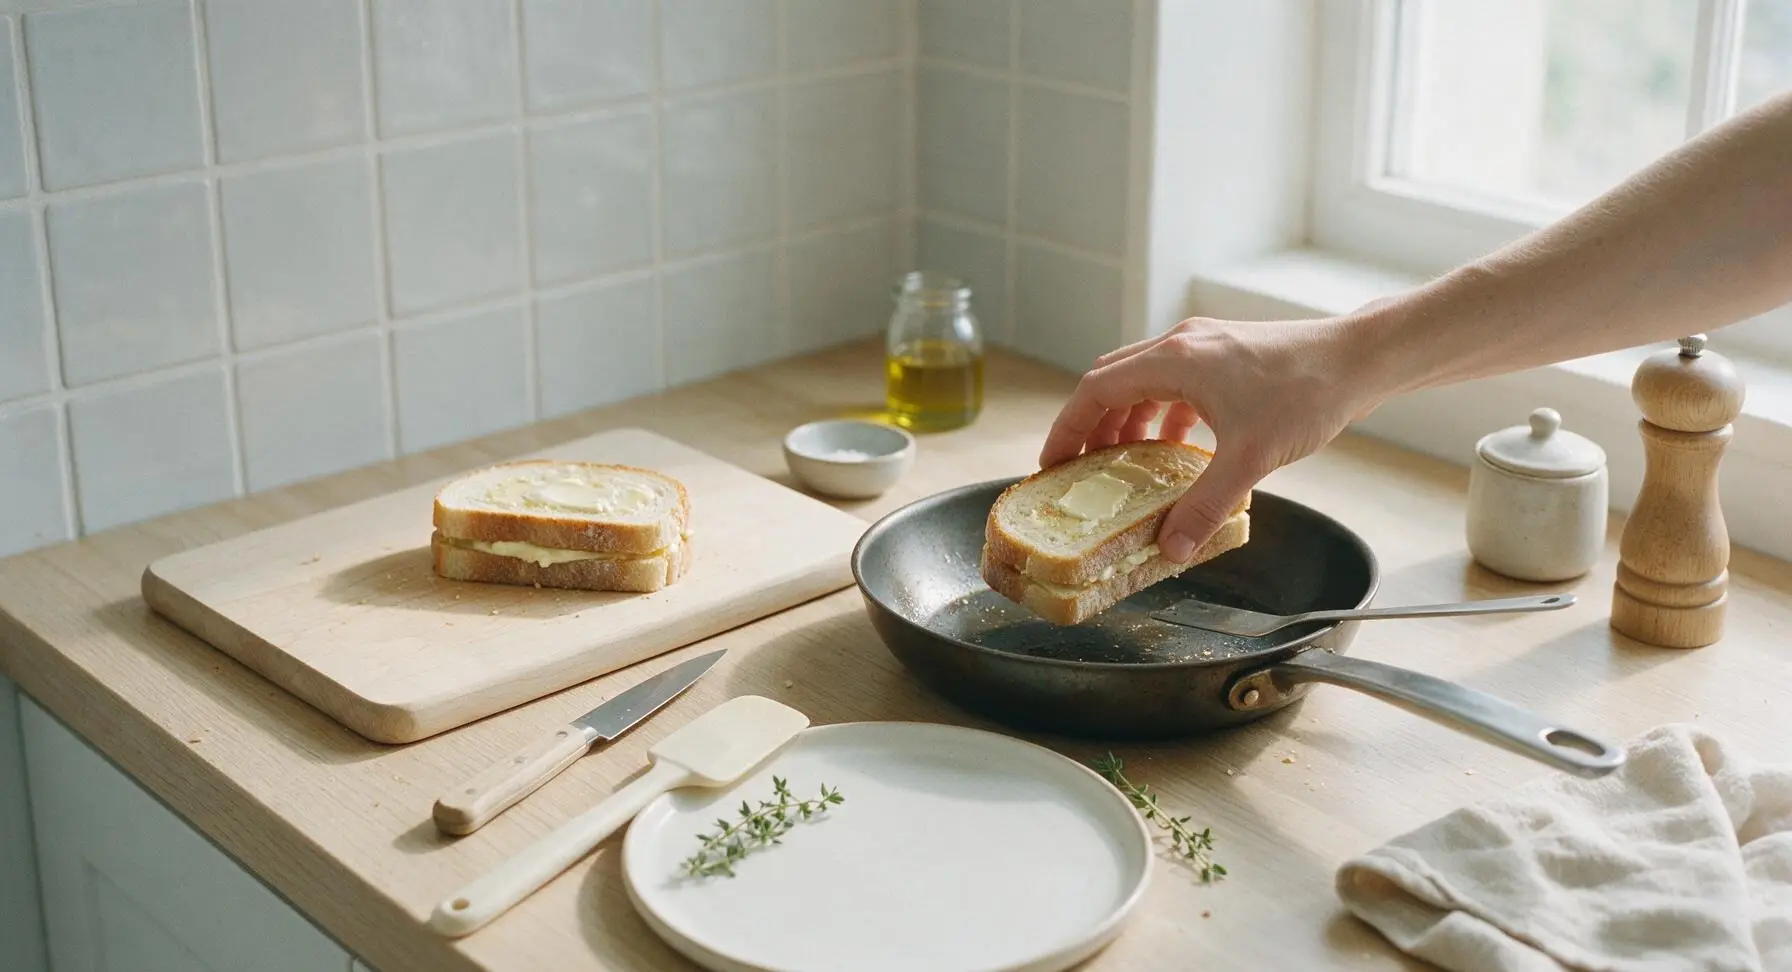
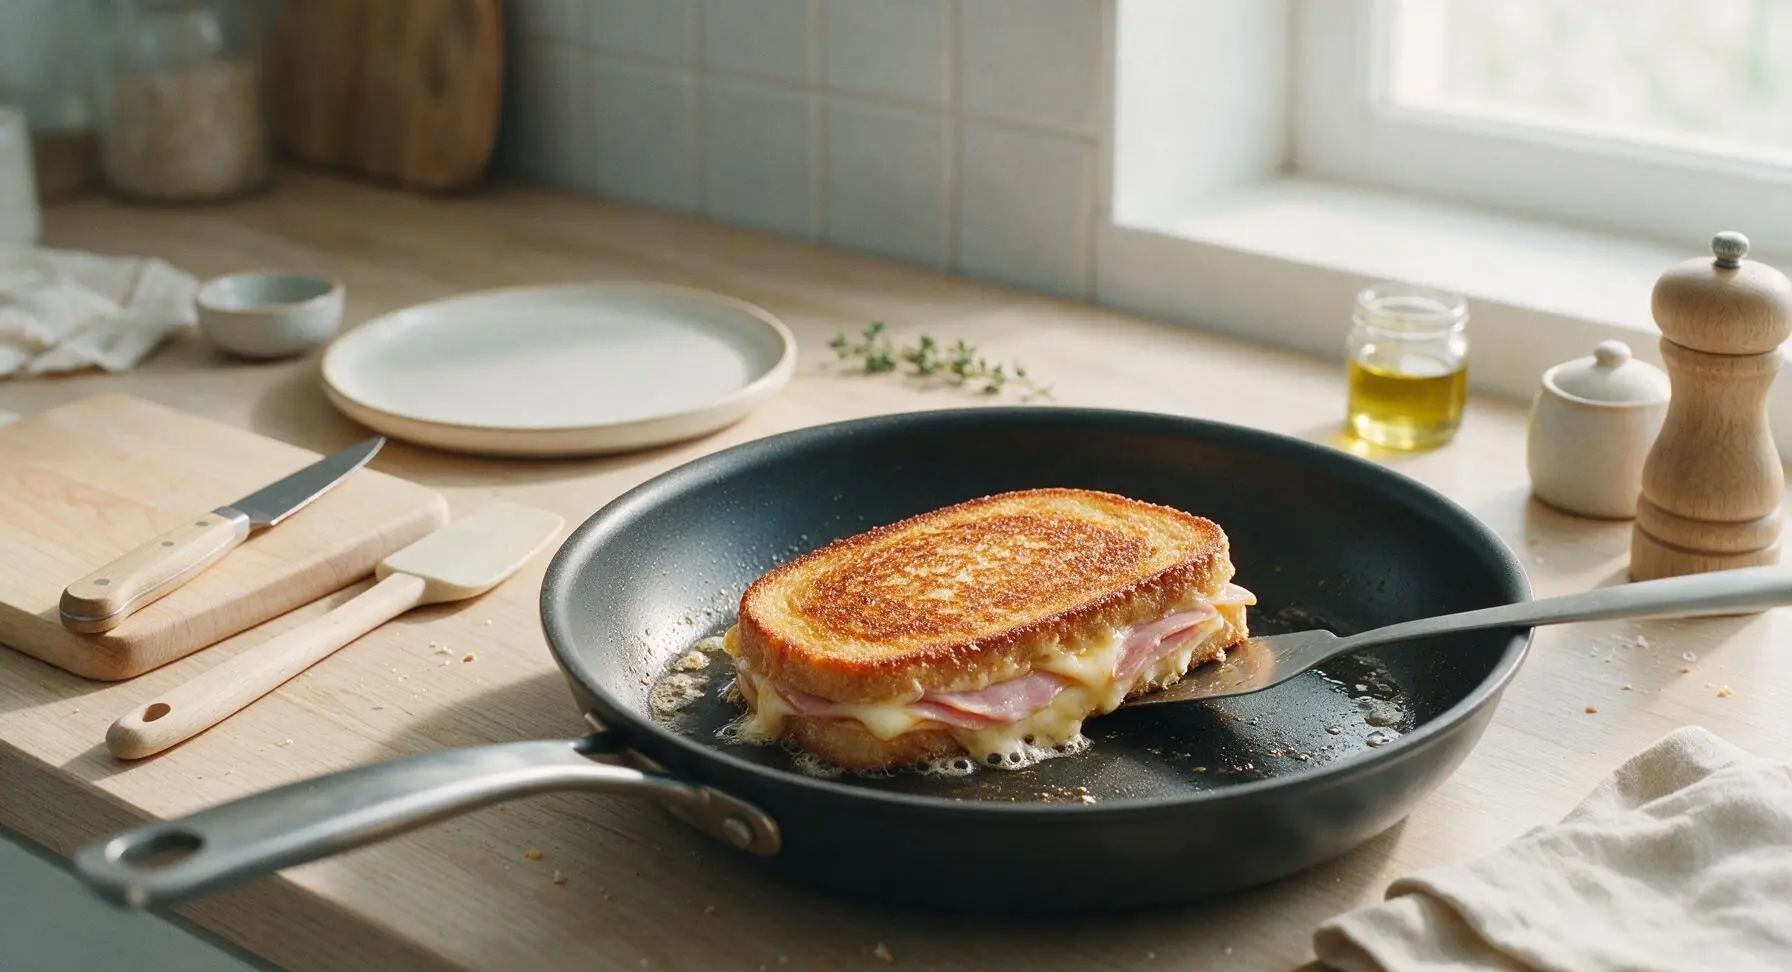
Step 5
step5:Cook First Sandwich Side
Step 5
step5:Cook First Sandwich Side
6

Flip and Cook Through

Slide the thin metal spatula fully under the sandwich and flip it carefully in one smooth motion. Cook the second side for another 3 to 4 minutes, until golden brown and crispy, and the cheese in the center is fully melted (check by gently lifting the top bread slice at the corner to confirm no hard, unmelted cheese chunks remain). Transfer the finished sandwich to a matte cream ceramic plate set to the right of the stovetop, then repeat the cooking process with the second sandwich.
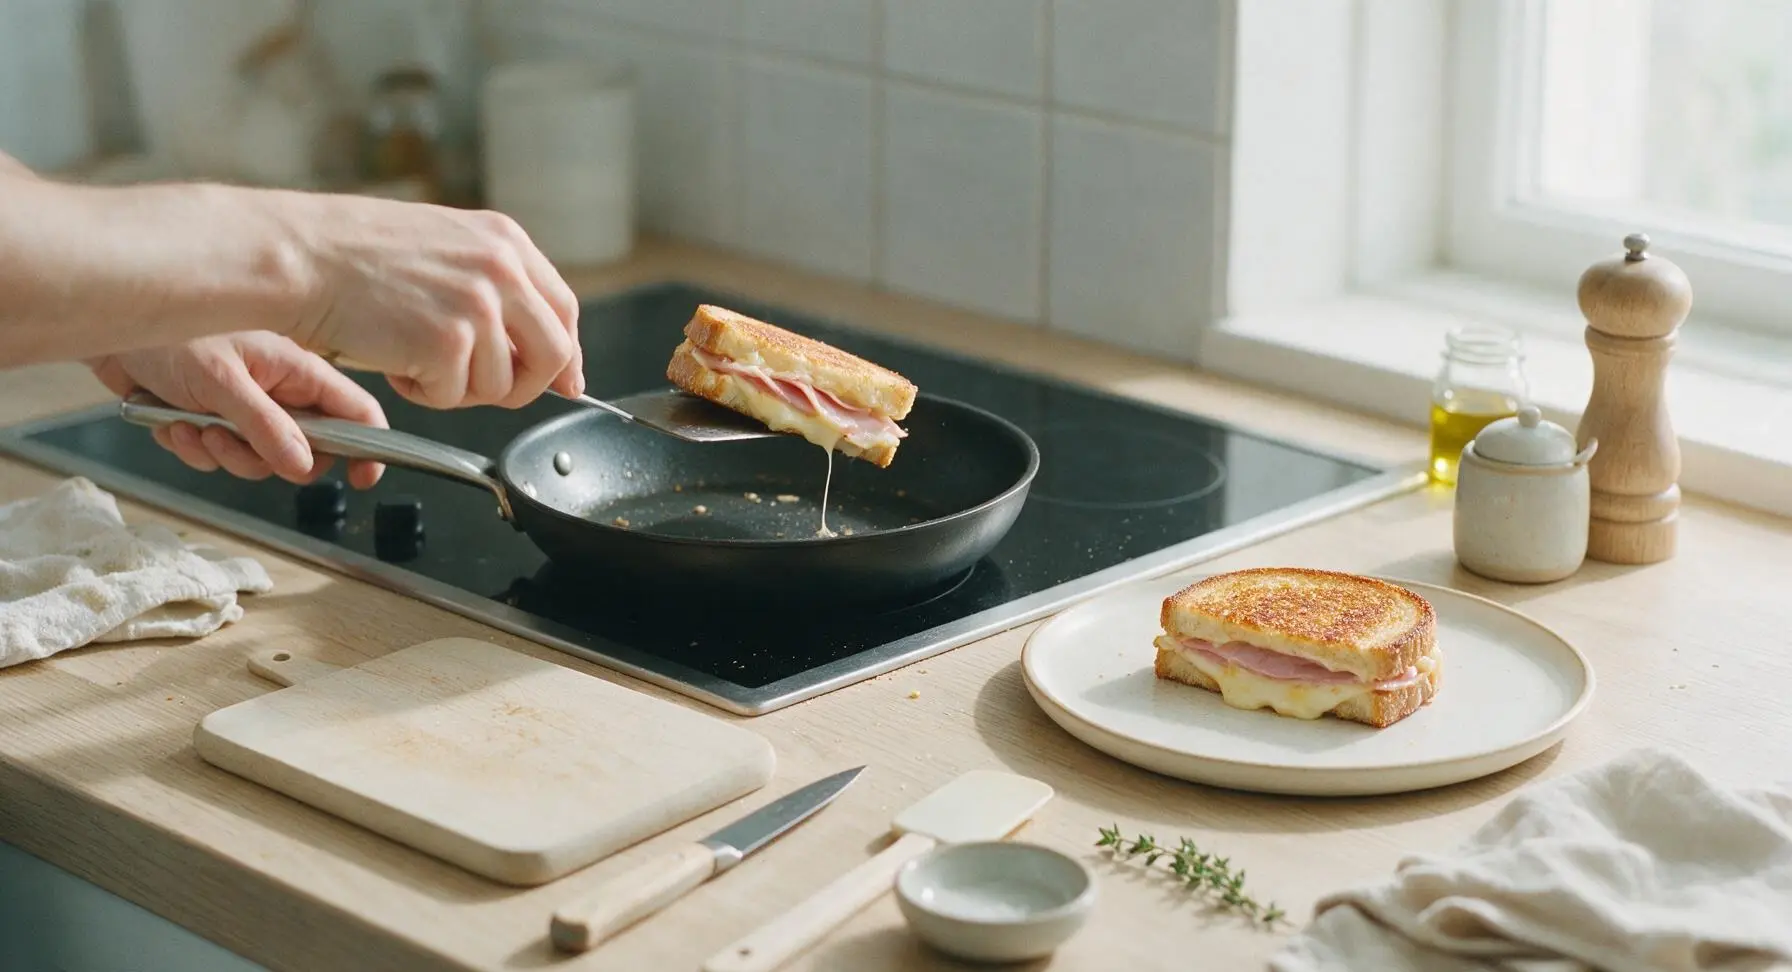
Step 6
step6:Flip and Cook Through
7

Rest and Slice Sandwiches

Once both sandwiches are fully cooked, transfer them from the skillet back to the light maple cutting board. Let rest for 1 minute to allow melted cheese to set slightly, which prevents excessive oozing when sliced. Use the serrated bread knife to cut each sandwich diagonally into two triangular halves, then arrange on the matte cream ceramic dinner plates for serving.
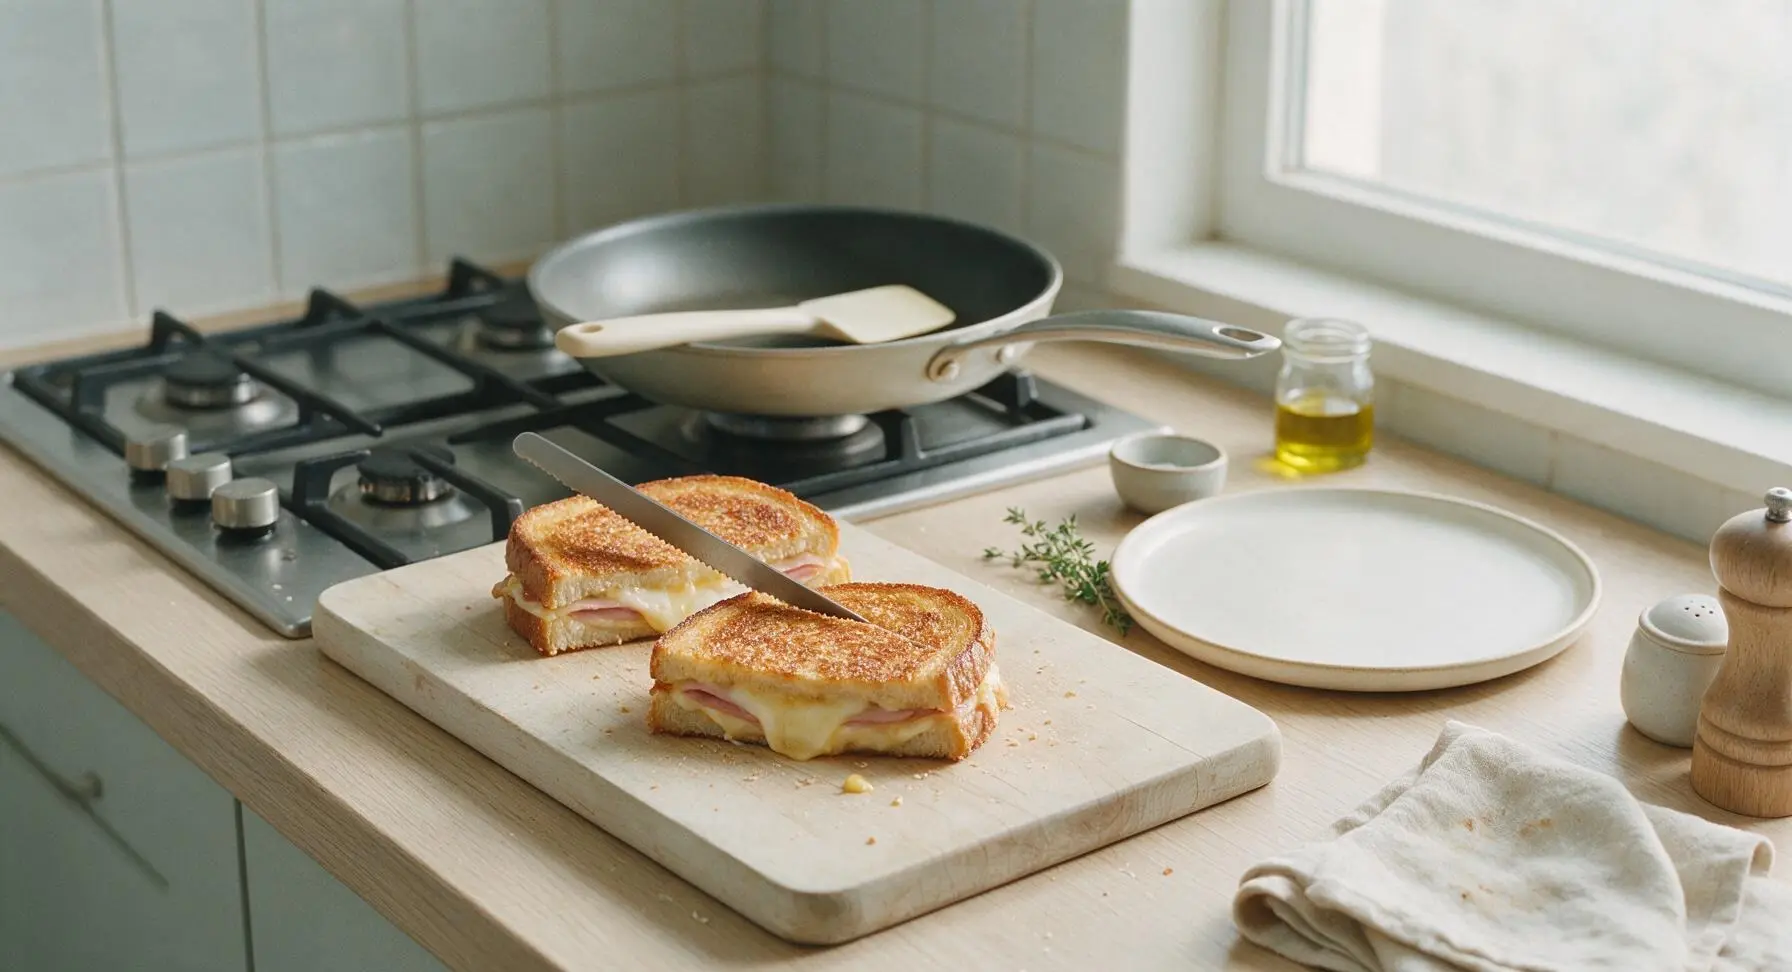
Step 7
step7:Rest and Slice Sandwiches

Tips

1.Stick to medium-low heat for cooking: high heat will char the bread crust before the cheese in the center has time to fully melt, leading to a burnt outside and cold, unmelted filling.
2.Layer cheese on both sides of the ham: this creates a melted cheese 'seal' against both bread slices, preventing ham moisture from making the bread soggy, and helps hold the sandwich layers together as you eat.
3.Don’t skip the 1-minute rest after cooking: this short pause lets melted cheese thicken slightly, so you get perfect stretchy cheese in every bite instead of it running out the back of the sandwich onto your plate on the first bite.


✨ You May Also Like

Lunch
🍜 United States

Creamy, salty, tangy nostalgic Midwestern sandwich pairing rich peanut butter with crisp briny dill pickles for a fast, satisfying no-cook meal.

⏱️ 5 minutesLunch ★ 4.6
Lunch
🍜 United States

Crispy, melty pressed sandwich layered with savory roast pork, ham, Swiss cheese, pickles, and tangy mustard: a beloved Cuban-American comfort classic.

⏱️ 25 minuteLunch ★ 4.9
Lunch
🍜 United States

Hearty, briny New Orleans pressed sandwich stacked with cured Italian meats, provolone, and zesty olive salad, served cold for bold, portable flavor.

⏱️ 1 hour 20Lunch ★ 4.7
Lunch
🍜 United States

A tangy, creamy Southern American staple, this no-cook cheesy sandwich is packed with sharp cheddar and sweet pimentos for a satisfying, portable bite.

⏱️ 1 hour 15Lunch ★ 4.8
Lunch
🍜 United States

Crispy Cajun-spiced fried shrimp piled on crusty French bread with tangy remoulade and fresh toppings, the iconic Louisiana street food sandwich.

⏱️ 35 minuteLunch ★ 4.4
Lunch
🍜 United States

Stacked, savory deli-style corned beef sandwich with melted Swiss, tangy mustard, and crisp griddled rye— a fast, hearty, satisfying classic.

⏱️ 15 minuteLunch ★ 4.9

ham and cheese:Frequently Asked Questions

1.Why do you recommend thick-cut sourdough for this sandwich instead of regular sandwich bread? ▾
Thick-cut sourdough holds up perfectly to butter, Dijon, melted cheese, and ham without turning soggy mid-cook. Its chewy crumb and sturdy crust fry up to a shatteringly crisp exterior, and its subtle tangy flavor balances rich cheddar and smoky ham far better than thin, soft sandwich bread that falls apart or gets mushy easily.
2.What’s the best pan to use to get that perfectly crispy, even crust? ▾
Reach for a heavy-bottomed cast iron skillet or high-quality nonstick frying pan for the most even heat distribution. Cast iron retains consistent heat to brown bread evenly without random hot spots that cause burnt patches, while a good nonstick pan makes flipping easy and stops oozing melted cheese from sticking hard to the cooking surface.
3.How do I keep my bread from getting soggy instead of crispy? ▾
Start by spreading your Dijon butter evenly all the way to the bread edges, not just dolloped in the center. Cook over medium-low heat instead of cranking the heat to high, and don’t overload the sandwich with excess wet fillings. Avoid pressing the sandwich down repeatedly as it cooks, which squeezes out moisture that leads to soft, soggy crust instead of crisp.
4.Can I use a different cheese if I don’t have sharp cheddar? ▾
Absolutely! Sharp cheddar is ideal for its bold, tangy melt, but you can swap in Gruyère for a nuttier, ultra-smooth melt, fontina for that perfect gooey texture, or even a slice of American mixed in for extra stretch. Just skip very dry, crumbly cheeses like aged parmesan or feta that won’t melt into that signature oozing, cohesive filling.
5.Why do you mix Dijon mustard with the butter instead of spreading it straight on the bread? ▾
Mixing Dijon into softened unsalted butter creates a uniform, spreadable slather that coats every inch of the bread for consistent tang in every bite. It also helps the bread fry to an even, golden crisp, because the butter and mustard emulsify together instead of straight mustard soaking into bread in wet patches that turn soggy or cook unevenly.
6.How much ham should I use per sandwich so it doesn’t fall out when I take a bite? ▾
Stick to 3 to 4 thin slices of smoked deli ham per sandwich, layered evenly across the bread so it sits flush with the edges without hanging over excessively. Thin slices stack neatly and stay tucked in as the cheese melts to hold everything together, while thick, bulky ham chunks will slide out easily and create gaps that make the sandwich cook unevenly.
7.What heat setting should I use to make sure the cheese melts before the bread burns? ▾
Cook over steady medium-low heat, around 325°F if your stovetop has precise settings. This gives the bread time to slowly crisp up and turn deep golden over 3 to 4 minutes per side, which is exactly enough time for the sharp cheddar to fully melt into that oozing texture without the butter burning or the bread turning dark and bitter.
8.Do I need to press the sandwich down with a spatula while it cooks? ▾
A single, gentle press right after you place the sandwich in the pan and once after you flip it is all you need. Pressing too hard repeatedly squeezes out melted butter, cheese, and ham juices, which leads to a dry, less flavorful sandwich and a greasy, uneven crust instead of that light, shatteringly crisp exterior you’re aiming for.
9.Can I prep these sandwiches ahead of time for a quick weekday lunch? ▾
You can assemble the unbuttered sandwiches a few hours ahead, wrap them tightly in plastic wrap, and store them in the fridge until you’re ready to cook. Skip buttering the bread ahead of time, though, because the butter will soak into the crumb and make it soggy instead of crisp. Slather on the Dijon butter right before you pan-fry for the best texture.
10.My cheese never fully melts in the middle before the bread is done — how do I fix that? ▾
Grate half of your sharp cheddar instead of using only thick slices, and place a loose lid over the pan for the first minute of cooking on each side. The trapped steam gently heats the center of the sandwich to melt the cheese evenly without steaming the bread into sogginess, and grated cheese melts far faster than thick, cold slices straight from the fridge.
11.Is there a non-dairy swap that will still give me that crispy, cheesy result? ▾
Yes! Swap the unsalted butter for a high-melting-point vegan butter made for frying, and use a well-melting vegan sharp cheddar block (sliced thin or grated) instead of dairy cheddar. Look for vegan cheese that lists coconut oil or modified potato starch as a main ingredient, as those melt smoothly instead of turning rubbery or grainy when heated.
12.What sides pair best with this crispy sandwich for a full meal? ▾
This rich, toasty sandwich pairs perfectly with bright, light sides to cut through the richness. Try a simple side salad tossed with vinaigrette, crispy dill pickle spears, a cup of creamy tomato soup, salt and vinegar potato chips, or even a small serving of coleslaw. The tang and crunch of these sides complement the smoky ham, melted cheese, and buttery crust perfectly.
13.Can I add extra fillings like tomato or pickles without ruining the crispiness? ▾
You can, but prep them correctly to avoid sogginess! Pat thin tomato slices completely dry with paper towels before adding them, and tuck pickle slices between layers of cheese instead of placing them directly against the bread. Limit extra fillings to 1 to 2 thin additions, so the sandwich doesn’t get too bulky and fall apart when you bite into it.
14.Why use unsalted butter instead of salted butter for frying? ▾
Unsalted butter lets you control the exact salt level of your sandwich, since deli ham and sharp cheddar already have quite a bit of natural sodium. Salted butter can vary widely in salt content between brands, and it also tends to brown and burn faster at medium heat because of the added salt, which can leave your crust with a bitter, burnt taste before the filling is ready.
15.How do I stop melted cheese from oozing out and burning on the pan? ▾
Keep your cheese layers tucked between the ham slices instead of placing them right up against the edge of the bread, and don’t overstuff the sandwich with more than 2 to 3 ounces of cheese total. If a little cheese does ooze out, let it fry for 30 seconds into a crispy cheese frico — it’s a delicious cook’s snack you can peel right off the pan.
16.Can I make this sandwich if I don’t eat pork? ▾
Absolutely! Swap the smoked deli ham for thin-sliced smoked turkey, roasted turkey breast, or even plant-based smoked deli slices for the same smoky, savory layer. Just make sure whatever swap you use is thinly sliced, so it tucks neatly into the sandwich and doesn’t create bulky gaps that prevent the cheese from melting evenly.
17.Should I use room temperature or cold cheese for the best melt? ▾
For the fastest, most even melt without overcooking the bread, pull your cheddar out of the fridge 10 to 15 minutes before you assemble the sandwich so it takes the chill off. Cold cheese takes much longer to melt all the way through, which often leads to burnt bread before the center gets gooey, but you don’t need to let it get fully soft or warm.
18.How should I slice the finished sandwich for the cleanest bite? ▾
Let the sandwich rest for 1 full minute after you take it out of the pan before slicing, so the melted cheese sets slightly and doesn’t gush out when you cut through it. Use a sharp serrated knife to cut diagonally across the sandwich, using gentle sawing motions instead of pressing straight down, which squishes the filling out the sides and ruins that perfect crisp crust.

Comments (6)

2 days ago

OMG this is such a game changer! I’ve been making sad grilled cheeses for my kids for years and never thought to crisp the bread with a little mayo like the recipe says. Used sliced black forest ham and sharp cheddar, cooked it exactly 8 minutes and it was perfectly crispy, no soggy bread at all. All three of my kids asked for seconds, even the one who refuses to eat anything that isn’t chicken nuggets. 10/10 will be adding this to our weekly weeknight rotation!

1 day ago

Wait the mayo trick is insane right?! I thought it was weird the first time I tried it but it gets so much crispier than butter, no burn spots either!

1 day ago

So glad your kids loved it! The mayo spread is our little hack for that perfect, even golden crisp without burning — works for every pan-fried sandwich!

3 days ago

SO good and so fast! I meal prepped a bunch of these for my husband’s work lunches this week, just stored them in the fridge and reheated them in a pan for 2 minutes when we were ready to eat and they still stayed crispy. Used Swiss cheese and honey ham, added a little dijon mustard inside and it was chef’s kiss. Way better than the sad cafeteria sandwiches he used to buy. Only thing I’ll note is don’t have the heat too high or the cheese won’t melt before the bread burns — learned that the hard way on my first one 😂

2 days ago

Great tip about the heat! Medium-low is perfect to give the cheese time to get all melty while the bread crisps up — so glad these worked out for your meal prep!

5 minutes ago

As someone who can barely boil water without messing it up, this was so easy! 8 minutes total, no fancy ingredients, I just used what I had in my dorm mini fridge: deli ham, American cheese, and white bread. Tasted way better than the sandwich shop down the street that charges $12 for a ham and cheese. Will be making this every time I’m sick of instant ramen for sure.

1 week ago

Made these for our neighborhood potluck last weekend, cut them into little triangle sliders with toothpicks, and they were the first thing gone! Everyone was asking me for the recipe, I felt so fancy. I used a mix of provolone and cheddar, added a thin layer of pickles inside for a little tang, and fried them in a cast iron pan for extra crunch. Will absolutely be making these for game day too.

5 days ago

The pickle addition is genius! I’m always looking for easy game day snacks that don’t require a million ingredients, definitely gonna try these for the watch party this Sunday.

4 days ago

Love the slider idea for potlucks and game days! The pickle tang cuts through the rich cheese and ham so well, that’s such a tasty add-in.

2 hours ago

Made this after a long hike today when I was way too tired to cook anything complicated, and it hit the spot so hard. Used sourdough bread, smoked ham, and pepper jack cheese for a little kick, had it with a side of tomato soup and I swear it was the best post-hike meal I’ve made in months. Cook time was almost exactly 8 minutes, no fuss, minimal cleanup. Only knocked off a star because I wish I’d thought to add dijon for extra zing, but that’s on me! Will absolutely make again.

30 minutes ago

Pepper jack and sourdough is such a good call! I always pair mine with tomato soup too, it’s the perfect cozy combo, especially when the weather’s cold and rainy like it’s been here lately.

yesterday

Super easy to adapt for gluten free! I used my favorite GF sourdough, followed the recipe exactly, and didn’t get that weird soggy, crumbly texture I usually get when pan-frying GF bread. I paired smoked gouda and black forest ham, added a tiny sprinkle of garlic powder on the outside of the bread for extra flavor, and it was chef’s kiss. My non-GF partner stole half my sandwich and said it’s the best ham and cheese he’s ever had. Total win!



