1.What type of bread works best for this classic grilled ham and cheese?
▾
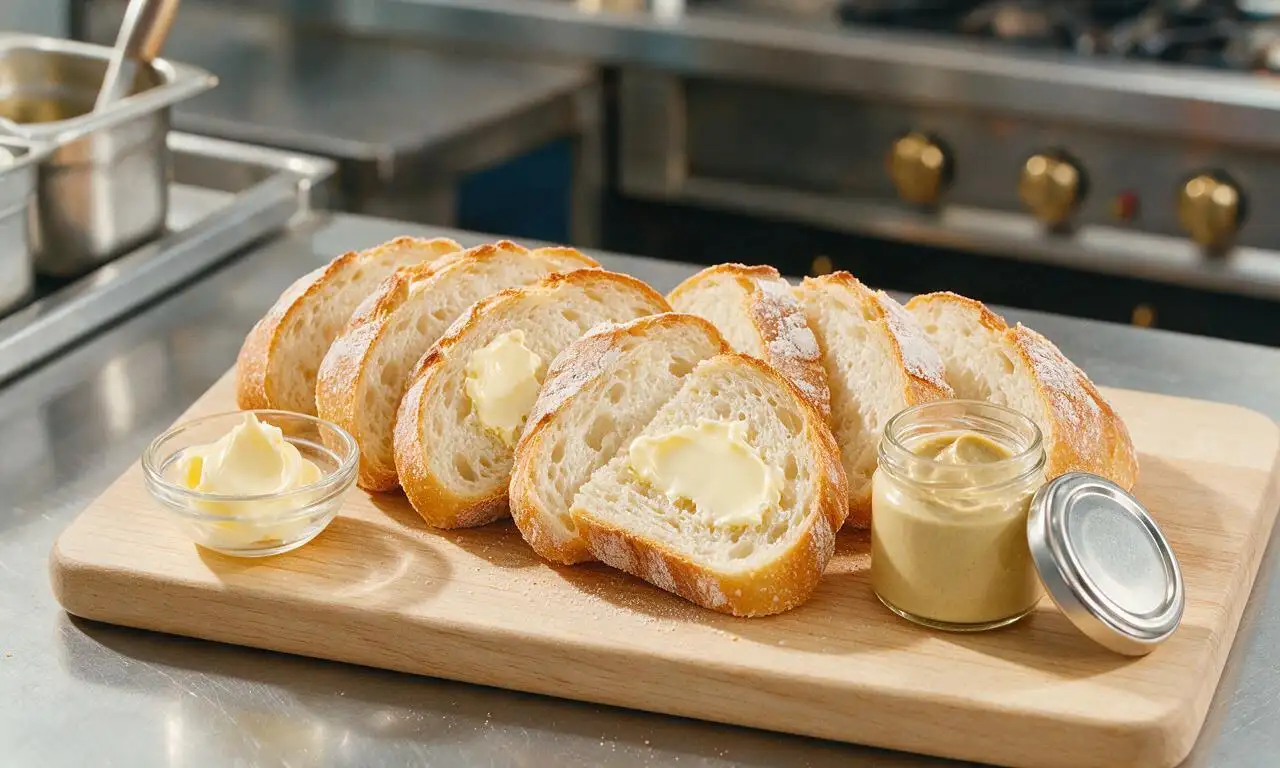
Sourdough is the ideal pick here, as its tangy, chewy crumb and sturdy crust hold up to melted cheese and ham without turning soggy, and its subtle sour note cuts through rich butter and cheddar. If you don’t have sourdough, opt for thick-cut country white or whole-grain sandwich bread—skip ultra-thin, soft sandwich loaves that turn mushy when grilled.
2.Why use sharp cheddar instead of mild cheddar for this sandwich?
▾
Sharp cheddar has a longer aging time, giving it a bolder, nuttier, tangy flavor that stands up to salty smoked ham and buttery bread for a perfectly balanced bite. Mild cheddar melts smoothly but has a very soft, mild dairy flavor that gets lost next to the other assertive fillings, leading to a blander, less memorable sandwich.
3.Can I use regular grocery store pre-sliced deli ham, or do I need specialty ham?
▾
Regular sliced smoked deli ham from your local grocery store works perfectly here—no fancy artisanal ham is required for this classic comfort food. Aim for slices about 1/8-inch thick for enough smoky, savory presence without excess bulk, and pat slices lightly with a paper towel if they’re extra juicy to avoid soggy bread.
4.Why does the recipe call for softened unsalted butter instead of melted butter?
▾
Softened unsalted butter spreads evenly across every inch of the bread surface without soaking too deep into the crumb, creating that perfectly crisp, golden, evenly browned crust instead of patchy, greasy spots. Melted butter tends to pool and seep into bread, leading to soggy sections, and unsalted butter lets you control total sodium levels.
5.Do I have to add Dijon mustard, or can I skip it entirely?
▾
You can absolutely skip it if you don’t care for Dijon, but that thin spread adds a bright, tangy, slightly sharp kick that cuts through the richness of melted cheese and butter, making the whole sandwich taste brighter and less heavy. You only need a light coat—you won’t get a strong mustard flavor, just subtle depth that elevates every bite.
6.What stovetop heat setting should I use to avoid burning the bread before the cheese melts?
▾
Stick to medium-low heat, no higher. Cooking too fast over high heat will char the buttery bread exterior long before the cheddar fully melts in the center, leaving you with a burnt outside and cold, un-melted filling. Give it 3 to 4 minutes per side, and cover loosely with a lid if you want to speed up cheese melting without cranking heat.
7.How do I prevent the bread from getting soggy once the sandwich is assembled?
▾
The two easiest fixes are to pat your ham slices dry with a paper towel before adding them to wipe away excess deli moisture, and avoid overstuffing the sandwich with wet fillings. Also, make sure you butter the outer sides of the bread fully, which creates a moisture barrier that keeps wet ingredients from seeping into the crumb as it cooks.
8.Can I make this sandwich ahead of time for meal prep or packed lunches?
▾
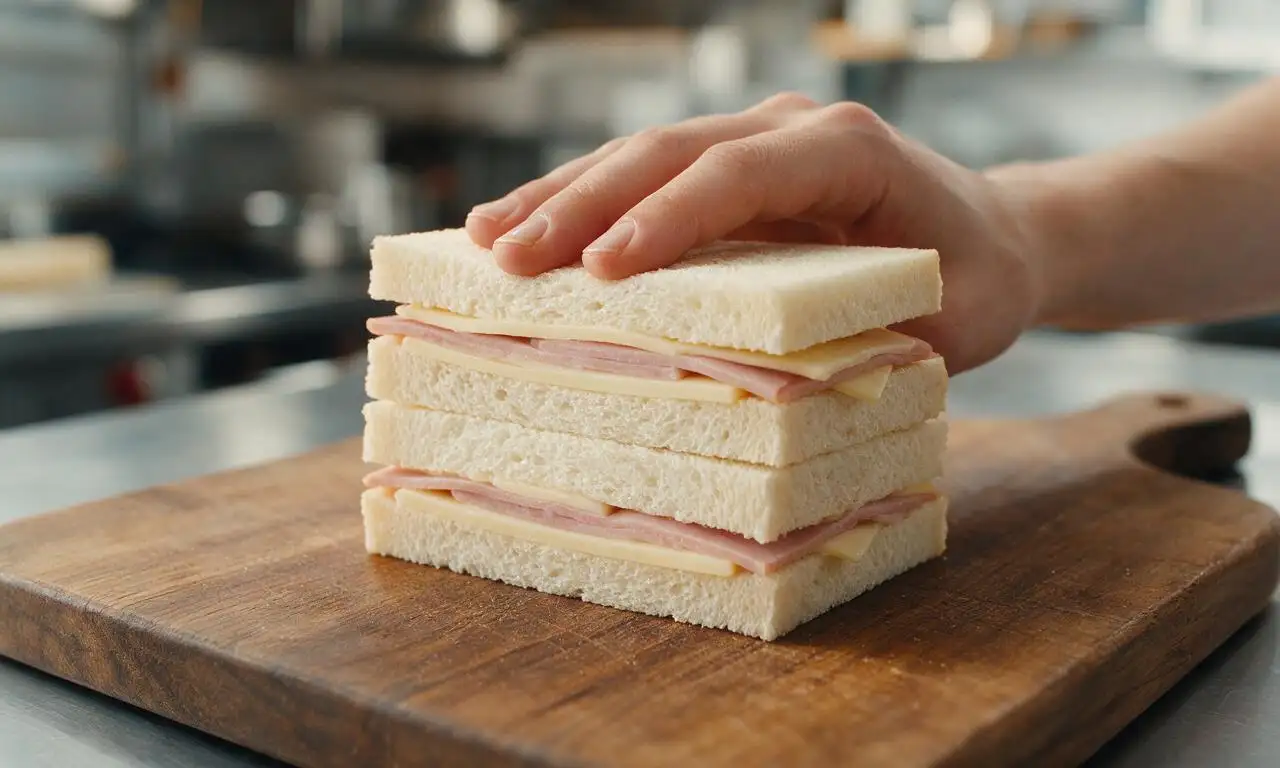
It’s best eaten fresh off the griddle for that ideal crispy, oozing texture, but you can prep components ahead: slice cheese and ham, store them in airtight containers, and keep bread sealed, then assemble and cook right before eating. If you pack a pre-cooked sandwich, let it cool slightly before tucking it into a vented container to avoid condensation-caused sogginess.
9.What’s the best trick to get cheese fully melted all the way to the sandwich center?
▾
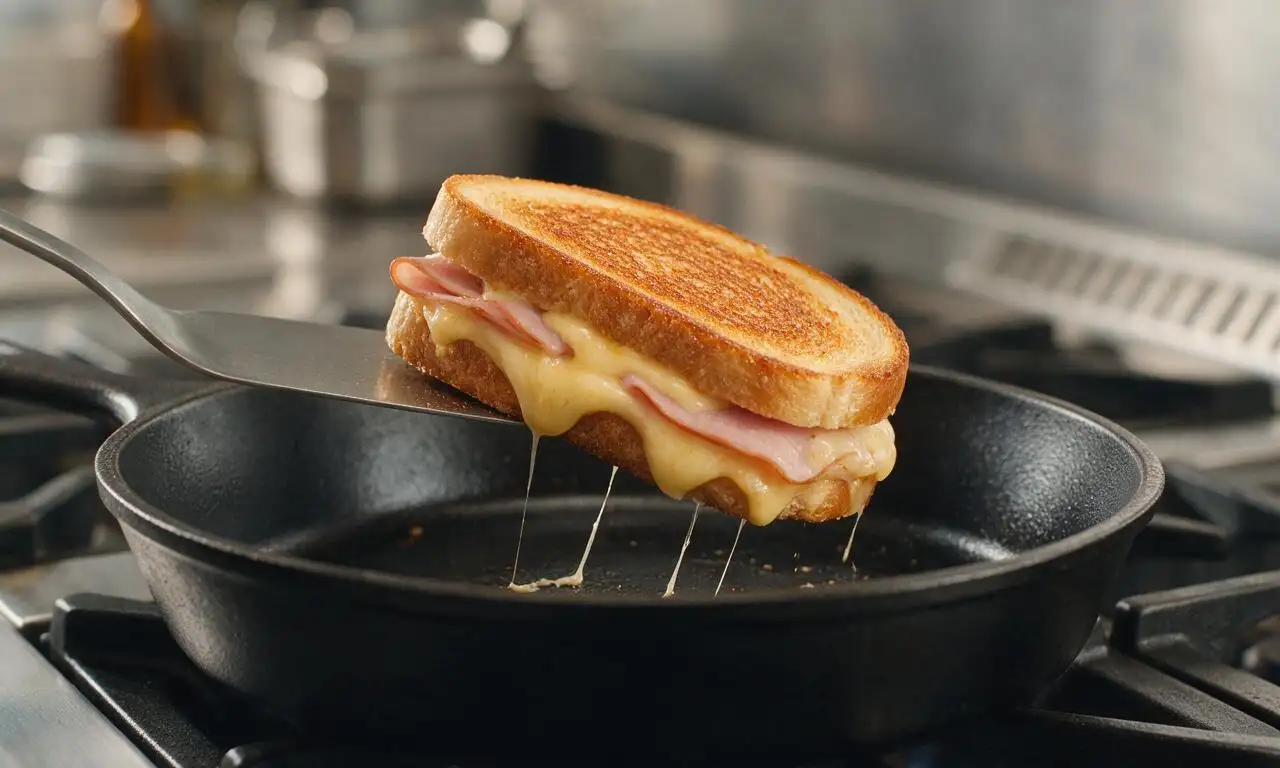
First, let your cheese slices sit at room temperature for 10 minutes before assembling so they don’t start ice-cold, and cook the sandwich covered with a small pot lid for the first 2 minutes per side. The trapped gentle heat circulates around the sandwich, melting cheddar evenly edge to edge without requiring you to overcook the bread.
10.Can I substitute the sharp cheddar with a different type of cheese?
▾
Absolutely! While sharp cheddar is the classic pick, you can swap up to half of it for smooth-melting cheeses like Gruyère, fontina, or Monterey Jack for a different flavor profile. Just avoid crumbly, non-melting cheeses like feta or fresh goat cheese as your main cheese—they won’t give that iconic oozing, stretchy texture that makes this sandwich so satisfying.
11.How much butter should I spread on each slice of bread for the best crust?
▾
Aim for about 1 teaspoon of softened unsalted butter per outer side of bread, spread in a thin, even layer all the way to the crust edges. That amount is enough to create a crisp, golden, buttery crust without making the bread greasy or heavy, and covering the edges ensures no dry, pale, untoasted spots on your finished sandwich.
12.Should I spread the Dijon mustard on the inside or outside of the bread?
▾
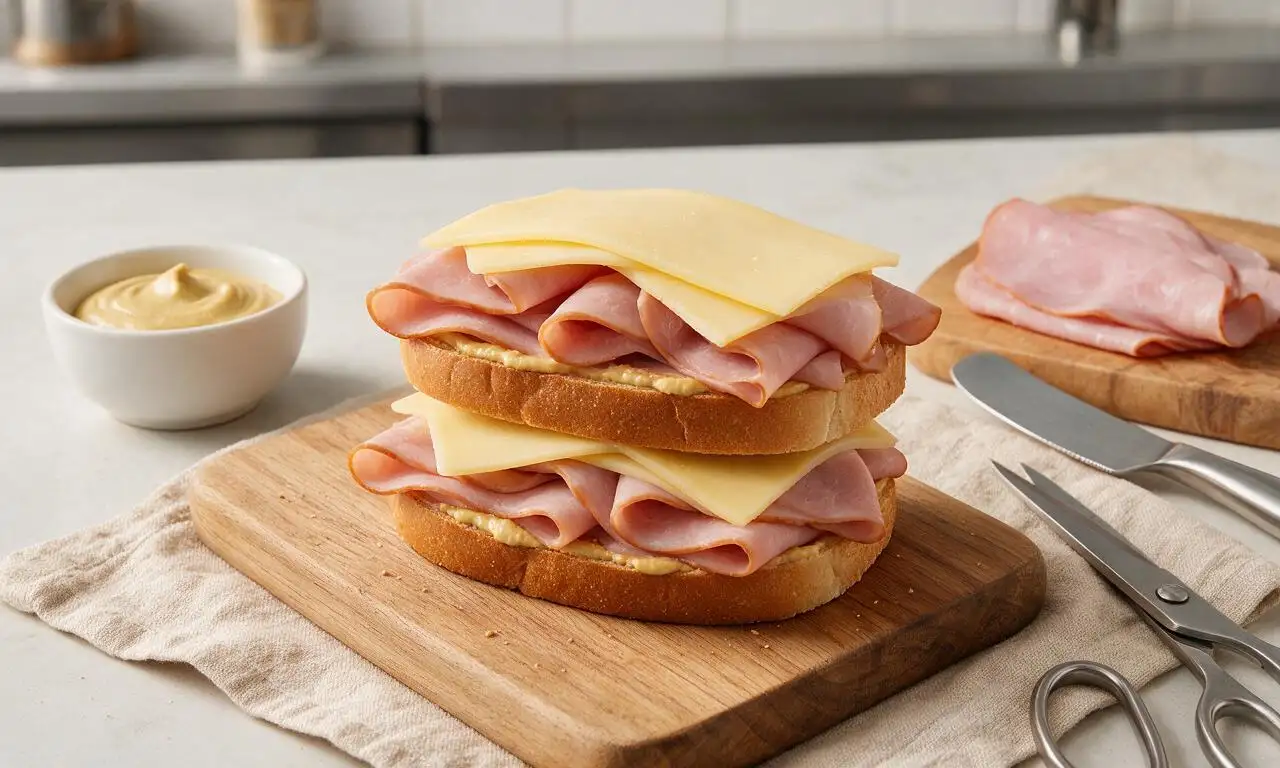
Spread the thin layer of Dijon on the inner, unbuttered side of the bread, right up against the cheese and ham. If you spread it on the buttered outer side, it will burn and turn bitter as it hits the hot pan, and won’t mix with melted cheese to add that subtle tangy balance to the fillings. A light coat is all you need—no thick slather required.
13.Can I cook this grilled ham and cheese in an air fryer instead of on the stovetop?
▾
Yes! Assemble the sandwich as directed, butter the outer bread sides, and cook it in your air fryer at 370°F for 4 to 5 minutes, flipping halfway through, until the bread is golden and the cheese is melted. Keep a close eye on it the first time you make it, since air fryer heat levels vary, and don’t stack sandwiches so air can circulate evenly.
14.What’s the ideal ratio of ham to cheese per sandwich for the best bite?
▾
For standard sourdough sandwich slices, use 2 to 3 thin slices of smoked ham (about 2 ounces total) and 2 slices of sharp cheddar (about 1.5 ounces total). That ratio gives you enough smoky ham and melted cheese in every bite without overstuffing, which can cause fillings to spill out the sides as cheese melts and make the sandwich hard to eat neatly.
15.Why is my bread browning unevenly when I grill the sandwich?
▾
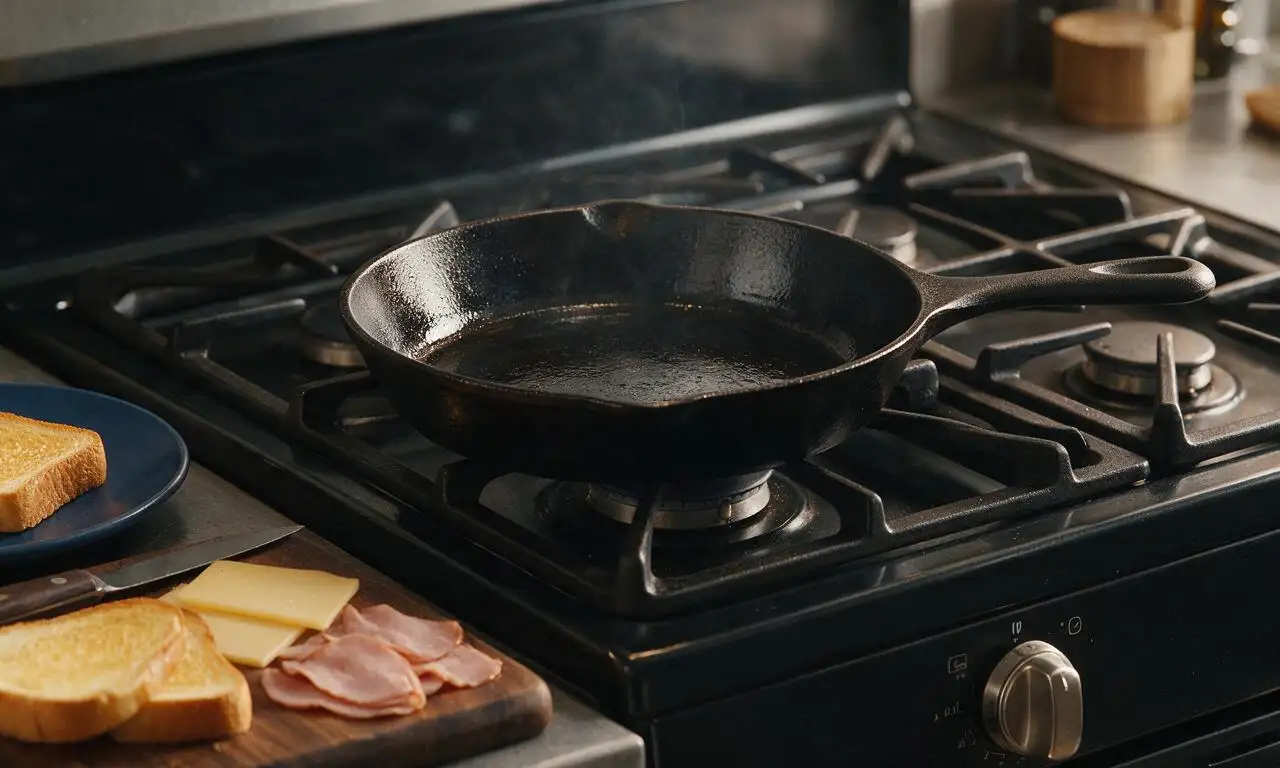
Uneven browning usually stems from one of three issues: your pan isn’t fully preheated before adding the sandwich, you didn’t spread butter evenly all the way to the bread edges, or your stovetop burner has hot spots. Fix this by preheating your pan for 2 minutes on medium-low, spreading butter to the crusts, and rotating the sandwich halfway through each side to account for hot spots.
16.What are good add-ins to customize this classic sandwich without ruining its core vibe?
▾
Stick to small, low-moisture add-ins to keep the classic feel: a few thin slices of tart apple, a sprinkle of crispy cooked bacon, a thin layer of fig jam, or a pinch of smoked paprika work beautifully. Skip very wet add-ins like fresh tomato or briny pickles unless you pat them completely dry, as excess moisture will make the bread soggy as it cooks.
17.Should I cover the pan while cooking, or leave it open the whole time?
▾
Covering the pan loosely with a lid for the first half of cooking on each side is a pro trick to trap gentle steam, which helps the cheddar melt faster and more evenly without burning the bread. You don’t need to seal it tight—rest the lid slightly askew so a little steam can escape, then uncover for the last minute per side to keep the crust crisp instead of soft and steamed.

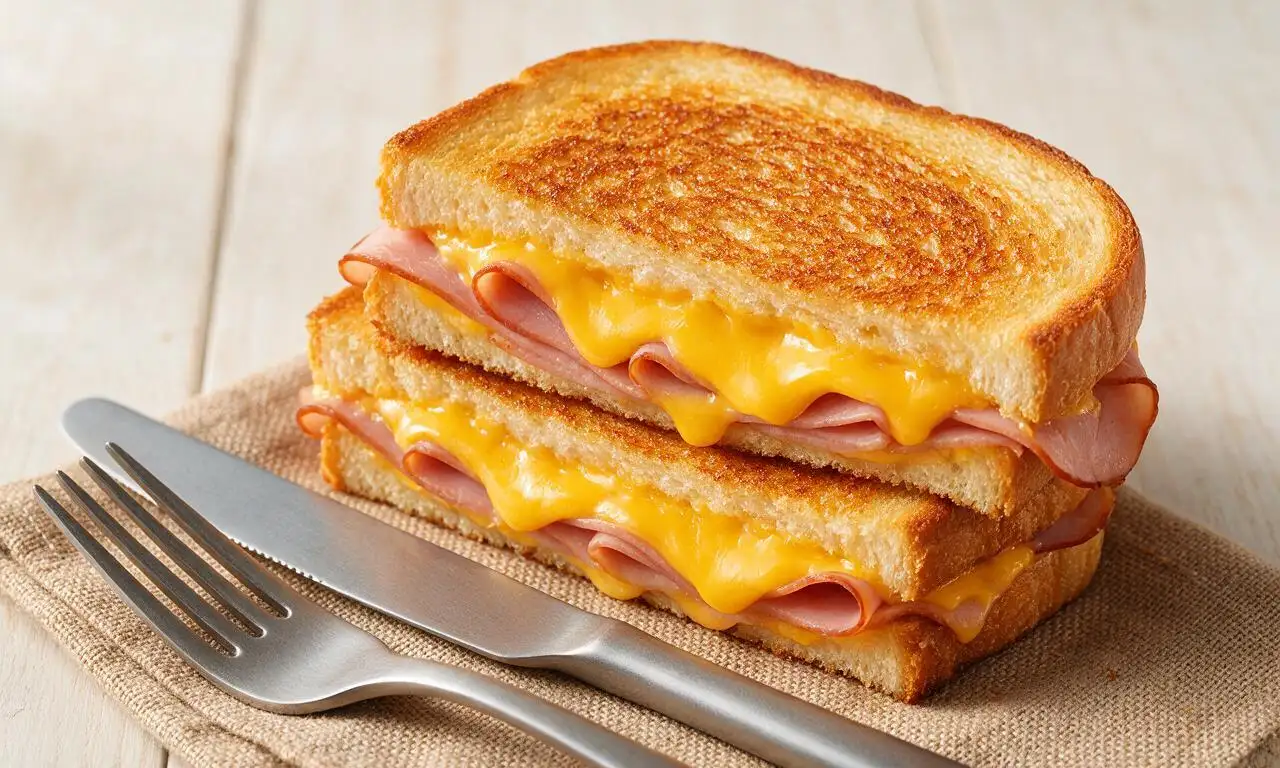

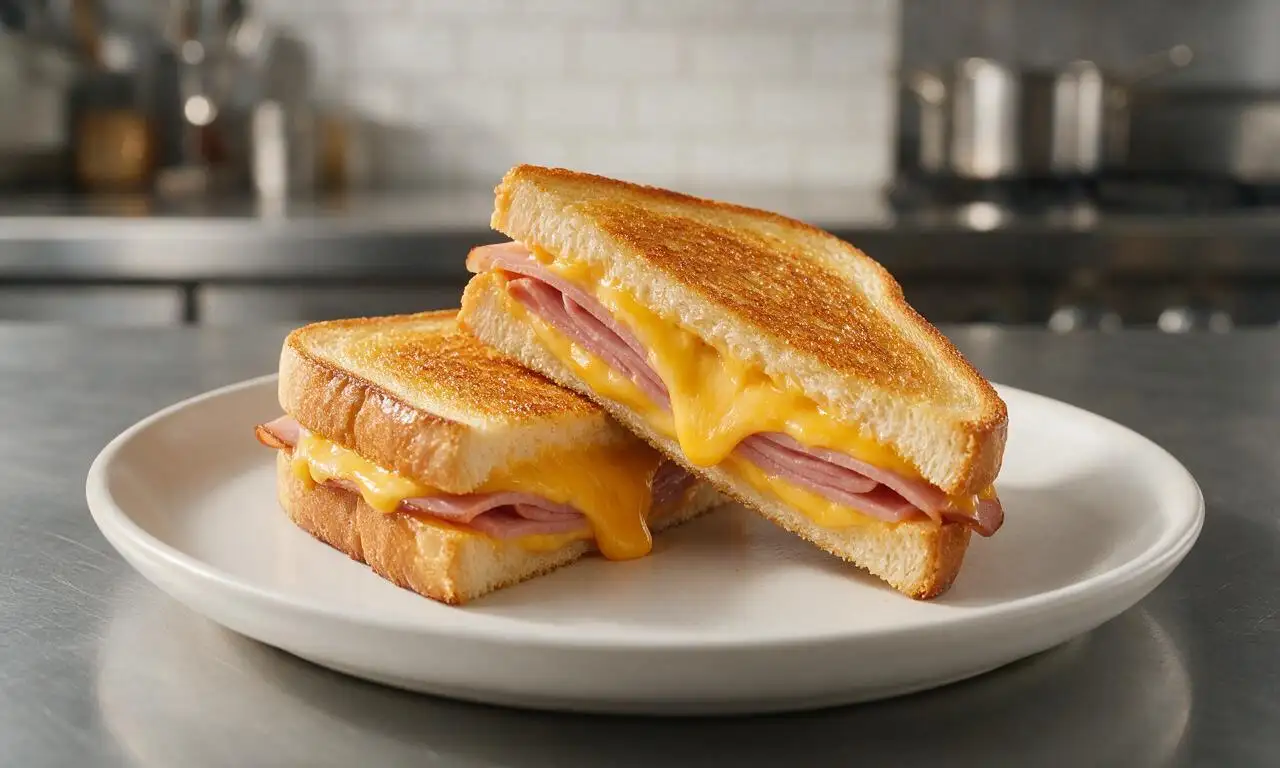






OMG this is SO good! I made this for my kids’ after-school snack yesterday and they devoured it in 2 minutes flat. I swapped the regular white bread for sourdough and used a little extra sharp cheddar like my grandma used to, and it came out perfectly crispy on the outside, ooey gooey on the inside. Total game changer for quick weeknight meals when I don’t feel like cooking a whole big dinner! 10/10 will be adding this to my regular meal prep rotation.
This recipe is so easy to throw together, total lifesaver for when I’m crunched for time between work and my kid’s soccer practice! Quick question though—can I assemble these ahead and freeze them to pull out and grill on extra busy nights? I feel like that would make my school lunch rotation so much smoother.
As a broke college student with barely any cooking skills, this recipe was totally foolproof! I only had sliced deli ham, American cheese, and plain white bread in my mini fridge, and it turned out way better than the sad grilled cheese they serve in the campus cafeteria. 15 minutes total, zero fancy equipment needed. Will be making this on repeat for late night study sessions.