
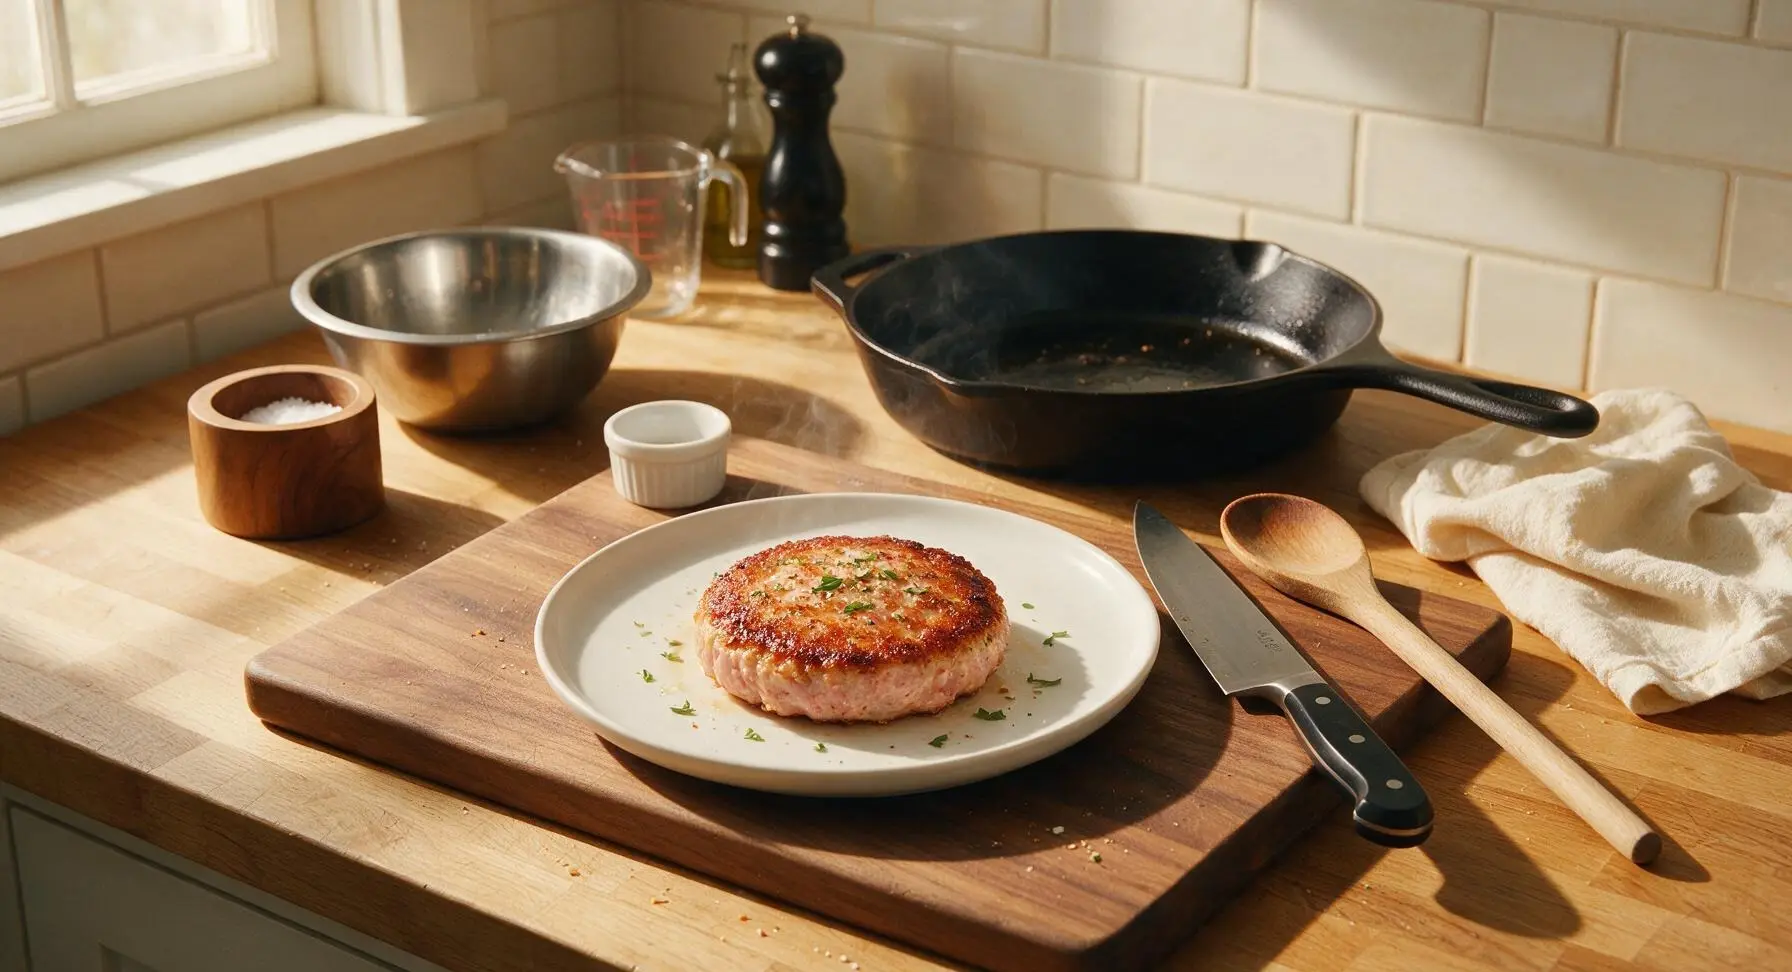
Ham Patty

title 1
Ham Patty
⏱️ cook time 12 minutes
🍽️ servings 4
⚡ Difficulty easy

intro

Tender, juicy ham patties with a crisp golden seared crust, quick to prepare, perfect for pairing with eggs, biscuits, or roasted veggies for a fast, satisfying meal.

Ingredients
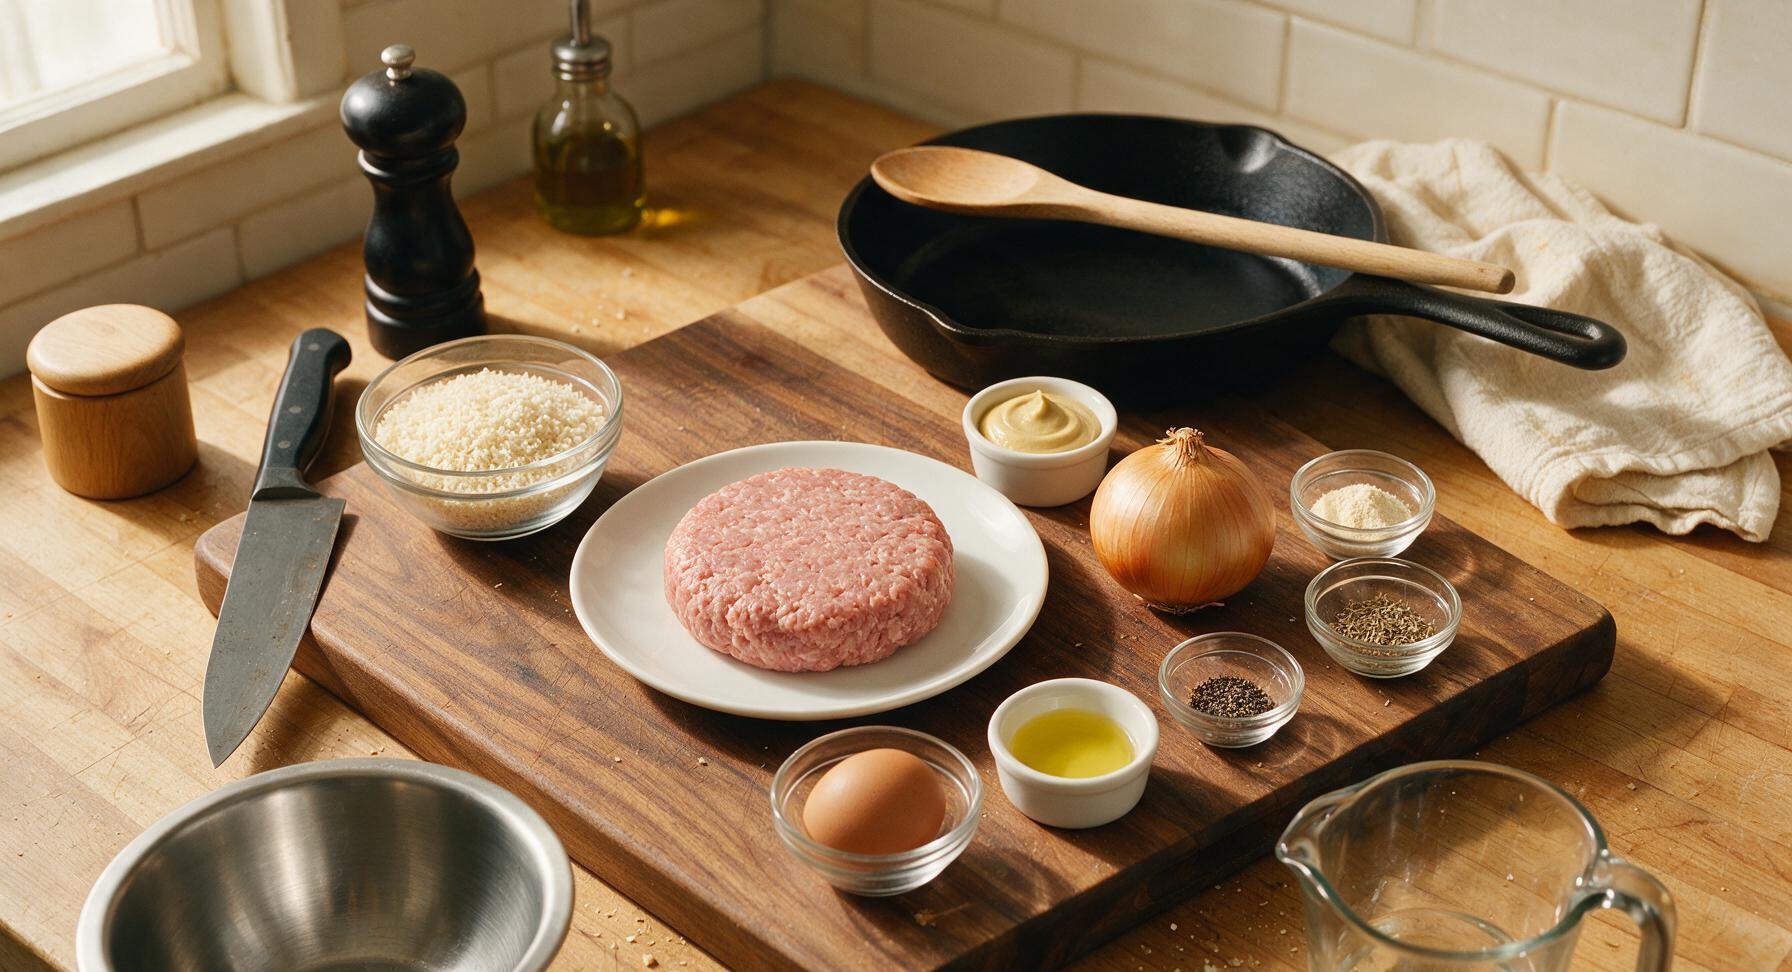
Ground cooked ham 450g
Plain panko breadcrumbs 60g
Large egg 1 (50g)
Small yellow onion 1 (100g)
Dijon mustard 1 tablespoon
Garlic powder 1 teaspoon
Dried thyme 1/2 teaspoon
Freshly ground black pepper 1/4 teaspoon
Canola oil 2 tablespoons

Steps

1

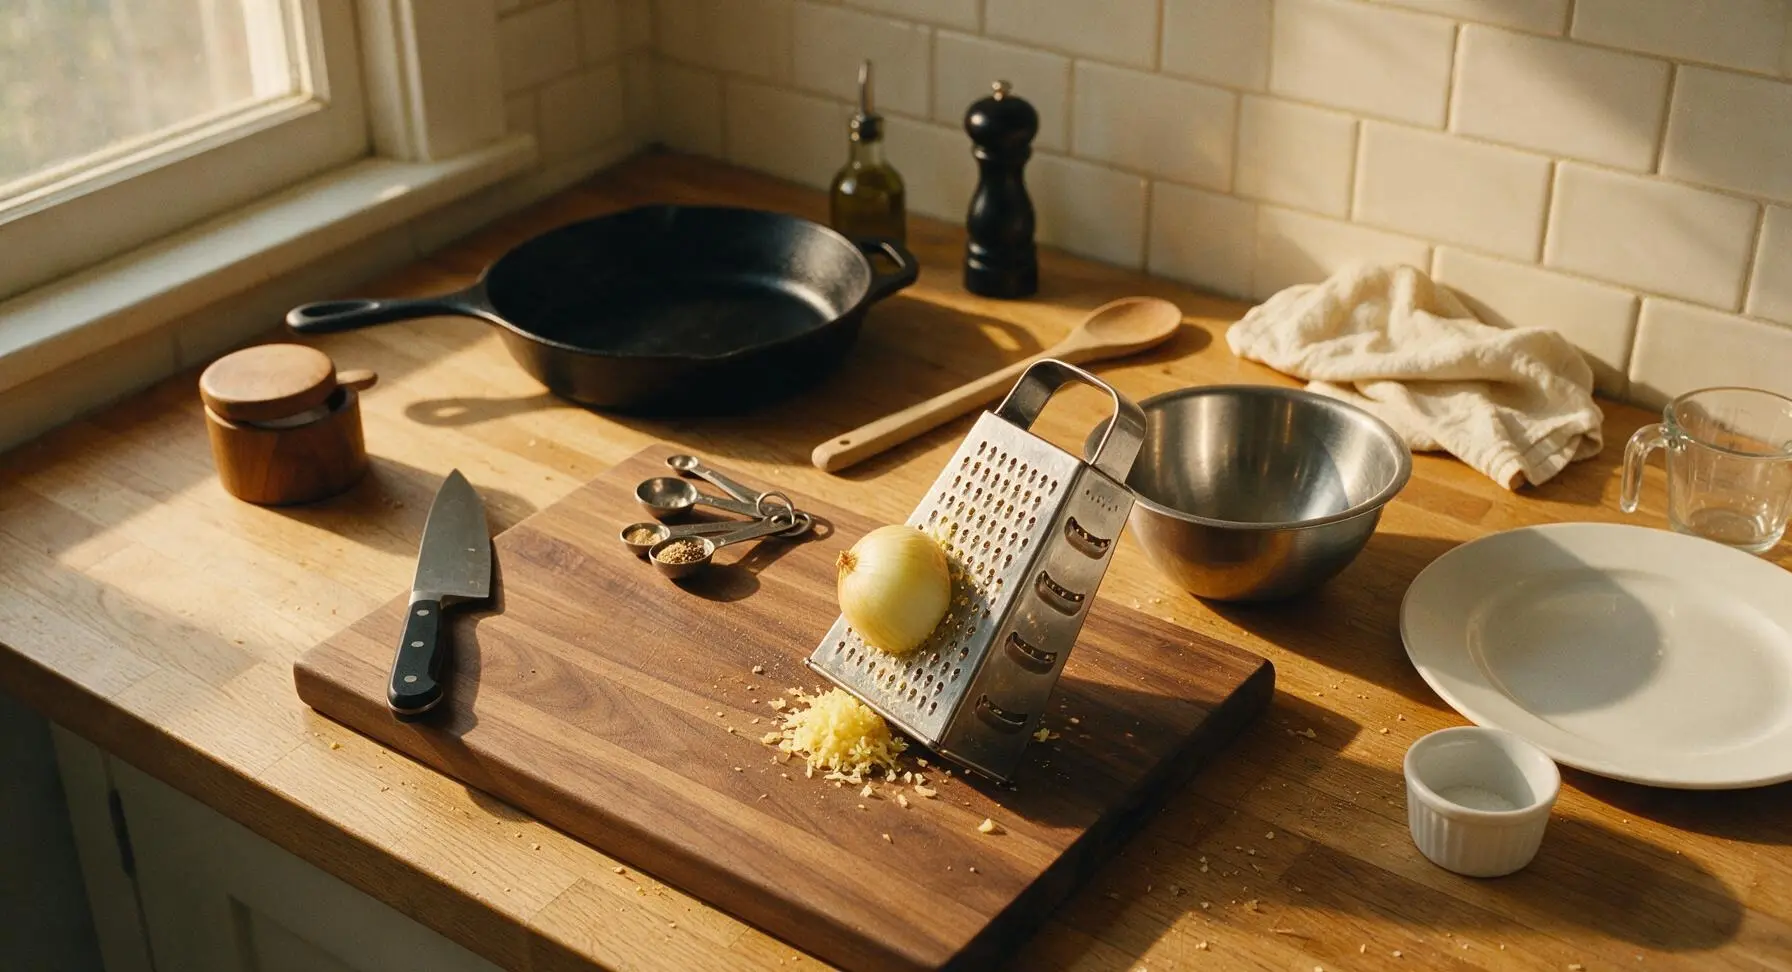
Grate the Onion

Place the peeled small yellow onion on the light maple wood cutting board. Hold the stainless steel box grater at a 45-degree angle on the board, and grate the entire onion on the medium-sized holes to create a fine, juicy pulp. Squeeze 1 tablespoon of excess onion juice over the sink to prevent soggy patties, then transfer the grated onion pulp to the medium stainless steel mixing bowl.
Step 1
step1:Grate the Onion
2

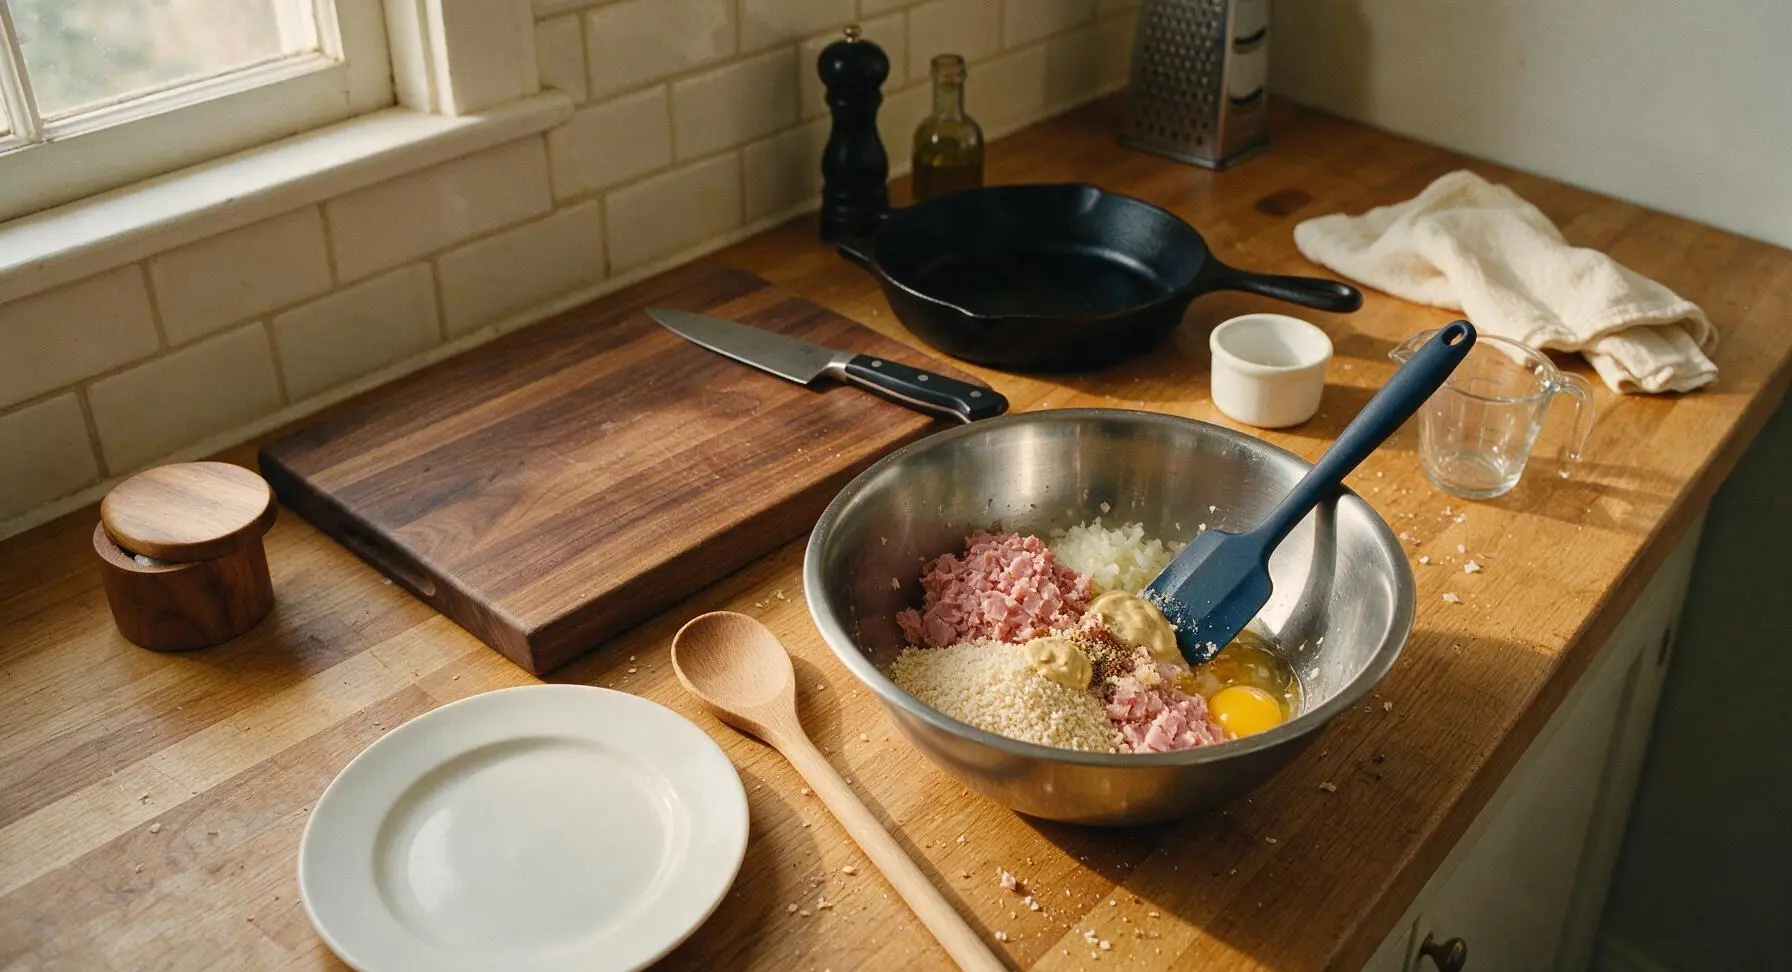
Mix Patty Ingredients

Add the ground cooked ham, panko breadcrumbs, whole egg, Dijon mustard, garlic powder, dried thyme, and black pepper to the mixing bowl with the grated onion. Use the matte navy blue silicone spatula to fold all ingredients together until evenly combined, taking care not to overmix (overworking the mixture creates tough, dense patties). The finished mixture should hold together firmly when squeezed into a ball, without crumbling or oozing excess moisture.
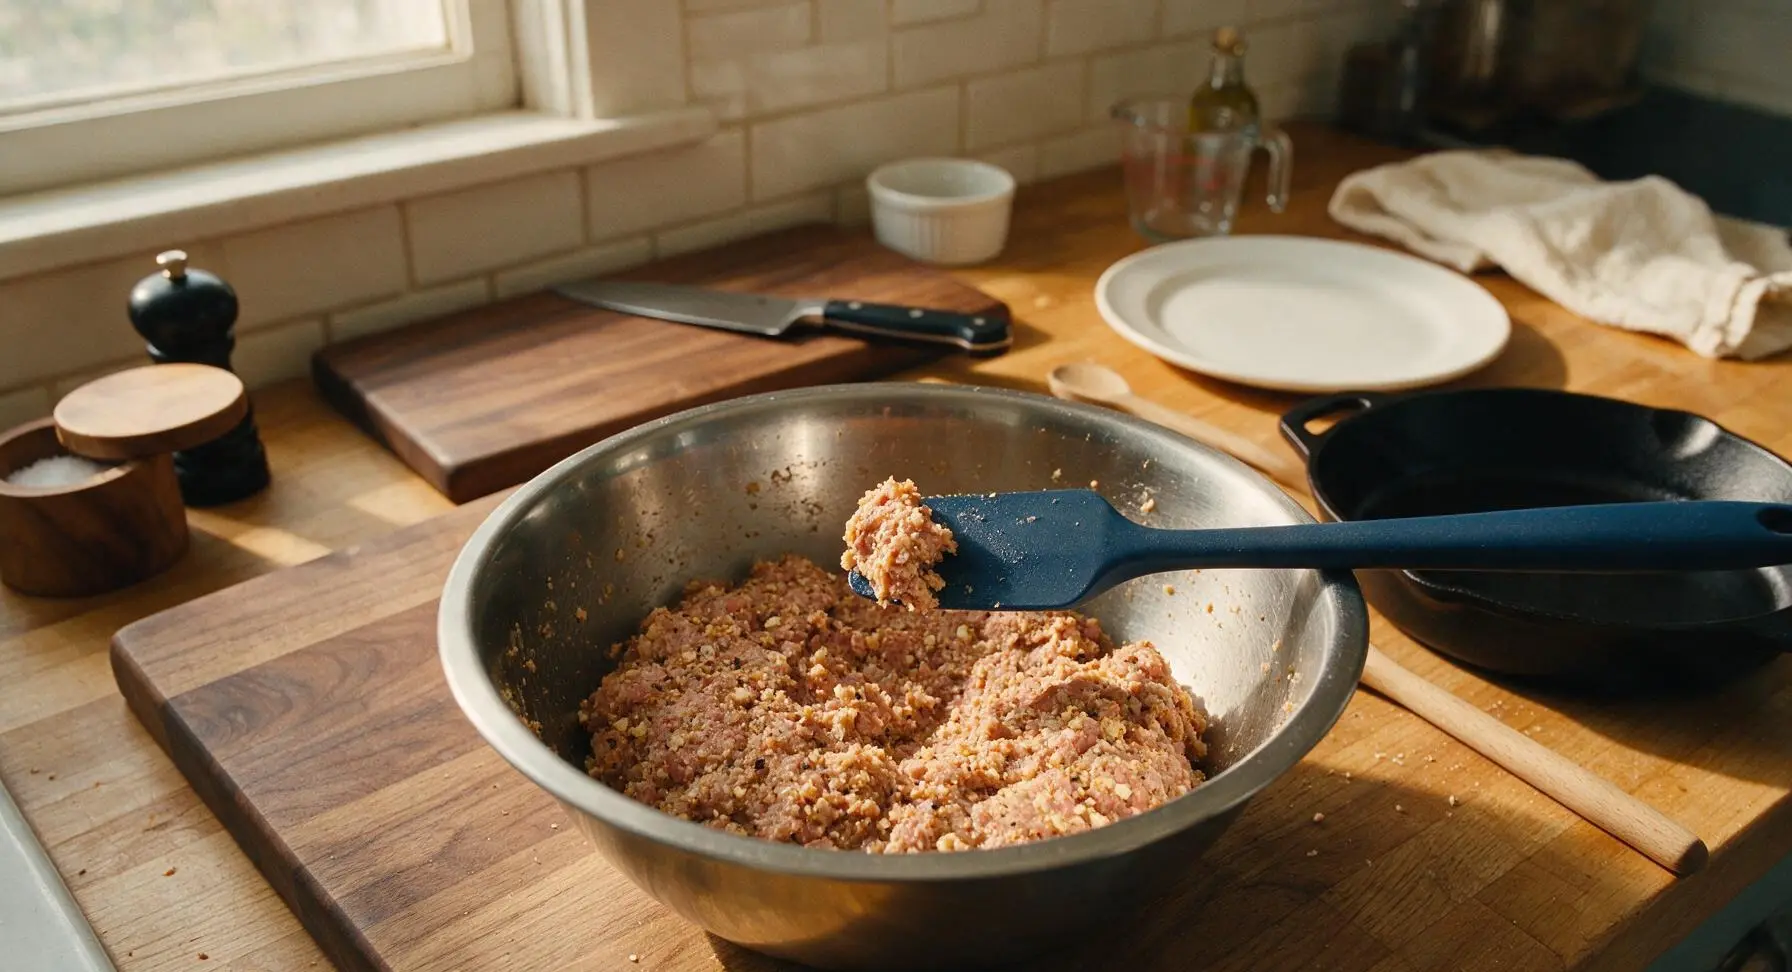
Step 2
step2:Mix Patty Ingredients
Step 2
step2:Mix Patty Ingredients
3

Portion and Shape Patties

Divide the combined patty mixture into 4 equal portions (approximately 140g each). Roll each portion into a tight ball between clean palms, then press gently to form a 1.5cm thick patty, roughly 8cm in diameter. Press a small shallow dimple into the center of each patty with your thumb—this prevents patties from puffing into a domed shape as they cook. Set shaped patties on a clean section of the maple cutting board.
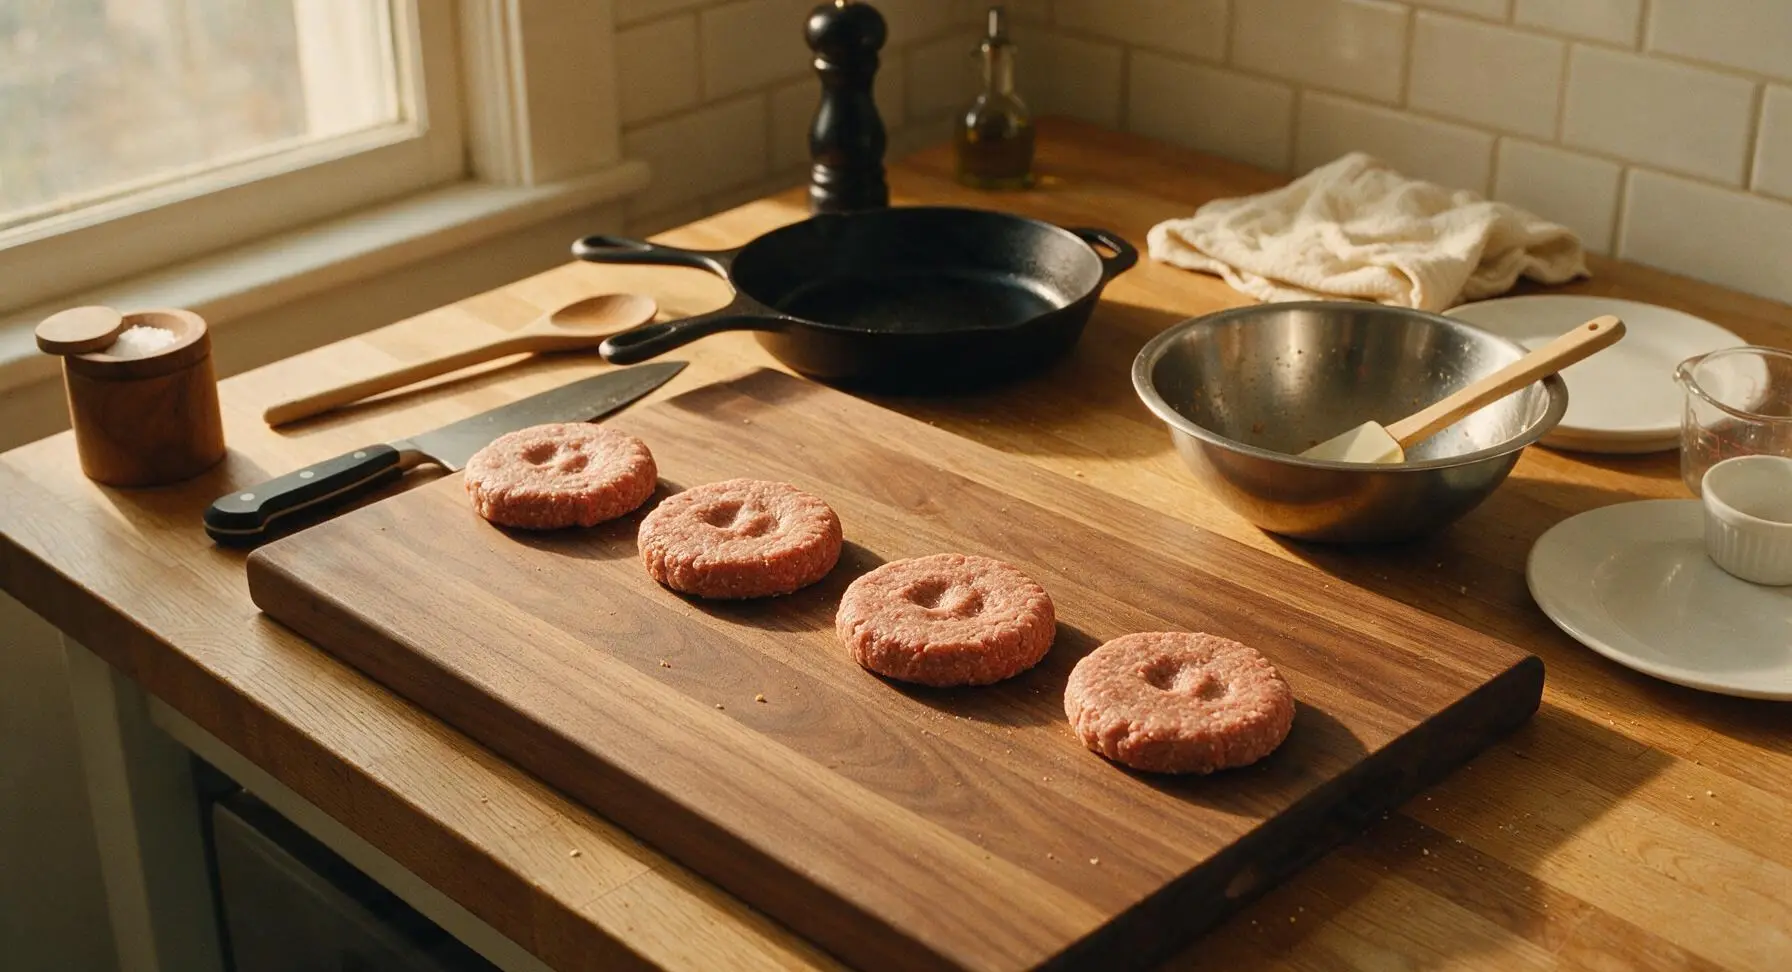
Step 3
step3:Portion and Shape Patties
4

Preheat Cooking Skillet

Place the 10-inch seasoned matte black carbon steel skillet on the stovetop burner set into the counter behind the main work surface, over medium heat. Add 2 tablespoons of canola oil, and heat for 2 minutes until the oil shimmers and sends up thin, wispy trails of heat. Do not let the oil reach a full rolling smoke, as this will burn patty exteriors before interiors cook through.
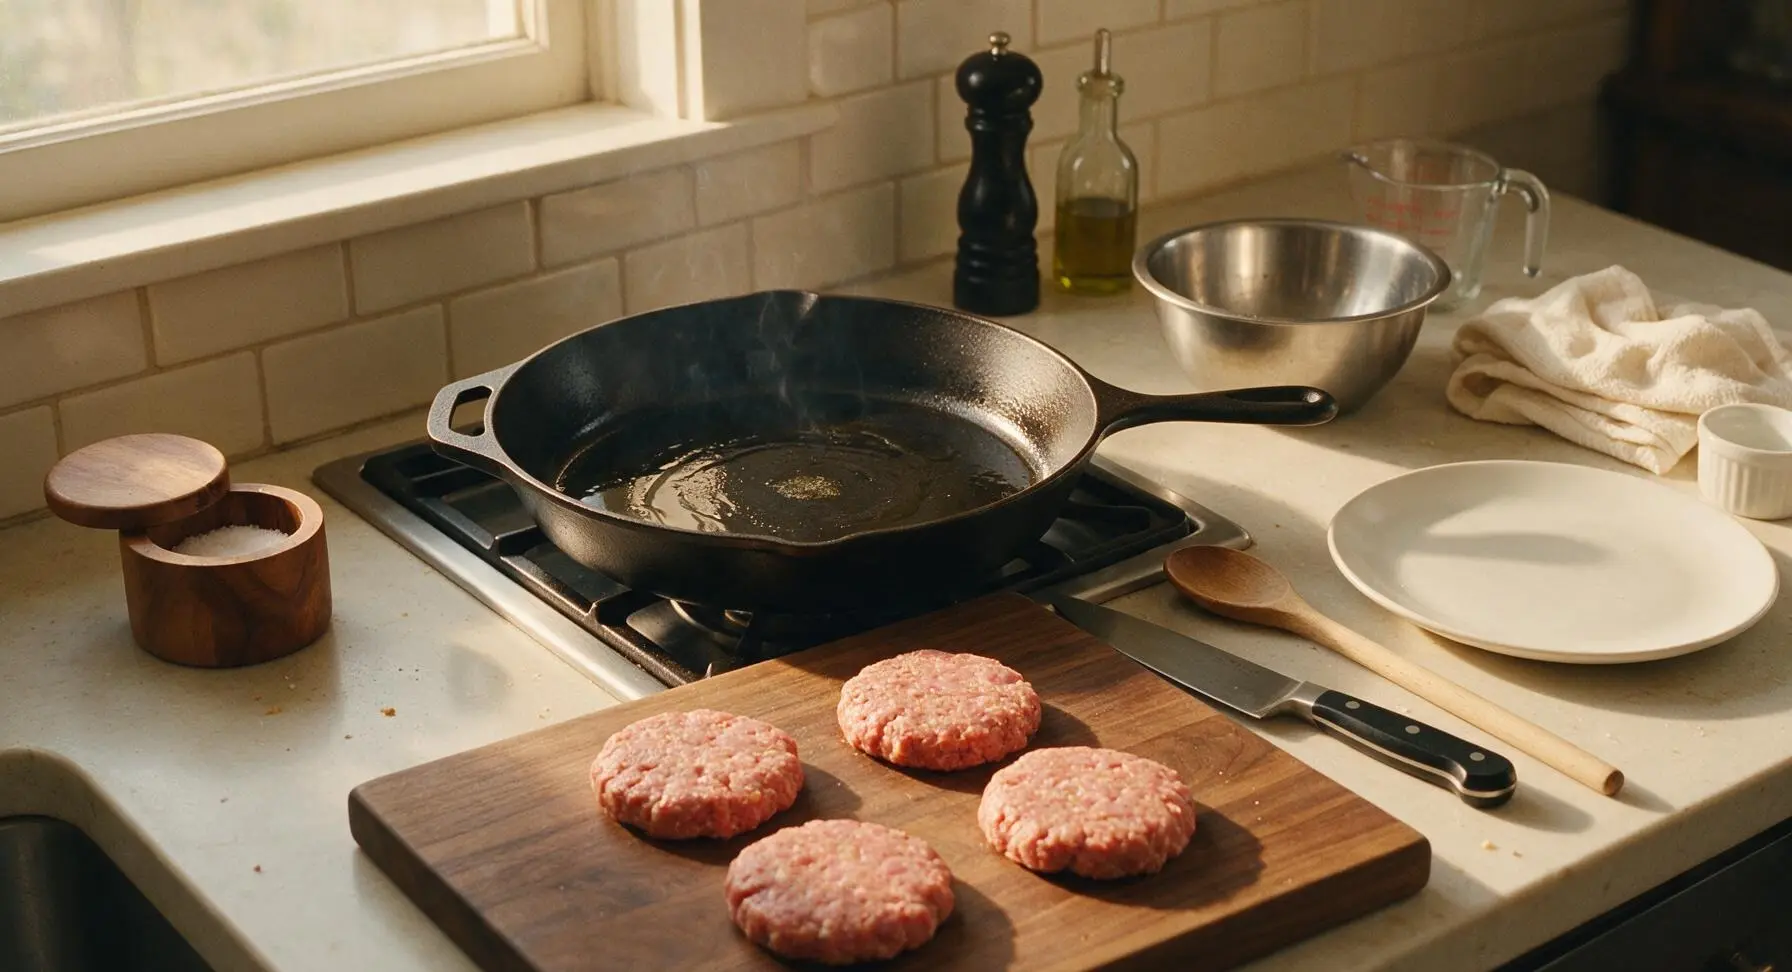
Step 4
step4:Preheat Cooking Skillet
5

Sear First Patty Side

Carefully place all four shaped patties into the preheated skillet, leaving 2cm of space between each patty to allow even air flow and browning. Cook undisturbed for 5 minutes over medium heat, until the downward-facing side forms a deep golden-brown, crisp crust. Resist the urge to move or press the patties during this time, as pressing squeezes out flavorful juices and creates dry patties.
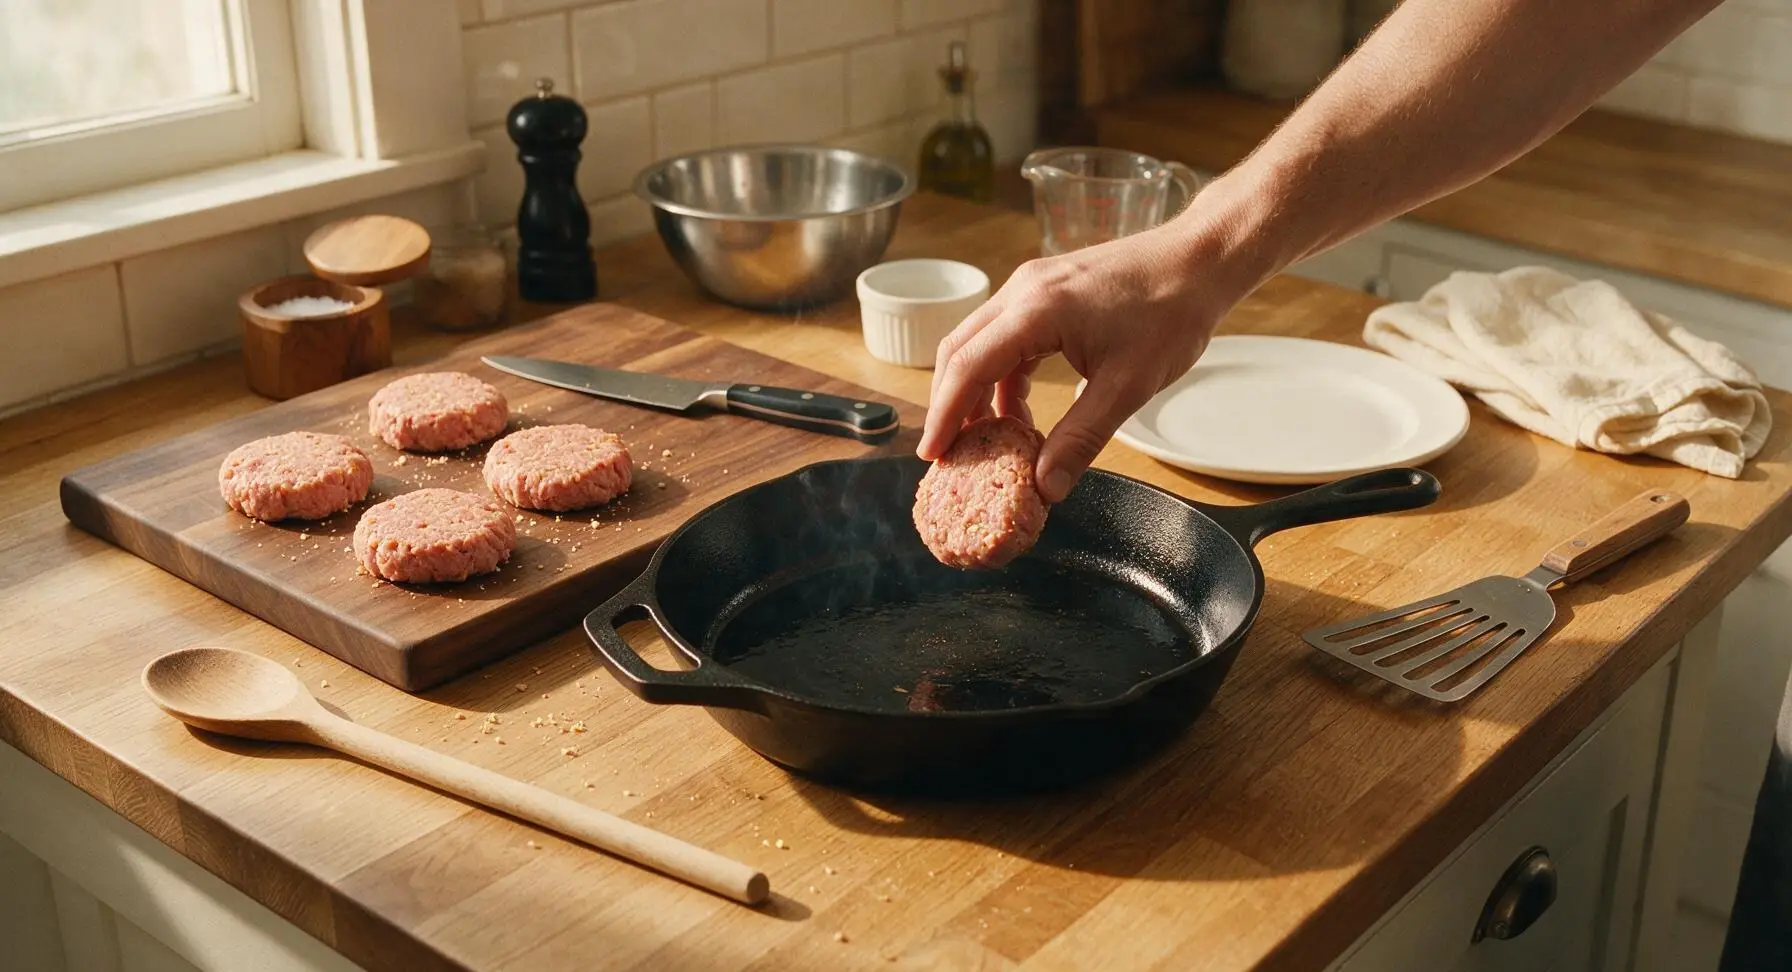
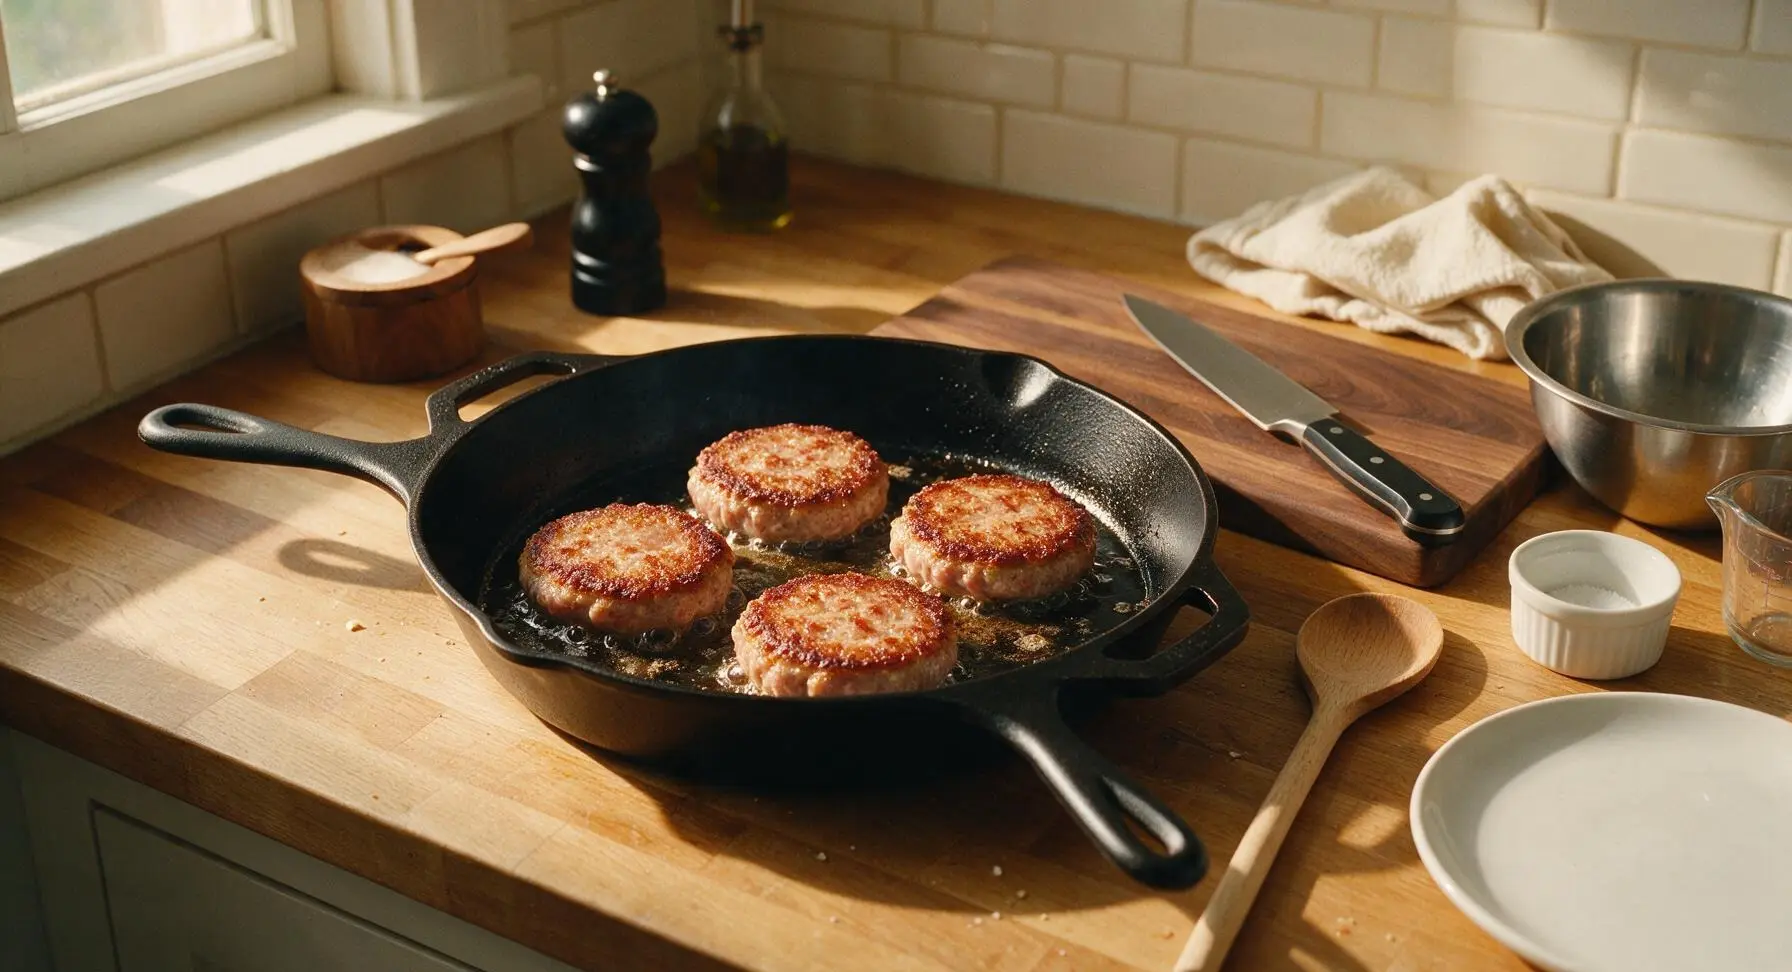
Step 5
step5:Sear First Patty Side
Step 5
step5:Sear First Patty Side
6

Flip Patties to Finish

Use the oak-handled stainless steel turner spatula to gently slide under each patty and flip it in one smooth, steady motion. Cook the second side for an additional 4-5 minutes, until the second side is equally golden and crisp, and the internal temperature of the patties reaches 71°C (160°F). Fully cooked patties will feel firm to the touch, with no raw pink mixture visible at the edges.
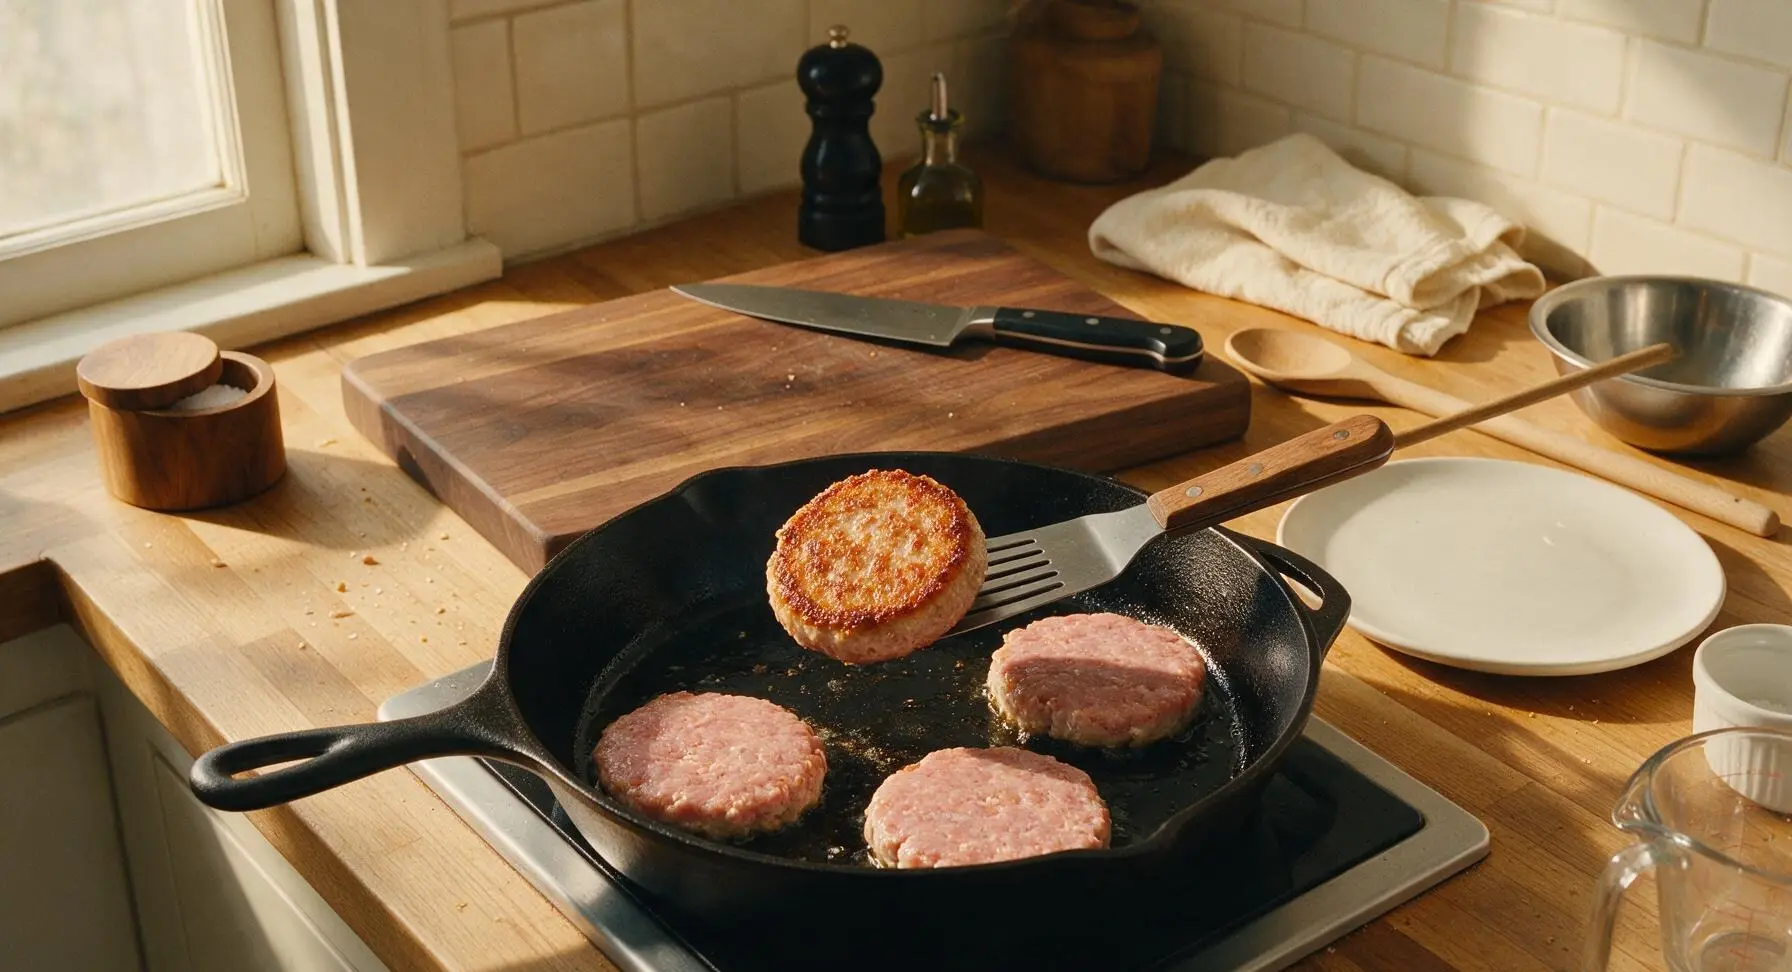
Step 6
step6:Flip Patties to Finish
7

Rest and Serve Patties

Transfer the fully cooked patties from the skillet to the cream white ceramic dinner plate, and let them rest for 2 minutes to allow internal juices to redistribute. Tuck a small sprig of fresh flat-leaf parsley next to the patties for a bright garnish, and serve with the small glass ramekin of maple mustard dip on the side if desired.
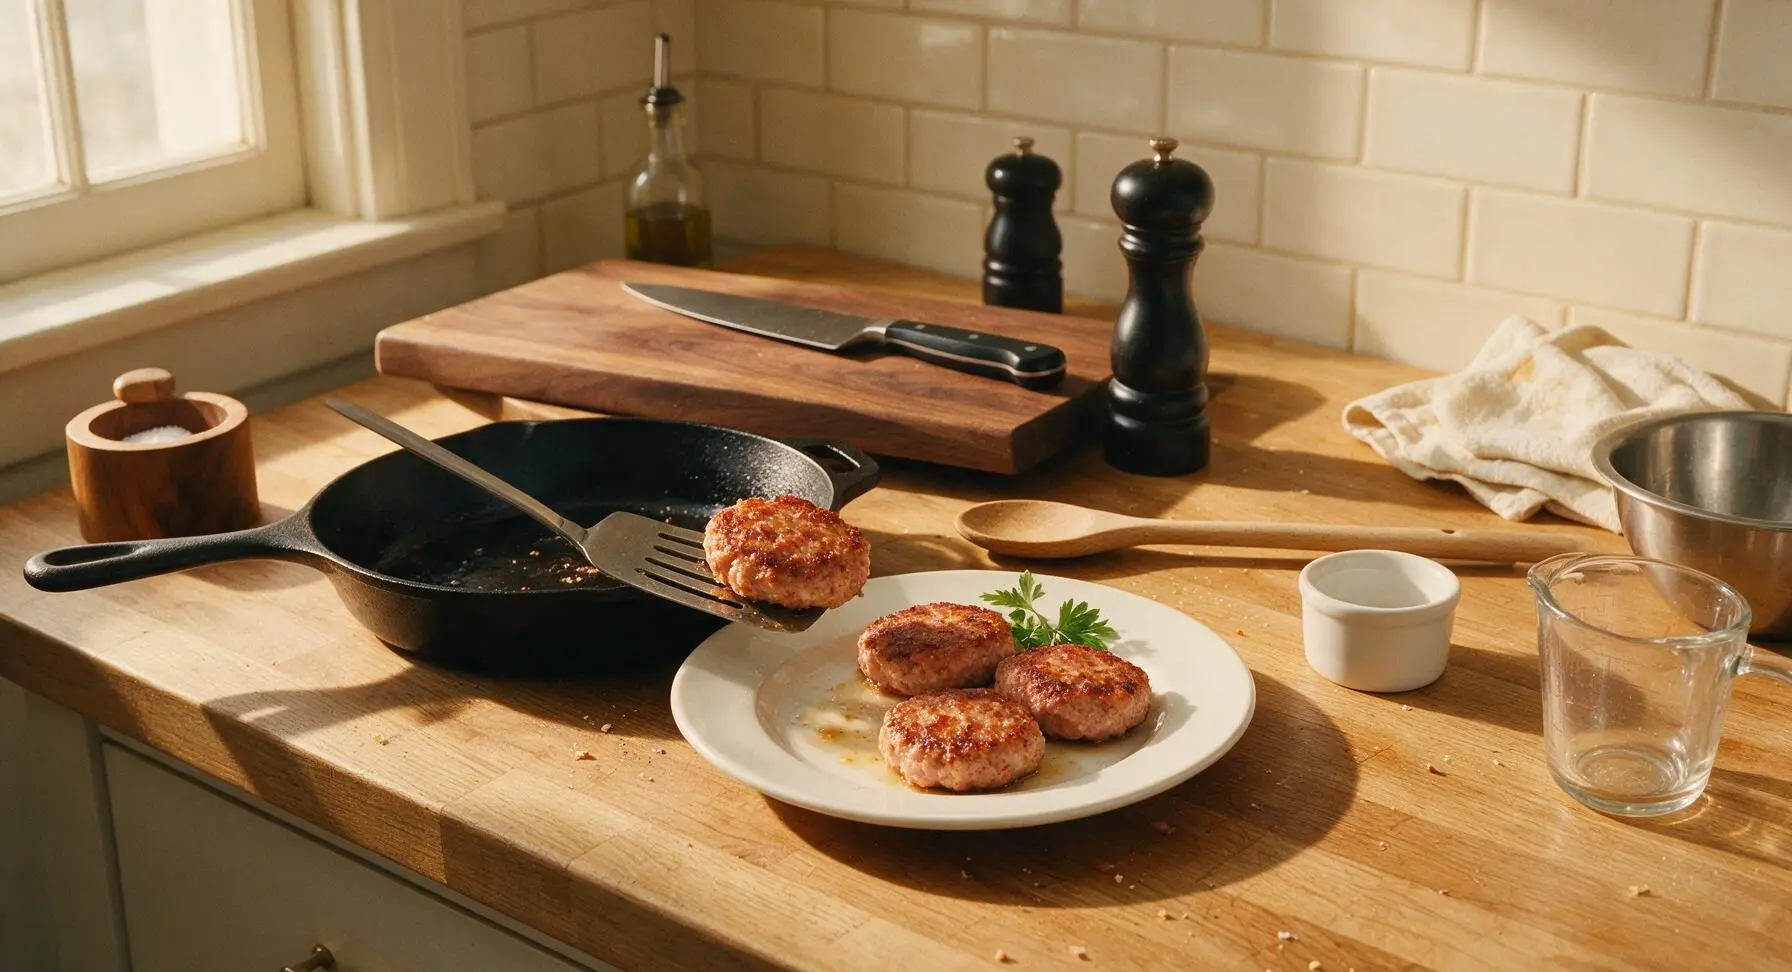
Step 7
step7:Rest and Serve Patties

Tips

1.Skip adding extra salt to the patty mixture: cured cooked ham is naturally high in sodium, and adding additional salt will result in an overly salty final dish. Taste a tiny crumb of the ground ham before mixing if you are unsure of its salt content, and adjust pepper levels to match.
2.Never press down on patties with your spatula while cooking: squeezing the patties against the hot pan forces out rendered fat and flavorful moisture, leading to dry, dense patties instead of tender, juicy ones with a crisp crust.
3.These patties are freezer-friendly for quick future meals: shape raw patties, separate them with small squares of parchment paper, and store in an airtight container for up to 3 months. Cook directly from frozen, adding 2-3 minutes of cook time per side, until the internal temperature reaches 71°C.


✨ You May Also Like

Main Course
🍜 United Kingdom

A showstopping classic of tender seared beef, savory mushroom duxelles, and crisp prosciutto wrapped in flaky golden puff pastry, baked to juicy perfection.

⏱️ 2 hours 1Main Course ★ 4.7
Main Course
🍜 India

Tender charred marinated chicken simmered in a rich, spiced creamy tomato sauce, this iconic Anglo-Indian curry pairs perfectly with basmati rice or warm naan.

⏱️ 50 minuteMain Course ★ 4.6
Main Course
🍜 Thailand

Classic tangy, sweet, and savory Thai stir-fried rice noodles with shrimp, tofu, and crunchy garnishes, balancing all five core Thai flavor profiles.

⏱️ 30 minuteMain Course ★ 4.5
Main Course
🍜 United Kingdom

Crispy golden beer-battered cod and fluffy double-fried chips, served with tangy tartar sauce and malt vinegar: the timeless, beloved British pub comfort classic.

⏱️ 45 minuteMain Course ★ 4.7
Main Course
🍜 Mexico

Smoky, chile-marinated pork tacos with caramelized pineapple, fresh cilantro, and lime: a beloved classic Mexican street food perfect for casual summer gatherings.

⏱️ 1 hour 45Main Course ★ 4.8
Main Course
🍜 United States

Crunchy Fritos corn chips layered with savory beef chili and melted cheddar, topped with cool, zesty fixings for a beloved, cozy Tex-Mex comfort food.

⏱️ 35 minuteMain Course ★ 4.8

Ham Patty:Frequently Asked Questions

1.Can I use raw ground ham instead of ground cooked ham for these patties? ▾
I don’t recommend it! Raw ground ham requires much longer cooking to reach a safe internal temperature, which will leave your patties tough and dry instead of juicy. If raw ham is all you have, parcook it lightly first, drain excess grease, then let it cool fully before mixing your patty blend to keep texture perfect.
2.Why do my ham patties always fall apart when I try to sear them? ▾
That almost always traces back to skimping on binders or over-handling the mix. Make sure you use the full large egg and measured plain panko to hold the ground ham and onion together, and don’t overmix—stop as soon as ingredients are evenly combined. Chilling patties 10 minutes before searing also helps them set and stay intact.
3.Can I substitute regular fine breadcrumbs for the plain panko in this recipe? ▾
You can, but you’ll get a slightly denser, less crisp crust. If using fine dry breadcrumbs, cut the amount by 2 tablespoons, since they absorb more moisture than light, flaky panko and can make patties dry if you use the full measure. Skip seasoned breadcrumbs, though—they’ll clash with the savory ham and Dijon flavor.
4.Do I need to sauté the yellow onion first before mixing it into the patty mix? ▾
You don’t have to! Grating the small yellow onion finely (instead of dicing it) lets it cook fully during the quick pan-sear, adding sweet, bright onion flavor without crunchy raw bits. If you prefer deeper caramelized onion taste, you can sauté diced onion for 3 minutes first, just let it cool fully before mixing so it doesn’t cook the egg binder early.
5.How do I keep these ham patties juicy instead of drying out while searing? ▾
Two easy tricks make all the difference! First, don’t overwork the patty mix—tightly packed, over-mixed patties turn tough. Second, sear over medium heat (not high!) for 3-4 minutes per side, and resist the urge to press down on patties with your spatula, which squeezes out all the delicious, juicy fat and moisture you want locked in.
6.What’s the purpose of the Dijon mustard here? Can I leave it out entirely? ▾
Dijon adds subtle tangy, umami depth that cuts through the rich saltiness of the ham—these patties won’t taste strongly of mustard at all! If you need to skip it, swap in 1 teaspoon of yellow mustard or a pinch of smoked paprika for a similar flavor boost, but you’ll miss that nice balanced zing if you leave it out completely.
7.Can I make these ham patties ahead of time for weekly meal prep? ▾
Absolutely! You can mix and shape the patties, layer them between parchment paper in an airtight container, and store them in the fridge for up to 3 days before searing, or freeze them for up to 3 months. Thaw frozen patties in the fridge overnight before searing, and they’ll cook up just as juicy as fresh-made batches.
8.What kind of pan works best for getting that crisp golden seared crust? ▾
A heavy-bottomed cast iron skillet or stainless steel pan works best here, since they hold even heat and develop that perfect maillard crust without sticking, as long as you add a thin layer of oil and let the pan preheat fully before adding patties. Nonstick pans work too, but you’ll get a slightly less crisp, deep golden sear.
9.Do I need to add extra salt to the patty mix? ▾
Since ground cooked ham is already cured and seasoned, you almost never need extra salt! I always recommend cooking a tiny test pinch of the patty mix in the pan first, letting it cool, and tasting it before you add any additional salt. Most of the time, the ham’s salt and Dijon’s tang provide more than enough seasoning for the whole batch.
10.What are the best sides to serve with these pan-seared ham patties? ▾
These patties are incredibly versatile! They’re a classic breakfast pair with sunny-side up eggs and flaky buttermilk biscuits, or work for a quick weeknight dinner alongside roasted broccoli or sweet potato wedges. They also make a great swap for a burger patty on a toasted bun with extra Dijon and pickles for an easy lunch.
11.How do I know when the ham patties are fully cooked and safe to eat? ▾
Since these are made with pre-cooked ham, you don’t need to cook them to an extremely high internal temperature—you’re just warming them through and building that crisp crust. They’re done when both sides are deep golden brown, and the internal temp hits 145°F on an instant-read thermometer, which takes 6-8 minutes total over medium heat.

Comments (8)

1 week ago

OMG these ham patties are SO good! I threw them together last minute before my buddy came over for the game and we both ate two each. Super juicy, no dry weird texture like the store-bought pre-made ones. 12 minute cook time is no joke, perfect for when you don’t feel like slaving over the stove.

3 days ago

Really solid recipe! I added a little pinch of paprika and garlic powder to the mix because I love extra flavor, but the base method is perfect for getting that juicy center without burning the outside. Great for meal prep, I made a batch on Sunday and ate them for breakfast all week with eggs.

2 days ago

Game changer for family dinner! My 7 and 9 year old are so picky about meat texture but they asked for seconds before I even sat down to eat. I was worried they’d come out dry since I always overcook pork, but the pan-sear trick here works like magic.

yesterday

So glad your kids loved them, Lisa! The key is not pressing down on the patties while they cook — that squeezes out all the juicy fat that keeps them tender. Hope they become a regular on your family dinner rotation!

2 hours ago

Taste was good but mine fell apart a little when I flipped them? Did I not mix the binder enough? I used plain breadcrumbs like the recipe said.

30 minutes ago

I had that happen the first time too! Letting the patty mixture sit in the fridge for 10 minutes before forming them helps everything stick together way better, no more falling apart when you flip.

yesterday

Made these for a potluck at work and everyone was asking for the recipe! I topped each with a little pineapple slice the last minute of searing and it was chef’s kiss. So easy even someone who barely cooks like me can pull it off.

2 hours ago

Love the pineapple addition, Carlos! That sweet-savory combo is such a classic match for ham, I might have to add that as a variation tip in the recipe notes. Thanks for sharing your hack!

5 days ago

Who knew homemade ham patties were this easy? I’ve been buying the frozen ones for years and they don’t even compare. These are juicy, flavorful, and I love that I can control what goes in them, no weird preservatives. 10/10.

3 days ago

Right?! I stopped buying the frozen ones too after making these. I mix in a little diced onion sometimes and it takes them to the next level.

2 days ago

So happy you’re ditching the frozen versions for these, Becky! Diced onion is such a great add-in, totally agree with Ron on that one.

1 week ago

Really tasty! I made these for brunch last weekend and they were a hit, though I found them a little too salty for my taste. Next time I’ll use lower-sodium ham to cut that a bit.

5 days ago

Oh good call on the low-sodium ham! I used regular honey ham and mine were a touch salty too, I’ll swap that out next batch.

3 days ago

Great note, Zoe! Salt levels can vary a lot depending on what brand of ham you use, so low-sodium is a perfect swap if you’re sensitive to salt. Rinsing the ground ham quickly and patting it dry before mixing can also help cut excess salt if you only have regular ham on hand.

2 weeks ago

Meal prep win! I make a double batch of these every Sunday, portion them out with roasted veggies and mashed potatoes, and they hold up perfectly all week in the fridge. No dryness even when I reheat them in the microwave, which is wild. 12 minute cook time makes this doable even on my laziest Sunday.

1 week ago

Wait how do you reheat them without getting rubbery? I made a batch last week and microwaved them for work lunch and they turned all tough, would love to steal your trick!

5 days ago

Great question, Lila! For the best reheated texture, zap them in the microwave for 30 seconds at 50% power with a damp paper towel over top, or toss them back in a dry pan over low heat for a minute per side. That keeps them juicy instead of tough and rubbery — works like a charm every time!



