
ham tater tot breakfast casserole
intro
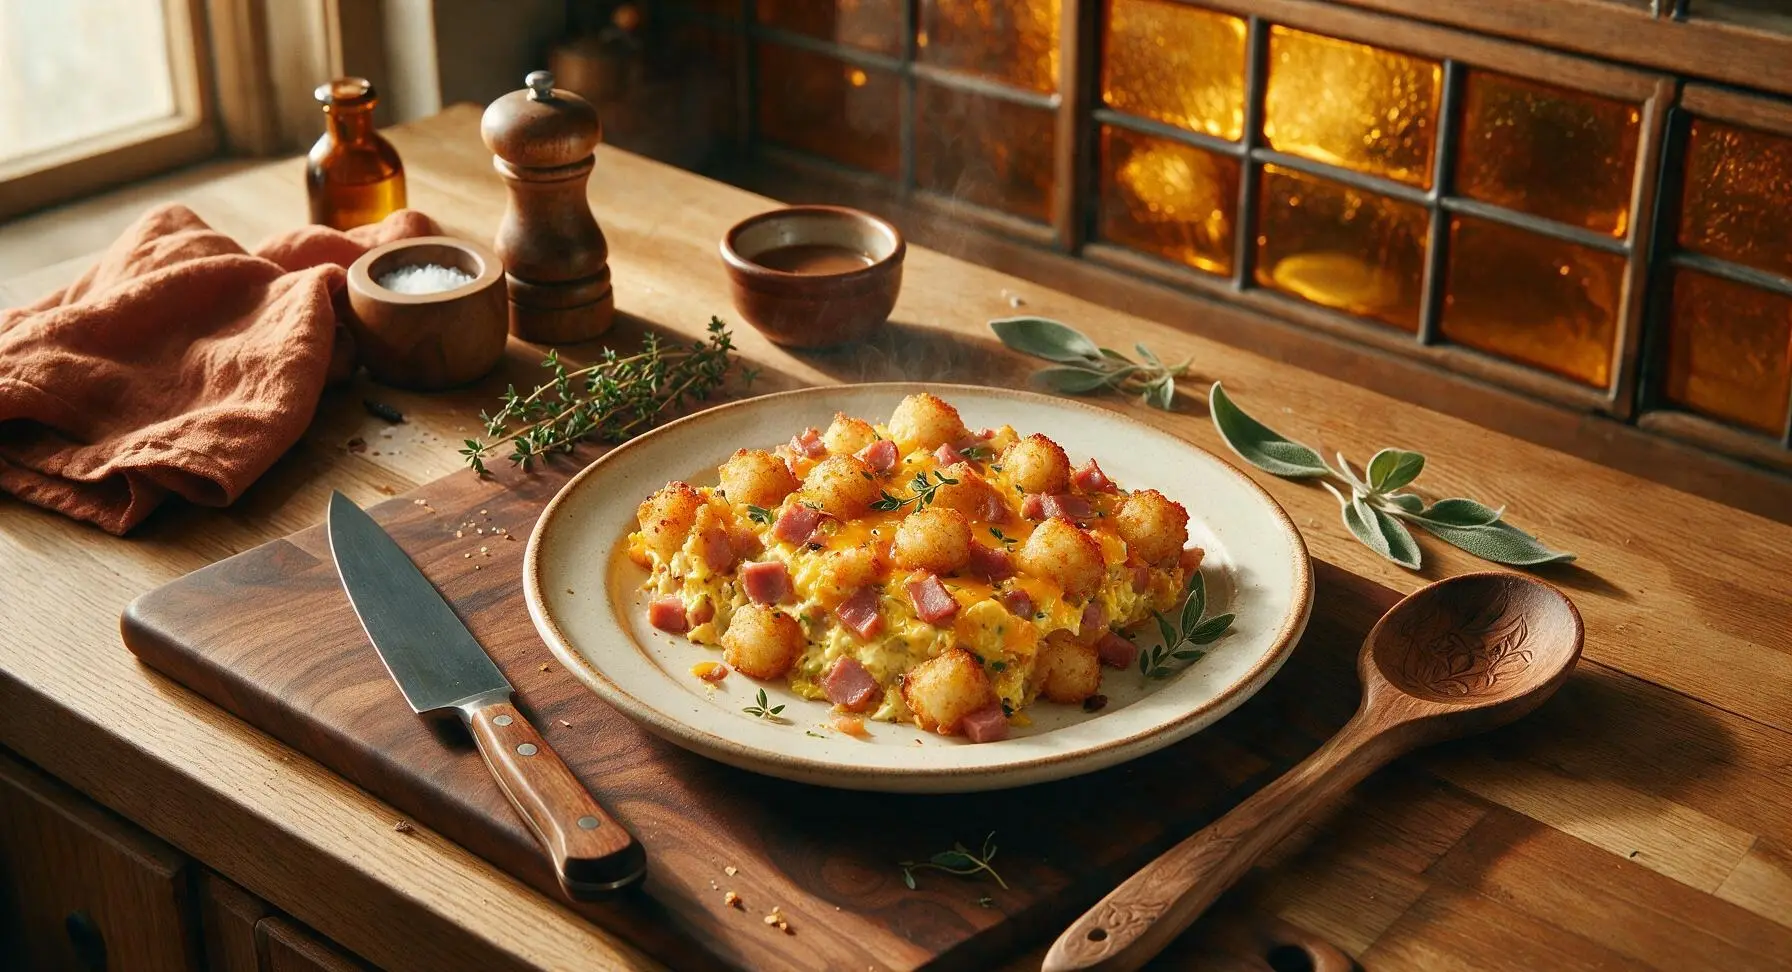
Crispy golden tater tots, smoky diced ham, fluffy egg custard, and melted cheddar bake into a hearty, crowd-pleasing make-ahead breakfast perfect for gatherings and lazy weekends.
Ingredients
Steps
Prep Dish, Preheat Oven
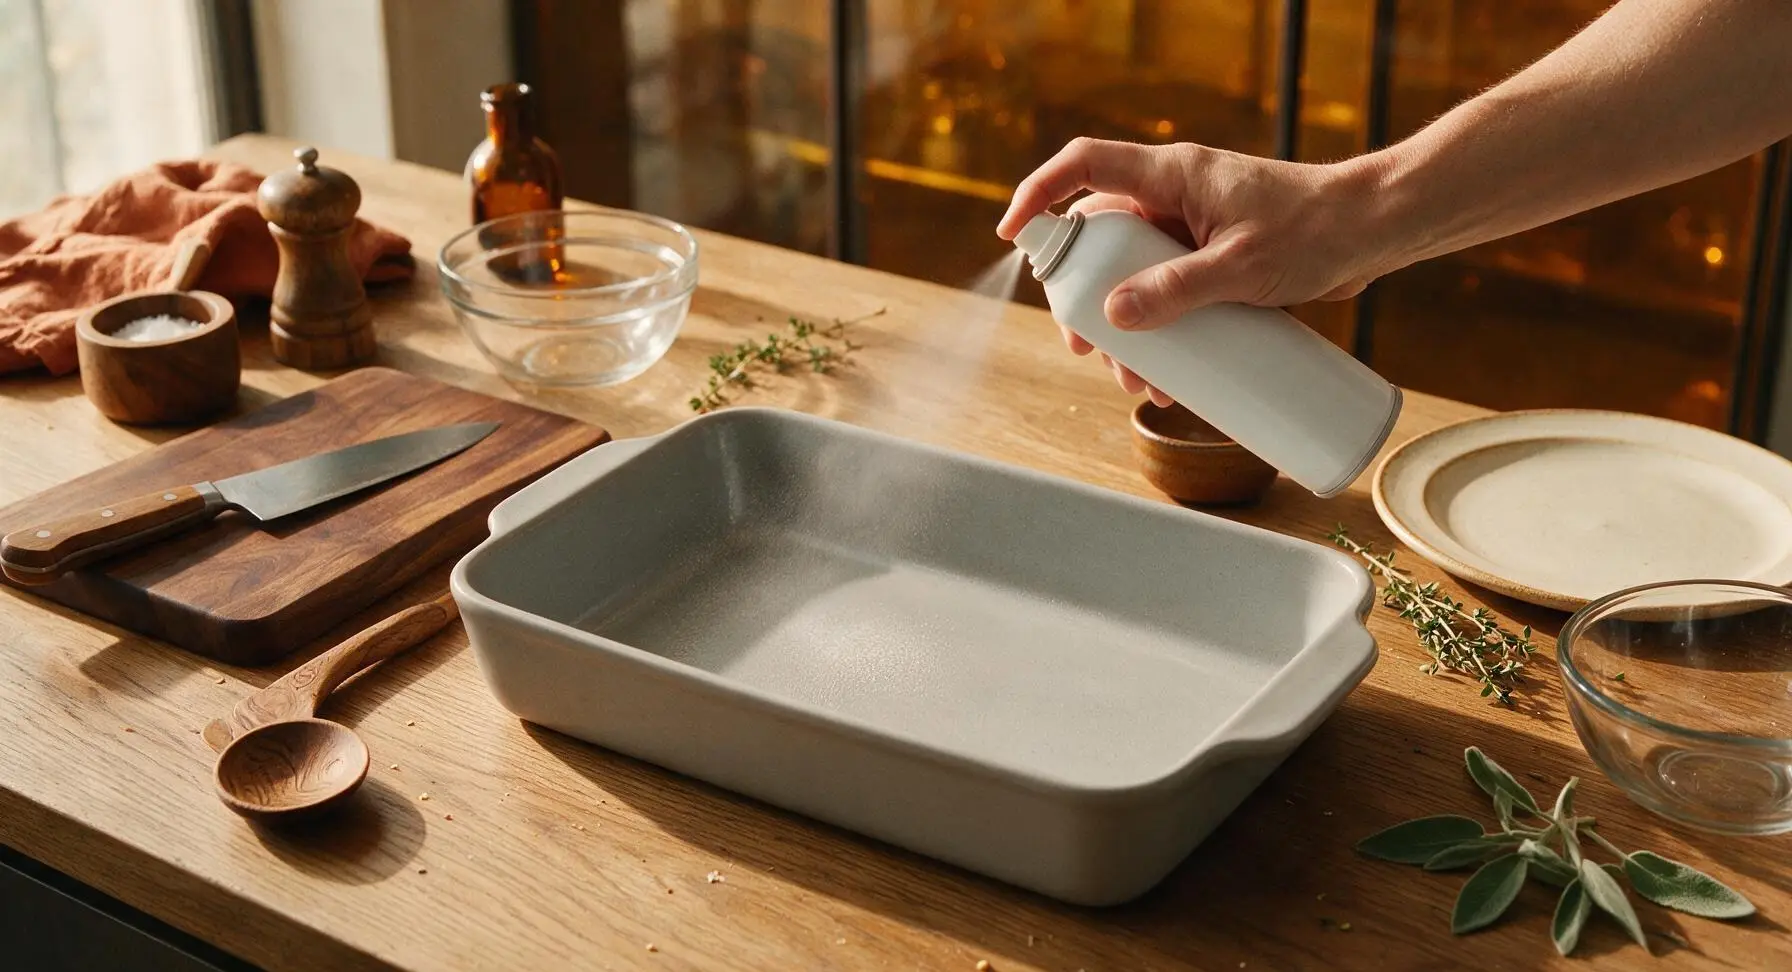
Preheat your oven to 190C (375F). Place the 9x13 inch matte light grey ceramic baking dish in the center of the counter. Spray the entire interior surface (bottom and sides) evenly with the non-stick cooking spray, holding the can 6 inches away to avoid thick, sticky buildup. Set the dish aside.
Layer Ham and Cheese Base
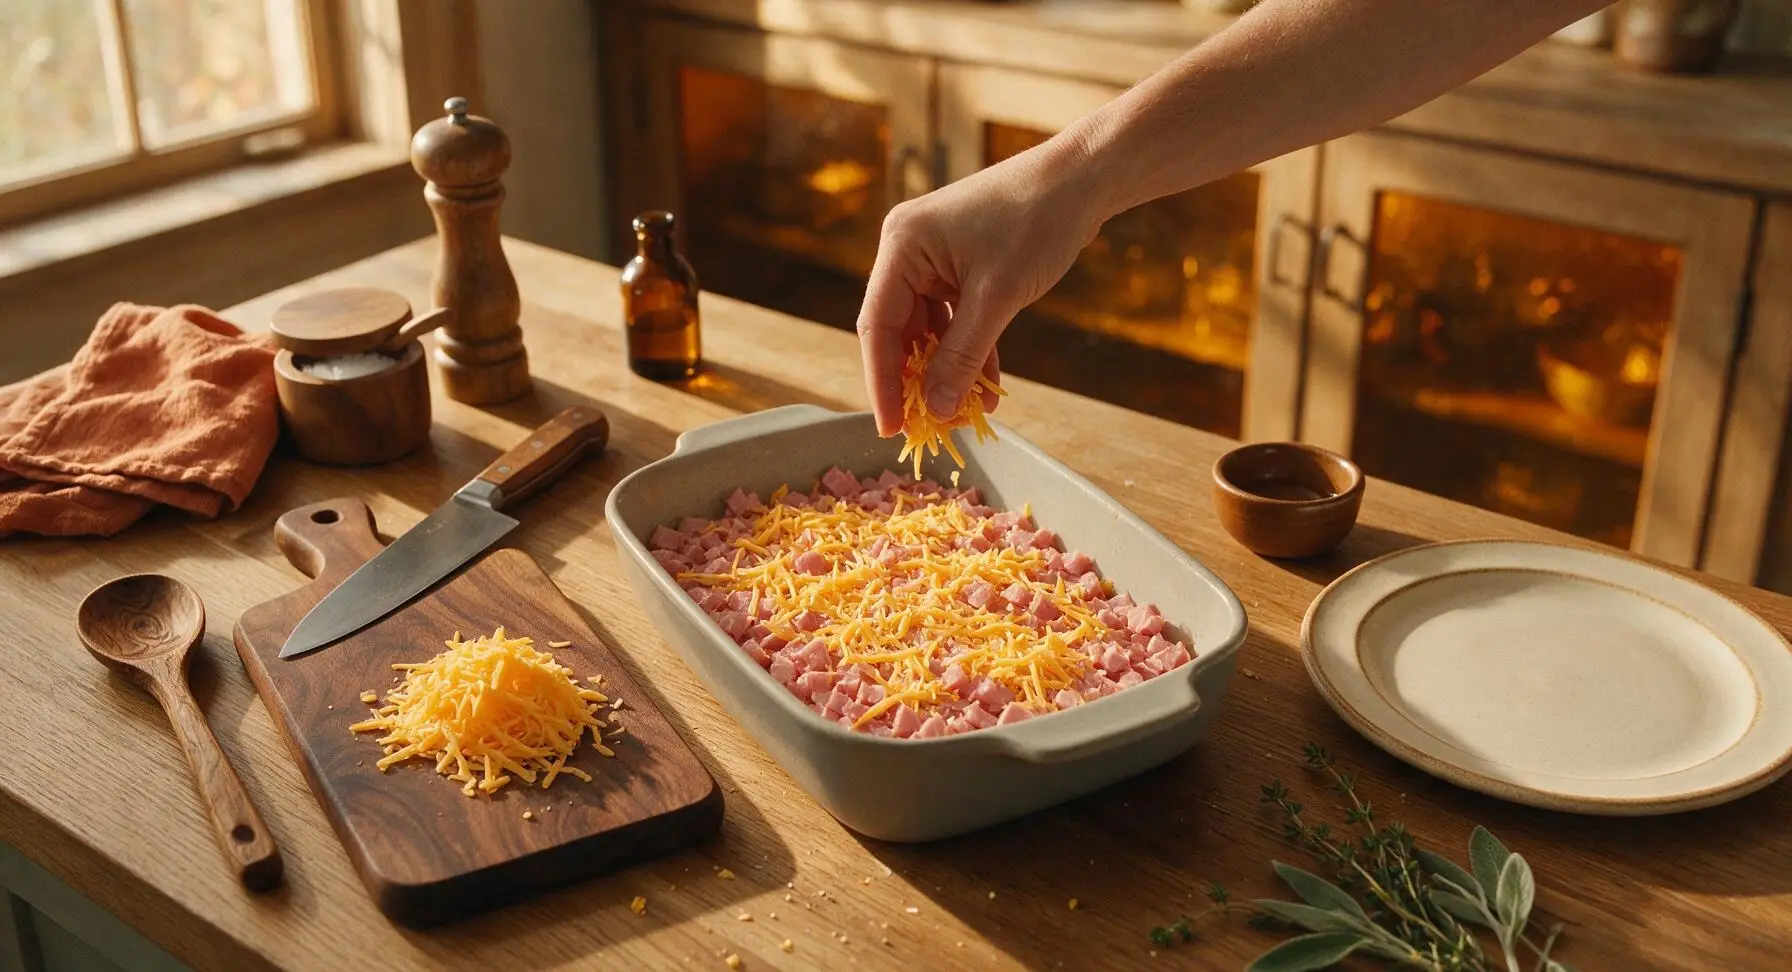
Spread the diced smoked ham in an even, single layer across the bottom of the prepared baking dish. Sprinkle 1 cup (110g) of the shredded sharp cheddar cheese evenly over the top of the ham, leaving no bare spots of ham visible. Do not press the cheese or ham down tightly, to keep the layer light.
Arrange Tater Tot Layer
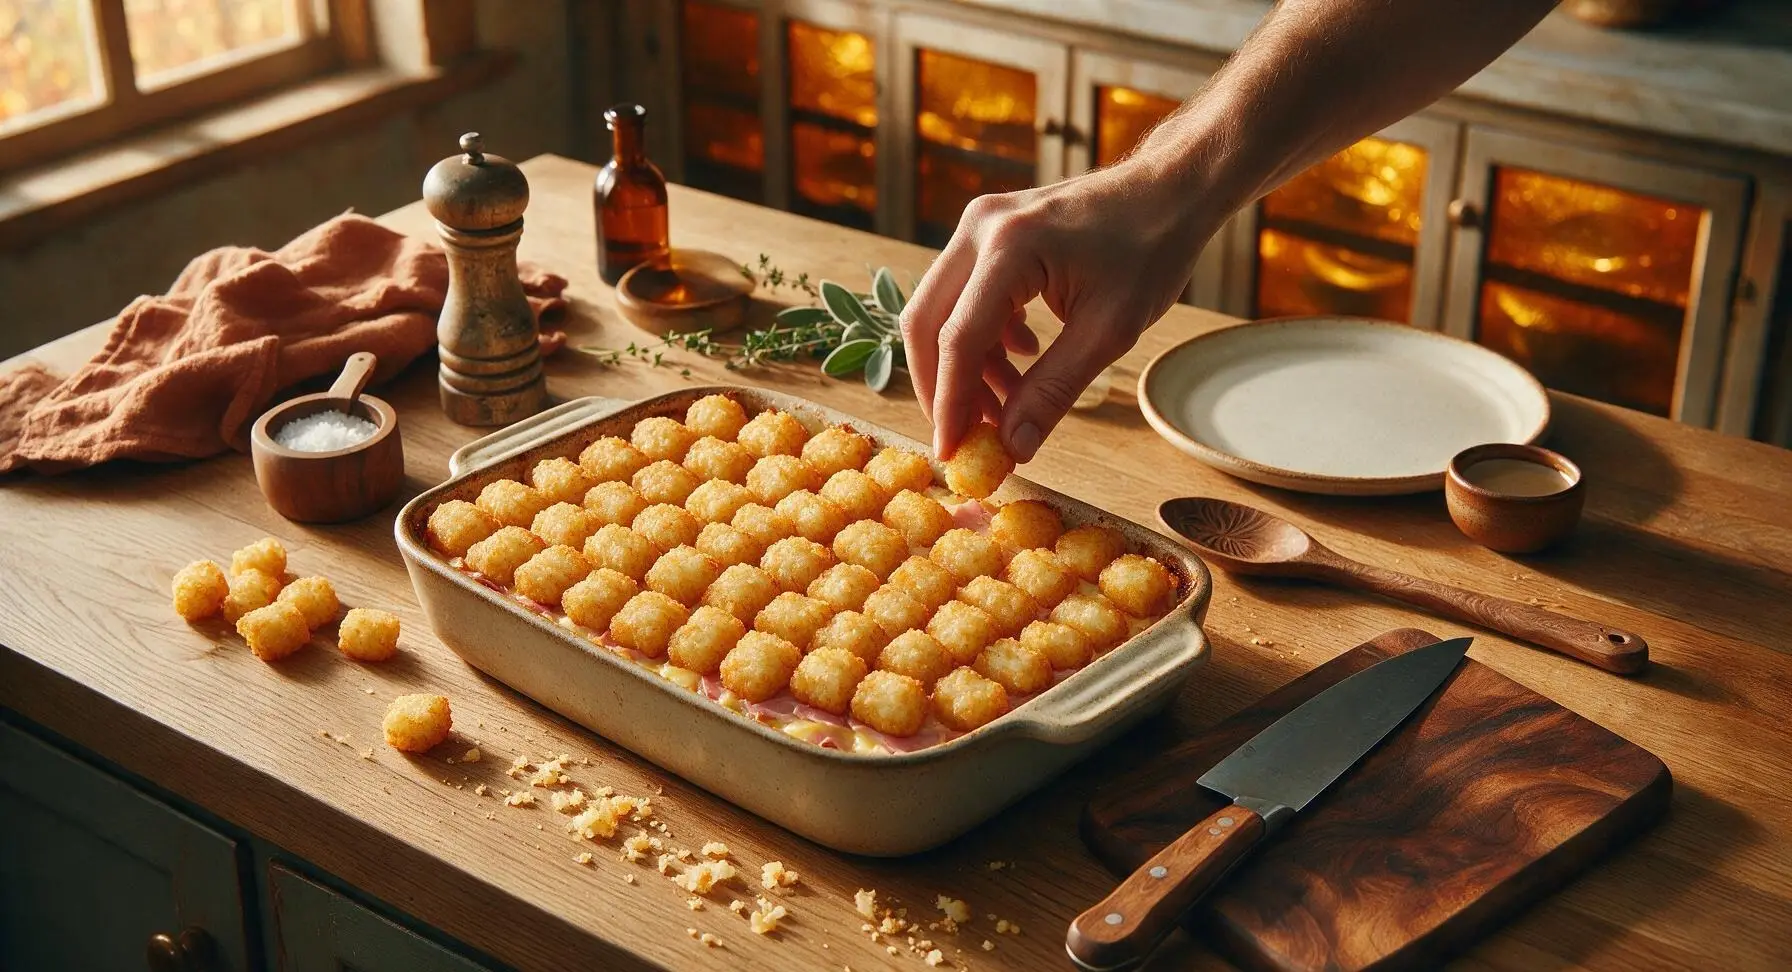
Take the frozen tater tots and arrange them in a single, tightly packed even layer across the top of the ham and cheese base, flat side down for maximum crispiness. Do not thaw the tater tots first—frozen tots will crisp better in the oven and not turn mushy. Ensure there are no large gaps between tots so the egg custard does not bubble up over the top during baking.
Whisk Egg Custard Mixture
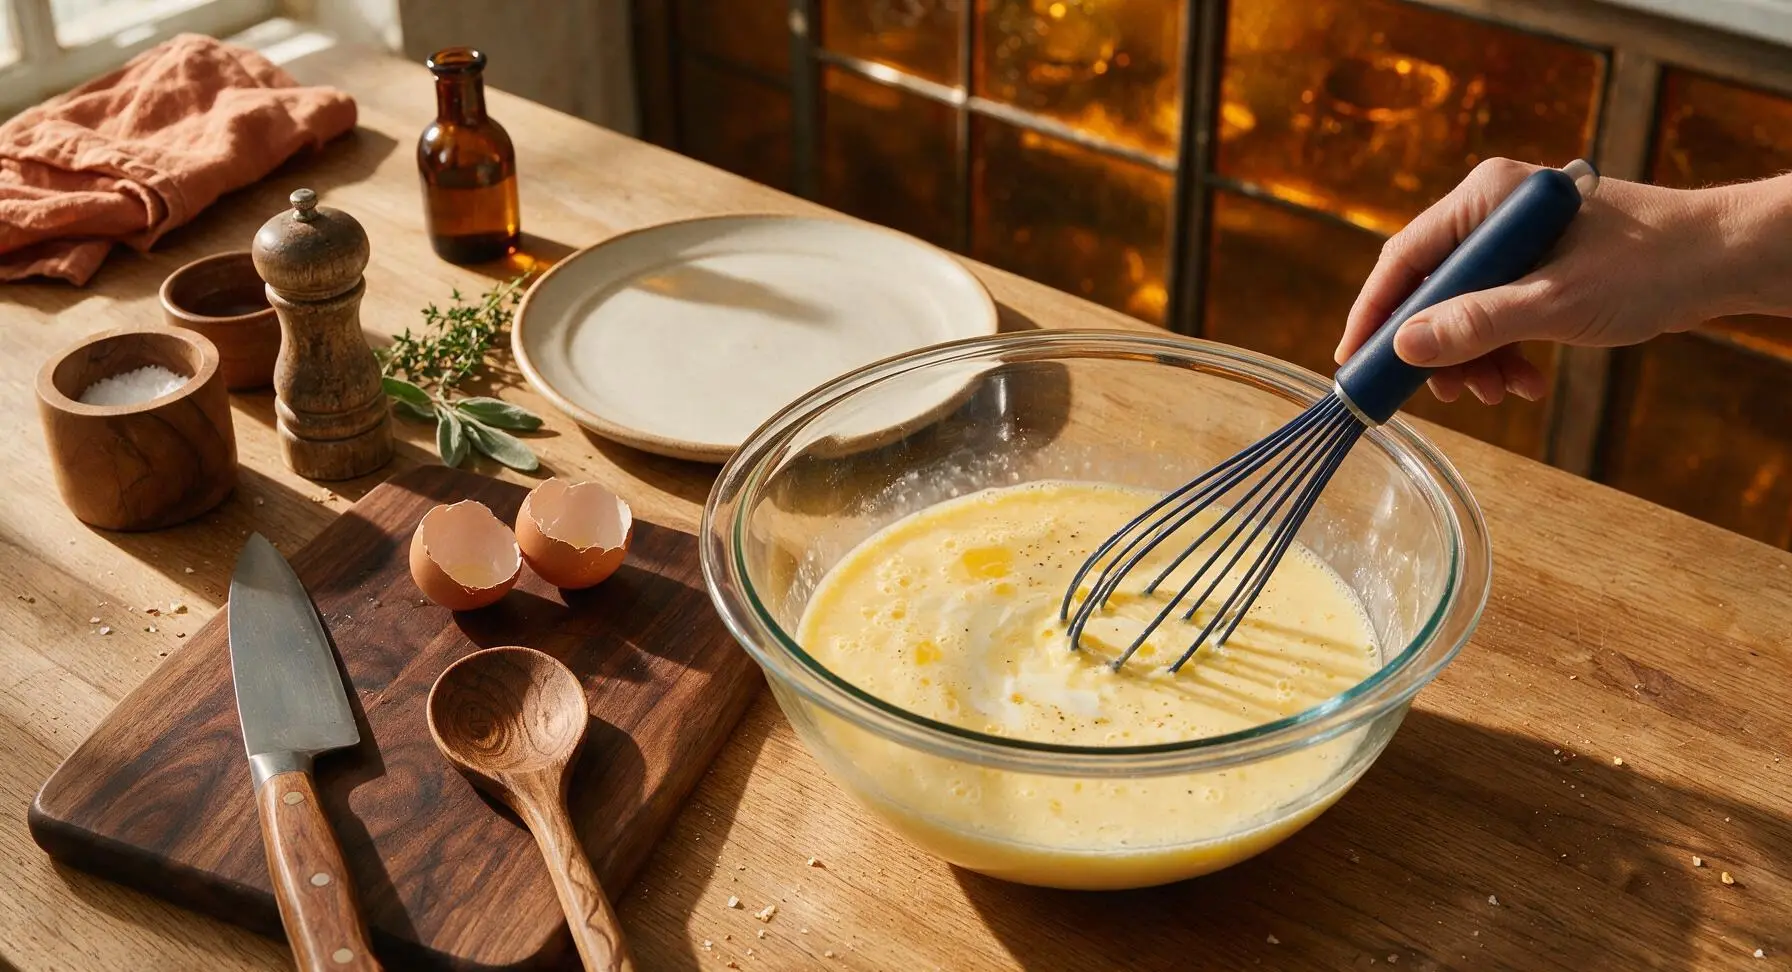
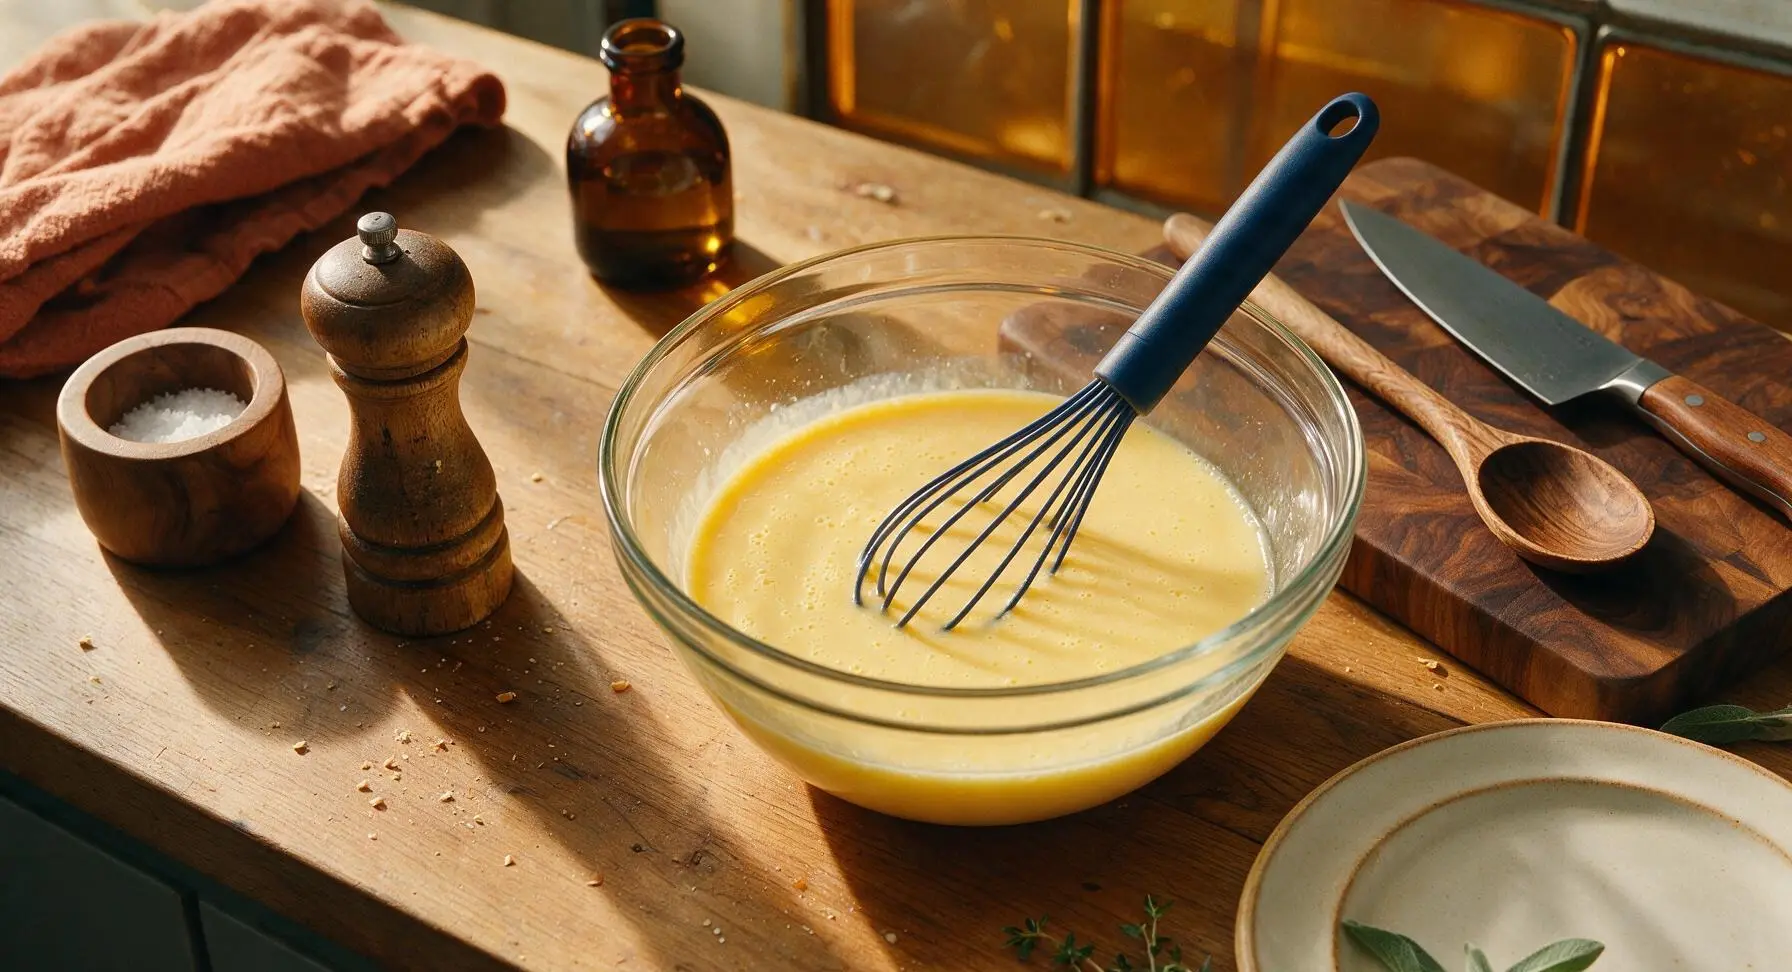
Crack all 8 large eggs into the clear glass mixing bowl. Add the whole milk, sour cream, kosher salt, black pepper, garlic powder, and smoked paprika. Use the navy-handled silicone whisk to mix the ingredients for 45-60 seconds, until completely smooth, with no streaks of egg white or lumps of sour cream remaining. The custard should be a uniform pale yellow color with tiny bubbles across the surface.
Pour Custard Over Layers
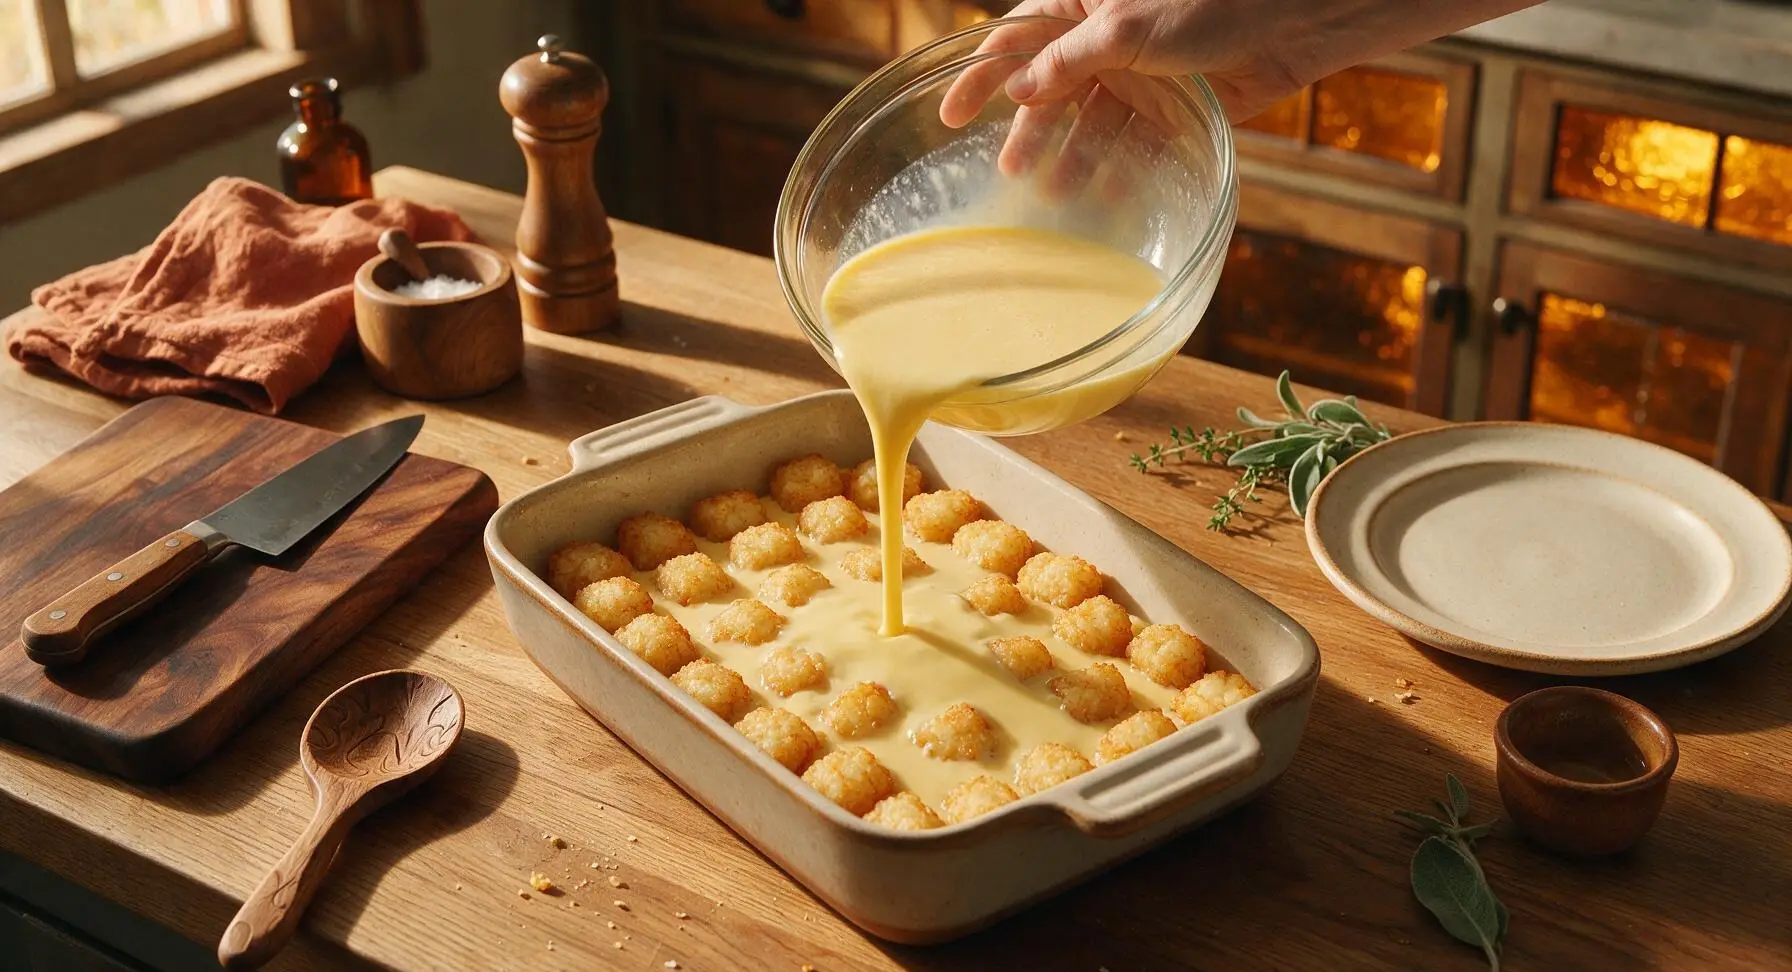
Slowly pour the entire egg custard mixture evenly over the arranged tater tots in the baking dish. Pause halfway through pouring to let the custard seep down between the tots and into the ham and cheese layer, to avoid overflow. The custard should come just to the bottom of the tater tot layer, not fully covering the tops of the tots (this keeps the tot tops crispy while baking).
Bake Covered First Stage
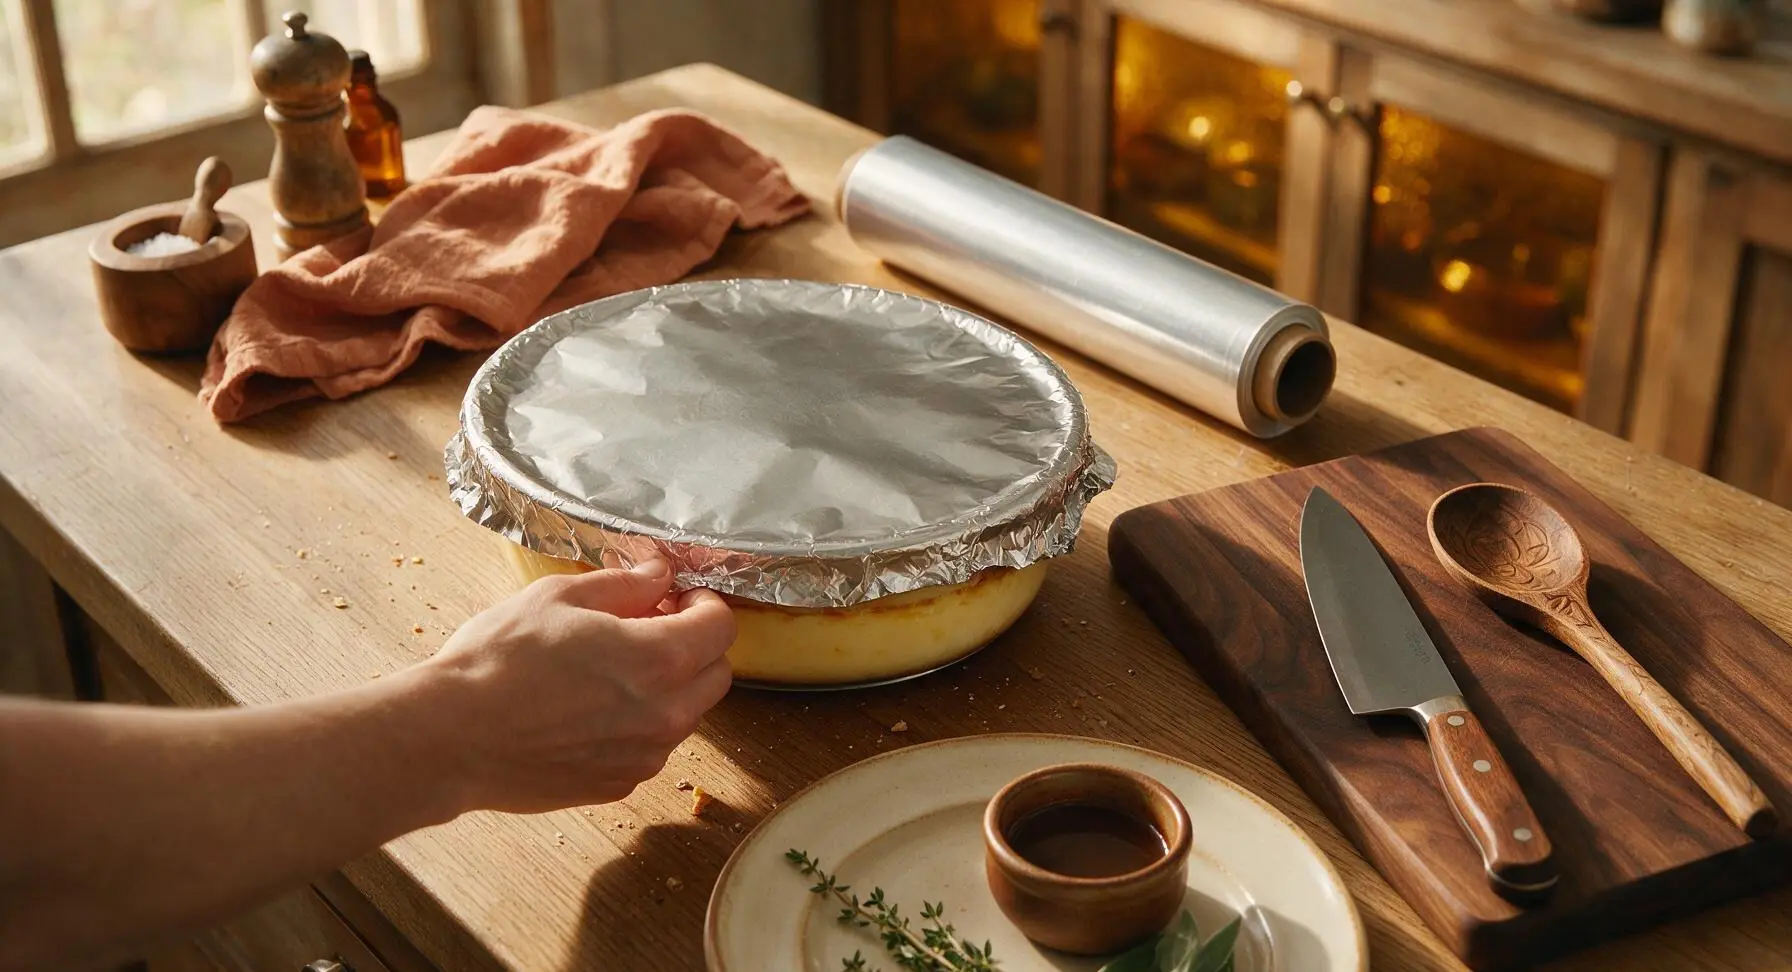
Tear a sheet of aluminum foil from the roll in the back right corner, and tightly cover the top of the baking dish, crimping the edges around the dish rim to create a tight seal. Place the dish on the middle rack of the preheated 375F (190C) oven, and bake for 30 minutes. The foil traps steam to cook the eggs evenly and prevent the tater tot tops from burning before the center sets.
Top Cheese, Finish Baking
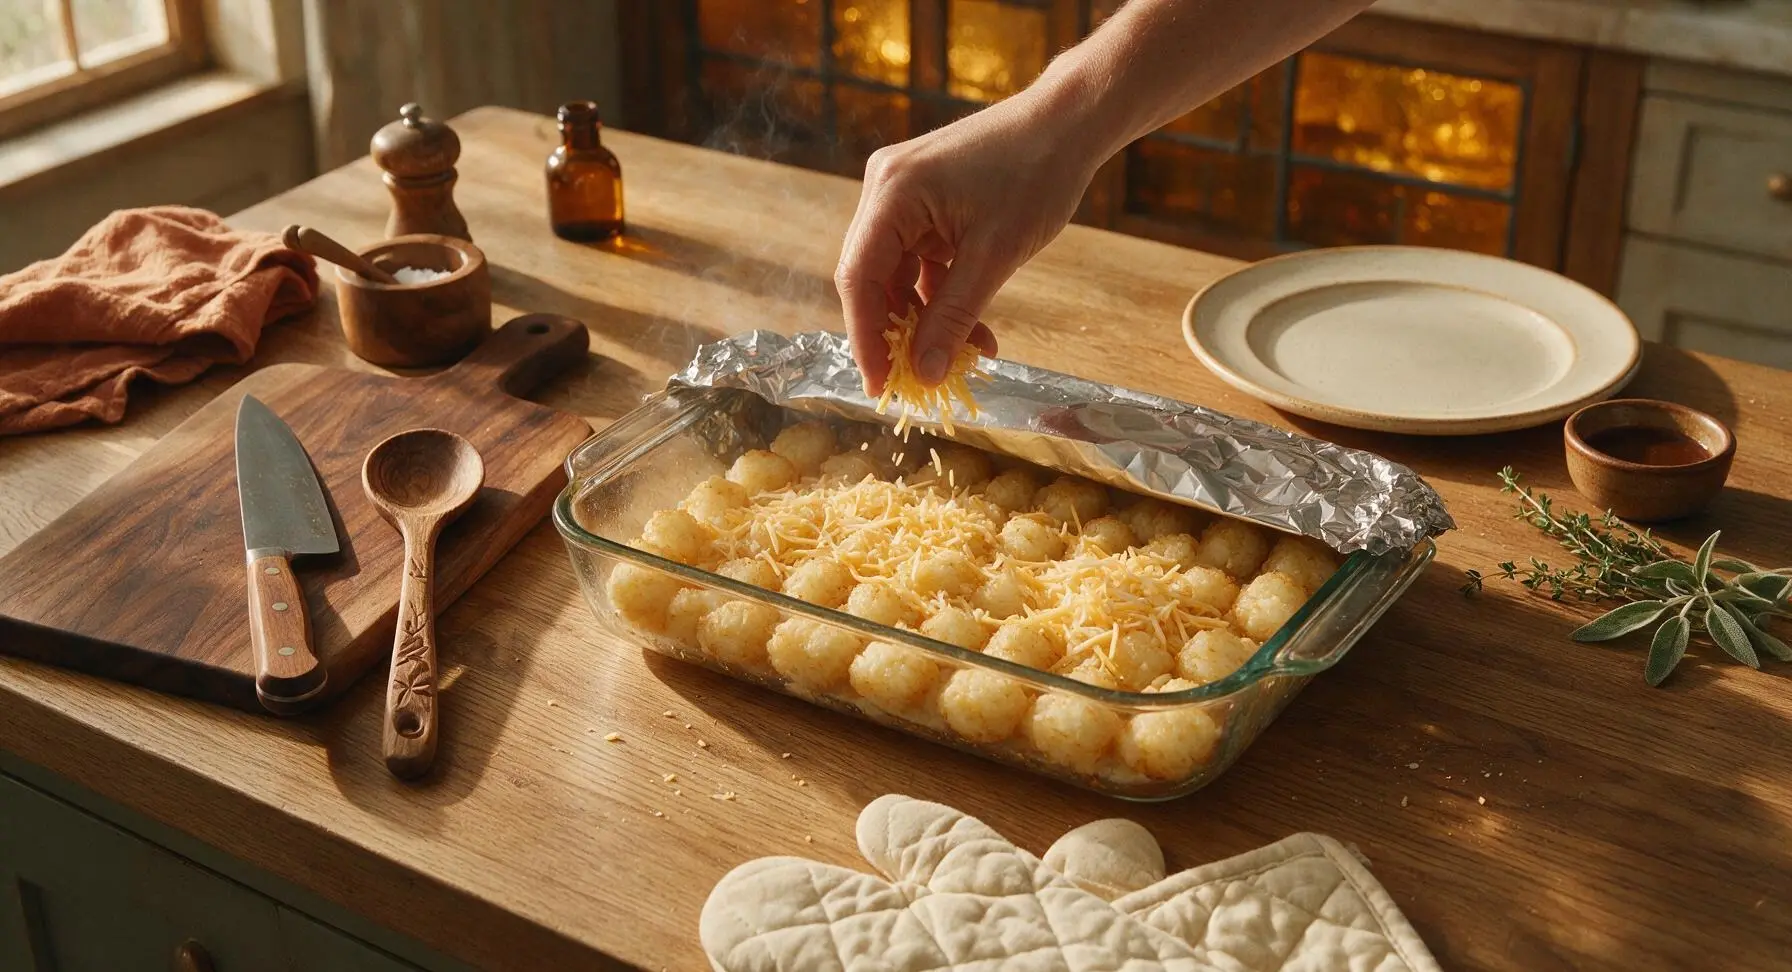
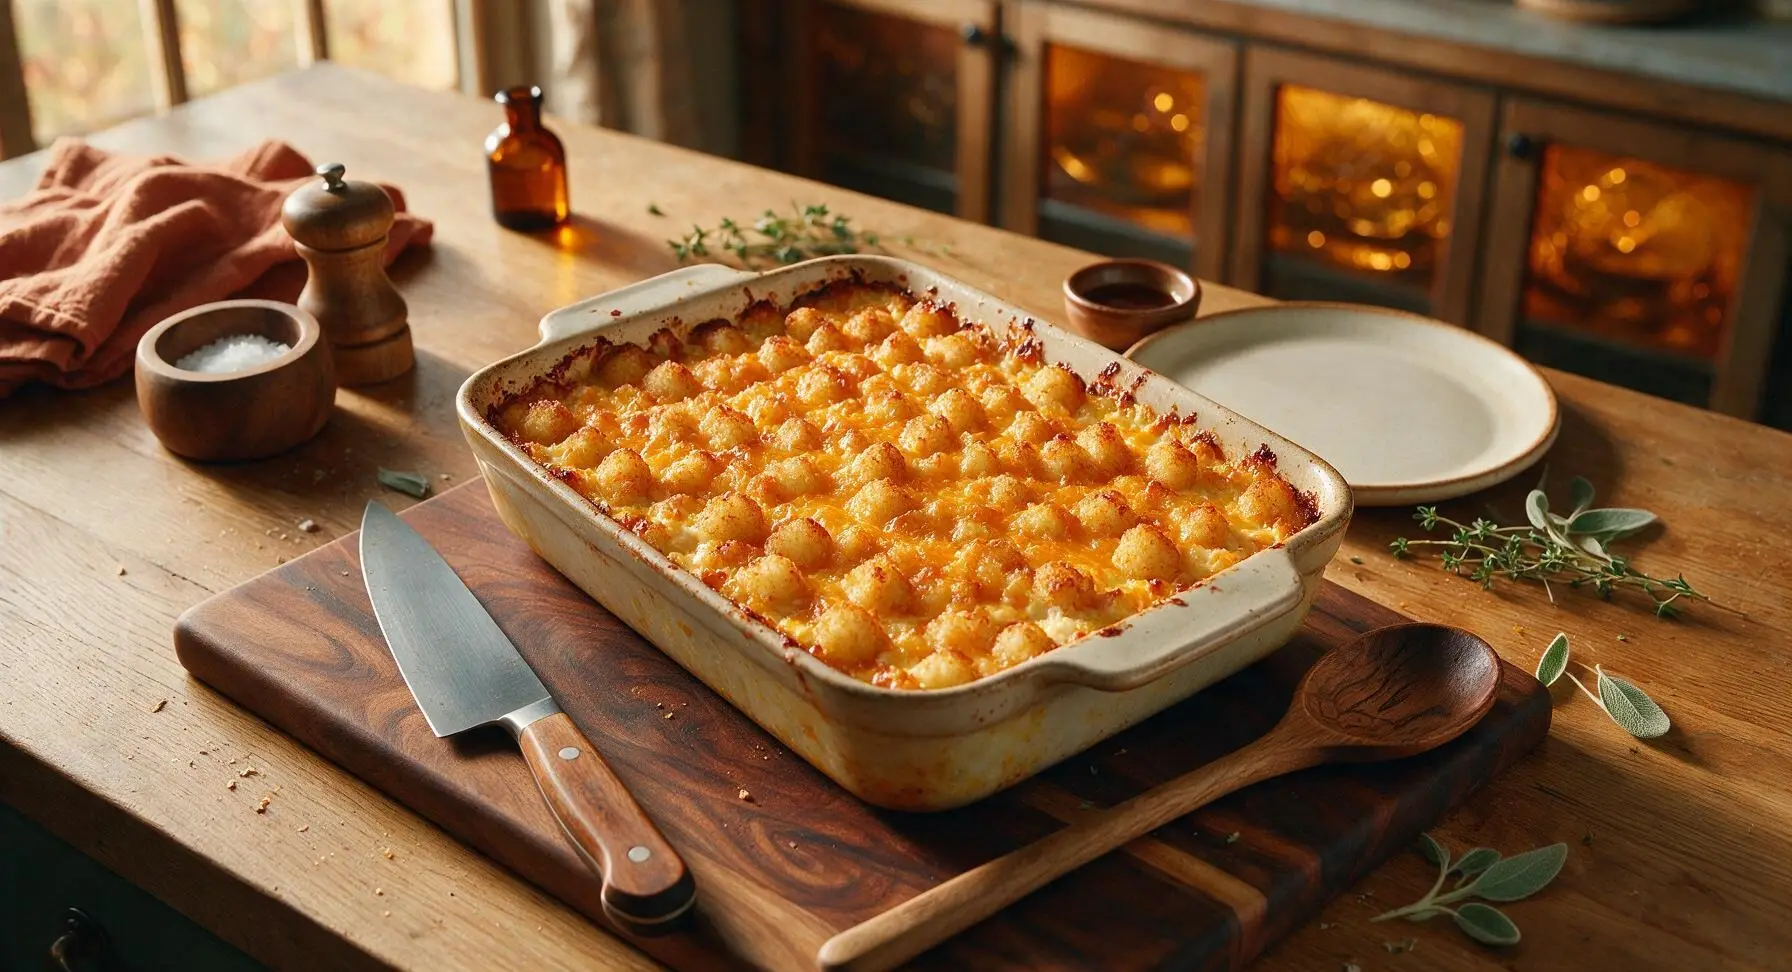
After 30 minutes of covered baking, use the cream quilted oven mitts to carefully remove the dish from the oven. Peel off and discard the aluminum foil (watch for escaping hot steam). Sprinkle the remaining 1 cup (110g) of shredded cheddar cheese evenly over the top of the tater tots. Return the uncovered dish to the oven, and bake for an additional 20 minutes, until the cheese is fully melted and bubbly, the tater tot tops are deep golden crispy, and the center of the casserole is set (no jiggling when you gently nudge the dish edge).
Rest, Garnish, and Serve
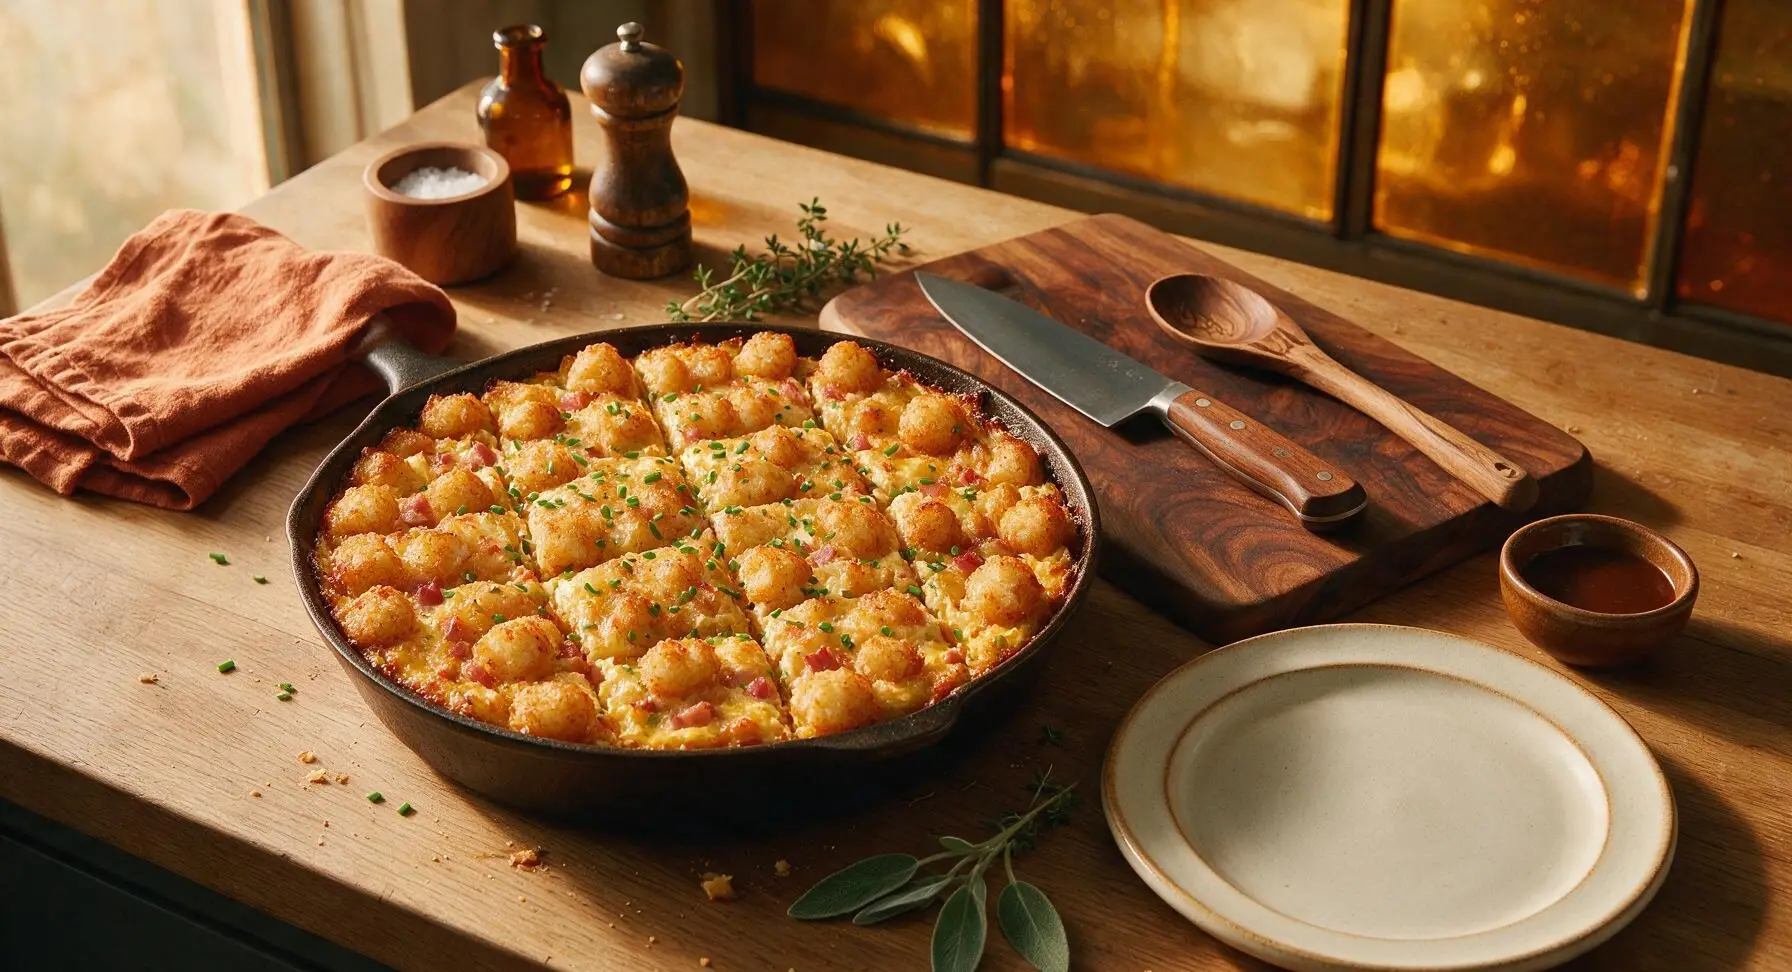
Let the casserole rest for 10 minutes on the counter before slicing—this allows the egg custard to set fully so slices hold their shape, instead of oozing when cut. Sprinkle the top evenly with the finely chopped fresh chives. Cut into 8 equal square slices, and serve warm.
Tips
2.Let the casserole rest 10 full minutes before slicing: The egg custard continues to set as it cools slightly, so slices will hold their neat square shape instead of oozing runny egg when cut. This short rest also prevents burnt mouths from overly hot filling.
3.Prep ahead for stress-free serving: Assemble the full uncooked casserole, cover tightly with foil, and refrigerate for up to 12 hours before baking. Add 5-10 minutes to the covered bake time if cooking straight from the fridge, until the center has no jiggle. This is ideal for holiday mornings or potluck events.






OMG this ham tater tot casserole was a total game changer for our Sunday brunch! My three picky boys devoured half the pan before I even got a second serving. So easy to throw together too, I prepped the ingredients the night before and popped it in the oven when we got home from church. 10/10 will be making this for our next neighborhood potluck!
Made this for my crew before our early morning hunting trip last weekend and it hit the spot! Hearty, cheesy, and the ham adds the perfect salty kick. Only note is I added a little extra shredded cheddar on top because we’re cheese obsessed over here. Cook time was spot on too, no burnt edges!
I portioned this out into individual containers for my work week breakfasts and it reheats like a DREAM. 2 minutes in the microwave and it tastes just as fresh as when it came out of the oven. Way better than the sad frozen breakfast sandwiches I used to grab on my way out the door!
Okay I’m a terrible cook and even I didn’t mess this up! Super straightforward instructions, no fancy ingredients, and my roommate said it’s the best thing I’ve ever made. Only thing is I used leftover holiday ham from Easter and it worked perfectly – no weird texture or off flavor at all.
Brought this to our office potluck yesterday and it was the first dish gone! People were coming up to me asking for the recipe before we even hit the 10am mark. I added a sprinkle of green onion on top for a little pop of color and it looked so fancy, no one believed how easy it was to make.
Made this in my tiny dorm oven with a bag of frozen tater tots, deli ham from the campus market, and shredded cheese I had in my mini fridge. It came out so good my floor mates kept knocking on my door asking for a bite. 10/10 for dorm cooking, no fancy equipment needed!
I usually stick to grilling for weekend meals but decided to give this a try for my daughter’s sleepover breakfast. Let me tell you, a group of 10 year old girls can eat! I had to make two pans because they kept coming back for more. Only feedback is I wish I’d added a dash of hot sauce on the side for the adults, but otherwise perfect.
So happy this recipe is naturally gluten free as long as you use GF tater tots! I swapped regular tots for the GF version from my grocery store and no one in my family could even tell the difference. Perfect for our family brunch where we have a couple gluten sensitive folks.
I mixed a little ranch seasoning into the egg layer before pouring it over the ham and tots, and OH MY GOODNESS that tangy ranch flavor took this over the top. If you’re a ranch fan you have to try this hack, it’s chef’s kiss.
First recipe I’ve made in my new apartment that didn’t turn out burnt or bland! The cook time was exactly 50 minutes like the recipe said, the edges were crispy, the middle was fully set, and my boyfriend said it tastes like something we’d order at a fancy brunch spot. Win in my book!
Made this for our early Sunday football watch party and it was the perfect pre-game fuel. We ate it while we watched the 10am games and it kept everyone full through all the first quarter commercials. I added a layer of crumbled bacon in with the ham for extra meat, and no one complained.
Wait I thought this would take way longer to prep but I had everything assembled in 10 minutes flat while my coffee brewed? 10 minutes of prep, 50 minutes in the oven, and I had a whole pan of delicious breakfast with almost zero effort. Why didn’t I find this recipe earlier?
Solid recipe, super easy. I docked a star only because I felt like it needed a little more salt and pepper for my taste, but that’s an easy fix. I also added some diced bell pepper to the egg mix for a little veggie boost, and it paired really well with the ham and potato flavor.
My kids (aka my two golden retrievers) were hovering by the oven the whole time this baked because it smelled so good! Don’t worry, I gave them each a tiny plain bite of ham after it cooled, and they gave it two paws up. For the humans, we served it with a side of fresh fruit and it was the perfect lazy Saturday breakfast.
This recipe is so budget friendly! I used diced ham from the dollar section at my grocery store, a cheap bag of frozen tater tots, eggs I had on hand, and store brand shredded cheese, and the whole pan cost less than $8 to make. It fed me and my roommate for three days worth of breakfasts. Unbeatable value.
I topped my serving with a drizzle of hot honey and a sprinkle of red pepper flakes, and the sweet-spicy combo with the salty ham and crispy tots was insane. If you like a little heat, don’t sleep on that addition! It’s now my go-to serving method for this casserole.
I made this for my husband’s homecoming brunch after his deployment, and it was such a hit. It’s warm, comforting, tastes like home, and I didn’t have to stress about a complicated recipe when I was juggling a million other things to get ready for him coming home. This recipe is going in our permanent family rotation forever.