

ham toastie

title 1
ham toastie
⏱️ cook time 8 minutes
🍽️ servings 2
⚡ Difficulty easy

intro

Crisp golden buttery bread oozing with melted sharp cheddar and savory smoked ham, this classic ham toastie is the ultimate fast, cozy comfort food ready in under 15 minutes.

Ingredients
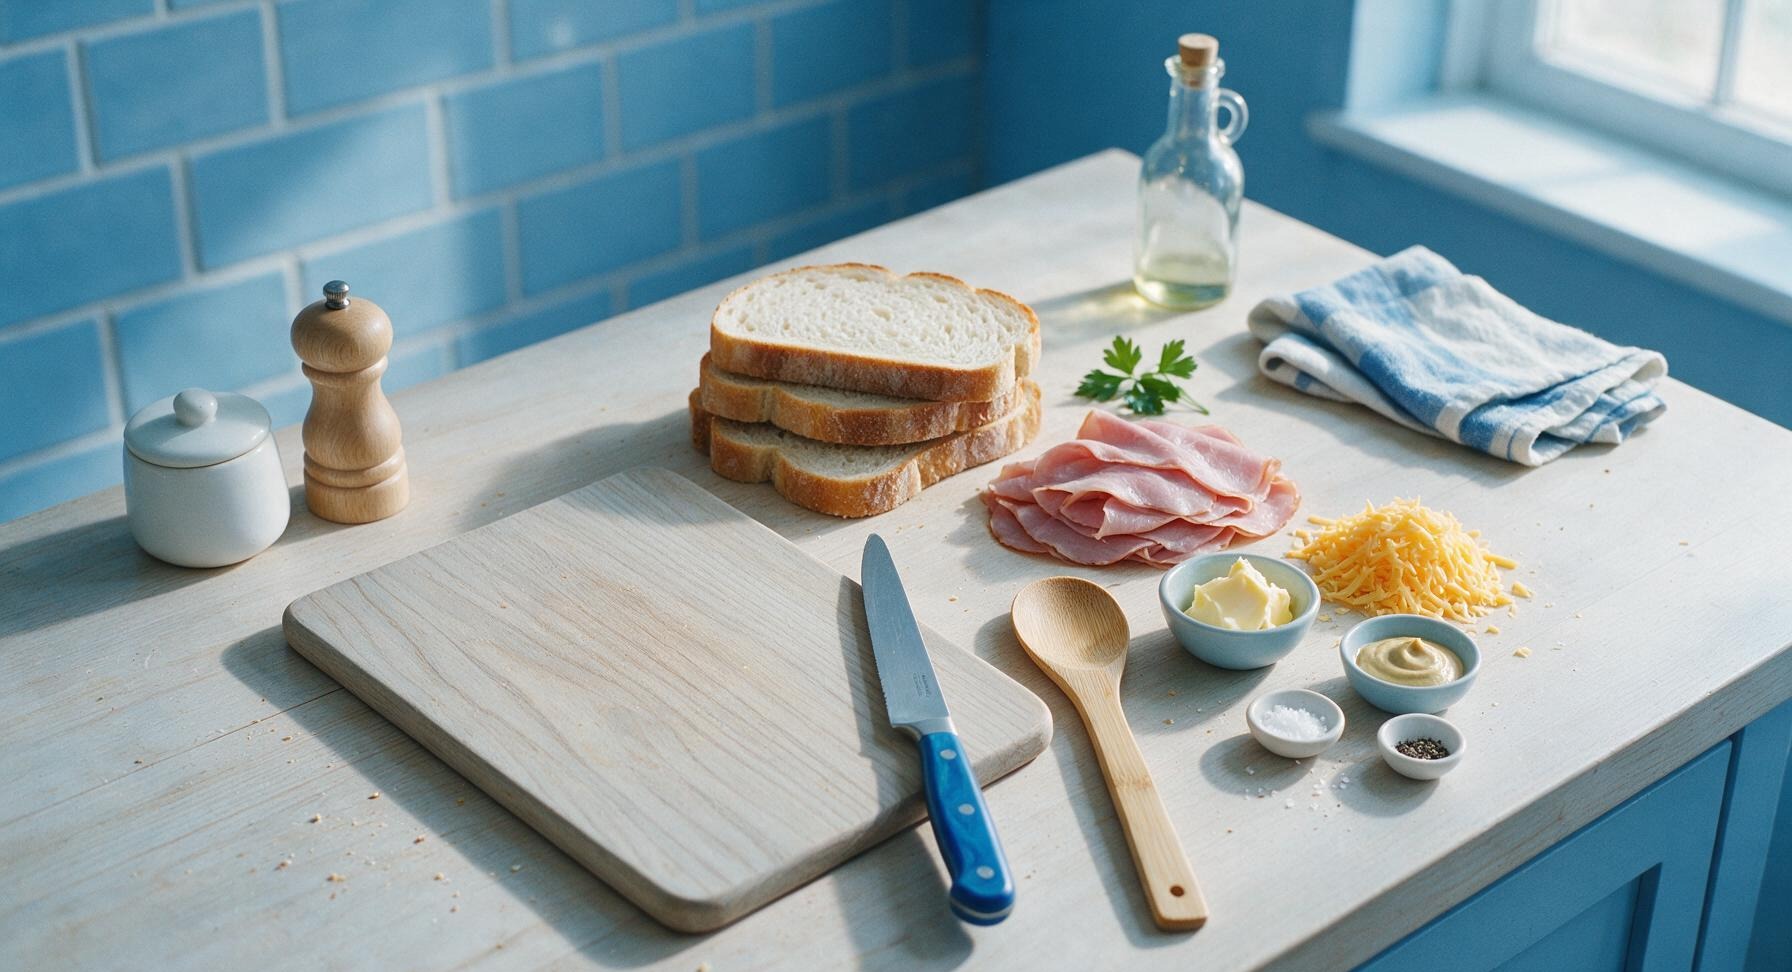
Medium-thick white sourdough bread 4 slices (180g total)
Thinly sliced smoked ham 80g
Grated sharp cheddar cheese 60g
Unsalted butter (softened) 20g
Dijon mustard 1 tsp
Flaky sea salt 1/4 tsp
Freshly ground black pepper 1/8 tsp

Steps

1

Butter Bread Slices

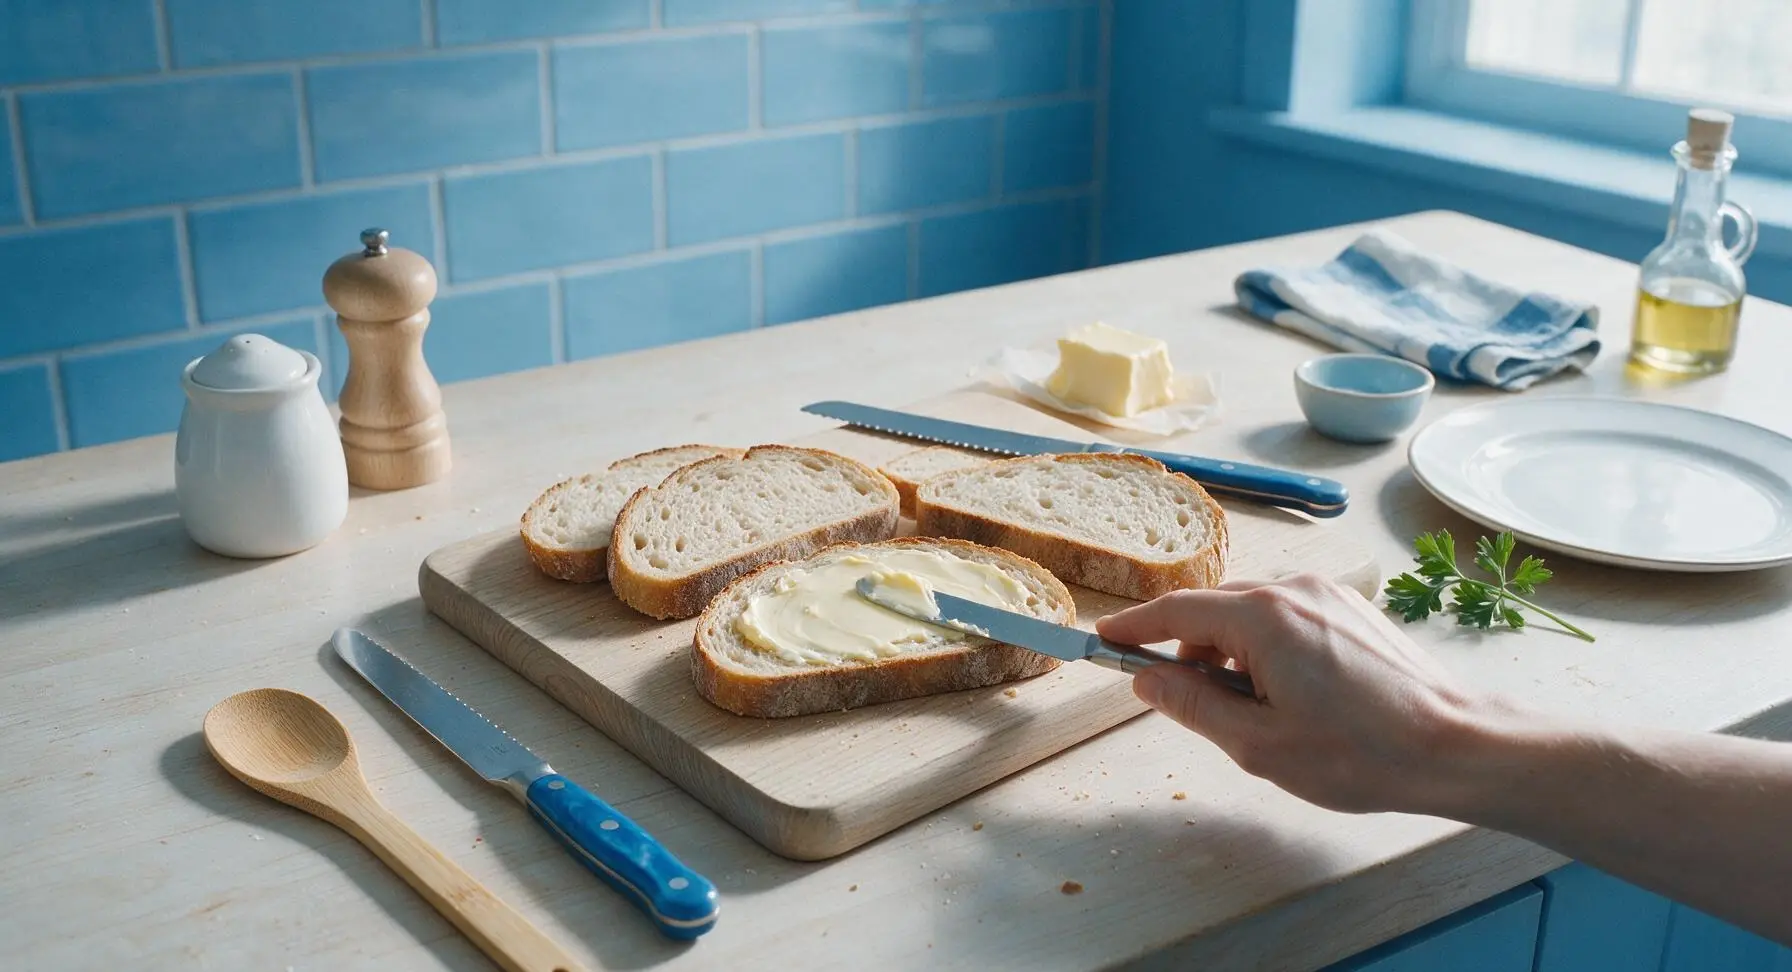
Lay all 4 medium-thick sourdough slices flat on the light beech wood cutting board. Spread 1 tsp (5g) of softened unsalted butter evenly across one entire side of each slice, covering all the way to the crust edges. The butter layer should be thin and uniform, with no thick clumps, to prevent soggy, greasy bread as it toasts.
Step 1
step1:Butter Bread Slices
2

Spread Dijon Mustard

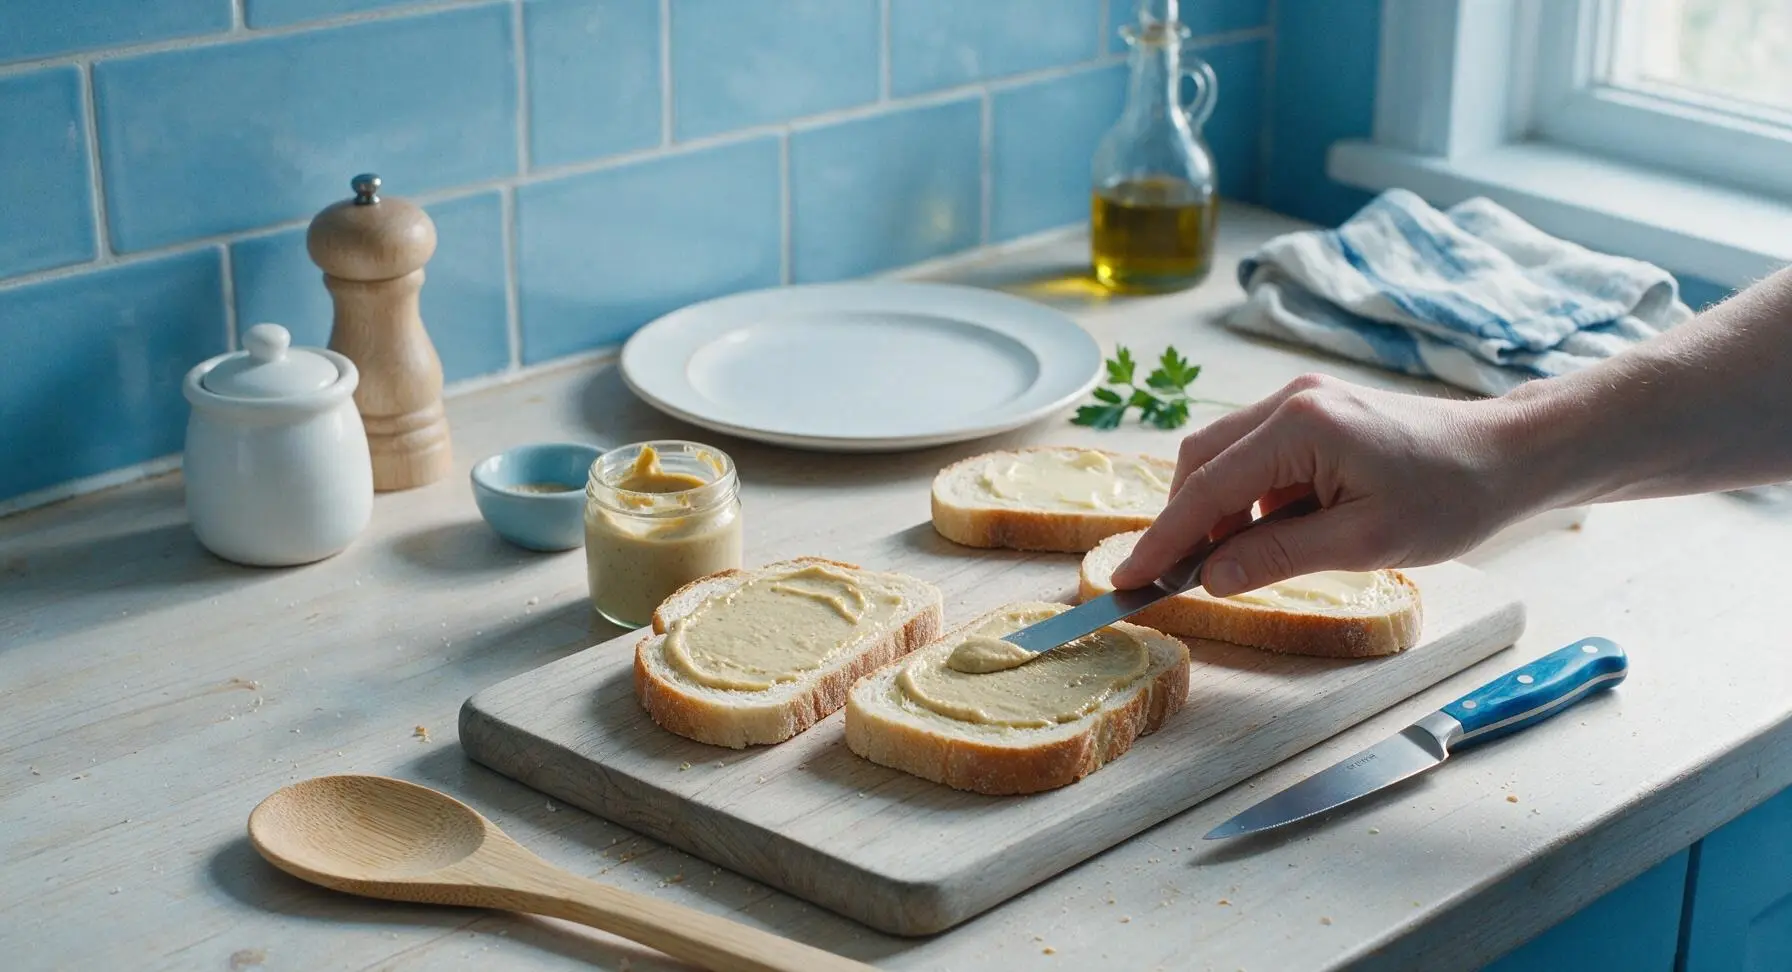
Flip 2 of the buttered bread slices so the buttered side faces down against the cutting board. Spread 1/2 tsp of Dijon mustard evenly across the unbuttered top surface of these two slices, leaving a 5mm border from the crust edge to prevent mustard from oozing out as the sandwich cooks. The mustard layer should be thin, not gloppy, to avoid making the bread soggy.
Step 2
step2:Spread Dijon Mustard
3

Add Filling Layers

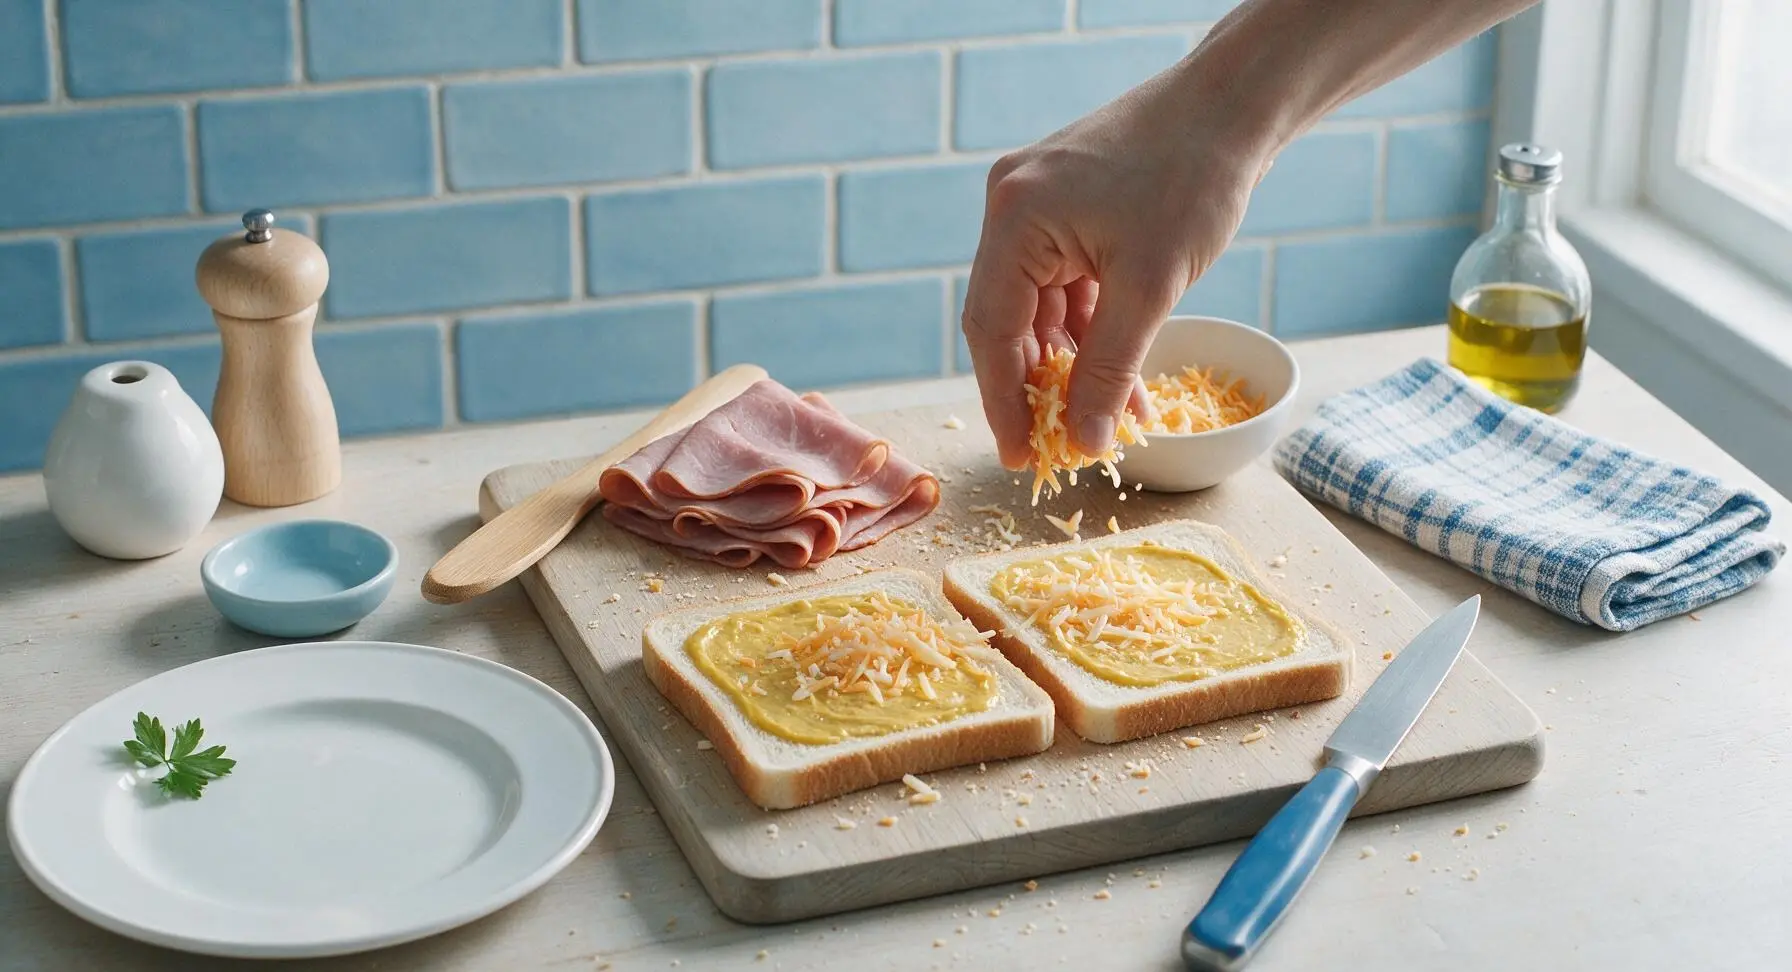
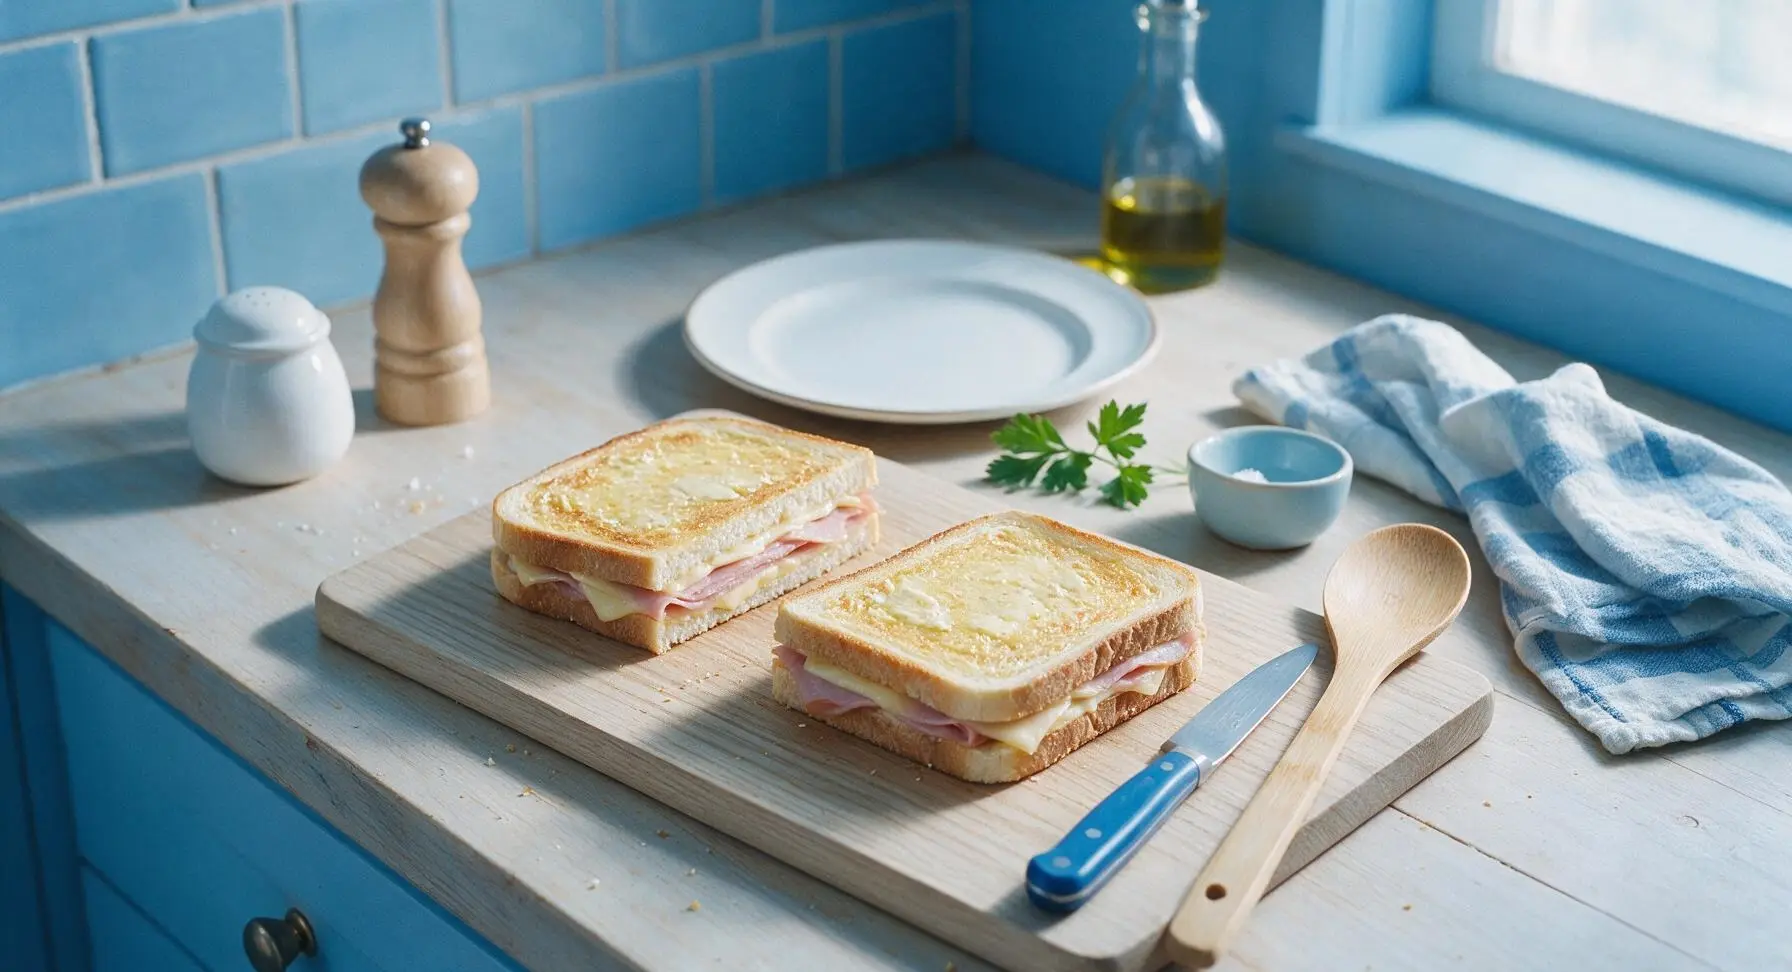
Divide the 60g of grated sharp cheddar evenly across the two mustard-coated bread slices (30g per sandwich), spreading it in a flat, even layer within the 5mm border. Top the cheese with 40g of folded smoked ham per sandwich, tearing larger ham slices to fit within the border to avoid spillover as the cheese melts. Sprinkle the ham with a pinch of freshly ground black pepper, then place the remaining 2 bread slices on top, buttered side facing outward. Press down gently on each assembled sandwich with the palm of your hand to seal the edges firmly.
Step 3
step3:Add Filling Layers
Step 3
step3:Add Filling Layers
4

Preheat Non-Stick Skillet

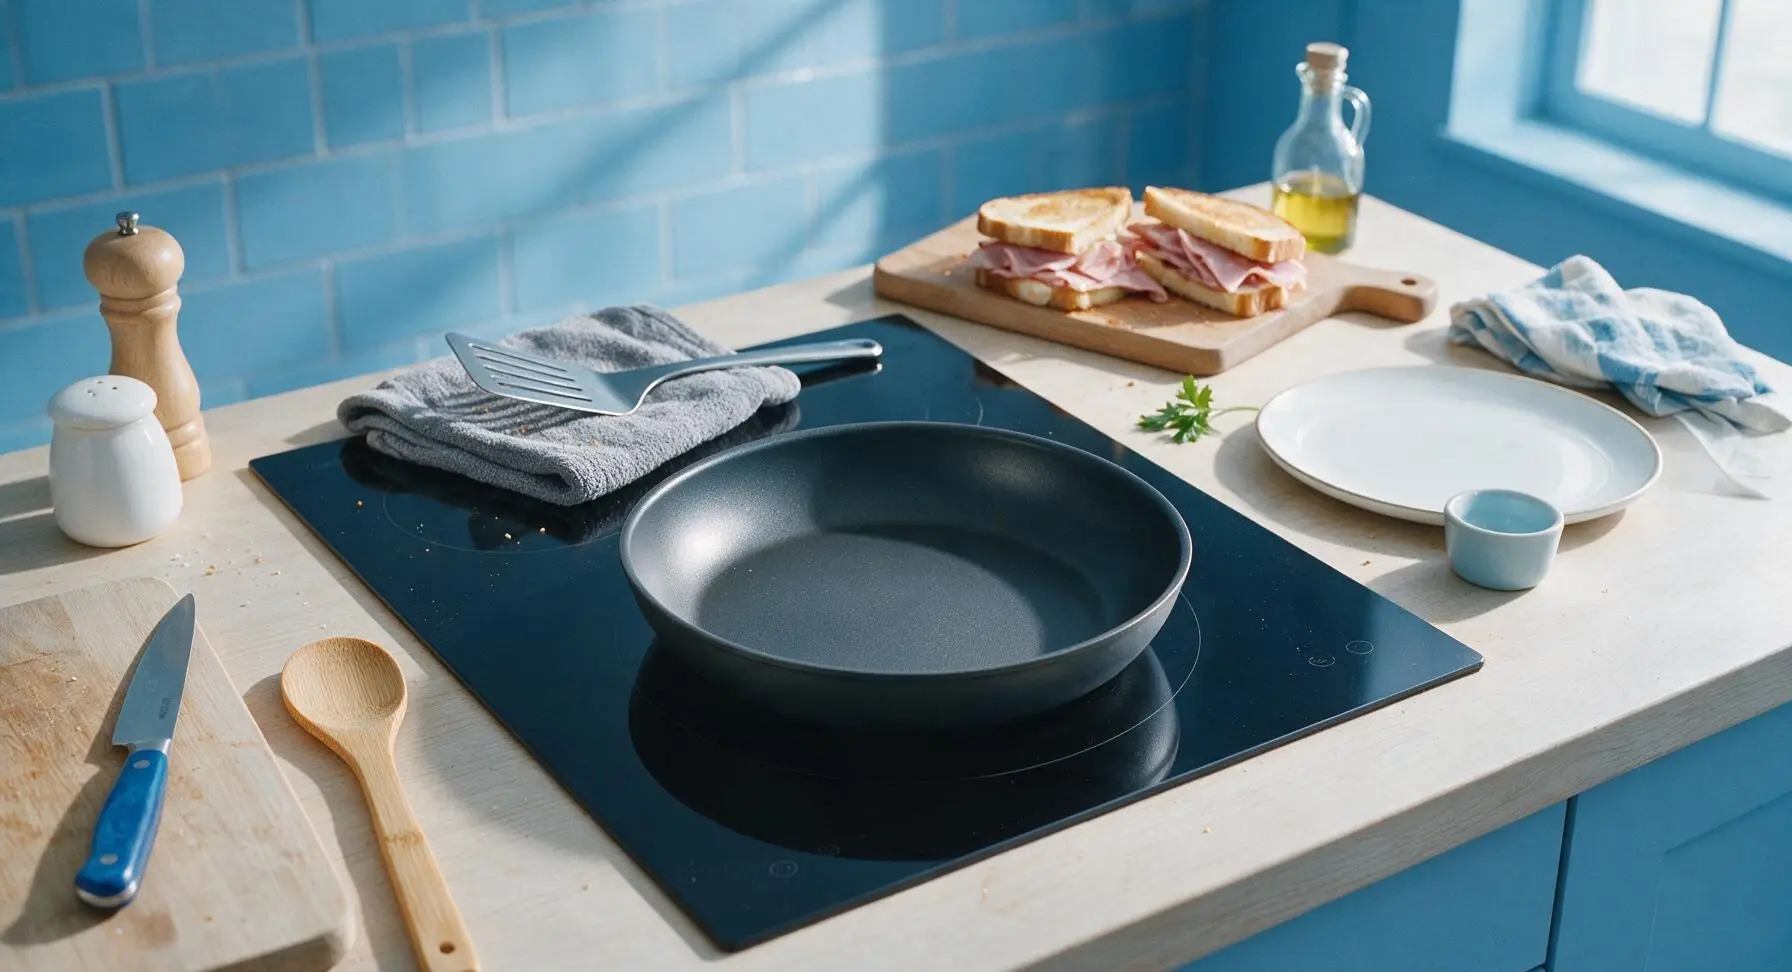
Move the beech cutting board with assembled sandwiches to the back right counter position. Place the 8-inch matte charcoal non-stick skillet on the flush center induction cooktop, and set the stainless steel turner spatula on the folded gray towel at top left within easy reach. Preheat the pan over medium-low heat (160°C / 320°F) for 2 minutes, until a single drop of water flicked onto the pan surface sizzles and dances immediately without evaporating instantly. Avoid high heat, as this will burn the bread crust before the inner cheese fully melts.
Step 4
step4:Preheat Non-Stick Skillet
5

Toast First Sandwich Side

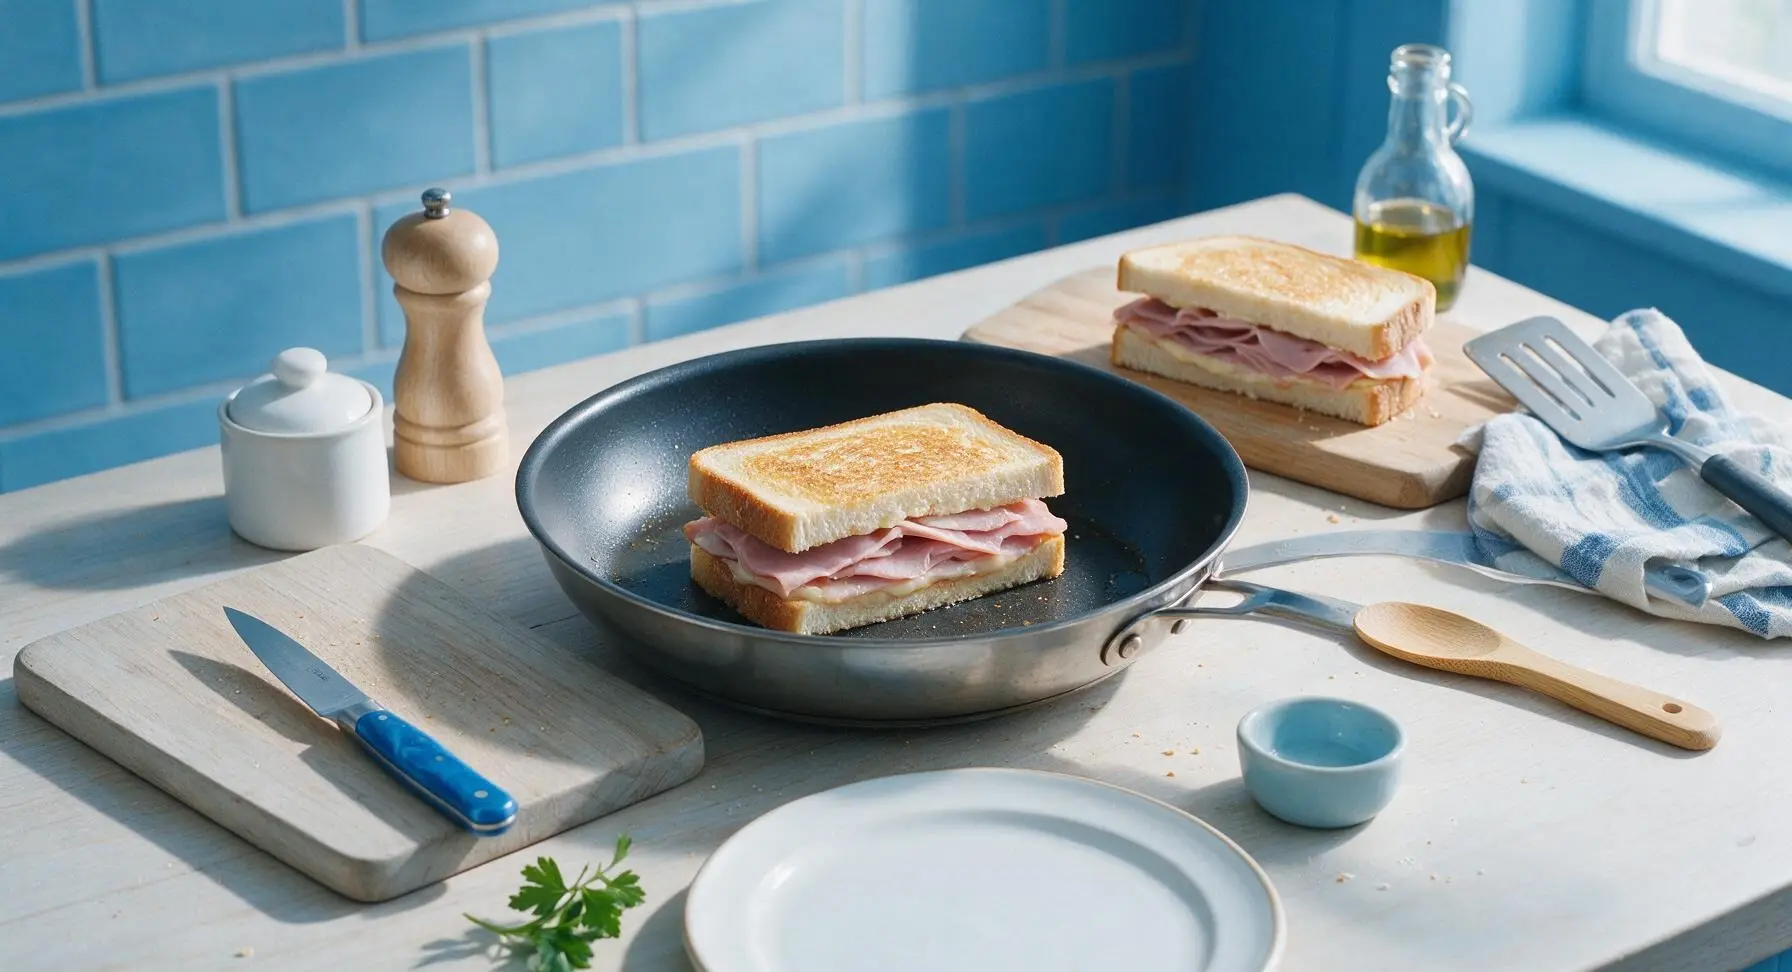
Use the turner to carefully lift one assembled sandwich and place it in the center of the preheated skillet. Cook for 3 full minutes without moving or pressing down on the sandwich (pressing squeezes out melted cheese and creates soggy bread). The bottom bread should turn a deep, even golden brown, and the cheese closest to the pan will begin to soften and melt visibly at the edges.
Step 5
step5:Toast First Sandwich Side
6

Flip and Cook Second Side

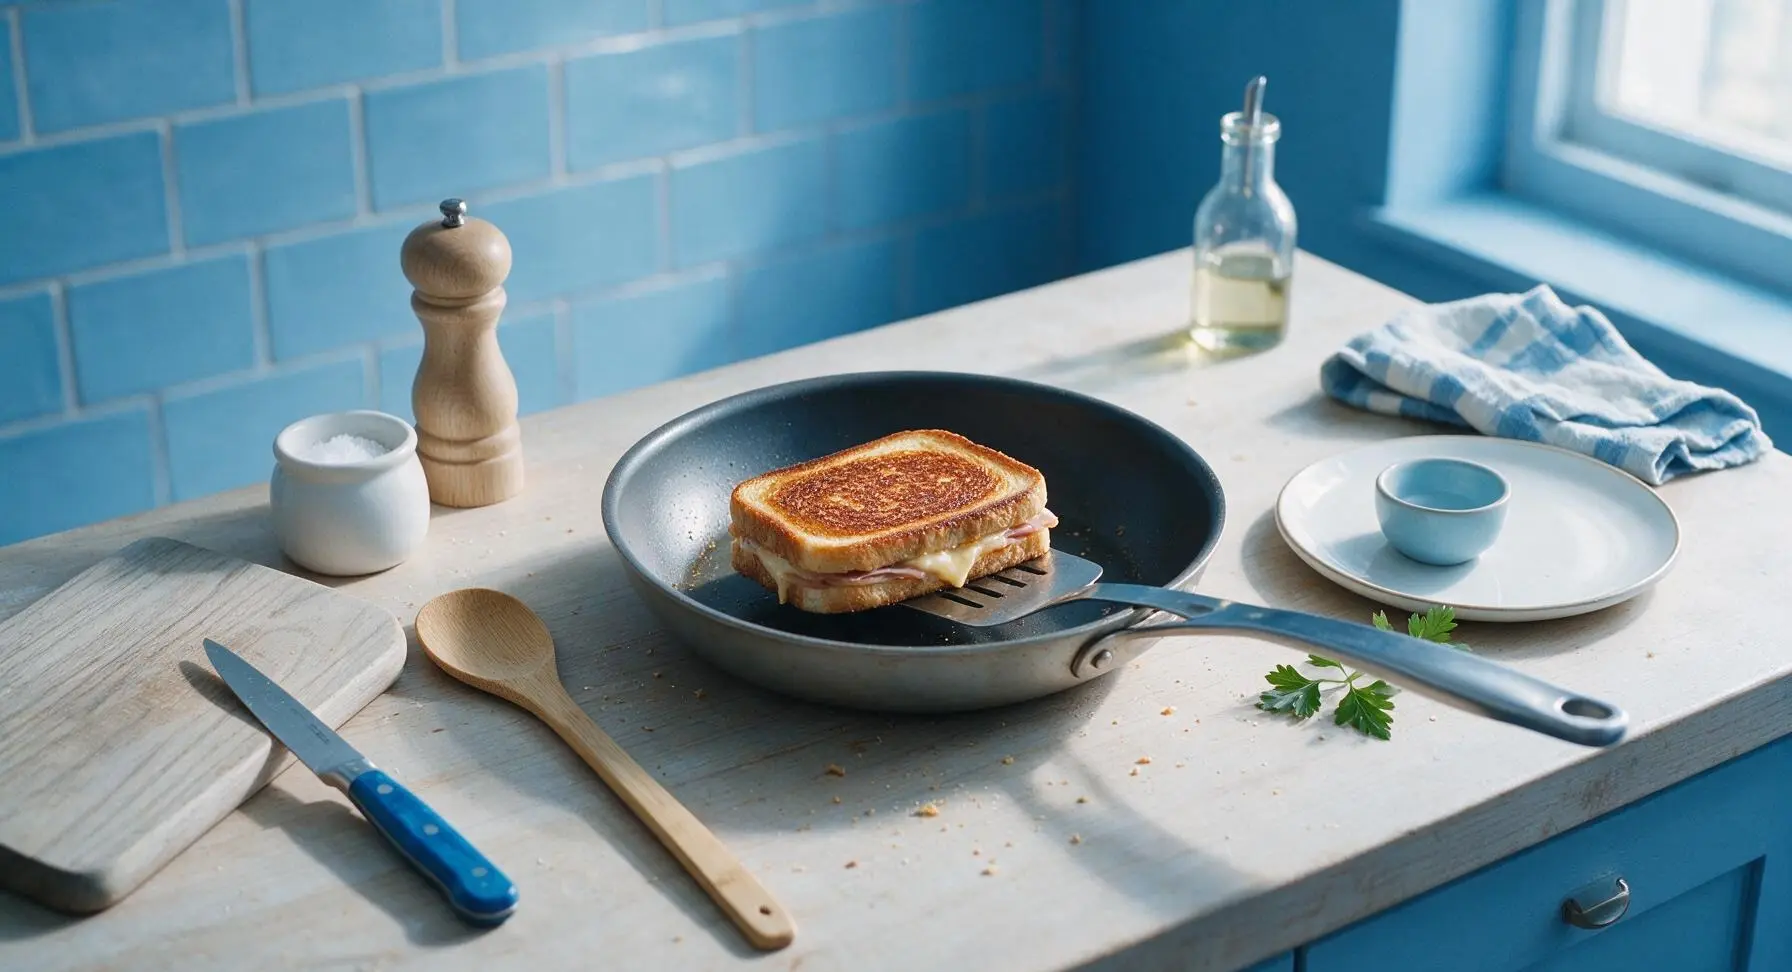
Slide the turner fully under the sandwich to support it, then flip it quickly but gently to avoid tearing the bread or spilling filling. Cook the second side for 2–3 minutes, adjusting heat down slightly if the bread browns too quickly, until the second side is matching deep golden brown. To check for doneness, gently lift the edge of the bread: the cheese should be fully melted with no firm, un-melted lumps in the center. Remove the finished sandwich from the pan, then repeat the cooking process with the second sandwich.
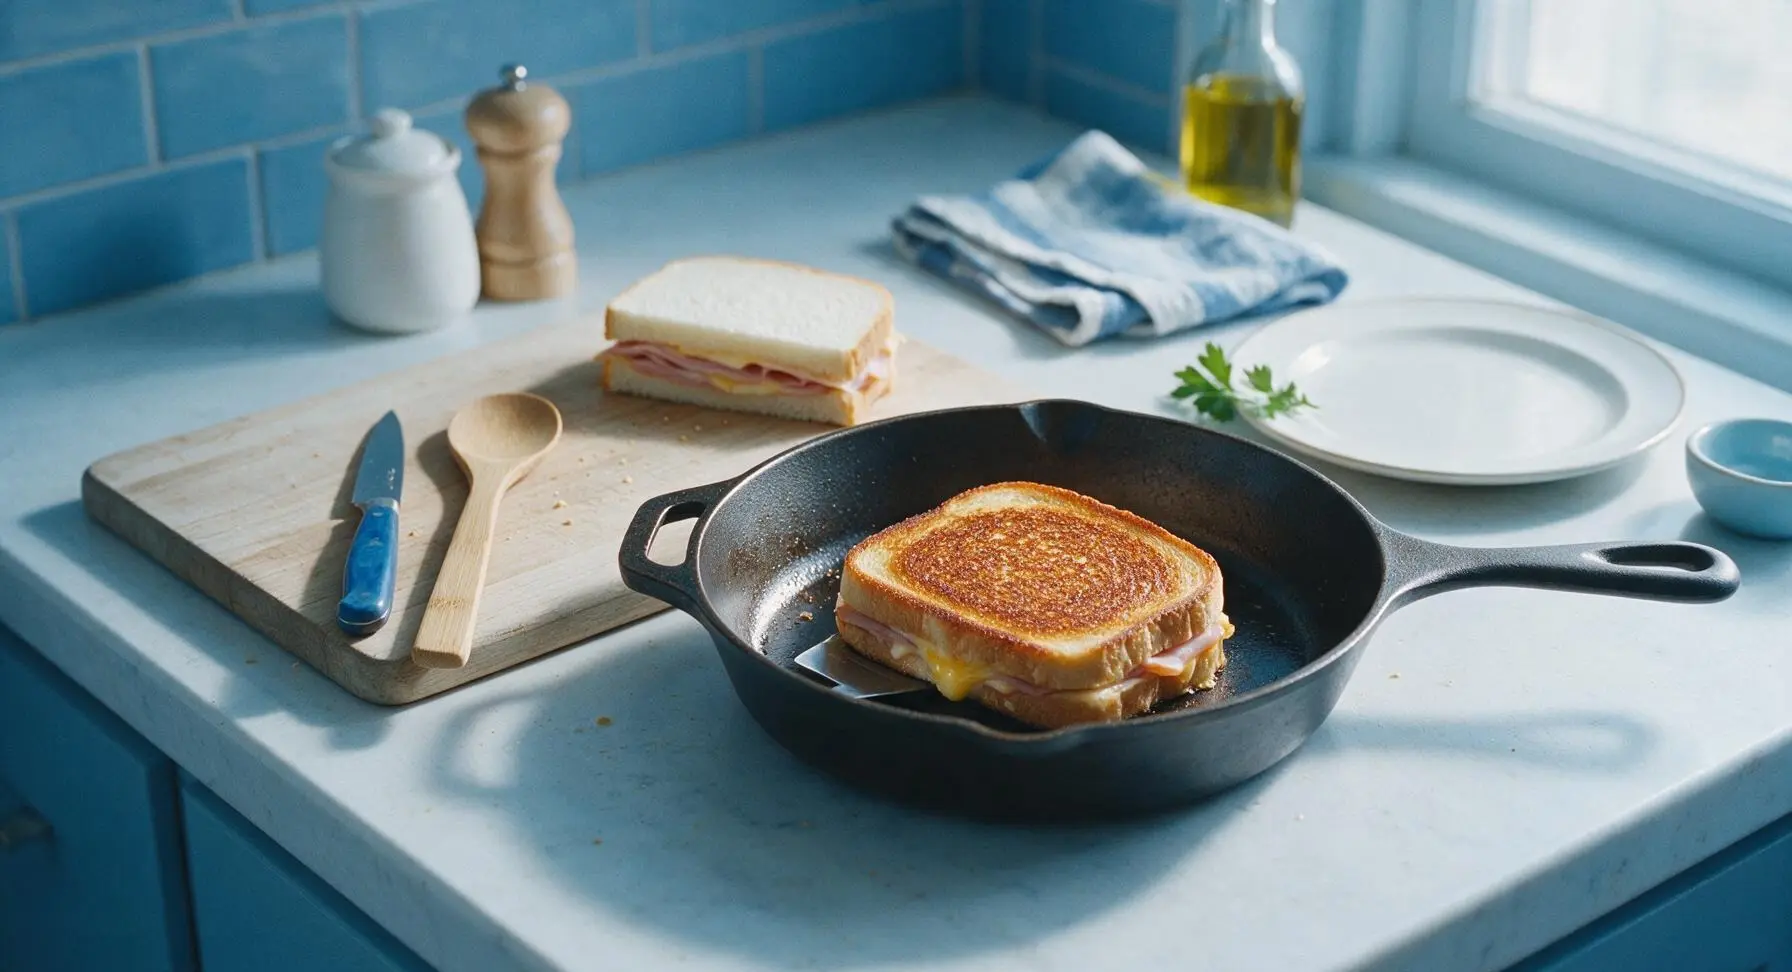
Step 6
step6:Flip and Cook Second Side
Step 6
step6:Flip and Cook Second Side
7

Rest and Slice Toasties

Once both sandwiches are cooked, transfer them back to the beech cutting board (moved to center counter, skillet set aside off the heat) and let rest for 1 full minute. This rest allows the melted cheese to set slightly, so it does not gush out when sliced. Use the serrated bread knife to cut each sandwich diagonally into two equal triangle halves, then sprinkle the crisp top crusts lightly with the remaining flaky sea salt.
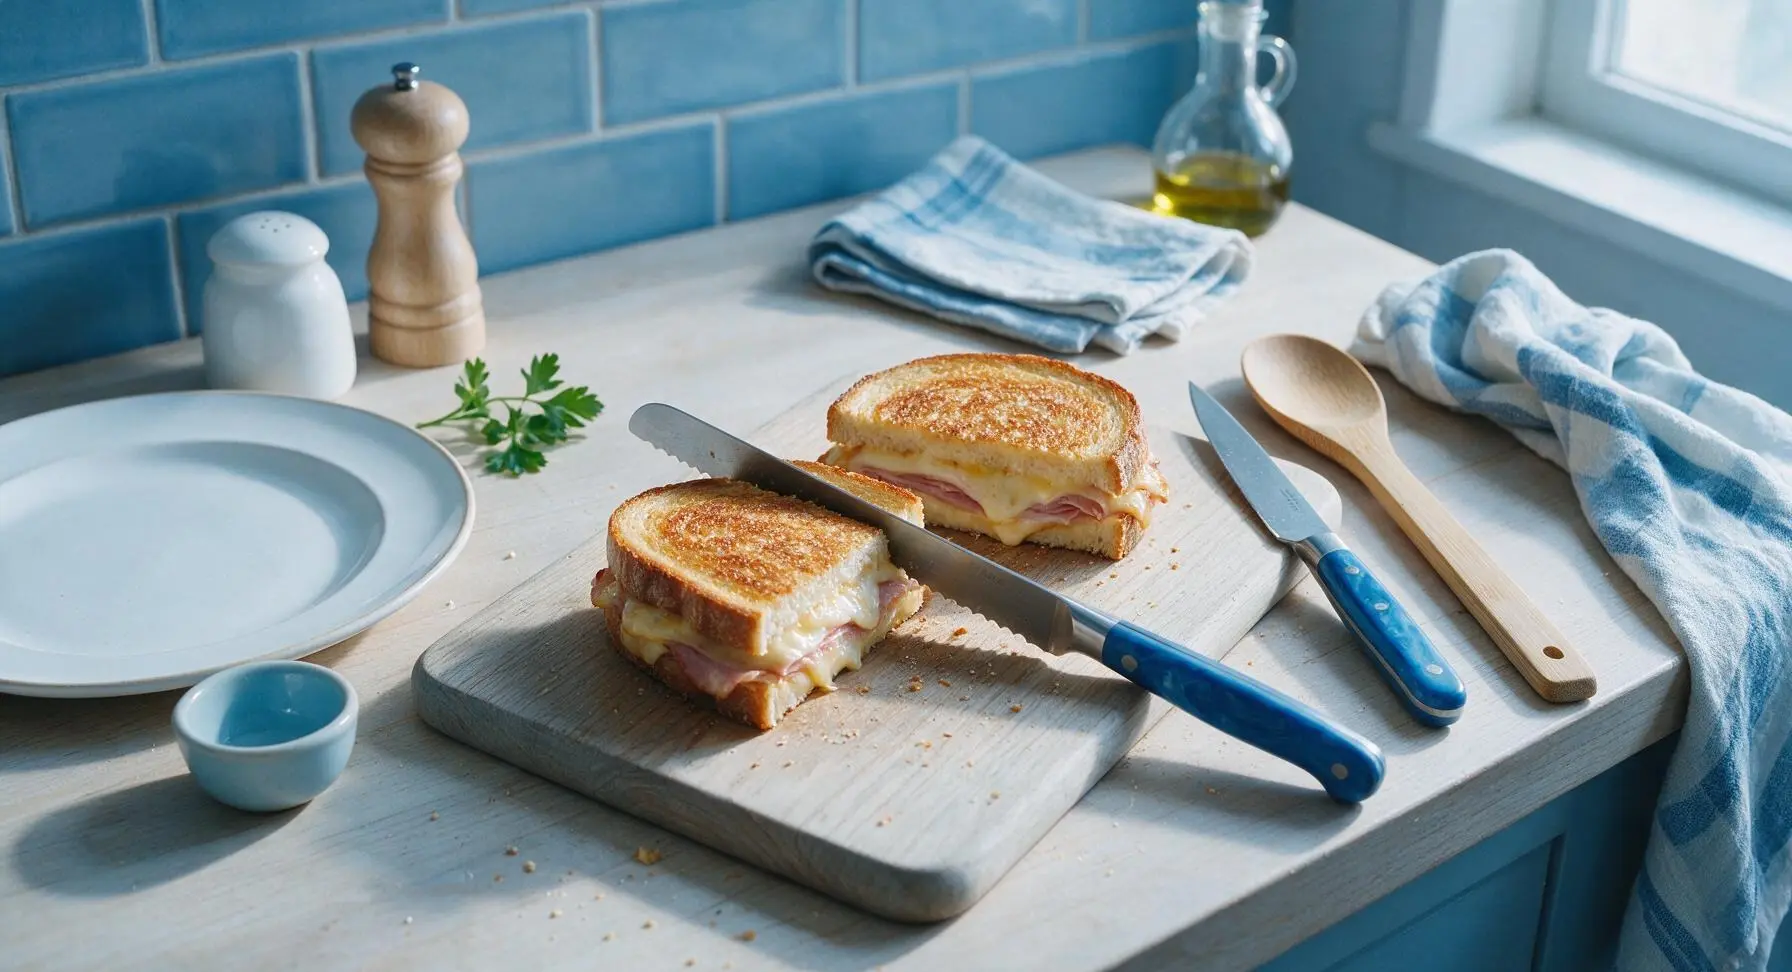
Step 7
step7:Rest and Slice Toasties
8

Plate and Serve

Arrange 2 triangle halves per serving on the matte cream ceramic dinner plates, angled slightly so the cut sides face outward to showcase the layered ham and oozing melted cheese filling. Serve immediately while the bread is hot and crisp, and the cheese is soft and stretchy.

Step 8
step8:Plate and Serve

Tips

1.Grate your own cheddar instead of using pre-shredded store-bought cheese: pre-shredded cheese is coated in potato starch or natamycin to prevent caking, which stops it from melting smoothly and results in a grainy, less oozy filling.
2.Keep the stovetop at medium-low heat for the entire cooking process: high heat will burn the buttered bread crust in as little as 90 seconds, leaving the center cheese firm and un-melted, while low, slow heat creates evenly crisp bread and fully melted cheese.
3.Let the cooked toasties rest for 1 full minute before slicing: this short rest lets the melted cheese set slightly, so it does not gush out the sides when you cut into it, keeping more filling inside each bite.


✨ You May Also Like

Snacks & Appetizers
🍜 Mexico

Crispy thick-cut tortilla chips piled high with seasoned beef, melted cheese, and bright fresh toppings for a shareable, crowd-favorite bite.

⏱️ 25 minuteSnacks & Appetizers ★ 4.8
Snacks & Appetizers
🍜 United States

Crisp, sweet-tangy spiced pickled watermelon rind is a zero-waste summer staple, perfect with grilled meats, charcuterie, or eaten straight from the jar as a bright snack.

⏱️ 30 minuteSnacks & Appetizers ★ 4.6
Snacks & Appetizers
🍜 Germany

A tangy, jellied pork cold cut slow-simmered with aromatic spices, set into a firm sliceable loaf, served cold with mustard and crusty bread.

⏱️ 3 hours 4Snacks & Appetizers ★ 4.8
Snacks & Appetizers
🍜 United States

Creamy, tangy, perfectly seasoned hard-boiled egg halves filled with a rich, smooth yolk mixture, a timeless, crowd-pleasing bite for holiday and casual gatherings alike.

⏱️ 40 minuteSnacks & Appetizers ★ 4.8
Snacks & Appetizers
🍜 Russia

Silky, dill-forward no-smoke cured salmon, a Scandinavian classic with bright salty-sweet flavor, ideal for holiday starter platters and open-faced rye sandwiches.

⏱️ 48 hours Snacks & Appetizers ★ 4.7
Snacks & Appetizers
🍜 Japan

Crisp golden bottoms, juicy savory pork and vegetable filling, and tangy dipping sauce make these pan-fried gyoza a beloved shareable bite.

⏱️ 45 minuteSnacks & Appetizers ★ 4.8

ham toastie:Frequently Asked Questions

1.Can I use a different type of bread if I don’t have white sourdough? ▾
Absolutely! While medium-thick white sourdough delivers that perfect tangy, crisp base, you can swap it for country white, soft brioche for a richer bite, or whole wheat. Just stick to ½-inch thick slices to avoid sogginess or tearing, and skip ultra-thin sandwich bread that falls apart when pressed.
2.Do I have to use smoked ham, or will regular deli ham work? ▾
Regular deli ham works perfectly if that’s what you have on hand, but smoked ham adds that deep, savory, slightly woody note that makes this toastie feel classic. If you swap, choose low-moisture, thinly sliced ham, and skip honey-glazed or watery boiled ham that will make your bread soggy instead of crisp.
3.Why do you recommend grated sharp cheddar instead of pre-sliced cheese? ▾
Grated sharp cheddar melts faster and more evenly than pre-sliced cheese, so you get that perfect oozing cheese pull without burning your bread before the center melts. Sharp cheddar’s bright tang also cuts through rich butter and salty ham, balancing every bite far better than mild, rubbery pre-sliced cheese.
4.Do I need a panini press to make a perfect ham toastie? ▾
Nope, no fancy equipment required! A regular cast iron or non-stick skillet works perfectly. Just assemble your sandwich, butter the outsides, cook over medium-low heat, and press firmly with a spatula or weigh it down with a second heavy pan for 3-4 minutes per side until golden and the cheese is fully melted.
5.How do I keep my toastie from turning out soggy? ▾
Excess moisture is the main culprit for soggy toasties! Pat ham slices dry with a paper towel if they feel damp, go light on wet condiments, cook over medium-low heat so bread crisps before moisture seeps in, and always butter the outside of the bread directly instead of melting butter in the pan first.
6.Can I skip the Dijon mustard if I don’t like mustard? ▾
Of course! Dijon adds a subtle sharp tang that cuts through the richness of butter and cheese, but it’s totally optional. You can swap it for a thin layer of mayonnaise for extra crispness, a drizzle of hot honey for a sweet-spicy kick, or leave spread off entirely for a simple, classic ham and cheese melt.
7.What heat setting should I use so the bread doesn’t burn before the cheese melts? ▾
Stick to medium-low heat every single time! If your pan is too hot, the buttery bread will burn to a crisp in 2 minutes flat while the cheese in the center is still cold and solid. Medium-low heat lets butter slowly crisp bread to perfect golden brown over 3-4 minutes per side, giving cheese ample time to melt fully.
8.Can I add extra fillings to the classic recipe? ▾
Absolutely, this classic base is super customizable! Great add-ins include thin, well-patted tomato slices, a handful of peppery arugula, crispy bacon, pickled jalapeños for heat, or thin apple slices for a sweet-savory twist. Just don’t overstuff it, or filling will spill out as it cooks.
9.Why use softened butter instead of melted butter on the bread? ▾
Softened butter spreads evenly across every inch of the bread’s surface without soaking too deep, which creates that uniform, crisp, golden crust. Melted butter tends to pool and absorb unevenly, leading to soggy spots, patches of un-crisped bread, and faster burning as the sandwich cooks.
10.How thin should the ham slices be for the best texture? ▾
Aim for deli-sliced ham that’s roughly 1/16 of an inch thick—thin enough to almost see through, but not so paper-thin that it tears easily. Thick ham chunks won’t heat through as fast as cheese melts, and overly thin, watery ham will release excess moisture that makes your toastie soggy.
11.Can I make these toasties ahead for meal prep? ▾
This toastie is best eaten immediately off the pan when cheese is oozing and bread is crisp, but you can prep components ahead! Grate cheese, portion ham, and slice bread up to 3 days in advance, stored in airtight containers in the fridge. Assemble and cook right before eating, and skip microwaving pre-cooked toasties, which turn soggy.
12.What’s the best way to reheat leftover ham toastie? ▾
Skip the microwave, which turns crisp bread soggy and makes cheese rubbery. Instead, reheat in a dry skillet over low heat for 2-3 minutes per side, or in a 350°F toaster oven for 4-5 minutes, until cheese is melty again and bread crisps back up. It won’t be quite as perfect as fresh, but it’ll be close!
13.Can I use a different cheese instead of sharp cheddar? ▾
Definitely! While sharp cheddar’s tang is classic, you can swap it for nutty, ultra-melty Gruyère, mozzarella for extra stringy pull, pepper jack for a little heat, or even a mix of cheeses. Just stick to smooth-melting options, and avoid crumbly feta or hard aged cheeses that don’t melt well as your base.
14.How much cheese should I use per sandwich? ▾
Aim for about ¼ cup of grated sharp cheddar per standard sandwich, split evenly between the two slices of bread right against the bread, not just piled in the middle. This creates a moisture barrier to keep ham from making bread soggy, and gives perfect cheese pull without excess spilling all over your pan.
15.Should I spread Dijon mustard on both slices of bread? ▾
That’s totally up to your preference! For a subtle, even tang, spread a thin ¼-teaspoon layer of Dijon on the inner side of each bread slice before adding cheese and ham. If you love bold mustard flavor you can add a little extra, but stick to a thin layer—too much wet mustard will seep in and make bread soggy.
16.Can I make this in a regular pop-up toaster instead of a pan? ▾
You can, but you’ll need a reusable toaster bag to contain melting cheese so it doesn’t drip onto heating elements and cause a mess. Assemble your sandwich, slide it into the sealed bag, and toast on medium for two cycles until crisp and melty. Don’t forget to butter the bread first for that classic golden crust.
17.Why do you recommend putting cheese against both bread slices instead of piling it on the ham? ▾
Layering a thin amount of cheese directly against each inner slice of bread creates a moisture barrier between bread and ham, which prevents sogginess as the sandwich cooks. It also ensures every bite has evenly melted cheese, instead of having all the cheese slide out the side when you take your first bite.
18.Is salted butter an okay swap for unsalted butter? ▾
It works totally fine in a pinch! If you use salted butter, just hold off on adding any extra salt to your sandwich—remember smoked ham and sharp cheddar already have plenty of natural salt, so extra salt from butter can make the final bite overly salty if you’re not careful. The flavor will be nearly identical.
19.How do I tell when the toastie is fully done cooking? ▾
You’ll know it’s perfect when both sides are a deep, even golden brown, the butter has fully crisped the bread so it’s crunchy to the touch, and you can see melted cheese oozing just a little out of the sandwich edges. That usually takes 3-4 minutes per side over medium-low, so resist the urge to flip too early!
20.Can I make this recipe gluten-free? ▾
Absolutely! Just swap the white sourdough for your favorite medium-thick gluten-free sandwich bread—look for a sturdy, not-too-crumbly loaf that holds up well to pressing. Follow all the same steps: butter the bread outsides, layer cheese against both slices, add ham and Dijon, and cook over medium-low until crisp and melty.

Comments (6)

5 minutes ago

Made this for my work potluck last week, cut them into little bite sized squares and they were gone in 10 minutes! Coworkers were begging for the recipe. Only note is I used sourdough instead of white bread and it held up really well for serving a crowd.

just now

Love the sourdough swap! The bite-sized potluck hack is genius—we’re definitely stealing that for our next office gathering. So glad it was a hit!

yesterday

Wait, is it weird that I made this for dinner last night with a side of tomato soup? It was the perfect cozy rainy day meal. I used deli black forest ham and swiss, and my husband said it’s better than the toasties we get at our local diner. No notes!

2 hours ago

Not weird at all! Tomato soup and ham toasties are the ultimate combo, I do that at least once a month when the weather gets cold.

30 minutes ago

That sounds like the coziest dinner ever! Black forest ham and swiss is such a classic, delicious pairing—totally get why your husband preferred it to the diner version!

2 days ago

I’ve been making versions of this for years but never thought to spread a little dijon on the bread before grilling—game. Changer. It adds the perfect little tang that cuts through the richness of the cheese and ham. My whole family was raving about it. Only reason I’m not giving 5 stars is I wish the recipe mentioned dijon as an optional add-in, but otherwise it’s perfect!

3 days ago

OMG this is the easiest weekday lunch ever! Threw this together in 8 minutes flat for my two picky kids after soccer practice and they both asked for seconds. I added a little extra cheddar because we’re cheese obsessed, SO good. Total game changer for our chaotic after school rush!

2 days ago

I did the extra cheddar trick too! It gets all crispy on the edges if you butter the bread right, chef’s kiss.

yesterday

So glad your kids loved it! The extra cheddar add-in is such a great call—crispy cheese edges are our favorite part too!

1 week ago

Tossed this on my flat top griddle while camping last weekend and it was a hit with the whole crew. Used thick cut ham and smoked gouda for a little extra flair, cooked it up over the camp stove and everyone kept coming back for more. Super easy to make even when you don’t have a full kitchen!

5 days ago

Oh the flat top idea is brilliant! I’m bringing the ingredients for this on my next camping trip, no more sad granola bar lunches for us.

2 weeks ago

Perfect for my dorm room! I don’t have a fancy panini press, just used my cheap nonstick skillet and it turned out perfect. Way better than the sad cafeteria ham sandwiches, and it takes less time than waiting in the dining hall line. 10/10 will be making this every week for meal prep.



