
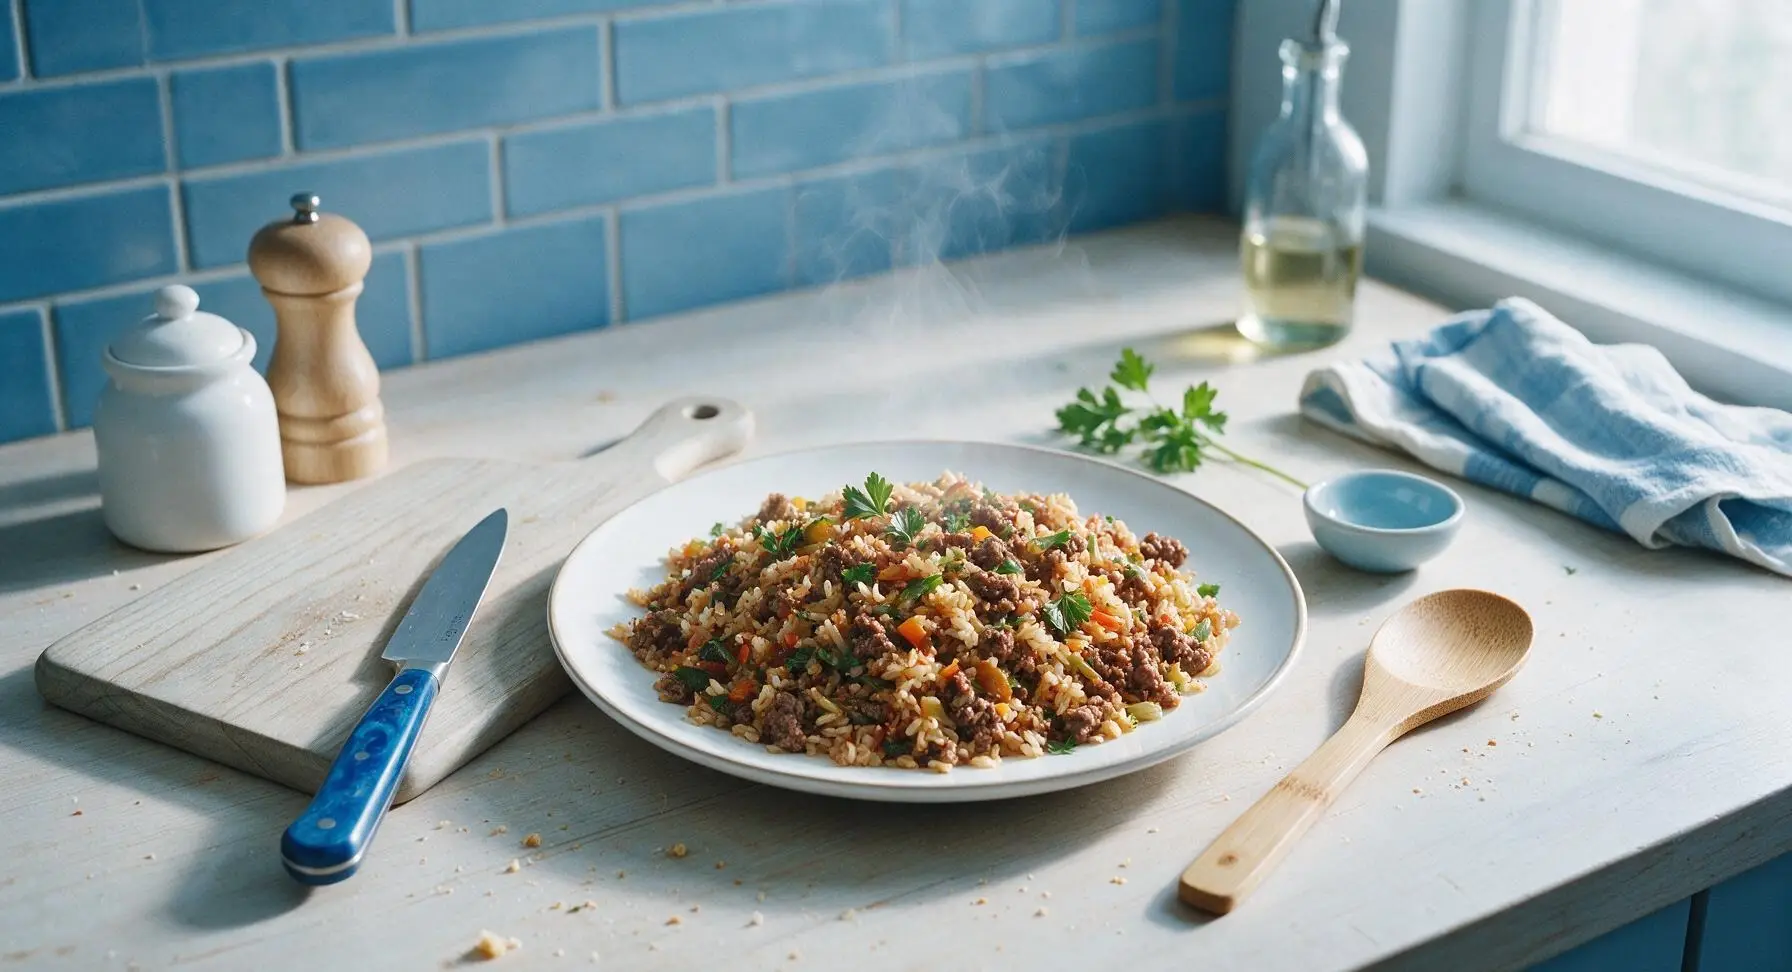
hamburger and rice

title 1
hamburger and rice
⏱️ cook time 25 minutes
🍽️ servings 4
⚡ Difficulty easy

intro

Savory one-pan ground beef and fluffy seasoned rice, tossed with tender aromatics for cozy, budget-friendly comfort food ready in just over 30 minutes.

Ingredients
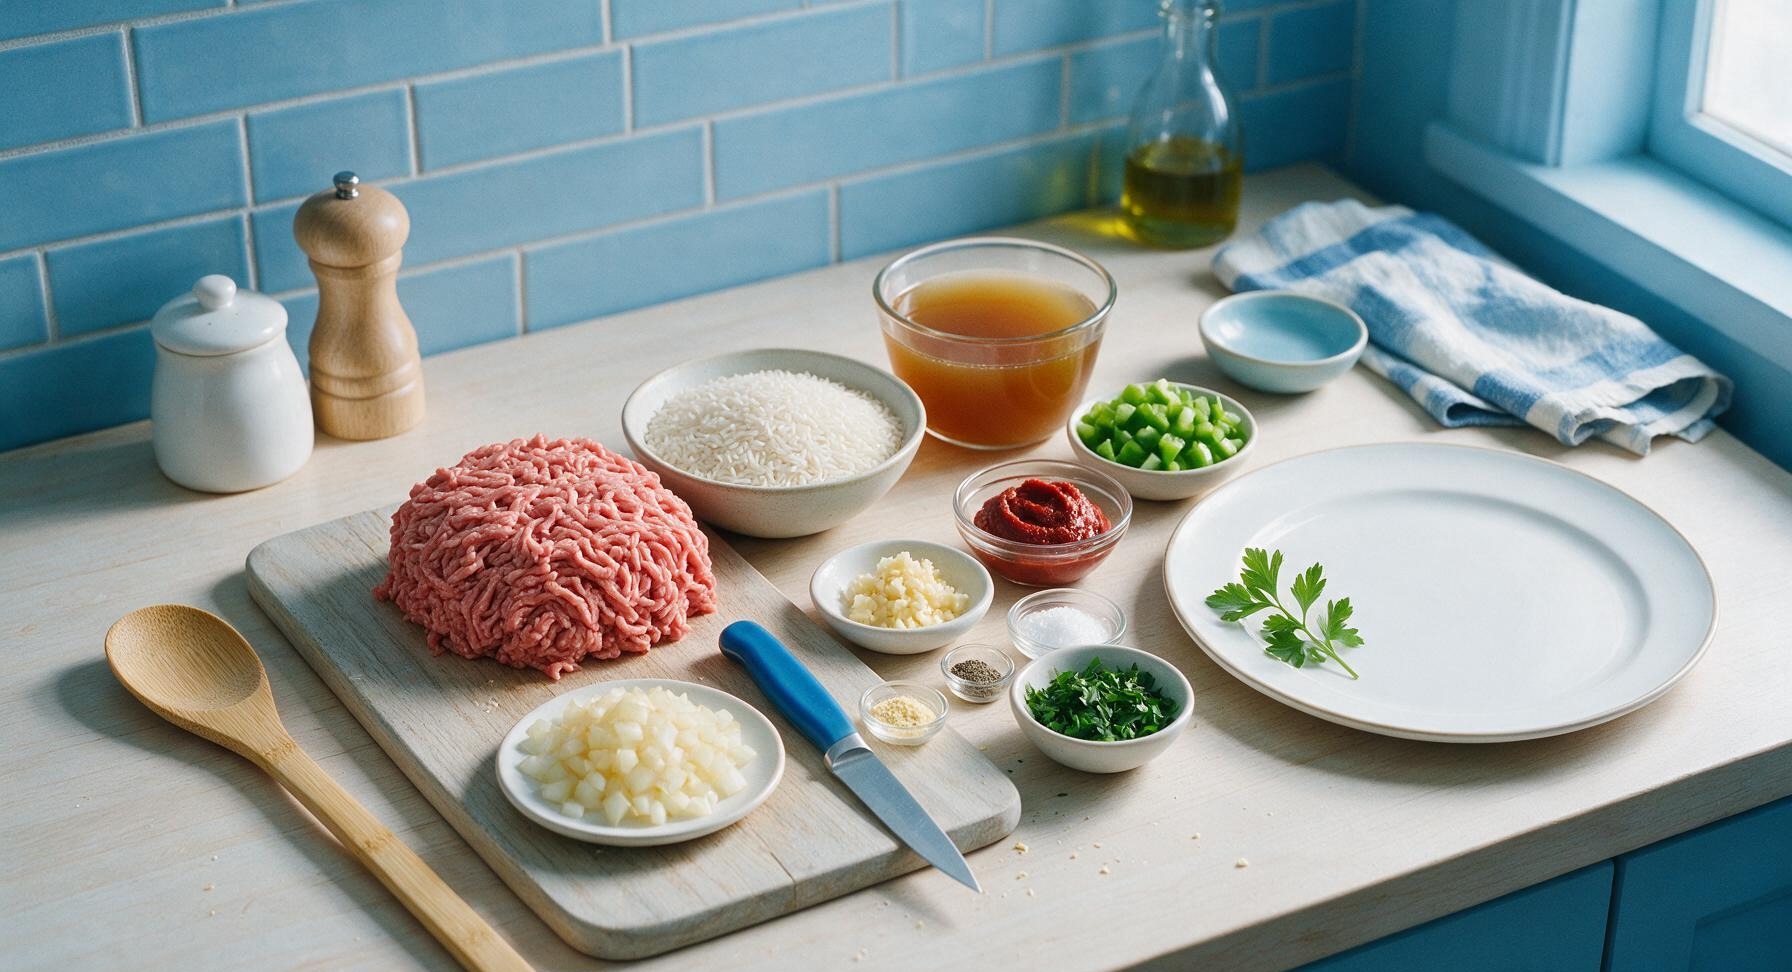
Lean ground beef (90/10) 450g (1 lb)
Long-grain white rice (uncooked) 180g (1 cup)
Small yellow onion 1 piece (110g, diced)
Garlic cloves 3 pieces (10g, minced)
Small green bell pepper 1 piece (85g, diced)
Tomato paste 2 tablespoons (33g)
Low-sodium beef broth 480ml (2 cups)
Kosher salt 1 teaspoon
Ground black pepper 1/2 teaspoon
Garlic powder 1/2 teaspoon
Extra-virgin olive oil 1 tablespoon
Fresh flat-leaf parsley 2 tablespoons (chopped, for garnish)

Steps

1

Chop Aromatic Vegetables

Place the small yellow onion, green bell pepper, and garlic cloves on the light beige cutting board. Using the 8-inch walnut-handled chef knife, dice the onion and bell pepper into uniform 1/4-inch pieces, and mince the garlic finely. Gather prepped vegetables in small piles on the edge of the cutting board; this prep takes roughly 10 minutes, with no large chunks remaining to ensure even cooking.
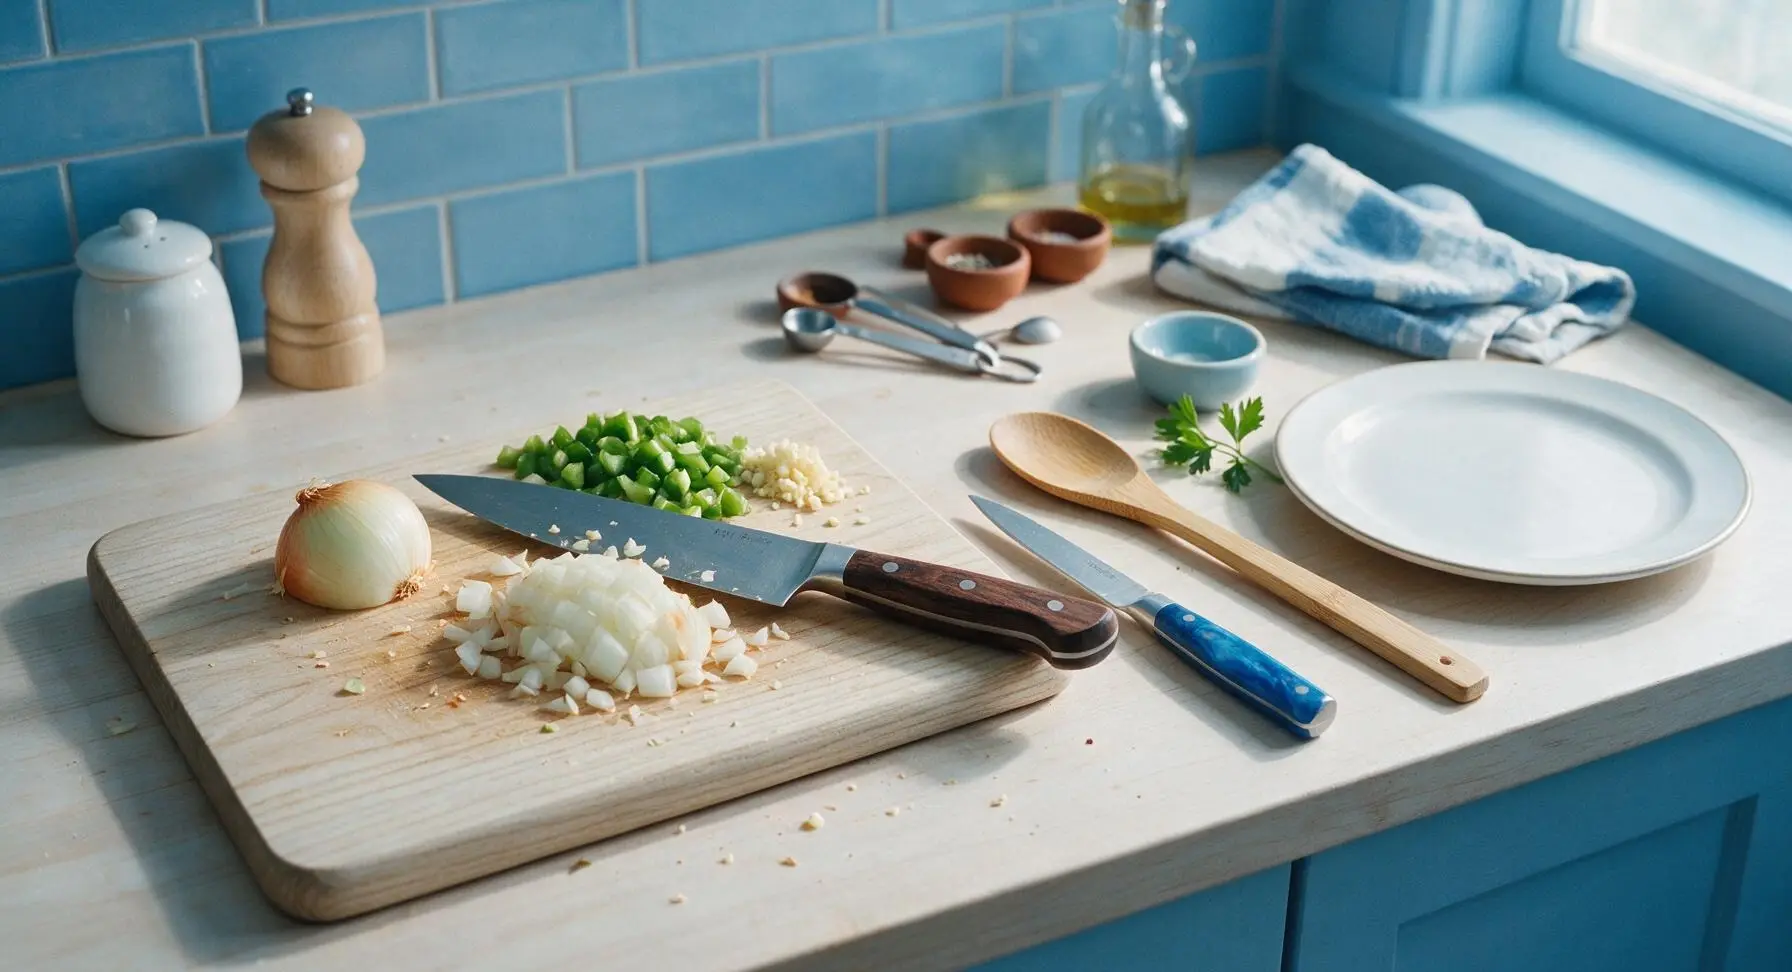
Step 1
step1:Chop Aromatic Vegetables
2

Brown the Ground Beef

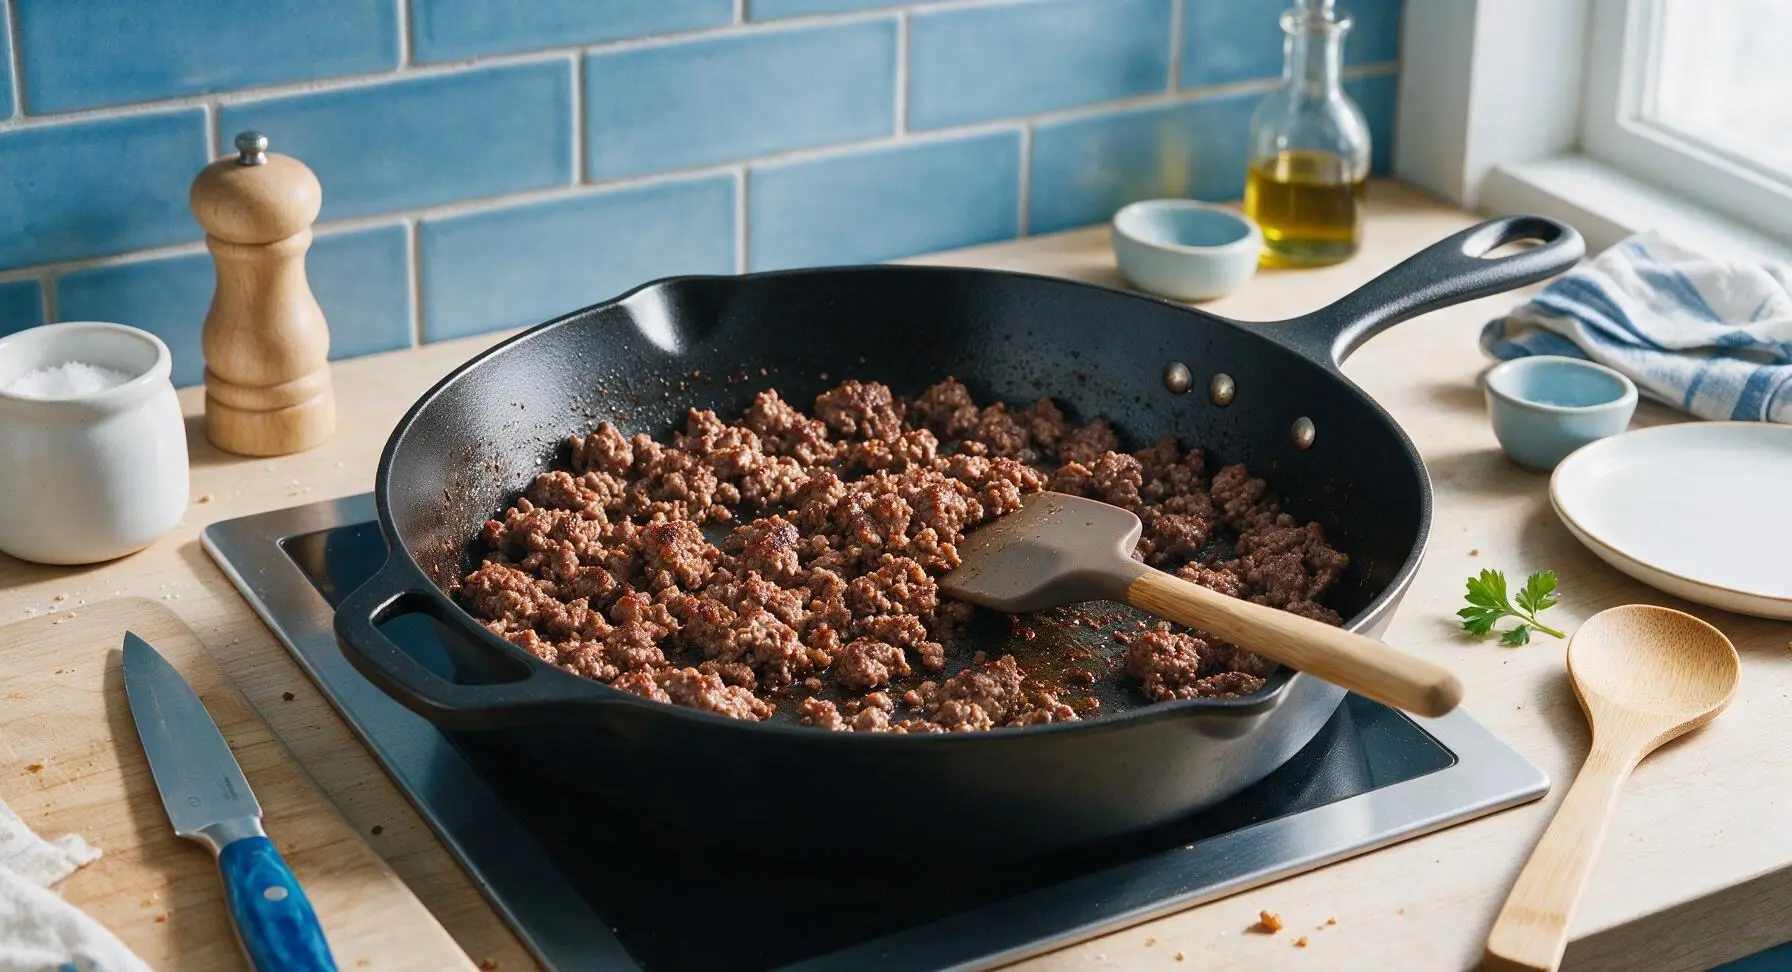
Heat 1 tablespoon olive oil in the 3-quart matte black carbon steel skillet over medium heat (350°F/175°C on the flush induction cooktop). Add the 450g lean ground beef to the pan, breaking it apart into small, pea-sized crumbles with the taupe silicone spatula. Cook for 5 minutes, until the beef is fully browned with no remaining pink spots, and a light golden crust forms on the edges of some crumbles. Retain the small amount of rendered fat from the 90/10 beef, as it adds rich flavor for the rice.
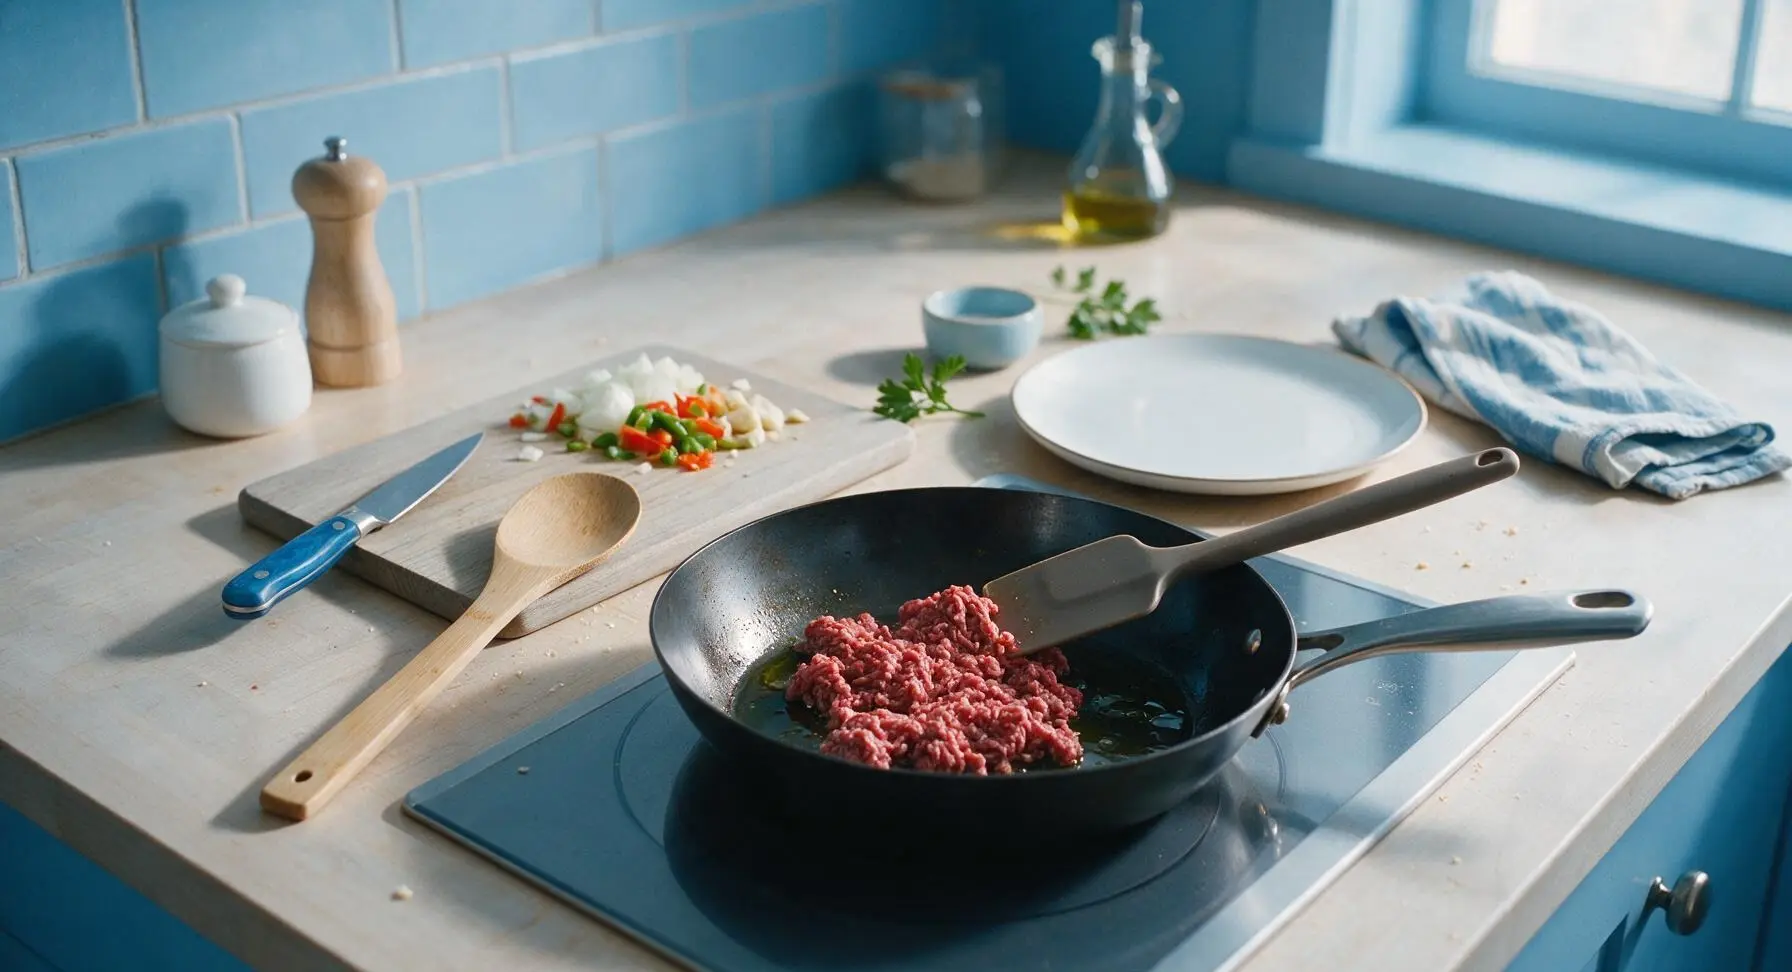
Step 2
step2:Brown the Ground Beef
Step 2
step2:Brown the Ground Beef
3

Sauté Prepped Aromatics

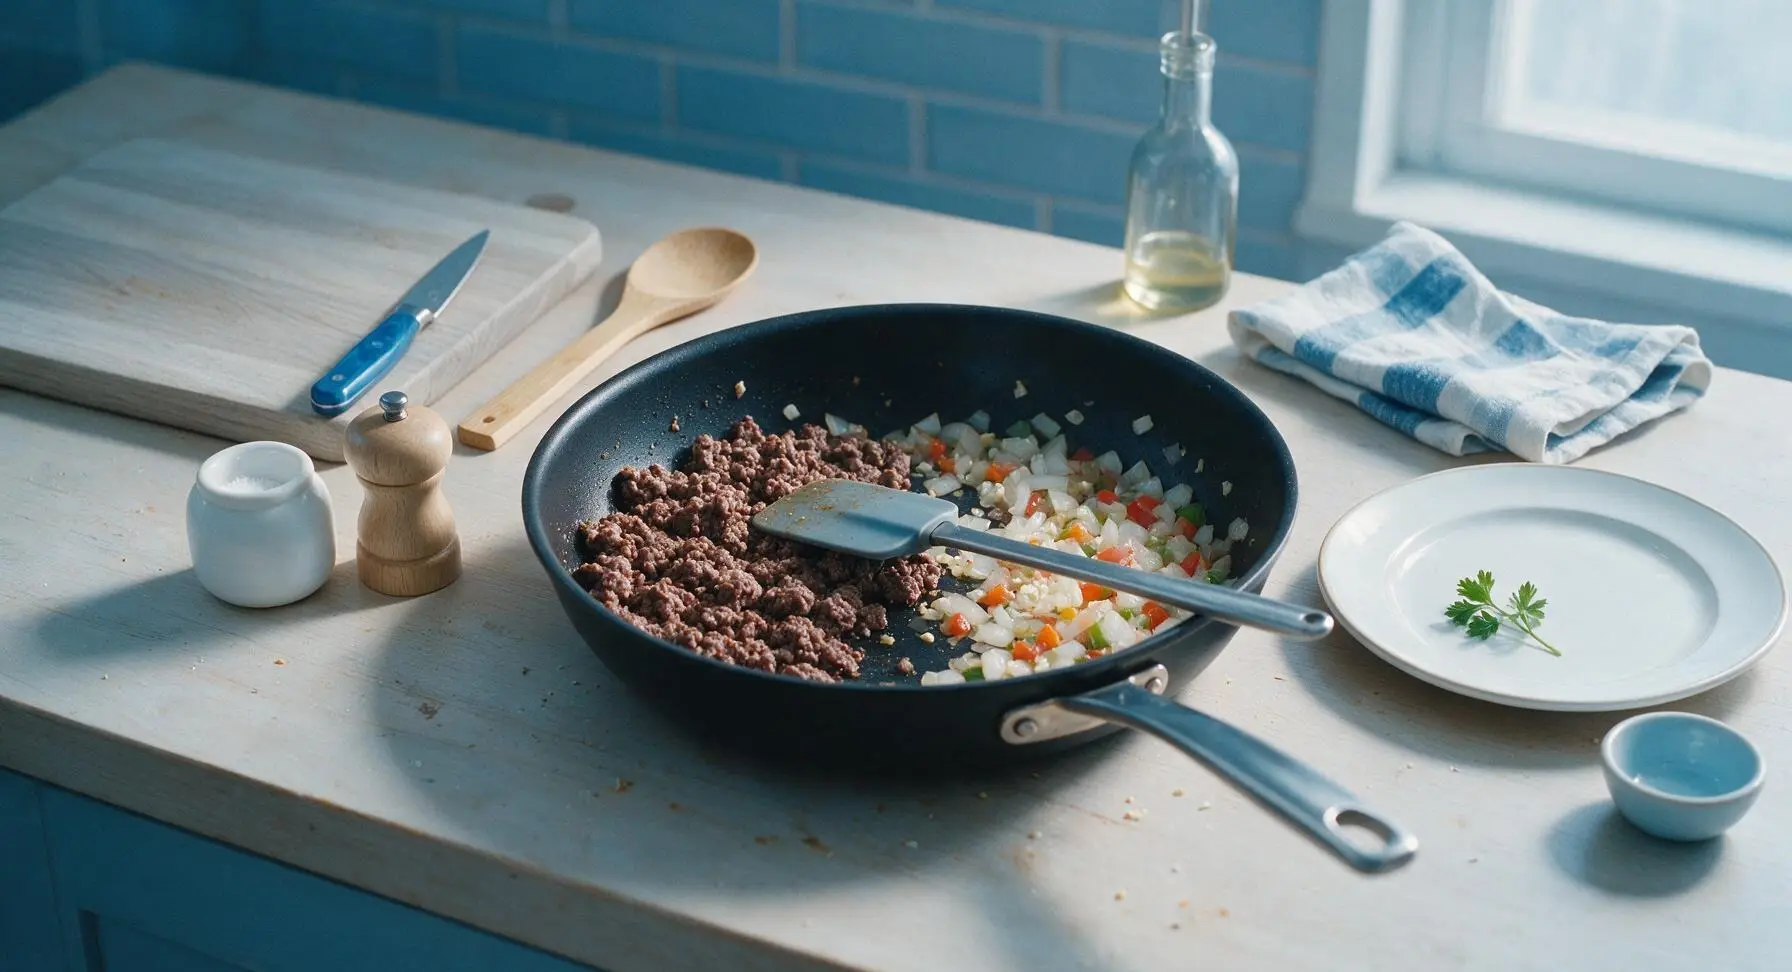
Push the browned beef crumbles to the left side of the skillet. Add the diced onion, bell pepper, and minced garlic to the empty right side of the pan. Sauté for 3 minutes, stirring occasionally with the silicone spatula, until the onions turn soft and translucent, and the garlic releases a warm, fragrant aroma. Take care not to burn the garlic, as it will develop a bitter, off flavor. Stir the softened vegetables into the beef crumbles once cooked.
Step 3
step3:Sauté Prepped Aromatics
4

Toast Rice and Tomato Paste

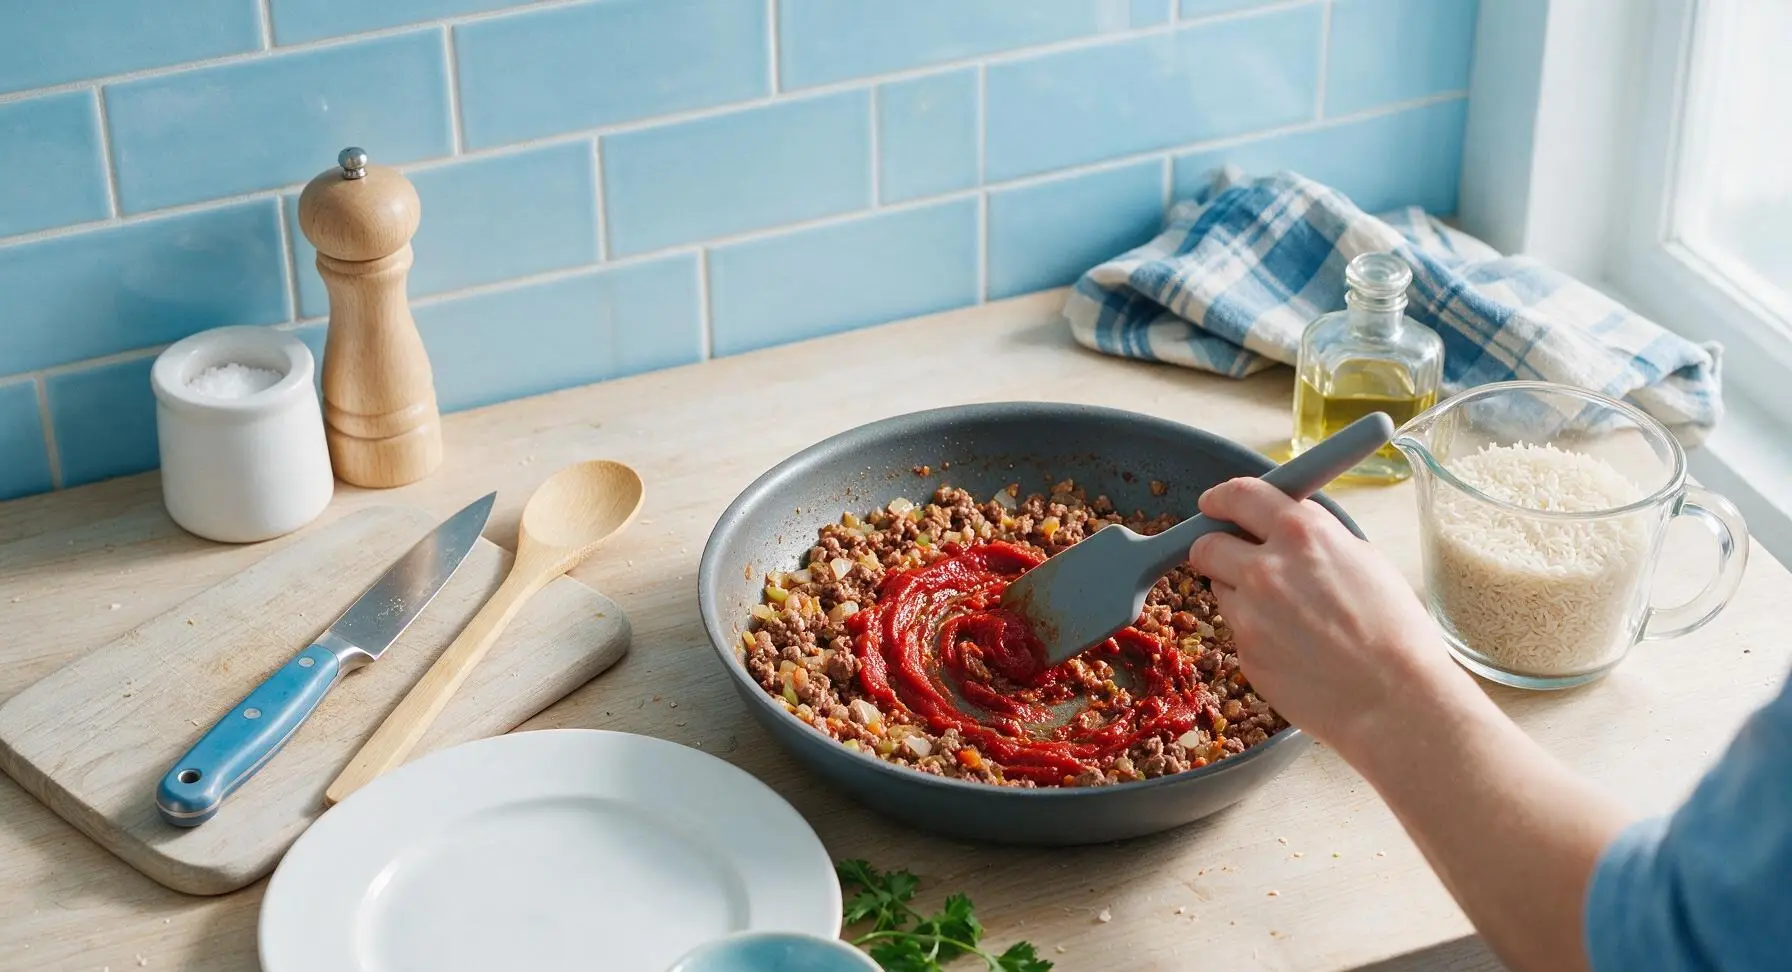
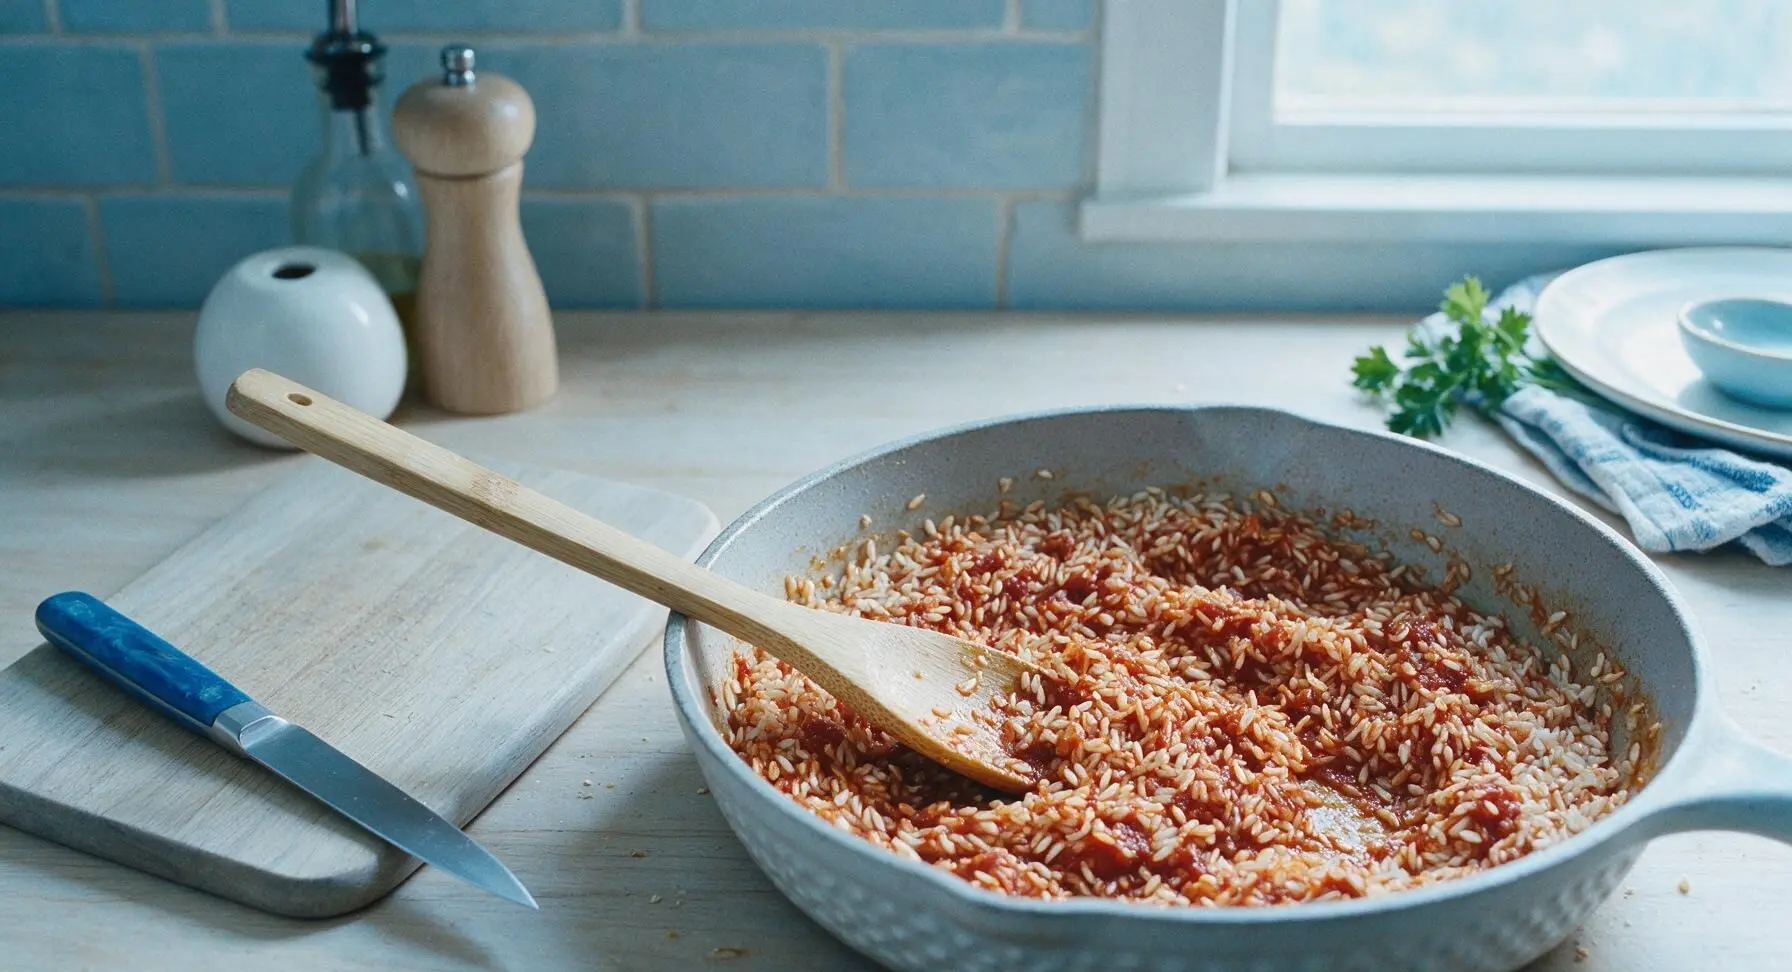
Add the 2 tablespoons of tomato paste to the skillet, stirring to coat the beef and vegetable mixture. Cook the tomato paste for 1 minute, until it darkens to a deep rust red and smells sweet and concentrated. Add the 1 cup uncooked long-grain white rice to the pan, stirring constantly to toast the grains for 2 minutes, until the edges of the rice turn slightly opaque and take on a faint golden tint. This toasting step adds a subtle nutty depth to the finished dish.
Step 4
step4:Toast Rice and Tomato Paste
Step 4
step4:Toast Rice and Tomato Paste
5

Simmer Rice in Broth

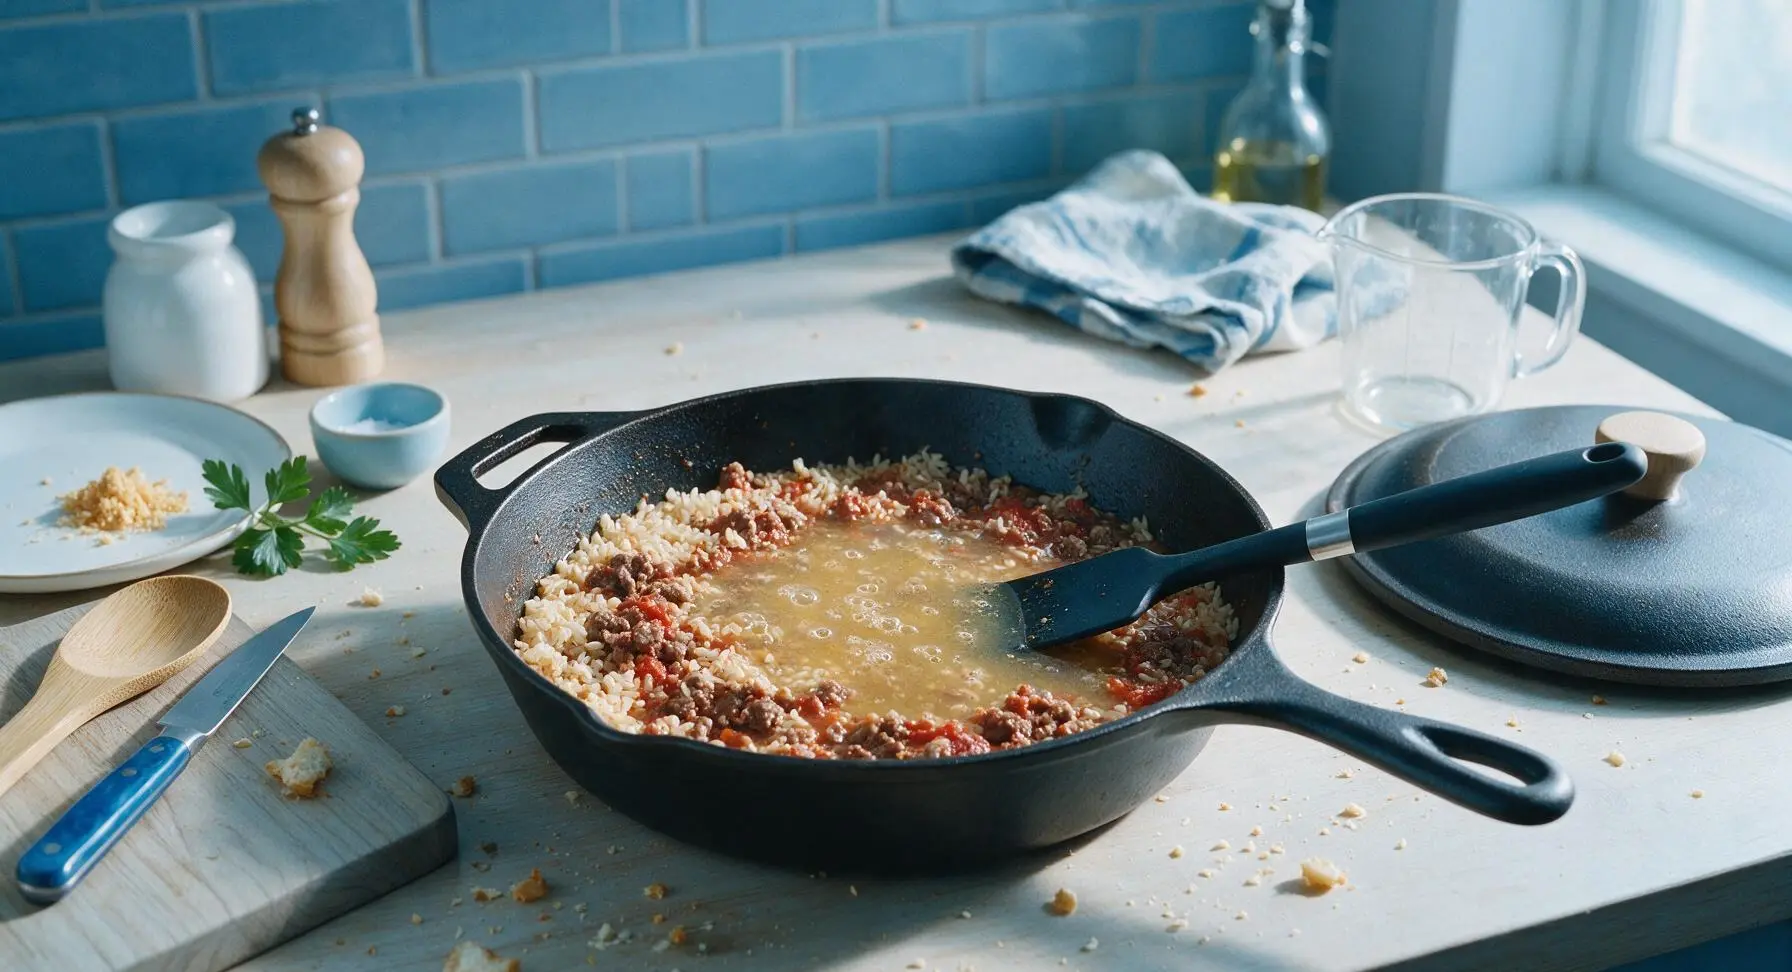
Pour the 2 cups low-sodium beef broth into the skillet, stirring to scrape up all browned fond bits from the pan bottom. Add 1 teaspoon kosher salt, 1/2 teaspoon black pepper, and 1/2 teaspoon garlic powder, stirring to fully combine. Bring the liquid to a gentle rolling boil, then reduce heat to low (200°F/95°C), cover the skillet with its tight-fitting lid, and simmer for 15 minutes without lifting the lid. The rice will absorb all the liquid during this time; lifting the lid releases critical steam and leads to unevenly cooked rice.
Step 5
step5:Simmer Rice in Broth
6

Rest and Fluff Rice

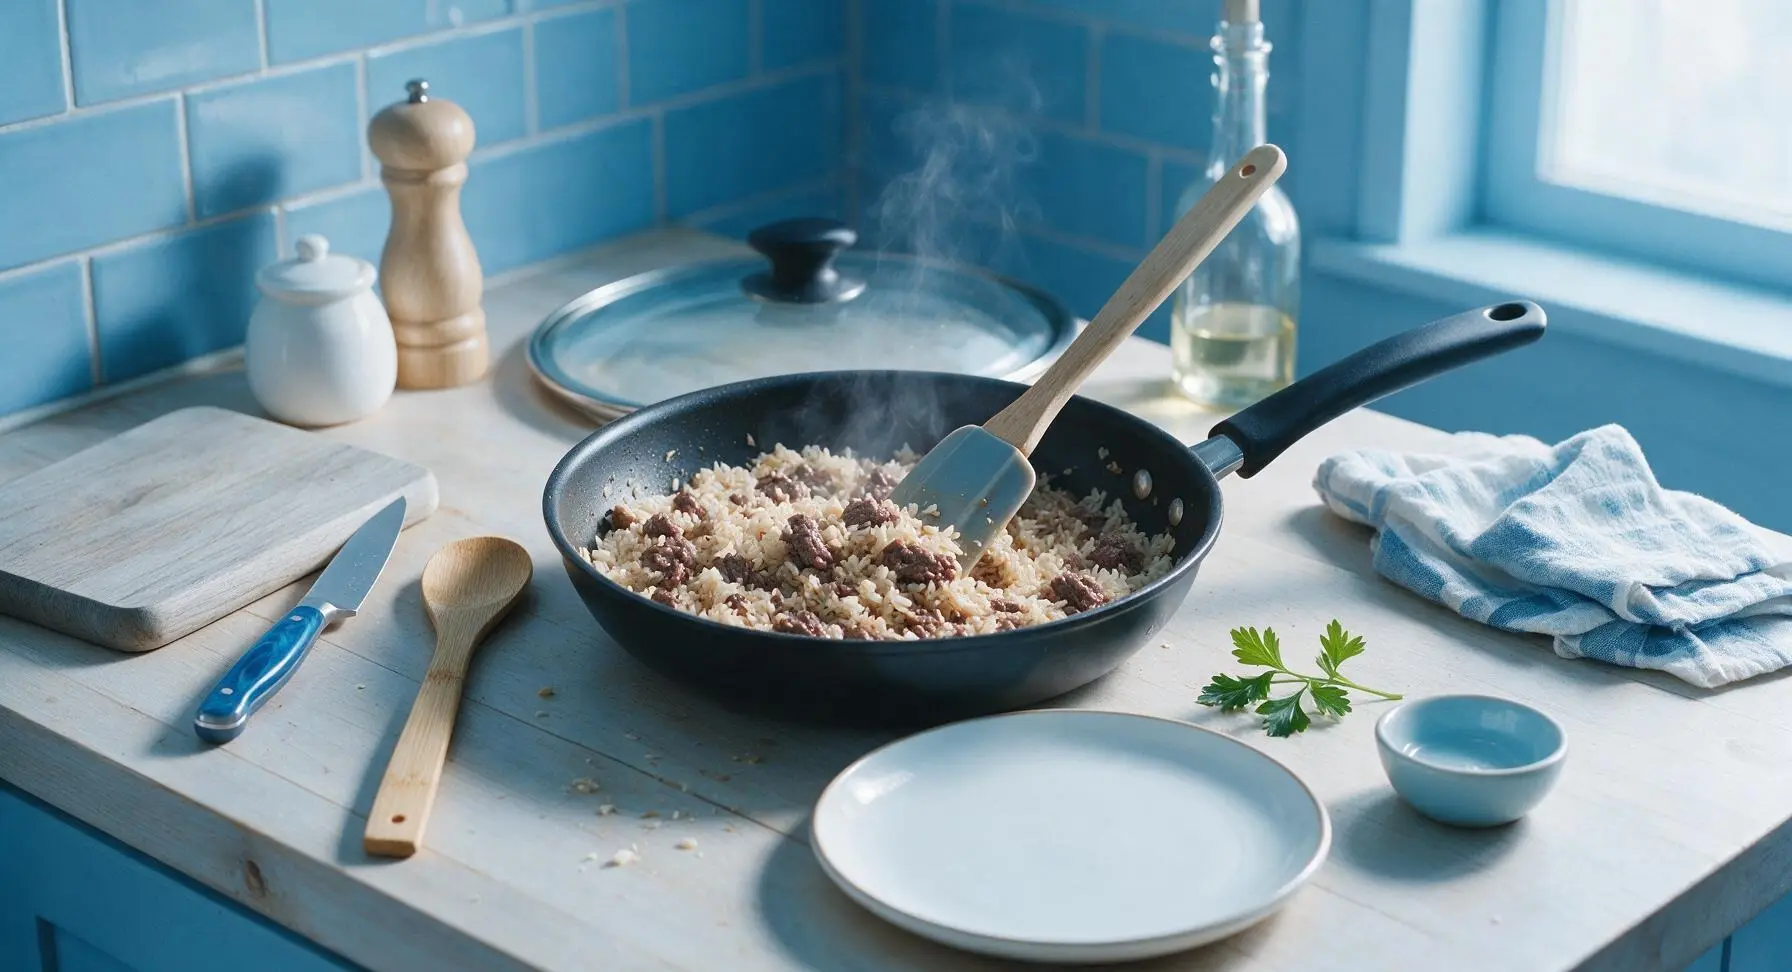
After 15 minutes of simmering, turn off the induction heat, leave the lid on, and let the dish rest for 5 minutes to allow any remaining steam to absorb into the rice. Remove the lid, then use the silicone spatula to gently fluff the rice and beef mixture, breaking up any clumped rice grains and evenly distributing the beef and vegetables throughout. The finished rice should be tender, with no hard, uncooked cores at the center of individual grains.
Step 6
step6:Rest and Fluff Rice
7

Plate and Garnish Dish

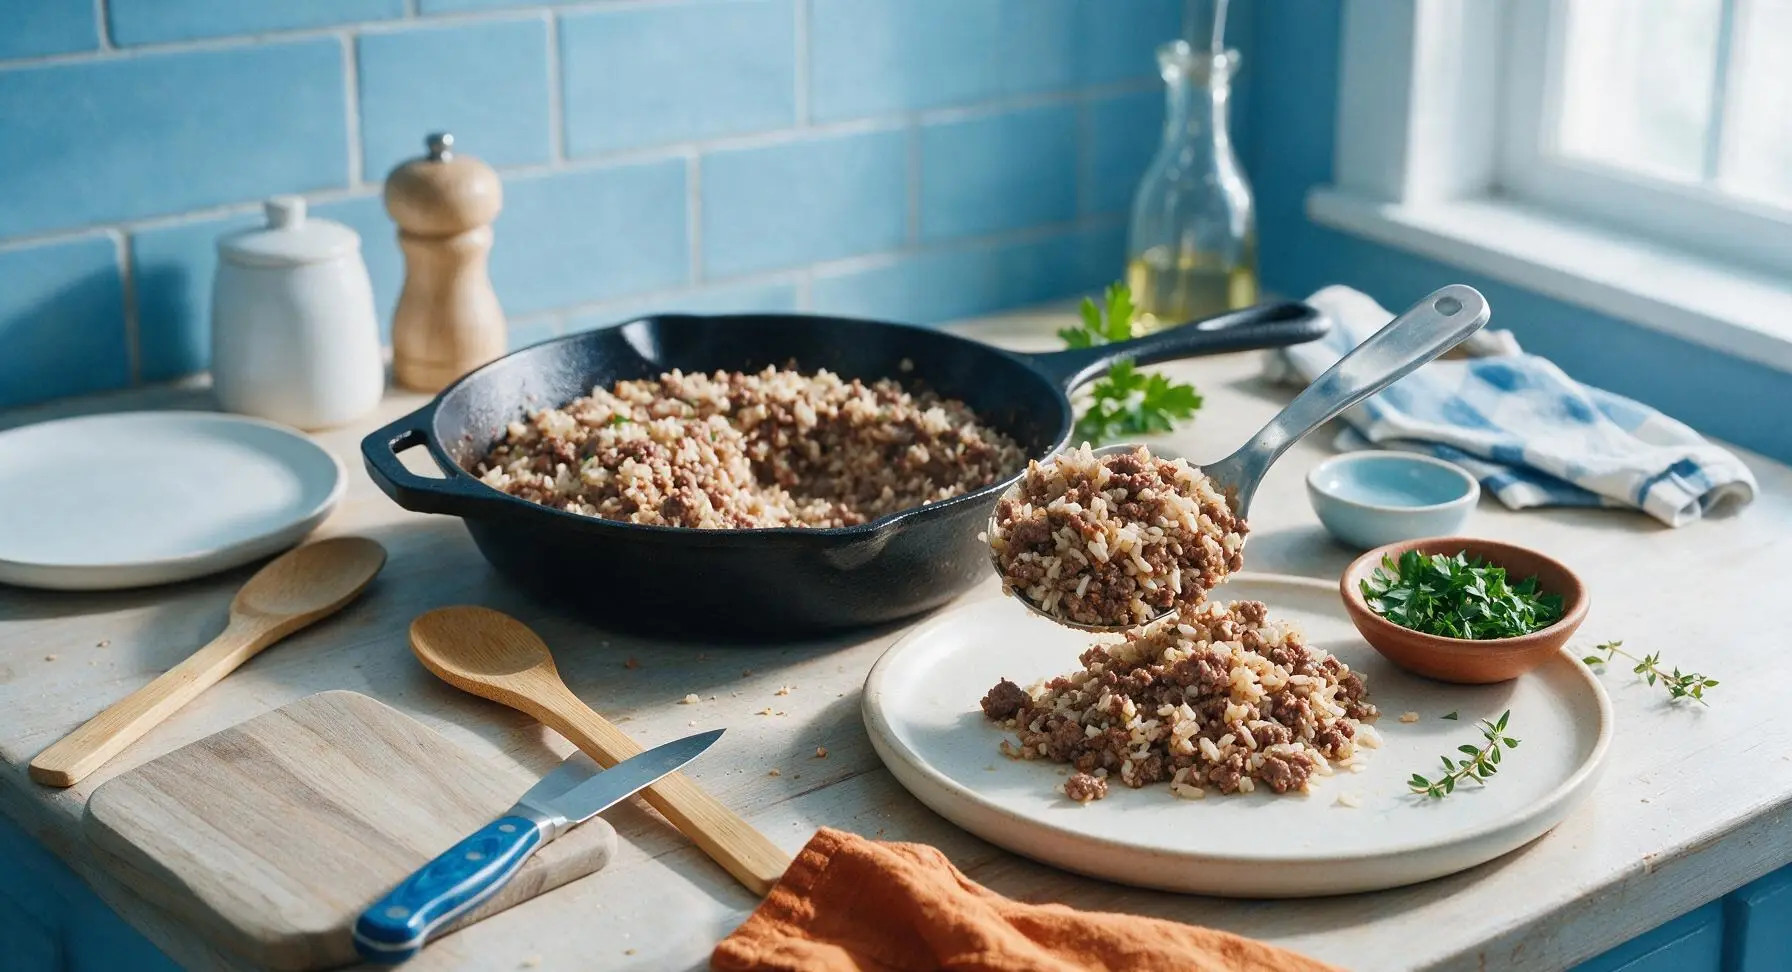
Use the stainless steel serving spoon to scoop a generous portion of the hamburger and rice mixture onto the center of the matte cream stoneware dinner plate. Sprinkle the top with 2 tablespoons of chopped fresh flat-leaf parsley, and tuck a small sprig of fresh thyme plucked from the countertop potted plant as a simple garnish. Serve immediately while warm.
Step 7
step7:Plate and Garnish Dish

Tips

1.Resist the urge to lift the skillet lid while the rice simmers: trapped steam maintains a consistent pan temperature critical for fluffy, evenly cooked rice, and removing the lid for even a few seconds can drop the temperature enough to leave hard, undercooked grain centers.
2.Stick to long-grain white rice for this recipe: long-grain rice has a lower starch content than short-grain or sushi rice, so it stays light and separate when cooked, while short-grain varieties will turn sticky and mushy in this one-pan method, and instant rice will overcook into a soft paste.
3.Scrape every bit of browned fond from the pan bottom when adding the broth: these dark, caramelized bits left from browning the beef and toasting the paste are packed with deep, savory umami flavor that infuses the rice as it simmers, making the dish taste far richer than if you leave them stuck to the pan.


✨ You May Also Like

Main Course
🍜 United Kingdom

A showstopping classic of tender seared beef, savory mushroom duxelles, and crisp prosciutto wrapped in flaky golden puff pastry, baked to juicy perfection.

⏱️ 2 hours 1Main Course ★ 4.7
Main Course
🍜 India

Tender charred marinated chicken simmered in a rich, spiced creamy tomato sauce, this iconic Anglo-Indian curry pairs perfectly with basmati rice or warm naan.

⏱️ 50 minuteMain Course ★ 4.6
Main Course
🍜 Thailand

Classic tangy, sweet, and savory Thai stir-fried rice noodles with shrimp, tofu, and crunchy garnishes, balancing all five core Thai flavor profiles.

⏱️ 30 minuteMain Course ★ 4.5
Main Course
🍜 United Kingdom

Crispy golden beer-battered cod and fluffy double-fried chips, served with tangy tartar sauce and malt vinegar: the timeless, beloved British pub comfort classic.

⏱️ 45 minuteMain Course ★ 4.7
Main Course
🍜 Mexico

Smoky, chile-marinated pork tacos with caramelized pineapple, fresh cilantro, and lime: a beloved classic Mexican street food perfect for casual summer gatherings.

⏱️ 1 hour 45Main Course ★ 4.8
Main Course
🍜 United States

Crunchy Fritos corn chips layered with savory beef chili and melted cheddar, topped with cool, zesty fixings for a beloved, cozy Tex-Mex comfort food.

⏱️ 35 minuteMain Course ★ 4.8

hamburger and rice:Frequently Asked Questions

1.Do I really not need to pre-cook the rice separately for this recipe? ▾
No, that’s the best part of this one-pan method! After browning the beef and softening your aromatics, you’ll toast the uncooked long-grain white rice for 1 to 2 minutes to boost its nutty flavor, then add the correct ratio of liquid and simmer covered until fluffy, no extra pot required.
2.Why does the recipe call for 90/10 lean ground beef instead of a fattier blend? ▾
The 90/10 lean blend strikes the perfect balance here: you won’t end up with a greasy final dish that makes rice soggy, but there’s still enough fat to brown the onion, bell pepper, and garlic without extra oil, plus enough rich beef flavor to keep the dish cozy and satisfying. If you use fattier beef, drain excess grease before adding rice.
3.Can I use brown rice instead of long-grain white rice? ▾
You can, but you’ll need to adjust cook time and liquid to get tender, fluffy results. Brown rice needs roughly 25% more cooking liquid and 15 to 20 extra minutes of covered simmer time compared to white long-grain rice, since it has a tough outer bran layer that takes longer to soften. Skip instant rice here, as it turns mushy easily.
4.How do I keep the rice from burning on the bottom of the pan? ▾
Start by using a heavy-bottomed skillet or Dutch oven with a tight-fitting lid to distribute heat evenly, and turn your stovetop to low as soon as you bring the cooking liquid to a gentle simmer. Resist the urge to lift the lid while it simmers—this lets steam escape, leading to uneven cooking and burnt spots on the pan bottom.
5.Can I prep this dish ahead for quick weeknight meals? ▾
Absolutely! This dish stores beautifully for 3 to 4 days in an airtight container in the fridge, making it ideal for weekly meal prep. Let it cool completely before portioning, and reheat individual servings in the microwave with a splash of beef broth or water to loosen the rice and bring back its fluffy, moist texture.
6.What if I don’t have green bell pepper on hand? ▾
No need to make a special grocery run! You can swap the green bell pepper for an equal amount of diced red, orange, or yellow bell pepper for a slightly sweeter flavor, or even diced celery for that same crisp-tender aromatic bite. If you have neither, add an extra half cup of diced onion to keep the flavor base solid.
7.How much total time does this recipe actually take from start to finish? ▾
From pulling ingredients out of the fridge to serving, this takes roughly 35 minutes total, which lines up with its quick weeknight design. You’ll spend about 10 minutes browning beef and softening onion, garlic, and bell pepper, 2 minutes toasting rice, then 20 to 22 minutes of covered simmer time with no active stirring needed.
8.What kind of liquid should I use to cook the rice for the best flavor? ▾
For the richest, most savory result, use low-sodium beef broth as your cooking liquid—it infuses every grain of rice with deep, meaty flavor that pairs perfectly with the ground beef. If you only have water on hand, stir in a teaspoon of Worcestershire sauce and pinch of paprika to amp up flavor before simmering.
9.Will this recipe work in a non-stick skillet, or do I need a special pan? ▾
A standard 12-inch non-stick skillet works perfectly, as long as it has a tight-fitting lid to trap steam while the rice cooks. Avoid thin, lightweight non-stick pans that warp easily over heat, as these create hot spots that burn rice on the bottom. If your skillet has no lid, tightly cover the top with heavy-duty aluminum foil instead.
10.Can I add extra veggies to this to make it more filling? ▾
Definitely! This flexible base works great with extra mix-ins like frozen peas and carrots, diced mushrooms, or corn—just stir in frozen veggies during the last 5 minutes of simmer time so they heat through without getting mushy. If using denser fresh veggies like diced carrots, sauté them with the onion and bell pepper at the start.
11.Why do you toast the rice before adding cooking liquid? ▾
Toasting the uncooked long-grain rice in the pan with browned beef and aromatics for 1 to 2 minutes before adding liquid does two key things: it gives the rice a warm, nutty depth of flavor you can’t get from plain boiled rice, and it coats each grain in thin fat so rice stays light and fluffy instead of clumping as it cooks.
12.Is this recipe actually budget-friendly? ▾
It absolutely is, which is part of why it’s such a beloved weeknight staple. All the core ingredients—ground beef, long-grain white rice, onion, garlic, and bell pepper—are low-cost, easy to find at any grocery store, and a single batch makes 4 hearty servings for a fraction of the cost of takeout or more elaborate meals.
13.My rice came out crunchy and undercooked—what went wrong? ▾
Crunchy, undercooked rice almost always stems from one of two issues: either you didn’t add enough cooking liquid, or you lifted the lid too often while simmering and let too much critical steam escape. Next time, stick to a 2:1 liquid to rice ratio, keep the lid sealed for the full simmer, and let it rest 5 minutes off heat before serving.
14.Can I freeze leftover One-Pan Hamburger and Rice? ▾
Yes, this dish freezes really well for up to 3 months. Let leftovers cool completely first, then portion them into freezer-safe, airtight bags or containers, squeezing out as much excess air as possible to prevent freezer burn. Thaw in the fridge overnight, then reheat on the stovetop or microwave with a tiny splash of broth to refresh the texture.

Comments (11)

2 hours ago

OMG this was such a game changer for our busy weeknight family dinner! I had ground beef thawed and no clue what to make, threw this together in 25 minutes flat and even my super picky 7 year old asked for seconds. So much flavor for how few ingredients it uses! Will 100% be adding this to our regular meal prep rotation.

30 minutes ago

Same! My picky 6 year old devoured it too, I added a handful of frozen peas and carrots at the end and it was perfect, no extra cook time needed.

5 minutes ago

So glad the whole family loved it! Tossing in frozen mixed veggies is such a smart, easy way to sneak in extra produce without any extra prep or cleanup.

3 days ago

Took this car camping last weekend and cooked it over our camp stove in one cast iron pan—total hit with the whole group! It was SO good, hearty, filling, didn’t require packing a ton of separate ingredients, and clean up was a breeze before we hit the trails the next morning. Already planning to make it for our next potluck with the hiking club.

5 days ago

Super easy base recipe! I thought it was a little plain on its own so I tossed in a can of drained Rotel, a tsp of paprika, and a pinch of cayenne for a little kick, turned out amazing. Great weeknight staple when you don’t have a lot of energy to cook.

3 days ago

Love that you customized it to your taste! Adding Rotel is such a delicious hack for a little extra zing, I’ll have to try that version myself soon.

1 week ago

Game. Changer. I make a big batch of this every Sunday now for my husband’s work lunches and my teen’s after school snacks. It reheats like a dream, no mushy rice even after 3 days in the fridge. Can’t believe I never thought to cook the rice right in the pan with the hamburger before!

5 days ago

Wait does it really reheat well? I’m a broke college student always looking for meals I can make once and eat all week, this sounds perfect.

3 days ago

It absolutely does! Just store it in an airtight container in the fridge for up to 4 days, and add a tiny splash of water when you reheat it in the microwave to keep the rice fluffy.

2 weeks ago

My kids loved it! I stirred in a can of cream of mushroom soup when I added the rice and broth, made it so rich and creamy, tasted like the hamburger rice casserole my grandma used to make but way less work. 10/10 will make again for Sunday supper.

1 week ago

Oh the cream of mushroom addition sounds insane, I’m definitely trying that next time! I’ve been making this for years but never thought to add that, bet it tastes just like the old school casserole I grew up eating.

30 minutes ago

Made this after a brutal 12 hour shift at the hospital, it came together so fast I didn’t even have time to pour my glass of wine before it was almost done. Flavor is simple but satisfying, no fancy ingredients needed which is perfect for nights when your brain is totally fried. Will be making this on repeat on busy work weeks.

2 days ago

Wait this is SO cheap to make! I fed my family of 4 for under $8 total, which is wild with how expensive groceries are right now. The only note I have is make sure you don’t lift the lid while the rice is simmering, I did that the first time and the rice was a little crunchy on top. Second time was perfect!

yesterday

Oh thank you for the tip about not lifting the lid! I’m terrible about peeking when I cook, I would’ve definitely messed that up and had crunchy rice.

2 hours ago

Great catch! Keeping the lid on traps the steam that cooks the rice perfectly—so glad you shared that tip for other home cooks, and thrilled the recipe worked for your family on a budget!

yesterday

So happy this recipe is naturally gluten free as long as you use GF beef broth! I was worried I’d have to swap a bunch of ingredients but it works perfectly as written for my celiac diet. Served it with a side of roasted broccoli and it was such a filling, easy dinner.

2 hours ago

That’s such a great note for other gluten free folx! So glad you were able to enjoy it without any complicated swaps, the roasted broccoli side sounds like the perfect pairing.

5 days ago

Made this for our weekly game night with friends last week, everyone was raving about it and asked for the recipe before they left. I topped each serving with a little diced onion and pickle relish to make it taste like a cheeseburger in a bowl, such a fun twist!

3 days ago

The pickle relish addition?? Why have I never thought of that? That sounds exactly like something my husband would go crazy for, trying that this weekend for sure.

2 days ago

What a fun, creative twist! The cheeseburger vibe sounds so tasty, I love hearing all the fun customizations people come up with for this recipe.

5 minutes ago

Let me be real, I burn 90% of the things I try to cook because I get distracted scrolling TikTok mid-recipe. This was foolproof! Even I didn’t burn it, and it only took one pan so I only had one thing to wash after. 10/10 for people who are terrible at cooking like me.

just now

This was really tasty! Only issue I had was my rice took almost 10 minutes longer to cook than the recipe said, probably because my stove runs a little low heat. Once I let it simmer a bit longer it turned out great, though! Perfect for tiny apartment kitchens where you barely have counter space for more than one pan.

just now

Thanks for the honest feedback! Stove temperatures can vary a lot between models, so adding a little extra simmer time until the rice is tender is always a great call. So glad it turned out tasty for you in the end!



