
hashbrown dinner casserole
intro
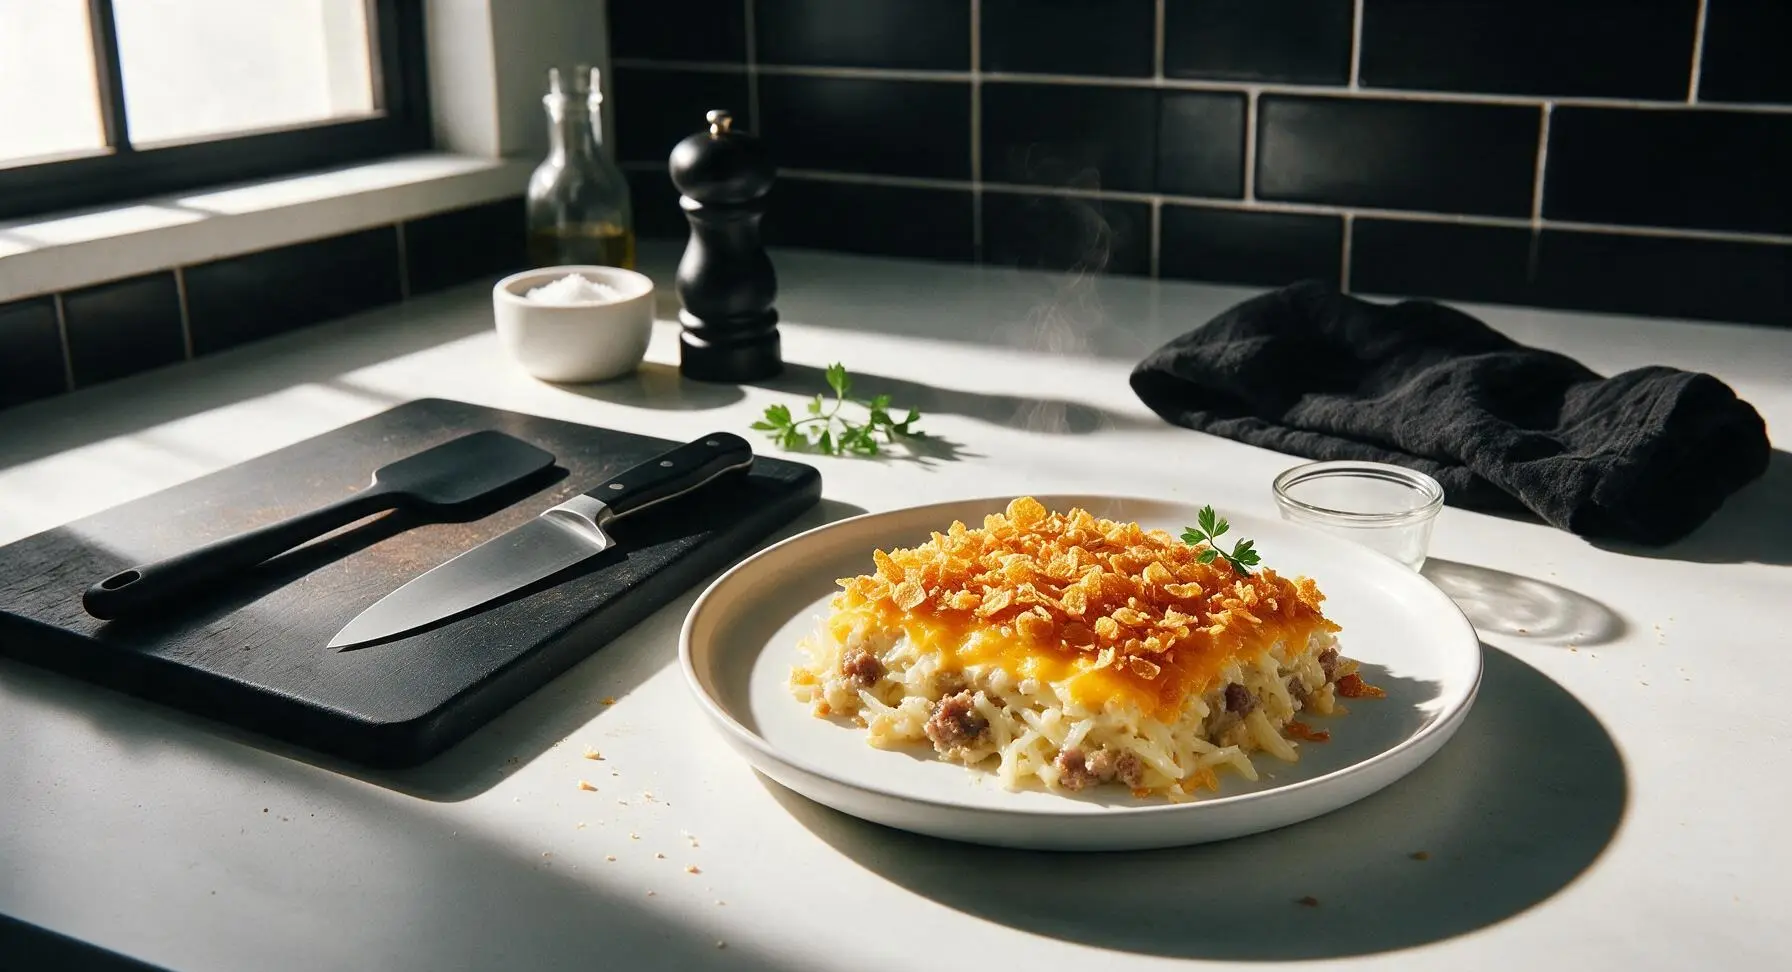
Crispy, cheesy, and hearty hashbrown dinner casserole loaded with savory sausage and creamy potato, topped with buttery cornflakes—pure cozy comfort for family meals.
Ingredients
Steps
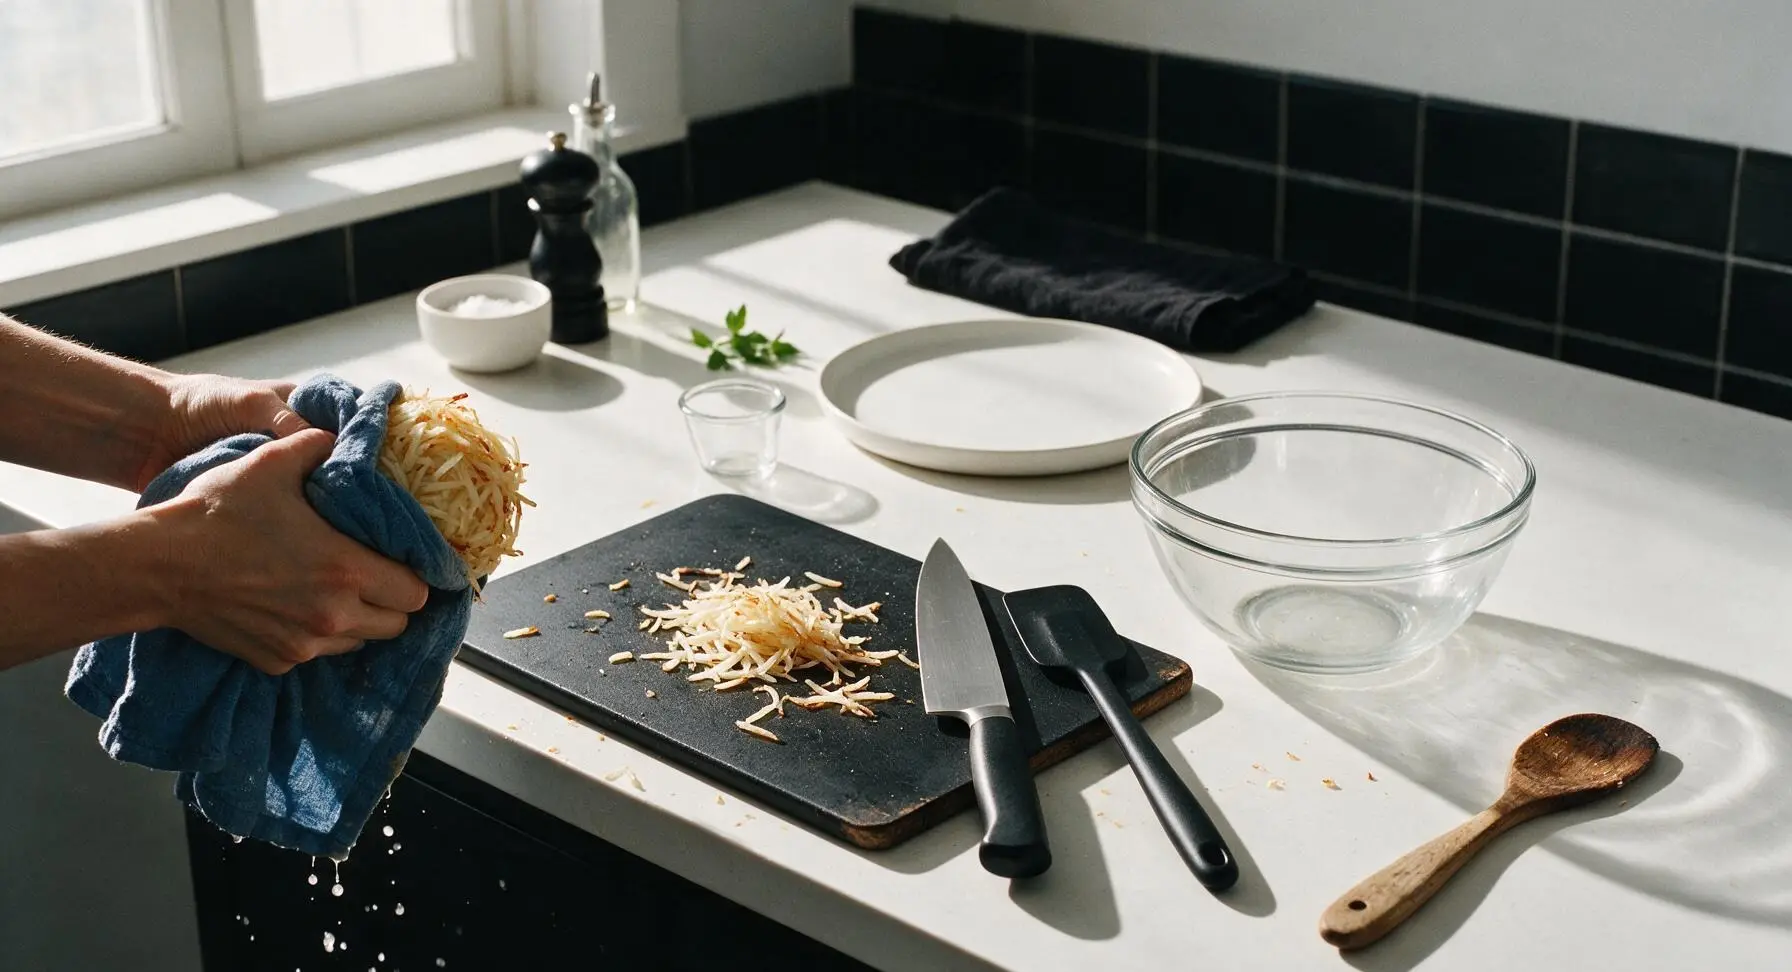
Squeeze Hashbrown Moisture
Preheat your oven to 375°F (190°C). Gather the thawed shredded hashbrowns, wrap them in the faded indigo cotton kitchen towel, and squeeze firmly over the sink to remove as much excess starchy water as possible. You should extract roughly 1/2 cup of water; fully dried hashbrowns prevent a soggy final casserole. Transfer the squeezed, dry hashbrowns into the large clear glass mixing bowl.
Cook Sausage and Onion
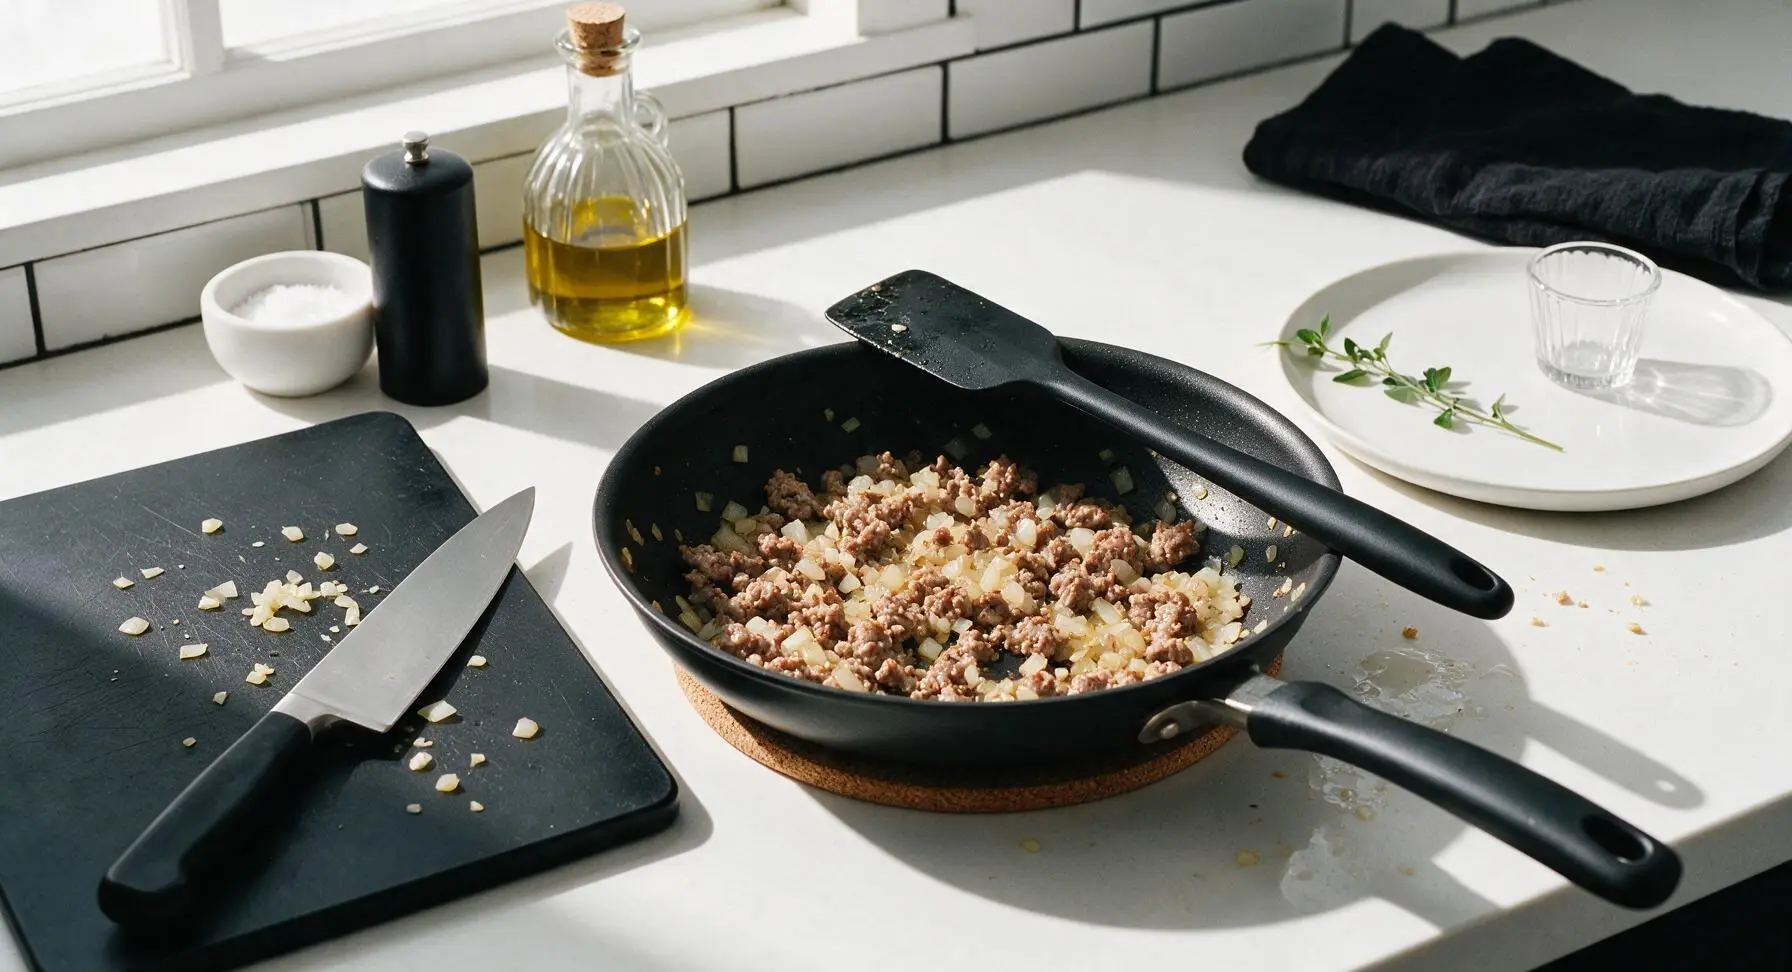
Dice the yellow onion into 1/4-inch pieces on the light grey cutting board using the chef knife. Heat 1 tablespoon of the melted butter in the 10-inch matte black skillet over medium heat, add the diced onion, and sauté for 3 minutes until soft and translucent. Add the ground pork sausage, cook for 7-8 minutes while breaking it into small crumbles with the silicone spatula, until fully browned with no pink remaining. Drain all excess grease from the mixture, then return the skillet to its cork trivet to cool for 5 minutes.
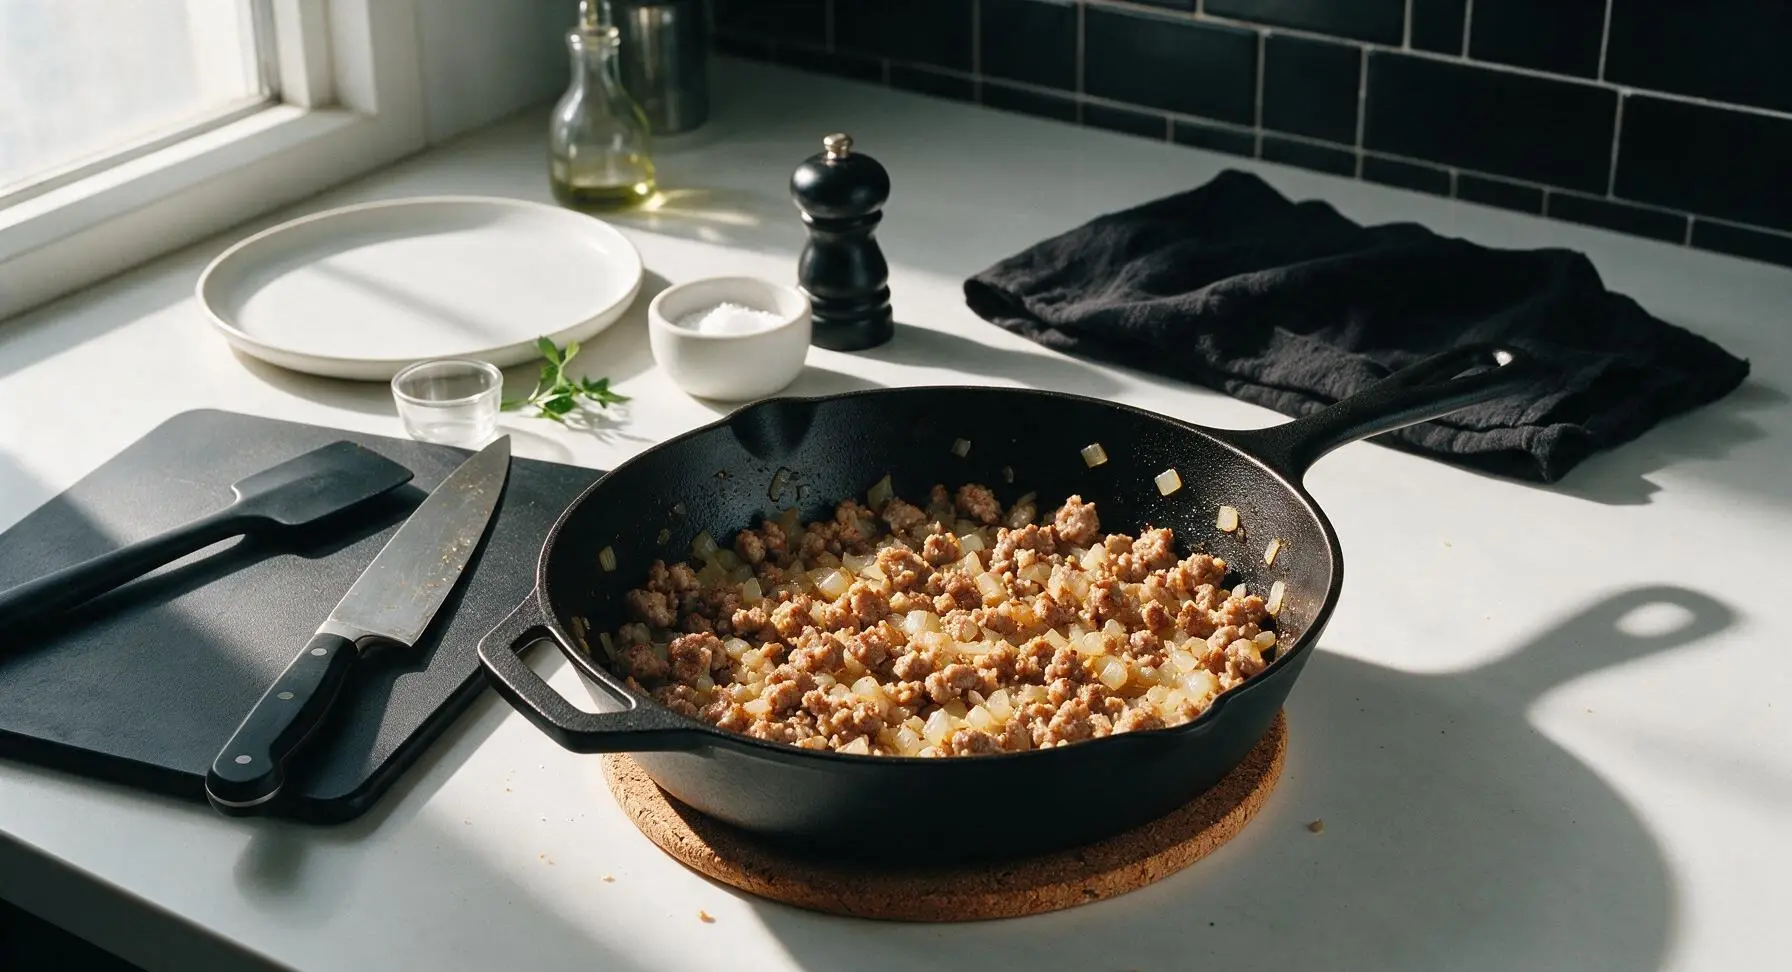
Mix Casserole Base
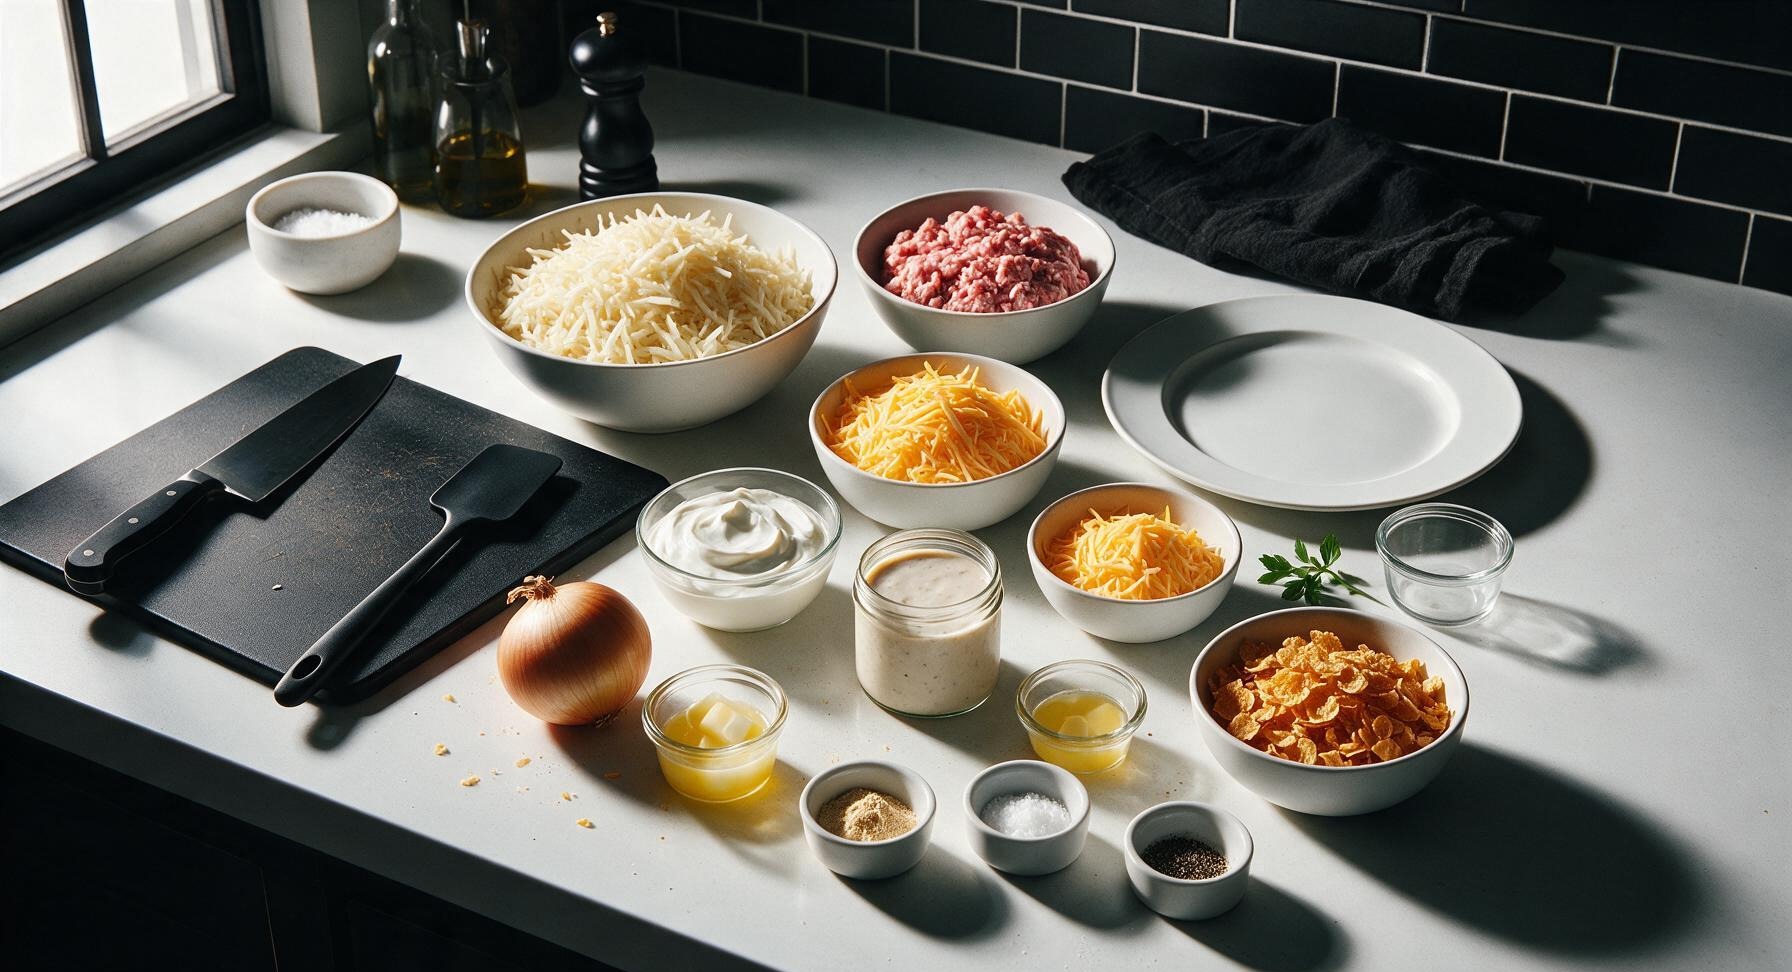
Use the stainless steel can opener to open the can of condensed cream of mushroom soup. Add the cooled sausage and onion mixture, 2 1/2 cups of the shredded sharp cheddar, sour cream, cream of mushroom soup, remaining 3 tablespoons of melted butter, garlic powder, kosher salt, and black pepper to the large mixing bowl with the dried hashbrowns. Stir thoroughly with the silicone spatula until every ingredient is evenly coated, with no dry pockets of hashbrown or clumps of sour cream remaining.
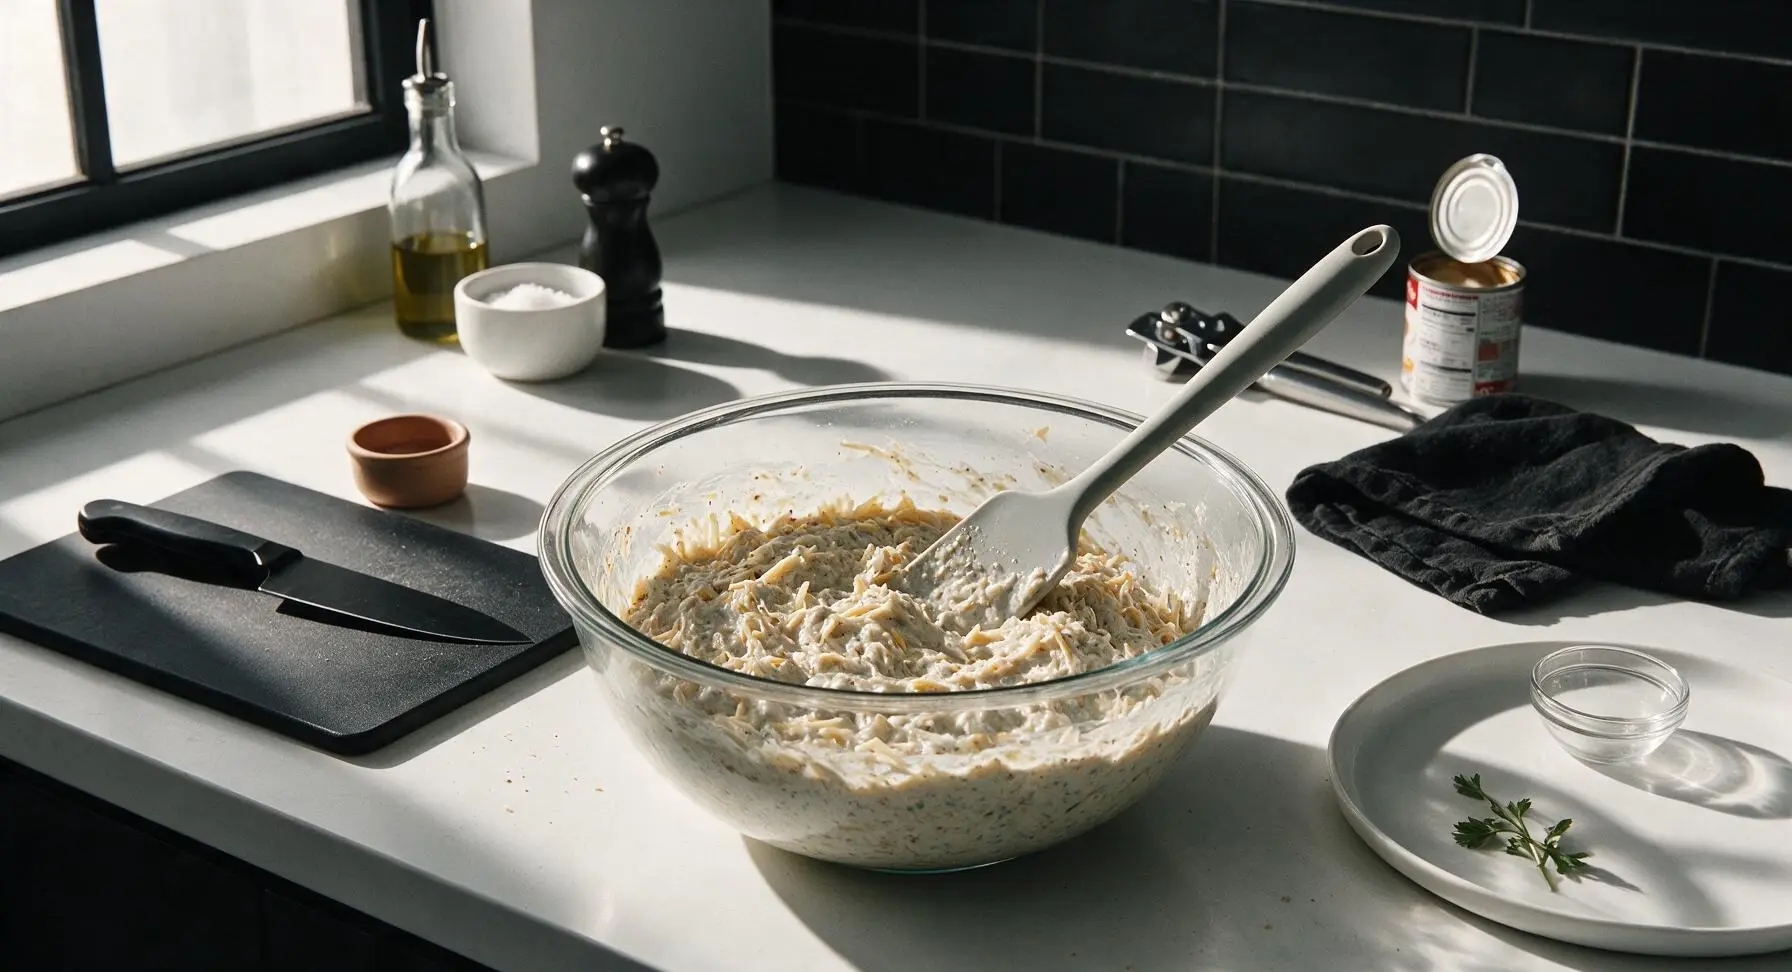
Transfer to Baking Dish
Lightly grease the interior of the 9x13 inch matte white ceramic baking dish with a thin swipe of butter. Scoop the entire hashbrown mixture from the mixing bowl into the baking dish, spreading it into a smooth, even 2-inch thick layer with the silicone spatula. Press the mixture gently to compact it slightly, which helps slices hold their shape after baking.
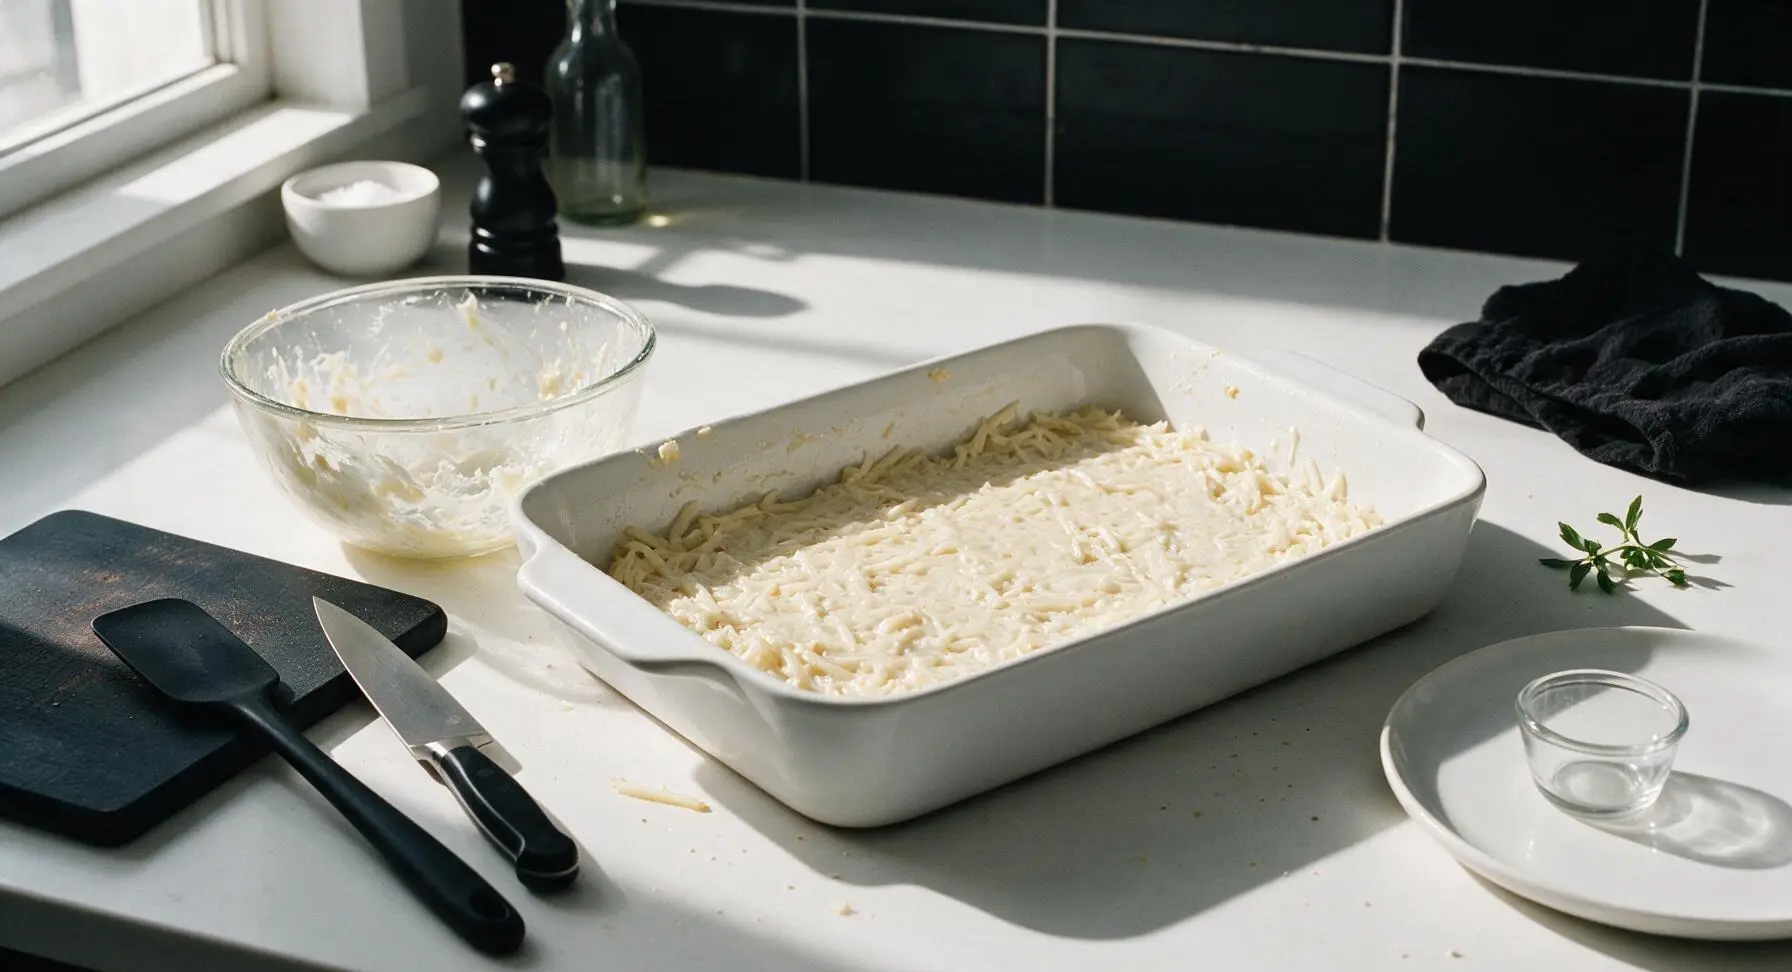
Add Cornflake Topping
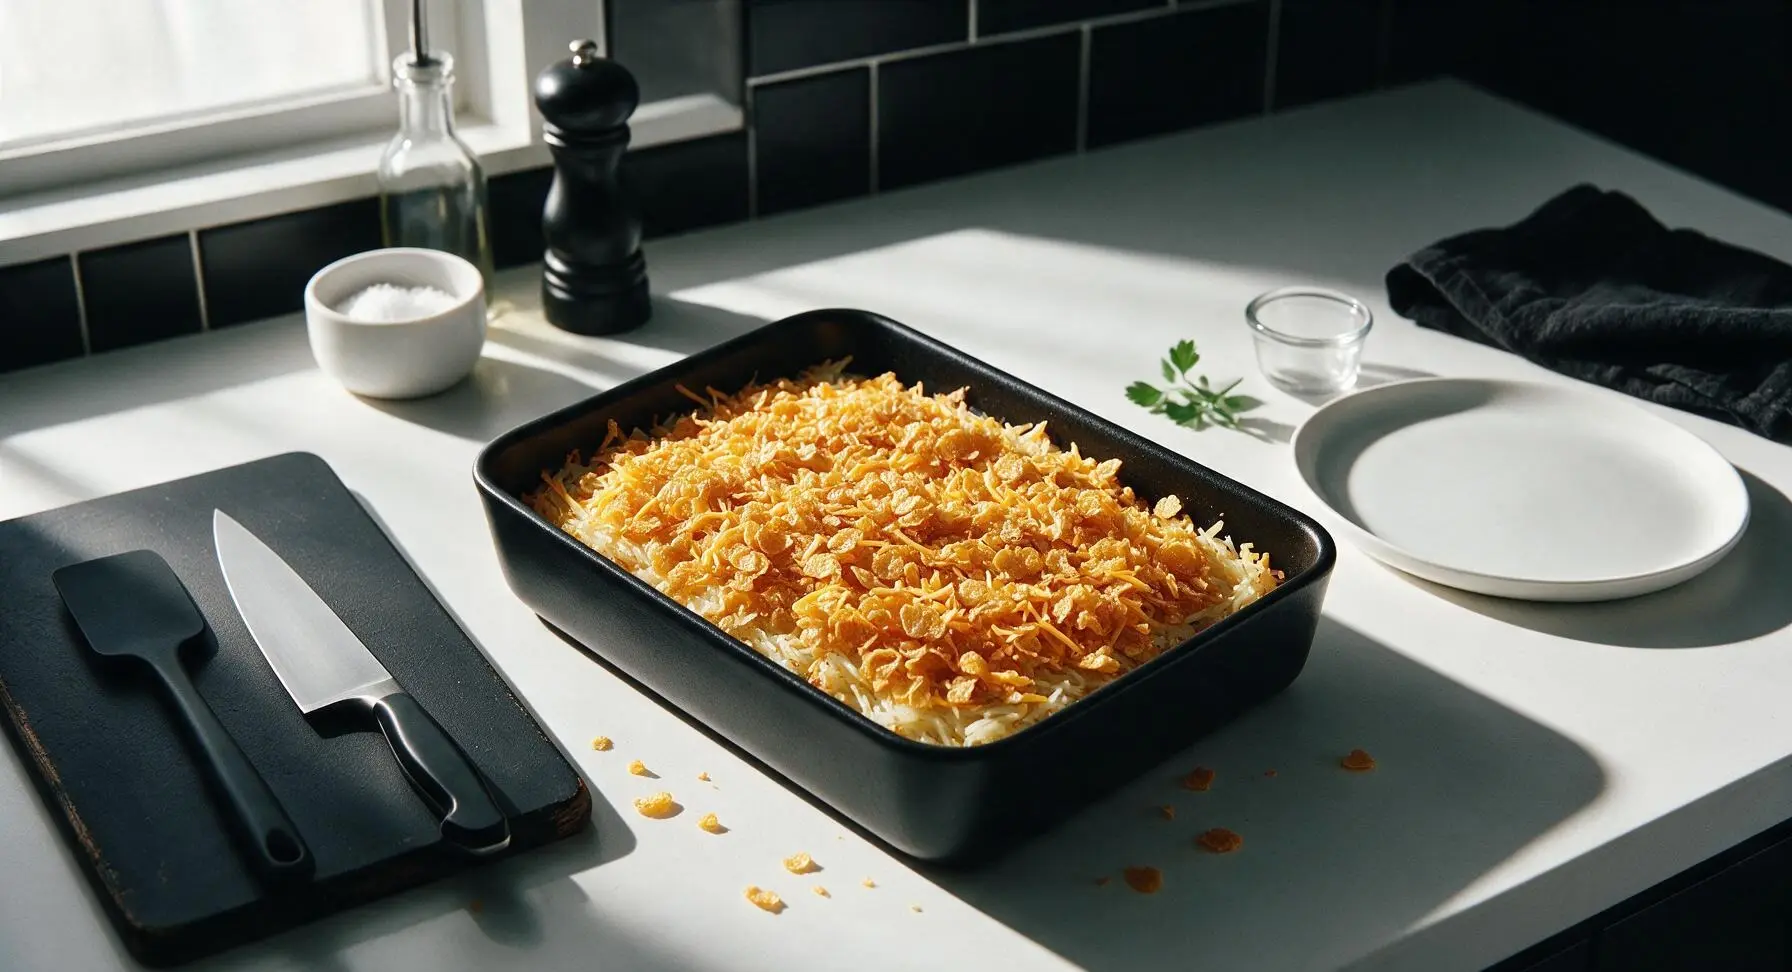
In the small matte terracotta ramekin, toss the lightly crushed cornflakes with the remaining 1/2 cup of shredded cheddar and 1 tablespoon of melted butter until every flake is lightly coated in butter. Sprinkle the cornflake mixture in a loose, even layer over the top of the hashbrown base, taking care not to press the flakes down (this keeps the topping light and crispy as it bakes).
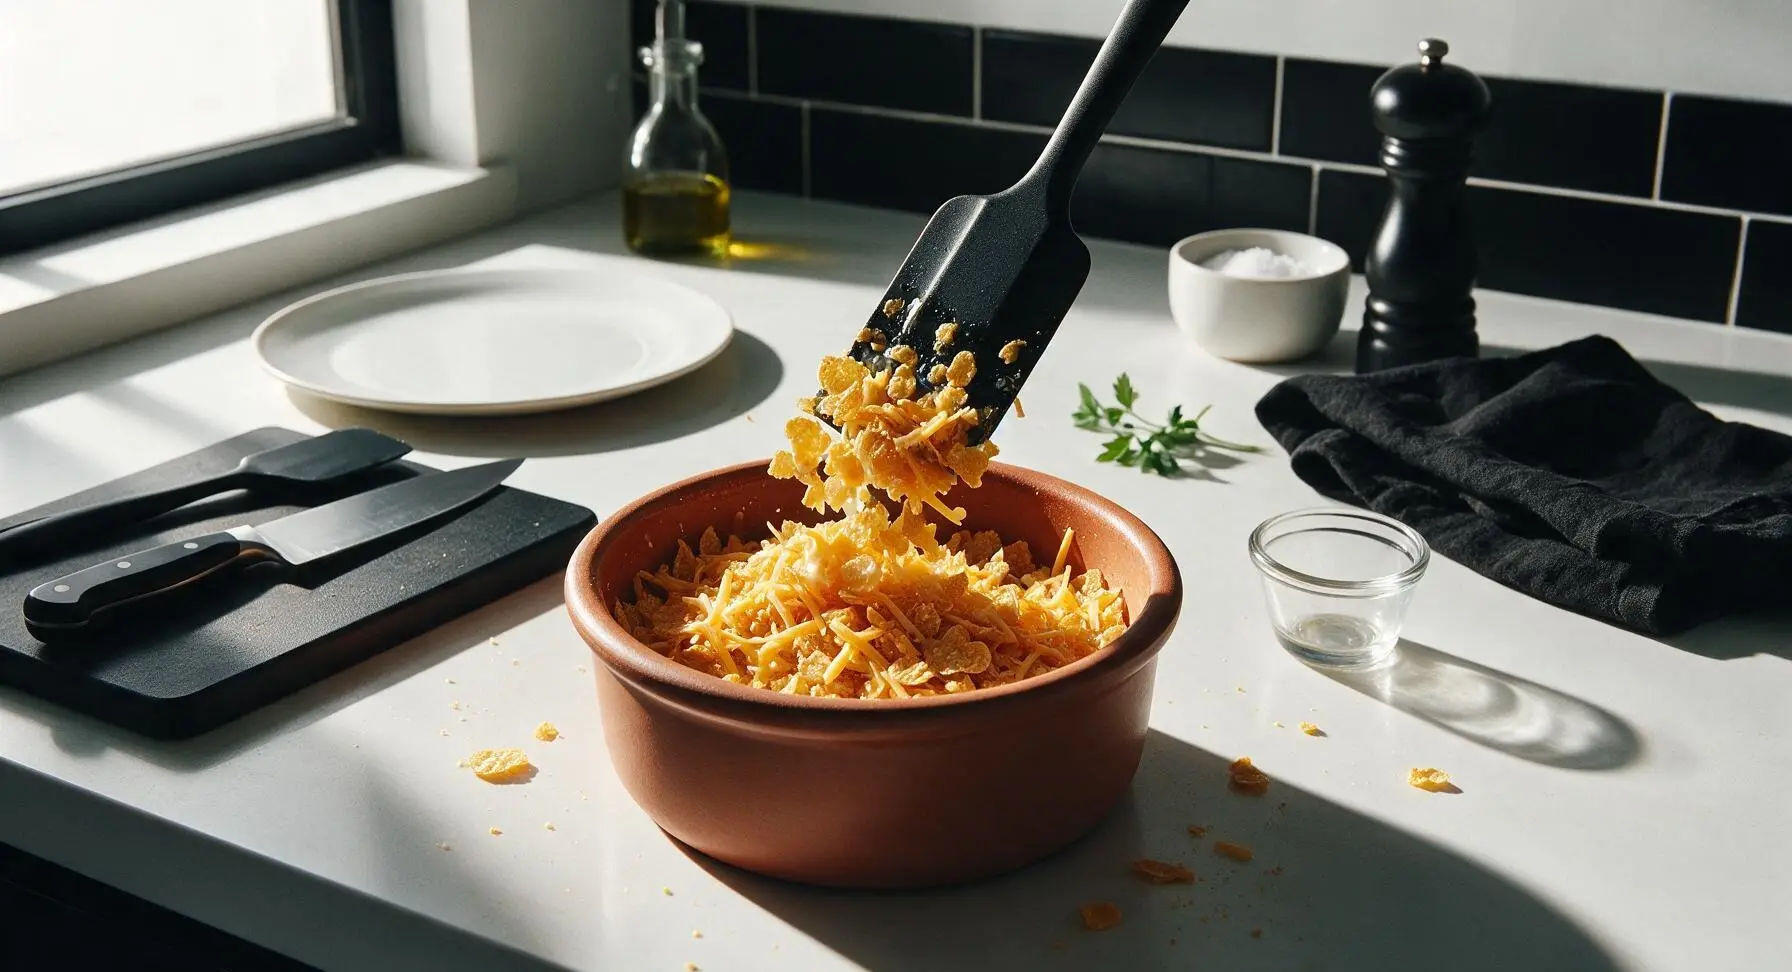
Bake Until Bubbly
Cover the baking dish tightly with aluminum foil and bake on the middle oven rack for 35 minutes. Remove the foil, then continue baking for 15 additional minutes, until the edges are actively bubbling, the cheese is fully melted, and the cornflake topping is deep golden brown and crispy. Remove the dish from the oven and let it rest on the counter for 10 minutes to allow the layers to set.
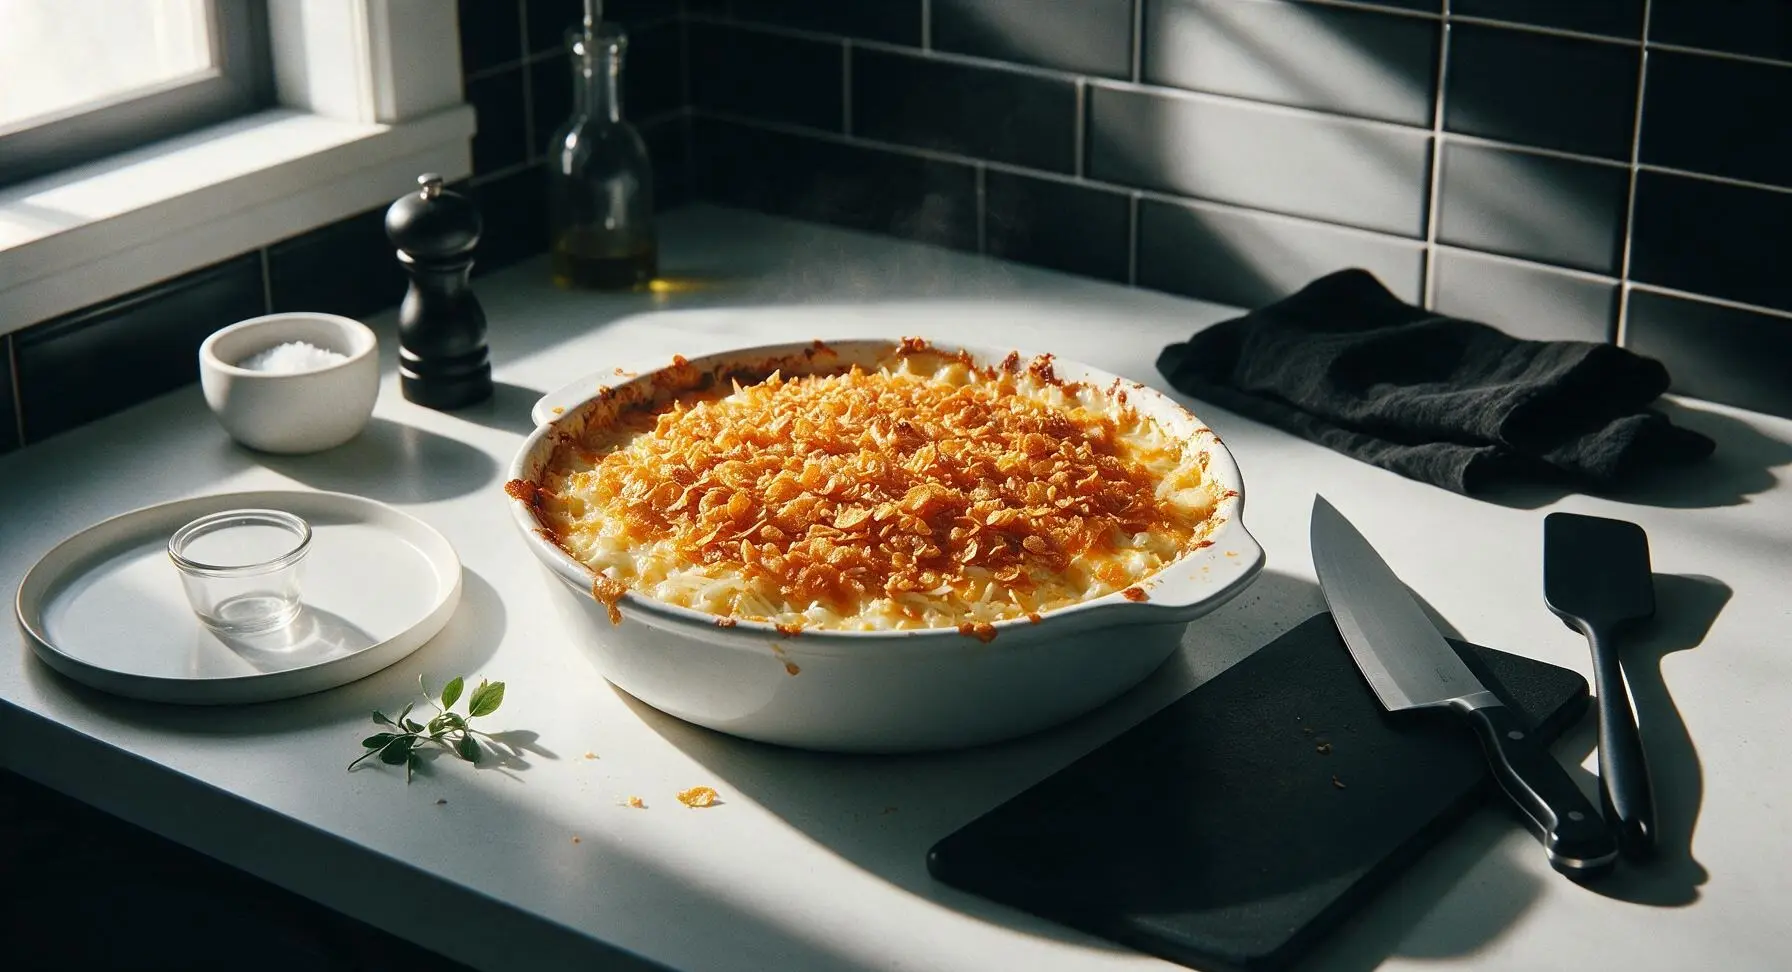
Plate and Garnish
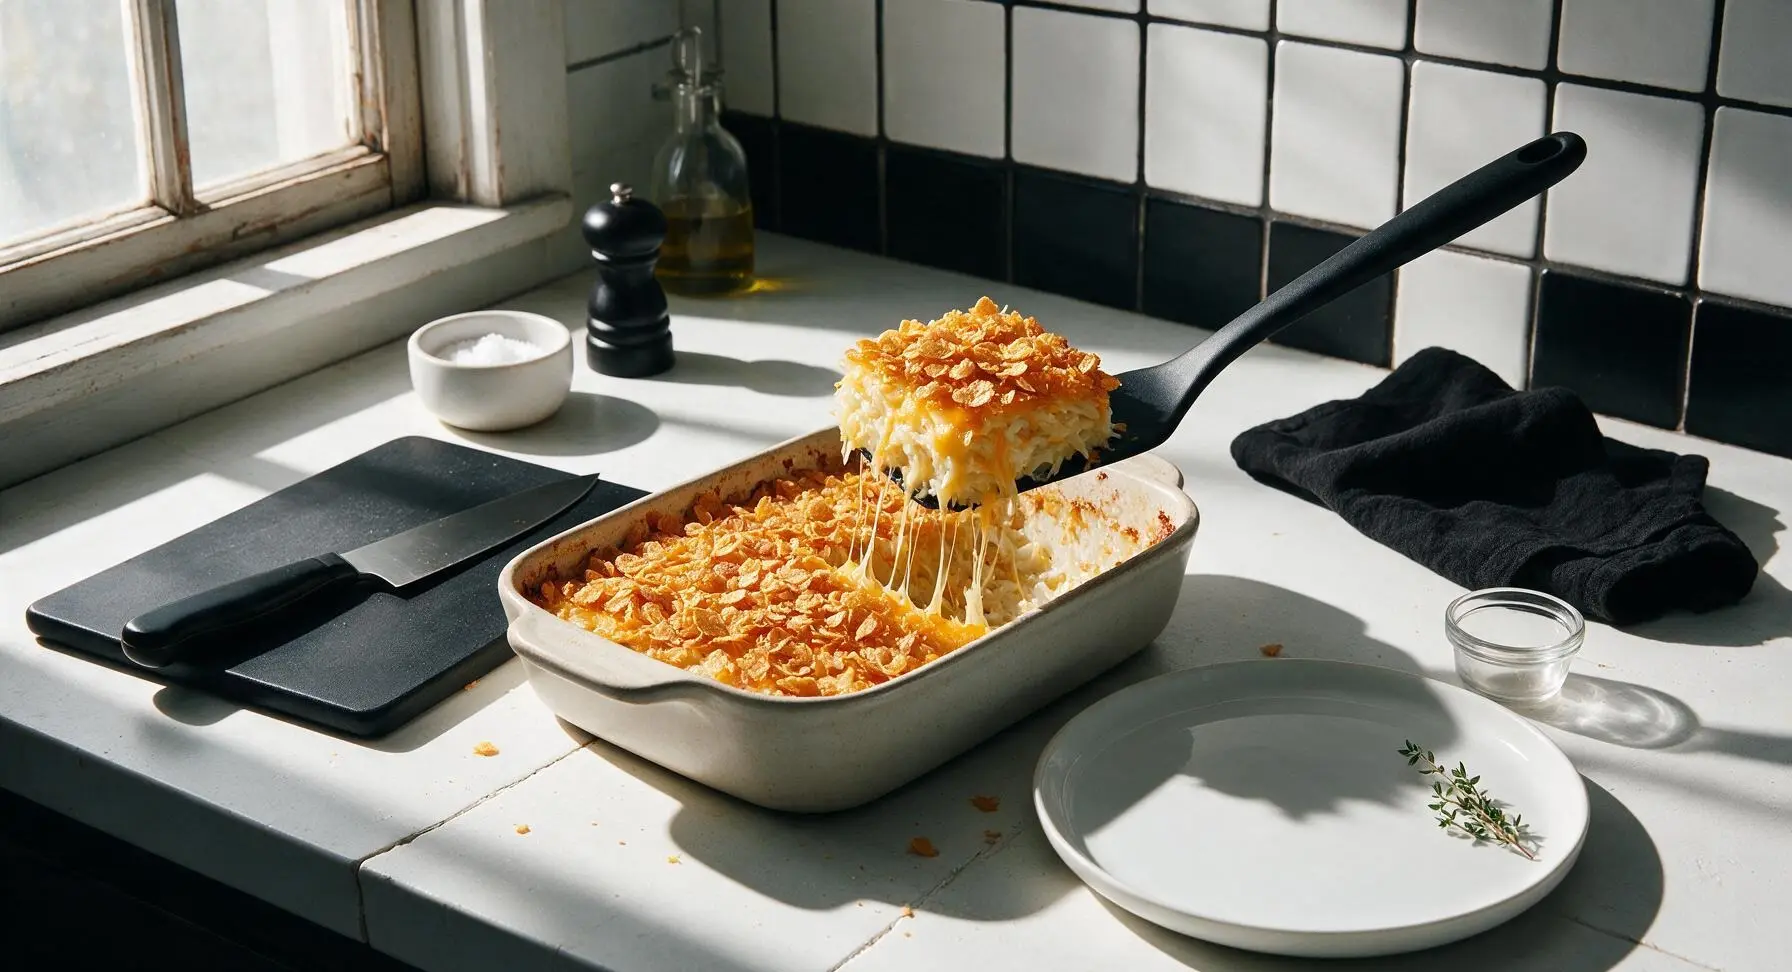
After the 10-minute rest, cut the casserole into 6 equal 3x4 inch squares using the edge of the silicone spatula. Lift one square cleanly, taking care to keep the cornflake topping intact, and place it centered on the off-white stoneware dinner plate. Tuck a small fresh thyme sprig plucked from the potted plant on the counter next to the portion as a light, aromatic garnish.
Tips
2.Don’t press the cornflake topping down: keeping the flakes loose when you add them allows hot air to circulate around them as they bake, creating a light, shatteringly crispy top instead of a dense, soggy crust.
3.Make it ahead for busy days: assemble the hashbrown base in the baking dish, cover tightly, and store in the refrigerator for up to 24 hours. Add the buttered cornflake topping right before baking to keep it crisp, adding 5 extra minutes of bake time if the casserole is cold from the fridge.




OMG this hashbrown casserole was an absolute game changer for our weeknight family dinner! I threw it together in 10 minutes, popped it in the oven, and all three of my picky boys went back for seconds. Even my husband who hates “casserole food” asked when I’m making it again. 10/10!
Brought this to our neighborhood block party potluck last weekend and people were begging for the recipe before I even left! It’s so creamy, the hashbrowns get that perfect crispy edge on top, and it stays warm for ages in the casserole dish. Only note: I added a little extra shredded cheddar on top because duh, cheese makes everything better.
I made this on Sunday for my weekly meal prep and it held up perfectly all week in the fridge! Portioned it out into 5 containers, paired with a side of steamed broccoli, and I had filling, easy lunches every single day. Cook time was exactly 50 minutes like the recipe said, no guesswork needed. So good!
As someone who barely knows how to boil water, this was so easy to make! I was nervous to cook for my girlfriend’s parents for the first time and they both raved about it. I did accidentally use shredded hashbrowns instead of the cubed kind? But it still turned out amazing, no complaints.
Super tasty recipe, but I had to swap the cream of chicken soup for a gluten free version since I have celiac. Just wanted to flag for other GF folks that the regular soup will have gluten, but the swap worked seamlessly! The whole family loved it, even my teen who turns his nose up at anything “healthy.”
This is officially our new go-to Sunday dinner casserole! I added some cooked ground beef and a can of corn to make it a full one-pan meal, and my grandma even asked for the recipe to make for her bridge club. It’s so cozy, perfect for these cold fall evenings we’ve been having lately.
Y’all. The crispy cheese topping on this casserole is LIFE. I used a mix of sharp cheddar and mozzarella like I do for my mac and cheese, and it got that perfect golden, bubbly crust that I crave. Will be making this at least once a month from now on, no questions asked.
Made this for my kid’s soccer team dinner last night and the entire team devoured it. I thought 2 pans would be too much, but every last bite was gone. Even the coaches asked for the recipe, so I guess that means I’m winning at dad duties this week 😂
This recipe is so affordable! I already had most of the ingredients in my pantry and freezer, so I only spent like $5 on extra cheese and sour cream. Perfect for when you need to feed a crowd without breaking the bank. Tastes way fancier than it costs to make!
I made this while my newborn was napping and it was so quick to throw together! No fancy steps, no weird ingredients, I didn’t even have to chop anything if I’m being honest. It was so nice to have a hot, filling meal ready without spending an hour in the kitchen after a long night with the baby.
Okay full transparency, I forgot to cover it with foil for the first 30 minutes of bake time so the top got a little darker than I wanted, but even the slightly burnt edges were good? The rest of the casserole was so creamy and flavorful that no one even noticed my mistake. Definitely forgiving for messy cooks like me!
I swapped the cream of chicken for cream of mushroom to make this vegetarian, and it turned out absolutely delicious! I also added some sautéed spinach and bell peppers to sneak in some veggies, and my meat-loving roommate didn’t even notice it was meatless. Win win!
Wait who says this is just for dinner? I made this for a lazy weekend brunch alongside some scrambled eggs and bacon, and it was the perfect savory side. It works for literally every meal, I’m obsessed.
Made this after a long day working on the ranch, and it hit the spot. Hearty, filling, no frills, just good comfort food. I added a dash of hot sauce on top for a little kick, and it was chef’s kiss.
So easy to make in my tiny dorm oven! I used frozen hashbrowns, a can of soup, and some pre-shredded cheese from the campus grocery store, and my roommates all thought I was a professional chef. Way better than the ramen we’ve been living on all semester.
I scaled this recipe down to make it for just me and my husband now that the kids are grown, and it was perfect! We had leftovers for lunch the next day, and it tasted even better after the flavors had time to meld together in the fridge.
It was good, but I found it a little too creamy for my taste. Next time I make it I’ll cut the sour cream in half and add a little extra seasoning to give it more flavor. Solid base recipe though, easy to tweak to your preferences.
Testing this out ahead of our Thanksgiving dinner this year to see if it makes the side dish cut, and it’s definitely on the list! It’s way easier than making mashed potatoes from scratch, and everyone who taste tested it said it’s a keeper.
I added some grilled chicken and extra broccoli to this to make it fit my macro goals, and it was so much better than the boring chicken and rice I eat every week. High protein, super satisfying, and doesn’t taste like “diet food” at all. Will be on repeat.