
healthy air fried chicken
intro
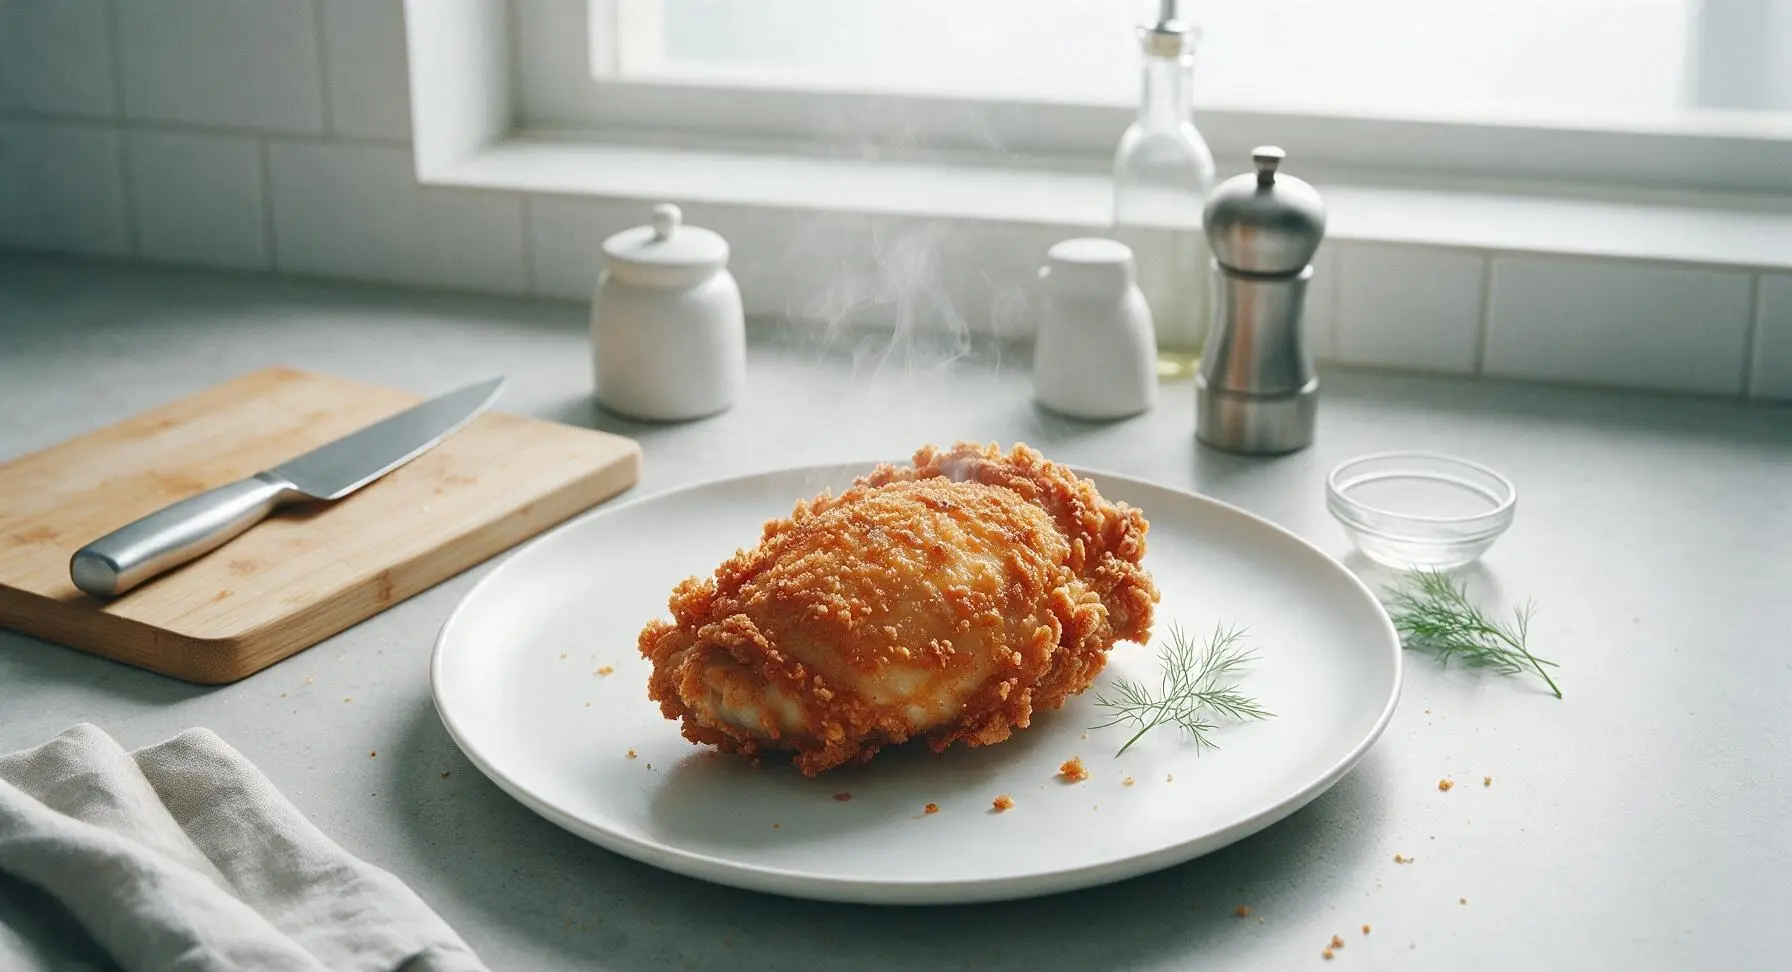
Shatteringly crisp, juicy air-fried chicken made with 90% less oil than traditional fried chicken, packed with savory flavor, and ready in under 35 minutes for a satisfying, guilt-free meal.
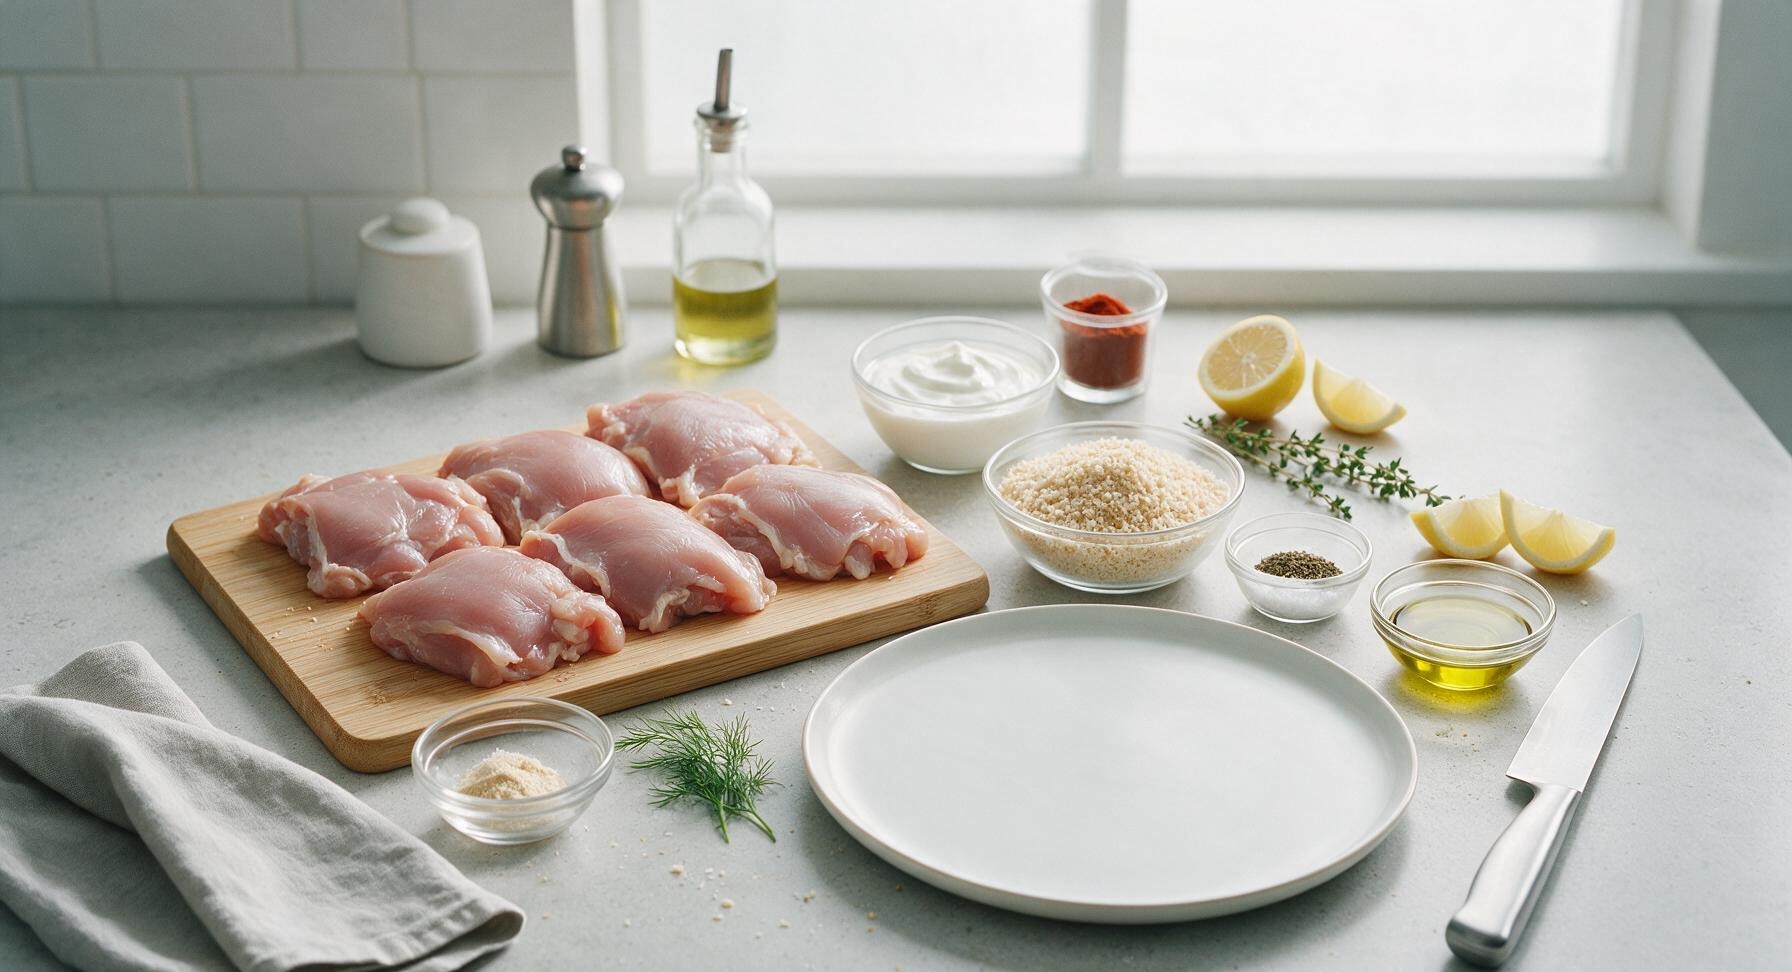
Ingredients
Steps
Trim Chicken Thighs
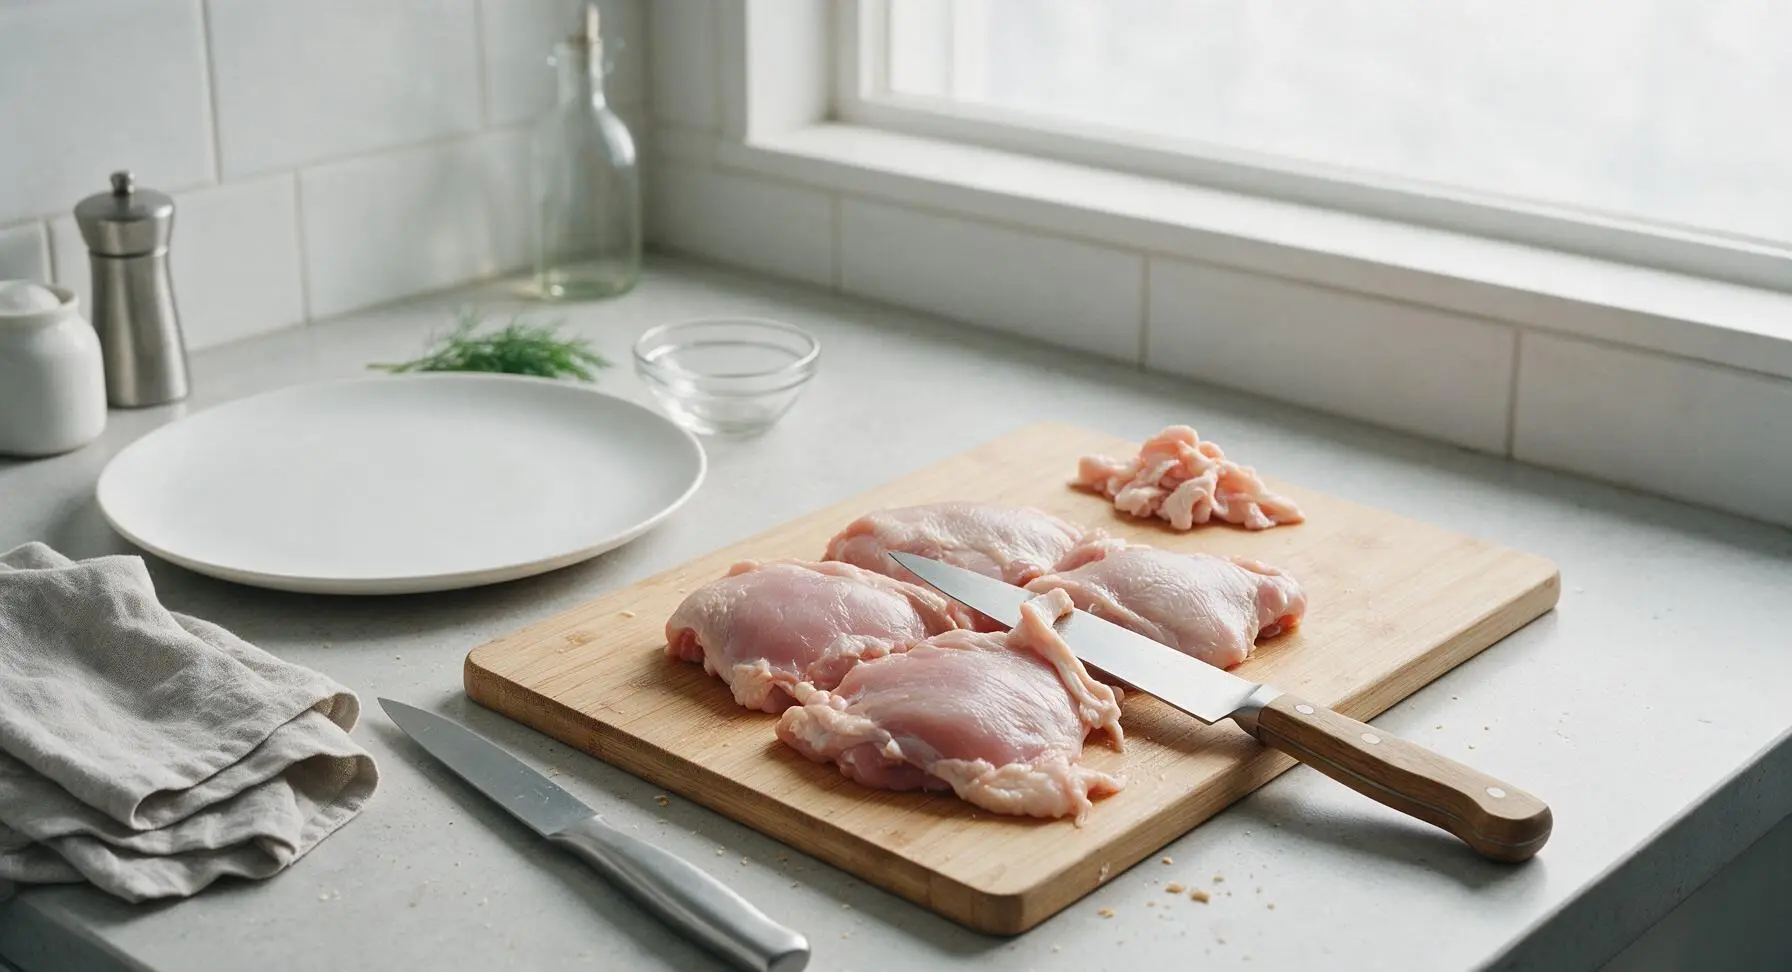
Place the 550g boneless, skinless chicken thighs on the matte light grey cutting board. Use the 7-inch oak-handled chef’s knife to trim away all visible excess hard fat and silver skin from the edges of each thigh. Pat every piece completely dry on all sides using a corner of the folded cream cotton kitchen towel; a fully dry surface ensures the coating adheres properly and crisps evenly. Trim any overly thick sections of thigh to create a uniform 2.5cm thickness across all pieces for consistent cooking.
Mix Seasoned Coating
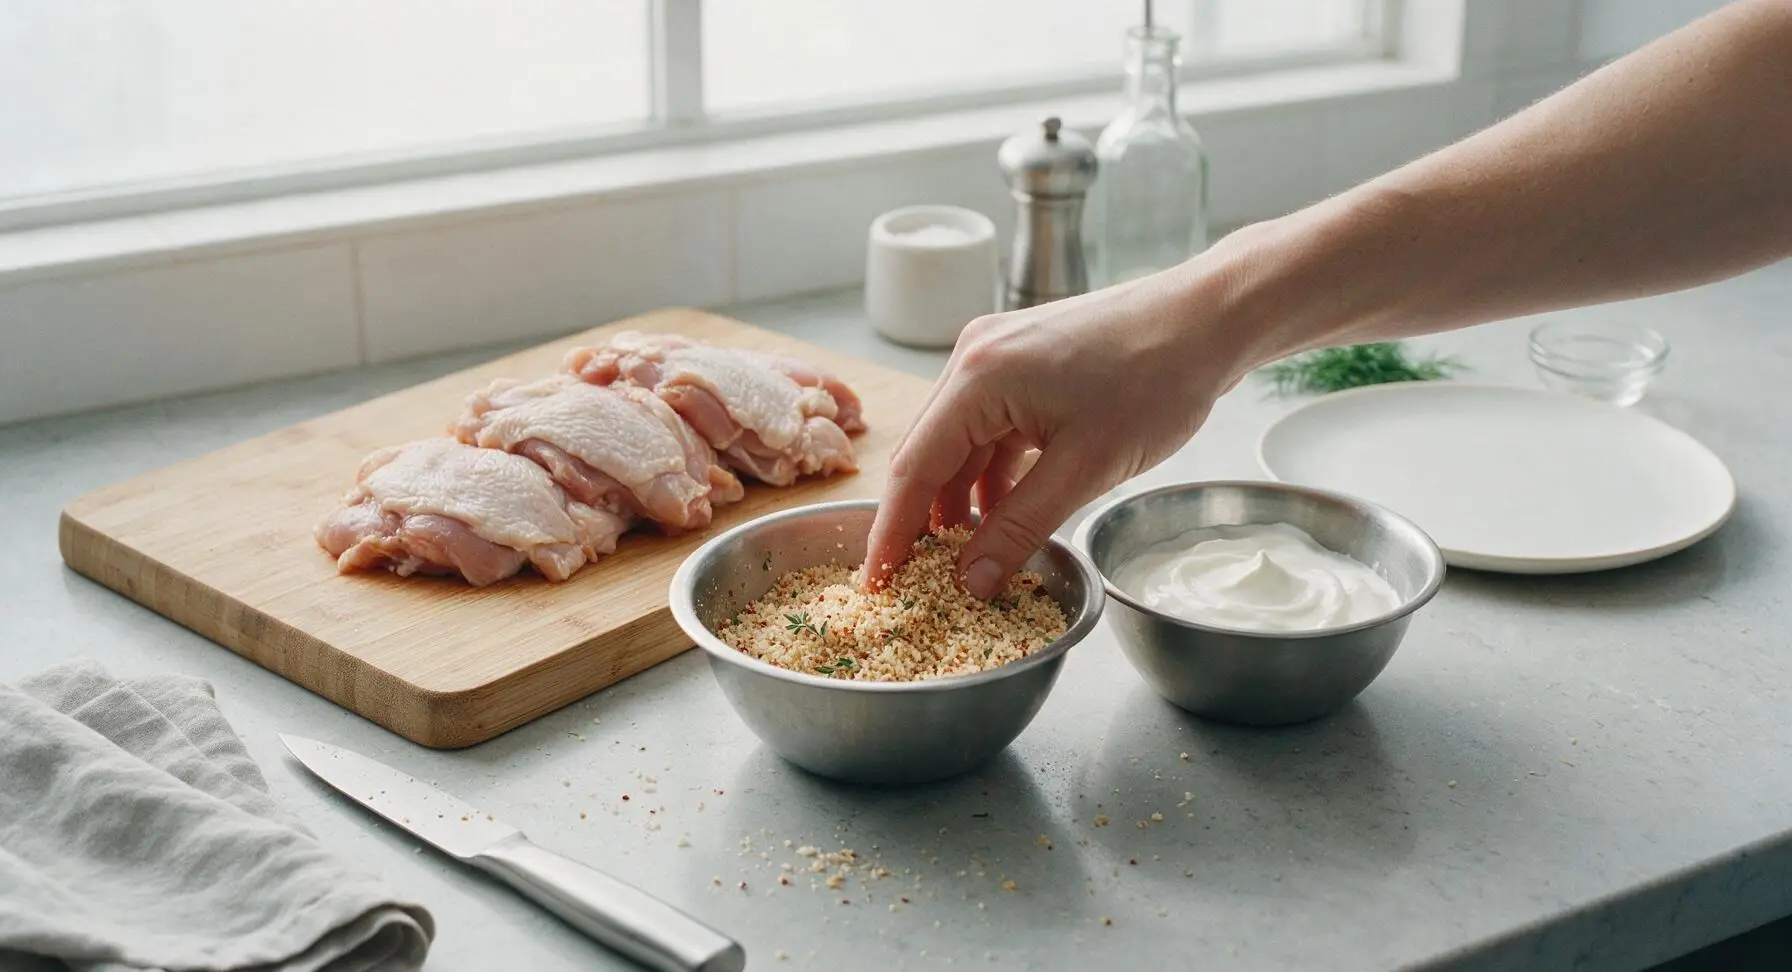
In the smallest 12cm brushed stainless steel mixing bowl, combine the 60g whole wheat panko breadcrumbs, 1 tsp garlic powder, 1 tsp smoked paprika, ½ tsp dried oregano, ½ tsp kosher salt, ¼ tsp freshly ground black pepper, and picked leaves from 1 sprig of fresh thyme. Stir the mixture with the tip of the chef’s knife until the dark red spices are evenly distributed through the pale tan panko crumbs. Pour the 80g non-fat plain Greek yogurt into the middle 16cm stainless steel mixing bowl, set adjacent to the panko bowl.
Coat in Yogurt Binder
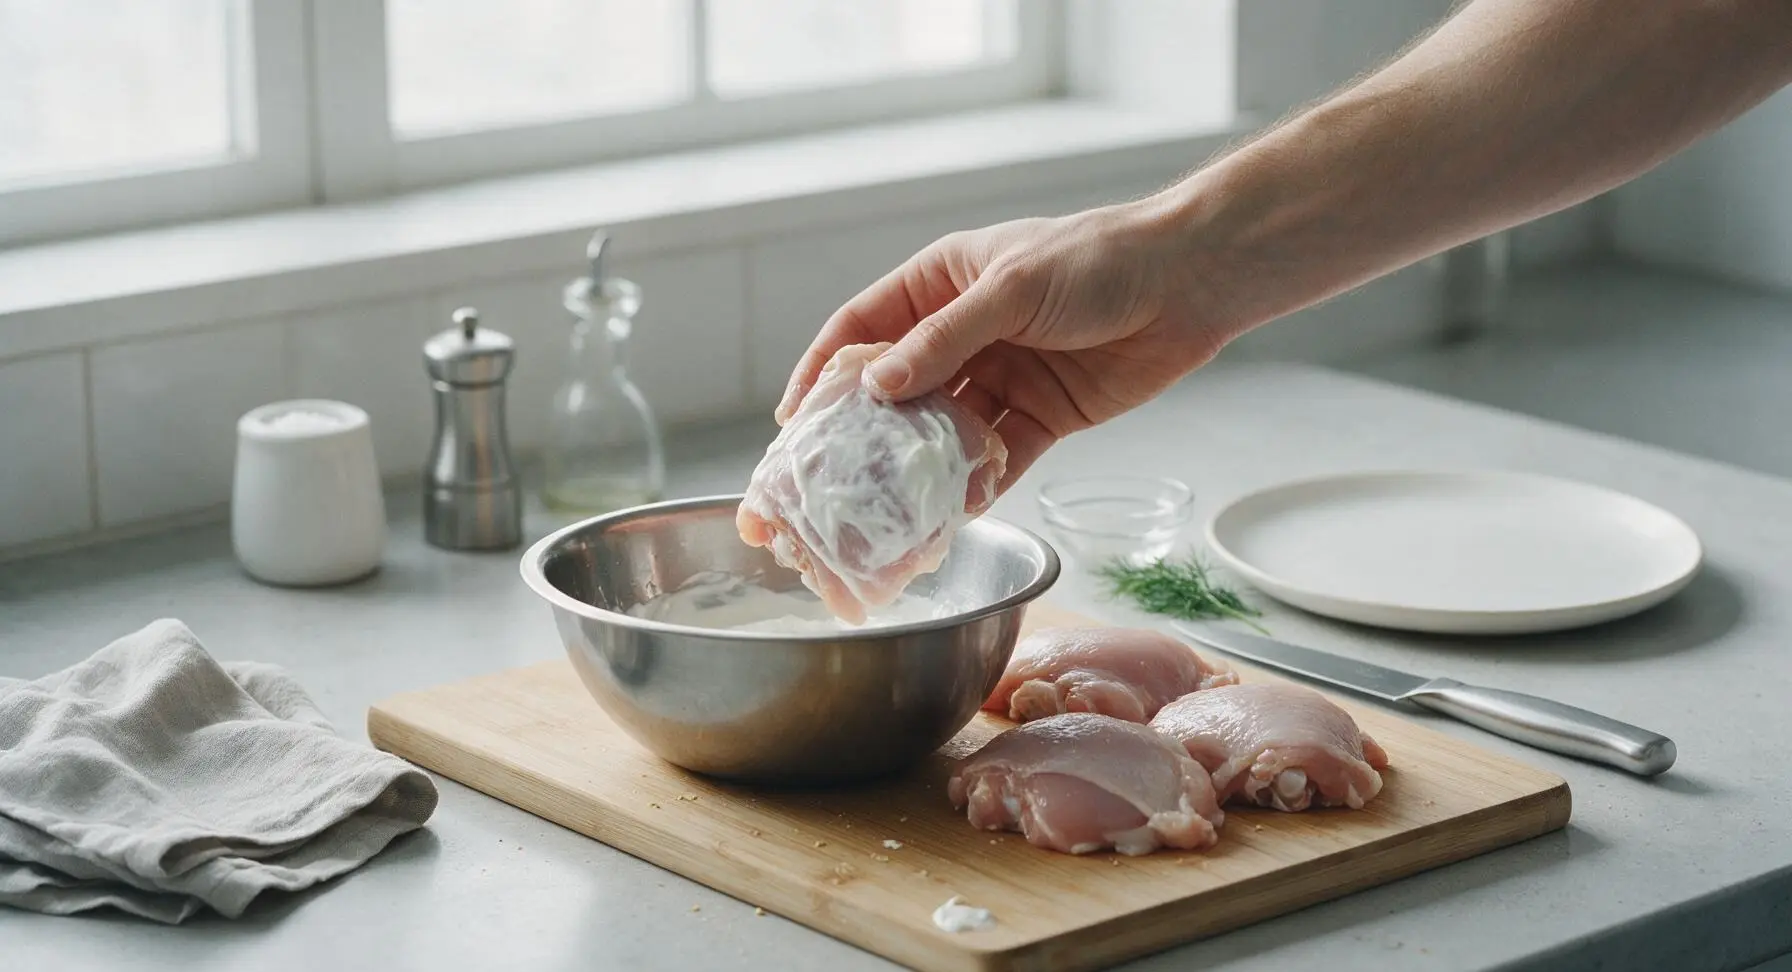
Working one piece at a time, dip each trimmed chicken thigh into the Greek yogurt, turning to coat every side completely. Use clean fingers to wipe off excess yogurt, leaving only a thin, even layer across the chicken surface; thick globs of yogurt will cause the panko coating to slide off during cooking. Each coated piece should have a uniform milky white appearance with no bare raw chicken spots visible.
Press On Panko Coating
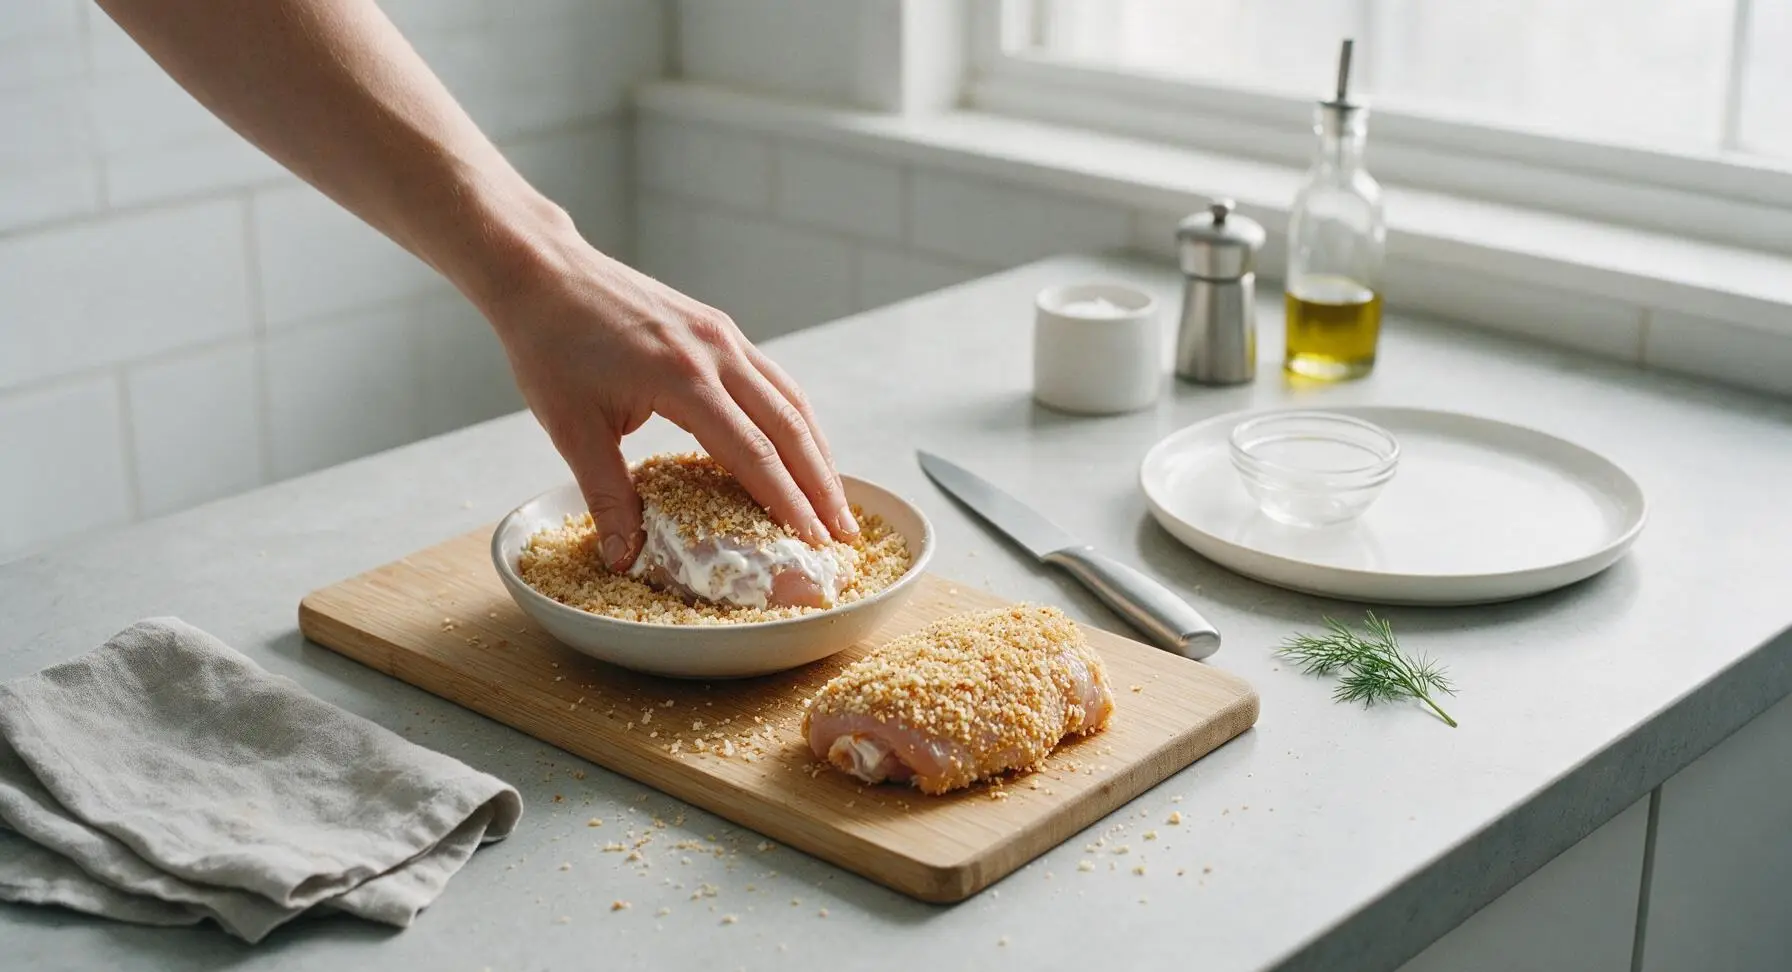
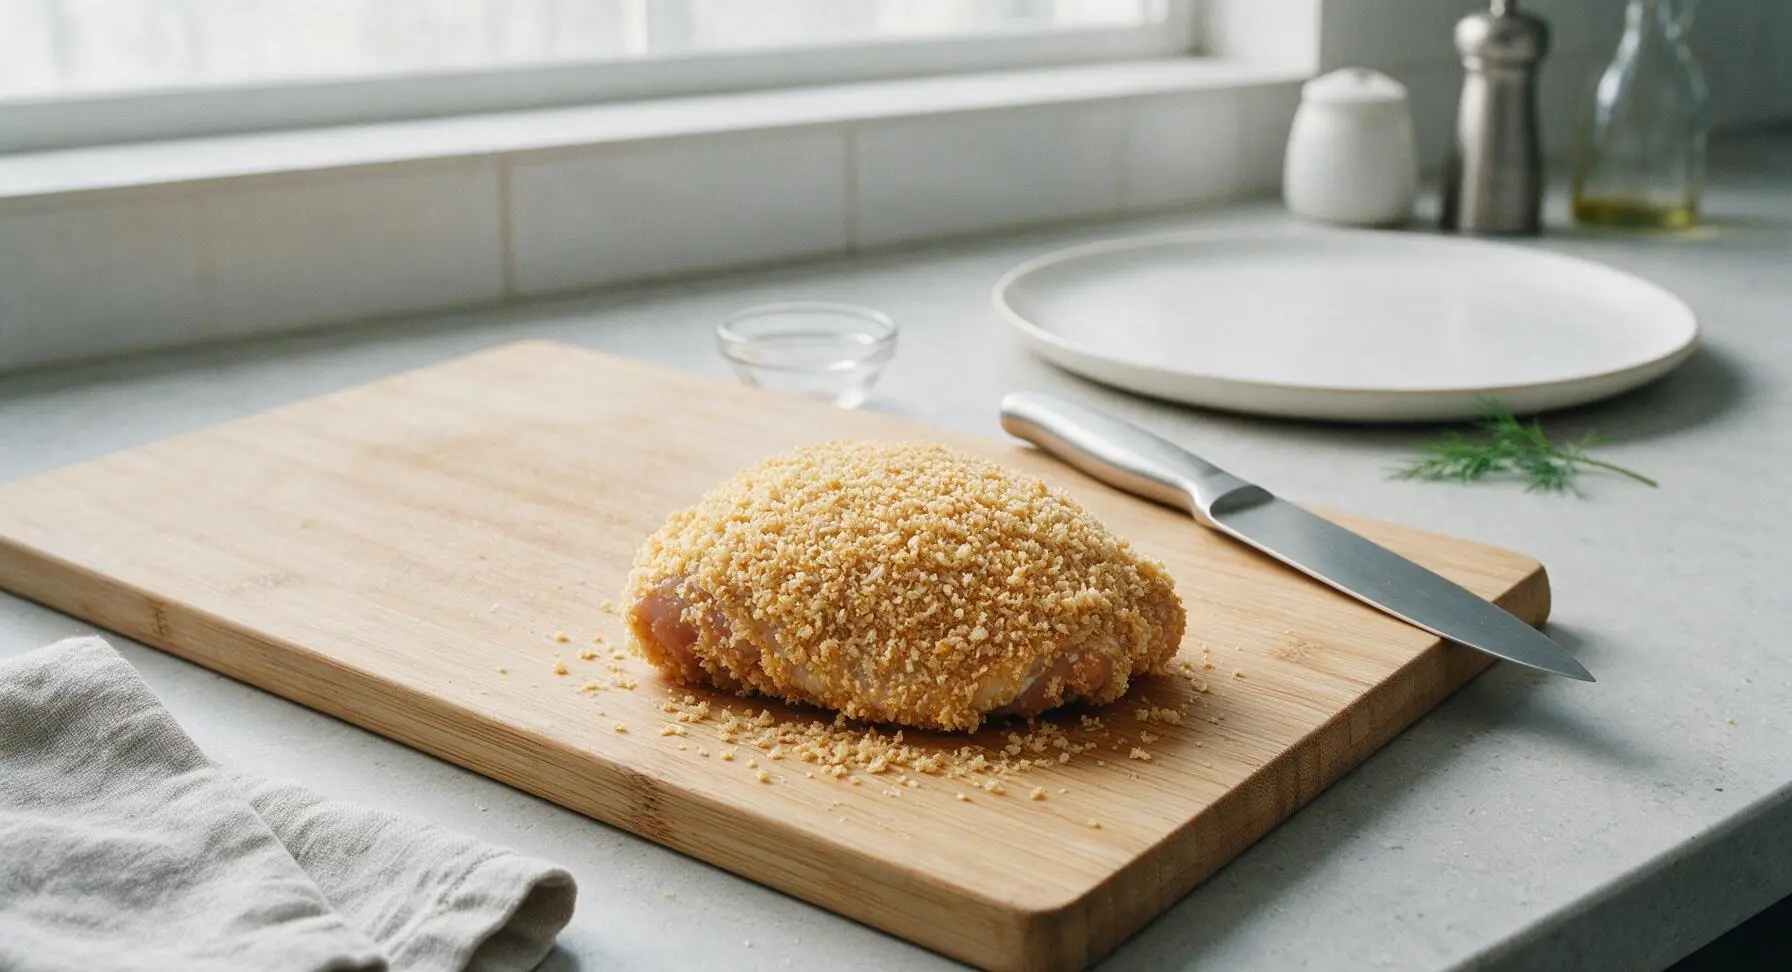
Transfer each yogurt-coated chicken thigh to the bowl of seasoned panko. Press the breadcrumbs firmly onto every surface of the chicken, turning the piece repeatedly, so crumbs adhere tightly to the yogurt layer. Gently shake off any loose, unattached crumbs before setting the fully breaded chicken on the clean front edge of the cutting board. Fully coated chicken will have an even, textured golden-tan crumb layer with no visible yogurt peeking through.
Preheat the Air Fryer
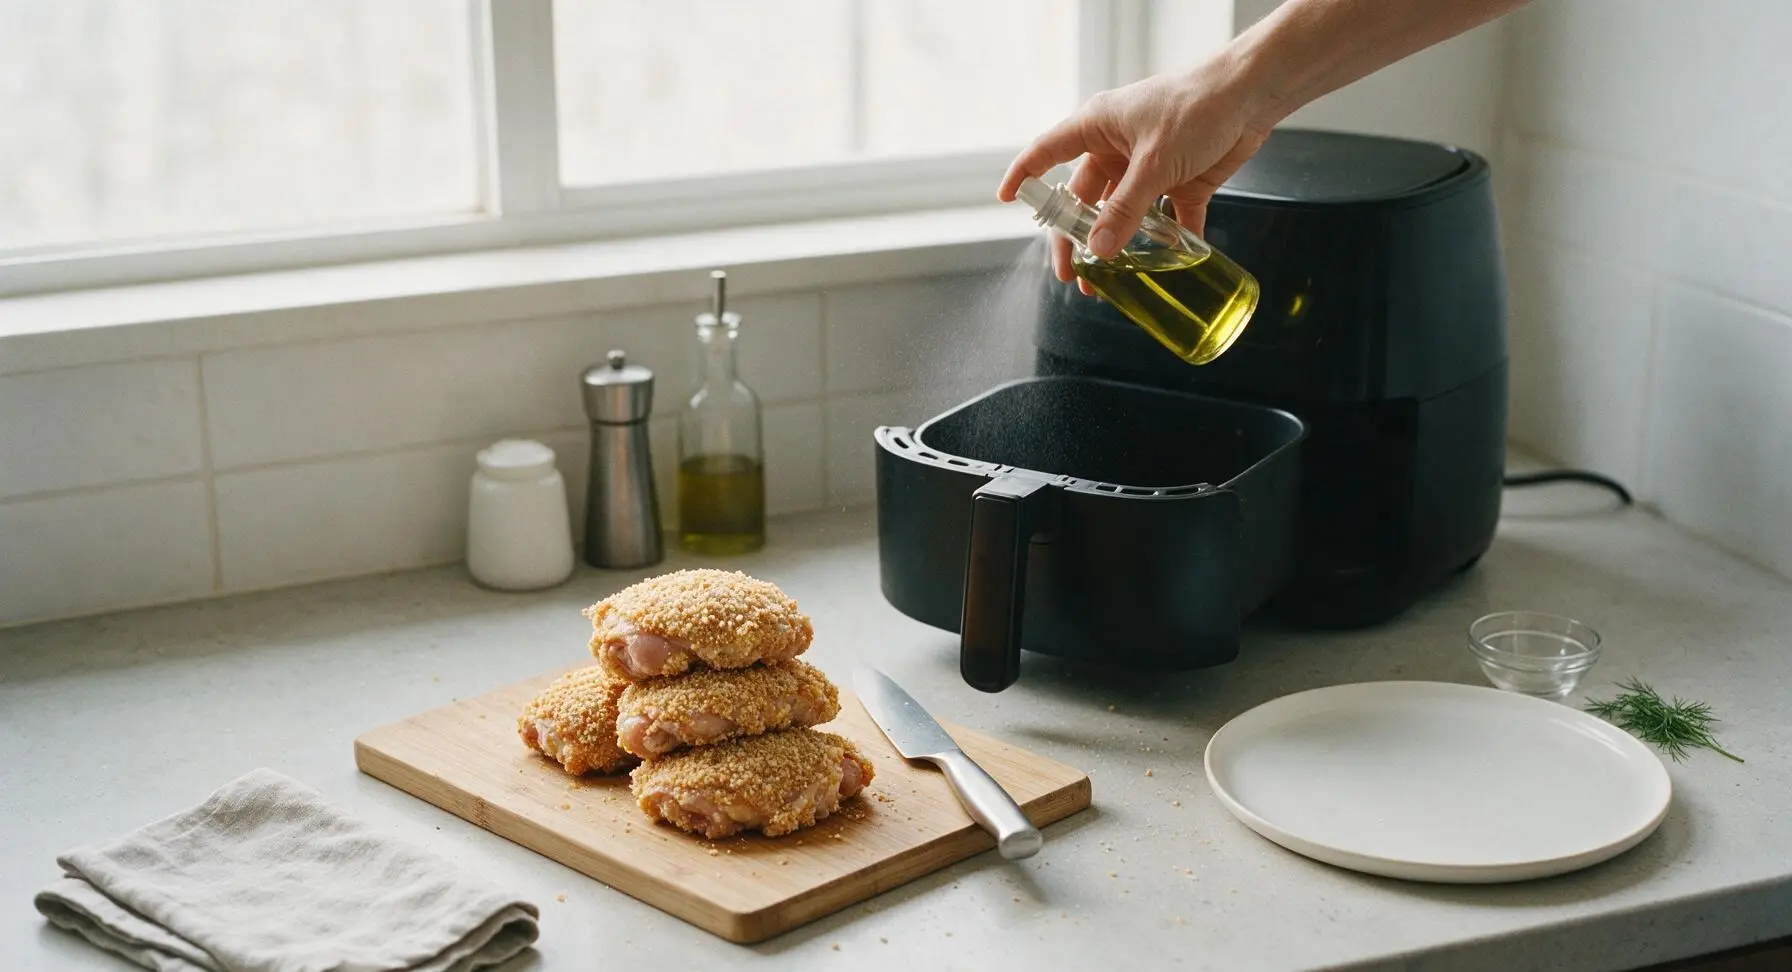
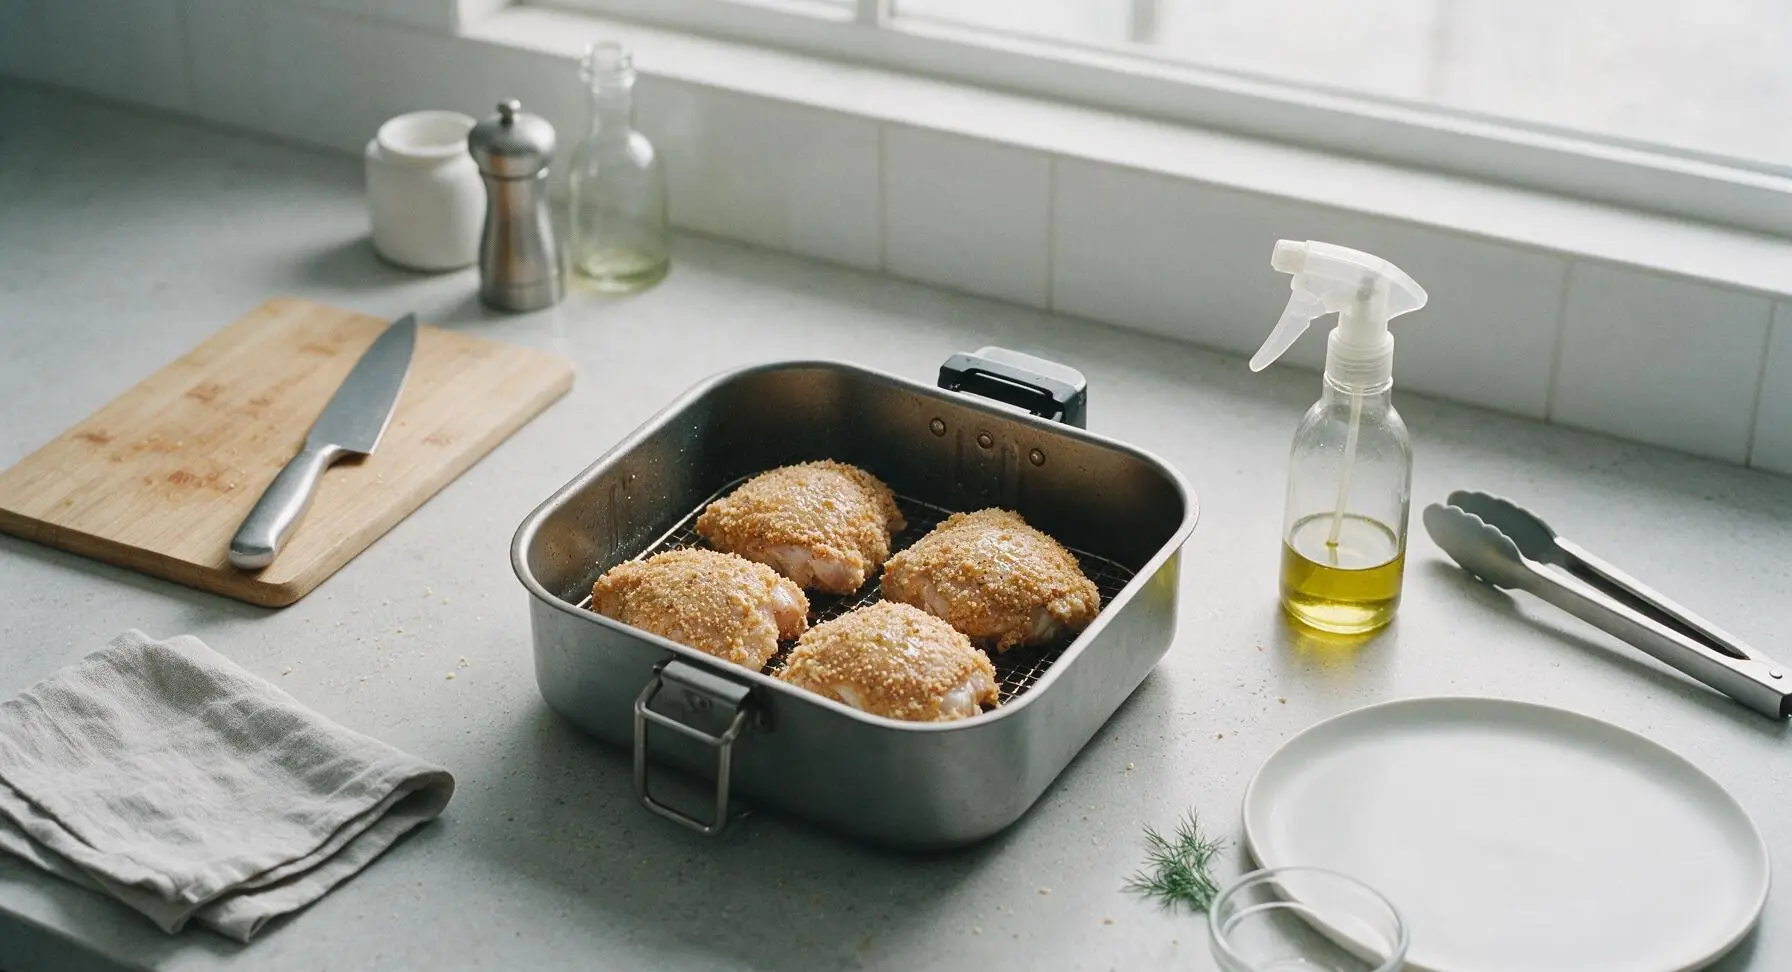
Pull the matte black air fryer 15cm forward from its permanent back corner position for easy access. Preheat the air fryer to 200C (400F) for 3 minutes. Once preheated, pull out the basket and lightly mist the mesh basket surface with olive oil from the clear glass spray bottle to prevent sticking; do not over-apply oil, as excess will make the breading soggy during cooking.
Cook First Chicken Side
Arrange the breaded chicken thighs in a single layer in the preheated air fryer basket, leaving 1cm of open space between each piece to allow hot air circulation. Lightly mist the top surface of the chicken with 2 sprays of olive oil. Slide the basket back into the air fryer and cook at 200C (400F) for 8 minutes. When the first cook time elapses, the top of the chicken will be a light, even golden brown.
Flip and Finish Cooking
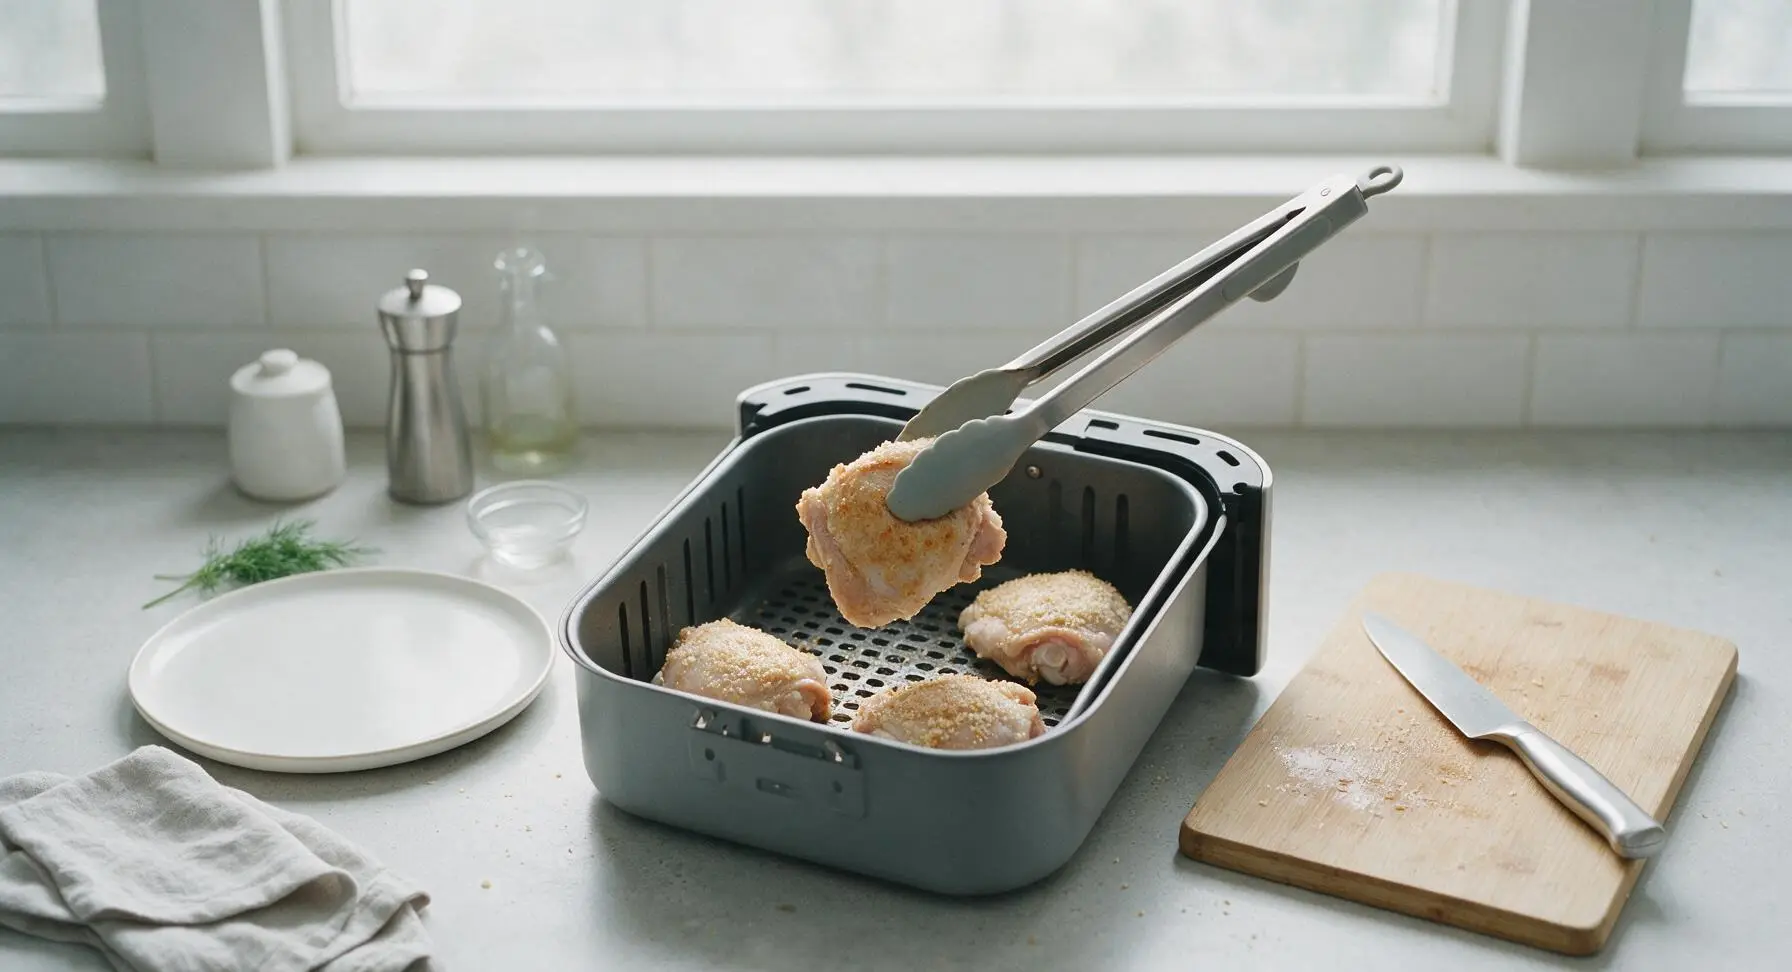
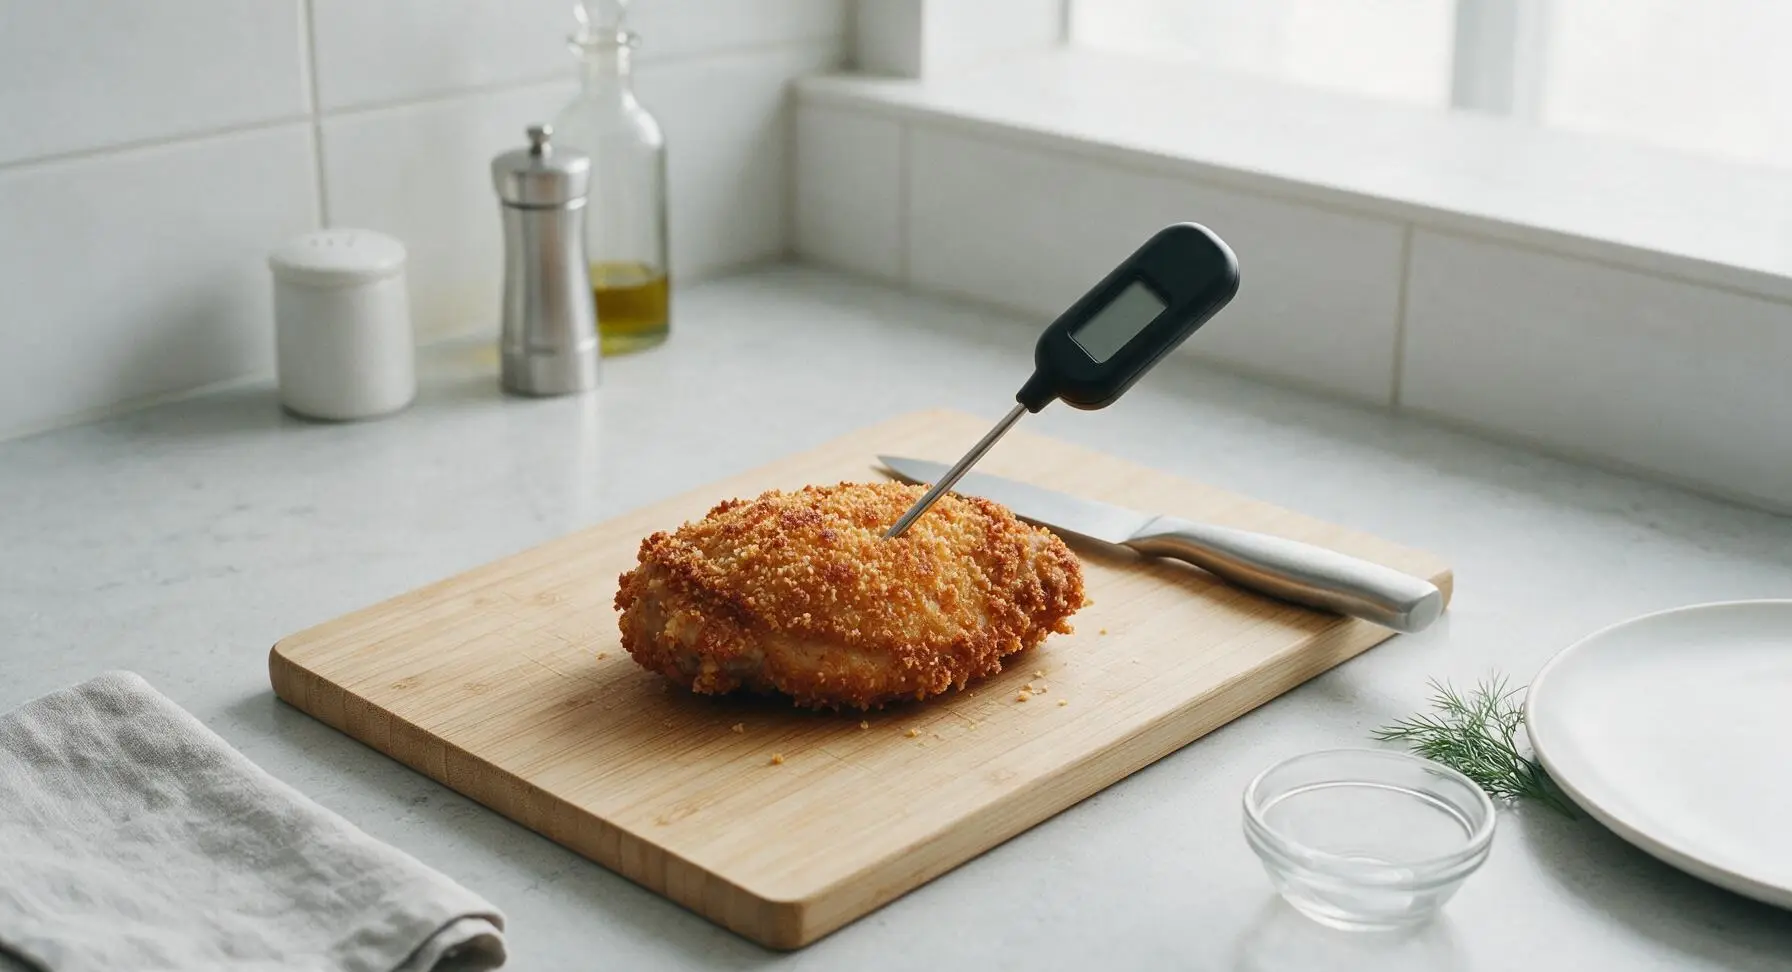
After the first 8 minutes of cook time, pull the air fryer basket out. Use the silicone-tipped stainless steel tongs to carefully flip each chicken thigh, taking care not to dislodge the panko coating. Lightly mist the newly exposed top surface with 2 more sprays of olive oil. Return the basket to the air fryer and cook for an additional 7-9 minutes at 200C (400F), until the coating is deep golden brown and crispy. Verify doneness by inserting the digital meat thermometer into the thickest part of the largest thigh: it should read 75C (165F) for safe, juicy chicken.
Rest and Plate Chicken
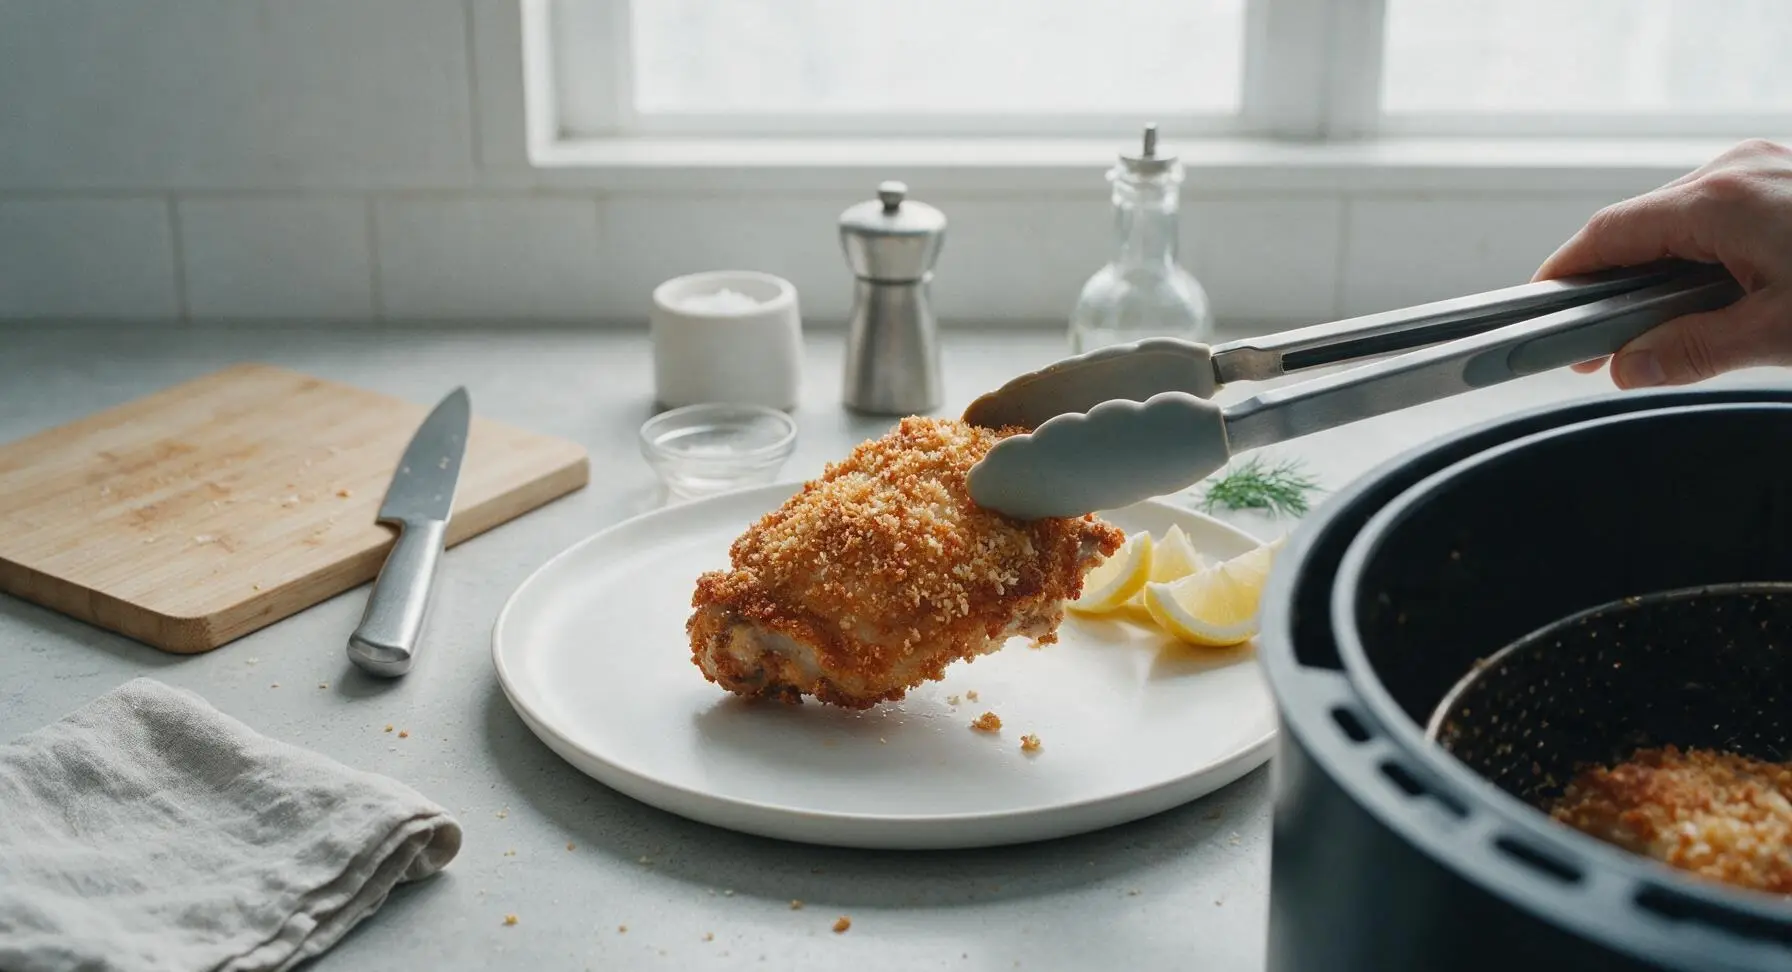
Once fully cooked, use the silicone-tipped tongs to transfer the chicken from the air fryer basket to the matte cream stoneware dinner plate. Let the chicken rest for 3 minutes to allow internal juices to redistribute, which prevents juice from running out when cutting and keeps meat tender. Scatter the remaining fresh thyme leaves over the top of the chicken, and tuck lemon wedges around the plate edge for serving.
Tips
2.Avoid overcrowding the air fryer basket: Leaving 1cm of space between each thigh allows hot circulating air to reach every surface, creating an evenly crisp exterior instead of steaming the breading where pieces touch.
3.Choose whole wheat panko over fine regular breadcrumbs: Panko’s coarser, flakier crumb structure stays crisp far better in the moist air fryer environment, and whole wheat adds 2g of extra fiber per serving without altering classic fried chicken flavor.






OMG this air fried chicken is SO good! I’ve tried so many recipes that come out soggy but this one stayed perfectly crispy even after I let it cool for 10 minutes to pack for my work lunch. Total game changer for my weekly meal prep!
Made this for family dinner last night and my kids loved it! They usually turn their noses up at “healthy” food but they asked for seconds before I even sat down. The crust is crunchy, the chicken is juicy, zero greasy mess to clean up after. 10/10
Super easy to throw together after the gym! 18 minute cook time is no joke, I didn’t have to wait forever for dinner. I used panko with a little paprika like the recipe said and it tasted just like the fried chicken I grew up eating but without all the oil. Will make again.
Brought a big batch of this to my neighborhood potluck last weekend and every single piece was gone before I even got to try one! People were asking me for the recipe left and right. So glad it’s easy enough to scale up for a crowd.
This was way simpler than I thought it would be! I was worried I’d mess up the breading station but it came together in like 5 minutes of prep. Only thing is I wish I sprayed a little more oil on the top because a couple breading crumbs were dry, but overall really tasty for a quick weeknight meal.
This looks amazing! Quick question—can I swap the regular panko for gluten free panko to make this work for my celiac diet? I don’t want to mess up the crisp factor!
First time using my new air fryer for this recipe and I think I overcooked mine a little? The chicken was a bit dry even though I followed the 18 minute cook time. Maybe my air fryer runs hot?
Added a tablespoon of cayenne and a little garlic powder to the breading mix and WOW, that kicked it up perfectly. Tastes just like the spicy crispy chicken sandwich I get at my favorite fast food spot but way healthier!
How well does this hold up in the fridge for meal prep? I want to make a big batch on Sunday to eat throughout the week for lunches.
As someone who burns literally everything, I was shocked how easy this was! No complicated steps, no fancy ingredients, just crispy juicy chicken in under 20 minutes. I will be making this every single week from now on.
My toddler is going through a phase where he only eats chicken nuggets, so I tried this hoping it would be a healthier swap. He ate three whole pieces! No complaints, no food thrown on the floor. Win for mom.
Made this last night and served it with homemade honey mustard dip and it was CHEF’S KISS. The crisp is out of this world, I can’t believe there’s barely any oil used. Who needs deep frying when you have an air fryer?
Wait, my breading kept sliding off the chicken when I put it in the air fryer! Did I do something wrong? I followed the steps exactly as written, dipped in egg then the panko mix.
This is going to be a new staple in my high protein meal rotation! 32 grams of protein per serving, crispy, delicious, no greasy aftertaste. Way better than the frozen breaded chicken I’ve been buying for months.
Made a double batch of this for our Sunday football watch party and it was a total hit! Served it with buffalo sauce, ranch, and pickles, and people were going back for thirds. Way less mess than ordering wings for the group.
I have a tiny 2-quart air fryer, so I can only cook two pieces of chicken at a time. Do I need to adjust the cook time if I’m doing multiple batches? I don’t want the first batch to get cold while the rest cooks!