
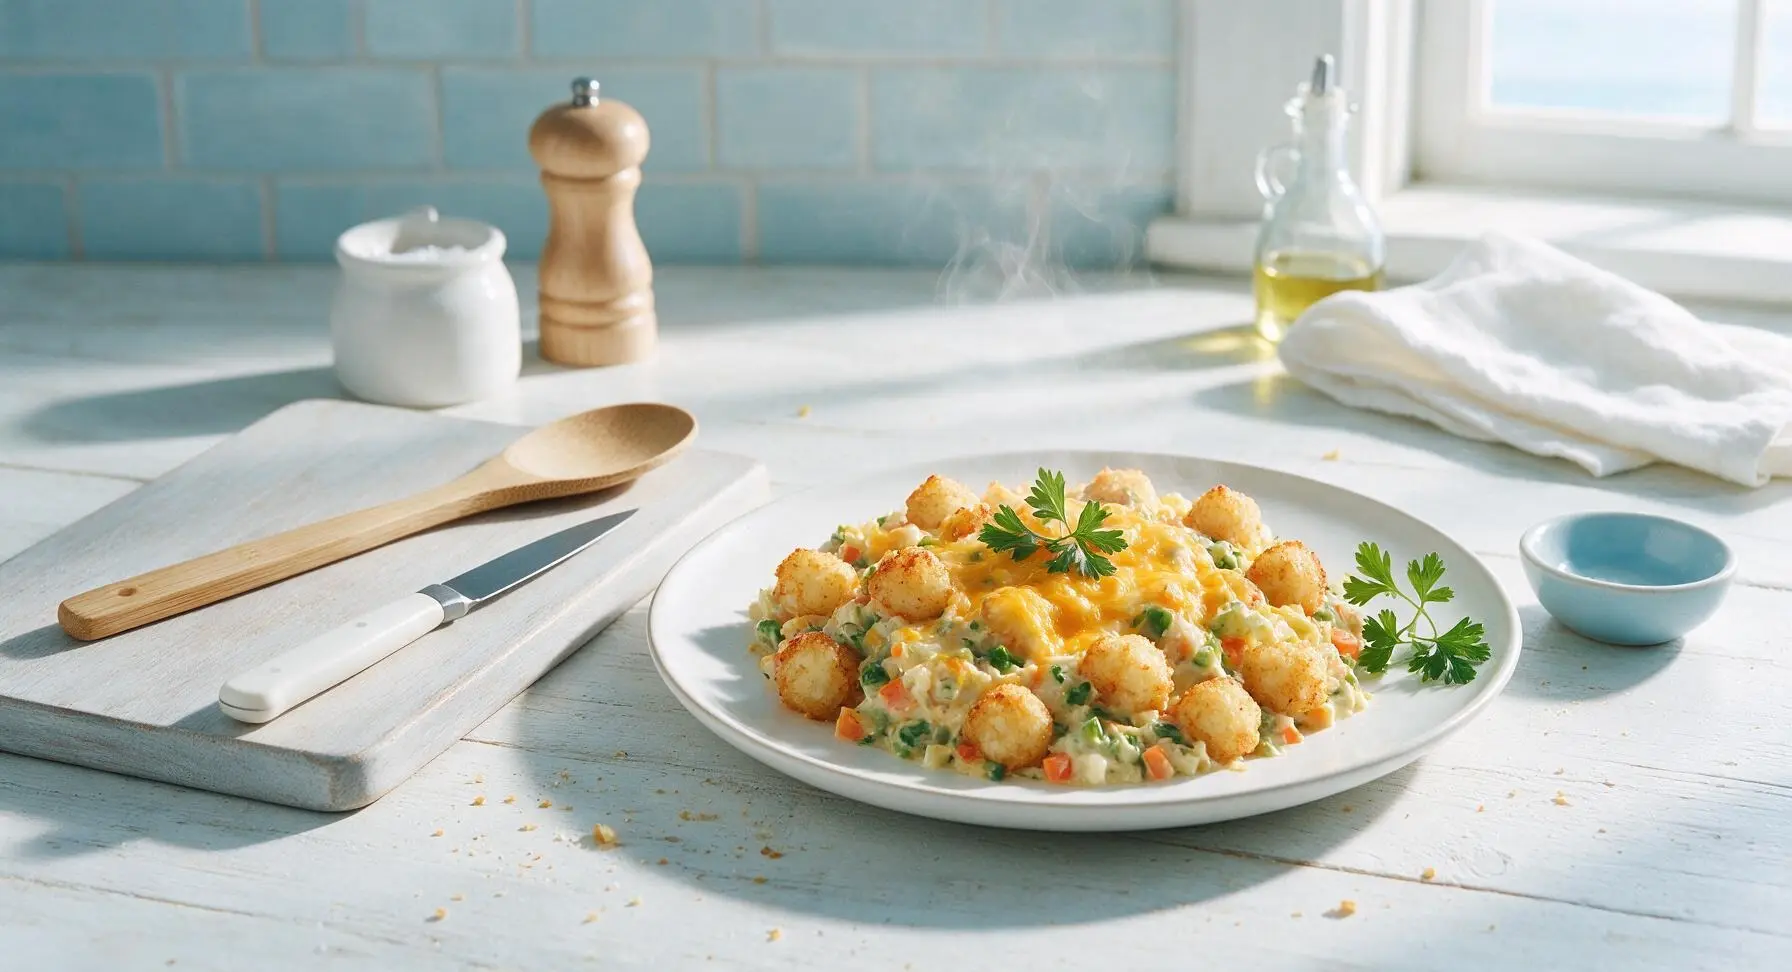
healthy vegetarian tater tot casserole

title 1
healthy vegetarian tater tot casserole
⏱️ cook time 40 minutes
🍽️ servings 6
⚡ Difficulty easy

intro

A lighter, veggie-packed twist on classic Midwestern comfort food, with crispy tater tots, creamy veggie filling, and melted cheddar—no processed canned soups required.

Ingredients
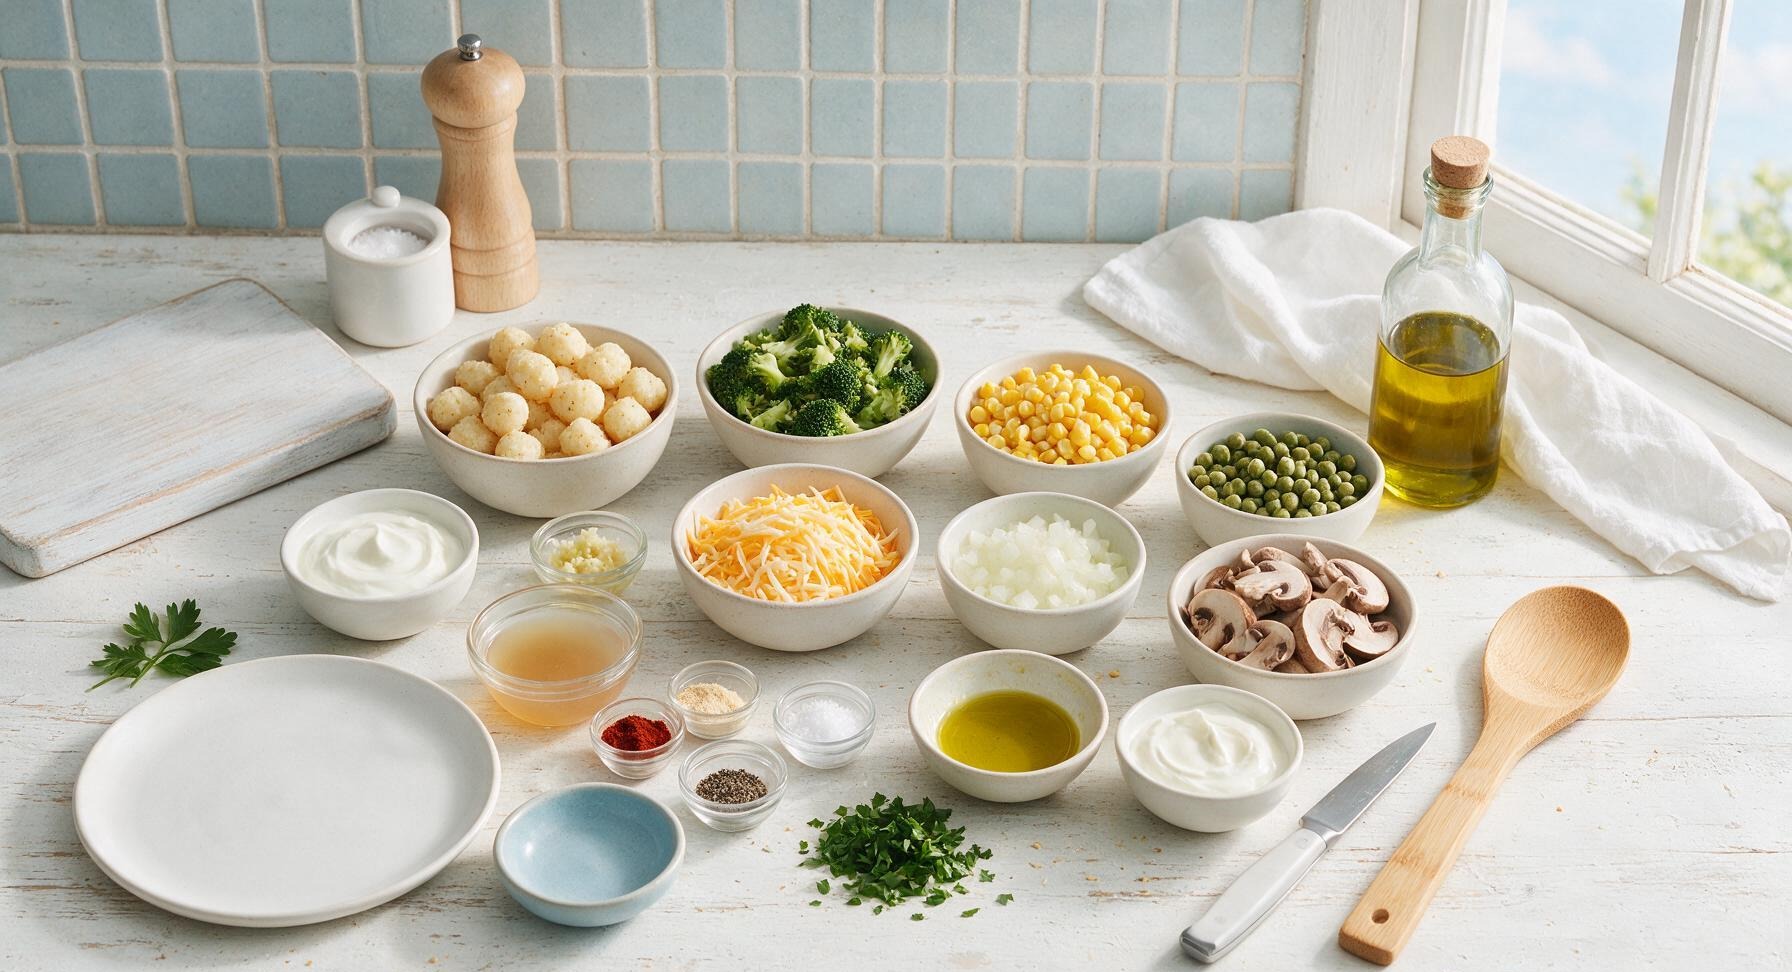
Frozen reduced-fat mini tater tots 700g
Extra-virgin olive oil 1 tbsp
Yellow onion 1 medium (150g), diced
Cremini mushrooms 200g, sliced
Broccoli florets 150g, chopped
Garlic 3 cloves (10g), minced
Frozen sweet corn 100g
Frozen green peas 100g
Non-fat plain Greek yogurt 150g
Low-sodium vegetable broth 60ml
Reduced-fat sharp cheddar cheese 100g, shredded (divided)
Smoked paprika 1 tsp
Garlic powder 1/2 tsp
Kosher salt 1/2 tsp
Freshly ground black pepper 1/4 tsp
Fresh flat-leaf parsley 2 tbsp, chopped

Steps

1

Preheat and Prep Vegetables

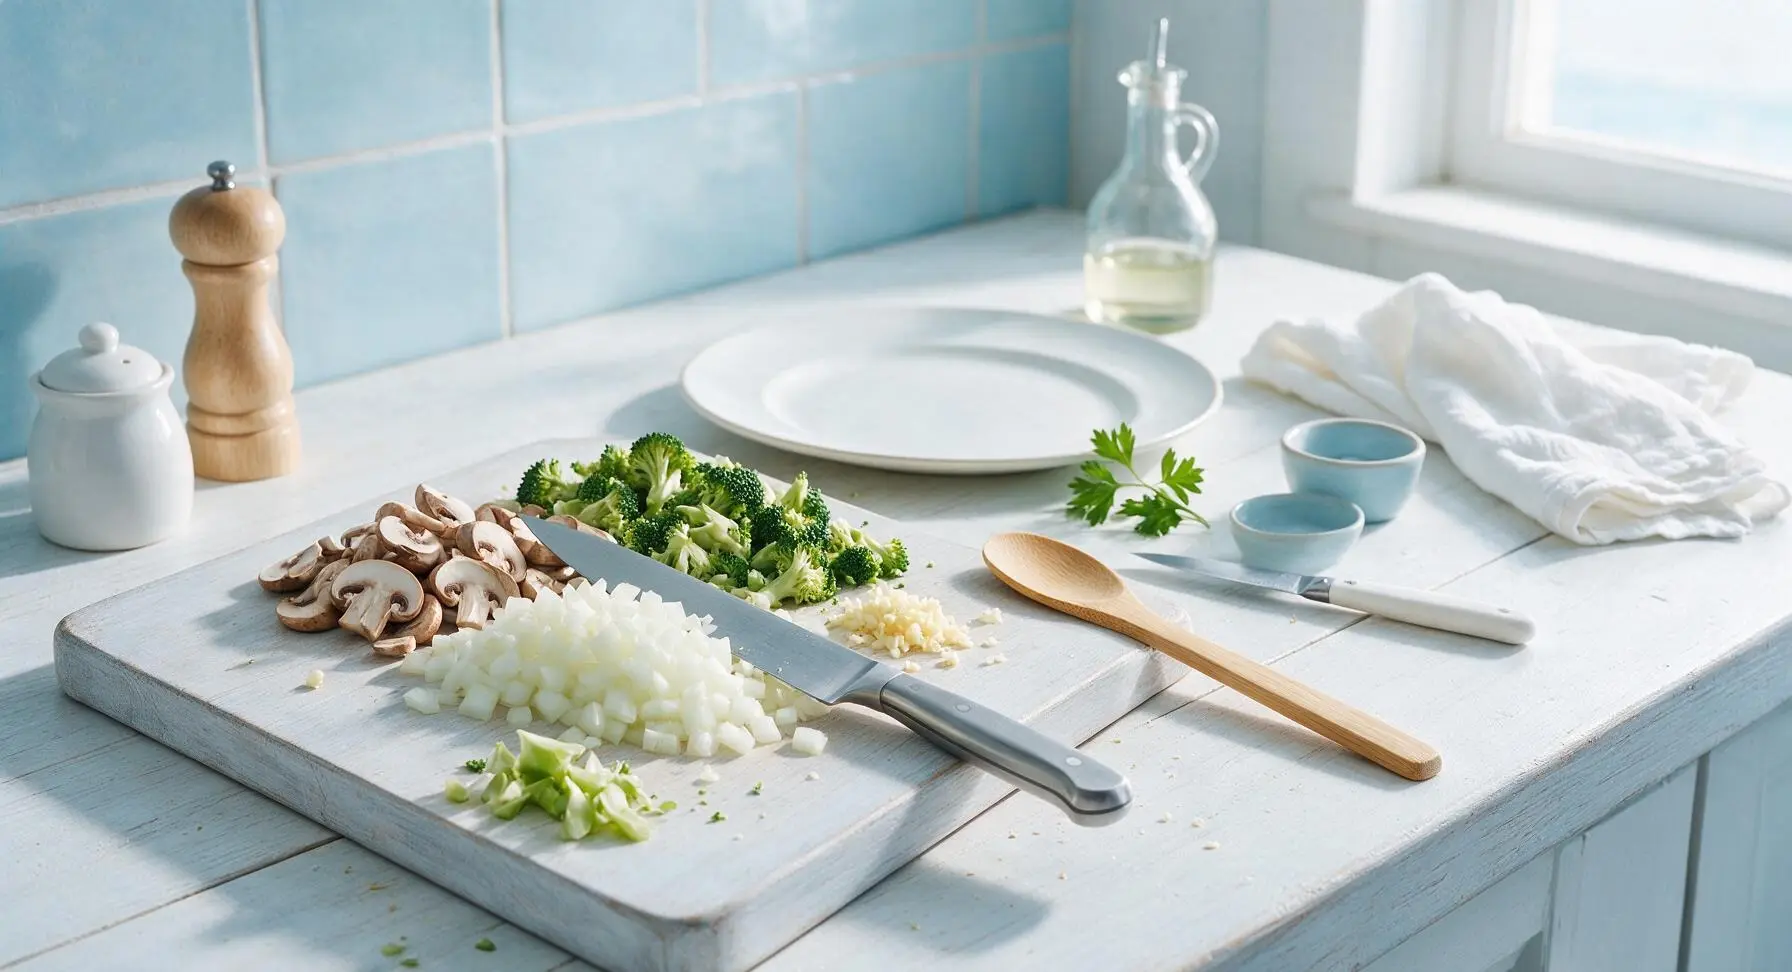
Preheat oven to 200C (400F). Set the light beige silicone cutting board on the center-left work surface. Using the 8-inch stainless steel chef knife, dice the yellow onion into 1cm pieces, slice cremini mushrooms into 0.5cm slices, chop broccoli into 1cm florets, and mince garlic finely. Discard tough broccoli stems and onion root ends, keeping prepped veggies in separate small piles on the board; even chopping ensures all vegetables cook at the same rate.
Step 1
step1:Preheat and Prep Vegetables
2

Sauté Base Vegetables

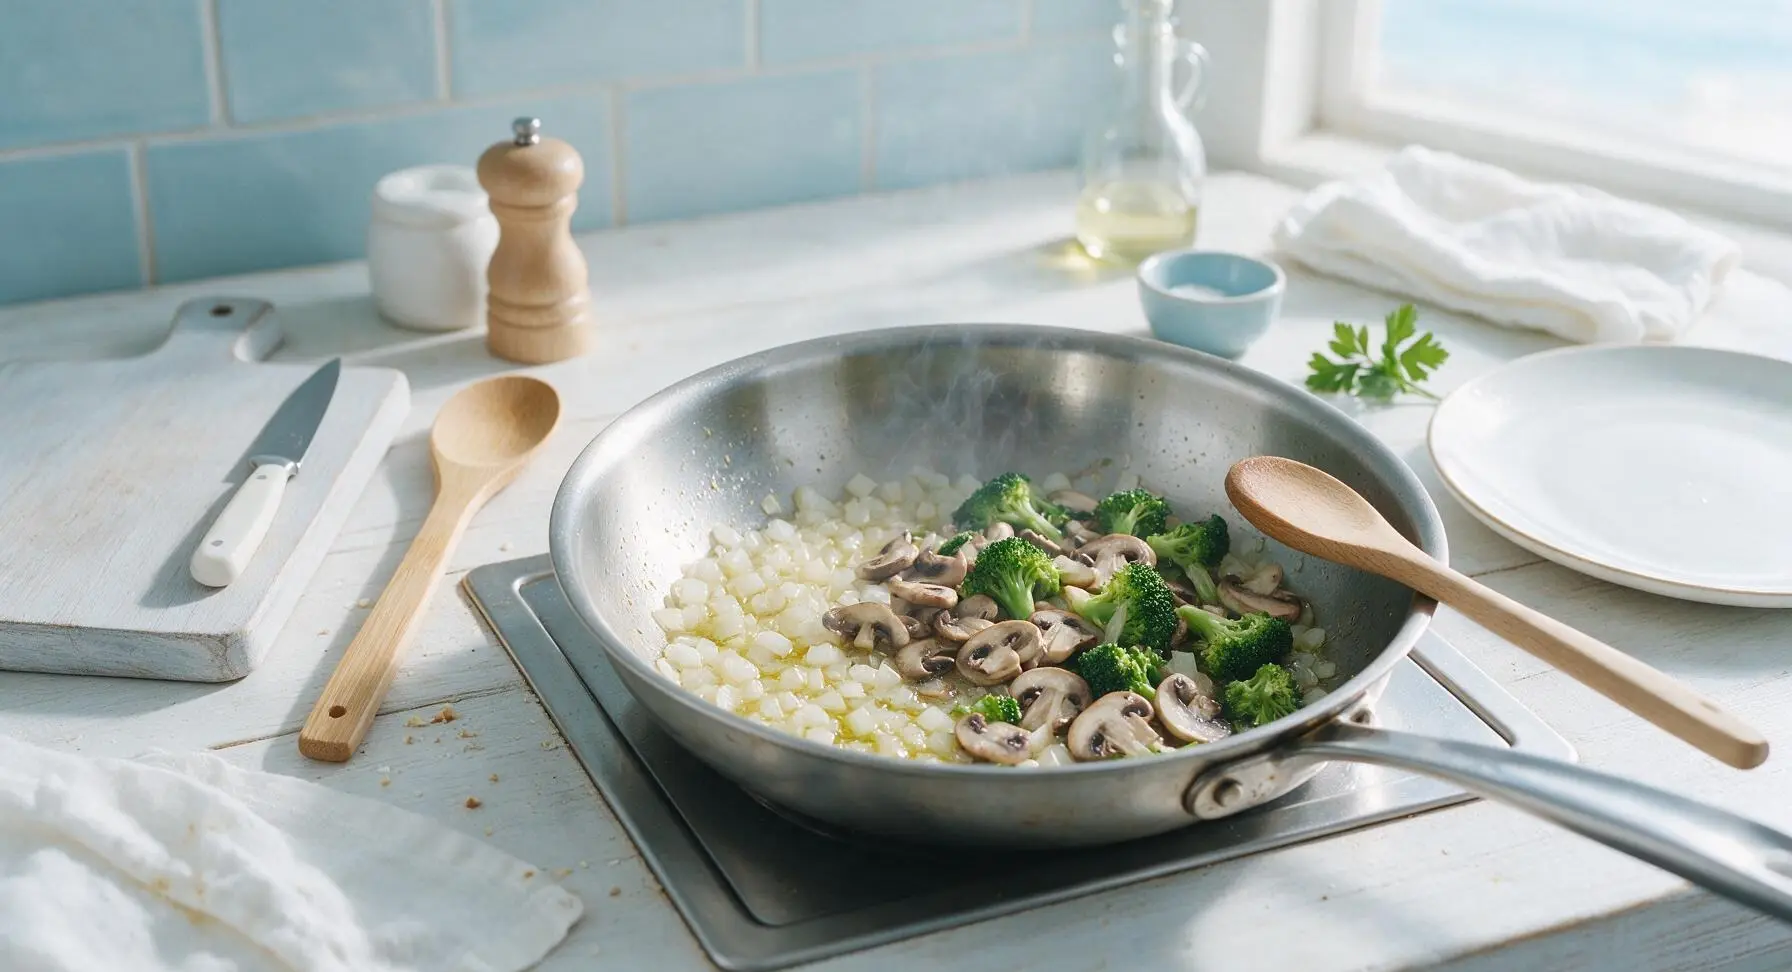
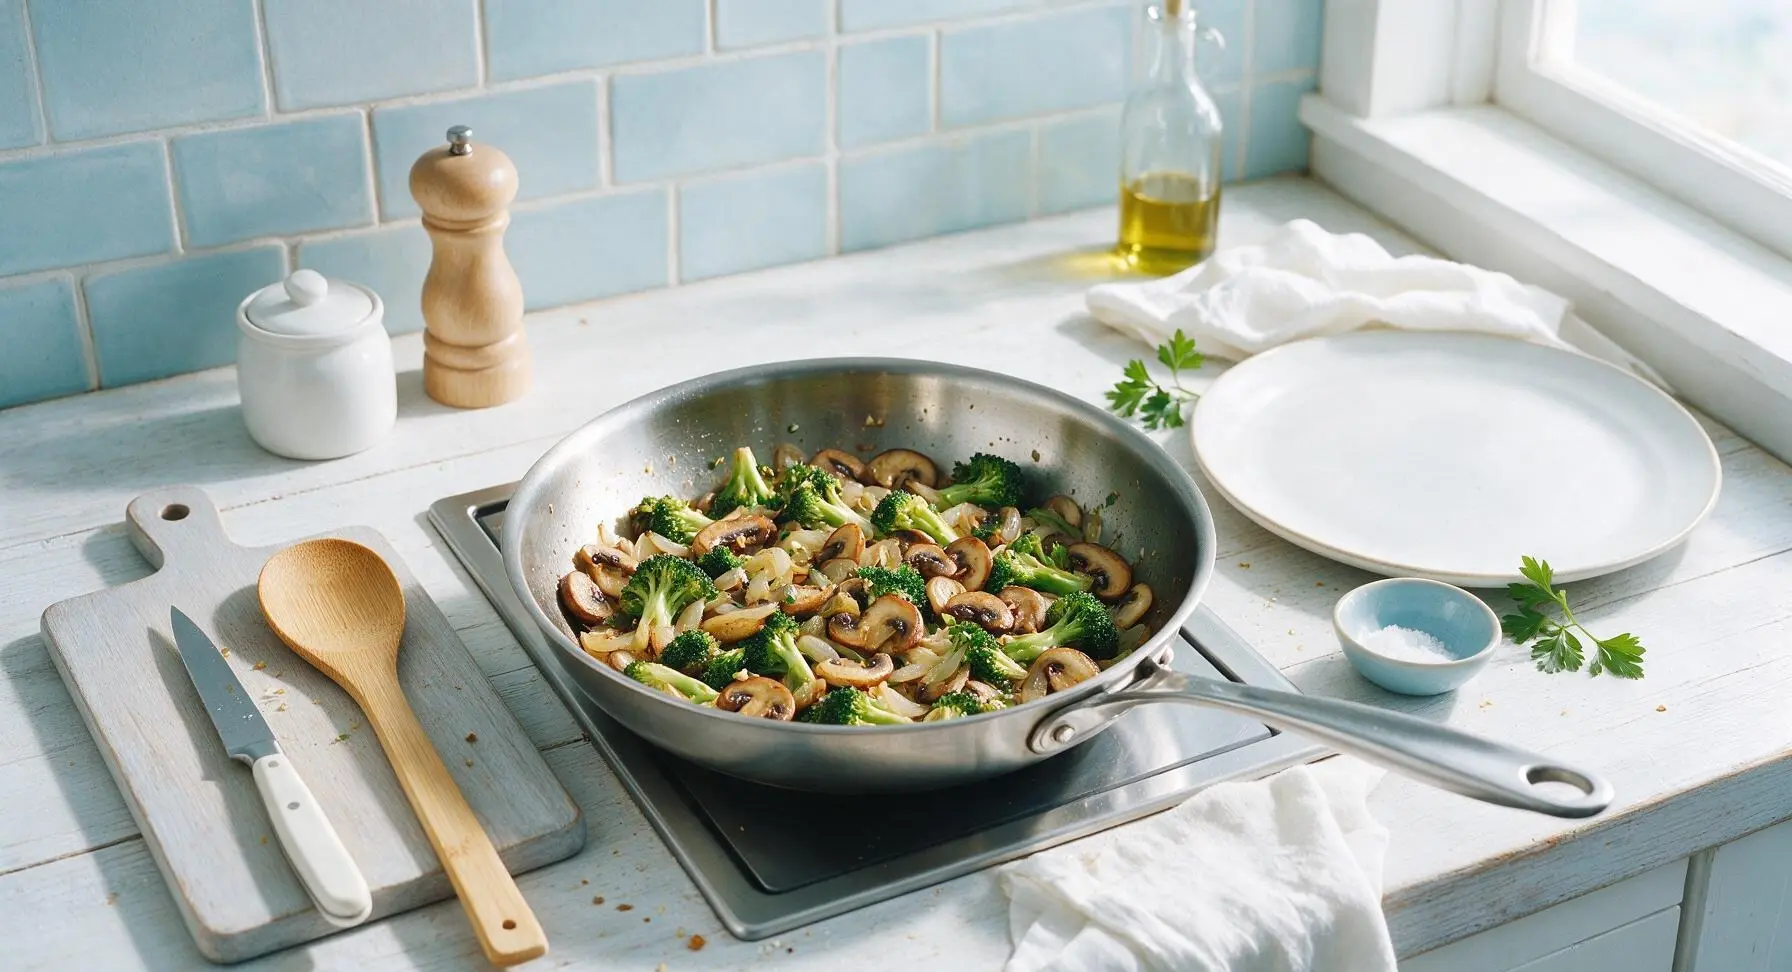
Place the 10-inch stainless steel skillet on the inset stovetop over medium heat. Add 1 tablespoon extra-virgin olive oil, then toss in diced onion. Sauté 3 minutes until soft and translucent, then add mushrooms and broccoli. Cook 5 minutes more, stirring occasionally with the light beechwood spoon, until mushrooms are golden and broccoli is bright green and crisp-tender. Add minced garlic and cook 30 seconds until fragrant, taking care not to burn the garlic (burnt garlic will add a bitter taste to the filling).
Step 2
step2:Sauté Base Vegetables
Step 2
step2:Sauté Base Vegetables
3

Mix Creamy Filling

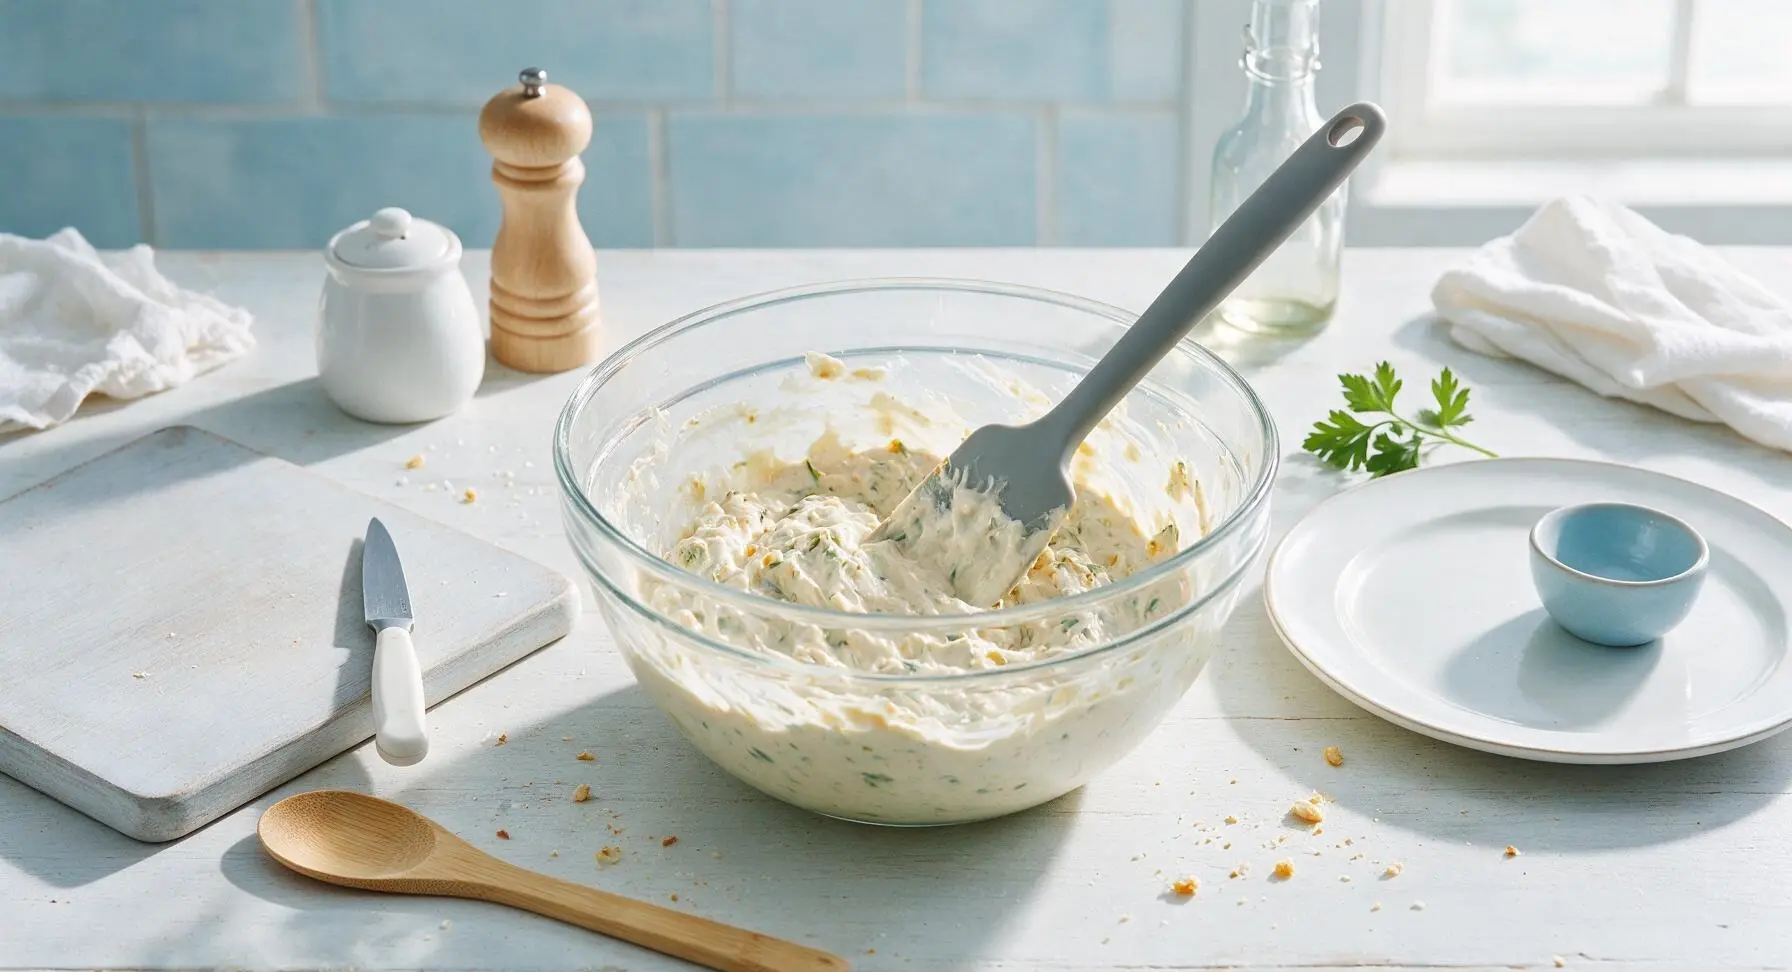
Remove the skillet from heat, and transfer sautéed veggies to the 3L clear glass mixing bowl set on the counter center. Add frozen corn, frozen peas, non-fat plain Greek yogurt, low-sodium vegetable broth, 50g (half) of the shredded sharp cheddar, smoked paprika, garlic powder, kosher salt, and black pepper. Stir thoroughly with the matte grey silicone spatula until all ingredients are evenly combined, with no clumps of yogurt remaining. The finished filling should be thick and spreadable, not thin or runny.
Step 3
step3:Mix Creamy Filling
4

Assemble Casserole Layers

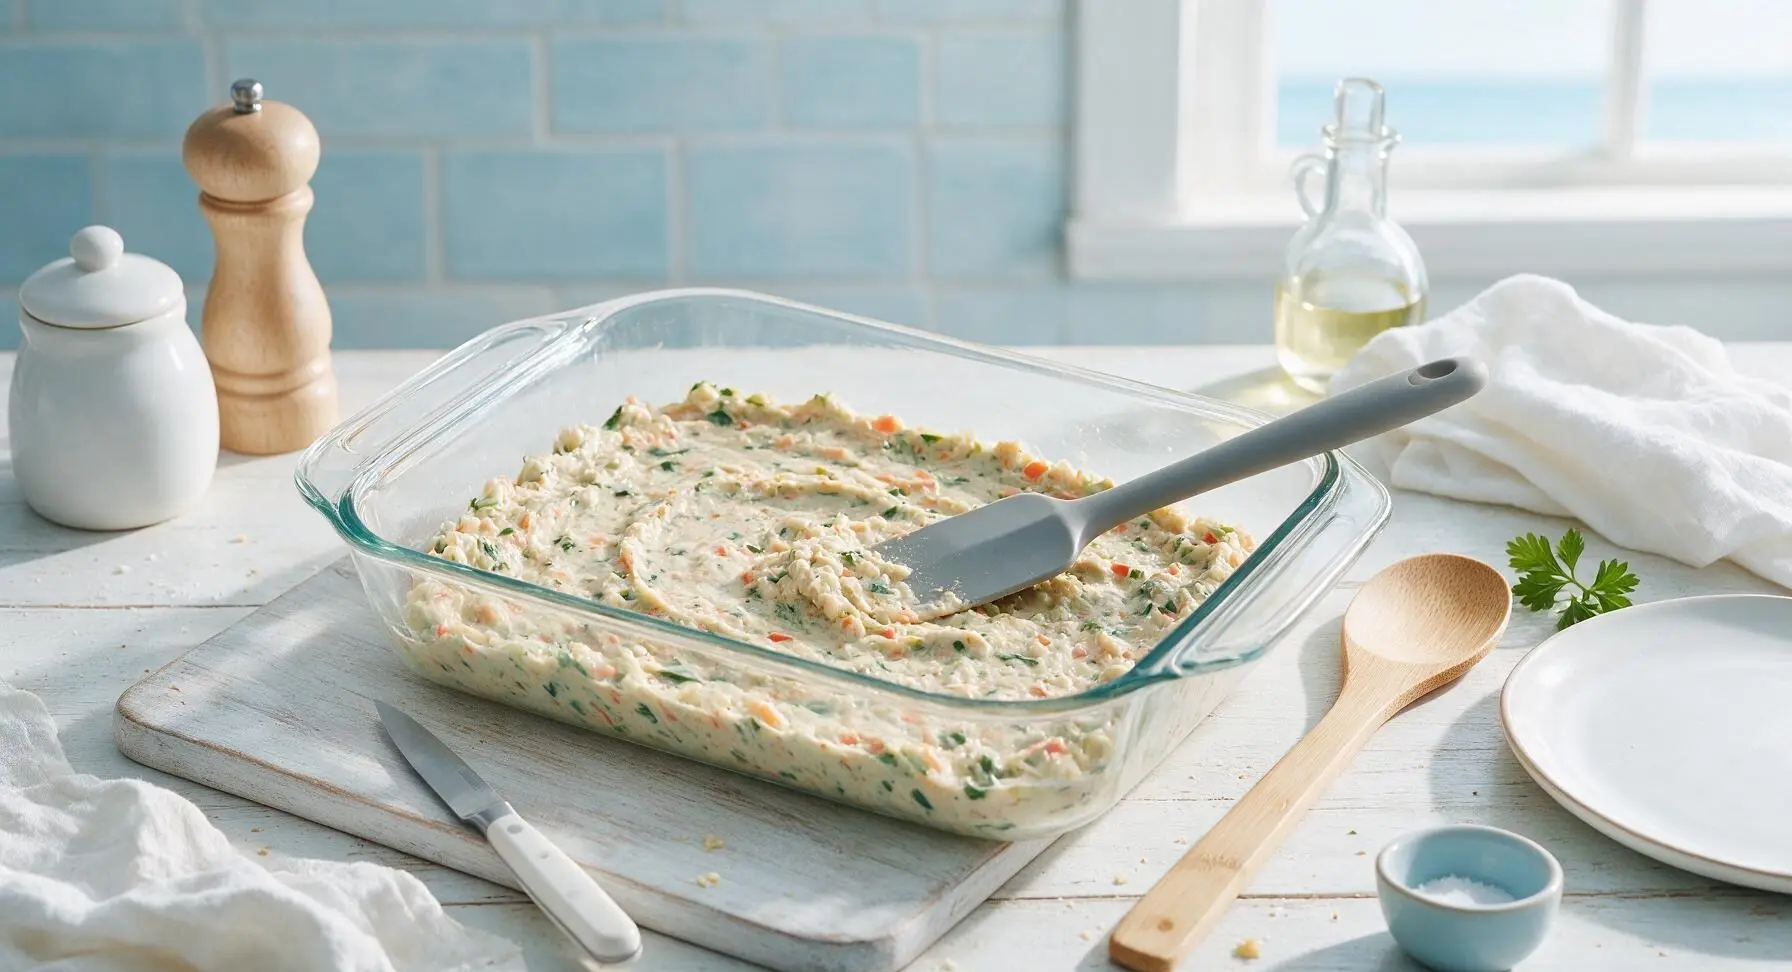
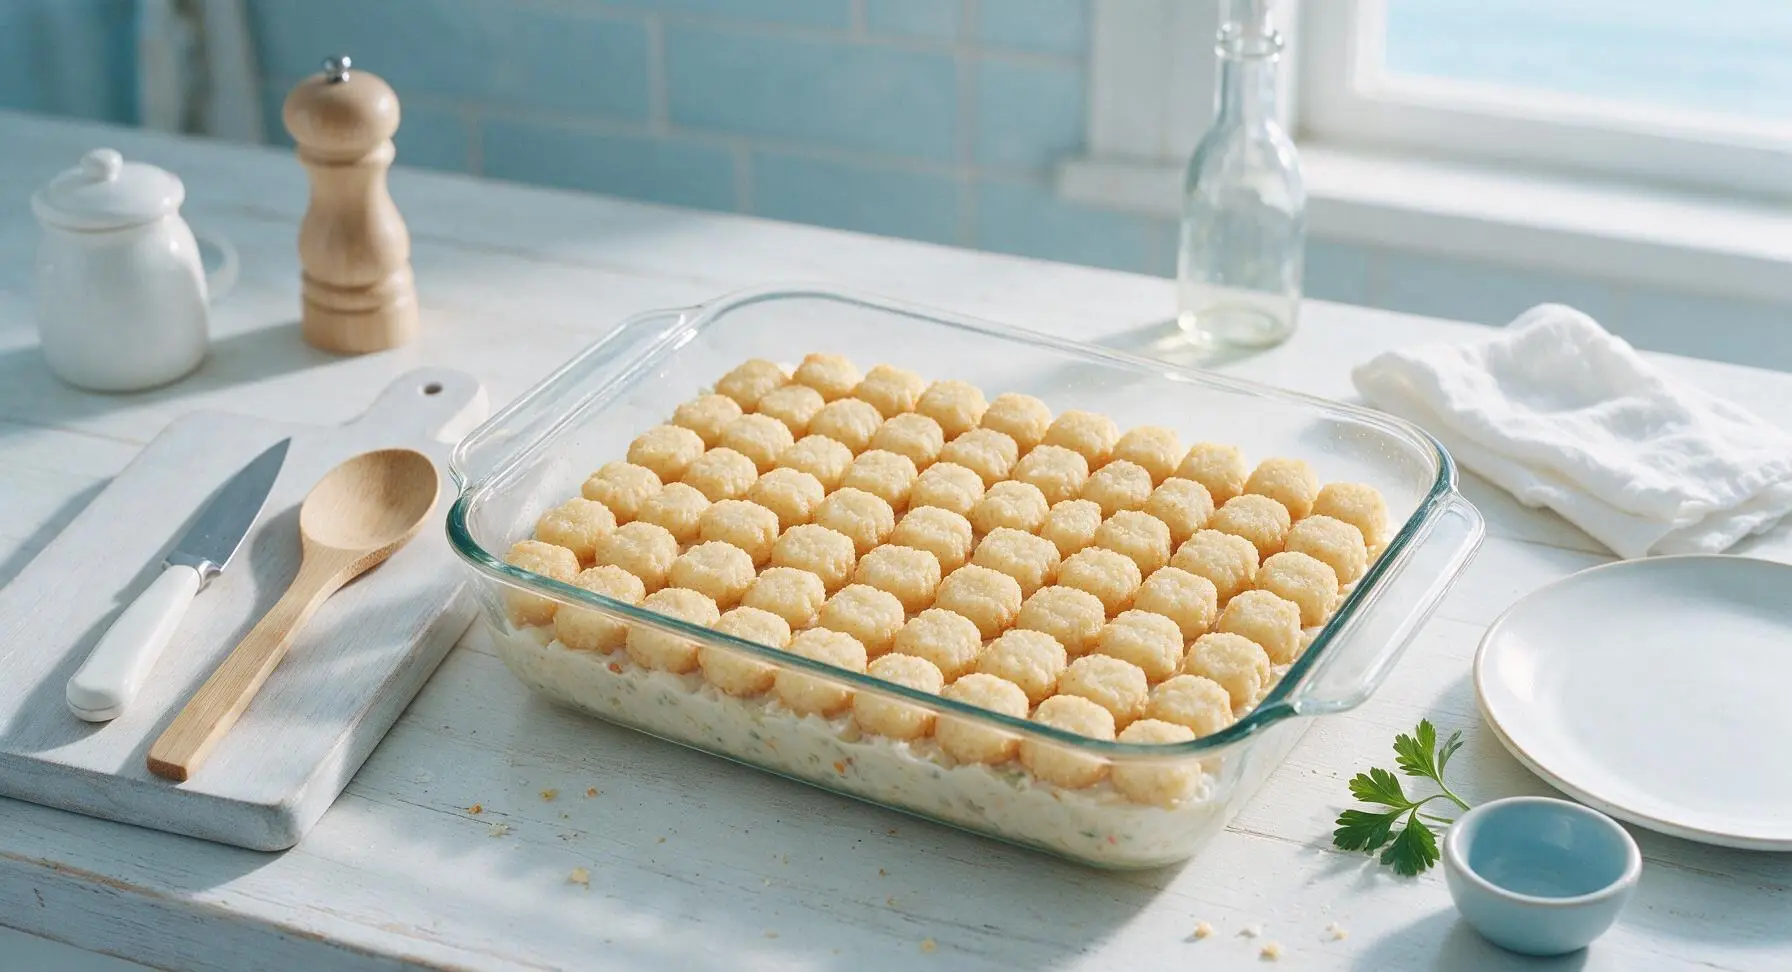
Pour the creamy veggie filling into the 3-quart clear tempered glass baking dish, spreading it into a smooth, even layer across the dish bottom with the silicone spatula. Arrange frozen mini tater tots in a single, tightly packed layer across the top of the filling, flat side down, to cover the entire surface. Do not thaw the tater tots first, as frozen tots crisp far better than thawed ones during baking.
Step 4
step4:Assemble Casserole Layers
Step 4
step4:Assemble Casserole Layers
5

Bake Until Golden Crisp

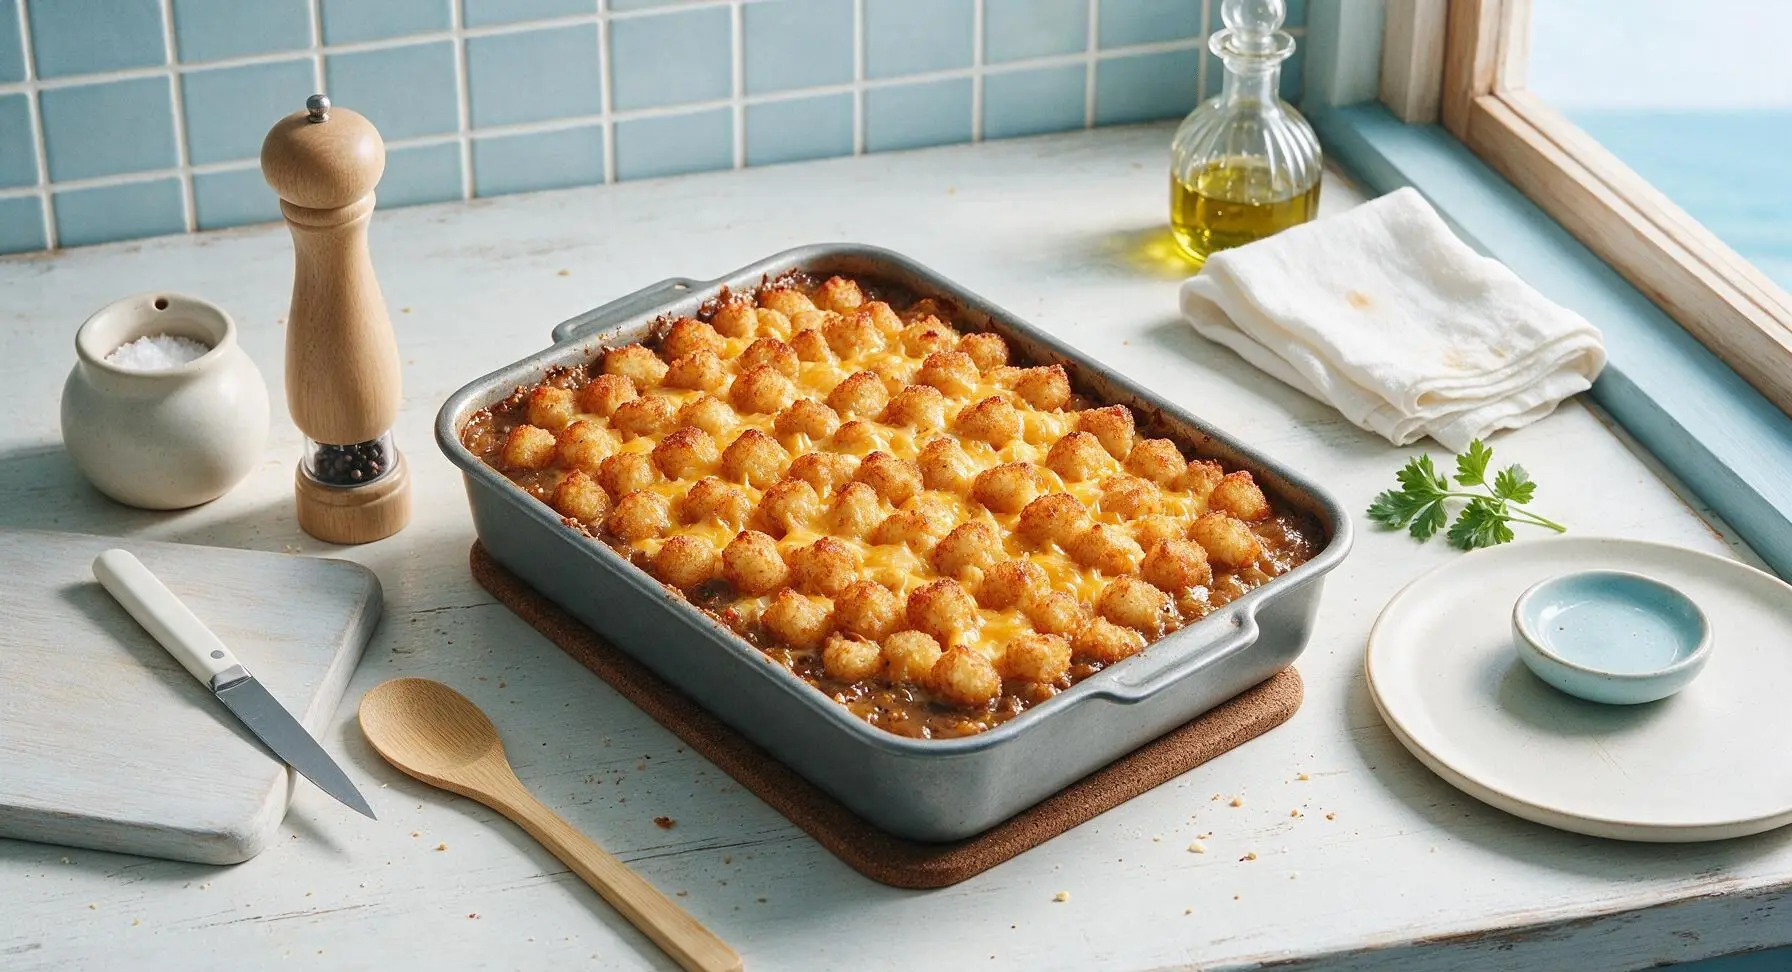
Place the assembled baking dish on the middle oven rack, and bake for 25 minutes at 200C (400F), until the filling bubbles gently around the dish edges. Carefully pull the oven rack out, sprinkle the remaining 50g of shredded cheddar evenly across the tater tot layer, then return to bake for 7 more minutes. The casserole is done when cheese is fully melted, tater tots are deep golden with crispy dark edges, and filling bubbles steadily around the perimeter.

Step 5
step5:Bake Until Golden Crisp
Step 5
step5:Bake Until Golden Crisp
6

Rest and Garnish

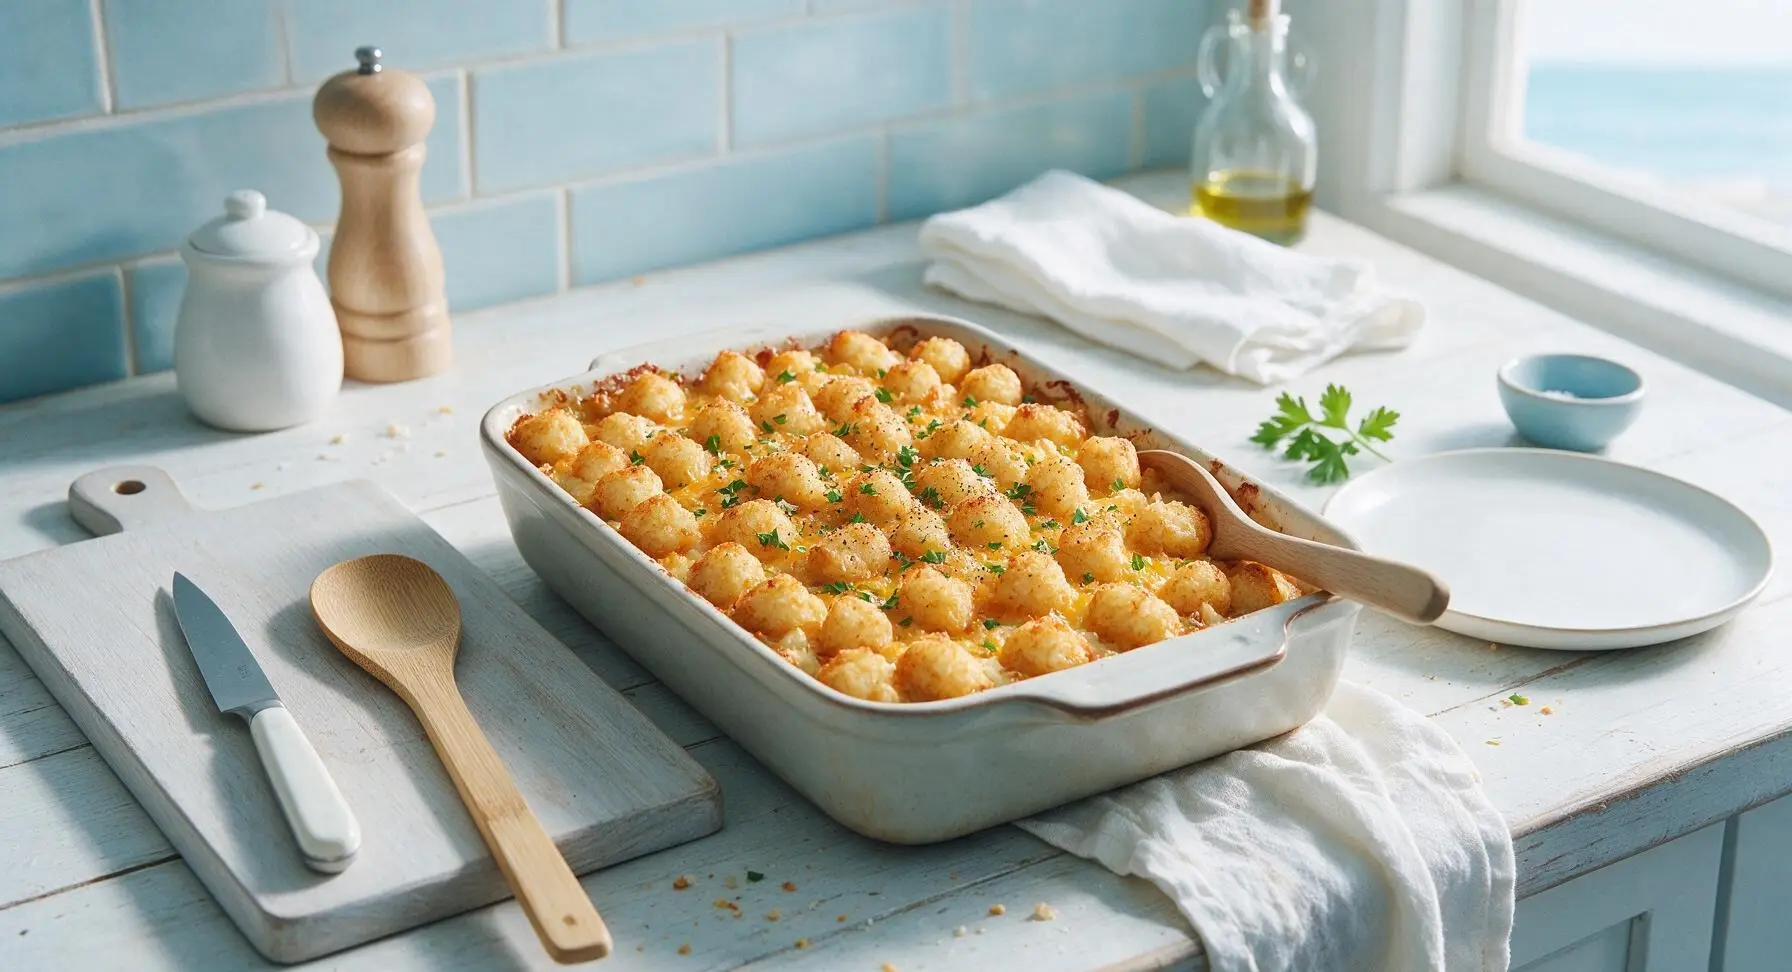
Let the casserole rest for 5 full minutes on the counter to allow the filling to set, so portions hold their shape when served. Sprinkle the top with freshly chopped flat-leaf parsley and a light crack of fresh black pepper, if desired. Skipping the rest period will result in runny, sliding portions and filling that is hot enough to burn mouths.
Step 6
step6:Rest and Garnish

Tips

1.Keep tater tots fully frozen until you arrange them on the casserole: thawed tots absorb moisture from the creamy filling and turn soggy, while frozen tots develop a shatteringly crisp top as they bake.
2.For extra protein, add 1 cup of cooked, rinsed lentils to the veggie filling — this adds 8g of protein per serving without altering the creamy texture or classic flavor.
3.Make this dish ahead for meal prep: assemble the fully layered casserole (without baking) and store covered in the fridge for up to 3 days, then bake directly from the fridge adding 10 extra minutes to cook time.


✨ You May Also Like

Main Course
🍜 United Kingdom

A showstopping classic of tender seared beef, savory mushroom duxelles, and crisp prosciutto wrapped in flaky golden puff pastry, baked to juicy perfection.

⏱️ 2 hours 1Main Course ★ 4.7
Main Course
🍜 India

Tender charred marinated chicken simmered in a rich, spiced creamy tomato sauce, this iconic Anglo-Indian curry pairs perfectly with basmati rice or warm naan.

⏱️ 50 minuteMain Course ★ 4.6
Main Course
🍜 Thailand

Classic tangy, sweet, and savory Thai stir-fried rice noodles with shrimp, tofu, and crunchy garnishes, balancing all five core Thai flavor profiles.

⏱️ 30 minuteMain Course ★ 4.5
Main Course
🍜 United Kingdom

Crispy golden beer-battered cod and fluffy double-fried chips, served with tangy tartar sauce and malt vinegar: the timeless, beloved British pub comfort classic.

⏱️ 45 minuteMain Course ★ 4.7
Main Course
🍜 Mexico

Smoky, chile-marinated pork tacos with caramelized pineapple, fresh cilantro, and lime: a beloved classic Mexican street food perfect for casual summer gatherings.

⏱️ 1 hour 45Main Course ★ 4.8
Main Course
🍜 United States

Crunchy Fritos corn chips layered with savory beef chili and melted cheddar, topped with cool, zesty fixings for a beloved, cozy Tex-Mex comfort food.

⏱️ 35 minuteMain Course ★ 4.8

healthy vegetarian tater tot casserole:Frequently Asked Questions

1.Why doesn’t this recipe use canned cream of mushroom soup like classic tater tot casserole? ▾
Great question! Canned condensed soups pack excess sodium, preservatives, and processed thickeners that weigh down the classic comfort dish. This recipe builds a rich, creamy veggie filling from sautéed aromatics, a light roux, and veggie broth for that same cozy texture with far less sodium, no weird additives, and brighter, fresher vegetable flavor.
2.Can I use regular full-size frozen tater tots instead of reduced-fat mini ones? ▾
Absolutely, just make one small adjustment for even cooking. Full-size tots take 5-7 minutes longer to crisp up, so arrange them on top right when you put the casserole in the oven instead of partway through baking. Regular full-fat tots work too, just note the dish will be slightly higher in calories and fat, which is totally fine for a cozy meal.
3.How do I keep the tater tots on top crispy instead of getting soggy? ▾
The number one trick is to never press the tots down into the creamy filling—arrange them in a single, even layer sitting right on top of the veggie mixture so hot air can circulate around them. Bake the casserole uncovered on your oven’s middle rack at 400°F to crisp the tots instead of steaming them, no extra oil spritz needed.
4.Can I make this casserole ahead of time for meal prep or a potluck? ▾
You bet! Assemble the creamy veggie filling in your baking dish, let it cool completely, cover tightly, and store it in the fridge for up to 3 days. Wait to top with frozen tater tots and cheese until right before baking to avoid soggy spuds, and add 5-10 minutes to the bake time to account for the chilled filling.
5.What’s an easy vegan swap to make this recipe fully plant-based? ▾
It’s simple to adapt this to a vegan diet without losing that cozy, rich texture. Swap dairy cheddar for your favorite melty vegan cheddar shreds, use unsweetened plain oat milk instead of dairy milk for the sauce, and double-check your frozen tater tots are vegan (most store-brand tots are accidentally free of animal products!).
6.Can I swap the broccoli and mushrooms for other veggies I have on hand? ▾
Definitely—this recipe is super flexible for leftover produce. Diced bell peppers, cauliflower florets, squeezed-dry frozen spinach, sweet corn kernels, or diced zucchini all work beautifully. Just keep total veggie volume around 4 cups to keep the sauce ratio balanced, and sauté high-moisture veggies first to avoid a watery final dish.
7.How should I store leftover casserole, and how long will it stay fresh? ▾
Let leftover casserole cool to room temperature within 2 hours of baking, then portion it into airtight containers or cover the whole baking dish tightly with foil or a fitted lid. Stored in the fridge, leftovers will stay fresh for up to 4 days. I don’t recommend freezing baked casserole, as the tater tots turn mushy and grainy once thawed.
8.What’s the best way to reheat leftovers so the tater tots stay crispy? ▾
Skip the microwave if you want crisp tots—it will turn them soft and chewy. Instead, reheat single portions in a toaster oven or air fryer at 375°F for 5-7 minutes, or reheat a larger batch in a conventional oven covered for 10 minutes, then remove foil for the last 3 minutes to crisp the top back up.
9.Can I add extra protein to make this casserole more filling for weeknight dinners? ▾
Absolutely! For a vegetarian protein boost, stir a can of rinsed, drained chickpeas or white beans into the creamy veggie filling, or add 1 cup of pan-fried crumbled tempeh. If you eat dairy, a half cup of plain non-fat Greek yogurt stirred into the sauce adds protein and extra creaminess without weighing the dish down.
10.Is this recipe easy to adapt for a gluten-free diet? ▾
It is! The only potential gluten sources are the sauce thickener and the tater tots themselves. Swap all-purpose flour for a 1:1 gluten-free all-purpose flour to make the sauce roux, and double-check that your frozen tater tots are certified gluten-free, as many regular brands have hidden wheat-based coatings. All veggies and cheese are naturally gluten-free.
11.Do I need to thaw frozen tater tots before baking them on the casserole? ▾
Nope—thawing tater tots ahead of time will actually make them release extra starch and moisture, leading to a soggy, limp top instead of that perfect crispy crunch. Keep them frozen solid until the second you arrange them on top of the warm veggie filling, then pop the casserole straight into your preheated oven for the best texture.
12.What kind of cheddar works best for that perfectly melted, flavorful top? ▾
I recommend sharp yellow cheddar, freshly shredded off a block for the best melt and boldest flavor. Pre-shredded bagged cheddar is coated in anti-caking agents that make it melt less smoothly and leave a subtle powdery texture, though it works in a pinch. For a twist, swap ¼ of the cheddar for smoked gouda or pepper jack for a little kick.
13.My last tater tot casserole came out watery—how do I avoid that with this recipe? ▾
Watery casserole almost always traces back to excess veggie moisture. Make sure you sauté mushrooms and onions long enough to cook off all their released water, and pat cooked broccoli dry before adding it to the sauce. If your sauce feels thin before assembling, let it simmer 2-3 extra minutes to thicken, and skip extra milk or broth that throws off the ratio.
14.Can I add meat to this recipe if my family isn’t fully vegetarian? ▾
Of course! This flexible veggie base works great with added cooked protein for omnivore eaters. Brown 8 ounces of lean ground turkey or mild Italian sausage, drain off all excess fat, and stir it into the veggie filling before adding the tater tot top. You won’t need to adjust the sauce ratio or bake time to make it work.

Comments (6)

2 days ago

OMG this is such a game changer for our weekly family dinners! I’ve been searching for a vegetarian casserole that even my picky 7 year old would eat, and he went back for SECONDS. It was so easy to throw together after work, only took 40 mins total so I didn’t have to spend all night in the kitchen. Used a little extra nutritional yeast on top for a cheesy kick, 10/10 will be making this again for our next neighborhood potluck!

yesterday

Wait the nutritional yeast add sounds chef’s kiss! Did you use the unsweetened kind? I accidentally grabbed sweetened last time I baked and it was a disaster lmao

yesterday

So glad your kiddo loved it! The nutritional yeast add is such a smart call — definitely recommend sticking to unsweetened for that savory cheesy vibe, and it’s such a great swap for folks cutting back on dairy too!

1 week ago

SO good and perfect for Sunday meal prep! I made a big pan on Sunday, portioned it out into containers for lunch all week, and it held up so much better than I thought it would. Love that it’s healthy but doesn’t taste like “diet food” — my coworkers kept asking what I was eating because it smelled so good in the break room. Super easy recipe too, even for someone who burns toast half the time lmao

5 days ago

That’s such a great call using this for meal prep! It reheats beautifully in the microwave or oven, and we love hearing that it doesn’t skimp on flavor even with the healthier ingredient swaps. Thanks for giving it a try!

3 days ago

Brought this to my church potluck last weekend and people were scraping the pan clean! Half the group asked for the recipe, and no one even noticed it was vegetarian until I told them. I added a can of drained black beans for extra protein and it was chef’s kiss. 10/10, will be in my regular rotation from now on.

5 days ago

As a broke college student with barely any cooking skills, this was perfect! It was so easy to make, only needed a few simple ingredients I could grab from the grocery store on my way home, and the whole dorm floor smelled amazing while it was baking. Way cheaper and healthier than ordering takeout every night. Only thing is I wish I’d made a double batch because my roommates ate half of it before I even got a second piece 😂

3 days ago

Wait what ingredients did you use? I’m also in a dorm with a super tiny kitchen and I’m always looking for recipes that don’t require fancy tools

3 days ago

So happy this worked out for your dorm cooking! You really only need a mixing bowl and a 9x13 baking dish for this one — no fancy gadgets required. If you make a double batch next time, you can even freeze half for quick meals later!

yesterday

Great base recipe! I swapped the regular tater tots for gluten-free tots to fit my dietary needs, and it turned out absolutely delicious. It’s so hard to find easy, healthy casseroles that don’t have a million weird ingredients, and this one checks all the boxes. My husband (who is a total meat and potatoes guy) even said he didn’t miss the meat at all!

2 hours ago

Oh thank you for mentioning the gluten-free tot swap! My kid has celiac and I’ve been nervous to try tater tot casseroles again, I’m definitely picking up a bag of GF tots this week to make this

30 minutes ago

Made this last night for a quick weeknight dinner and it was a hit! The cook time was exactly 40 minutes like the recipe said, which is such a win on nights when I get home late from work. I added a little extra broccoli florets to sneak in more veggies, and it blended right in with the creamy sauce and crispy tots. SO good, will be making this at least twice a month from now on.



