
home made fried chicken
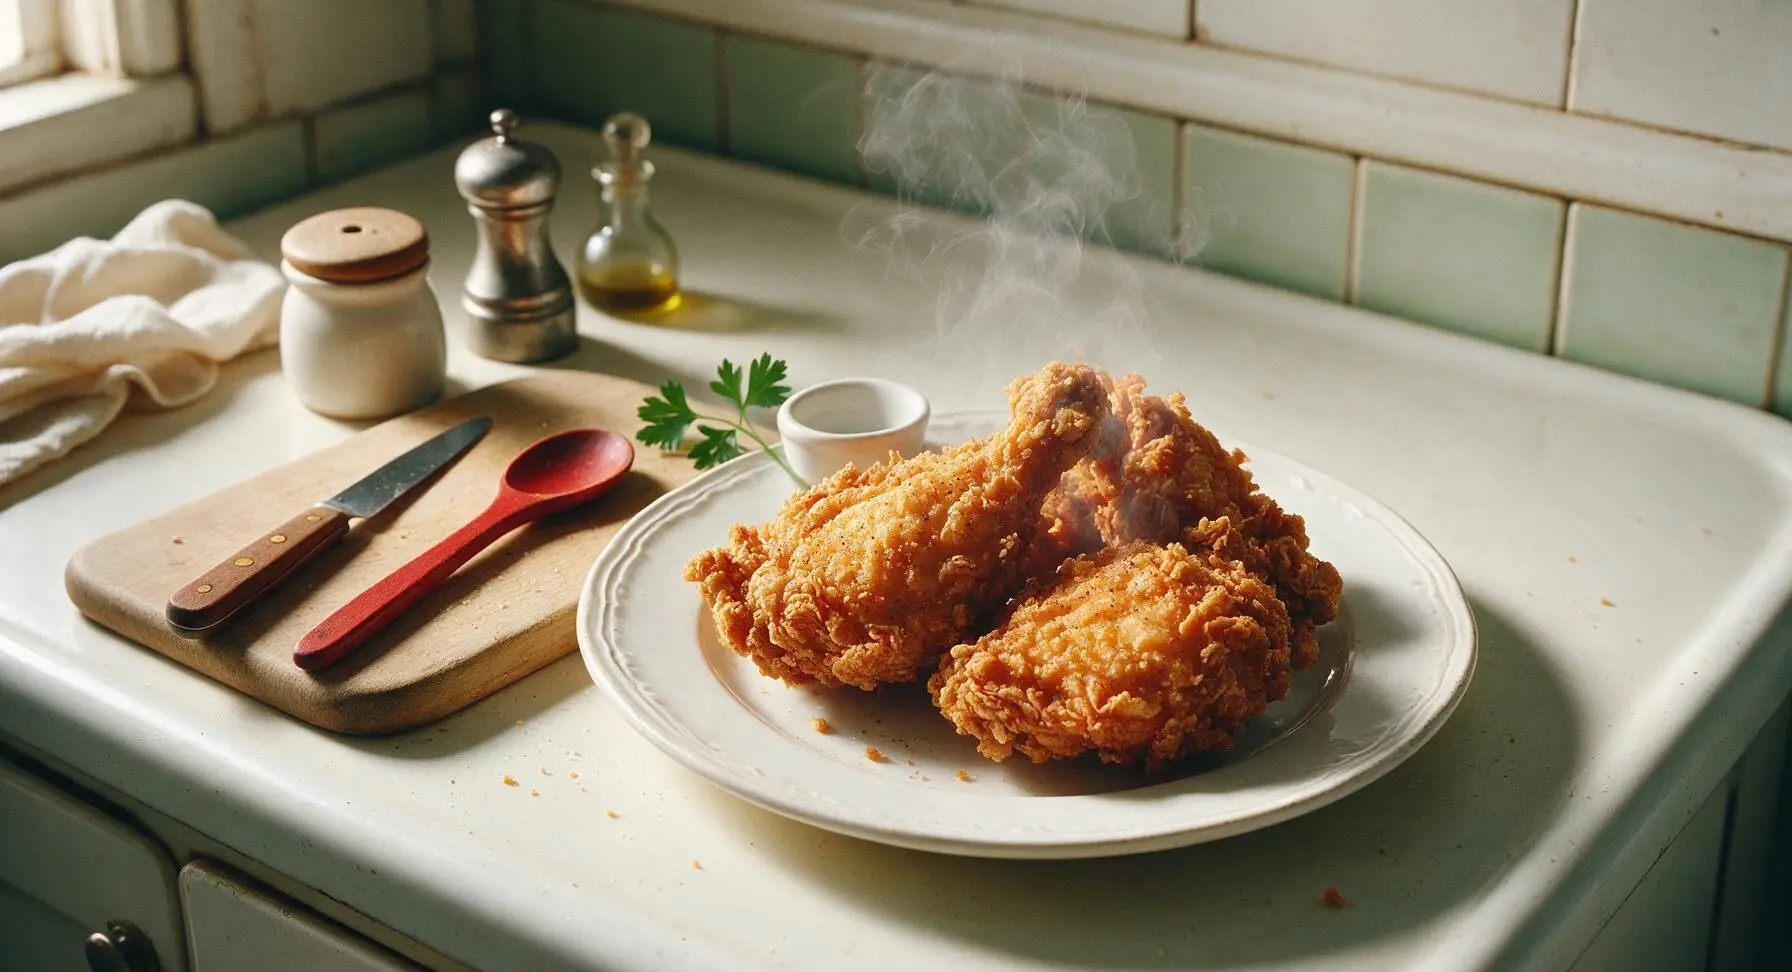
intro
Shatteringly crisp golden crust, juicy well-seasoned meat, and iconic savory Southern flavor—this homemade fried chicken is the ultimate comfort food for casual family gatherings.
Ingredients
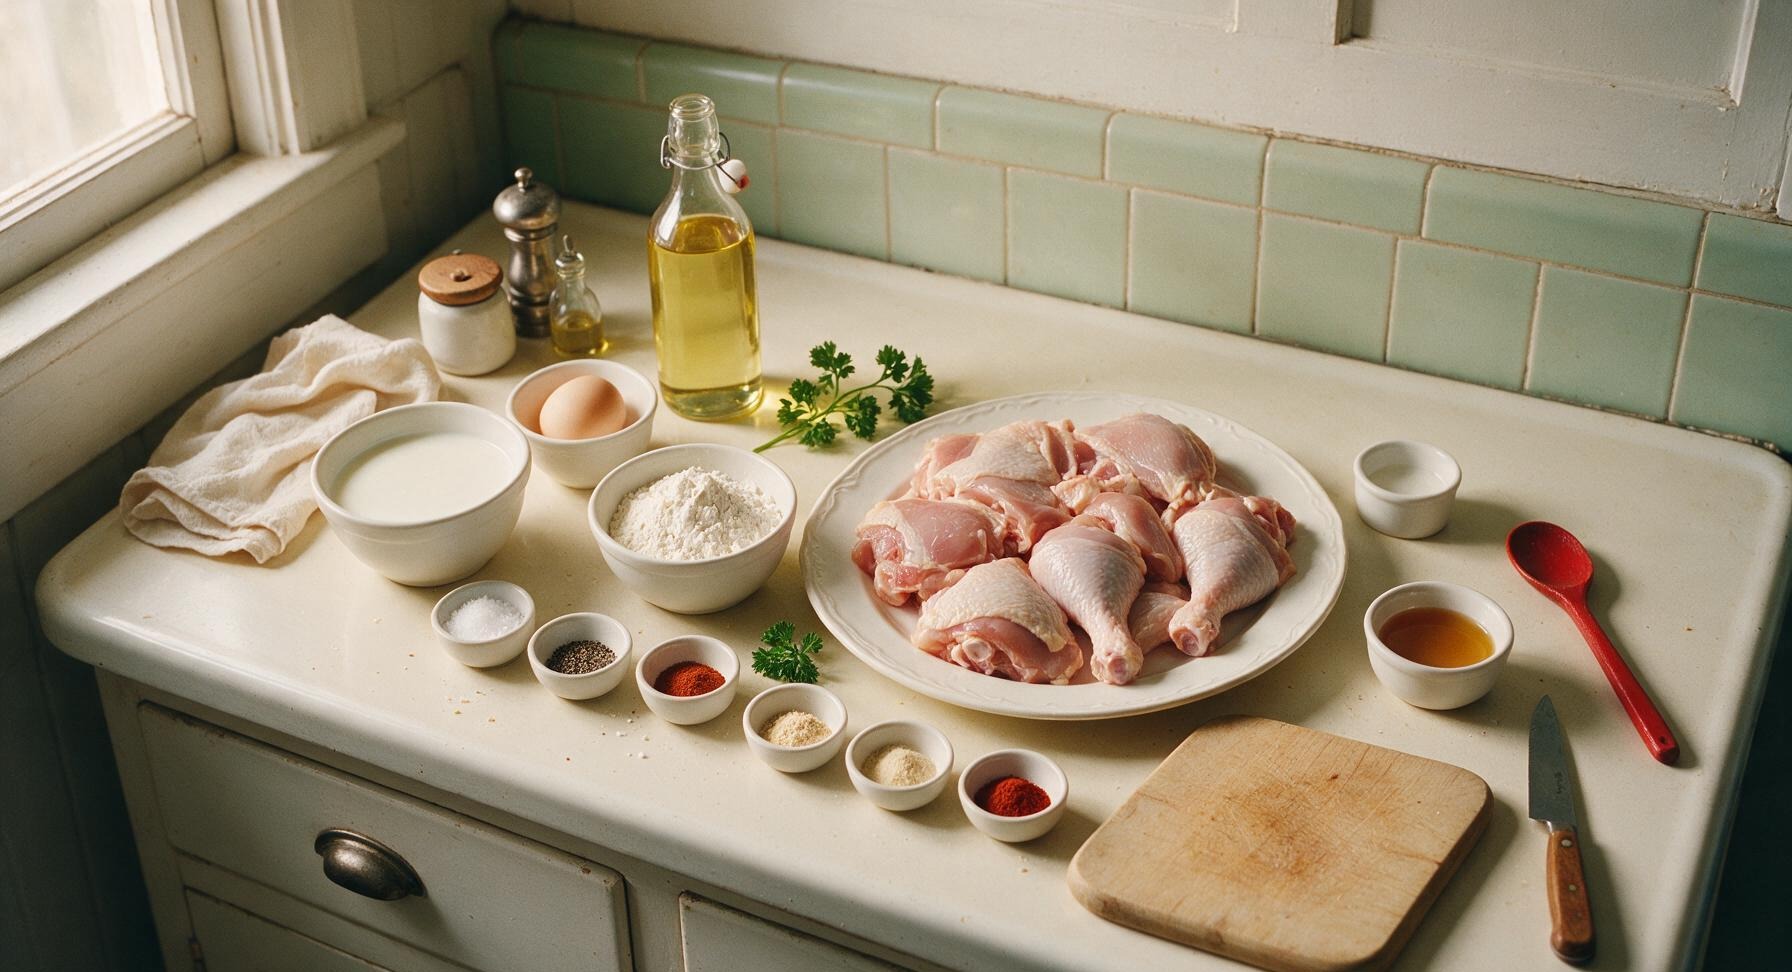
Steps
Buttermilk Brine Chicken
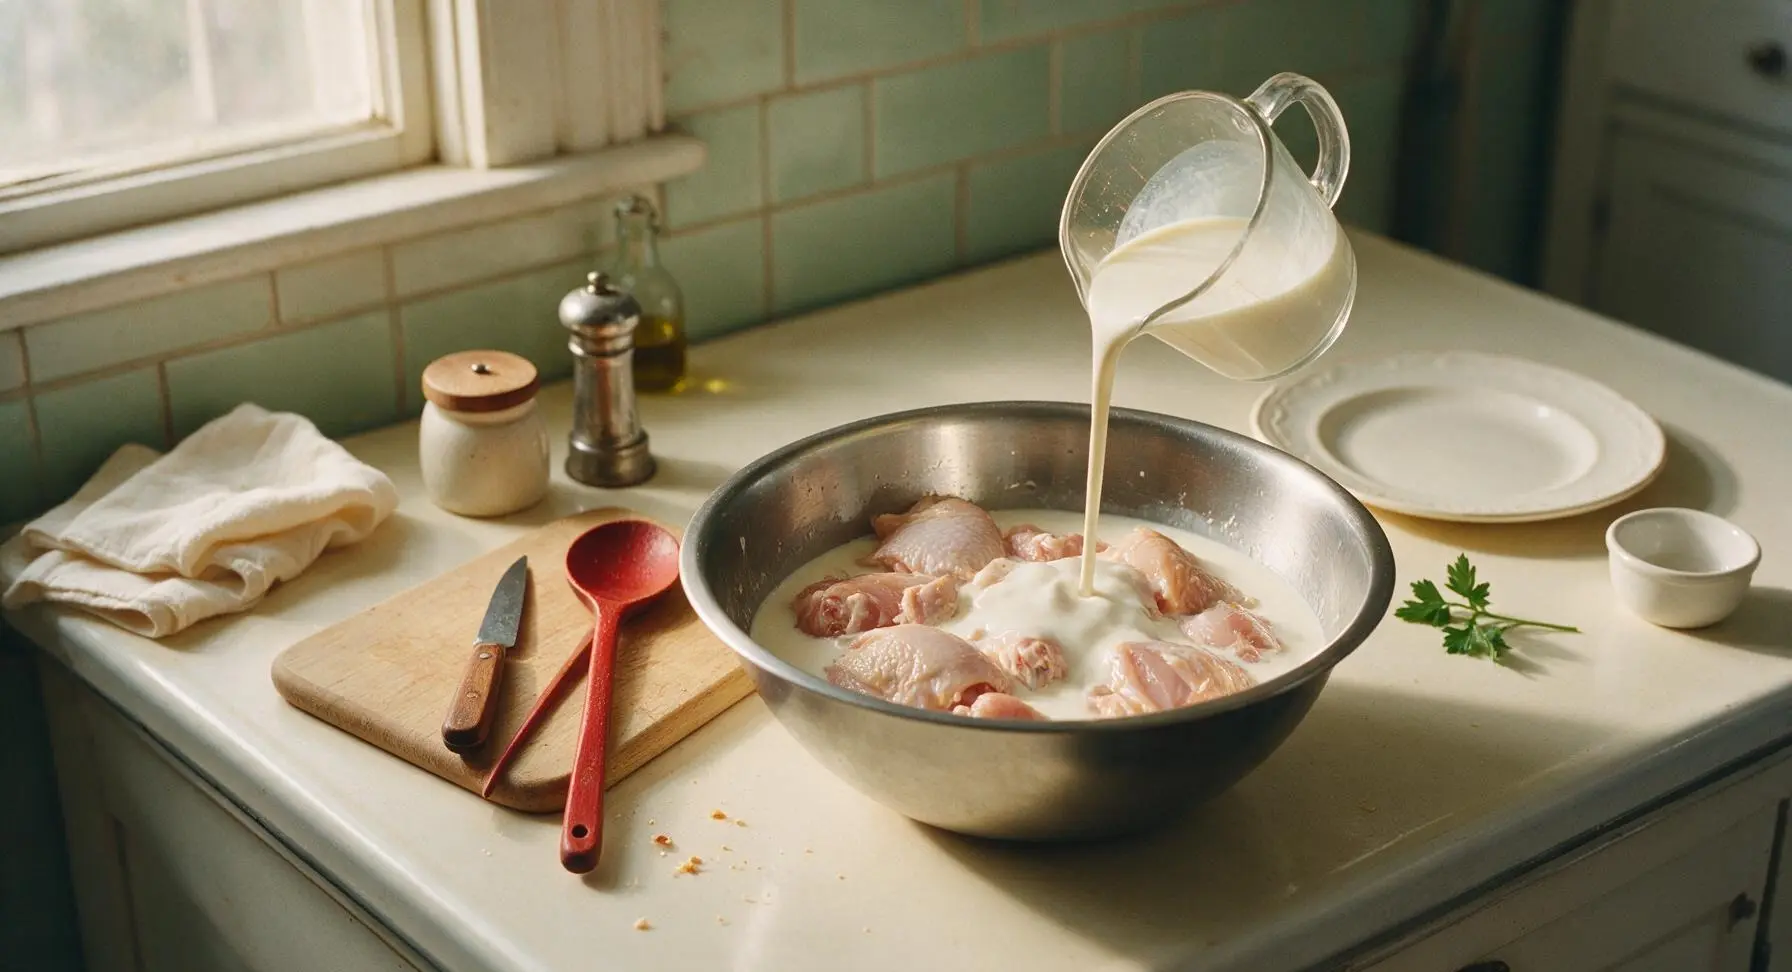
Pat chicken pieces dry with paper towels, then place them in the 2-quart brushed stainless steel mixing bowl. Pour 500ml full-fat buttermilk over the chicken, add 1 tbsp kosher salt and 1/2 tbsp freshly ground black pepper, stir to fully coat every piece. Cover the bowl and refrigerate for 8–12 hours (minimum 2 hours for a quick brine) to tenderize meat and lock in juiciness. Ensure all chicken pieces are fully submerged in the buttermilk mixture for even seasoning.
Set Up Breading Station
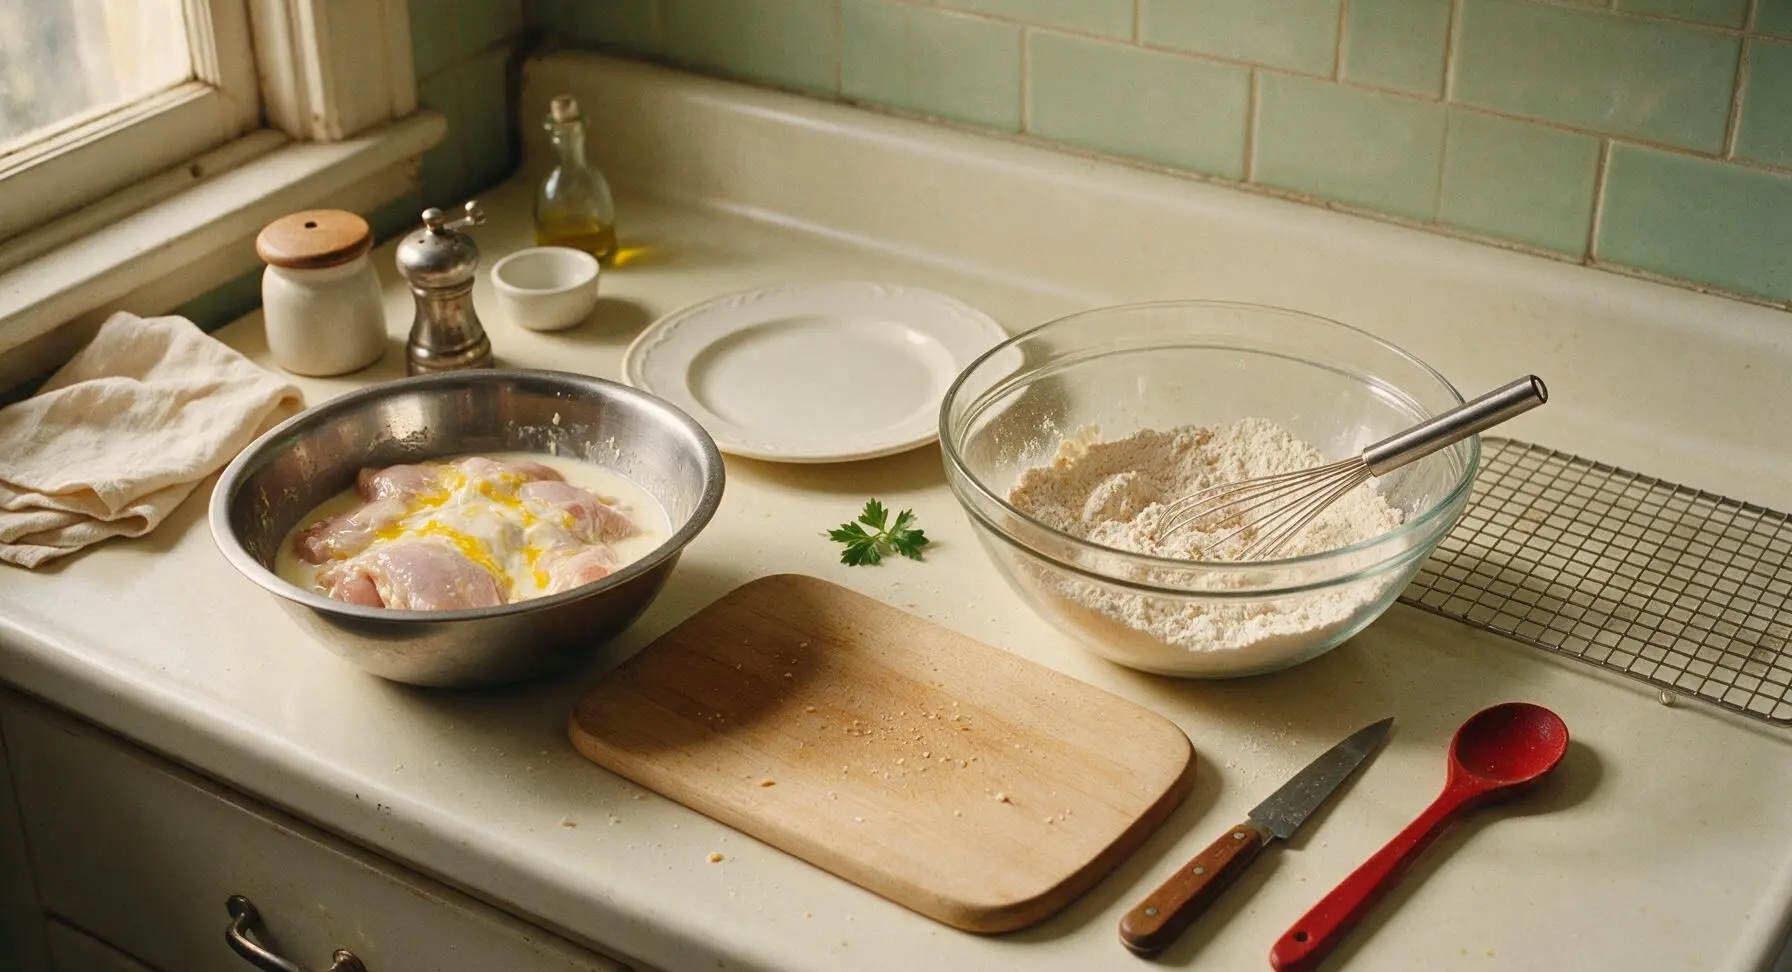
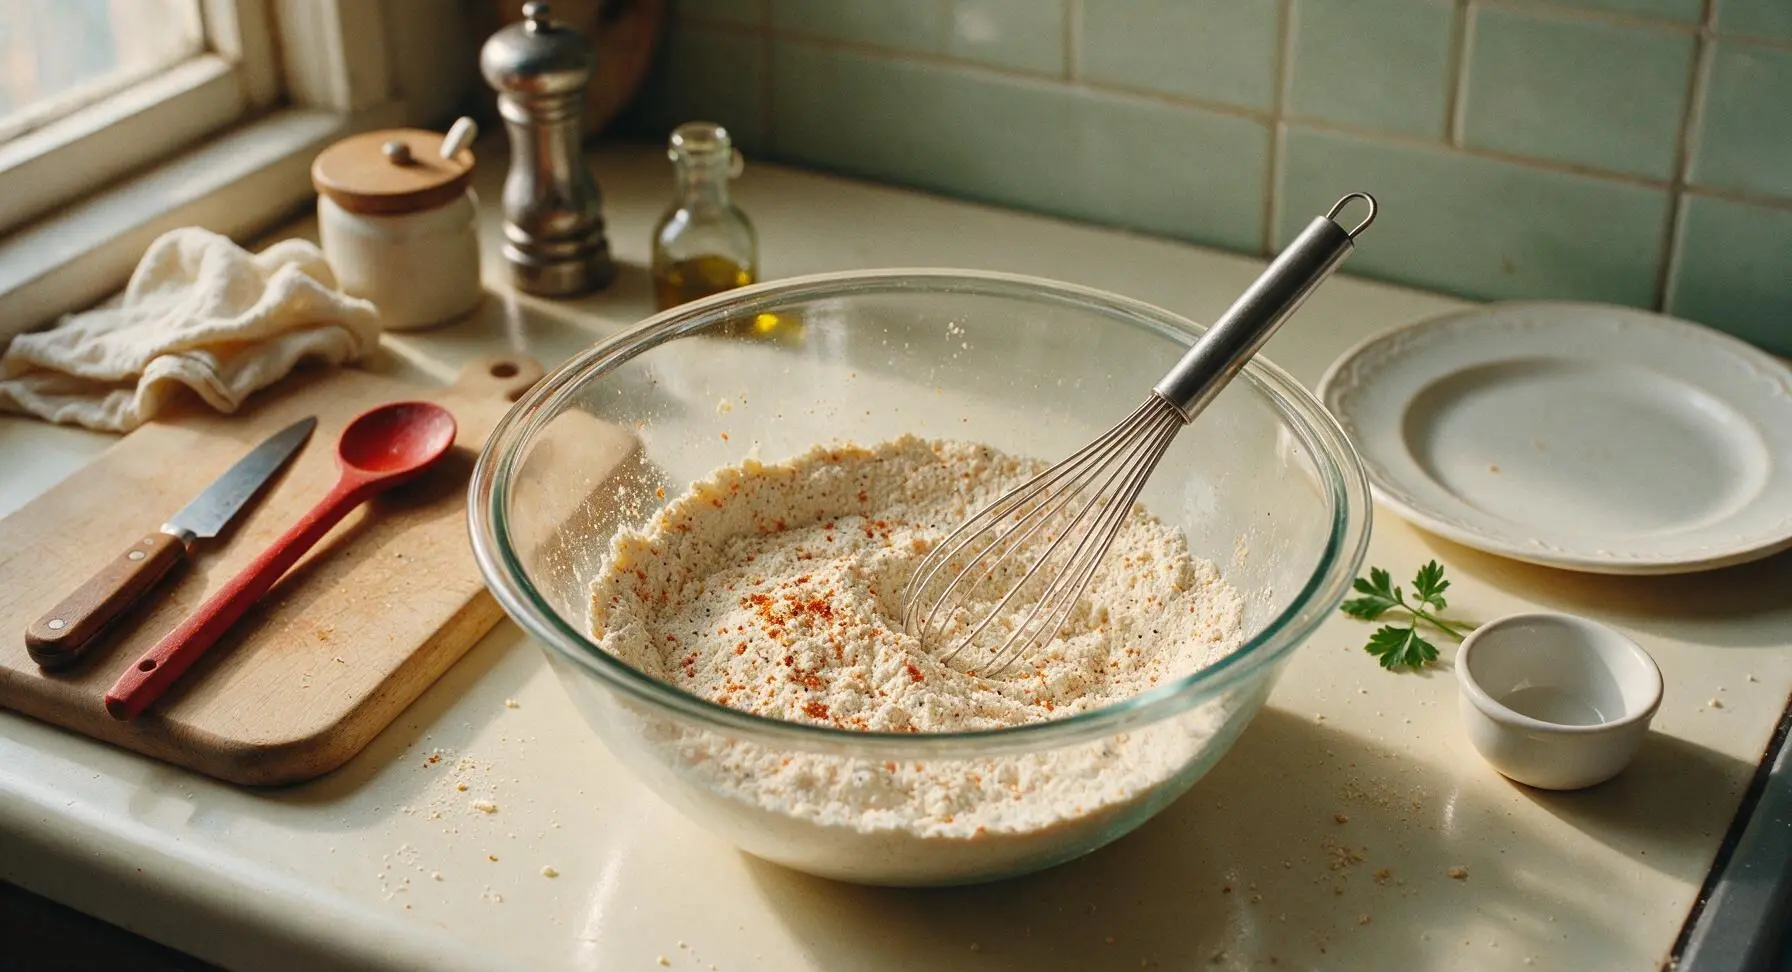
Remove brined chicken from the refrigerator and let it rest at room temperature for 30 minutes to prevent uneven cooking. In the 3-quart clear glass mixing bowl, whisk together 240g all-purpose flour, remaining 1 tbsp kosher salt, remaining 1/2 tbsp black pepper, smoked paprika, garlic powder, onion powder, and optional cayenne until fully combined. Crack the large egg into the stainless steel bowl with brined chicken and stir to coat every piece in the egg-buttermilk slurry. Arrange bowls in a left-to-right line: chicken bowl first, flour bowl second, with open space to the right for the cooling rack.
Coat Chicken in Breading
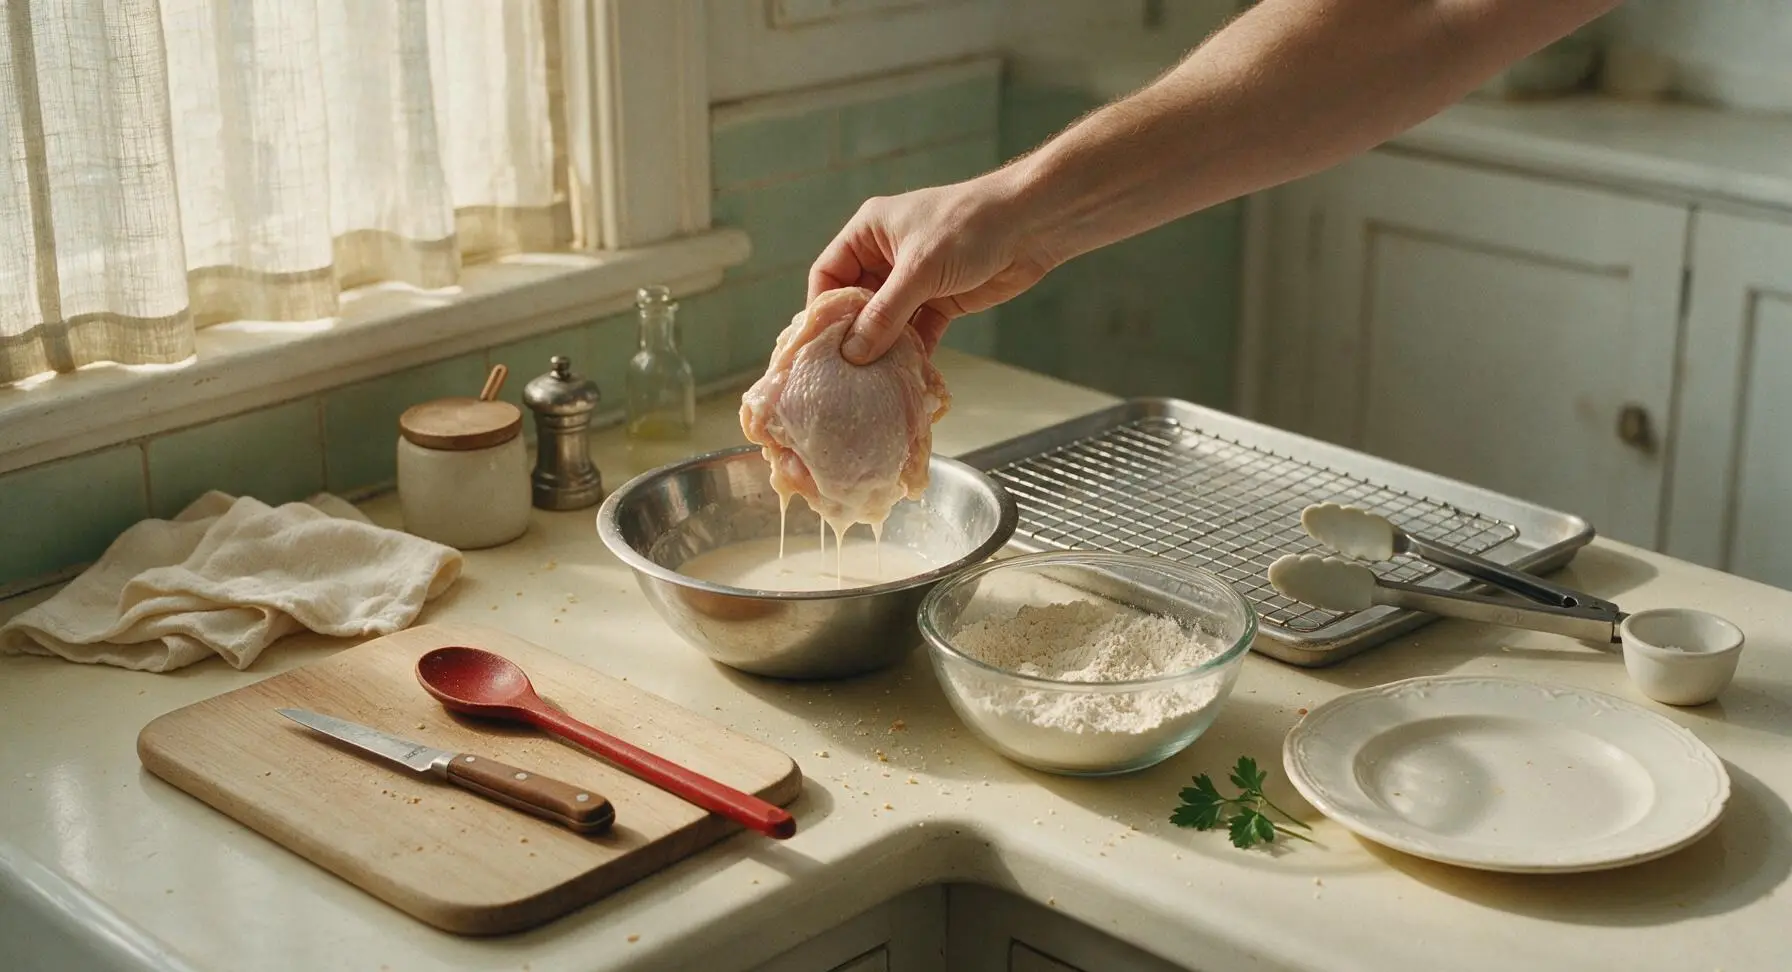
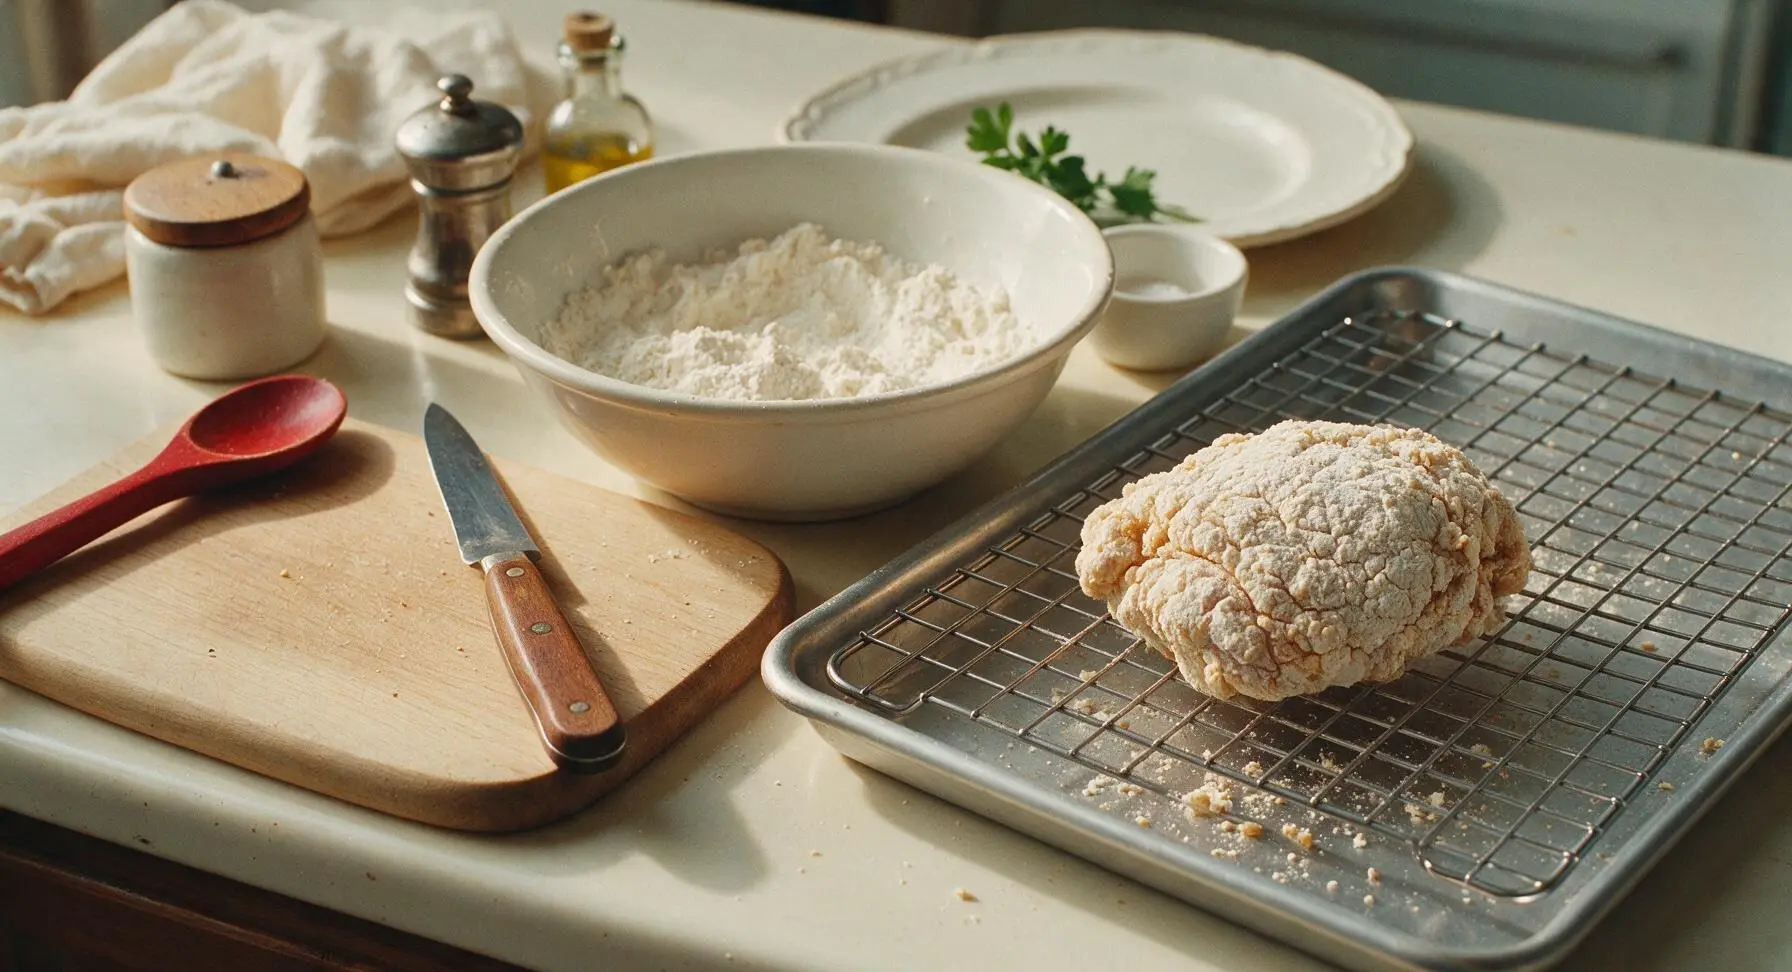
Working one piece at a time, lift chicken from the buttermilk-egg mixture, letting excess liquid drip off for 2 seconds. Drop each piece into the seasoned flour, press firmly to coat every surface including under skin flaps and joint crevices, then lift and shake off loose excess flour. Place coated pieces on the chrome wire cooling rack (set atop its aluminum baking sheet, now positioned to the right of the flour bowl) and let rest for 15 minutes at room temperature. The coating will look slightly matte and pasty when ready; this resting period ensures breading adheres during frying.
Heat Frying Oil
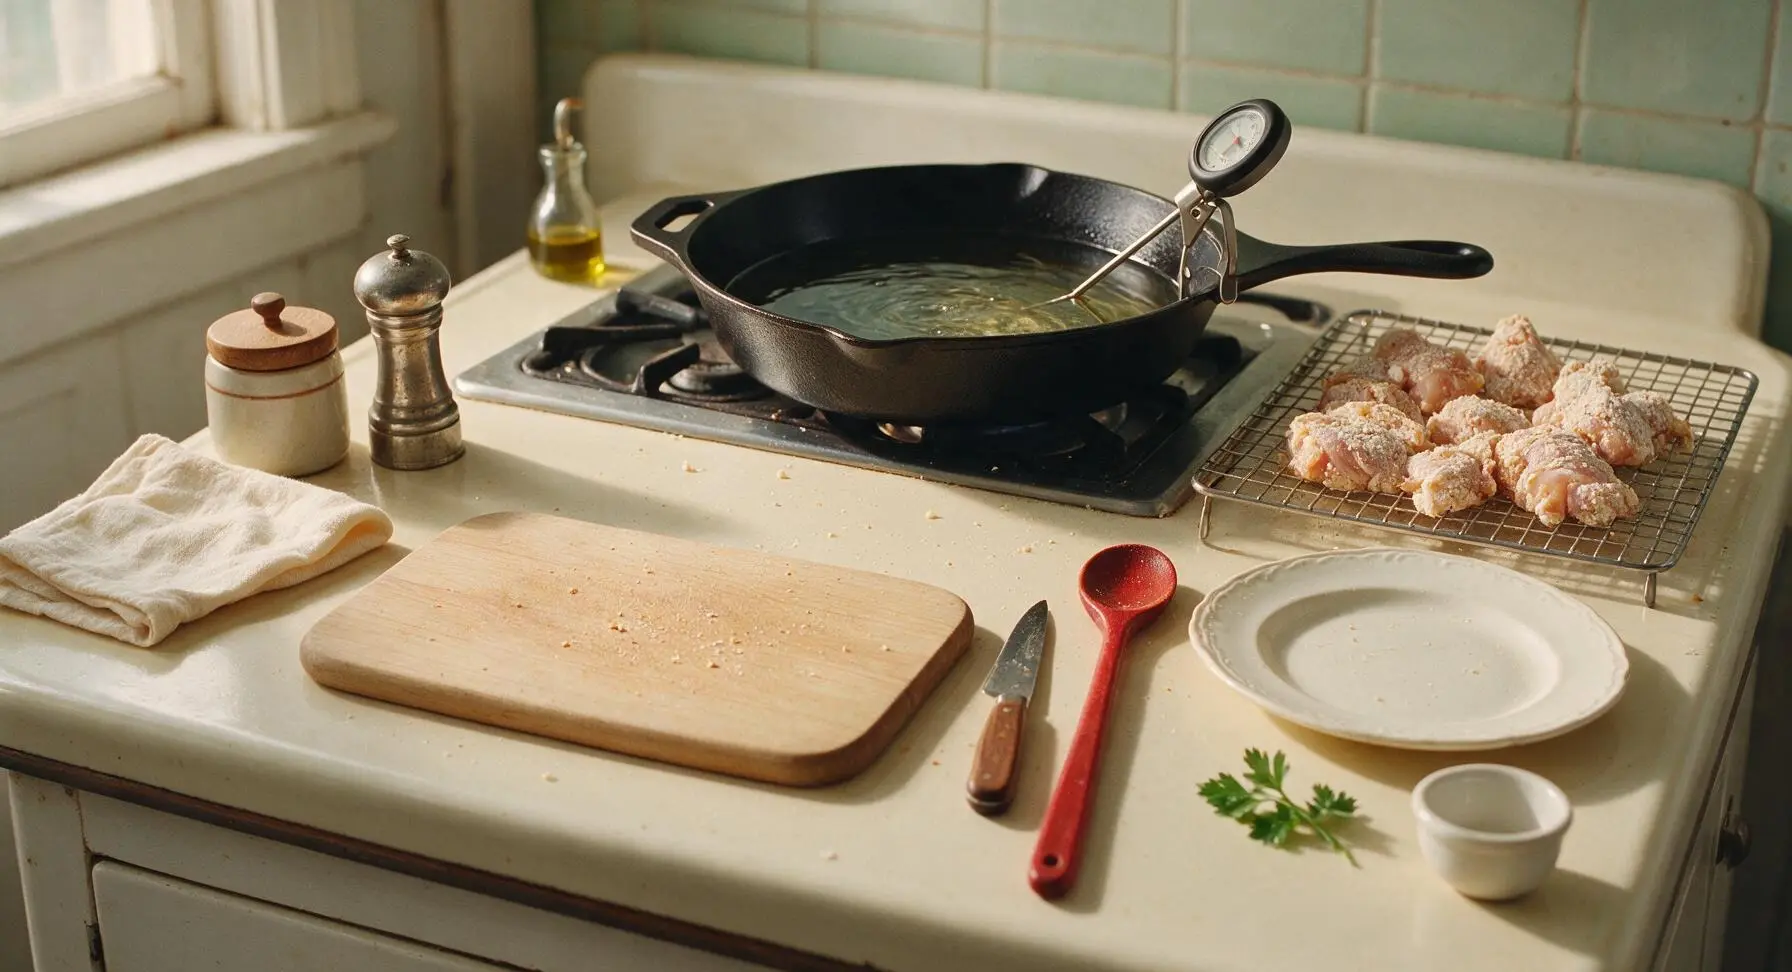
Place the 12-inch matte black cast iron skillet on the back-center stovetop burner behind the cutting board. Pour 1L neutral canola or peanut oil into the skillet until it reaches 1.5 inches up the pan sides. Heat oil over medium heat until it reaches a steady 175C (350F), measured with the digital instant-read thermometer now placed to the right of the glass mixing bowl. Do not let oil smoke; if temperature climbs above 185C (365F), reduce heat slightly and let cool 2 minutes before frying.
Fry Chicken in Batches
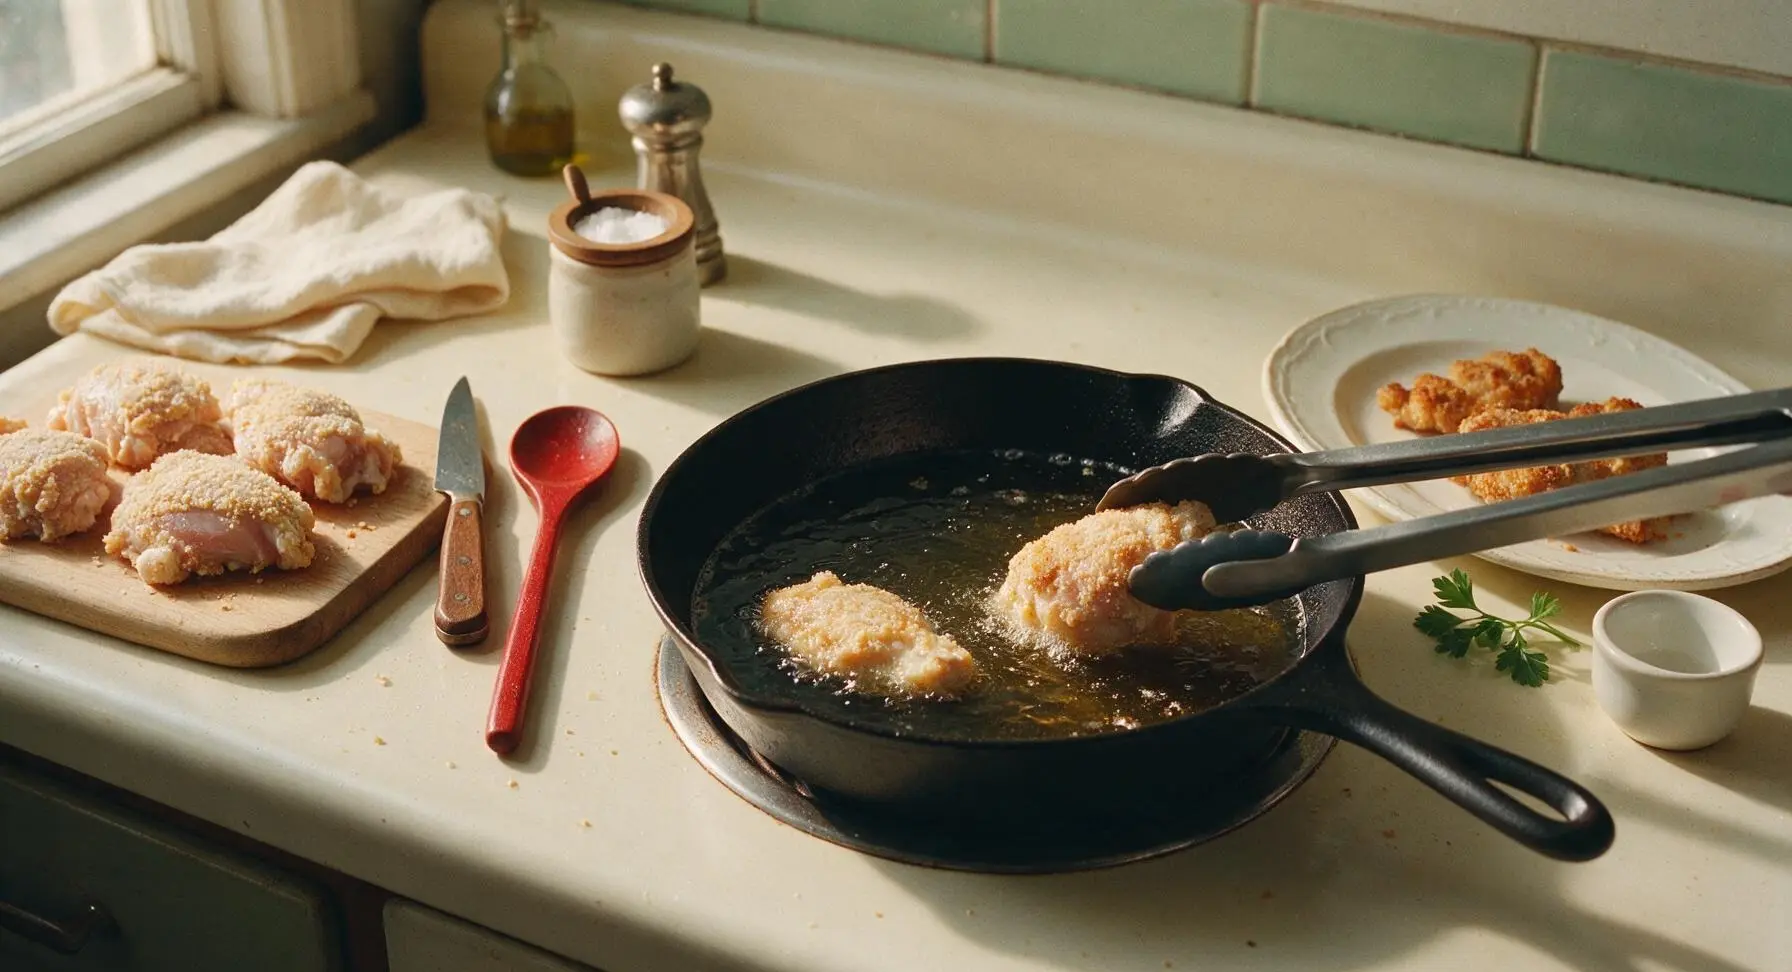
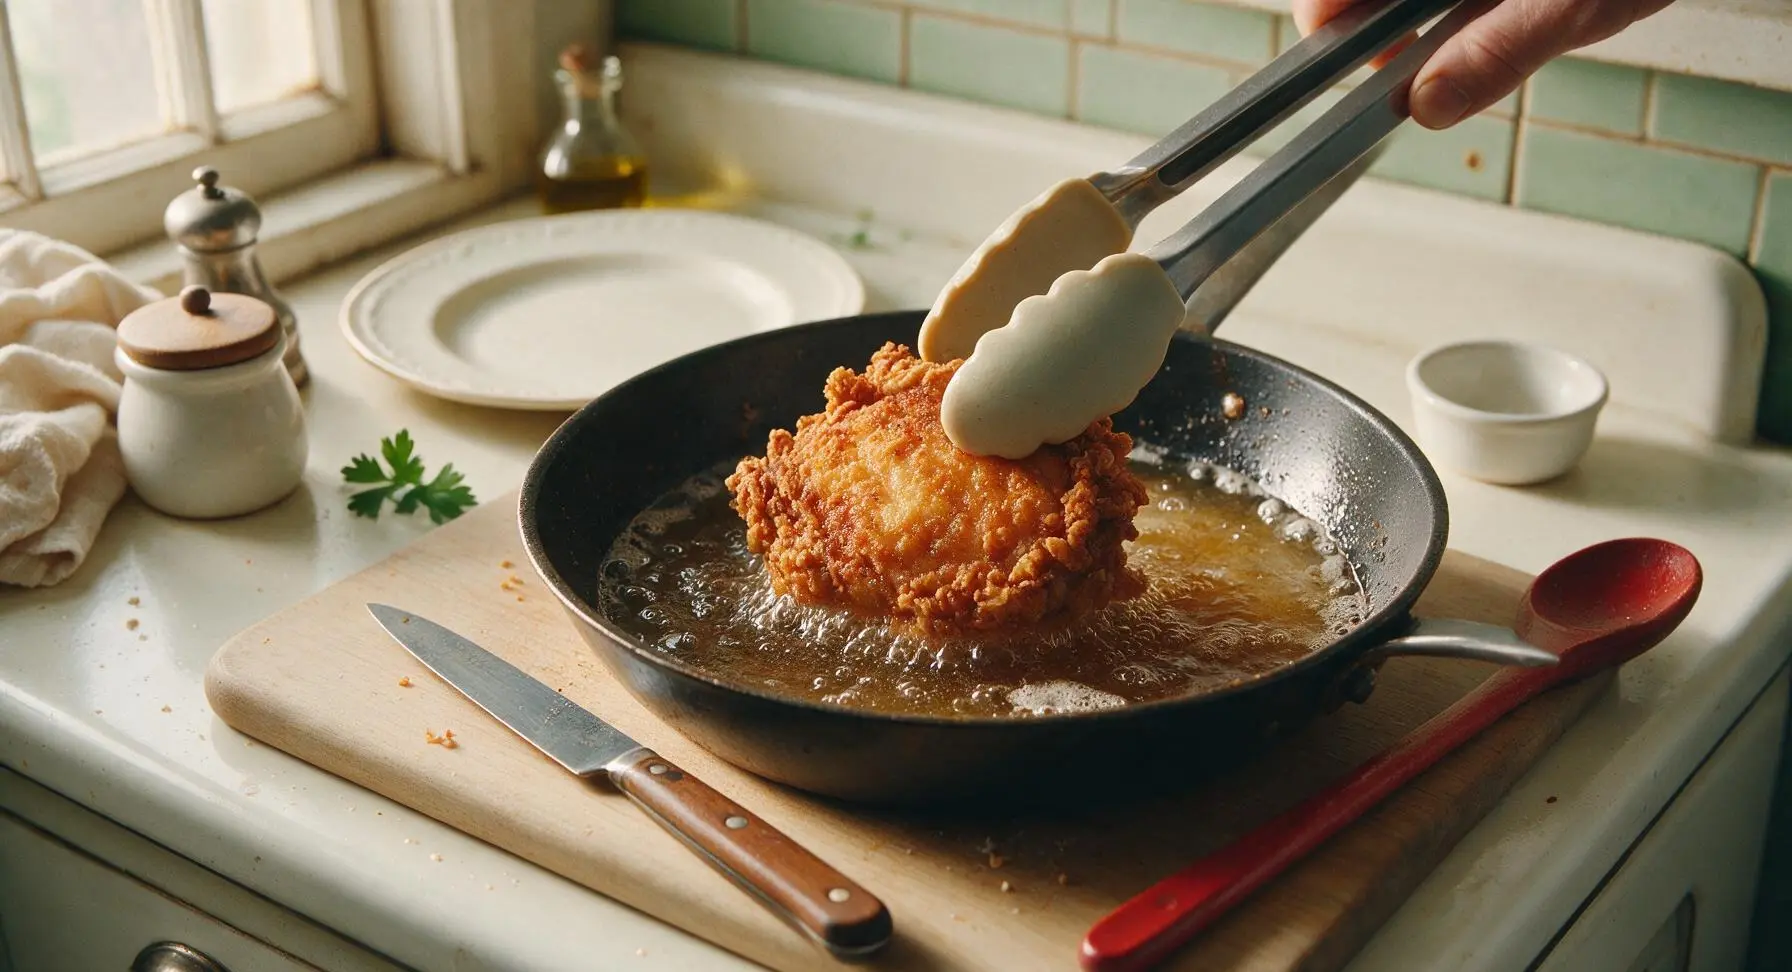
Using the silicone-tipped tongs, carefully lower 2–3 chicken pieces into the hot oil, skin-side down first. Do not overcrowd the pan, as this drops oil temperature and leads to soggy crust. Fry for 12–14 minutes total, turning every 3–4 minutes with tongs, until crust is deep golden brown and crisp, and internal chicken temperature reaches 75C (165F) at the thickest point (not touching bone). Adjust burner heat as needed to maintain a steady 165–175C (330–350F) oil temperature throughout frying.
Drain and Rest Chicken
Once each piece reaches correct internal temperature and golden crust, lift it from oil with tongs, letting excess oil drip back into the skillet for 2 seconds. Transfer fried chicken back to the chrome wire rack on the baking sheet. Sprinkle lightly with a pinch of extra flaky kosher salt while chicken is still hot, then let rest 5 minutes before serving. Do not drain chicken on paper towels, as trapped steam will soften the crisp crust.
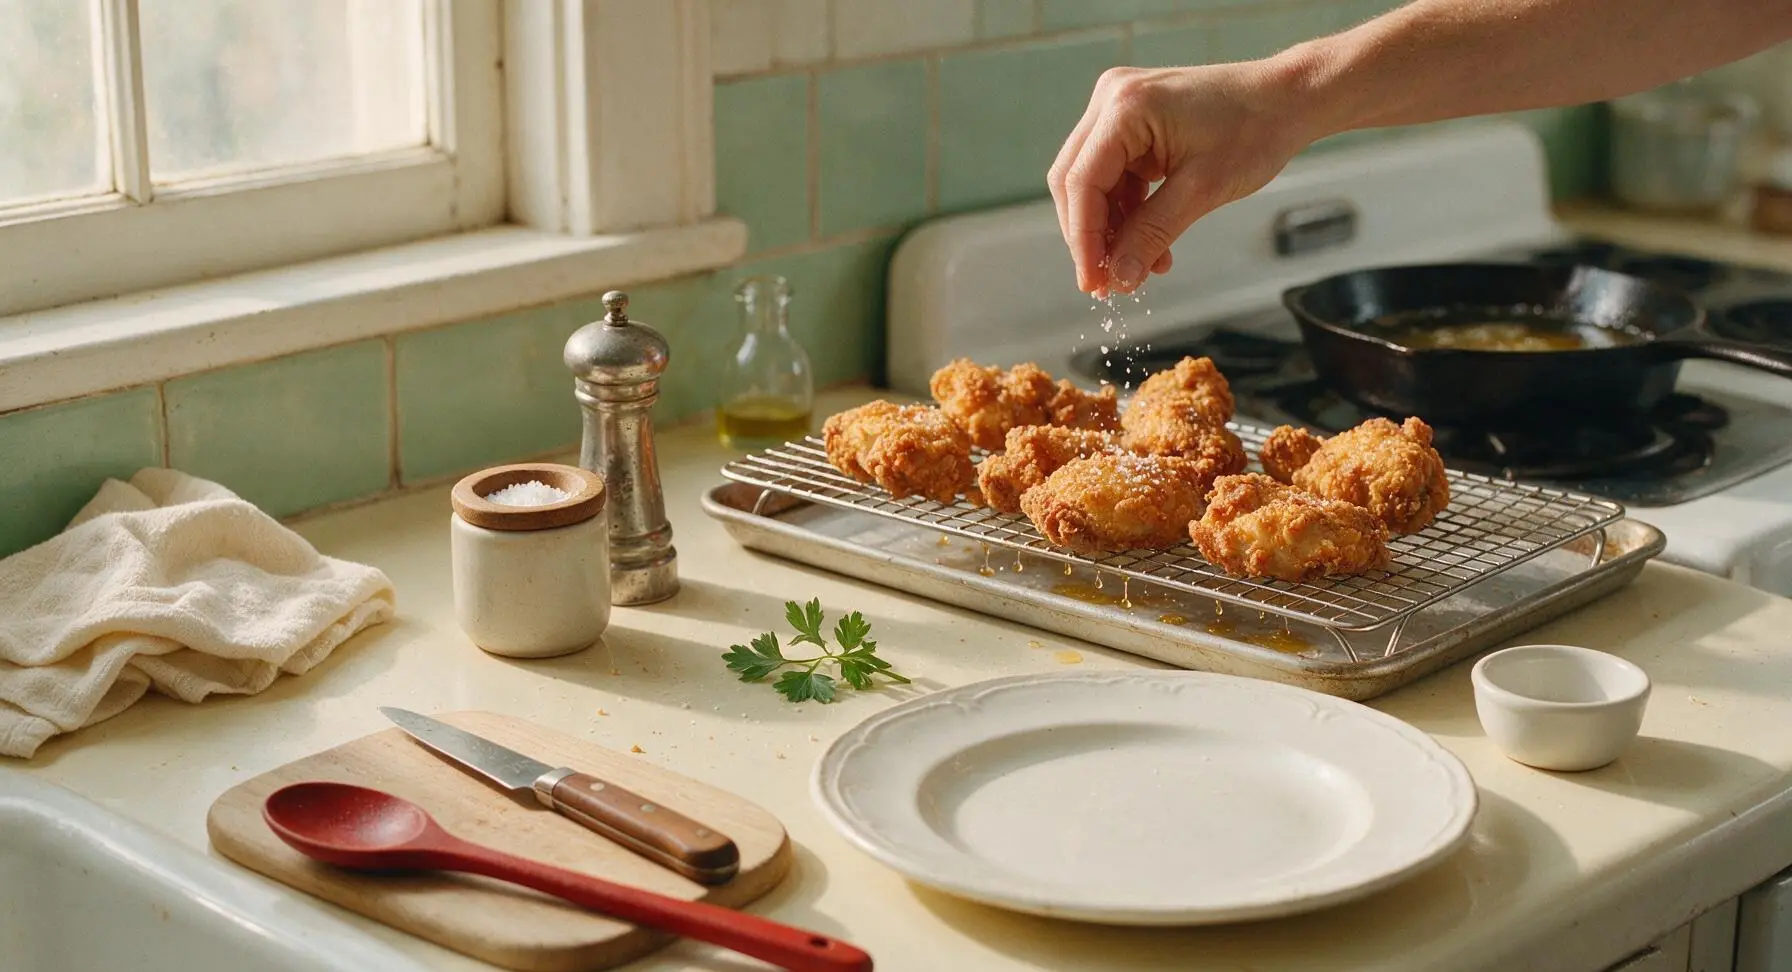
Plate and Serve
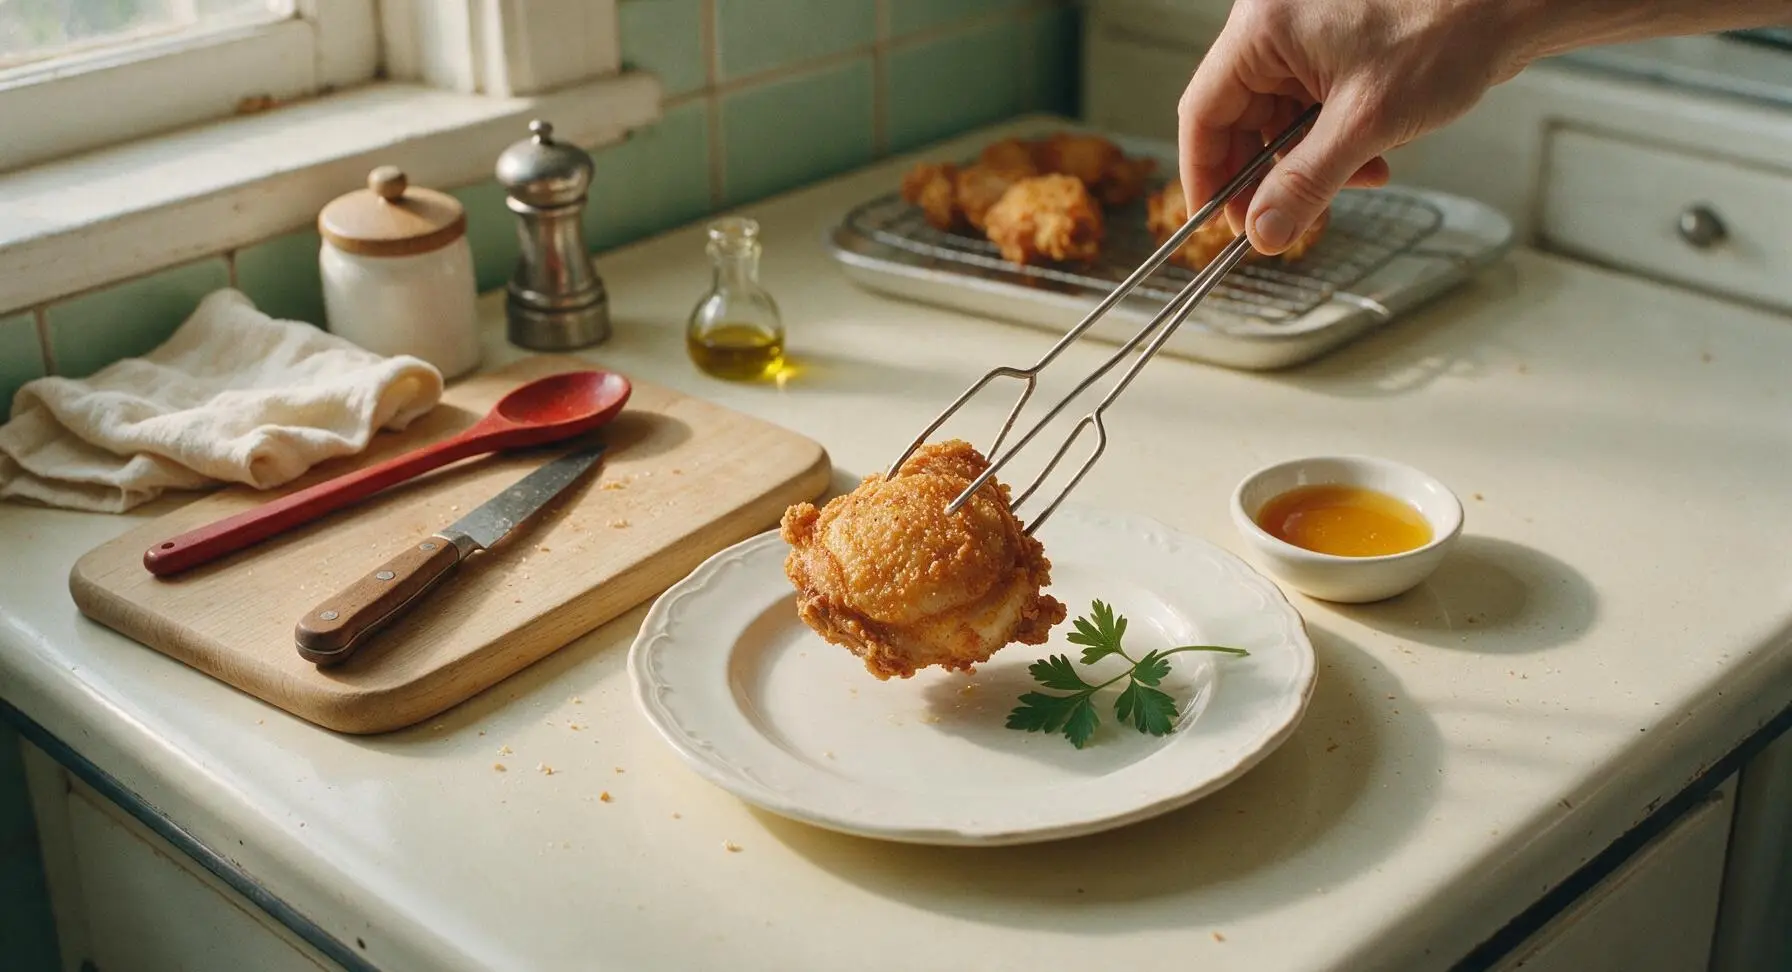
Arrange rested fried chicken pieces on the creamy off-white stoneware dinner plate in a casual slightly overlapping stack. Tuck a small sprig of fresh curly parsley at the plate edge for garnish, and pour optional hot honey into the small white ceramic ramekin set beside the plate. Let chicken rest 1 more minute after plating to let juices redistribute before serving.
Tips
2.Let breaded chicken rest for 15 minutes before frying: this gives the flour time to absorb moisture from the buttermilk slurry and form a sticky, adherent paste that will not slide off the chicken during frying, creating that signature shaggy, crisp crust.
3.Skip paper towels for draining: trapping hot chicken between paper towels creates steam that softens the crisp crust in minutes. An elevated wire rack allows air to circulate around every piece, keeping the crust crisp while the chicken rests.






OMG y’all, this fried chicken was the star of our Sunday family dinner! The crust was perfectly crispy, not too greasy, and the meat was so juicy it dripped down my wrist when I took a bite. My kids loved it, they went back for seconds before I even sat down, and my husband asked if we can have this every other week. Total game changer, I’ll never buy that grocery store pre-made fried chicken again!
Made this for my neighborhood block party potluck last weekend and people were hounding me for the recipe all night! Only thing I adjusted was adding a tiny extra pinch of cayenne for a little kick, and it was chef’s kiss. Cook time was right at 35 minutes like the recipe said, no guesswork. SO good, even my picky teen cousin ate three pieces. Quick question though—can I prep the seasoned flour the night before to save time for meal prep next week?
Okay, I’ve always been intimidated to make fried chicken at home because I thought it’d be too hard (that medium difficulty label had me nervous ngl!), but this recipe walked me through every step so clearly. My first batch turned out mostly great, but my crust came out a little soggier than the photos looked—did I maybe have my oil temp too low? I didn’t have a thermometer so I guessed, oops.
Wow, this is hands down the best southern fried chicken recipe I’ve ever tried! I made a big batch on Sunday for meal prep, and even reheated in the air fryer, the crust stayed crispy all week for my work lunches. I used boneless thighs instead of bone-in because that’s what I had in the fridge, and it still turned out incredible. 10/10, will be making this monthly for sure!