
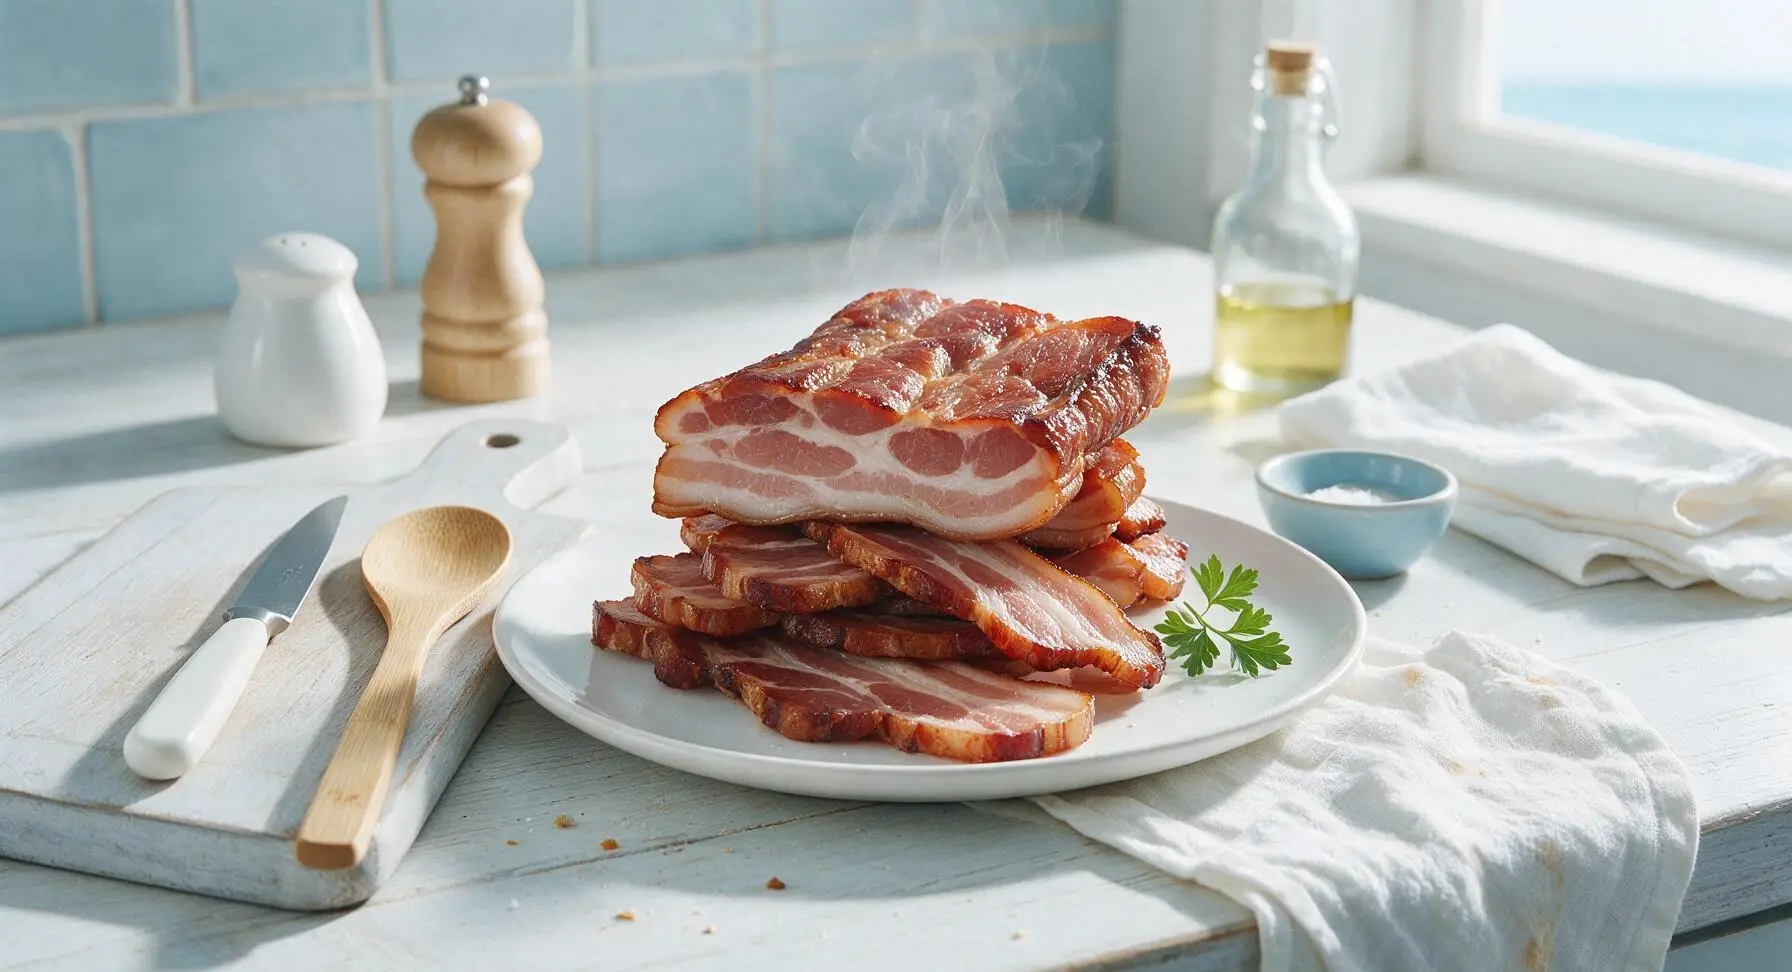
homemade bacon cure

title 1
homemade bacon cure
⏱️ cook time 2 hours
🍽️ servings 12
⚡ Difficulty medium

intro

This simple, no-nonsense dry cure creates rich, deeply flavored homemade bacon—far better than store-bought, with perfect salty-sweet balance and no artificial preservatives.

Ingredients

Boneless skin-on pork belly 1.5kg (3.3 lbs)
Non-iodized kosher salt 1/3 cup
Packed dark brown sugar 1/4 cup
Pink curing salt #1 (sodium nitrite blend) 3/4 teaspoon
Coarsely ground black pepper 2 tablespoons
Smoked paprika 1 tablespoon
Garlic powder 1 teaspoon
Fresh thyme leaves 1 tablespoon, picked

Steps

1

Trim Pork Belly Slab

Place the 1.5kg skin-on boneless pork belly on the center of the end-grain maple cutting board. Use the stainless steel boning knife to trim any ragged edges, loose fat, or leftover connective tissue from the meat side, leaving an even 1/2-inch thick fat cap across the slab. Pat the entire surface completely dry with a corner of the indigo cotton kitchen towel. The slab should sit completely flat with no uneven bulges that would prevent even cure coverage.
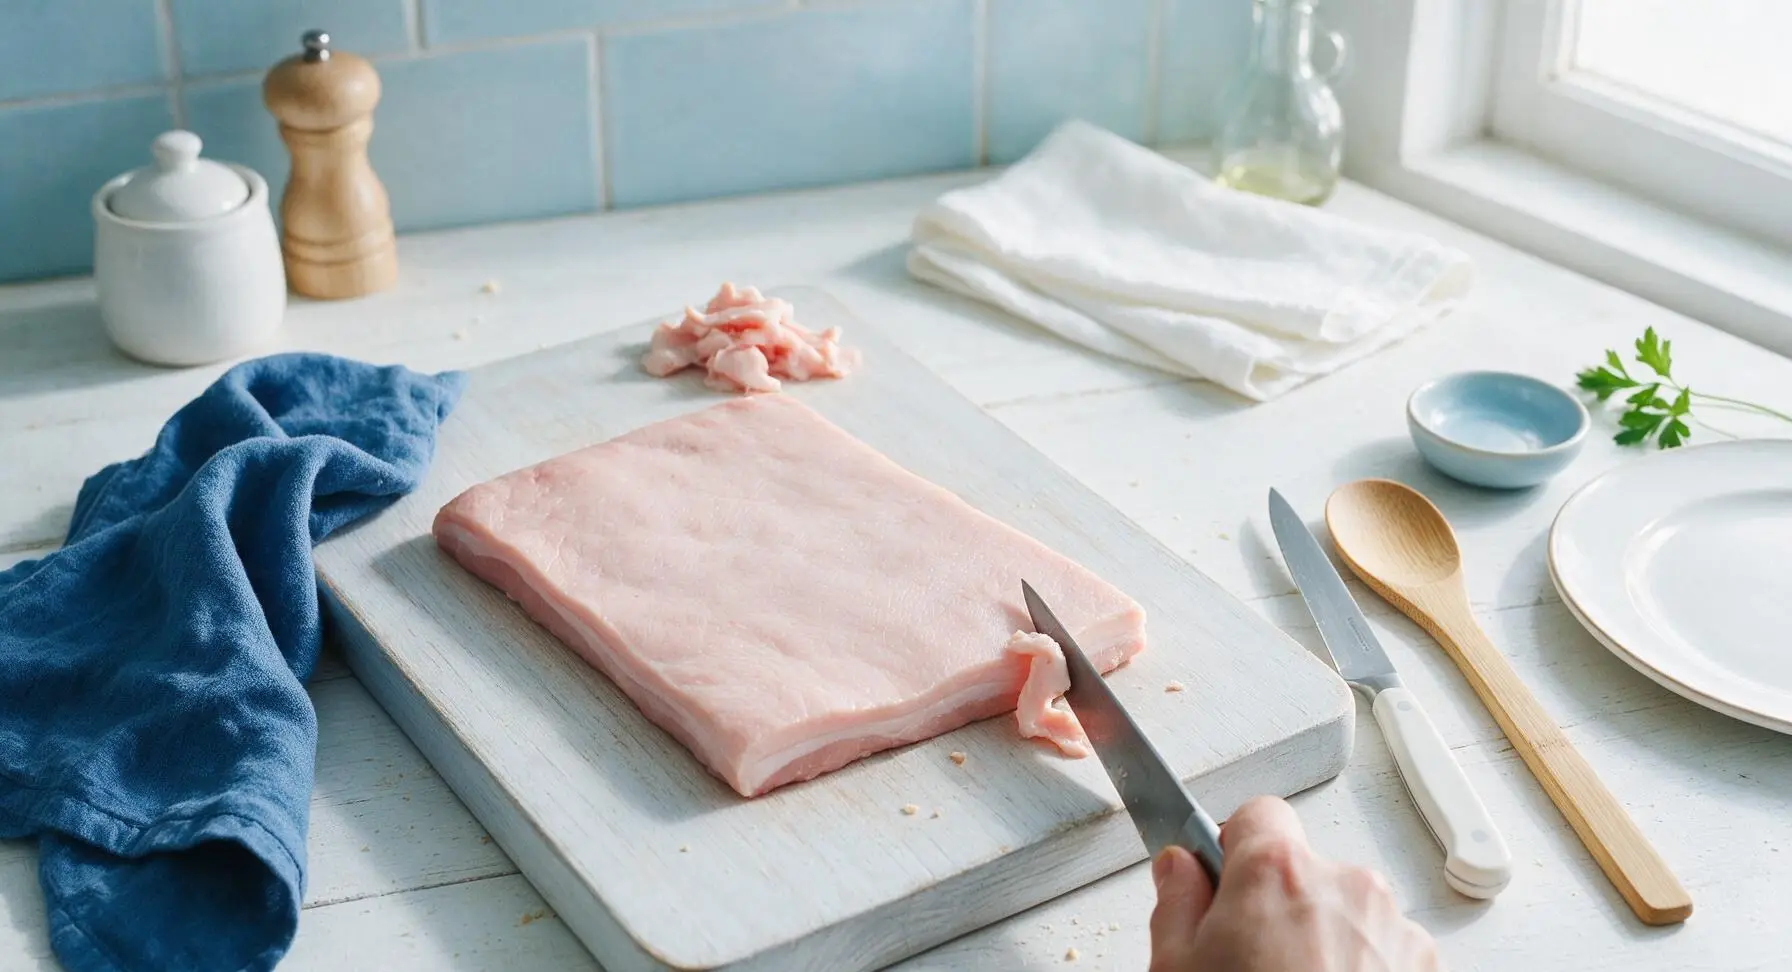
Step 1
step1:Trim Pork Belly Slab
2

Mix Dry Cure Blend

In one of the small matte white ceramic mixing bowls, combine 1/3 cup non-iodized kosher salt, 1/4 cup packed dark brown sugar, 3/4 teaspoon pink curing salt #1, 2 tablespoons coarsely ground black pepper, 1 tablespoon smoked paprika, 1 teaspoon garlic powder, and 1 tablespoon picked fresh thyme leaves. Stir thoroughly until all ingredients are evenly distributed, breaking up any clumps of brown sugar, so there are no concentrated patches of pink curing salt visible.
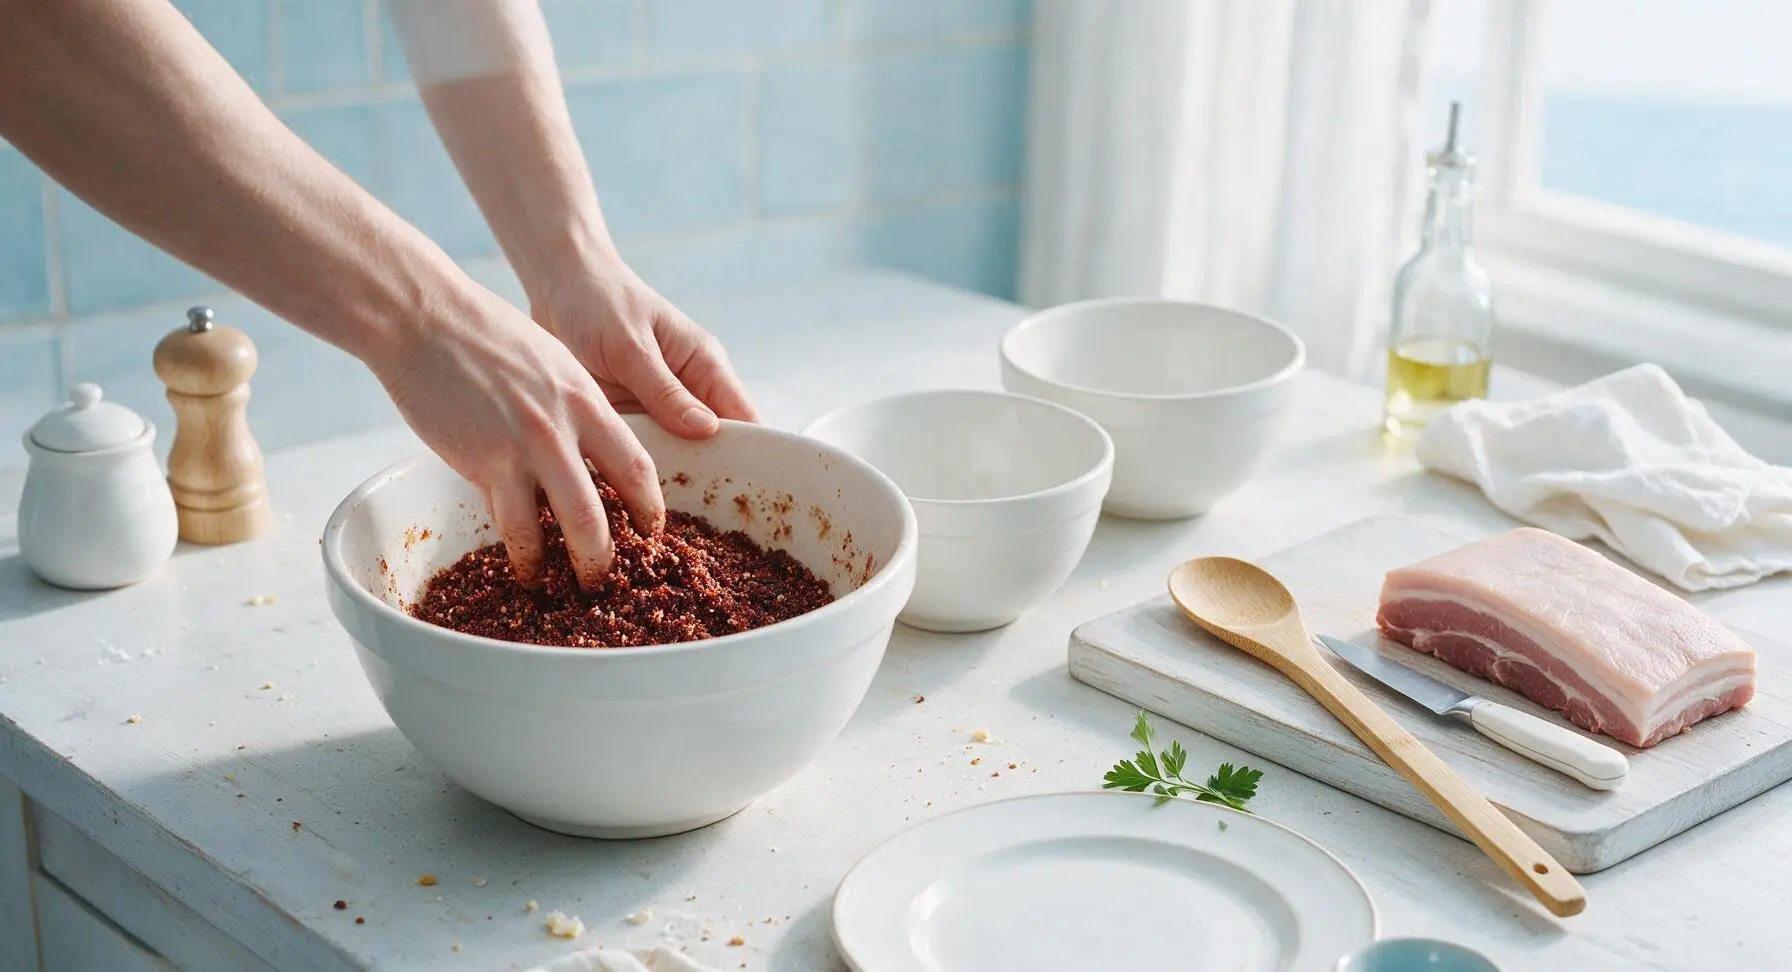
Step 2
step2:Mix Dry Cure Blend
3

Apply Cure Evenly

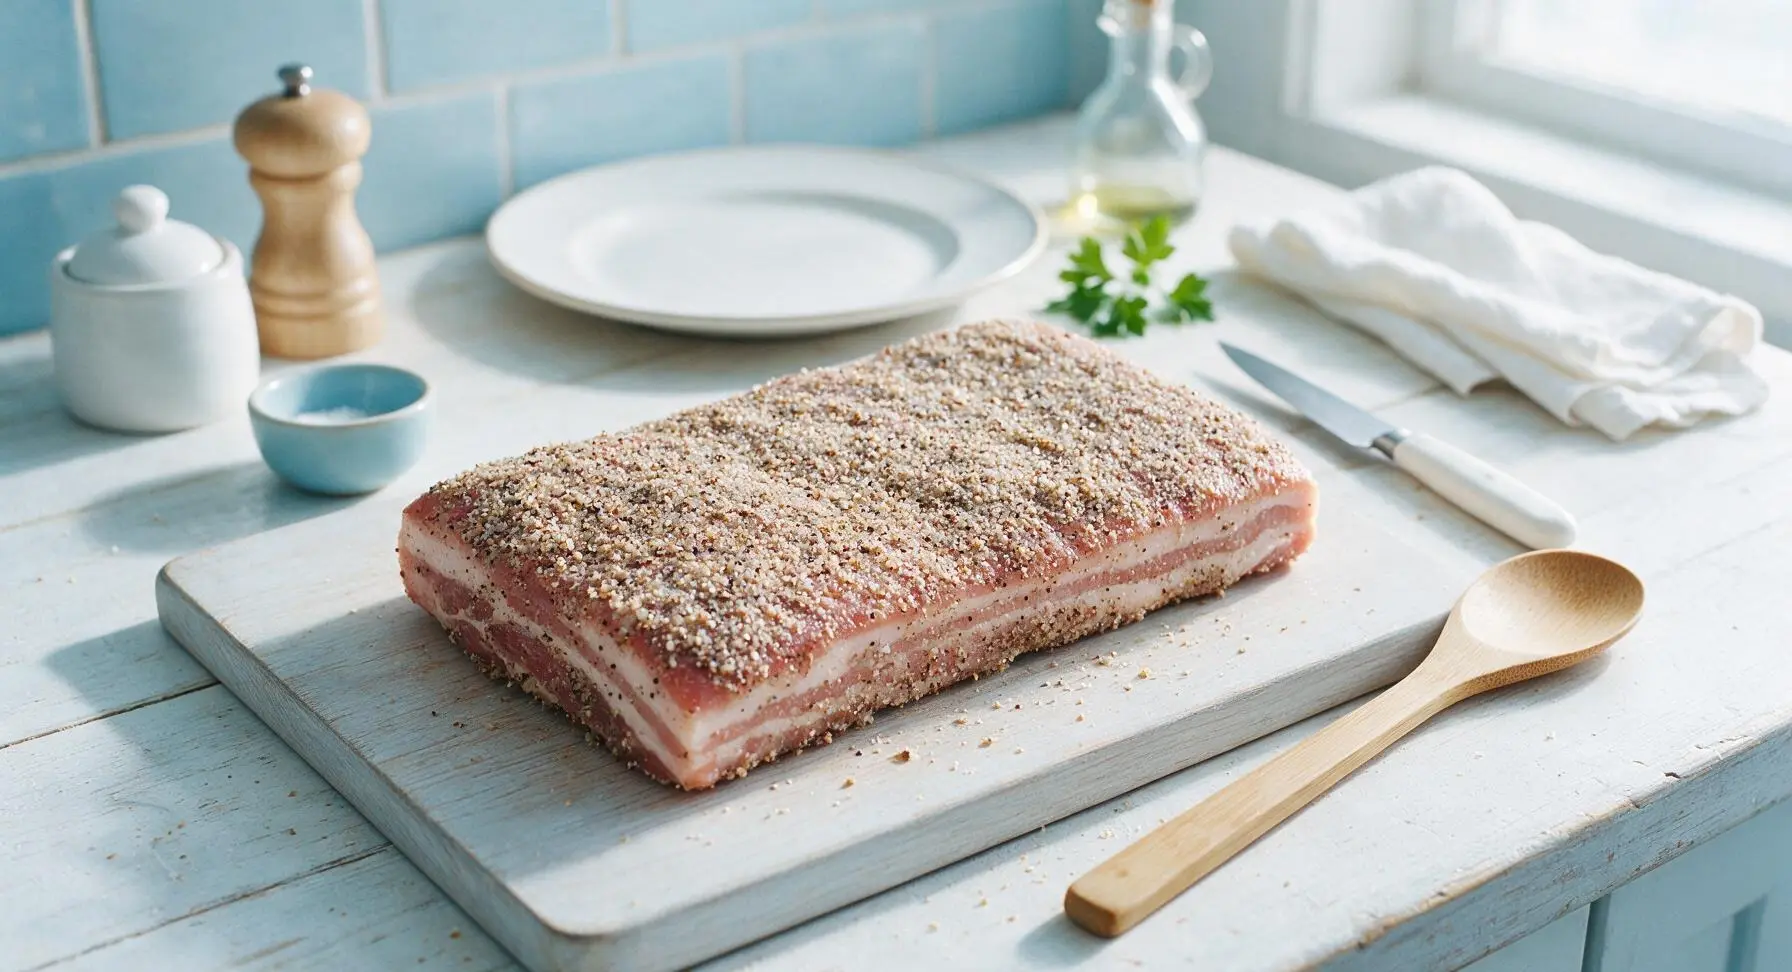
Sprinkle half of the dry cure mix evenly across the meat side of the pork belly, pressing gently to help the spices adhere to the moist surface. Flip the slab over, then rub the remaining half of the cure across the skin side and all four cut edges of the pork belly. Ensure every inch of the surface is coated, with no bare pink meat or white fat visible.
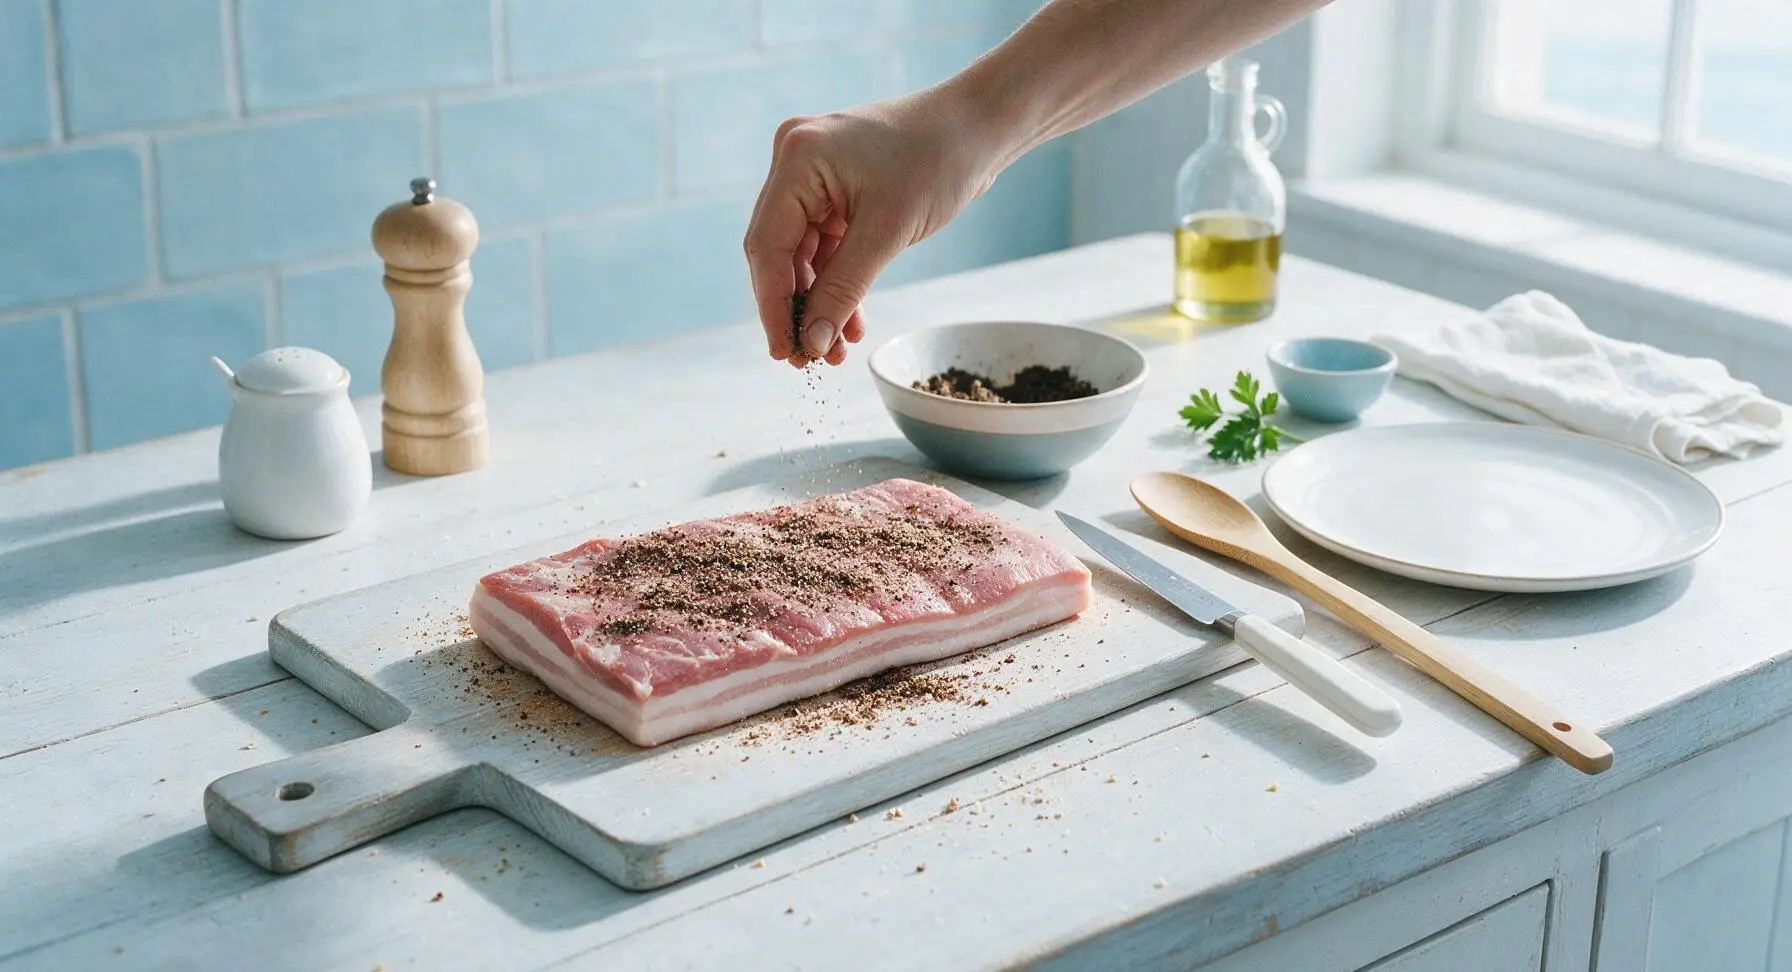
Step 3
step3:Apply Cure Evenly
Step 3
step3:Apply Cure Evenly
4

Seal For Curing

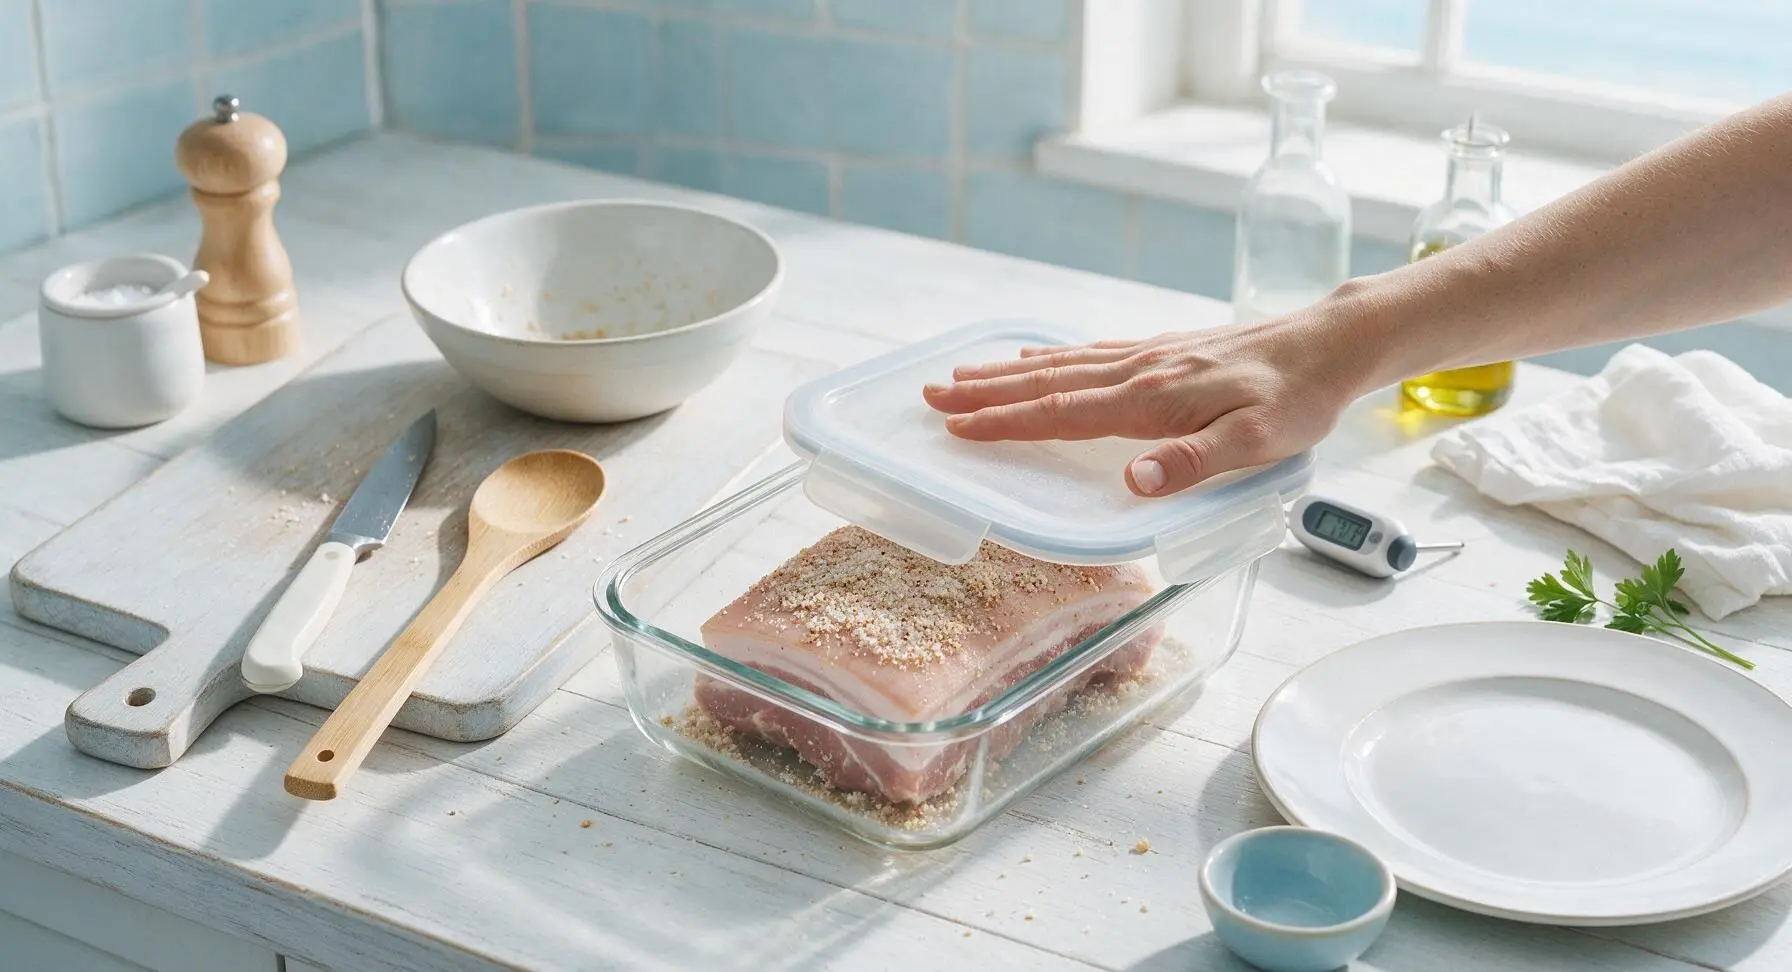
Transfer the fully cure-coated pork belly to the clear 2L glass food storage container, arranging it skin-side up. Press the airtight lid firmly onto the container to create a tight seal. Transfer the container to a refrigerator set to 38°F (3°C) to cure for 7 full days, flipping the belly every 2 days to redistribute the briny liquid that leaches out of the meat as the cure penetrates.
Step 4
step4:Seal For Curing
5

Rinse And Dry Belly

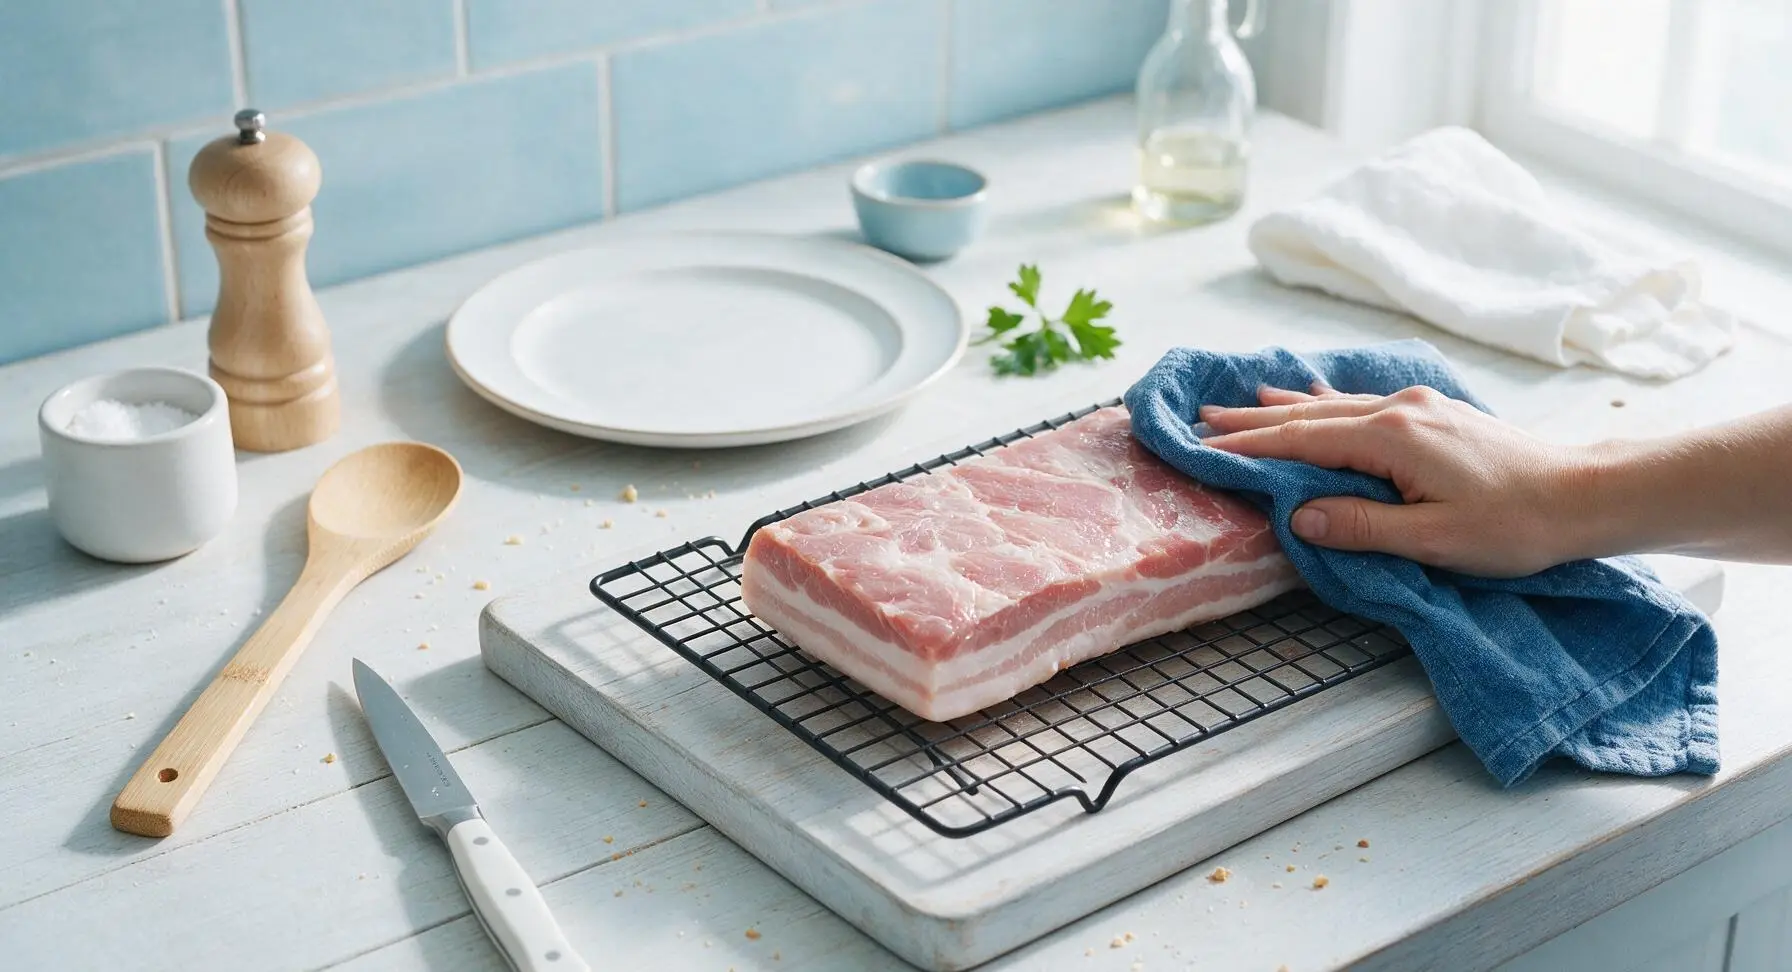
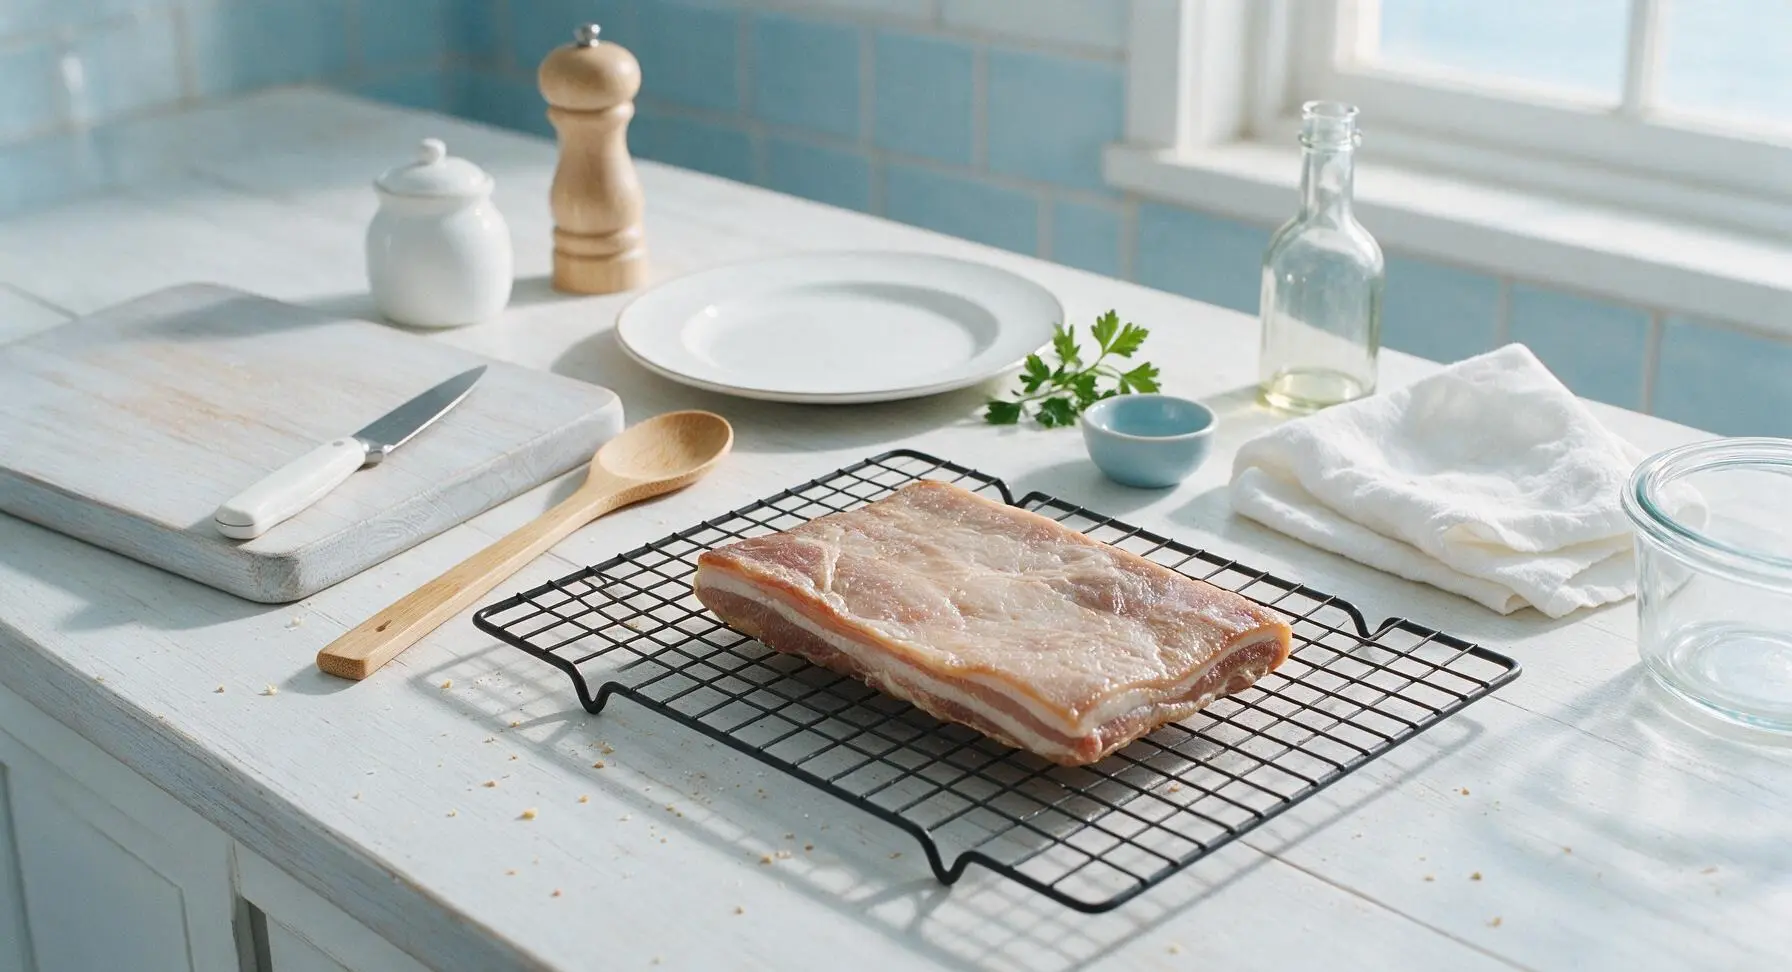
After 7 full days of curing, remove the pork belly from the refrigerator. Pour off any accumulated briny liquid from the storage container, then rinse the entire slab under cold running water to wash away all surface cure granules. Pat the belly completely dry with a clean section of the indigo cotton kitchen towel, then set it on the matte black wire cooling rack (pulled from under-counter storage for the drying step). Return the rack with the belly to the refrigerator, uncovered, for 12 to 24 hours until the entire surface feels dry and slightly tacky to the touch; this tacky layer (called a pellicle) ensures even browning and flavor adhesion during cooking.
Step 5
step5:Rinse And Dry Belly
Step 5
step5:Rinse And Dry Belly
6

Slow Cook Bacon Slab

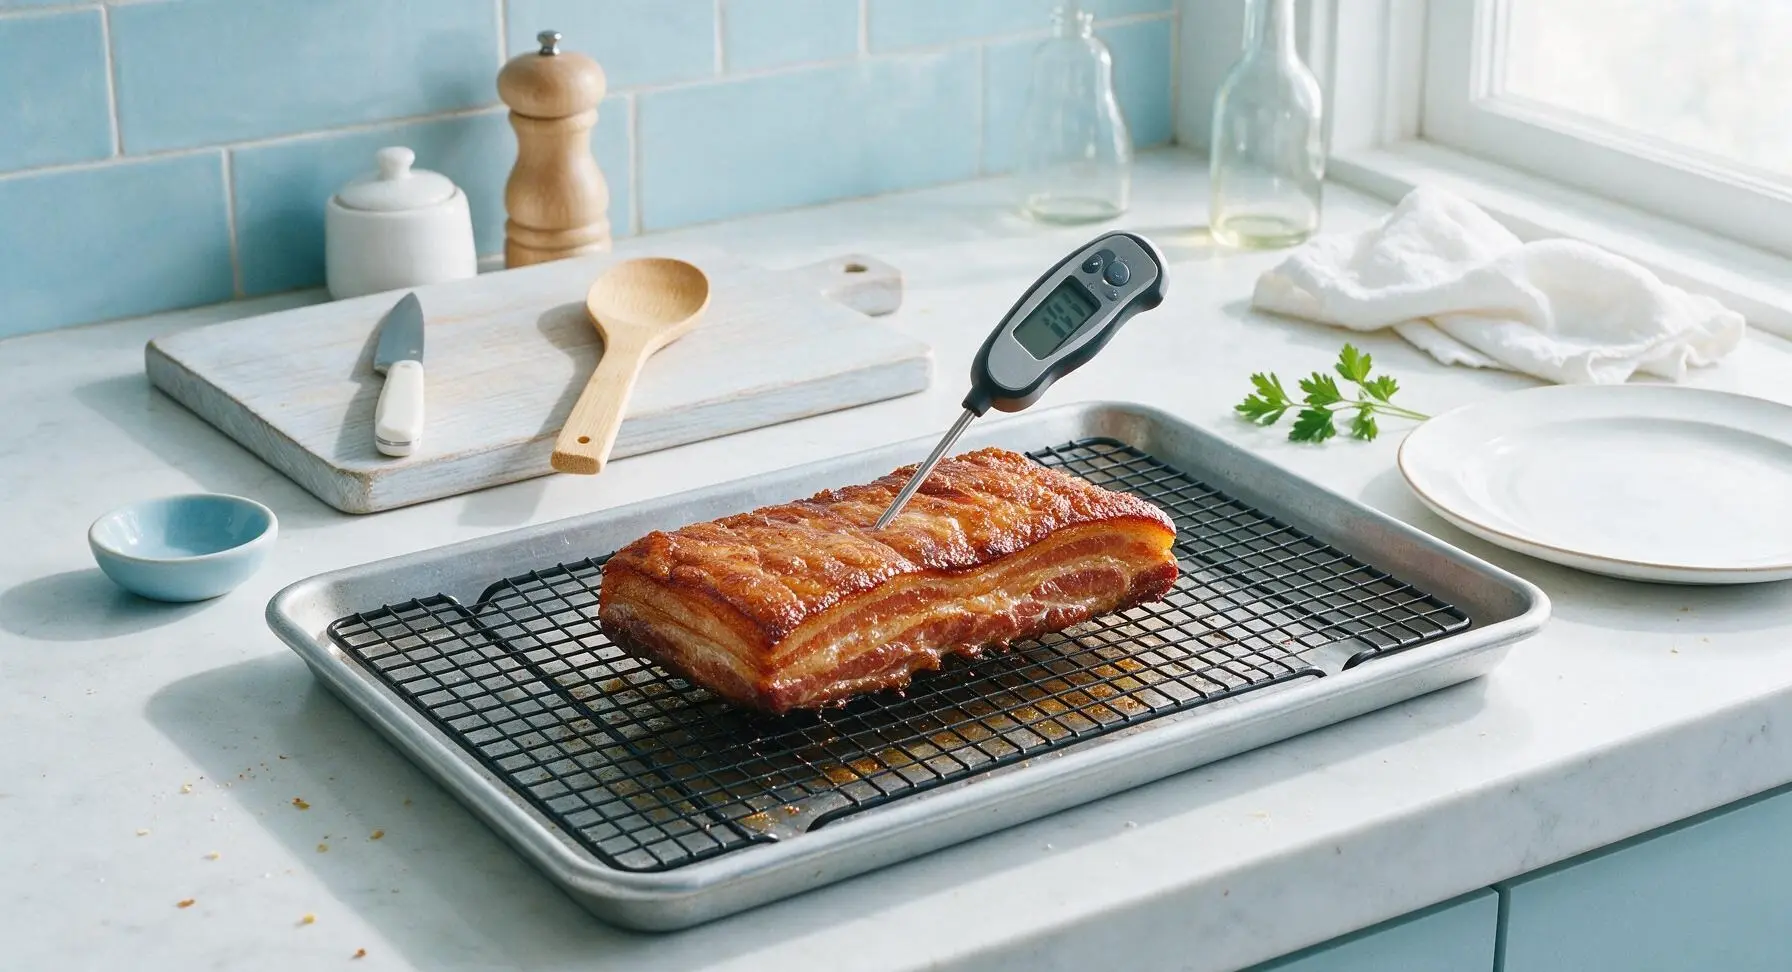
Preheat your oven (or smoker, for deeper wood-fired flavor) to 200°F (93°C). Place the dried pork belly skin-side up on the wire cooling rack set atop the matte aluminum rimmed baking sheet (pulled from under-counter storage for cooking), then cook until the internal temperature reaches 150°F (66°C) when measured with the digital instant-read meat thermometer, approximately 2 hours. For oven-cooked bacon, add 1 tablespoon of liquid smoke to the baking sheet below the rack if you want classic smoky bacon flavor without a smoker.
Step 6
step6:Slow Cook Bacon Slab
7

Rest And Slice Bacon

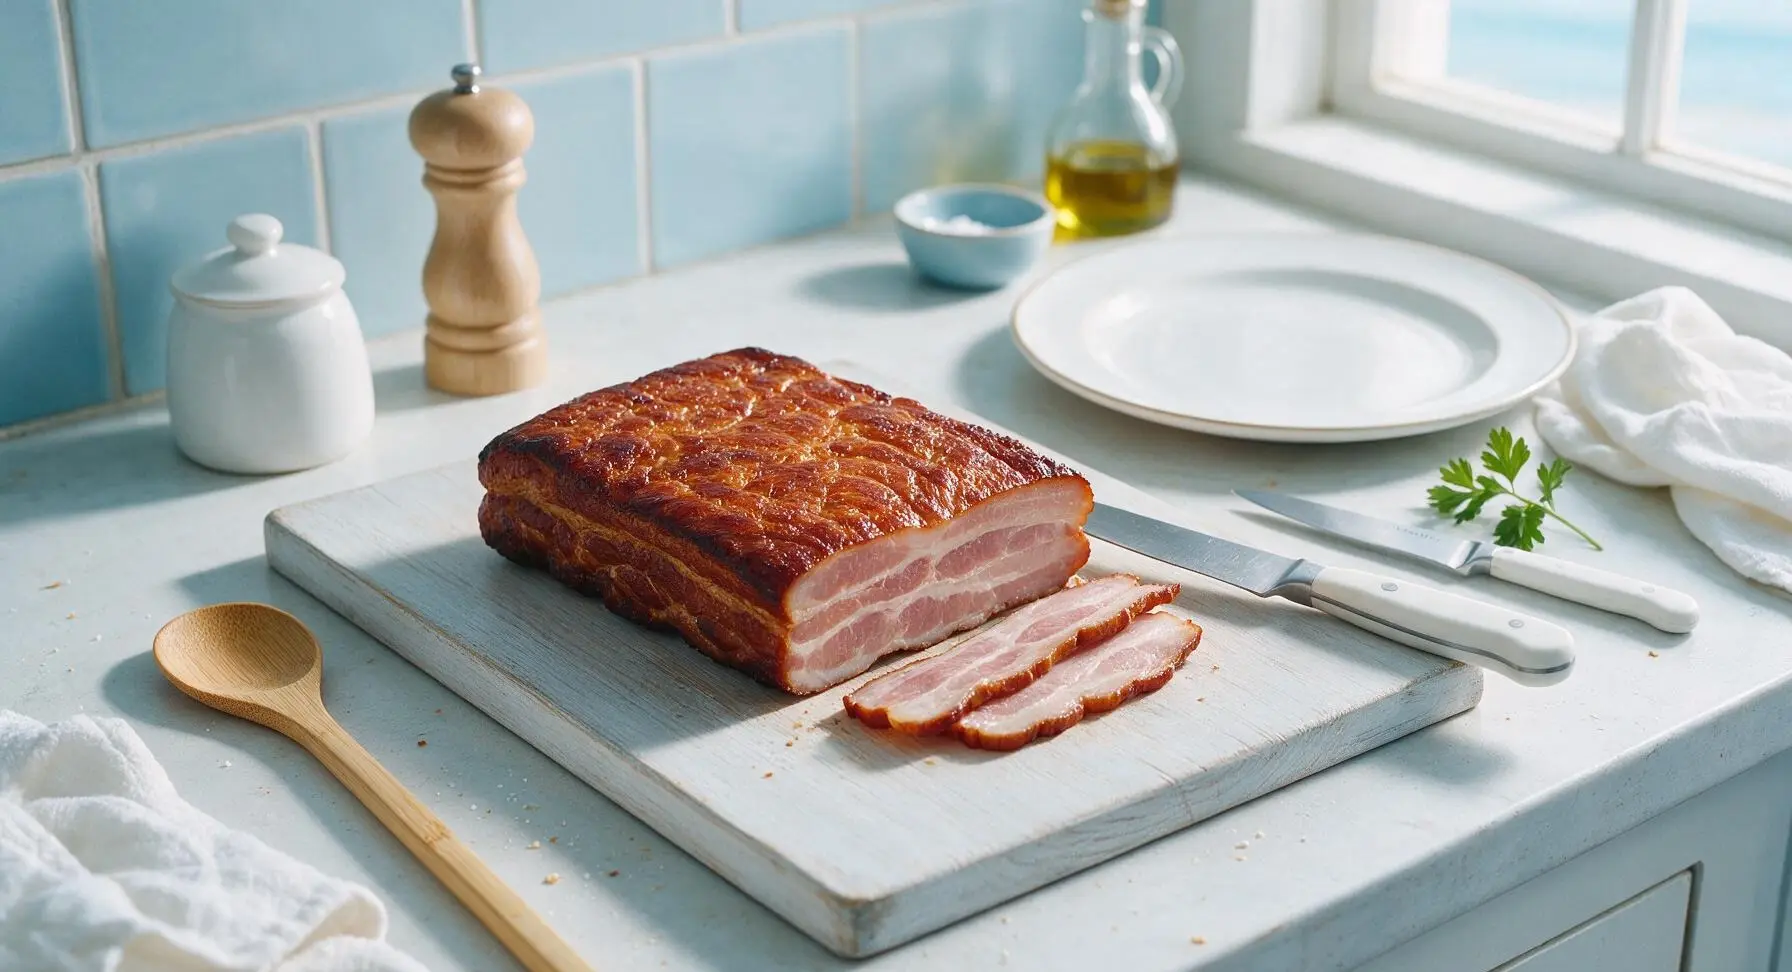
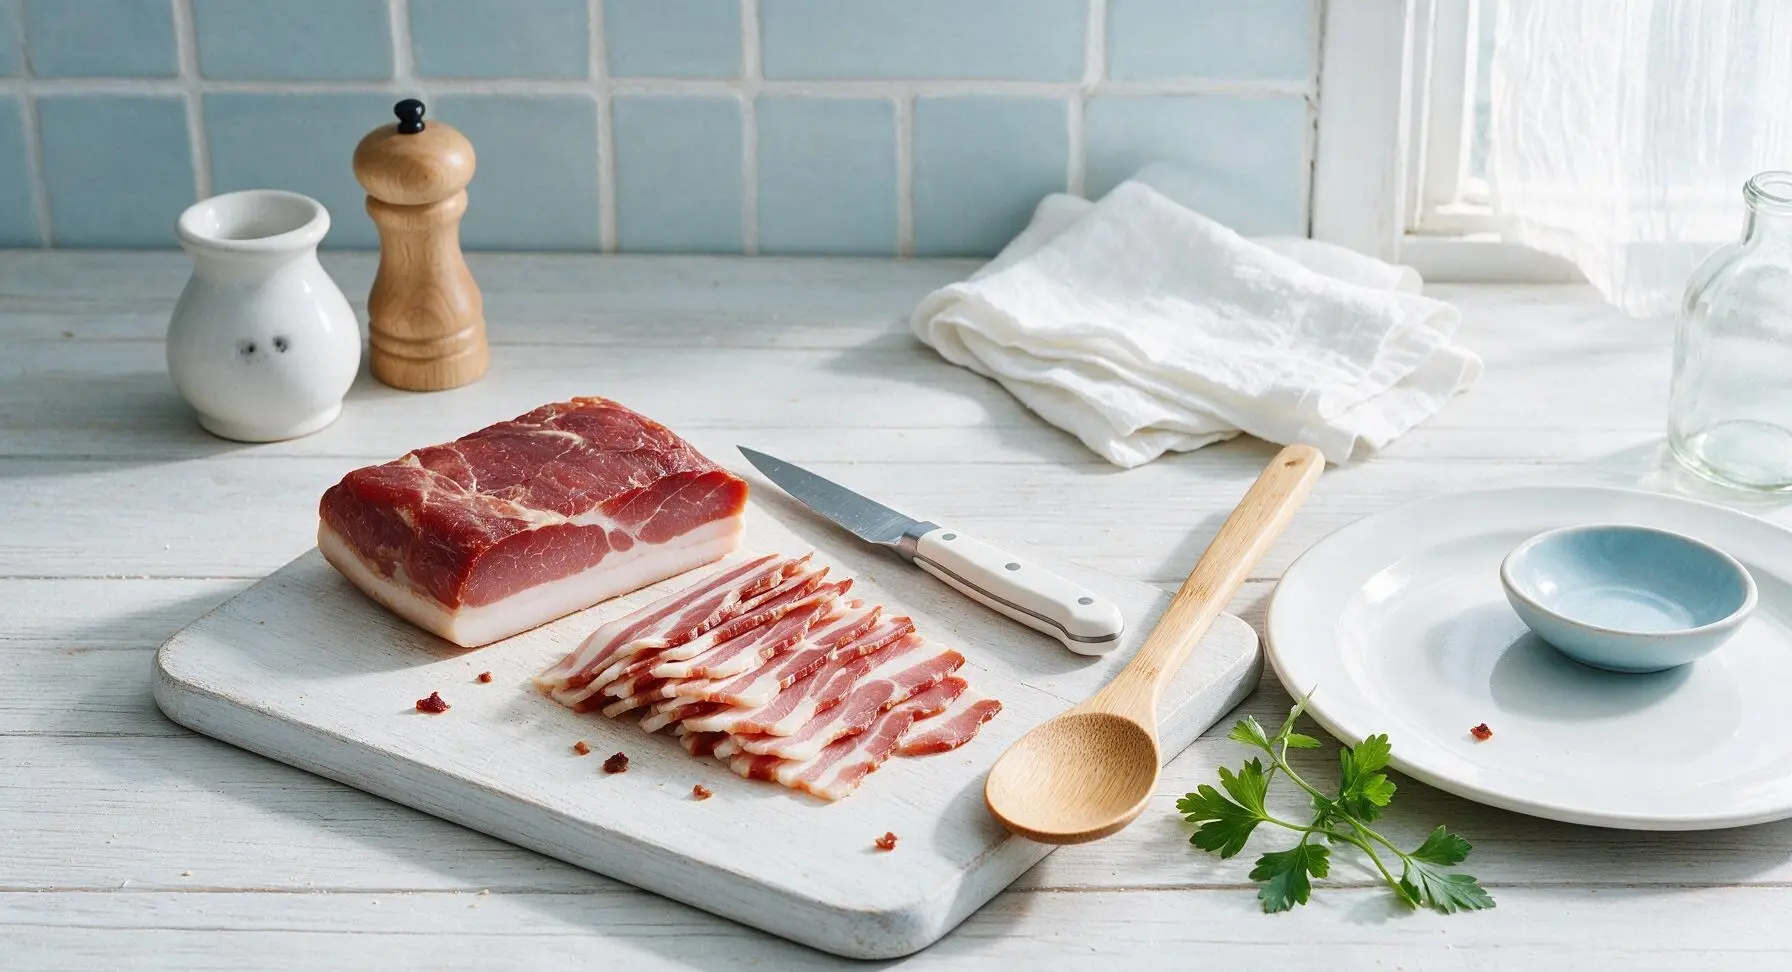
Let the cooked bacon slab rest at room temperature for 20 minutes, then transfer it to the refrigerator to chill completely for 2 hours (chilling firms the fat and meat for clean, even slicing). Once chilled, use the boning knife to slice the bacon to your preferred thickness (1/8-inch is standard for crispy breakfast bacon), removing the tough outer skin before slicing if desired.
Step 7
step7:Rest And Slice Bacon
Step 7
step7:Rest And Slice Bacon

Tips

1.Never substitute pink curing salt #1 with pink Himalayan salt: curing salt contains 6.25% sodium nitrite, which prevents dangerous botulism bacteria growth during the long cold curing process, creates the signature pale pink cured bacon color, and develops the classic cured flavor regular salt cannot replicate. Always measure curing salt carefully to avoid overuse.
2.Do not skip the pellicle formation step: the 12-24 hour uncovered rest in the fridge dries the meat surface to a tacky finish, which allows smoke and seasoning to stick evenly, prevents the bacon from steaming during cooking, and creates crispier slices when you pan-fry individual servings later.
3.Always chill the cooked slab fully before slicing: warm bacon fat is soft and will tear or slice unevenly, leading to ragged edges that curl excessively when fried. Store sliced homemade bacon in an airtight container in the refrigerator for up to 2 weeks, or wrap tightly and freeze for up to 3 months for quick breakfasts.


✨ You May Also Like

Breakfast
🍜 United States

Crisp-edged, fluffy lard griddle cakes are a nostalgic homestyle staple, with rich savoriness from rendered lard, perfect topped with maple syrup or savory gravy.

⏱️ 25 minuteBreakfast ★ 4.8
Breakfast
🍜 United States

Flaky, buttery homemade buttermilk biscuits smothered in creamy, peppery pork sausage gravy: a beloved, hearty Southern American comfort food classic.

⏱️ 35 minuteBreakfast ★ 4.8
Breakfast
🍜 United States

Golden, custardy brioche stuffed with sweet cream cheese and fresh berries, pan-fried to crisp perfection. An indulgent, cozy breakfast perfect for slow weekend mornings.

⏱️ 30 minuteBreakfast ★ 4.7
Breakfast
🍜 United States

Flaky, buttery Southern-style biscuits stuffed with savory salty country ham, a portable, satisfying classic perfect for casual on-the-go meals.

⏱️ 25 minuteBreakfast ★ 4.8
Breakfast
🍜 United States

Iconic puffy baked pancake popularized in Seattle, with crisp golden edges and soft custardy center, served warm with classic sweet toppings.

⏱️ 35 minuteBreakfast ★ 4.6
Breakfast
🍜 United States

Fluffy, golden pancakes studded with juicy peak-summer mixed berries, drizzled with maple syrup for a bright, comforting, crowd-pleasing family breakfast.

⏱️ 25 minuteBreakfast ★ 4.7

homemade bacon cure:Frequently Asked Questions

1.Do I really need to use pink curing salt #1 for this recipe, or can I skip it? ▾
Don’t skip it! Pink curing salt #1 (a measured sodium nitrite blend) prevents dangerous botulism growth during the long, low-temperature curing process, gives bacon its signature pale pink hue and classic savoriness, and stops rancid off-flavors. It is not the same as pink Himalayan salt, so measure the exact called-for amount to stay safe.
2.Why does the recipe call for non-iodized kosher salt instead of regular table salt? ▾
Iodized table salt has a harsh, metallic aftertaste that will come through clearly in your finished bacon, and its ultra-fine grain makes it extremely easy to over-salt your cure. Non-iodized kosher salt has a clean, pure salt flavor and consistent coarse grain that distributes evenly across the pork belly for a perfectly balanced cure.
3.Can I use skinless pork belly if that’s the only cut I can find? ▾
You absolutely can, though skin-on is preferred for easier slicing and a nice, snappy texture when cooked. If using skinless, be extra gentle when rubbing on the cure so you don’t tear the soft fat cap, and trim any ragged, loose fat edges before curing starts to avoid uneven cure penetration across the cut.
4.How long do I leave the dry cure on the pork belly before cooking? ▾
Plan for 7 to 10 days of curing in the refrigerator, flipping the belly every other day to redistribute the liquid the cure draws out. Exact timing depends on thickness: a 1.5-inch thick belly needs 7 days, while a 2.5-inch thick cut needs the full 10 days to let the cure penetrate all the way to the center for even flavor and safety.
5.Do I need to rinse the cure off the pork belly before cooking it? ▾
Yes, always! After curing is complete, rinse every bit of remaining cure, pepper, and sugar off the belly’s surface under cool running water, then pat it completely dry with paper towels. Skipping this step will leave you with overly salty, gritty bacon with harsh, uneven flavor instead of the balanced salty-sweet profile we’re aiming for.
6.I don’t own a smoker—can I still make this dry-cure bacon at home? ▾
Totally! After rinsing and drying the cured belly, roast it low and slow on a wire rack set in a baking sheet at 200°F until its internal temperature hits 150°F. For smoky flavor without a smoker, add a tiny amount of food-grade liquid smoke to the cure, or use a foil packet of wood chips on your oven rack for light, even smoke.
7.Why use dark brown sugar instead of light brown sugar for the cure? ▾
Dark brown sugar has a higher molasses content, which adds a deeper, richer, almost toffee-like caramel note that pairs perfectly with salty, savory pork and coarse black pepper. If you only have light brown sugar on hand, swap it 1:1, just add 1 teaspoon of unsulphured molasses per cup of light brown sugar to match that deep, balanced sweetness.
8.How do I tell when the pork belly is fully cured and ready to cook? ▾
The easiest test is to give the belly a firm poke: it should feel uniformly firm all over, with no soft, squishy raw spots in the thickest center section. You’ll also notice it has released syrupy, salty liquid in its curing bag, and the whole cut will feel slightly denser and heavier than it did when you first applied the cure.
9.Can I add extra seasonings to the base dry cure mix? ▾
Absolutely! The base cure is a fantastic blank canvas—feel free to add 1 to 2 teaspoons total of extra seasonings per pound of pork belly, like smoked paprika, garlic powder, crushed red pepper, maple sugar, dried thyme, or a splash of bourbon. Just never add extra salt or pink curing salt, as those amounts are calibrated for food safety.
10.How thick should I slice my finished homemade bacon? ▾
That’s totally up to your preference, but most home cooks love slicing it between 1/8-inch and 1/4-inch thick for that perfect balance of crispy edges and chewy, meaty center. Make sure your bacon is fully chilled (even partially frozen for 30 minutes) before slicing, as warm fat will tear and make clean, even slices nearly impossible.
11.How long does finished homemade dry-cure bacon last in the refrigerator? ▾
Once it’s fully cooked (roasted or smoked to 150°F internal temp) and cooled, your bacon will keep well-wrapped in the fridge for up to 2 weeks. If you slice it first, store it between sheets of parchment paper in an airtight container for easy grab-and-go cooking, and keep it sealed to avoid picking up off-flavors from other fridge foods.
12.Can I freeze this homemade bacon for longer-term storage? ▾
Definitely! Wrap the whole unsliced slab tightly in plastic wrap then a layer of aluminum foil, and it will keep in the freezer for up to 6 months with no noticeable flavor loss. If you pre-slice it, portion it into ½-pound packs separated by parchment paper so you can pull out exactly what you need without thawing the whole slab.
13.What happens if I leave the cure on the pork belly for too long? ▾
If you leave the cure on for more than 12 days, your bacon will end up unpleasantly overly salty, and the texture will turn dry and firm, almost like jerky, instead of tender, juicy bacon. If you accidentally over-cure it a little, soak the rinsed belly in cold water for 2 to 4 hours in the fridge before cooking to draw out excess salt.
14.Do I need to leave the cured pork belly uncovered in the fridge after rinsing? ▾
Yes! After rinsing and patting the belly completely dry, set it on a wire rack over a baking sheet and leave it uncovered in the fridge for 12 to 24 hours before cooking. This forms a dry, tacky surface layer called a pellicle, which helps smoke stick if you’re smoking it, and creates a better, less mushy texture when cooked.
15.Can I use pink Himalayan salt instead of pink curing salt #1? ▾
No, that’s a dangerous mix-up! Pink Himalayan salt is just regular sea salt with trace minerals that give it a pink hue, with zero sodium nitrite to prevent botulism during curing. Pink curing salt #1 is dyed bright pink specifically to avoid confusion with regular salt, so never swap the two, and always keep curing salt clearly labeled.
16.What internal temperature do I need to cook the cured bacon to for food safety? ▾
Whether you smoke it or roast it in the oven, cook the bacon slowly until the thickest part of the slab hits 150°F, measured with an instant-read thermometer. Don’t cook it at temperatures higher than 225°F, because high heat will render out too much fat and leave you with dry, shriveled bacon instead of juicy, tender slices.
17.Why is my finished bacon too salty even when I followed the cure measurements? ▾
The most common culprit is uneven cure distribution, or not flipping the belly regularly during curing so salty pooled liquid sits on one section too long. Next time, split the cure mix evenly between the top, bottom, and sides of the belly, and flip it every other day to make sure brine redistributes evenly across every surface.
18.Do I need any fancy specialty equipment to make this dry-cure bacon? ▾
You don’t need high-end gear! The basics are a heavy-duty sealable bag or non-reactive container to hold the belly while it cures, an instant-read thermometer to check final temperature, a sharp knife (or affordable meat slicer, if you have one) for slicing, and either a standard oven or smoker to cook the cured slab.
19.Can I use this same dry cure to make Canadian bacon? ▾
No, this cure is formulated for fatty pork belly, the cut used for traditional American bacon. Canadian bacon is made from much leaner, denser pork loin, which requires a different cure ratio and shorter curing time to avoid turning out too salty or dry. Stick to boneless skin-on pork belly for this specific recipe for the best, most consistent results.

Comments (16)

3 days ago

Took this to my neighborhood potluck last weekend and people were hovering over the platter! I added a tiny bit of smoked paprika to the dry rub because I love that extra smoky depth, and it turned out incredible. Only thing I messed up was slicing it a little too thick on my first go, but that just meant bigger bacon bites, no complaints here.

2 days ago

So glad it was a potluck hit! Thick cut bacon is totally a feature not a bug in our book – pro tip: pop the bacon block in the freezer for 20 minutes before slicing to get super even, clean cuts every time.

5 days ago

Wait, is the 2 hour cook time at a low temp right? I’ve never made cured bacon at home before and I’m terrified of overcooking it or, worse, doing the cure wrong and making someone sick. This looks so good though, I’ve been eyeing homemade bacon recipes for months!

3 days ago

I was nervous too my first time! Follow the temp guide exactly – I used a meat probe to make sure the internal temp hit 150F and it came out perfect, no issues at all. You’ve got this!

2 days ago

Great question! The 2 hour cook time is at 200F as noted in the recipe, and we always recommend using an instant read thermometer to pull it once it hits 150F internal for food safety and perfect texture. As long as you measure the cure ingredients by weight, you won’t have any safety issues!

1 week ago

Game. Changer. I’ve been paying $12 a pack for the fancy artisanal bacon at my local grocery store and this tastes better for a fraction of the cost. I did a test batch first, now I’m making 3 big batches to freeze for quick breakfasts all month. Can’t believe I waited so long to try making my own!

yesterday

I made this last night and the flavor is amazing, but my bacon came out way saltier than I expected. Did I do something wrong? I followed the measurements to a T, or at least I thought I did!

30 minutes ago

Sorry to hear it turned out too salty! A common misstep is not rinsing the cure off completely after the 7 day curing period before cooking – be sure to give it a good cold water rinse and pat fully dry before it goes in the oven, that cuts the excess surface salt right down.

2 weeks ago

Pro tip from someone who’s made this 4 times now: add a tablespoon of maple syrup to the cure mix if you love that sweet maple bacon vibe. It’s unreal on breakfast sandwiches with a runny egg and a little melted cheddar. My wife says I’m never allowed to buy store bacon again, lmao.

1 week ago

Oh that maple idea is genius! I did a batch with a little brown butter powder last time and it was insane, but maple is next on my list for sure.

5 days ago

Love that customization! Maple is such a classic add-in for dry cure bacon, we’re big fans of stirring in a pinch of cayenne with it for a little sweet-heat kick too.

2 days ago

SO good. Made BLTs for dinner with this bacon last night and my husband said it was the best sandwich he’s ever had. 10/10, no notes.

5 minutes ago

Wait how long do you leave the cure on the pork belly before cooking? I feel like I skipped right over that part when I was skimming the recipe oops

just now

It’s 7 days in the fridge! I set a calendar reminder on my phone so I wouldn’t forget, super easy. Flip it every other day like the recipe says and you’re golden.

1 week ago

This is perfect for my Sunday meal prep! I cooked up a whole batch yesterday, portioned it out into grab-and-go packs with eggs and roasted potatoes, and it’s held up perfectly all week. The cure smells so good while it’s resting in the fridge, my whole fridge smelled like bacon for days lmao.

5 days ago

Wait does it freeze well? I want to make a double batch but I live alone so I don’t want it to go bad before I can eat it all.

3 days ago

It freezes fantastically! We recommend slicing it first, separating the slices with small pieces of parchment paper, and freezing in airtight bags for up to 3 months. That makes it super easy to pull out just a couple slices at a time when you need them.

2 weeks ago

I’ve been making bacon the old fashioned way for 40 years and this recipe is spot on. Tastes just like the bacon my daddy used to cure down on the farm when I was a kid. Brought back so many memories, can’t thank you enough for sharing this.

3 days ago

I added a teaspoon of red pepper flakes and a pinch of chipotle powder to the cure and wow, that spicy bacon was chef’s kiss on loaded nachos for game day. All my friends were asking where I got it, they couldn’t believe I made it myself!

2 days ago

Spicy bacon on game day nachos sounds like absolute perfection! We love hearing how people customize the base recipe to fit their favorite flavors – that chipotle addition sounds incredible.

30 minutes ago

I live in a tiny NYC apartment with no fancy smoker – will this recipe still turn out good if I just make it in my regular oven? I don’t have space for any extra big cooking gadgets right now but I’m dying to try this.

5 minutes ago

I made this in my tiny apartment oven last month and it worked perfectly! You don’t need a smoker at all, the cure has so much flavor you won’t even miss it. I added a drop of liquid smoke to the rub because I love that smoky taste and it was chef’s kiss.

just now

Absolutely no smoker required! This recipe is designed for a regular home oven, which makes it perfect for apartment cooks. The liquid smoke trick is a great hack if you want that classic smoked bacon flavor without extra equipment.

2 weeks ago

Made this for Father’s Day brunch with my kids and it was a huge hit. Even my teen who turns his nose up at everything I cook went back for thirds. Already have a pork belly in the fridge for my next batch.

yesterday

I was worried this would be way too hard for a beginner like me, but the instructions are so clear and step by step! The only hard part was waiting the full week for the cure to be ready, I was so impatient to try it. Worth every minute of waiting though.

2 hours ago

We’re so glad the instructions felt accessible! The waiting period is definitely the hardest part for most people, but that slow cure is what gives the bacon that deep, perfect flavor. So proud of you for giving it a shot!

2 days ago

Y’all, I forgot to set a timer when I put my bacon in the oven and cooked it 20 minutes too long. It was a little crispier than I meant it to be but honestly? It still tasted better than any bacon I’ve ever bought. Next time I’ll set three timers lmao.

yesterday

Crispy homemade bacon is the best, you didn’t mess up at all! I intentionally cook mine a little longer because I hate flimsy bacon, sounds like you accidentally made it perfect for people like me.

2 hours ago

There’s no such thing as a mistake when it leads to extra crispy bacon in our book! For what it’s worth, the crispiness level is totally customizable – pull it earlier for chewy bacon, leave it a little longer for crispy, whatever fits your preference.

5 days ago

Used this bacon to make bacon jam for my book club potluck and everyone was raving about it. The depth of flavor from the homemade cure made the jam taste so much more complex than when I use store bought bacon. Will absolutely be making this again, no question.

just now

Quick question – what size pork belly should I get for this recipe? My local butcher has a bunch of different sizes and I don’t want to get too much or too little.

just now

Great question! We recommend a 3-4 pound skinless pork belly for the cure measurements listed in the recipe. If you get a larger one, you can just scale the cure ingredients up proportionally by weight to match!



