
homemade chili cheese burritos
intro
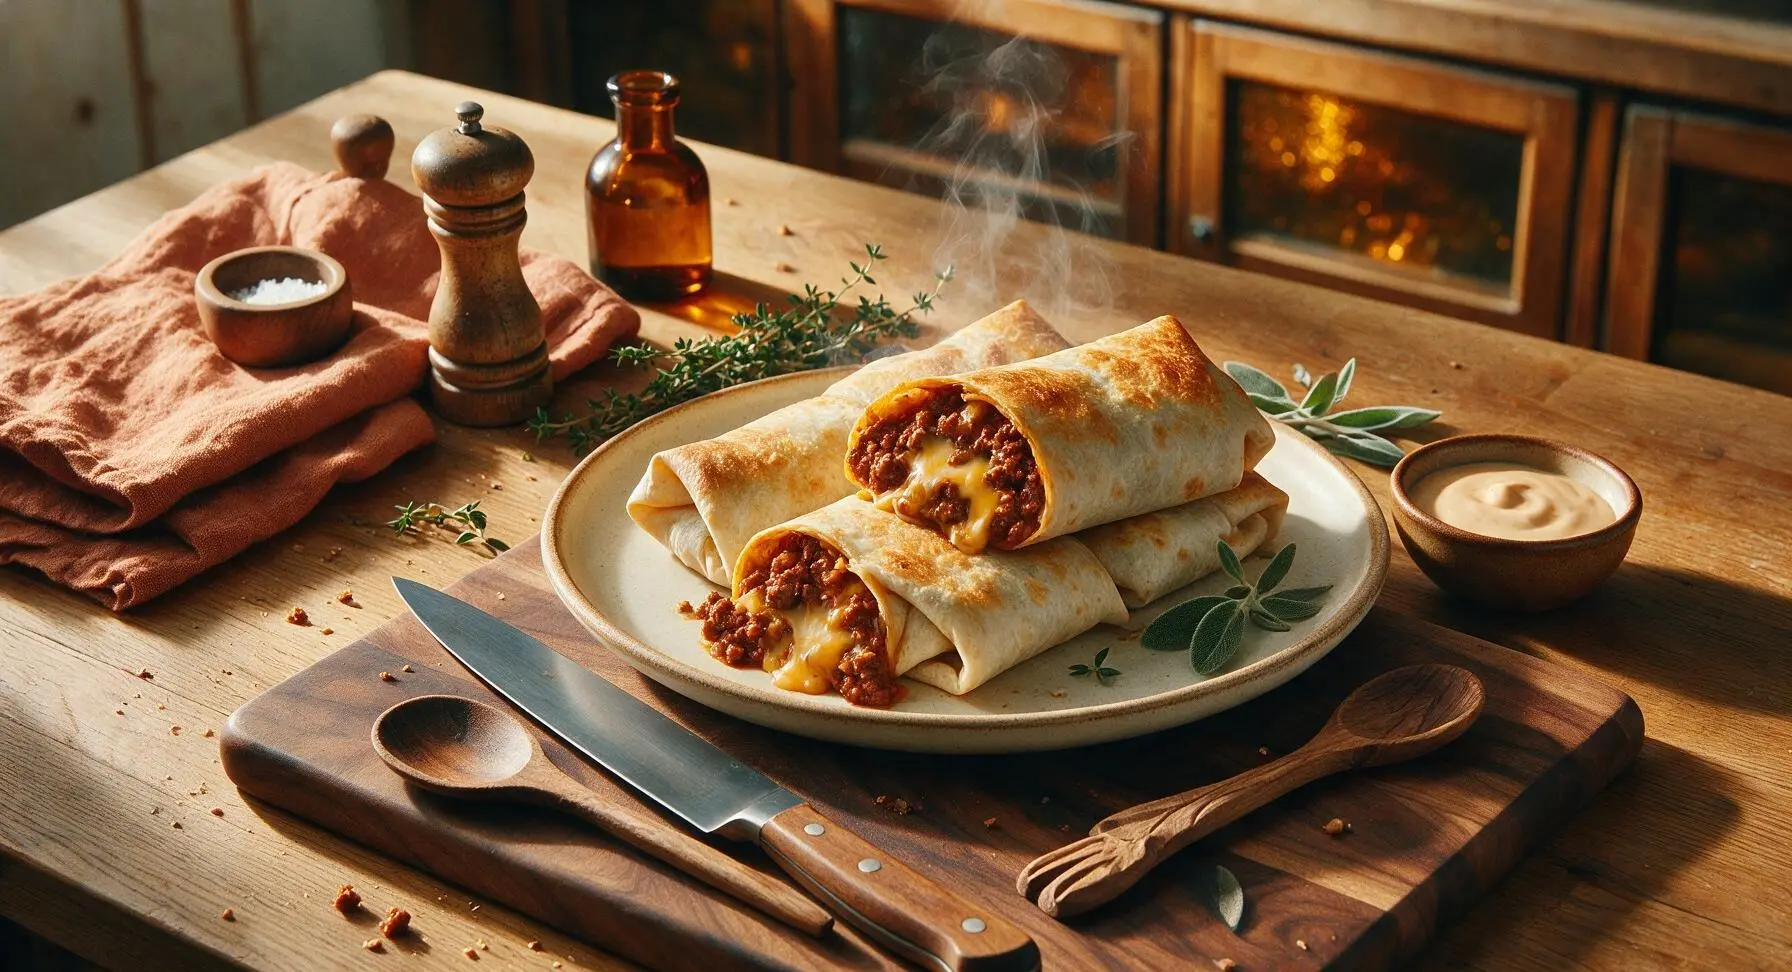
Crispy golden flour tortillas stuffed with thick spiced beef chili and gooey melted cheddar, these homemade chili cheese burritos are the ultimate cozy, crowd-pleasing game night bite.
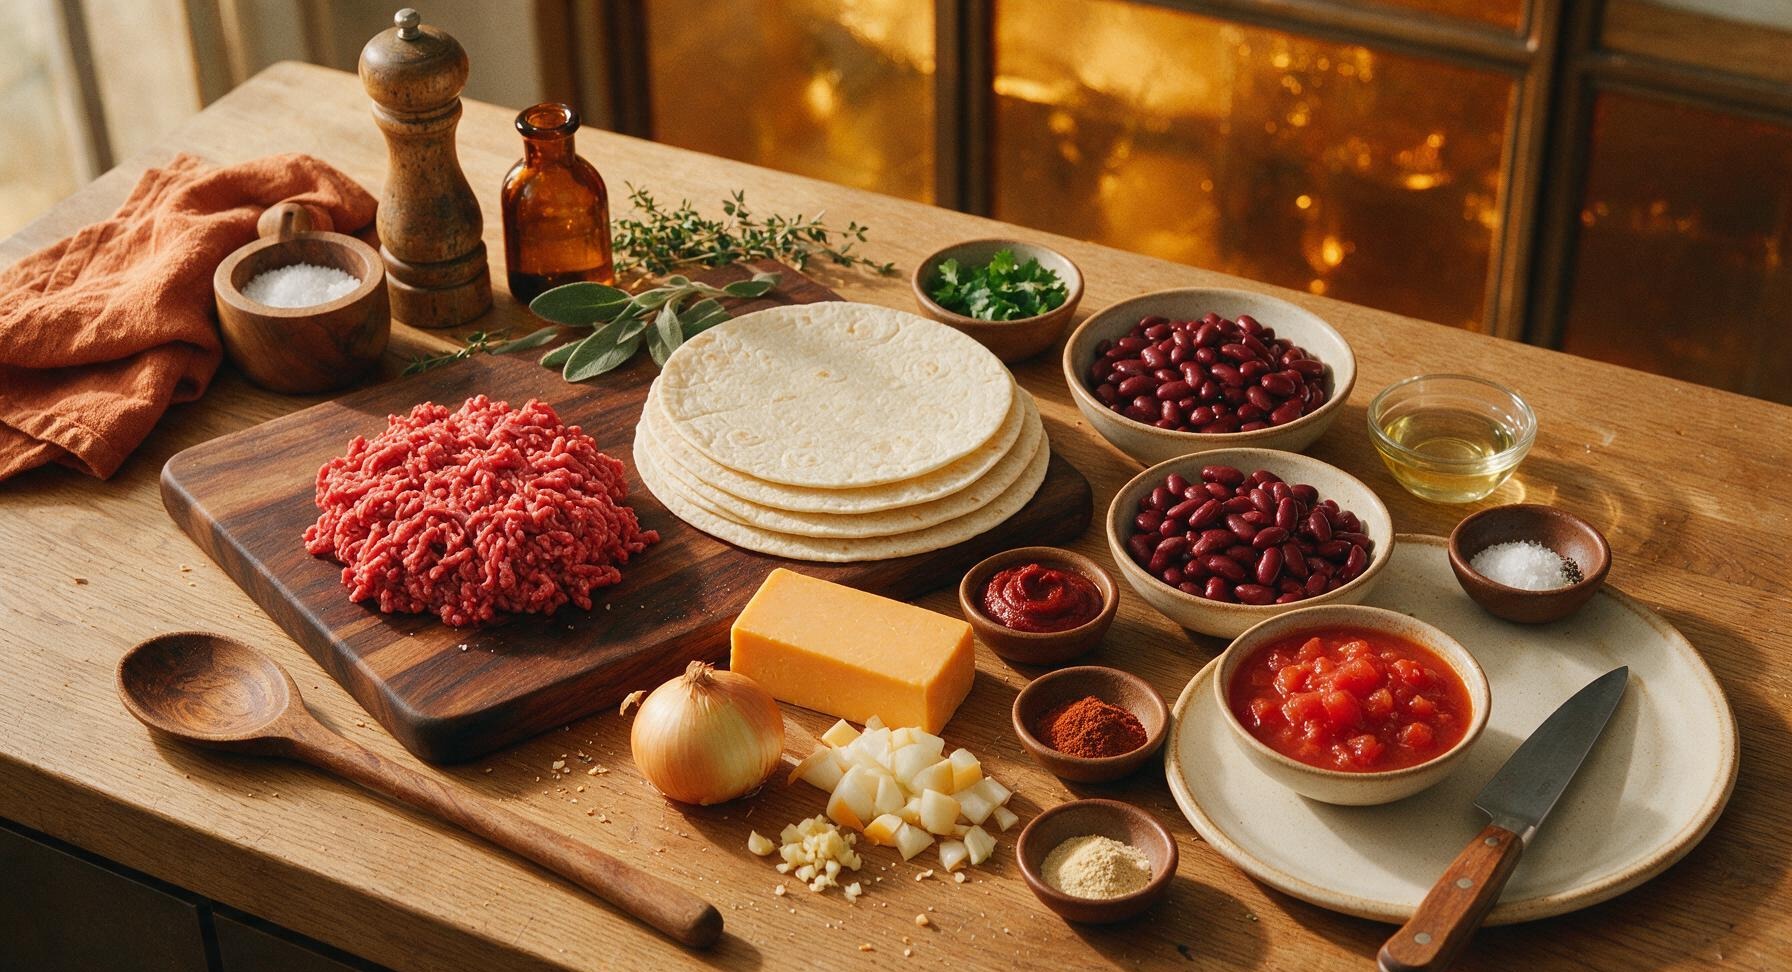
Ingredients
Steps
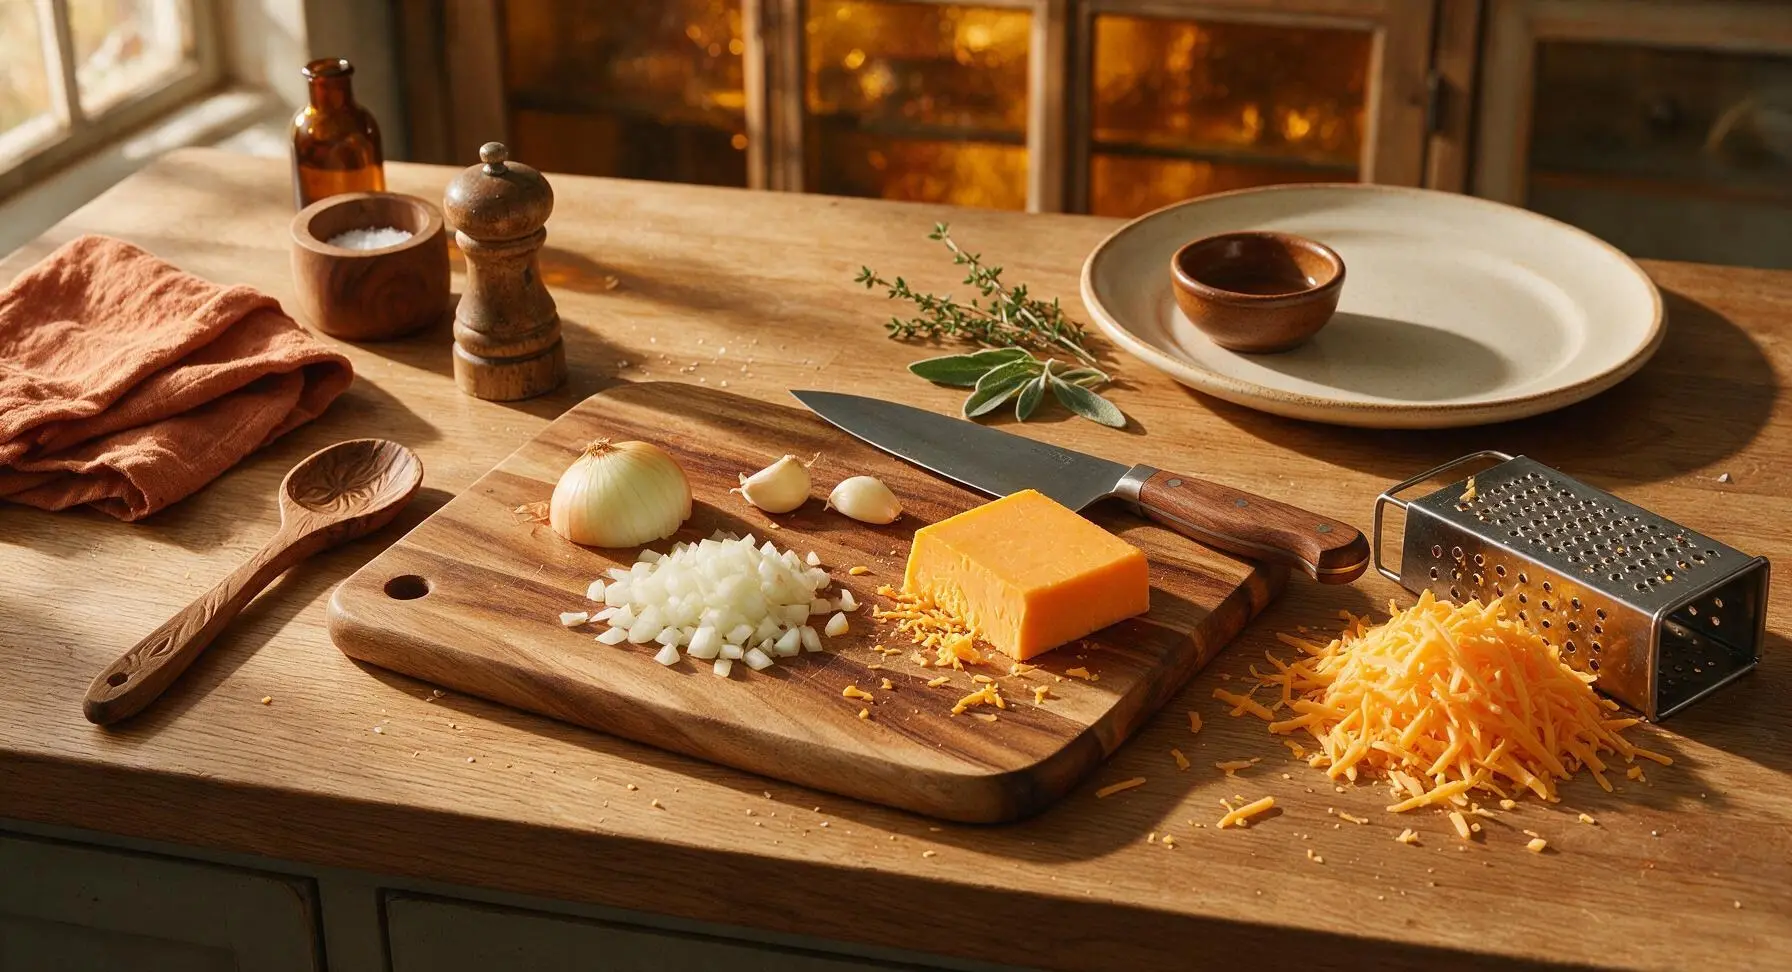
Prep Core Ingredients
Place the acacia wood cutting board on the central soapstone counter. Use the walnut-handled chef knife to dice the small yellow onion into 1/4-inch pieces and mince the 2 garlic cloves finely, setting both aside in one small terracotta pinch bowl. Hold the stainless steel box grater at a 45-degree angle on the board, and grate all 170g of sharp cheddar into coarse, fluffy shreds using the large holes. Set 1/4 of the shreds aside for garnish, and keep the remaining cheese near the stovetop for filling.
Sauté Aromatics
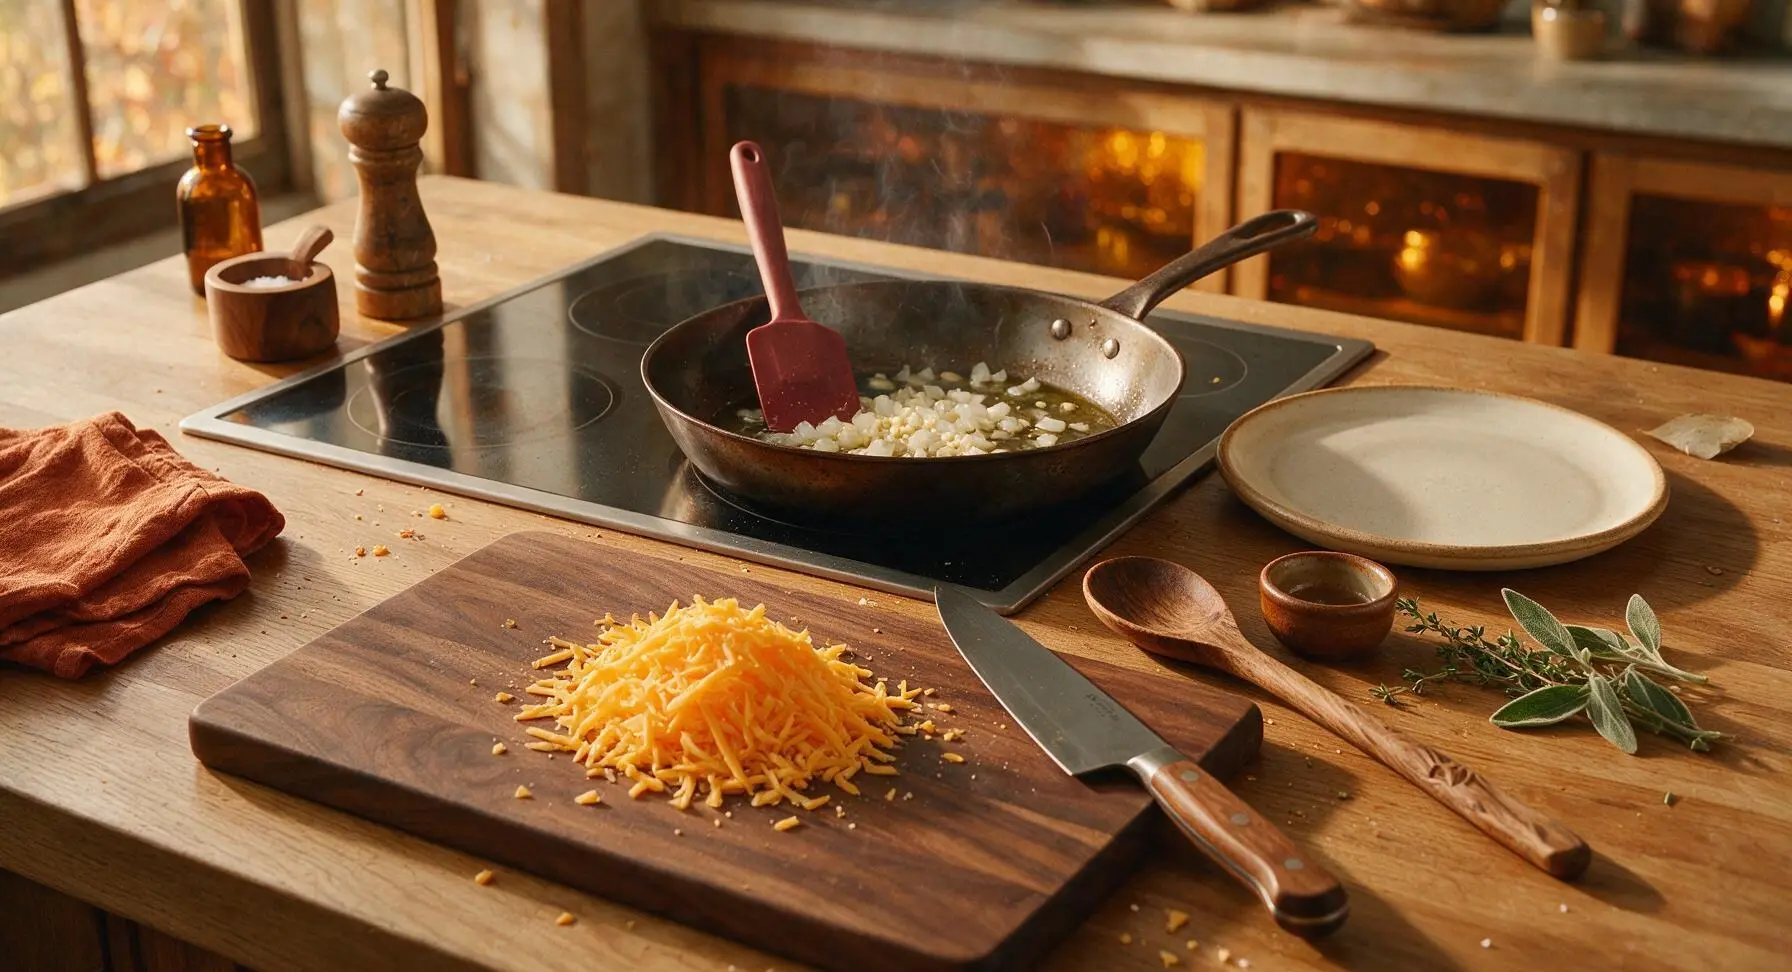
Retrieve the 10-inch carbon steel skillet and place it on the flush induction stovetop at back center, heating over medium heat. Add 1 tablespoon of neutral cooking oil. Once the oil shimmers (about 1 minute), add the diced onion and minced garlic, stirring with the deep terracotta silicone spatula. Cook for 3 minutes until the onion is soft and translucent, then stir constantly for 30 seconds until the garlic is fragrant—do not let the garlic brown, as it will turn bitter and ruin the chili flavor.
Brown Ground Beef
Add the 450g lean ground beef to the skillet with the sautéed aromatics. Use the edge of the silicone spatula to break the beef apart into small, pea-sized crumbles as it cooks. Cook for 5-6 minutes over medium heat, stirring occasionally, until the beef is fully browned with no pink remaining, and any released cooking liquid has fully evaporated. Drain off any excess grease if more than 1 tablespoon remains in the pan.
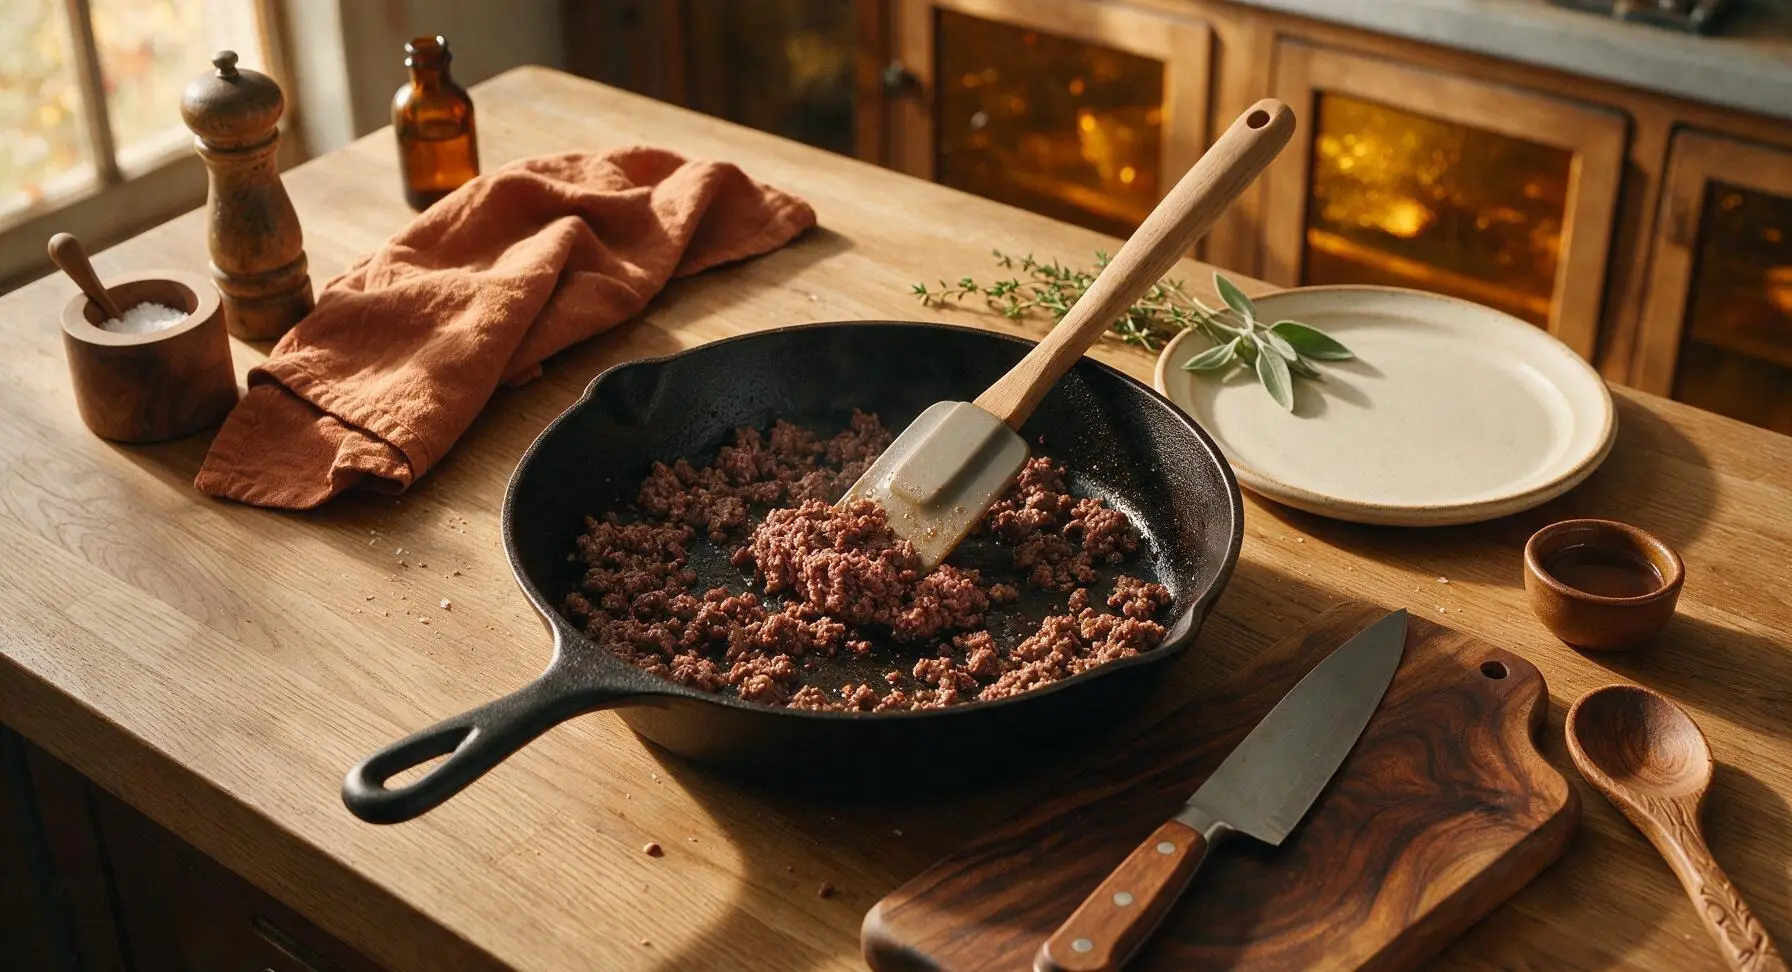
Simmer Chili Filling
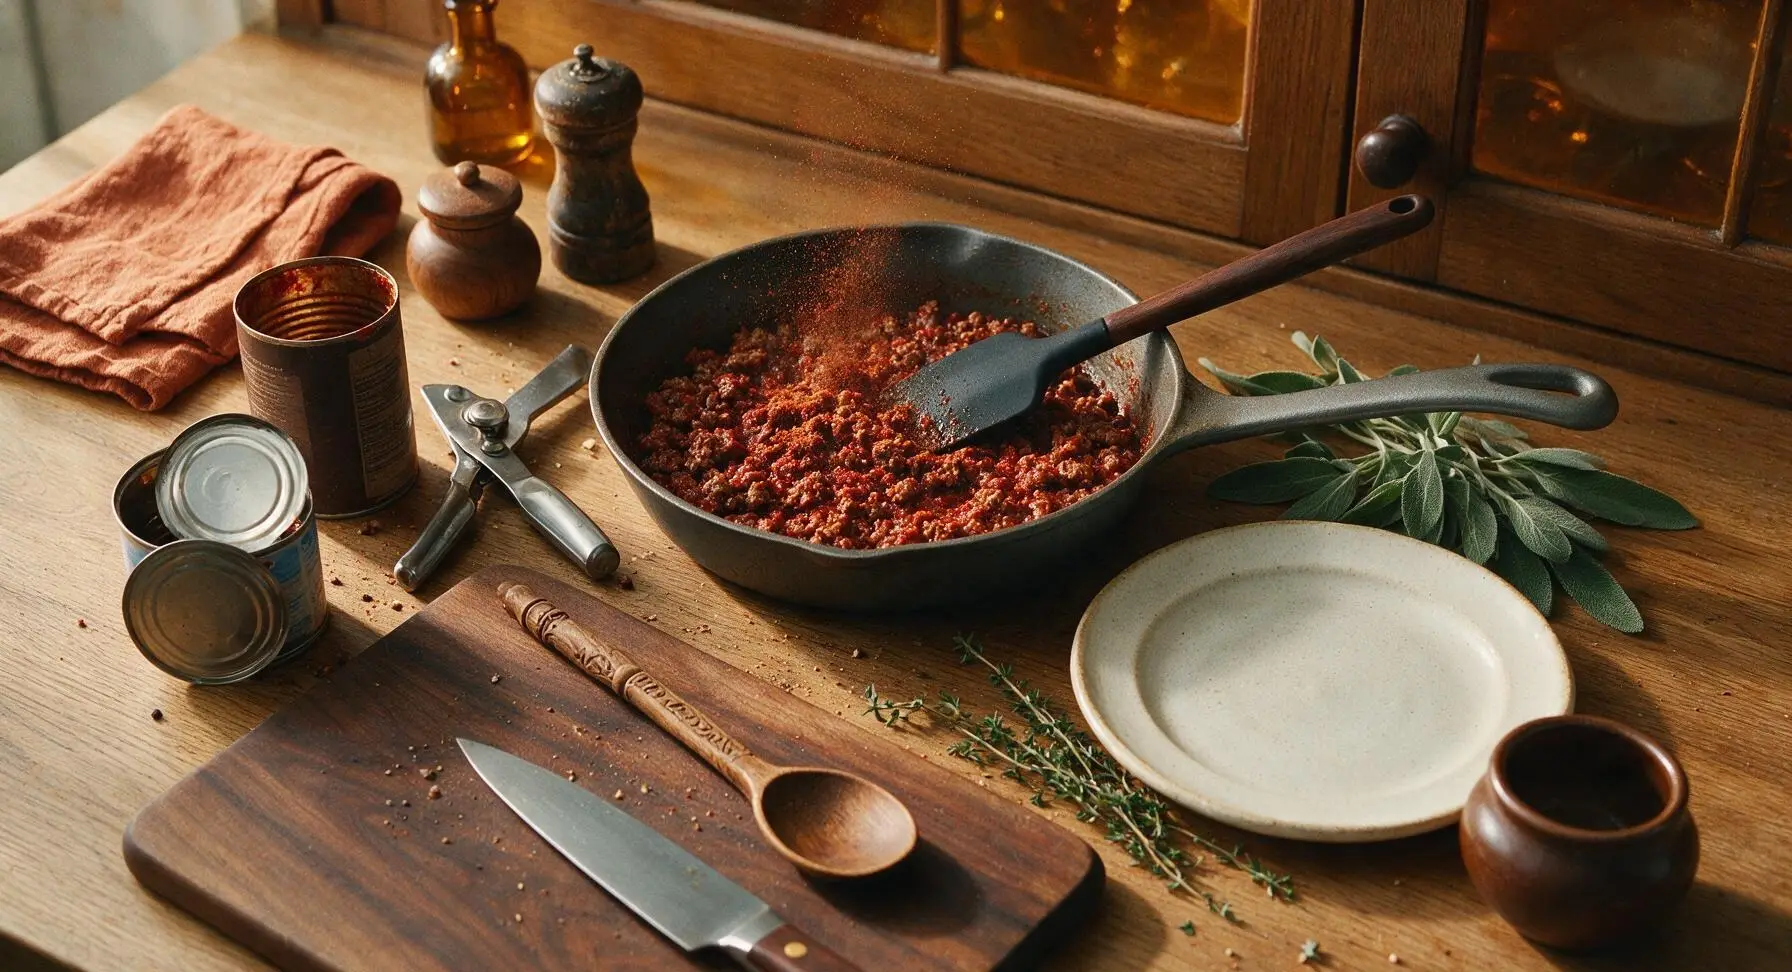
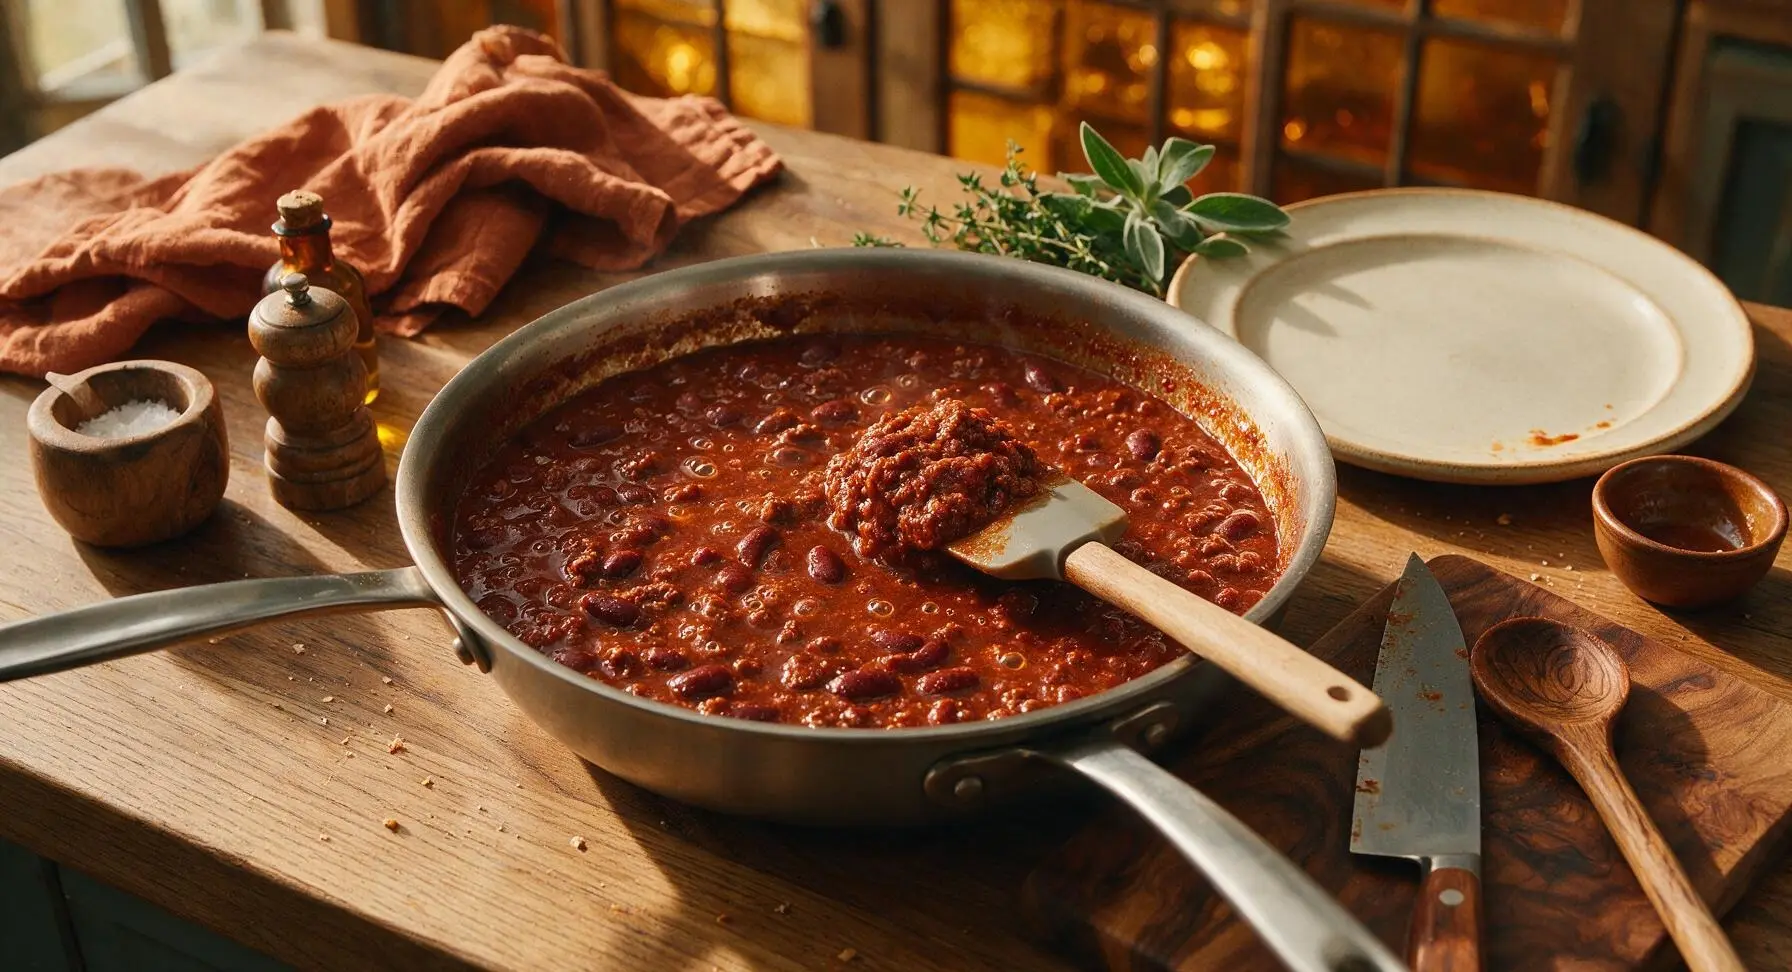
Stir 2 tablespoons of tomato paste into the browned beef, cooking for 1 minute until the paste darkens to a deep rust color and coats all beef crumbles evenly. Add 1 tablespoon chili powder, 1 teaspoon ground cumin, 1/2 teaspoon garlic powder, 1 teaspoon kosher salt, and 1/2 teaspoon freshly ground black pepper, stirring to toast the spices for 30 seconds until fragrant. Use the can opener to open the cans of diced tomatoes and kidney beans, then pour in the undrained diced tomatoes and drained, rinsed kidney beans, stirring to fully combine. Bring the mixture to a gentle bubble, then reduce heat to low, cover, and simmer for 8 minutes, stirring once halfway through, until the chili thickens to a spoonable consistency with no runny, watery liquid.
Warm Flour Tortillas
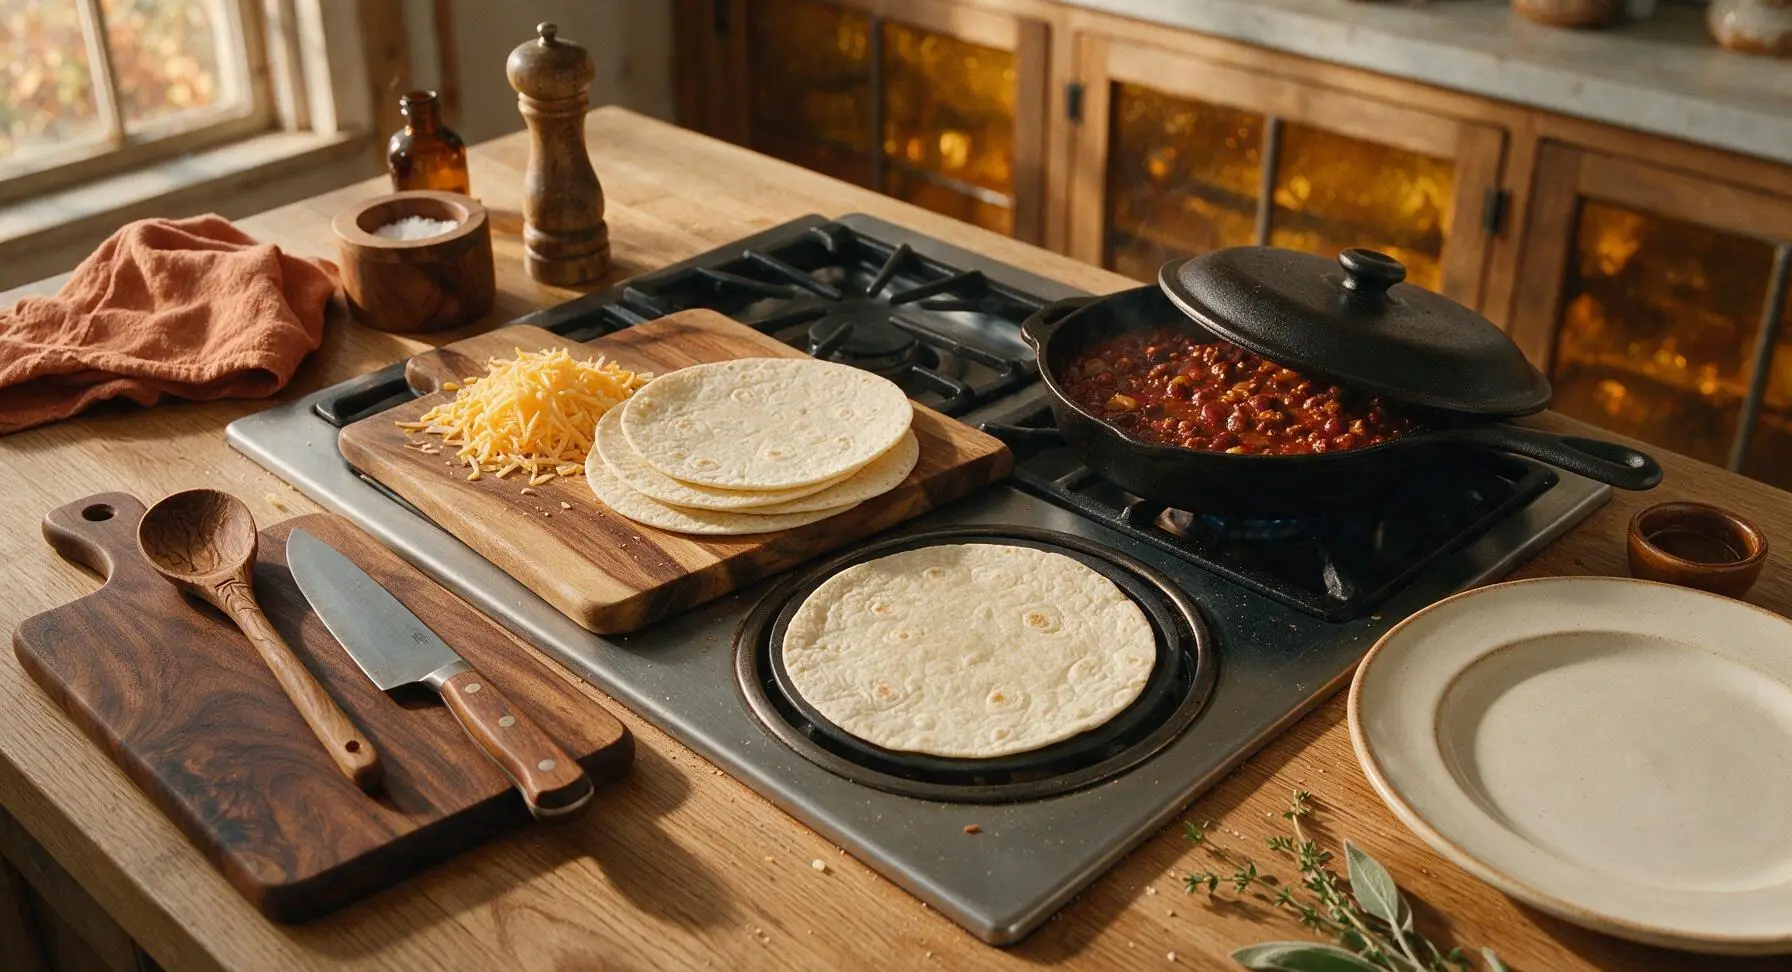
While the chili simmers, warm the 4 large flour tortillas to make them pliable for rolling. Heat one tortilla at a time directly on the empty second stovetop burner set to low heat, cooking for 10 seconds per side until soft and slightly puffed. Stack warmed tortillas on a clean section of the cutting board to keep them warm. Warming tortillas prevents cracking and tearing during rolling.
Fill and Roll Burritos
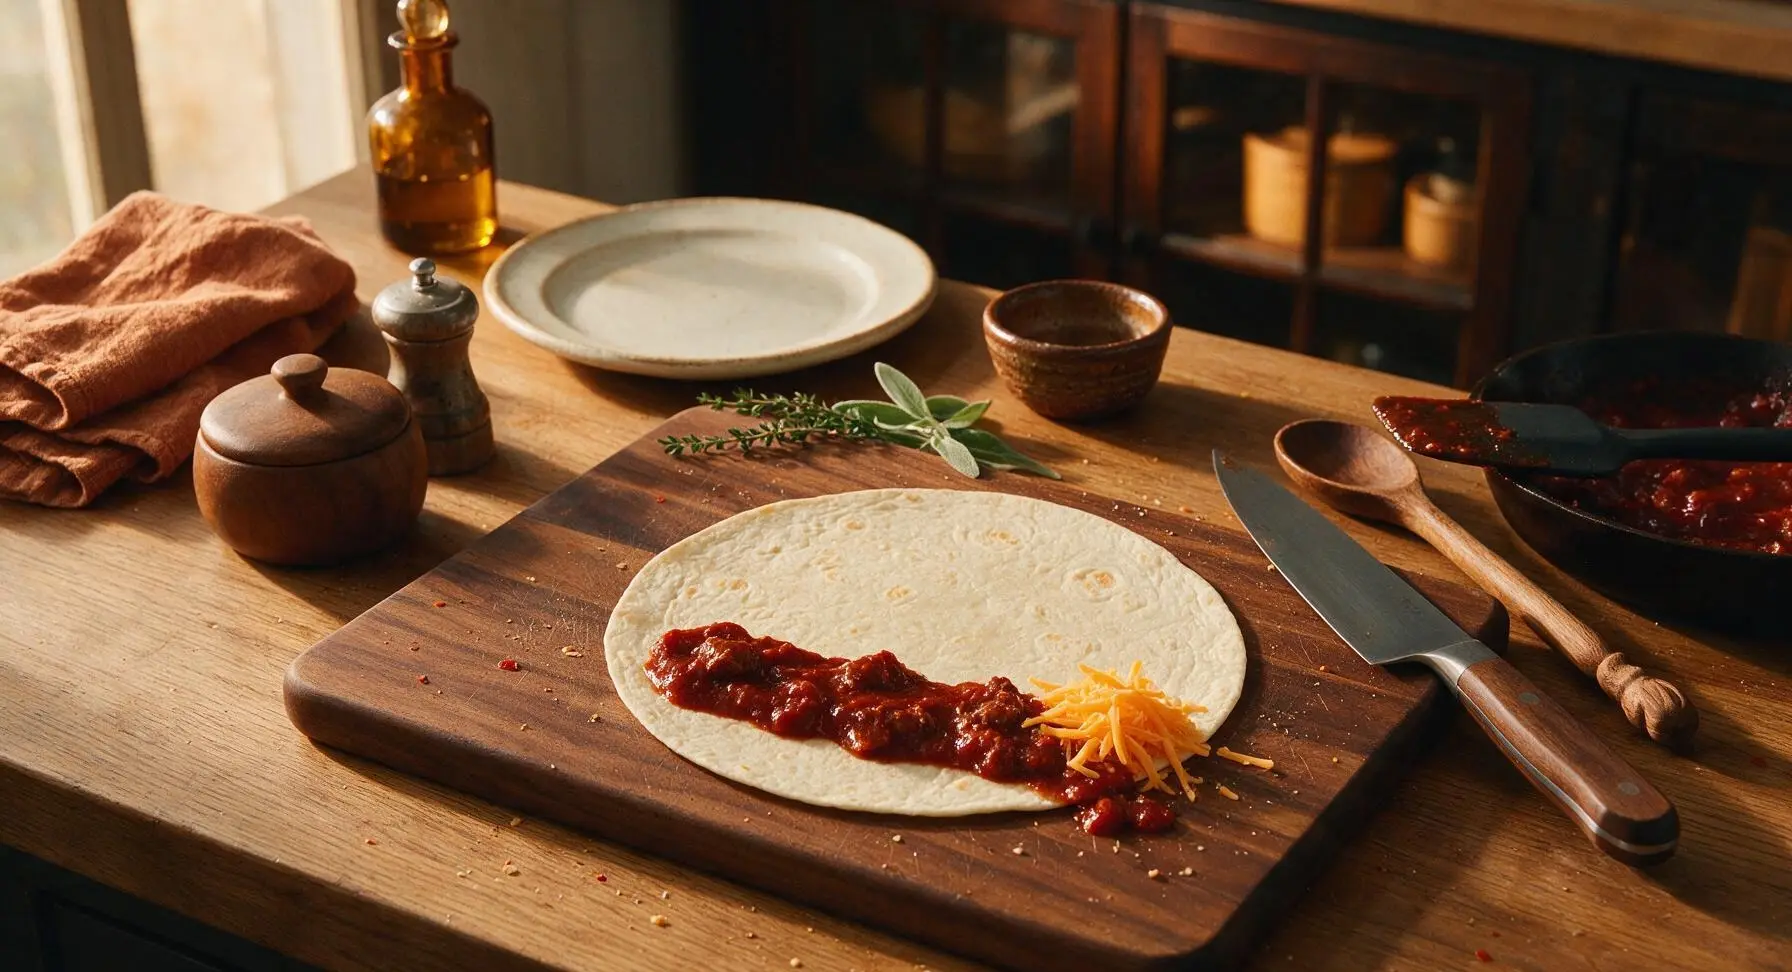
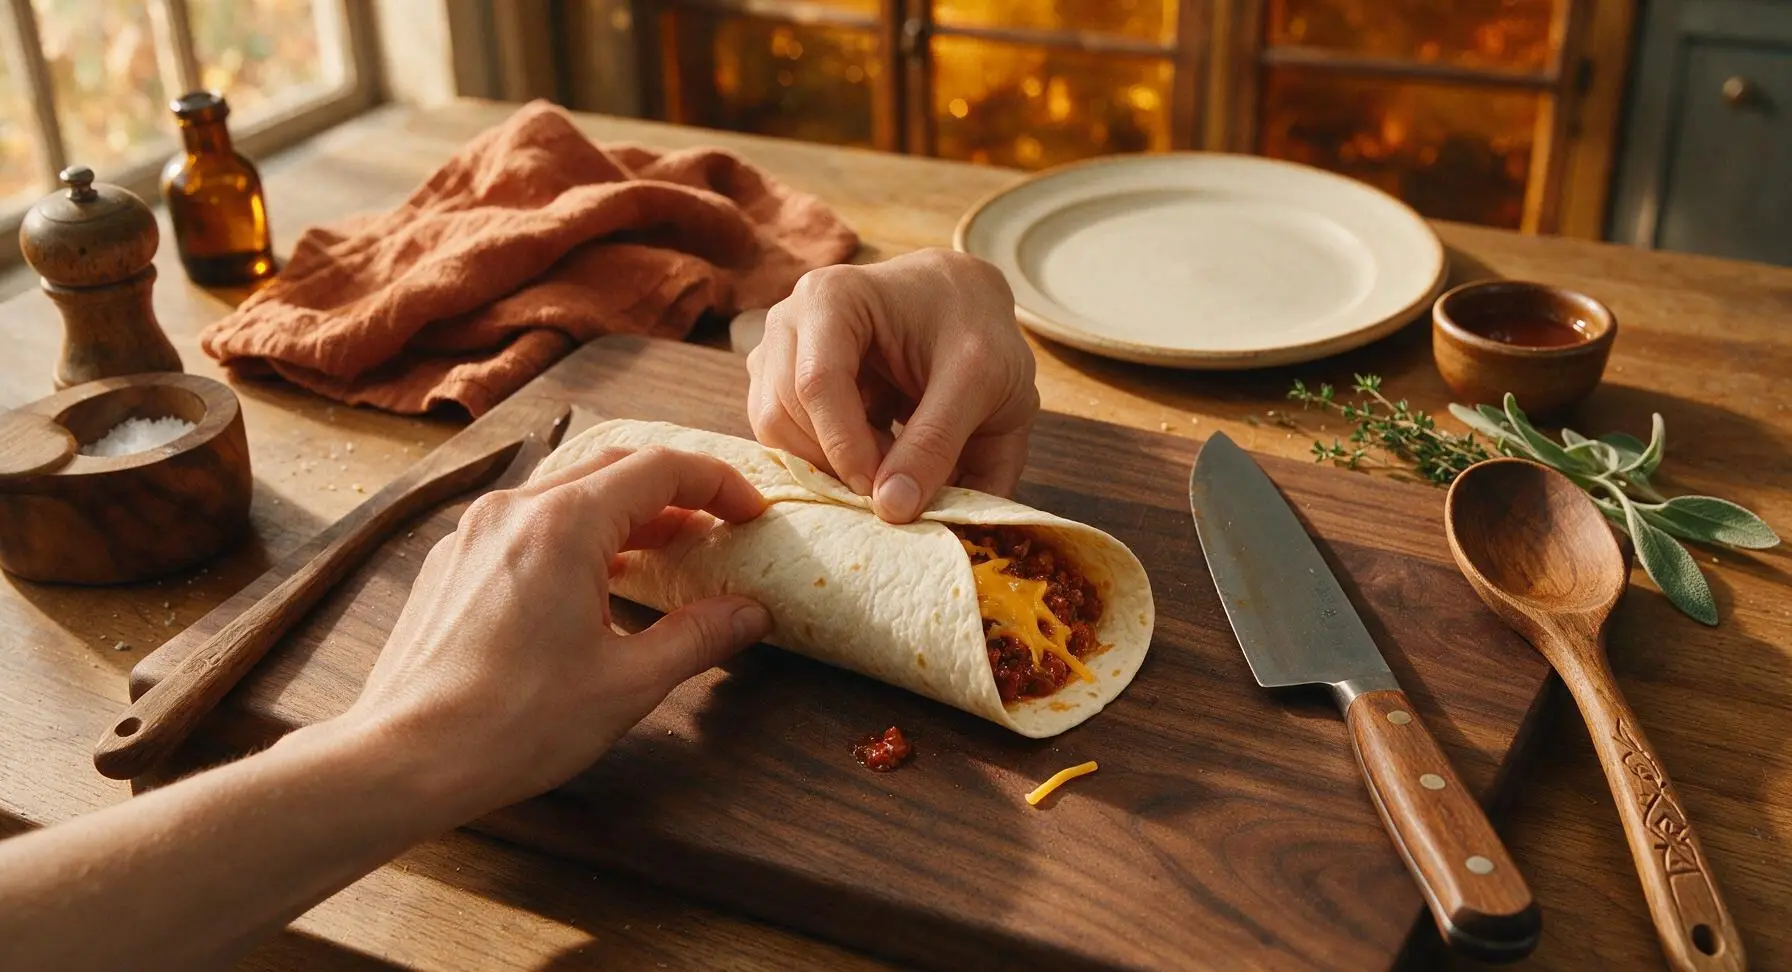
Once the chili is thickened and tortillas are warm, lay one tortilla flat on the acacia cutting board. Spoon 1/4 of the thick chili filling in a straight 2-inch wide line across the lower third of the tortilla, leaving 2 inches of empty space on both the left and right edges. Top the chili with 1/4 of the filling portion of shredded cheddar. Fold the left and right edges of the tortilla inward over the ends of the filling line, then roll the bottom edge of the tortilla up tightly over the filling, tucking firmly as you roll to form a tight, sealed cylinder. Repeat with the remaining tortillas, chili, and filling cheese.
Toast Assembled Burritos
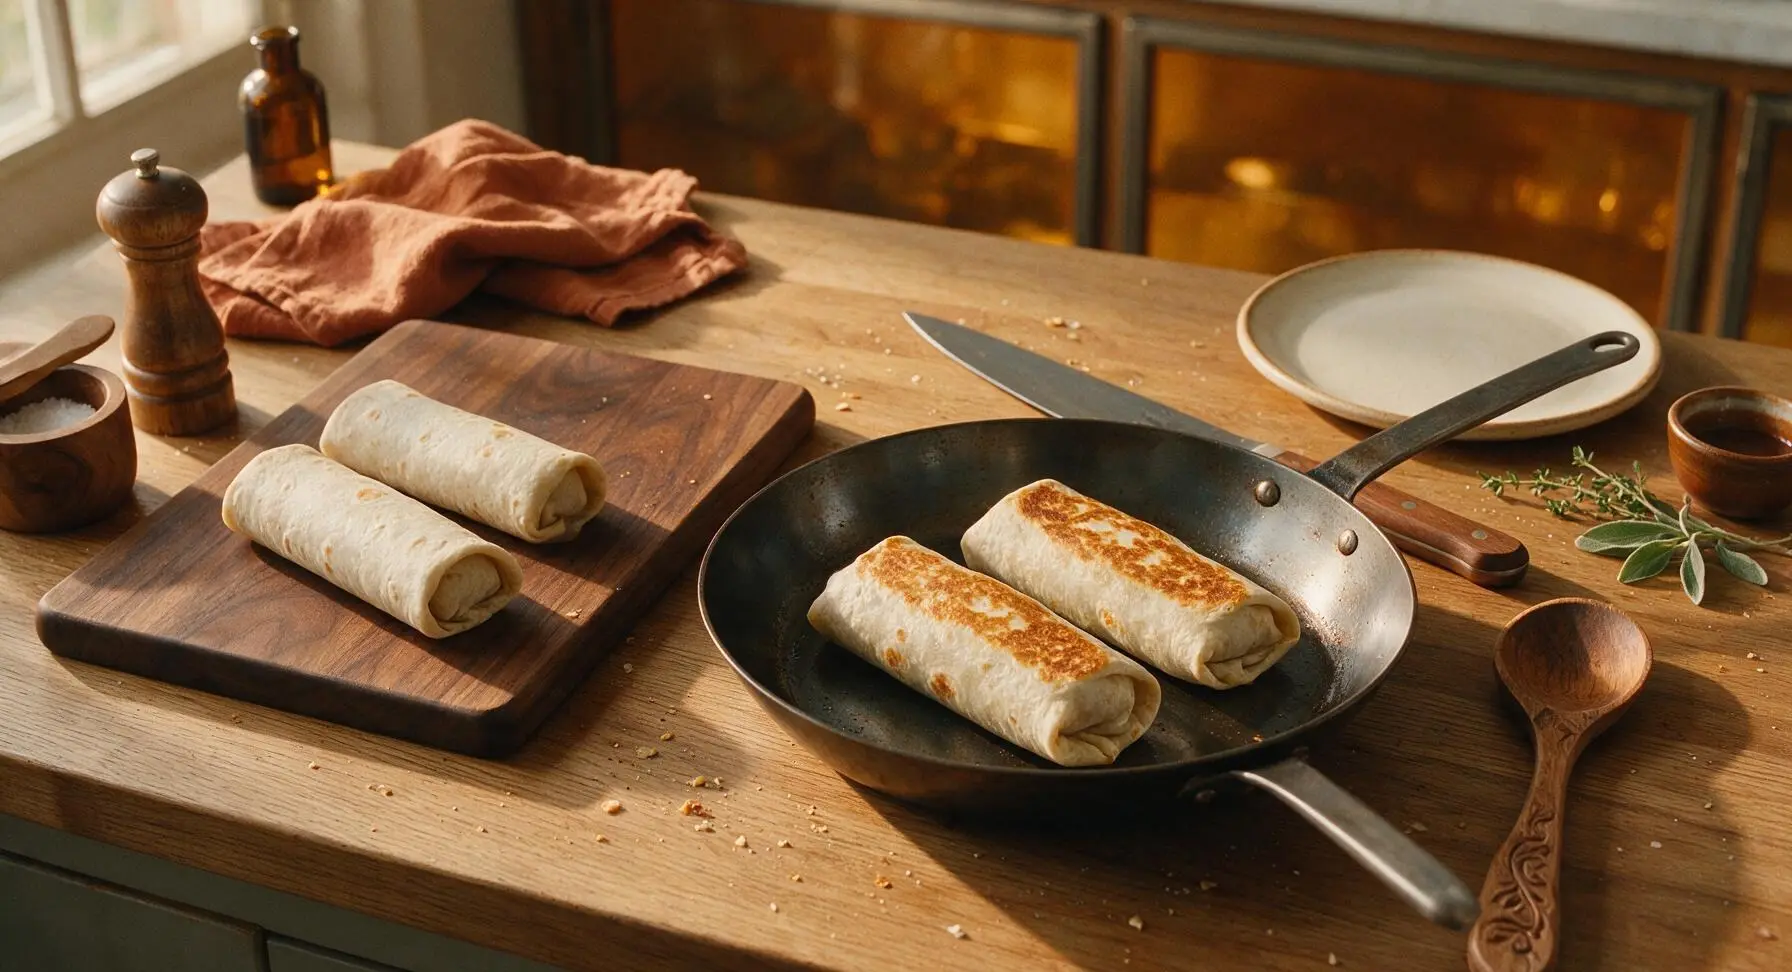
Wipe the carbon steel skillet clean with a paper towel, then return it to medium heat. Place the rolled burritos seam-side down in the dry skillet (no extra oil needed), cooking for 1-2 minutes per side, until the tortilla is golden brown and slightly crispy in spots, and the cheese inside is fully melted. Turn the burritos carefully with the silicone spatula to toast all four sides evenly.
Tips
2.Don’t overfill your burritos: Adding more than 1/4 of the chili per tortilla will make it impossible to fold tightly, leading to split seams and leaking filling while toasting or eating. Stick to the measured amount for neat, easy-to-hold burritos.
3.Toast seam-side down first: Placing burritos seam-side down in the hot skillet first melts the tortilla layers together at the seam, sealing the burrito shut so it doesn’t unroll while toasting the remaining sides, and keeps filling contained for less messy eating.






OMG these were SO good! Threw them together on a random Tuesday night when I had zero meal plan and my kids devoured them in 10 minutes flat. Even my picky 7 year old asked for seconds! Total game changer for busy weeknights.
Quick question — can I make the chili filling ahead of time for meal prep? I usually do my Sunday prep for the work week and these would be perfect to grab and go for lunch.
Made these for my dorm floor potluck last weekend and people were begging me for the recipe! Only took me 20 minutes even with my tiny dorm microwave and sad little hot plate, no fancy equipment needed. 10/10
These hit so good after a long morning hike! I added a little pickled jalapeño to mine for an extra kick and it was chef’s kiss. Next time I’m making a double batch to keep in the freezer for post-hike snacks.
As someone who can barely make toast without setting off the smoke alarm, I was shocked how easy these turned out. My wife thought I ordered takeout until I showed her the empty bean cans in the recycling. Win for dad dinner night!
These taste amazing but my burritos kept splitting open when I rolled them? Did I do something wrong? They still tasted incredible so I’m not mad, just want them to look nice for my game night party next weekend.
Is there a way to make these gluten free? My son has celiac so I’m always looking for easy weeknight meals he can eat without worry.
Brought these to our neighborhood block party last weekend and they were gone in 15 minutes! People kept coming back for thirds, I had to pass the recipe out to half the block. So easy to scale up for a crowd too.
Meal prepped 8 of these on Sunday and they lasted me all work week! I added a scoop of rice to each to make them more filling, total cost per burrito was like $1.50, way cheaper than grabbing fast food on lunch.
These are my new go-to late night snack! Way better than the frozen burritos I used to stock my freezer with. I love that I can customize them with whatever toppings I have on hand, last night I added sour cream and hot sauce, chef’s kiss.
Made these for my son’s soccer team after practice last night and the whole team went wild. Perfect finger food for a bunch of hungry 12 year olds, didn’t have a single burrito left over. Will be making these every post-practice for sure.
What kind of cheese works best here? I have a block of sharp cheddar and some pepper jack in the fridge, would either of those work or should I grab something else?
These are super tasty and so fast to make after a 12 hour shift, my only note is that they were a little too salty for me when I used regular canned chili with added salt. Next time I’ll grab low sodium chili to cut that down a bit.
Swapped the beef chili for vegetarian chili and added some sautéed bell peppers and onions, these were so bomb! Even my meat-eating roommate stole half of them and said he couldn’t tell they were vegetarian.
Made these over the camp stove on our last camping trip and they were the perfect camp meal! No fancy prep, minimal cleanup, all the kids at the camp site loved them. We even roasted them a little over the campfire after rolling to get the tortilla crispy. 10/10 camping food.
Can I assemble these fully and freeze them for quick meals later? I’m stocking my freezer ahead of the new baby coming and easy heat-and-eat meals are all I want right now.
Wait these taste EXACTLY like the chili cheese burritos I used to get from Taco Bell as a kid! I was craving that nostalgic flavor and this hit every single note, I don’t think I’ll ever get fast food burritos again.
This is the first real recipe I’ve made since moving into my first apartment and it turned out perfect! I was so nervous I’d mess it up but the steps are so straightforward, I felt like a real chef making these.
Made these for our family Sunday dinner last night and paired them with chips and queso and corn salad. Everyone went back for seconds, even my super picky father in law who complains about everything. Total win, this recipe is going in our permanent dinner rotation.