
homemade crispy chicken sandwich

title 1
homemade crispy chicken sandwich
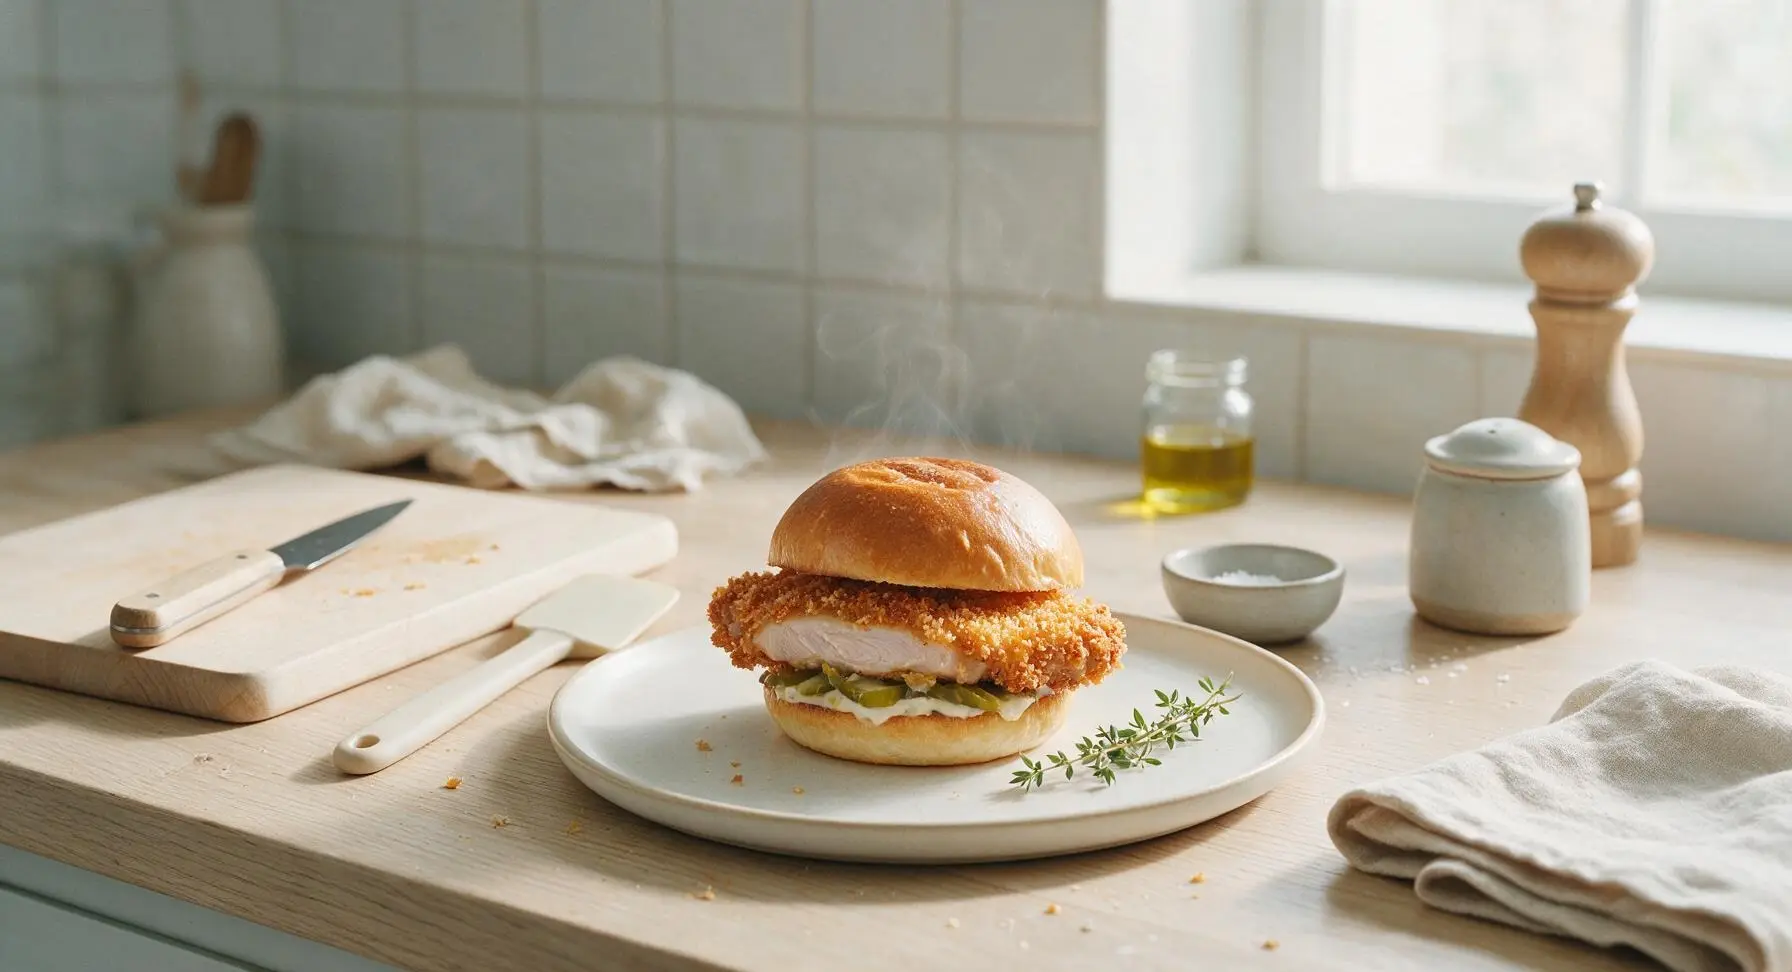
⏱️ cook time 15 minutes
🍽️ servings 4
⚡ Difficulty easy

intro

Juicy, brined chicken thigh coated in shatteringly crisp panko crust, stacked with tangy pickles and creamy mayo on a toasted brioche bun—classic Southern comfort food made easy at home.

Ingredients
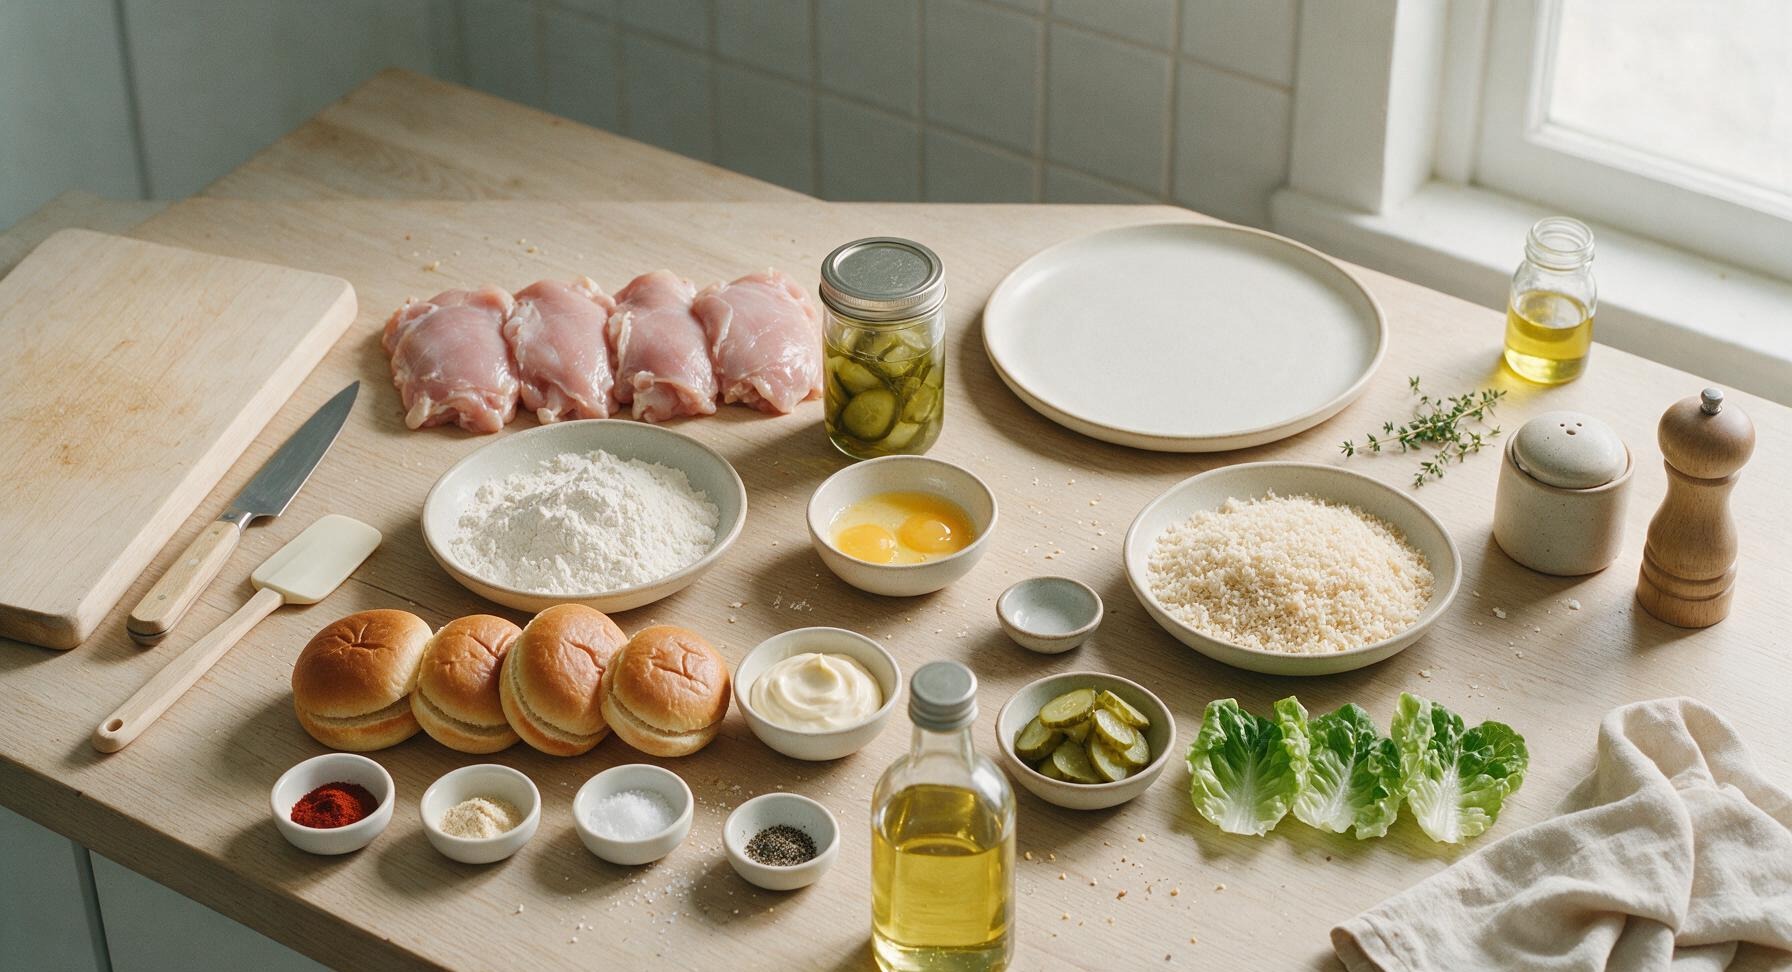
Boneless skinless chicken thighs 680g (4 pieces, ~170g each, pounded to 1.5cm thickness)
Dill pickle brine 120ml (1/2 cup)
All-purpose flour 120g (1 cup)
Large eggs 2, beaten with 1 tbsp water
Panko breadcrumbs 90g (1.5 cups)
Smoked paprika 1 tsp
Garlic powder 1 tsp
Kosher salt 1.5 tsp, divided
Freshly ground black pepper 1/2 tsp
Cayenne pepper 1/4 tsp (optional, for mild heat)
Brioche hamburger buns 4, split horizontally
Full-fat mayonnaise 75g (1/3 cup)
Crinkled dill pickle slices 8 slices, drained
Green leaf lettuce 4 small leaves, patted dry
Neutral vegetable oil 1L (4 cups), for frying

Steps

1

Brine the Chicken Thighs

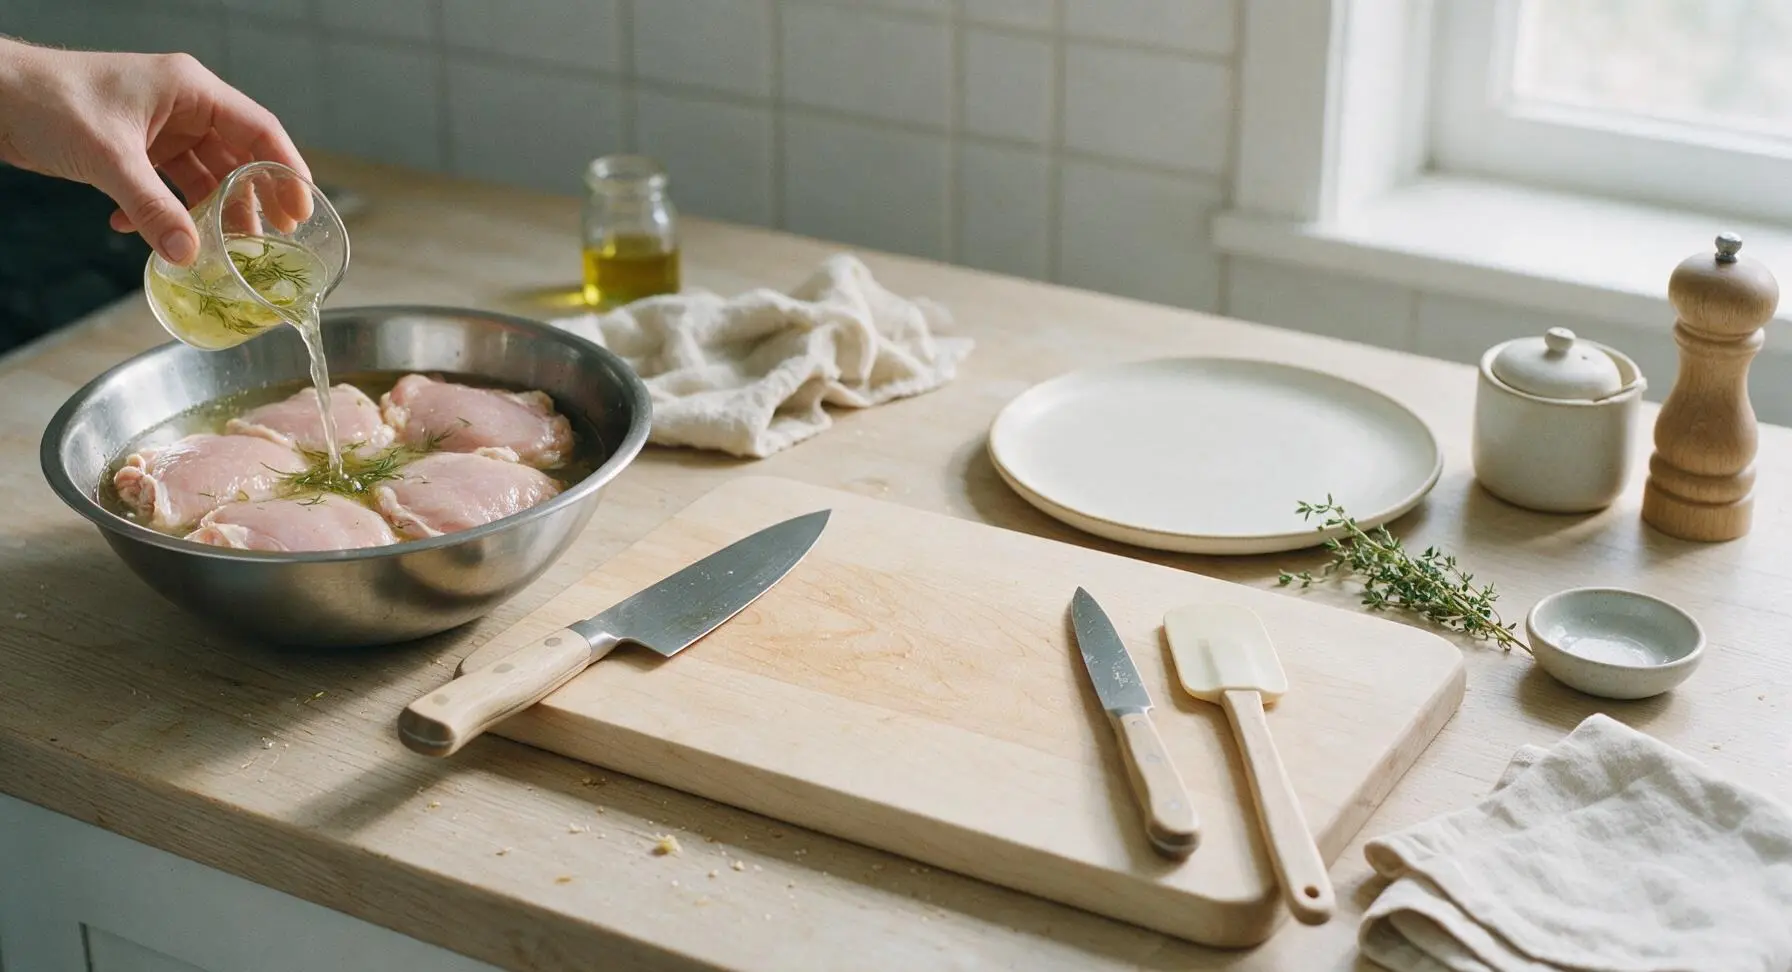
Place chicken thighs (pounded to an even 1.5cm thickness using the flat side of the chef knife, between two sheets of parchment paper) into the left stainless steel mixing bowl. Pour 120ml dill pickle brine over the chicken, ensuring all pieces are fully submerged. Let rest at room temperature for 15 minutes to brine; this locks in moisture and adds subtle tang without making the chicken too salty. Do not brine longer than 2 hours in the fridge, as the pickle brine is high in salt.
Step 1
step1:Brine the Chicken Thighs
2

Set Up Breading Station

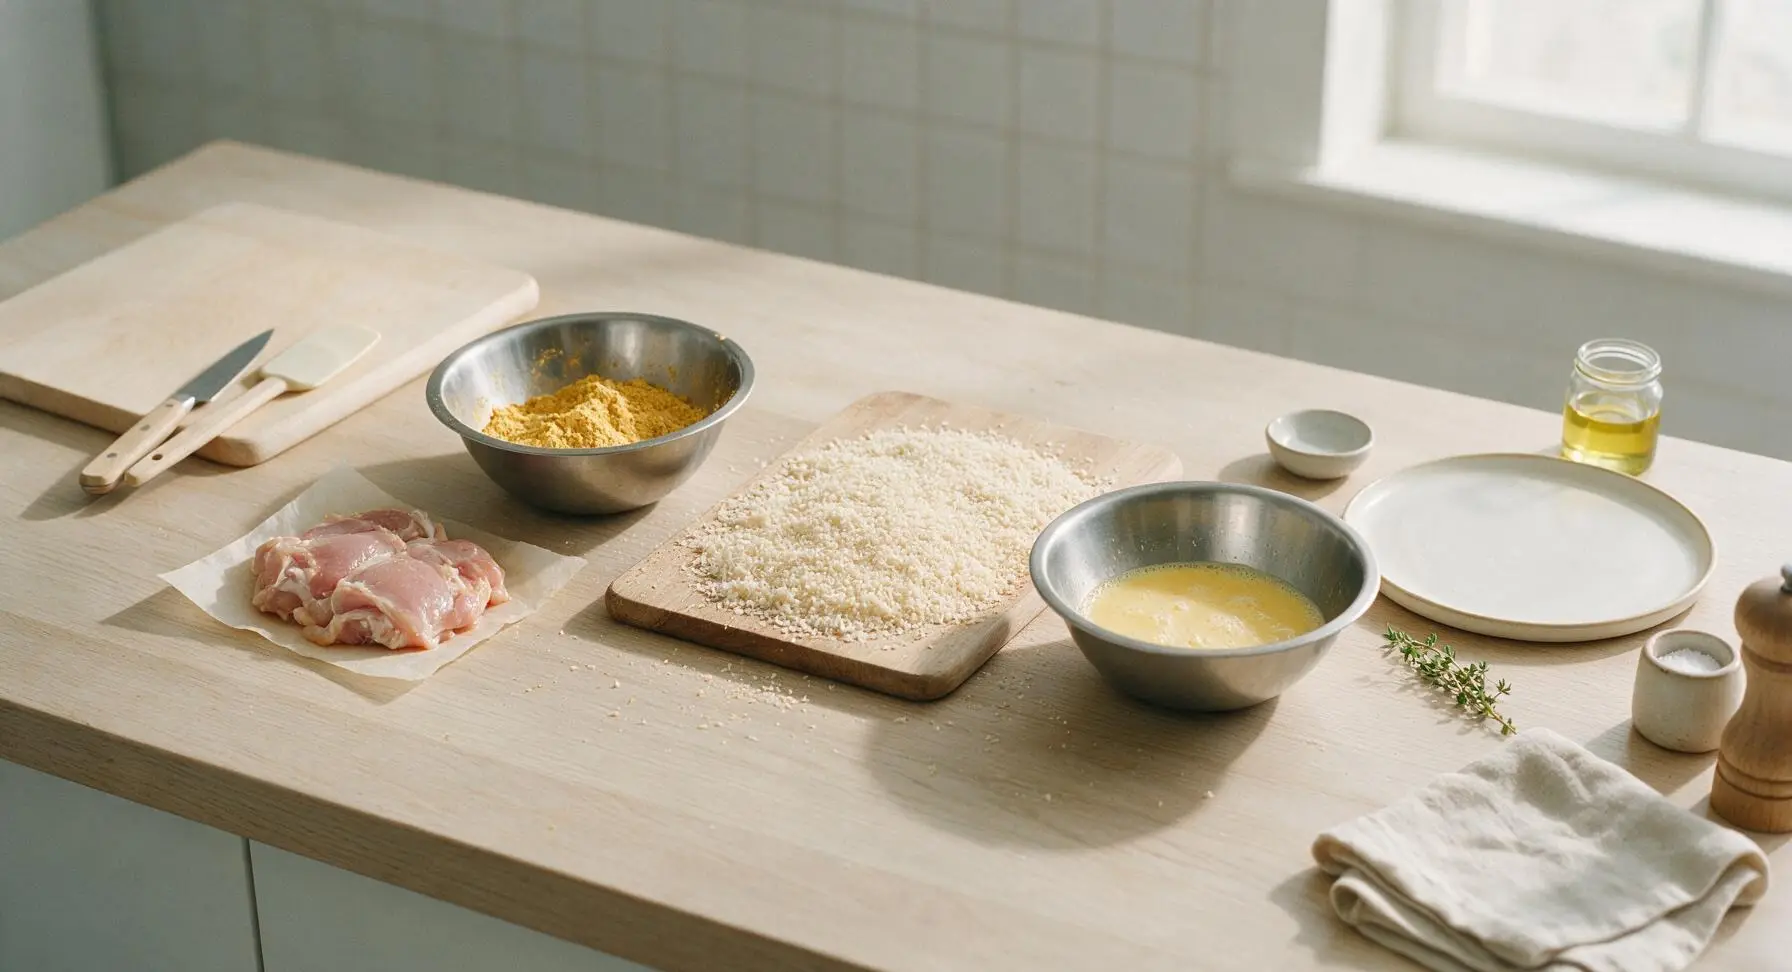
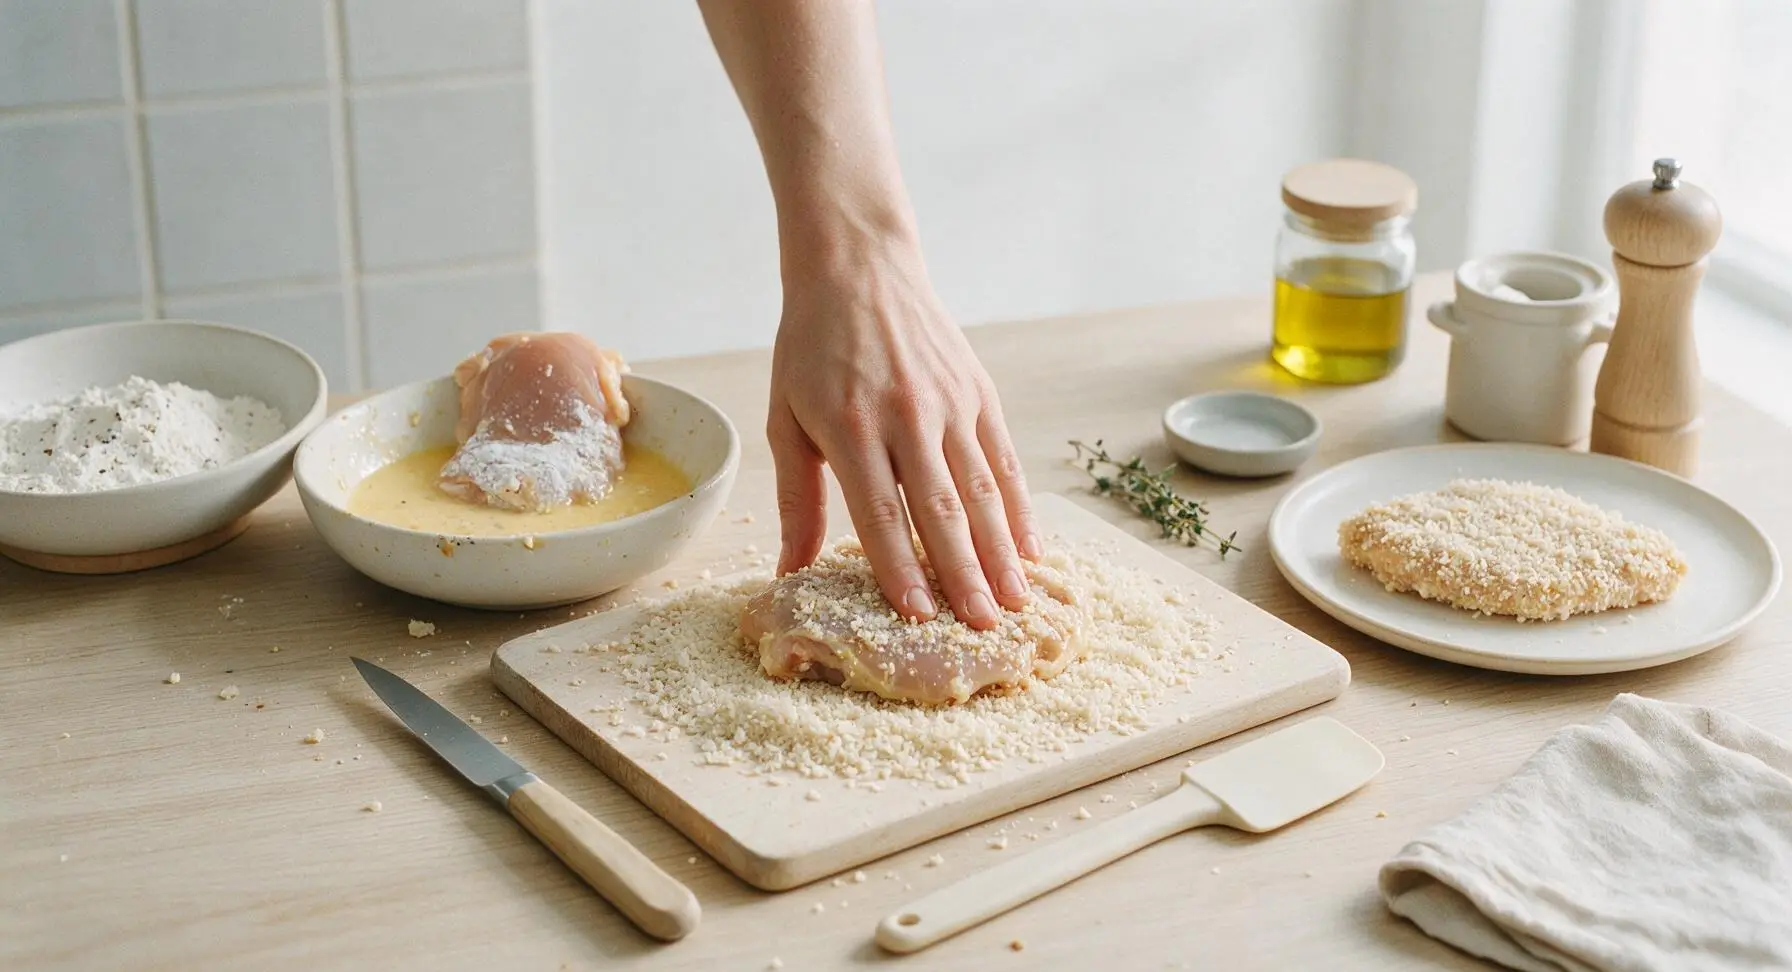
After brining, remove chicken from the brine and pat completely dry with paper towels (discard used brine). In the now-empty left mixing bowl, combine all-purpose flour, smoked paprika, garlic powder, 1 tsp kosher salt, black pepper, and optional cayenne, whisking until fully mixed. Add beaten eggs (whisked with 1 tbsp water) to the right stainless steel mixing bowl. Spread panko breadcrumbs in an even, 1cm thick layer across the center maple cutting board. Arrange the station in a straight left-to-right line: flour, egg wash, panko, for smooth, mess-free breading.
Step 2
step2:Set Up Breading Station
3

Bread Chicken Cutlets

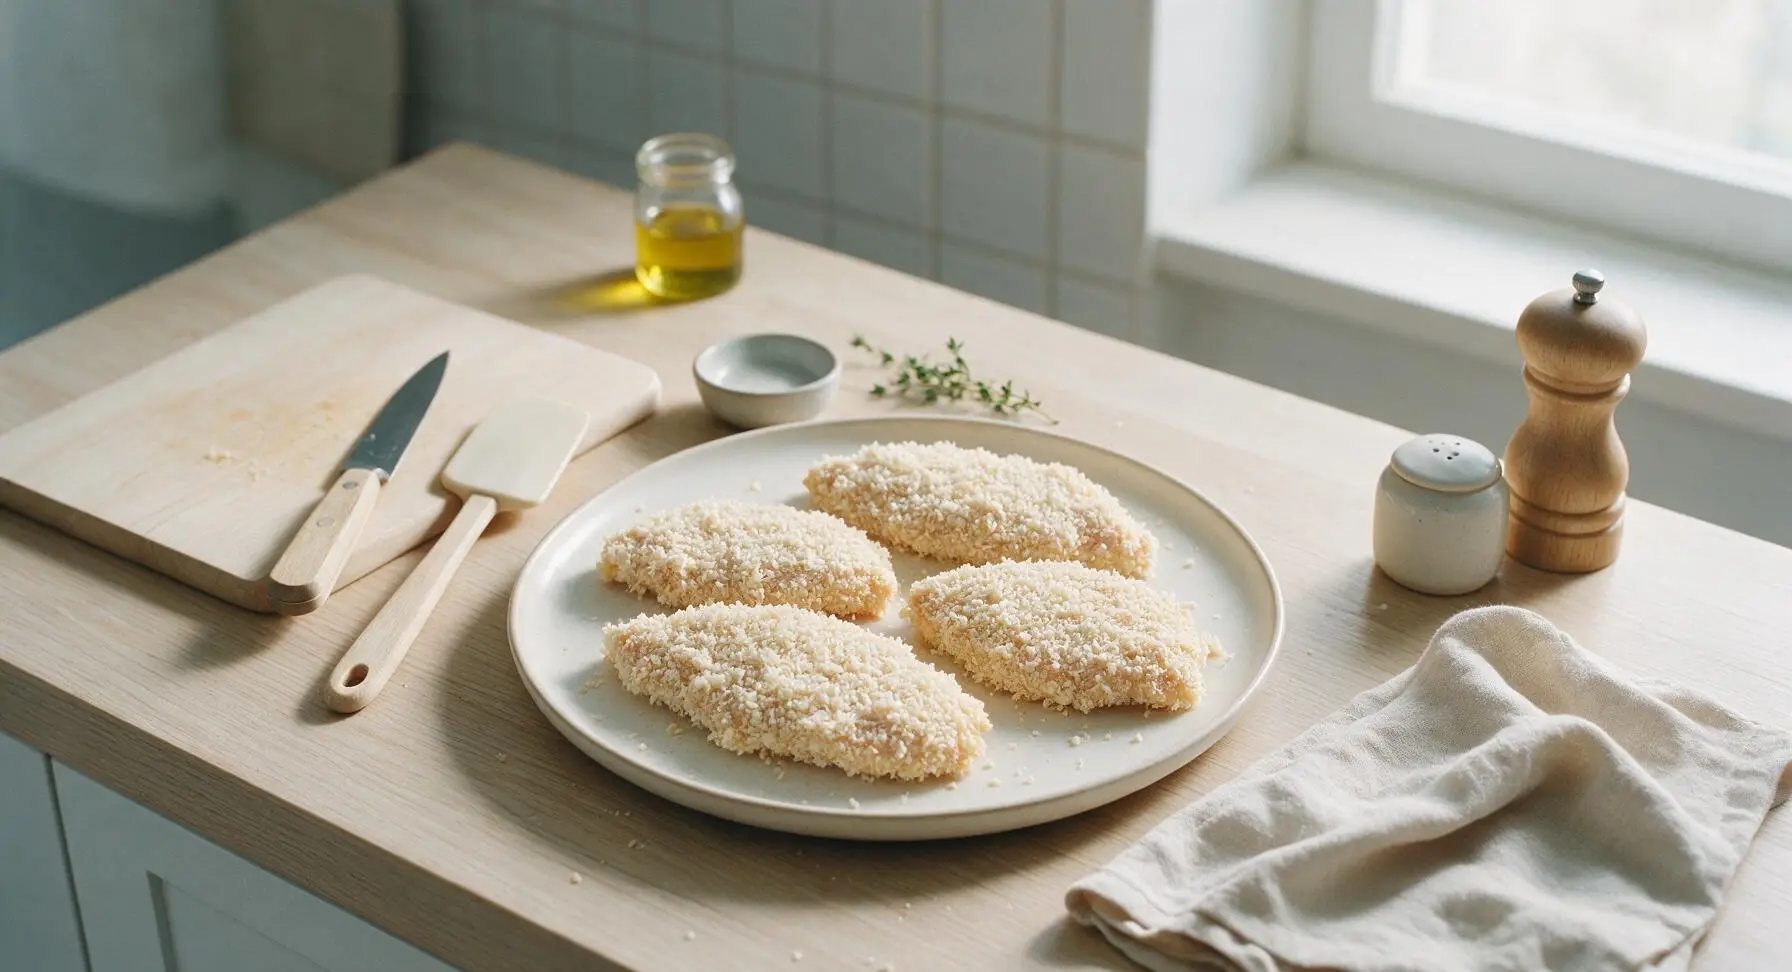
Working one piece at a time, dredge a chicken thigh fully in the spiced flour, shaking off all excess to avoid clumps. Dip the floured chicken fully into the egg wash, letting excess egg drip off for 2 seconds to prevent thick, eggy patches. Press the chicken firmly into the panko breadcrumbs on all sides, applying gentle pressure to ensure crumbs adhere to every surface – a thick, even coating is key for maximum crispness. Place fully breaded cutlets in a single layer on the top matte cream ceramic dinner plate, and let rest 5 minutes at room temperature to let the breading set before frying.
Step 3
step3:Bread Chicken Cutlets
Step 3
step3:Bread Chicken Cutlets
4

Heat Oil for Frying

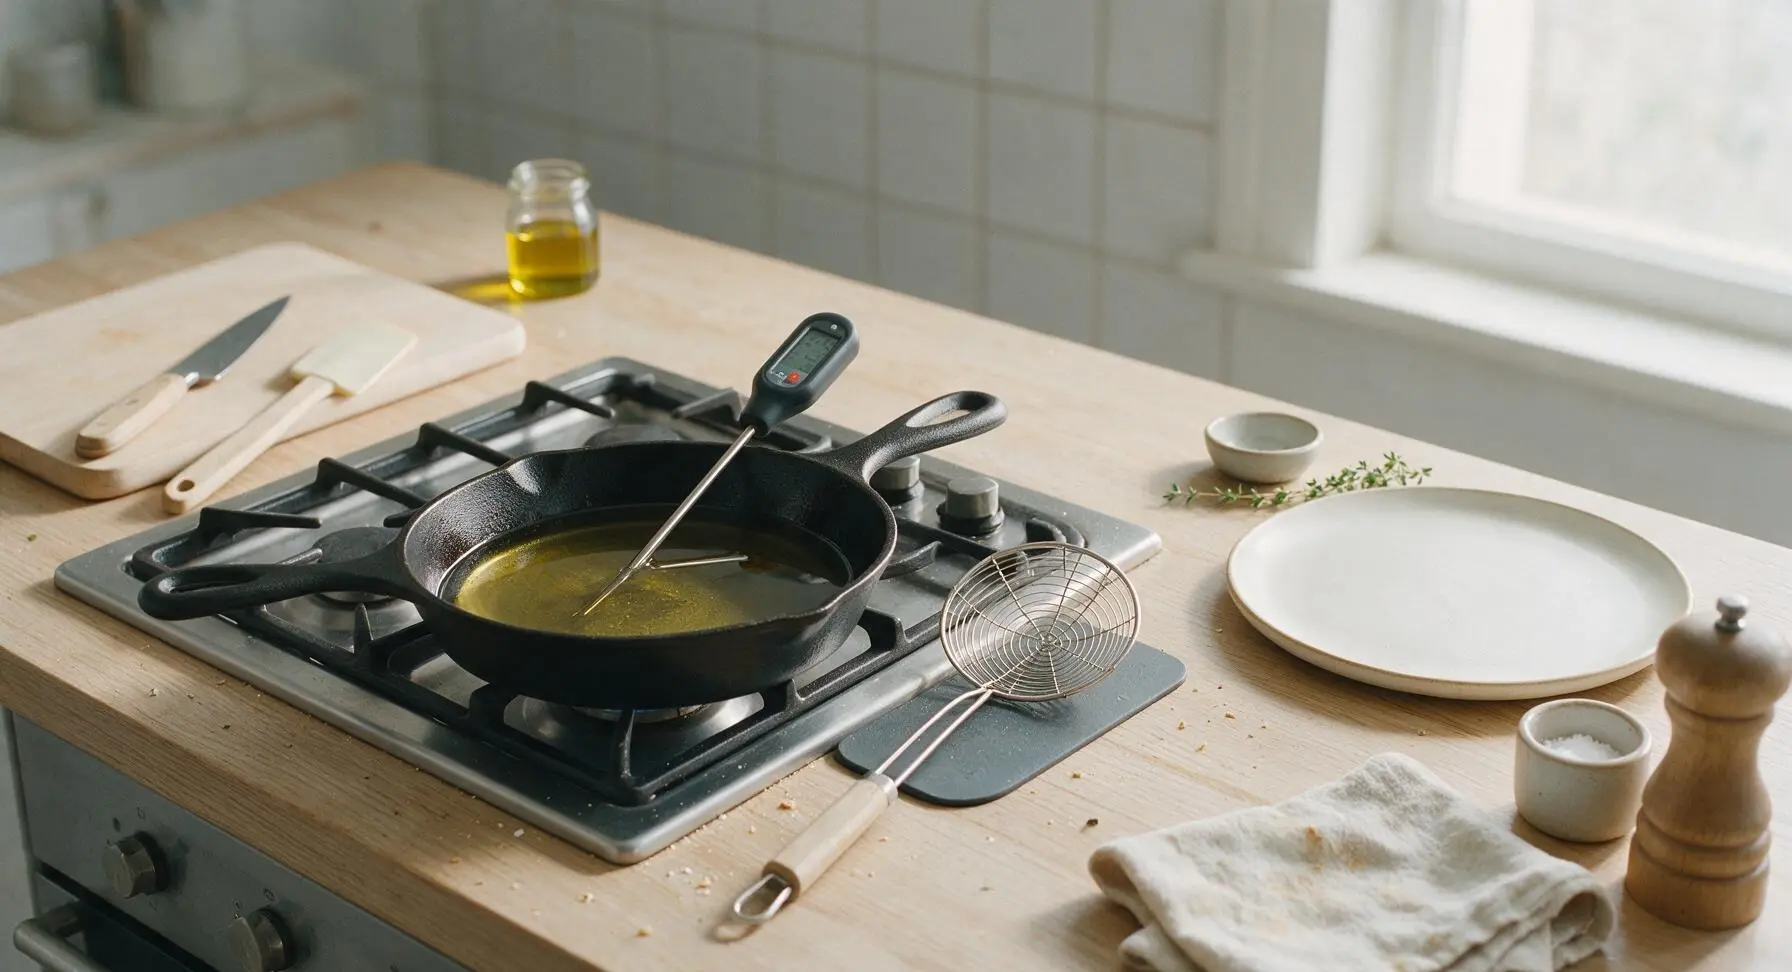
Pour 1L neutral vegetable oil into the 10-inch matte black cast iron skillet set over medium heat. Heat the oil gradually until it reaches a steady 175C (350F), checking the temperature with the digital instant-read thermometer. Do not let the oil reach smoking point (above 190C/375F), as this will burn the panko crust before the chicken cooks through. Adjust stovetop heat as needed to hold a consistent 350F throughout frying.
Step 4
step4:Heat Oil for Frying
5

Fry Chicken Until Crispy

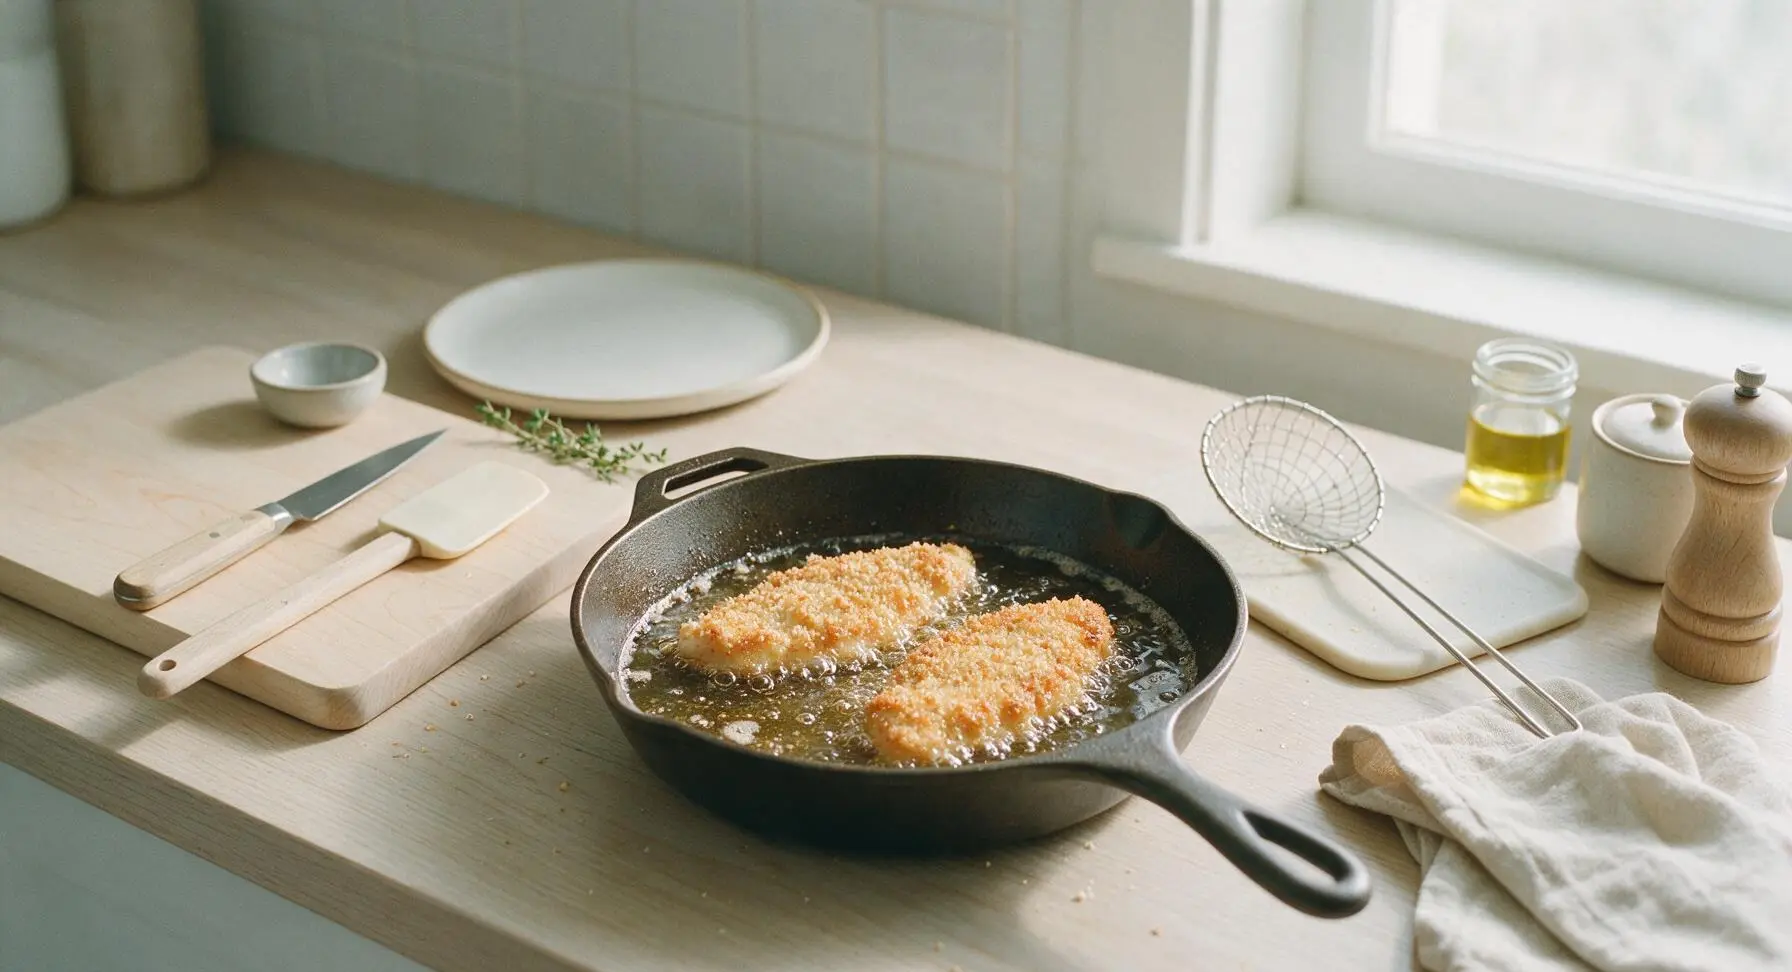
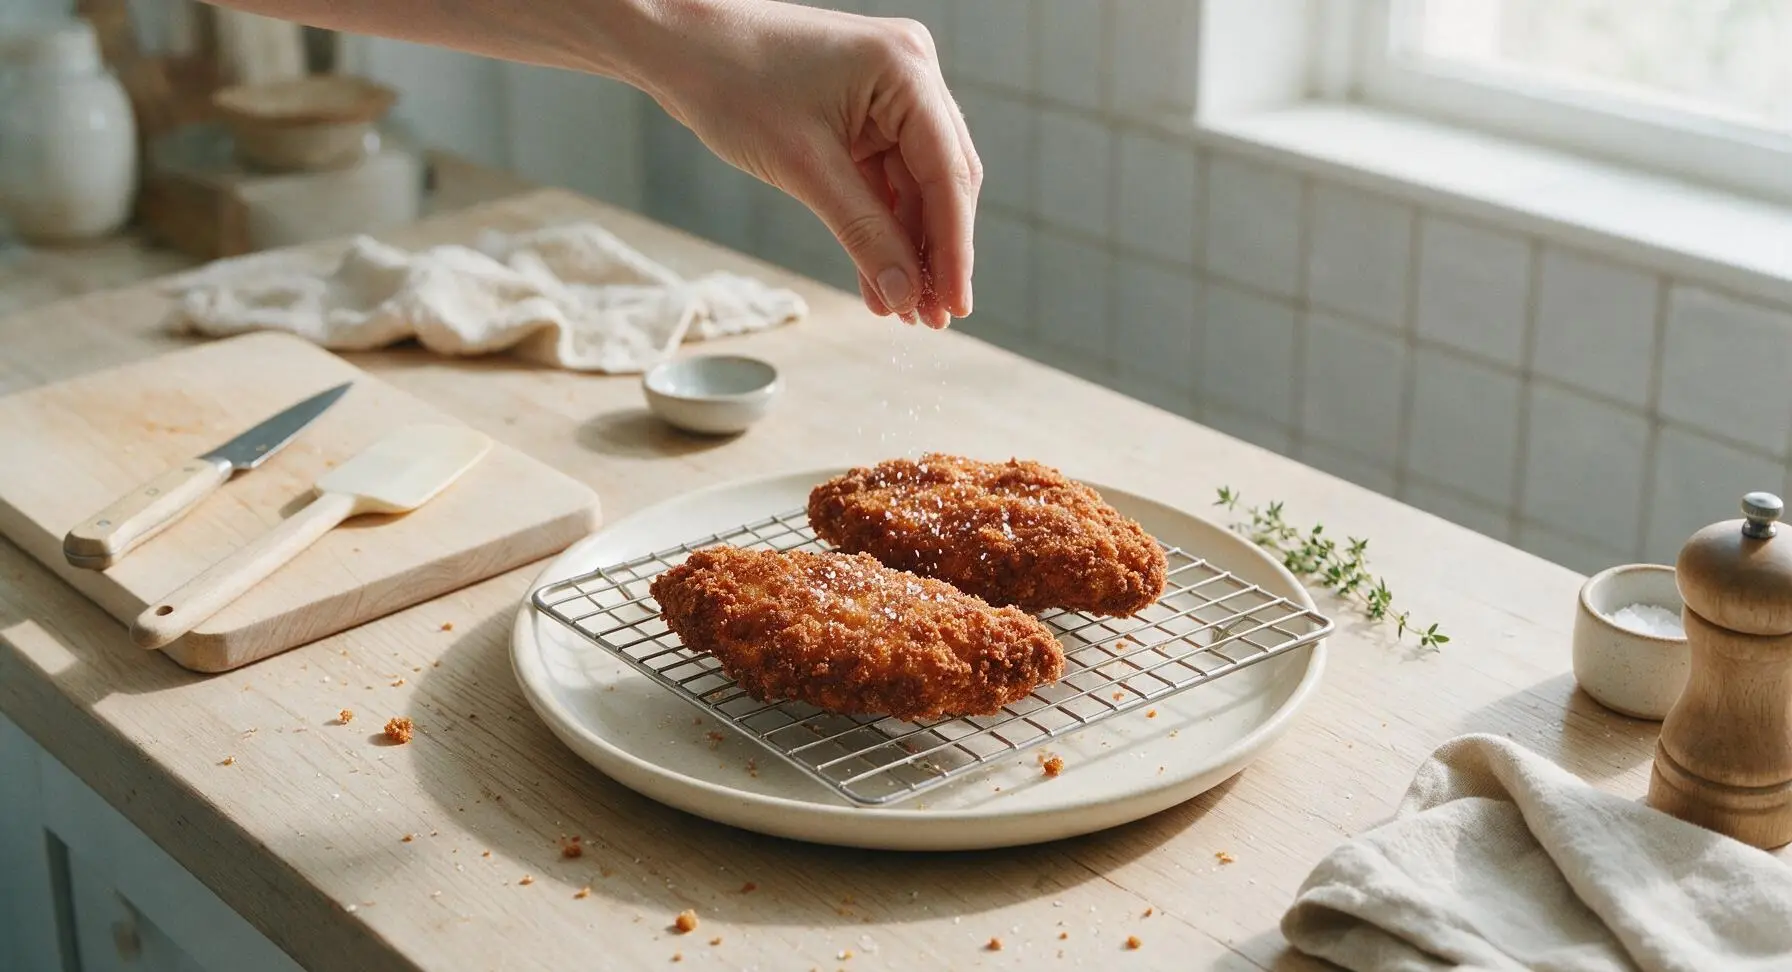
Carefully lower 2 breaded cutlets into the hot oil using tongs, lowering them slowly away from you to avoid hot oil splatters. Fry for 3-4 minutes per side, until the crust is a deep, uniform golden brown and the chicken reaches an internal temperature of 75C (165F) on the instant-read thermometer. Use the wire skimmer to lift cooked chicken from the oil, letting excess oil drain for 2 seconds before transferring to a wire rack set over a second cream ceramic plate. Sprinkle hot chicken with the remaining 1/2 tsp kosher salt immediately. Fry the remaining 2 cutlets the same way, letting oil return to 350F between batches. Let chicken rest 3 minutes before assembling; do not rest on paper towels, as trapped steam will soften the crust.
Step 5
step5:Fry Chicken Until Crispy
Step 5
step5:Fry Chicken Until Crispy
6

Toast Brioche Buns

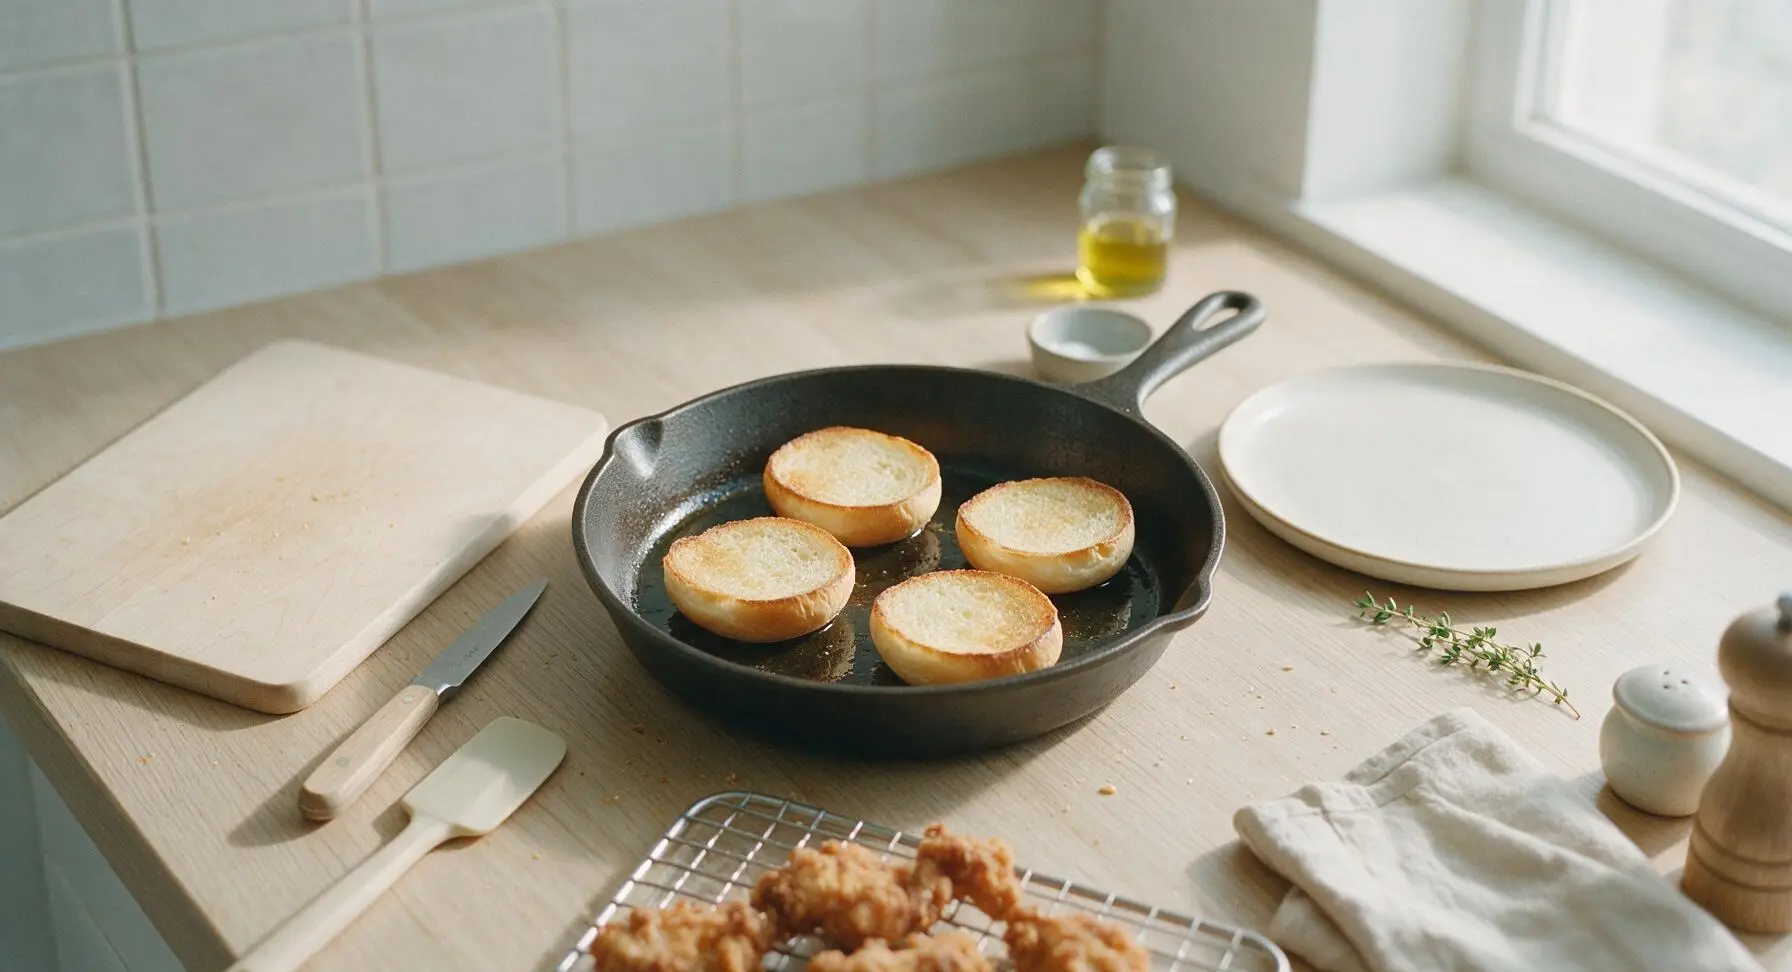
After removing the final batch of chicken from the skillet, reduce heat to low. Place split brioche bun halves cut-side down in the thin layer of residual hot oil left in the skillet, and toast for 30-45 seconds until the cut surface is pale golden and slightly crisp around the edges. Remove buns from the skillet and set aside; toasting creates a moisture barrier that prevents the buns from getting soggy from sauce and chicken juices.
Step 6
step6:Toast Brioche Buns
7

Assemble the Sandwiches

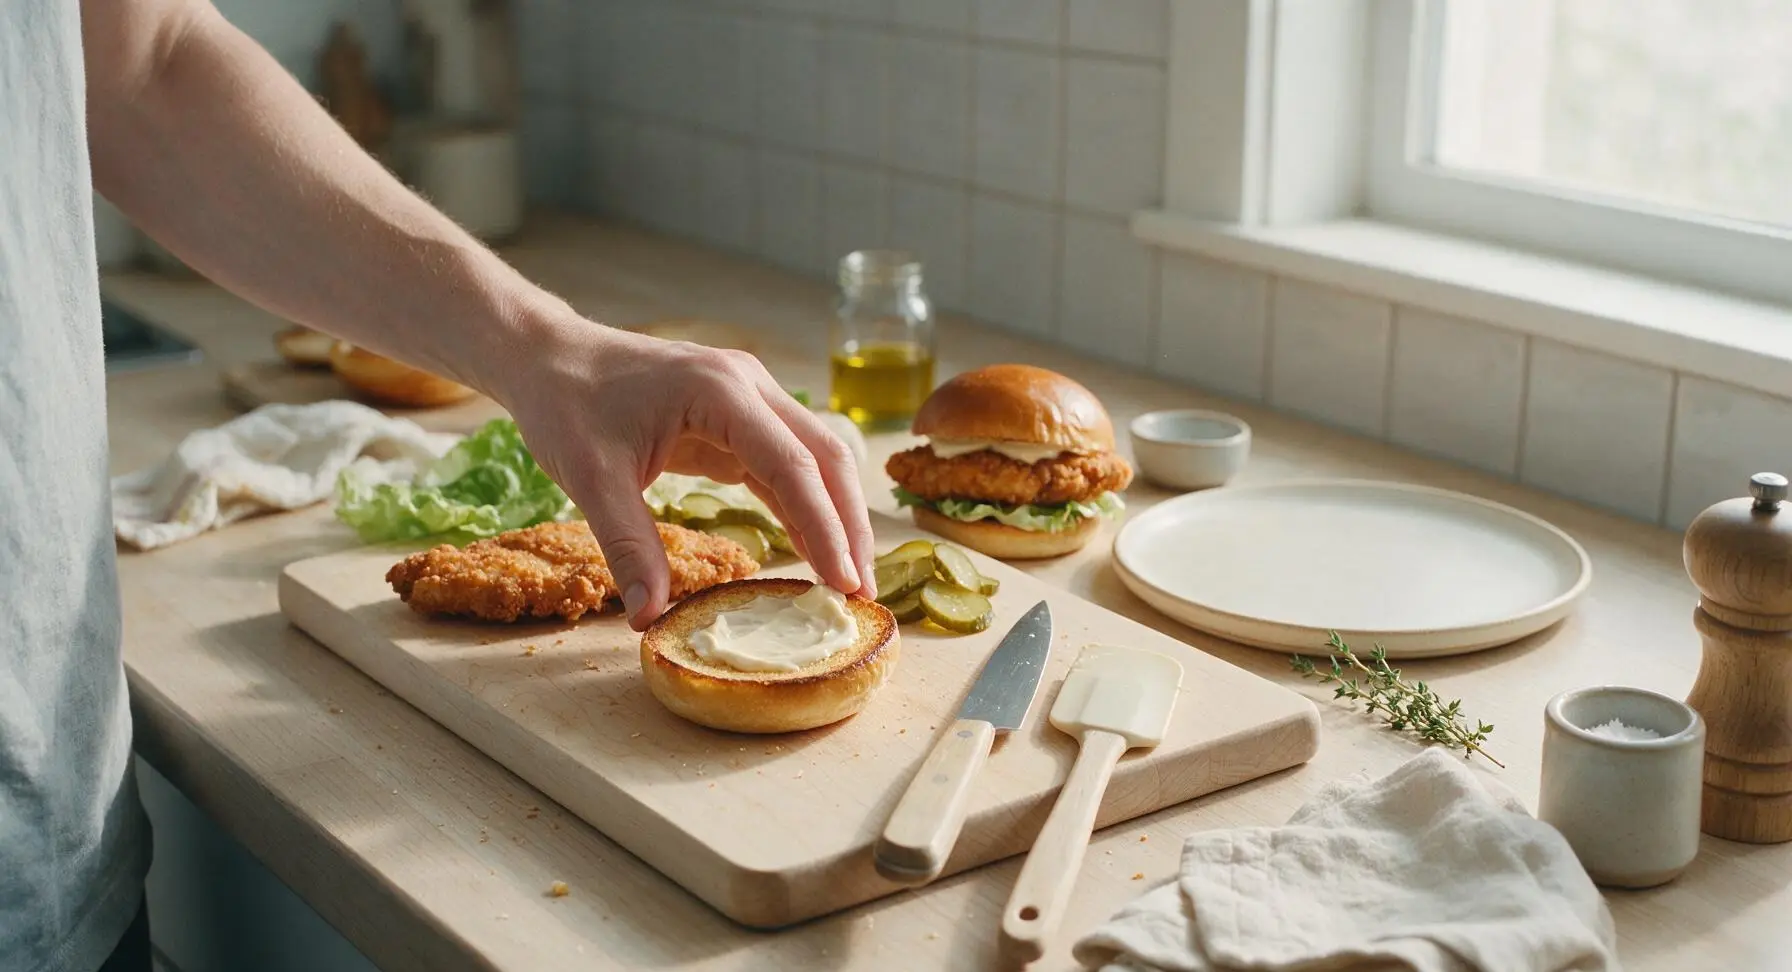
Spread 1 tablespoon of full-fat mayonnaise evenly across the cut surface of both top and bottom bun halves for each sandwich. Place one crisp, dry green lettuce leaf on the bottom bun, top with one crispy chicken cutlet, layer two drained dill pickle slices over the chicken, then cap with the top bun. Press down very gently to adhere the layers; avoid pressing firmly, as this will crush the crisp crust and squeeze out sauce. Transfer assembled sandwiches to the serving plate.
Step 7
step7:Assemble the Sandwiches

Tips

1.Pound chicken to a uniform 1.5cm thickness before brining: This ensures every piece cooks at the exact same rate, so you won't have overcooked dry edges or undercooked thick centers when frying.
2.Pat brined chicken completely dry before breading: Excess moisture on the chicken surface will cause the breading to slip off during frying, and create dangerous hot oil splatters when the chicken hits the pan.
3.Let fried chicken rest on a wire rack, not paper towels: Paper towels trap condensation and steam against the hot crust, turning it soggy in 60 seconds or less; elevated air circulation keeps the crust shatteringly crisp until you take your first bite.


✨ You May Also Like

Main Course
🍜 United Kingdom

A showstopping classic of tender seared beef, savory mushroom duxelles, and crisp prosciutto wrapped in flaky golden puff pastry, baked to juicy perfection.

⏱️ 2 hours 1Main Course ★ 4.7
Main Course
🍜 India

Tender charred marinated chicken simmered in a rich, spiced creamy tomato sauce, this iconic Anglo-Indian curry pairs perfectly with basmati rice or warm naan.

⏱️ 50 minuteMain Course ★ 4.6
Main Course
🍜 Thailand

Classic tangy, sweet, and savory Thai stir-fried rice noodles with shrimp, tofu, and crunchy garnishes, balancing all five core Thai flavor profiles.

⏱️ 30 minuteMain Course ★ 4.5
Main Course
🍜 United Kingdom

Crispy golden beer-battered cod and fluffy double-fried chips, served with tangy tartar sauce and malt vinegar: the timeless, beloved British pub comfort classic.

⏱️ 45 minuteMain Course ★ 4.7
Main Course
🍜 Mexico

Smoky, chile-marinated pork tacos with caramelized pineapple, fresh cilantro, and lime: a beloved classic Mexican street food perfect for casual summer gatherings.

⏱️ 1 hour 45Main Course ★ 4.8
Main Course
🍜 United States

Crunchy Fritos corn chips layered with savory beef chili and melted cheddar, topped with cool, zesty fixings for a beloved, cozy Tex-Mex comfort food.

⏱️ 35 minuteMain Course ★ 4.8

homemade crispy chicken sandwich:Frequently Asked Questions

1.Why use chicken thighs instead of breasts for this sandwich? ▾
Chicken thighs are my go-to here because their slightly higher fat content stays juicy and tender through high-heat frying, with no dry, stringy bites even if you go a minute over on cook time. Lean chicken breast dries out far faster, and the rich, savory bite of thigh pairs perfectly with tangy pickles and creamy mayo for that classic Southern sandwich vibe.
2.How long do I need to brine the chicken in dill pickle brine? ▾
For boneless, skinless thighs, aim for a 2 to 4 hour brine in the fridge, fully submerged in dill pickle brine. Don’t brine longer than 6 hours—pickle brine is high in salt, so over-brining can make chicken too salty and give it a mushy texture. If you’re short on time, even a 45-minute brine (keep chicken chilled!) will add great tang and juiciness.
3.Can I use regular breadcrumbs instead of panko for the crispy crust? ▾
You can, but you won’t get that signature shatteringly crisp texture. Panko is coarser, flakier, and less dense than fine regular breadcrumbs, so it fries up lighter, crunchier, and doesn’t get soggy as quickly from chicken juices or mayo. If you only have regular breadcrumbs, mix in half crushed cornflakes to mimic panko’s light, crisp bite.
4.What oil temperature do I need to get a crispy crust without burning it? ▾
Keep your frying oil held steady at 350°F for the best results. If it’s too hot, the panko crust will burn before the chicken cooks through; if it’s too low, the crust will soak up excess oil and turn greasy and soggy. Use a clip-on candy thermometer to monitor temp, and don’t overcrowd the pan, which drops oil temperature fast.
5.Why does my breading fall off the chicken when I fry it? ▾
Breading slips off for two main reasons: wet chicken going into the coating, or moving the chicken too soon after adding it to oil. After dredging in flour, egg, then panko, let coated chicken rest on a wire rack for 10 minutes so the coating adheres. Once in oil, wait 3 full minutes before flipping to let the crust set fully.
6.Do I really need to toast the brioche buns? ▾
I strongly recommend it! Toasting brioche buns for 30 to 60 seconds cut-side down on a skillet or griddle creates a slight barrier that keeps buns from getting soggy from mayo, chicken juices, or pickle brine. It also adds a warm, buttery, slightly crisp edge that balances soft, sweet brioche against the crunchy chicken perfectly.
7.Can I bake this crispy chicken instead of deep frying it for a lighter option? ▾
Absolutely, though the crust won’t be quite as shatteringly crisp as the fried version. Arrange panko-coated chicken on a wire rack set over a baking sheet, spray both sides generously with cooking oil, and bake at 425°F for 20 to 25 minutes, flipping halfway, until internal temp hits 165°F. The rack lets air circulate for even crisping, no soggy bottoms.
8.Should I season the flour and panko, or is the pickle brine salty enough? ▾
The pickle brine adds great tang and salt to the chicken itself, but you still need to season your coating layers! Add a teaspoon each of garlic powder, paprika, and black pepper to the all-purpose flour, plus a pinch of salt and pepper to the panko. Unseasoned coating will taste bland, even with perfectly brined chicken underneath.
9.How do I make sure the chicken is fully cooked without overcooking it? ▾
Skip cutting into the chicken to check for doneness—that lets all the juicy brine run out! Instead, use an instant-read meat thermometer stuck into the thickest part of the thigh, and pull it from oil once it hits 165°F. Let it rest 3 minutes on a wire rack before assembling; carryover cooking finishes it, and juices redistribute for a juicier bite.
10.Can I prep the breaded chicken ahead of time to make weeknight dinners faster? ▾
Yes! You can brine the thighs, dredge them fully in flour, egg, and panko, then arrange them on a wire rack-lined tray, cover tightly, and store in the fridge for up to 12 hours before frying. There’s no need to let it come to room temp first—just add straight to 350°F oil, adding 1 to 2 minutes of cook time if needed.
11.What’s the best oil to use for frying this chicken? ▾
Reach for a neutral, high-smoke-point oil like canola, vegetable, peanut, or avocado oil. These won’t add off-flavors to the chicken as they heat, and they hold steady at 350°F without burning or smoking. Skip olive oil or butter for frying—their low smoke points will burn the panko crust and leave a bitter, unpleasant taste.
12.Can I use chicken breasts if I don’t have thighs? ▾
You can, but you’ll need to adjust prep to avoid dry chicken. Pound boneless, skinless breasts to an even ½-inch thickness so they cook evenly, and brine them for only 1.5 to 2 hours (thinner breast meat absorbs brine faster than thighs). Keep a close eye on internal temp, pulling them at 165°F to avoid tough, dry bites.
13.Why do you recommend resting the fried chicken on a wire rack instead of paper towels? ▾
Paper towels trap steam against the hot crust, which turns that perfectly crisp panko soggy in minutes. A wire rack set over a baking sheet lets air circulate all around the fried chicken, keeping the crust crisp while excess oil drips away. If you don’t have a rack, use paper towels but move chicken to a plate after 30 seconds to cut down on sogginess.
14.Do I need to add anything to the egg wash for better coating adhesion? ▾
You don’t need fancy add-ins, but I do recommend whisking 1 tablespoon of cold water or dill pickle brine into your beaten eggs to thin the wash slightly. A thinner egg wash creates a more even, less gloppy layer that helps panko stick evenly instead of clumping in thick patches that fall off during frying. A pinch of salt in the eggs doesn’t hurt, either!
15.Can I freeze the breaded uncooked chicken for later meals? ▾
Absolutely! Arrange fully breaded raw chicken thighs in a single layer on a baking sheet, freeze solid for 2 hours, then transfer to a labeled freezer bag for up to 3 months. Don’t thaw before cooking—fry straight from frozen at 335°F (slightly lower to keep crust from burning before chicken cooks through) for 8 to 10 minutes, until internal temp hits 165°F.
16.What easy upgrades work well with this basic crispy chicken sandwich? ▾
The classic dill pickle and mayo combo is perfect, but easy upgrades are endless! Mix hot sauce or minced garlic into your mayo for a kick, add a slice of melted American or pepper jack cheese, toss on shredded lettuce or sliced tomato, or drizzle hot honey over the chicken for a sweet-spicy twist that pairs beautifully with the tangy brine and crisp crust.
17.How do I keep the assembled sandwich from getting soggy if I’m packing it for lunch? ▾
Pack components separately if you can, but if you need a pre-assembled sandwich, spread mayo on both cut sides of the toasted brioche bun to create a moisture barrier. Pat pickle slices dry with a paper towel before adding them, and let fried chicken cool 5 minutes before stacking so trapped steam doesn’t turn the bun soft. Wrap tightly in parchment to hold it all together.

Comments (11)

2 days ago

OMG this crispy chicken sandwich is a total game changer!! I made these for my kid’s soccer team potluck last weekend and every single parent asked for the recipe. The crust stays so crunchy even after sitting out for 20 minutes, no soggy mess at all. 15 minute cook time is no joke too, perfect for busy weeknight dinners.

yesterday

Wait did you use regular panko or the seasoned kind? I’m making these for our tailgate next weekend and don’t wanna mess it up!

yesterday

So stoked these were a hit at the potluck! @SoccerDadJake we recommend plain panko seasoned with the paprika and garlic powder listed in the recipe for the best crunch, but seasoned panko works great too if you’re short on time!

3 days ago

Okay I was skeptical I could make a crispy chicken sandwich better than the fast food drive-thru ones but wow??? This is SO good. I added a little extra hot honey to the sauce and it slapped. Only thing is I overcooked my first chicken breast a tiny bit but that was 100% user error lmao.

2 days ago

Love the hot honey addition, that’s such a good call! For next time, pounding the chicken to an even ½ inch thickness helps it cook evenly so you don’t get dried out edges, so worth the extra 30 seconds of prep!

1 week ago

Added these to my Sunday meal prep rotation! I cook the chicken ahead, keep the toppings separate, and toast the bun right before eating and it stays perfectly crispy all week long. Way cheaper than buying takeout for lunch every day, and my coworkers keep asking where I got it.

5 days ago

Made this last week and it was amazing, quick question though! Can I make this in an air fryer instead of pan frying next time? My apartment has a super finicky smoke alarm and I don’t wanna set it off again like I did last time I made fried chicken lmao.

3 days ago

I made mine in the air fryer last week! Spritz a little oil on the breaded chicken, 400F for 12 minutes flipping halfway, it came out just as crispy!!

2 days ago

Great question! Air frying works perfectly for this recipe, just like @SeattleVeggieGirl said—light spritz of oil and even cooking gets you that same crispy crust without all the stovetop smoke. So glad that trick worked for you!

30 minutes ago

Super easy recipe even for someone who burns toast 90% of the time! I made this for my roommates last night and they thought I ordered it from that fancy sandwich shop downtown. 10/10 will be making this every other week for sure.

5 minutes ago

Wait do you think this works with thin cut chicken tenders instead of a full breast? I have a bag in my freezer I need to use up!

2 weeks ago

My whole family devoured these at Sunday dinner! I served them with dill pickles, coleslaw, and a side of waffle fries and it felt like we were eating at our favorite local diner. The seasoning on the chicken is perfectly balanced, not too salty, just enough paprika kick.

yesterday

I made this for my family last weekend and everyone loved it! Quick question though: is there a good gluten free swap for the breading? I have celiac and have been craving a good crispy chicken sandwich so bad, I had a bite of my husband’s and it was incredible but I need a GF version for myself so I don’t get sick.

2 hours ago

Great question! Gluten free panko works perfectly here as a 1:1 swap for regular panko—just make sure to press the breadcrumbs firmly into the chicken so they adhere well, and don’t skimp on the oil when pan frying, and you’ll get that same perfect crunch no soggy bits!

2 hours ago

Made this last night for date night and my girlfriend said it’s better than any restaurant sandwich we’ve had in months. I added a slice of pepper jack cheese and some pickled jalapeños for a little heat, chef’s kiss. So easy even for a weeknight, zero stress.

30 minutes ago

The pepper jack addition sounds incredible! I’m making this for my boyfriend tomorrow for our anniversary dinner, was debating adding cheese so that’s the sign I needed

5 minutes ago

Love the spicy twist! Pepper jack and pickled jalapeños are such a perfect pairing with the crispy chicken, I’m definitely trying that on my next batch. Hope your anniversary dinner is amazing, @DateNightDani!

1 week ago

Pro tip: double dip the chicken in the egg wash and panko if you want extra extra crunch! I did that last time and the crust was so thick and crispy, it didn’t get soggy even when I loaded it up with extra pickles and sauce.

5 days ago

Oh I am SO trying this next time! I’ve been chasing that extra thick crunch forever, I never thought to double dip. Thanks for the tip!

just now

My kids are super picky eaters and they both asked for seconds when I made these for dinner last night! I skipped the spicy sauce for them and just did a little mayo on the bun, and they ate every bite. No dinner fights = 5 stars in my book.

5 minutes ago

Y’all I was so nervous to make this because I’m a total beginner (we’re talking burn boiled eggs level bad) but it was ACTUALLY easy! The 15 minute cook time is no lie, I didn’t overcook or undercook the chicken, and my roommate was obsessed when I made it for their birthday. Only reason it’s not 5 stars is I forgot to season the flour first so the first bite was a little bland, oops.

just now

Relatable! I forgot to season my panko the first time I made this too, next time just mix the spices right into the breading instead of sprinkling it on top and it’s foolproof!

just now

So proud of you for nailing this as a first time cook! That’s exactly why we love this recipe—super forgiving for new cooks, and the seasoning step is easy to remember next time. So glad your roommate’s birthday meal was a hit!



