
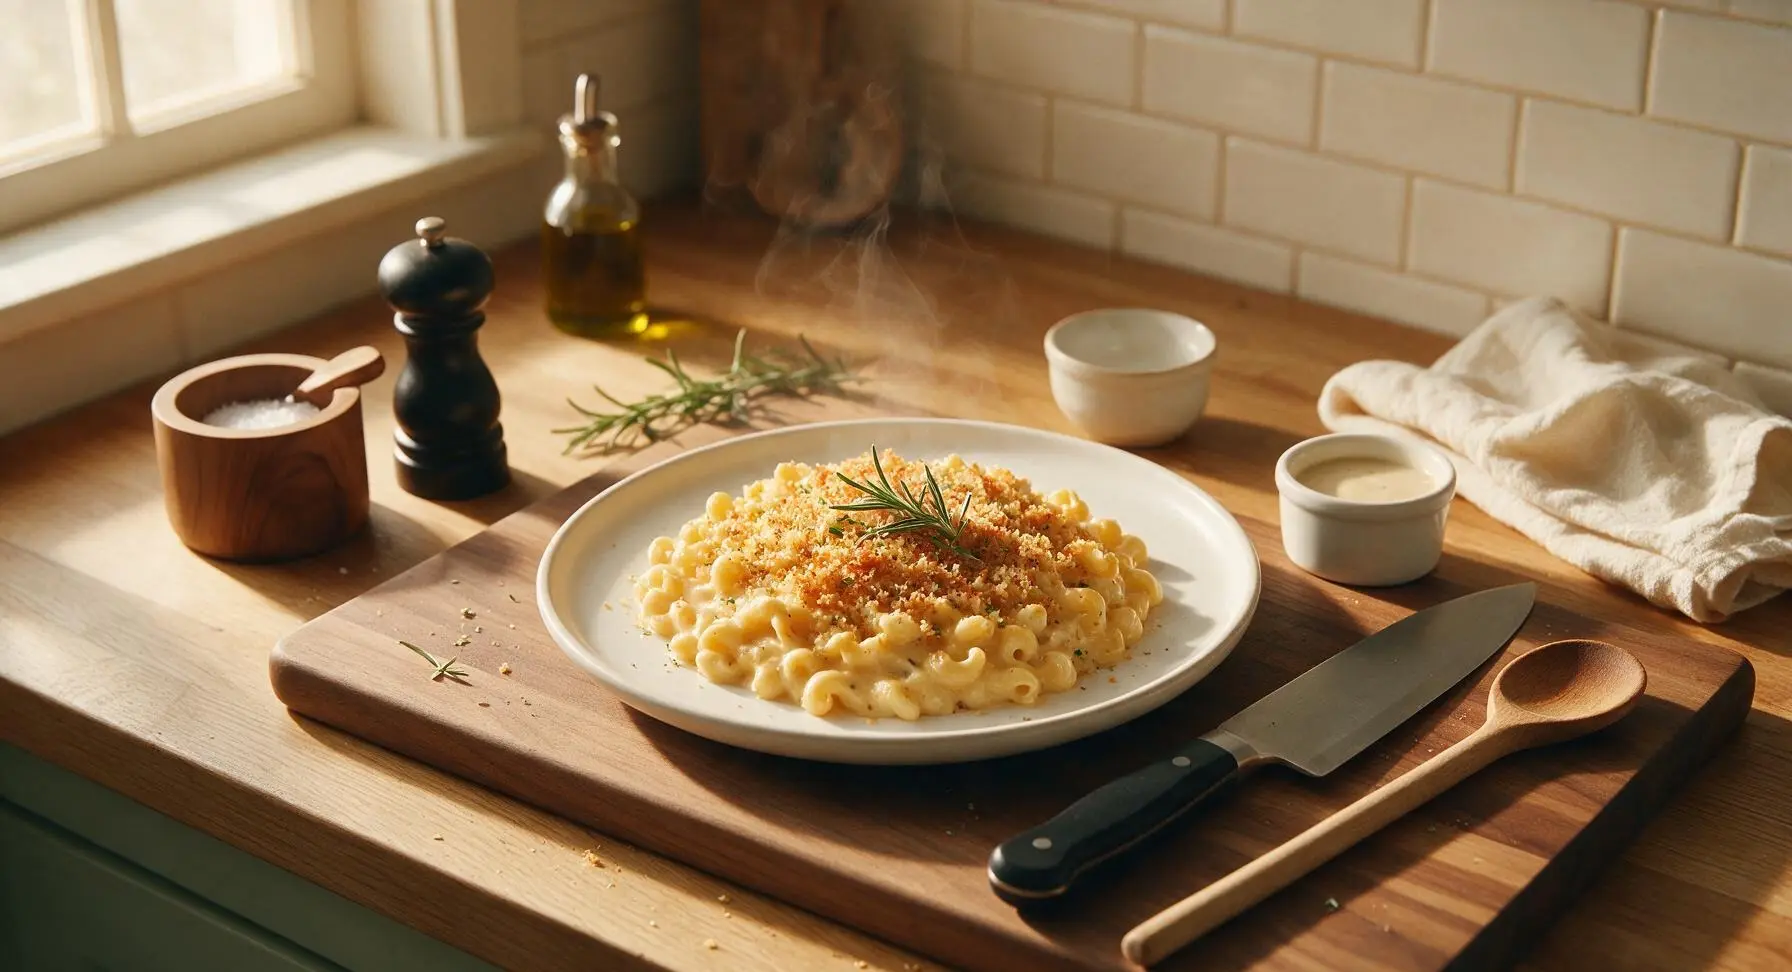
homemade stovetop mac and cheese

title 1
homemade stovetop mac and cheese
⏱️ cook time 20 minutes
🍽️ servings 4
⚡ Difficulty easy

intro

Creamy, velvety homemade stovetop mac and cheese with a crisp toasted panko topping—no oven required, ready in 30 minutes, packed with nostalgic, rich comfort food flavor.

Ingredients
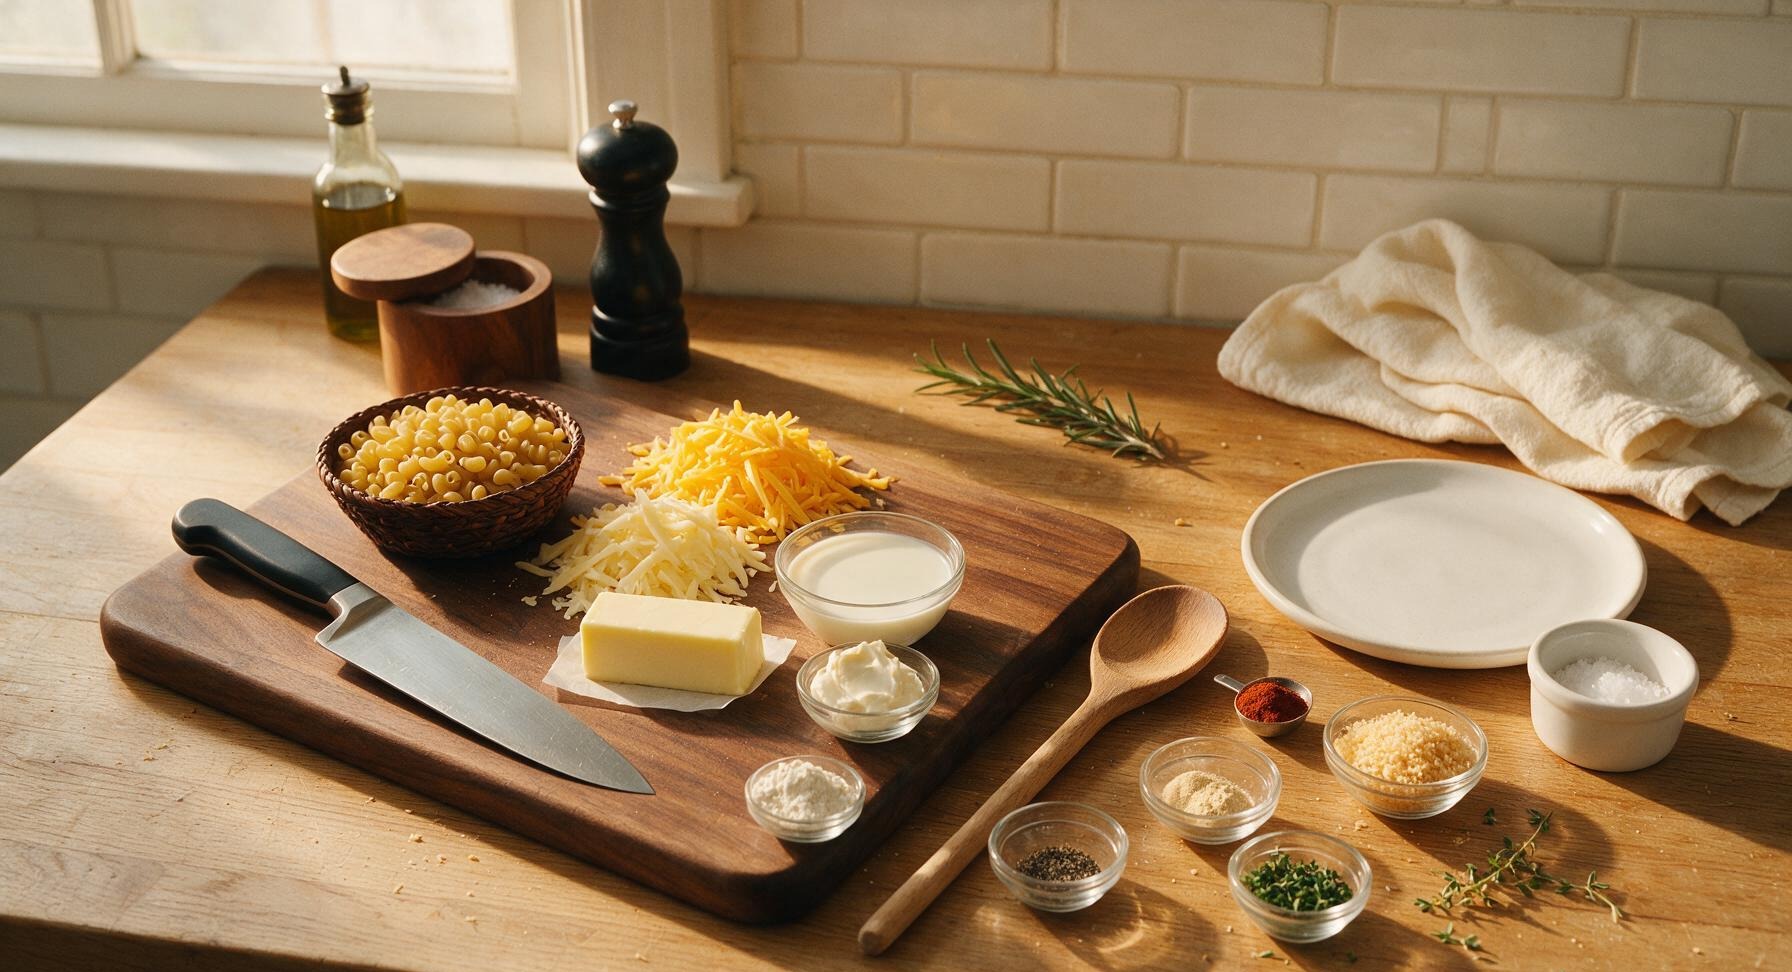
Dry elbow macaroni 225g (8oz)
Sharp yellow cheddar cheese 170g (1.5 cups, shredded)
Gruyère cheese 55g (0.5 cup, shredded)
Unsalted butter 3 tbsp (42g)
All-purpose flour 3 tbsp (24g)
Whole milk 2 cups (480ml)
Cream cheese, softened 2 tbsp (28g)
Kosher salt 1 tbsp (for pasta water) + 1 tsp (for sauce)
Freshly ground black pepper 0.5 tsp
Garlic powder 0.25 tsp
Smoked paprika 0.125 tsp
Panko breadcrumbs 2 tbsp
Fresh thyme 1 tsp leaves, plus extra for garnish

Steps

1

Boil Pasta Al Dente

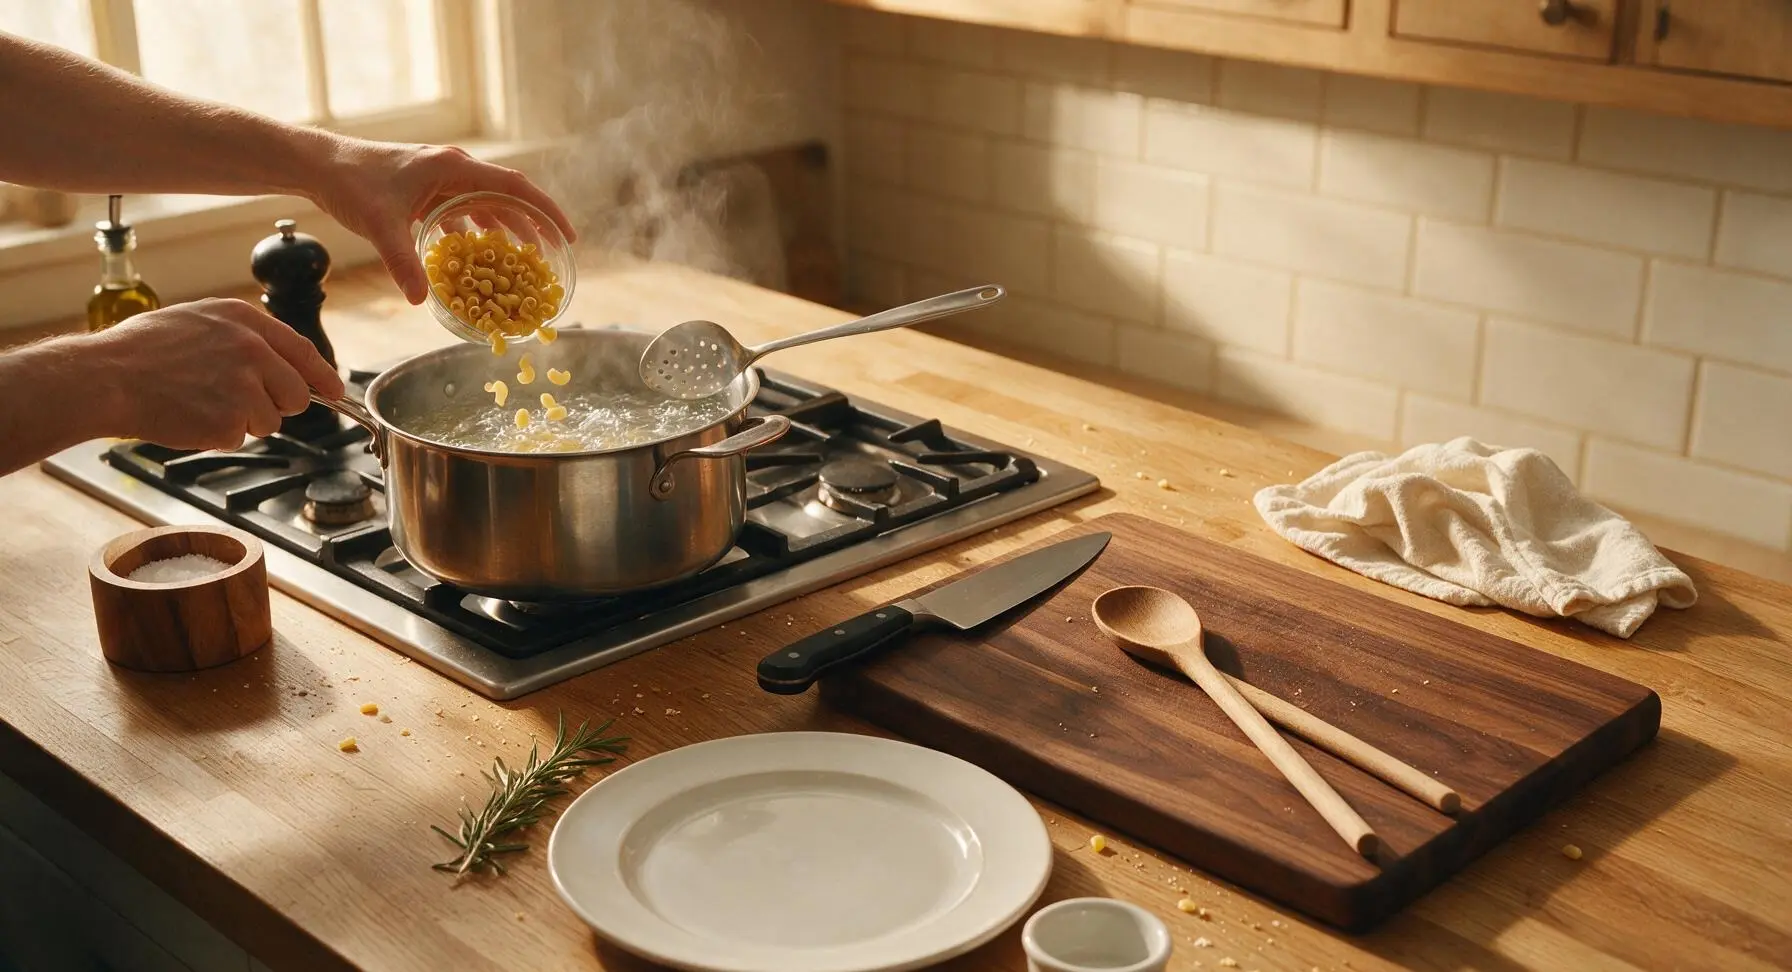
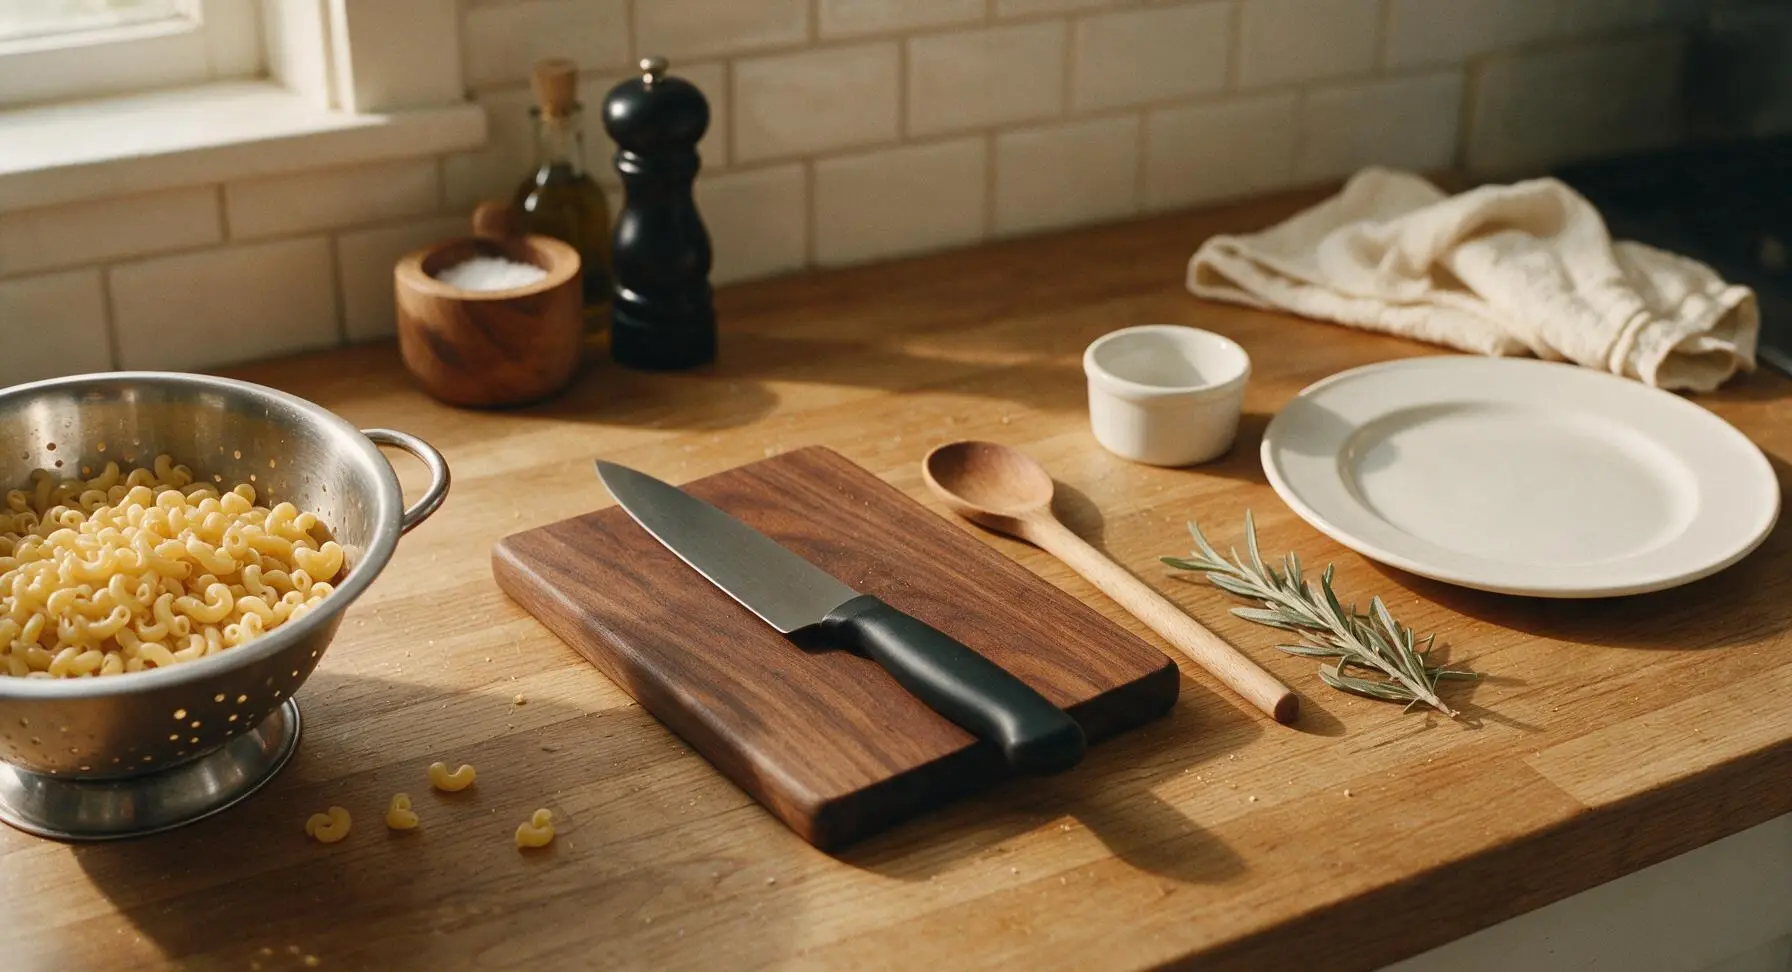
Fill the 4-quart stainless steel stock pot with 3 liters of cold water, add 1 tablespoon of coarse kosher salt (water should taste as salty as seawater), and bring to a rolling boil over high heat. Add 225g dry elbow macaroni, stir immediately with the slotted stainless steel pasta spoon to prevent noodles from sticking to the pot bottom. Cook for 1 minute less than the package’s recommended al dente time (approximately 7 minutes total). Reserve ½ cup of starchy pasta water in a small cup, then drain pasta in the stainless steel colander; do not rinse the pasta, as surface starch helps the cheese sauce adhere to noodles.
Step 1
step1:Boil Pasta Al Dente
Step 1
step1:Boil Pasta Al Dente
2

Toast Panko Topping

While pasta cooks, place the 20cm stainless steel small skillet on the right front burner over medium-low heat. Melt 1 tablespoon of unsalted butter, then add 2 tablespoons panko breadcrumbs and ¼ teaspoon fresh thyme leaves. Stir constantly with the honey oak wooden spoon for 2-3 minutes until crumbs are evenly deep golden and smell nutty. Transfer toasted crumbs to the 8cm cream ceramic ramekin and set aside; do not leave crumbs unattended, as they burn in seconds once hot.
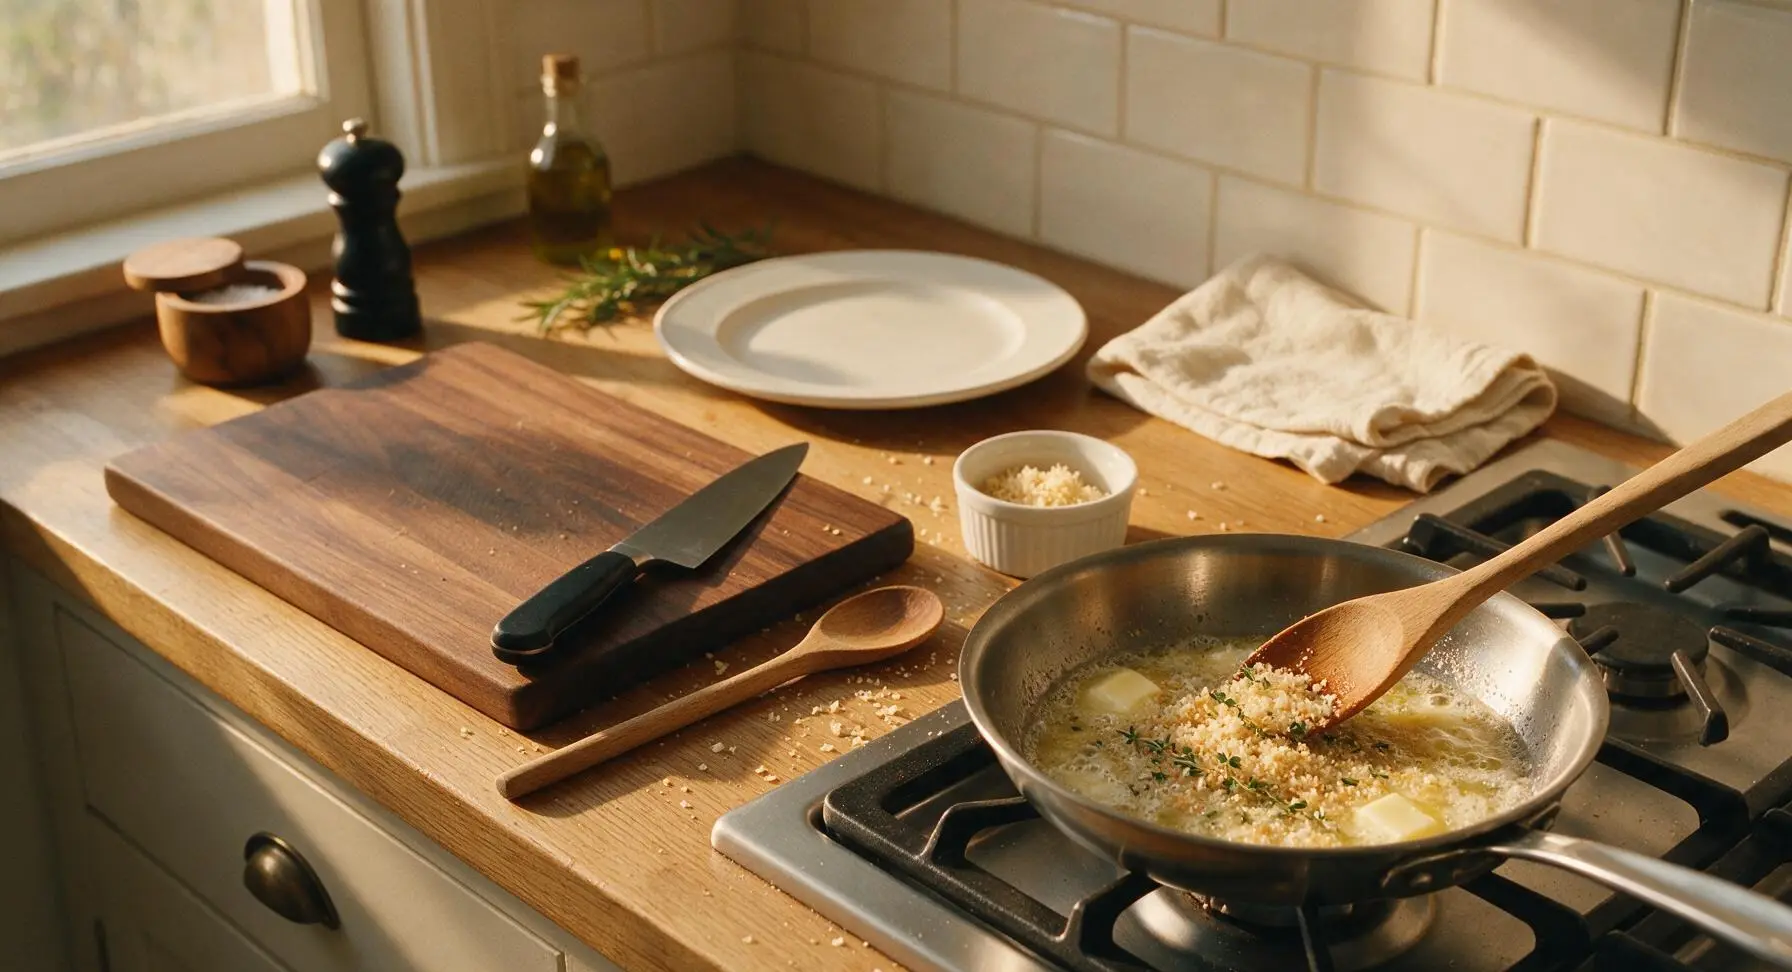
Step 2
step2:Toast Panko Topping
3

Cook Smooth Roux Base

Move the small skillet with toasted crumbs to the rear counter, then place the 3-quart heavy-bottomed stainless steel saucepan on the right front burner over medium heat. Melt the remaining 2 tablespoons of unsalted butter until foamy but not browned. Add 3 tablespoons all-purpose flour, whisking constantly with the matte black silicone whisk for 2 minutes until the roux is pale golden, completely smooth, and smells faintly of toasted nuts, with no raw flour aftertaste.
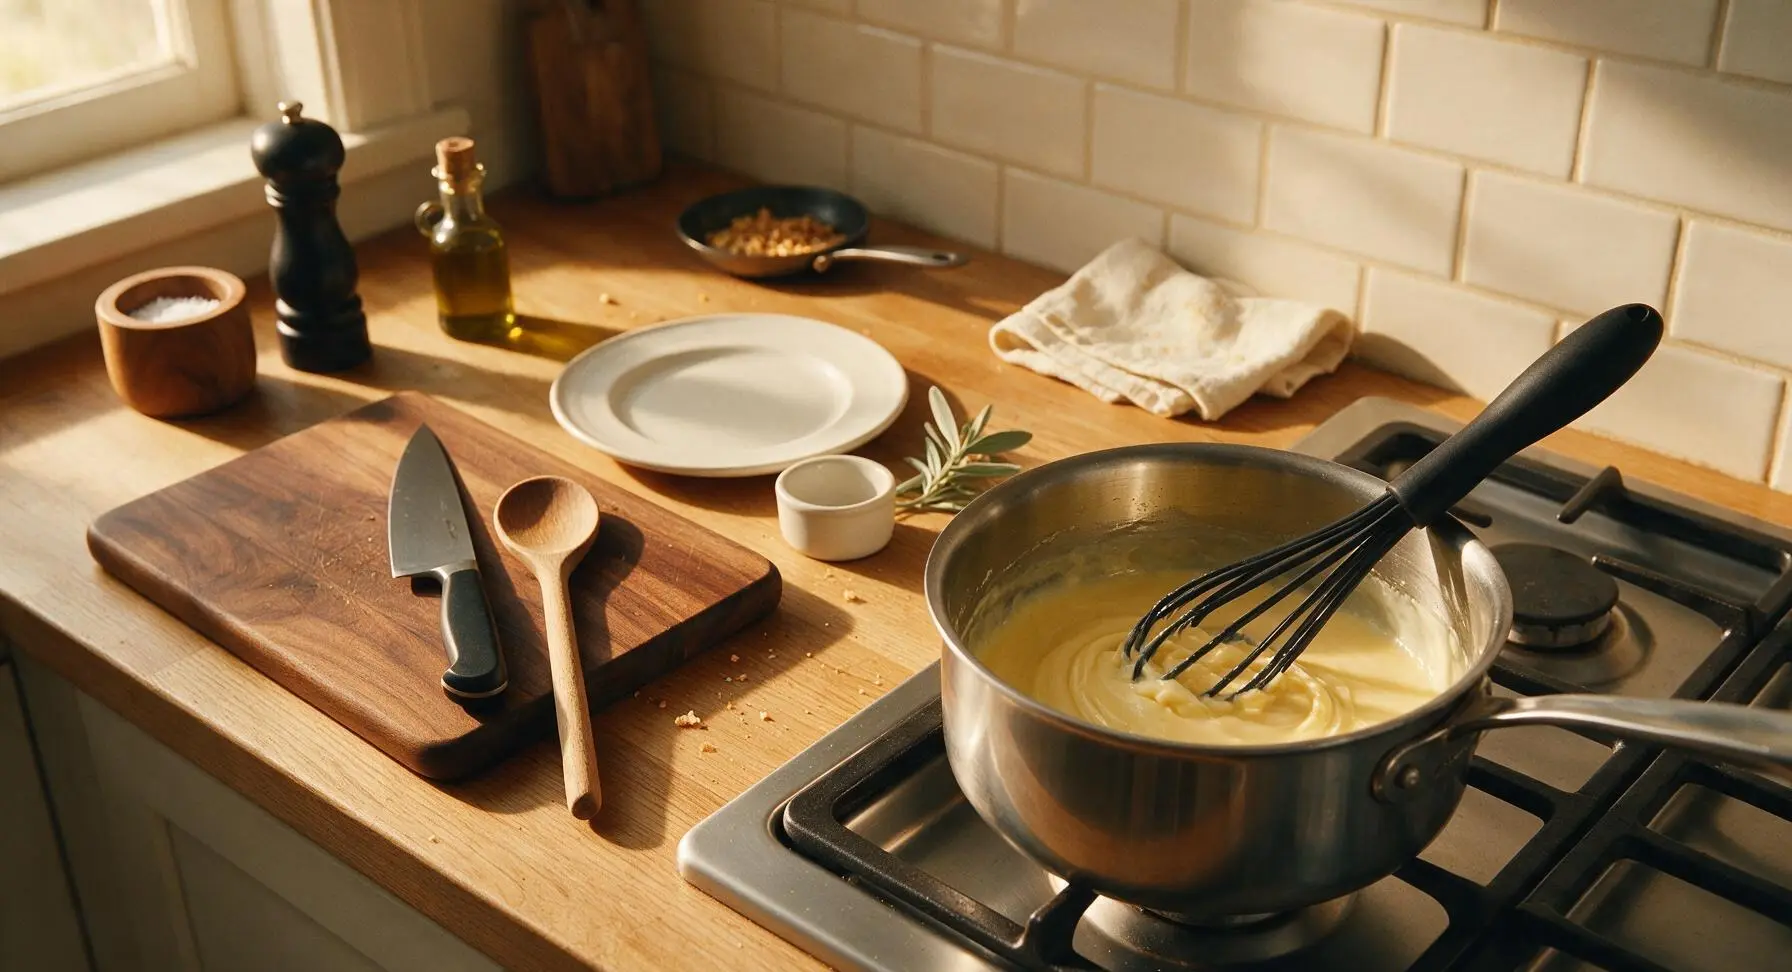
Step 3
step3:Cook Smooth Roux Base
4

Whisk in Milk Slowly

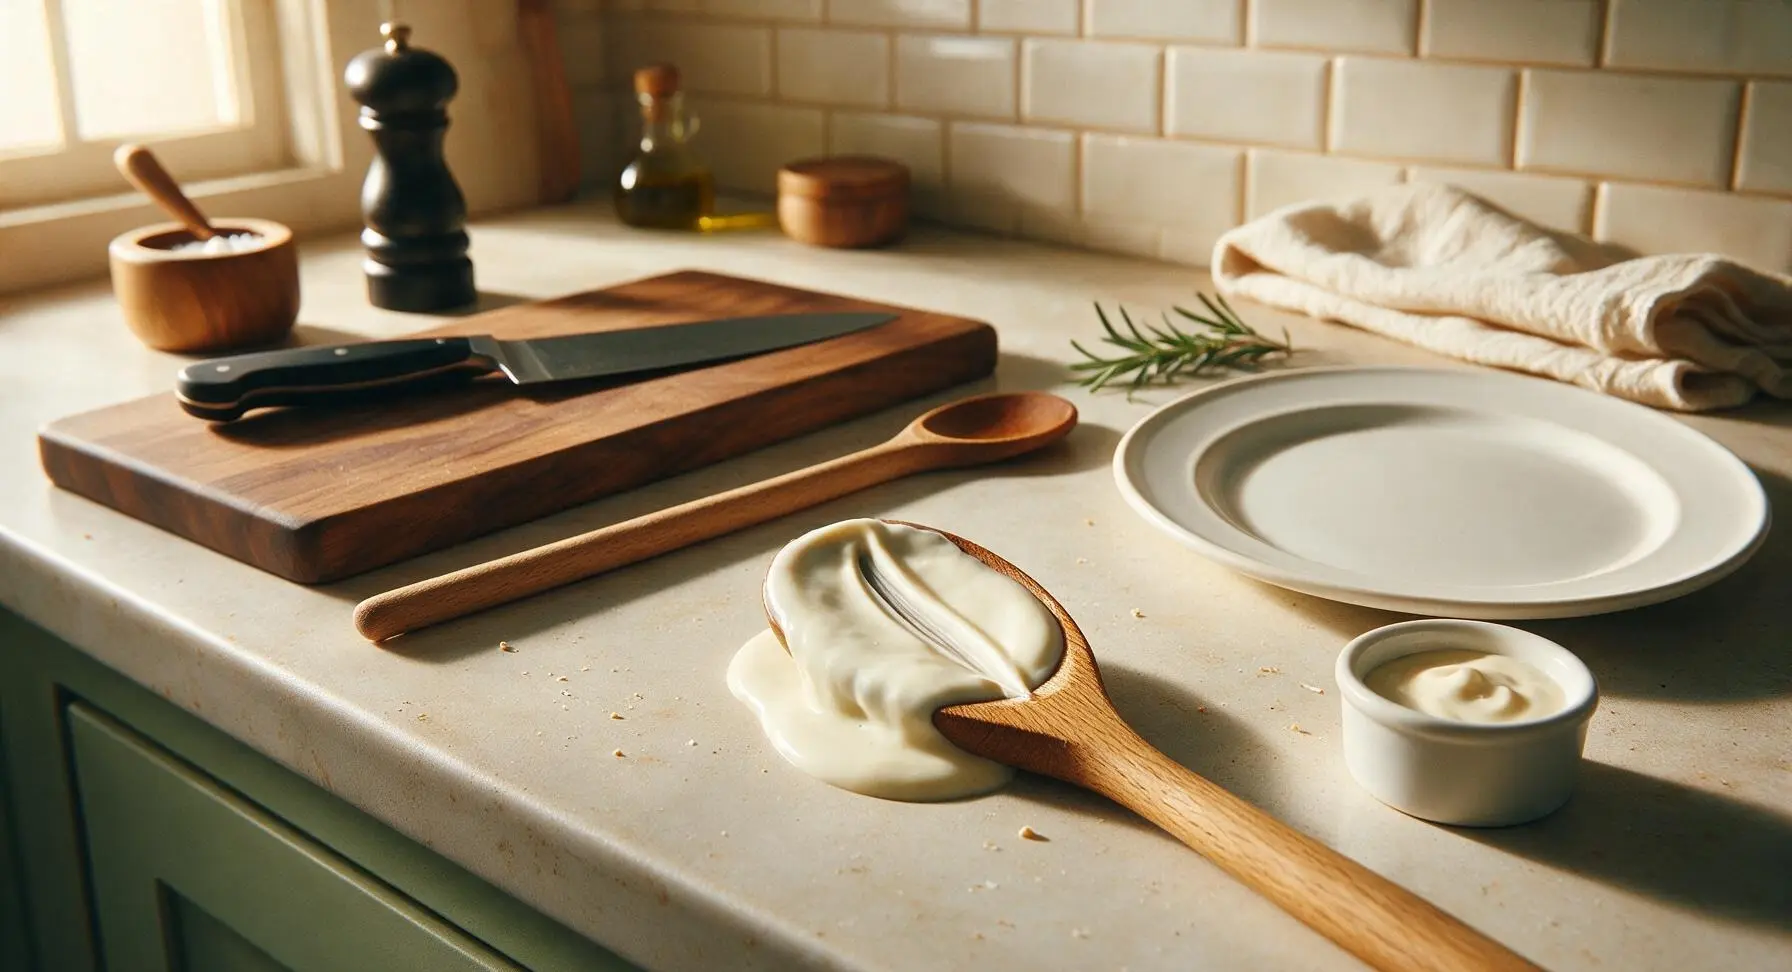
Gradually pour 2 cups of whole milk into the roux, ¼ cup at a time, whisking constantly after each addition to prevent lumps from forming. Once all milk is incorporated, continue cooking for 3-4 minutes, whisking occasionally, until the sauce thickens enough to coat the back of a spoon: when you run a clean finger across the sauce-coated spoon, the line should hold sharply without running. Stir in 1 teaspoon kosher salt, ½ teaspoon freshly ground black pepper, ¼ teaspoon garlic powder, and ⅛ teaspoon smoked paprika.
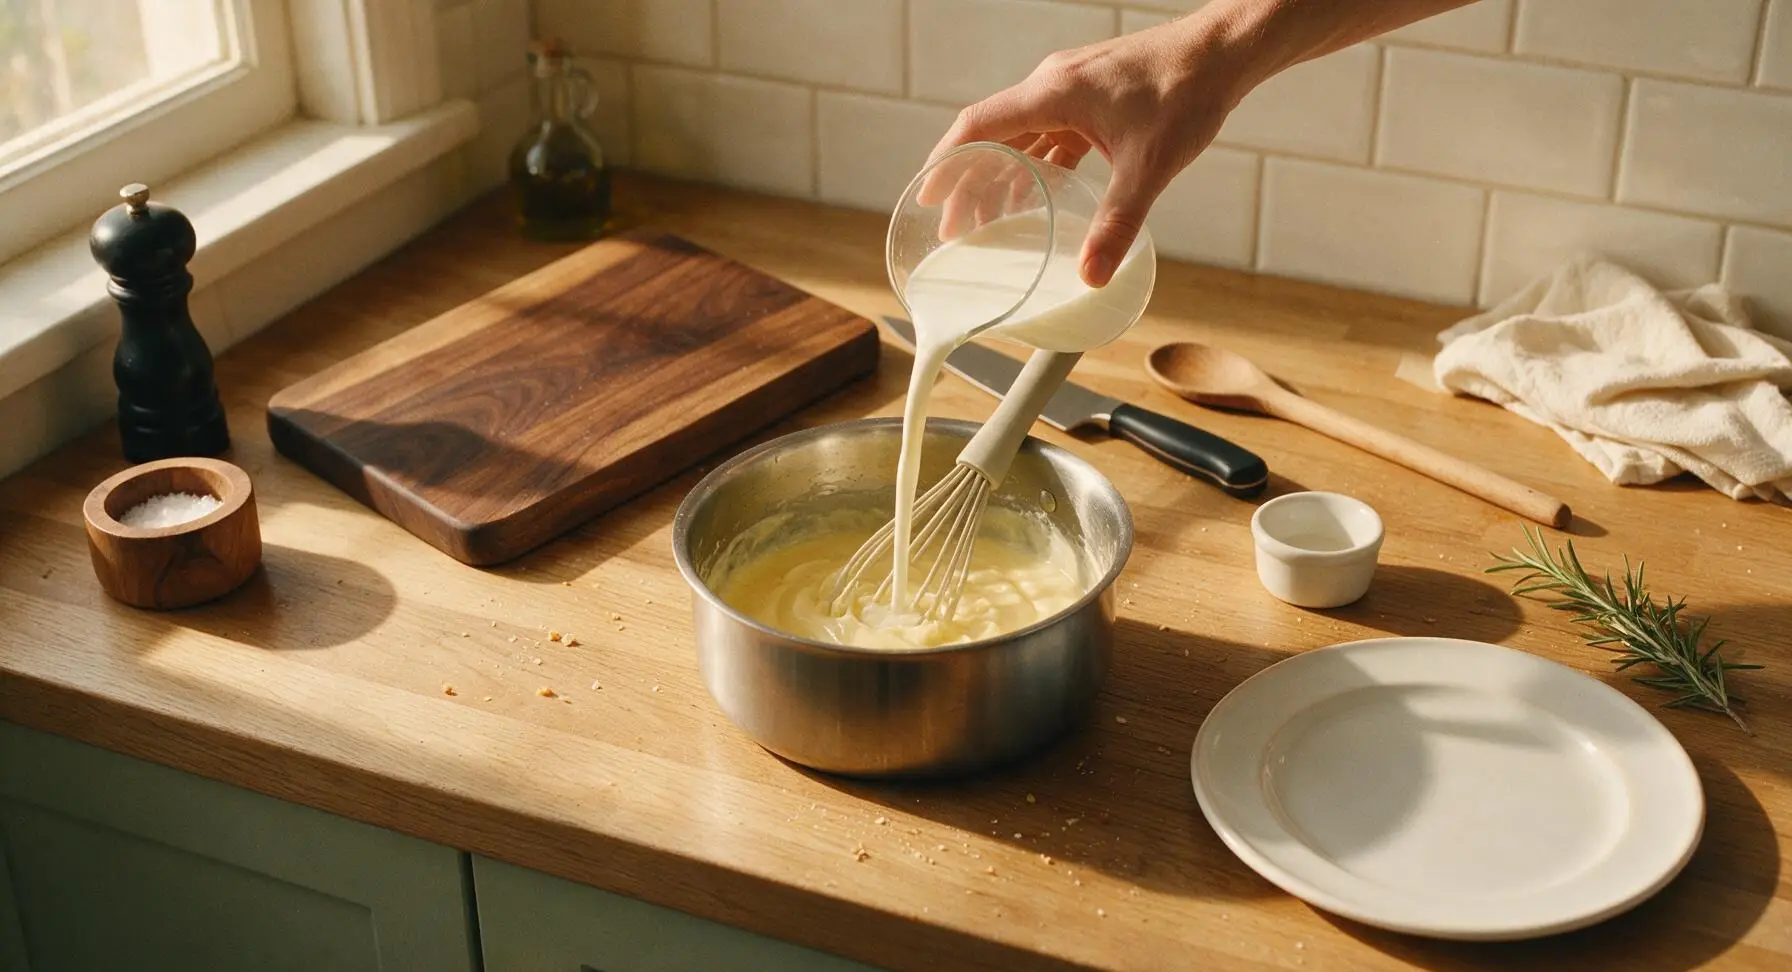
Step 4
step4:Whisk in Milk Slowly
Step 4
step4:Whisk in Milk Slowly
5

Melt Cheeses Smoothly

Reduce stovetop heat to the lowest setting. Add shredded sharp cheddar, shredded Gruyère, and softened cream cheese to the thickened sauce, stirring slowly with the wooden spoon for 1-2 minutes until all cheese is fully melted and the sauce is glossy, deep golden, and completely smooth. Do not bring the sauce to a boil once cheese is added, as high heat will cause cheese proteins to curdle and create a grainy, greasy sauce.
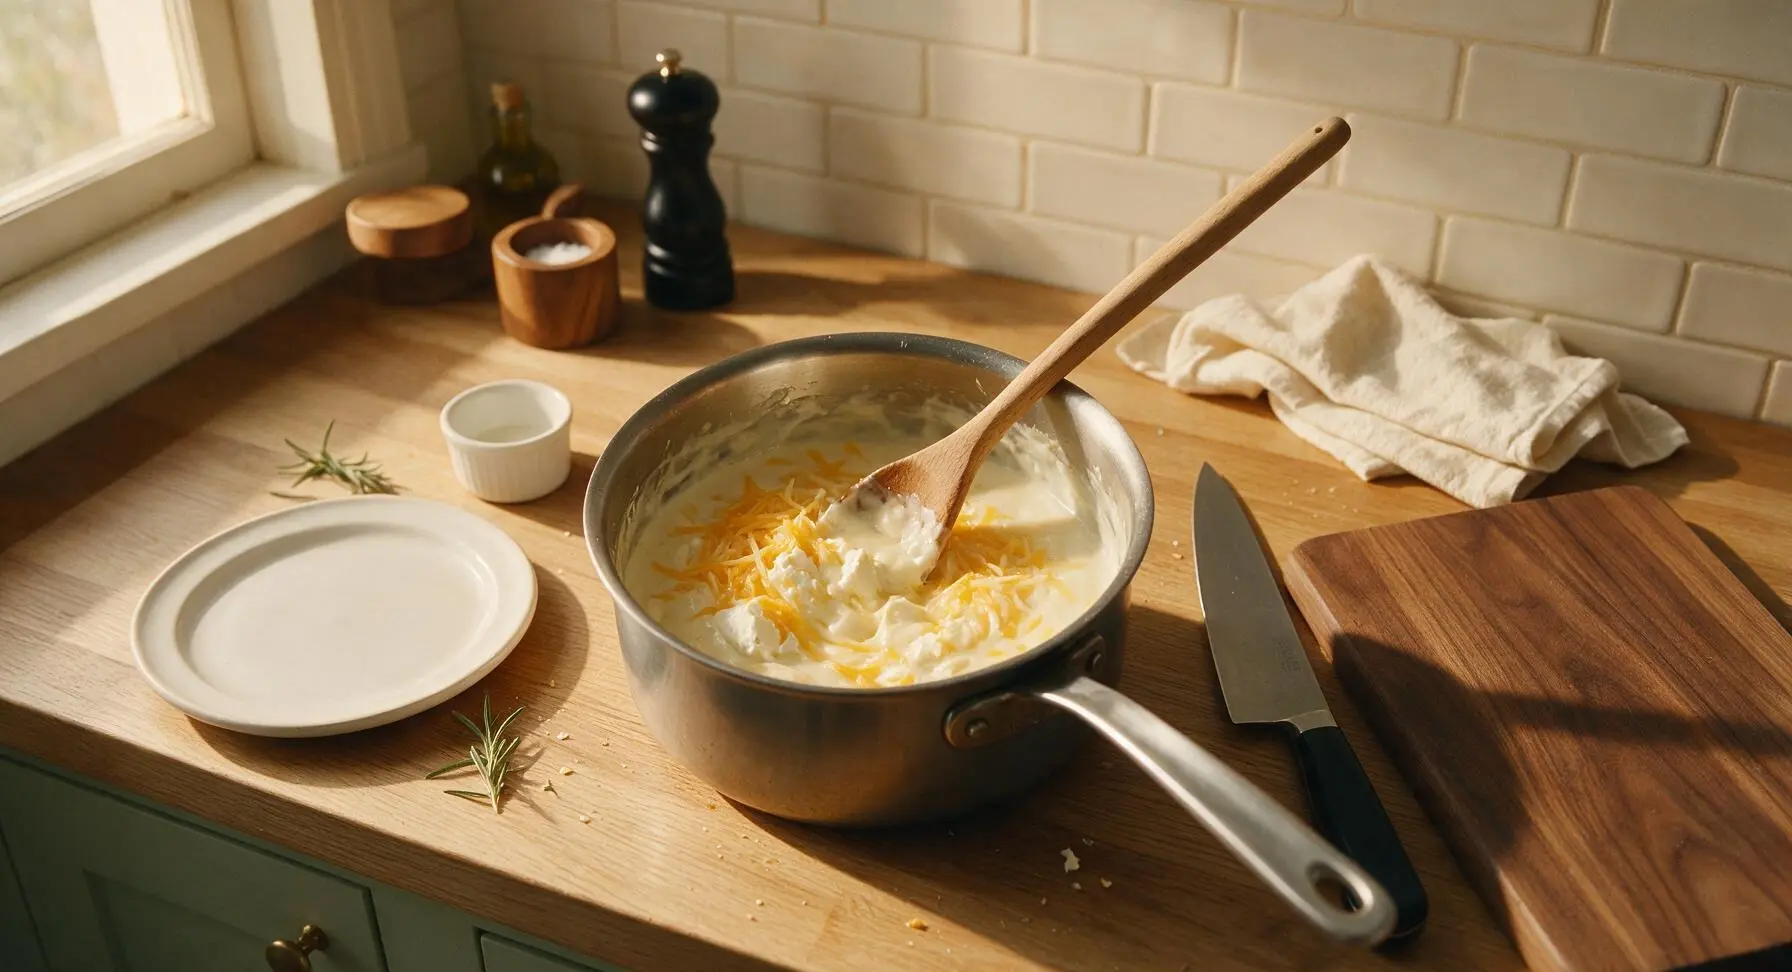
Step 5
step5:Melt Cheeses Smoothly
6

Fold Pasta into Sauce

Add the drained al dente elbow macaroni to the pot of smooth cheese sauce, stirring gently with the wooden spoon to coat every pasta piece evenly. If the sauce feels too thick, add reserved starchy pasta water 1 tablespoon at a time until it reaches a silky, pourable consistency that clings to pasta without pooling at the bottom of the pan.
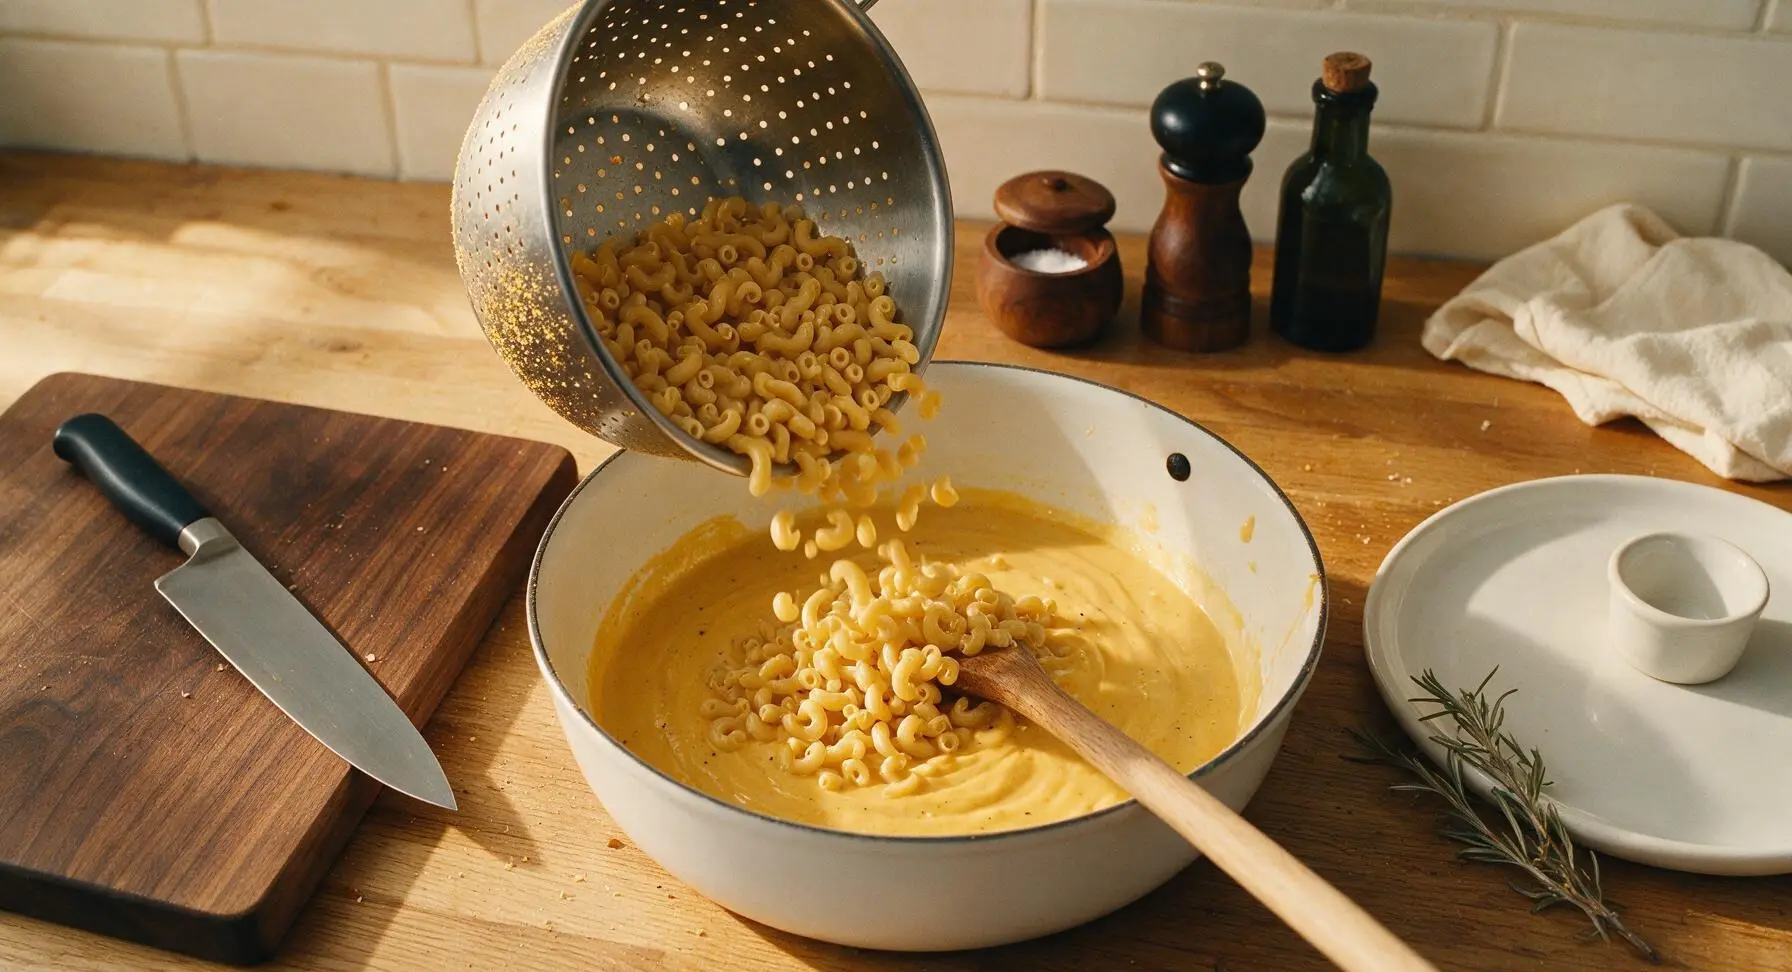
Step 6
step6:Fold Pasta into Sauce
7

Top and Serve Warm

Spoon the cheese-coated macaroni into the waiting 23cm matte cream ceramic serving bowl. Sprinkle the toasted panko crumbs evenly across the top, then garnish with a pinch of fresh thyme leaves. Serve immediately while the sauce is hot and velvety, as it will thicken as it cools.
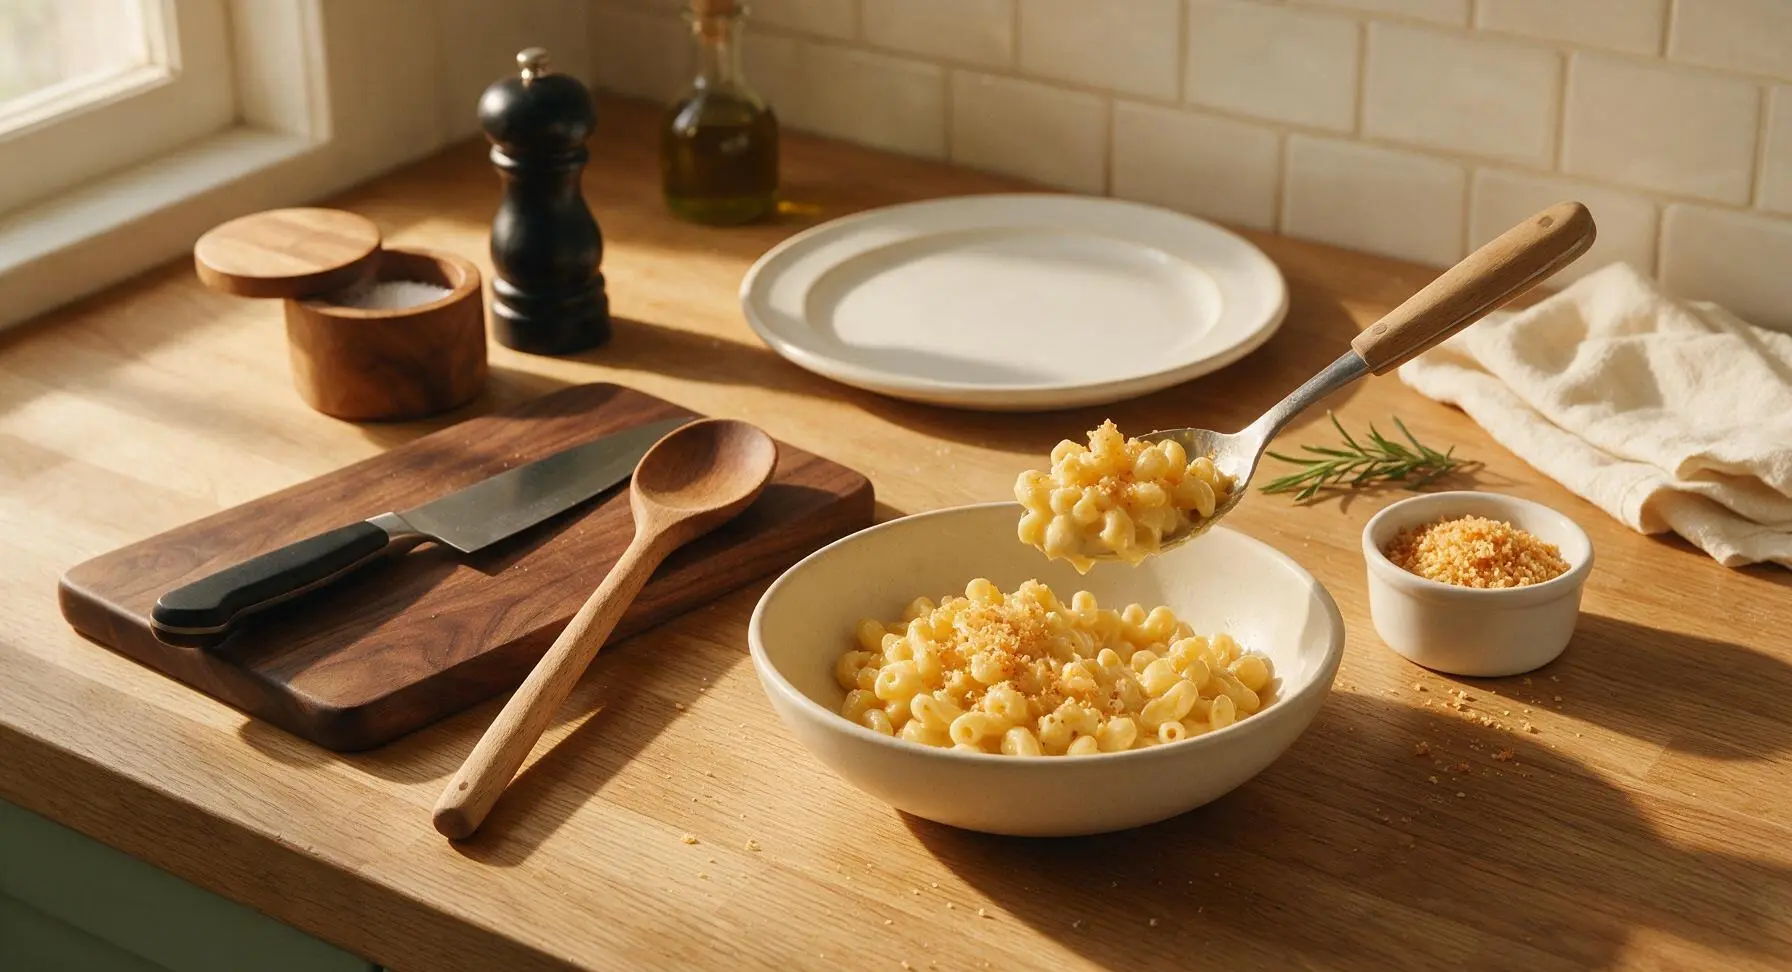
Step 7
step7:Top and Serve Warm

Tips

1.Shred your own cheese from blocks instead of using pre-shredded store-bought cheese. Pre-shredded cheese is coated in anti-caking agents (potato starch and natamycin) that prevent smooth melting, leading to a grainy, less flavorful sauce.
2.Never rinse cooked pasta for mac and cheese. The starchy film on the outside of drained noodles helps the cheese sauce emulsify and cling tightly to every pasta shape, rather than sliding off and pooling at the bottom of the bowl.
3.Keep heat on the lowest setting when melting cheese into the sauce. High heat causes milk proteins in cheese to curdle and separate, resulting in a greasy, broken sauce instead of the smooth, velvety texture that defines great stovetop mac and cheese.


✨ You May Also Like

Main Course
🍜 United Kingdom

A showstopping classic of tender seared beef, savory mushroom duxelles, and crisp prosciutto wrapped in flaky golden puff pastry, baked to juicy perfection.

⏱️ 2 hours 1Main Course ★ 4.7
Main Course
🍜 India

Tender charred marinated chicken simmered in a rich, spiced creamy tomato sauce, this iconic Anglo-Indian curry pairs perfectly with basmati rice or warm naan.

⏱️ 50 minuteMain Course ★ 4.6
Main Course
🍜 Thailand

Classic tangy, sweet, and savory Thai stir-fried rice noodles with shrimp, tofu, and crunchy garnishes, balancing all five core Thai flavor profiles.

⏱️ 30 minuteMain Course ★ 4.5
Main Course
🍜 United Kingdom

Crispy golden beer-battered cod and fluffy double-fried chips, served with tangy tartar sauce and malt vinegar: the timeless, beloved British pub comfort classic.

⏱️ 45 minuteMain Course ★ 4.7
Main Course
🍜 Mexico

Smoky, chile-marinated pork tacos with caramelized pineapple, fresh cilantro, and lime: a beloved classic Mexican street food perfect for casual summer gatherings.

⏱️ 1 hour 45Main Course ★ 4.8
Main Course
🍜 United States

Crunchy Fritos corn chips layered with savory beef chili and melted cheddar, topped with cool, zesty fixings for a beloved, cozy Tex-Mex comfort food.

⏱️ 35 minuteMain Course ★ 4.8

homemade stovetop mac and cheese:Frequently Asked Questions

1.Do I really need to use both sharp yellow cheddar and Gruyère, or can I use just one cheese? ▾
You can absolutely use a single cheese if that’s all you have, but the blend balances sharp, tangy cheddar bite with nutty, ultra-melty Gruyère for perfectly velvety, complex flavor. If skipping Gruyère, add an extra 4 ounces of sharp cheddar, or swap in fontina for a similarly smooth melt.
2.Why does my cheese sauce sometimes turn out grainy instead of smooth? ▾
Grainy sauce almost always comes from overheating cheese once it’s added. Take your roux-thickened milk base completely off the heat before stirring in shredded cheese a handful at a time, and never let the sauce boil after adding cheese. Shredding your own cheese instead of pre-shredded also prevents graininess from anti-caking additives.
3.How do I make the crisp panko topping without using an oven? ▾
You can make that crunchy topping entirely on your stovetop, no broiler or oven required! Melt 1 tablespoon of unsalted butter in a small skillet over medium heat, toss in panko crumbs, and toast for 2-3 minutes, stirring often, until golden and nutty. Sprinkle it over finished mac right before serving.
4.Can I use a different pasta shape instead of dry elbow macaroni? ▾
Absolutely! Elbow macaroni is classic because its ridges and hollow center hold cheese sauce perfectly, but any short, ridged pasta shape works great. Try cavatappi, rotini, shells, or campanelle—just cook it to al dente per package directions so it doesn’t turn mushy when tossed with warm sauce.
5.How do I keep the mac and cheese from getting too thick and clumpy after mixing in pasta? ▾
Reserve ½ cup of starchy pasta cooking water before you drain your macaroni, just like you would for marinara-sauced pasta. If your sauce feels too thick once tossed with noodles, stir in a splash of that starchy water a tablespoon at a time to thin it to the perfect creamy, coat-every-noodle consistency.
6.Is pre-shredded store-bought cheese okay to use for this recipe? ▾
It works in a pinch, but I strongly recommend shredding your own block cheese for the silkiest sauce. Pre-shredded cheese is coated in potato starch and anti-caking agents to prevent clumping in the bag, which can make finished sauce slightly grainy, less melty, and less flavorful than freshly shredded cheese.
7.What’s the correct ratio of butter to flour for the roux that thickens the sauce? ▾
For this recipe, use equal parts unsalted butter and all-purpose flour—typically 4 tablespoons of each for a 1-pound batch of pasta—to make a smooth blond roux. Cook the two together over medium heat for 1-2 minutes, stirring constantly, to remove raw flour taste before whisking in warm milk for a lump-free base.
8.Does this stovetop mac and cheese really only take 30 minutes to make? ▾
It truly comes together in 30 minutes flat, no long bake time required. You can boil pasta at the same time you make the roux and cheese sauce, then toast the panko while the sauce simmers, so steps overlap to cut down on total time, making it perfect for fast weeknight comfort food.
9.Can I make this mac and cheese ahead of time for meal prep or a potluck? ▾
It tastes best fresh, but you can make it up to 2 days ahead stored in an airtight container in the fridge. When reheating, warm it gently over low stovetop heat, stirring in a splash of milk to loosen the sauce back to creamy consistency, and top with freshly toasted panko right before serving.
10.Why do I get lumps in my sauce when I add milk to the roux? ▾
Lumps form when cold milk hits hot roux and the flour seizes up instantly. Prevent this by warming your milk slightly in the microwave or small pot before whisking it into the roux, and add milk just a few tablespoons at first, whisking constantly to make a smooth paste before adding more.
11.What easy add-ins work well to customize this basic mac and cheese? ▾
This creamy base is extremely versatile! Stir in crumbled cooked bacon, diced roasted broccoli, pulled pork, a pinch of smoked paprika or cayenne for gentle heat, a dollop of Dijon for extra depth, or caramelized onions. Fold add-ins right after combining pasta and sauce to distribute evenly.
12.Without an oven bake step, will this taste like the rich, nostalgic mac and cheese I love? ▾
It absolutely delivers that classic comfort food flavor without the 20+ minute oven bake! The sharp cheddar and Gruyère blend gives the sauce deep, savory richness, and the stovetop-toasted panko adds that same satisfying buttery crunch you get from baked versions, in a fraction of the time.

Comments (3)

2 days ago

OMG, this stovetop mac and cheese is a total game changer for our chaotic weeknight family dinners! I’ve tried so many homemade versions before that came out grainy or super bland, but this one was perfectly creamy in literally 20 minutes flat? My three kids devoured two servings each and already asked if I can make it again tomorrow. I tossed in a little crumbled bacon on top because my household is bacon-obsessed, and it was absolute chef’s kiss.

yesterday

Wait, that bacon add-in sounds so genius! I’m making this for our neighborhood block potluck this weekend, do you think it stays creamy if I keep it in a slow cooker on warm for a couple hours? I don’t want to show up with clumpy, dried out mac, y’know?

2 hours ago

So glad your family loved this recipe! Great question from @MidwestPotluckQueen too — if you’re keeping it warm for a potluck, stir in a splash of warm whole milk every 30 minutes or so to keep that silky, creamy texture, no grainy clumps guaranteed. The bacon add-in sounds *chef’s kiss* by the way, I do that all the time too!

3 days ago

SO good, way better than the neon orange boxed stuff I’ve been relying on for my weekly meal prep for years. I was worried an easy homemade mac and cheese wouldn’t hold up for 4 days in the fridge, but this reheats like an absolute dream if you add a tiny splash of milk when you zap it in the microwave. Quick note: I used a mix of sharp cheddar and a little smoked gouda because that’s what I had leftover in the fridge, and it was unreal. 10/10, will be adding this to my permanent bi-weekly meal rotation for sure.

2 days ago

Love that smoked gouda swap! That’s one of my go-to cheese combinations to mix in for a little extra smoky, rich flavor — so smart to use what you already had on hand instead of making a special grocery run. Thrilled this works so well for your meal prep routine!

2 hours ago

As someone who can barely boil water without burning it, this recipe was so easy to pull off in my dorm’s tiny, gross shared kitchen! No fancy equipment, no weird hard-to-find ingredients, no baking required, and the total cook time was actually under 20 minutes just like the recipe promised. My roommate walked in while I was eating, stole a bite straight off my fork, and begged me to send her the link immediately. Skip the overpriced, mushy dining hall mac — this stuff is 100x better.



