
homemade tuna helper

title 1
homemade tuna helper
⏱️ cook time 20 minutes
🍽️ servings 4
⚡ Difficulty easy

intro

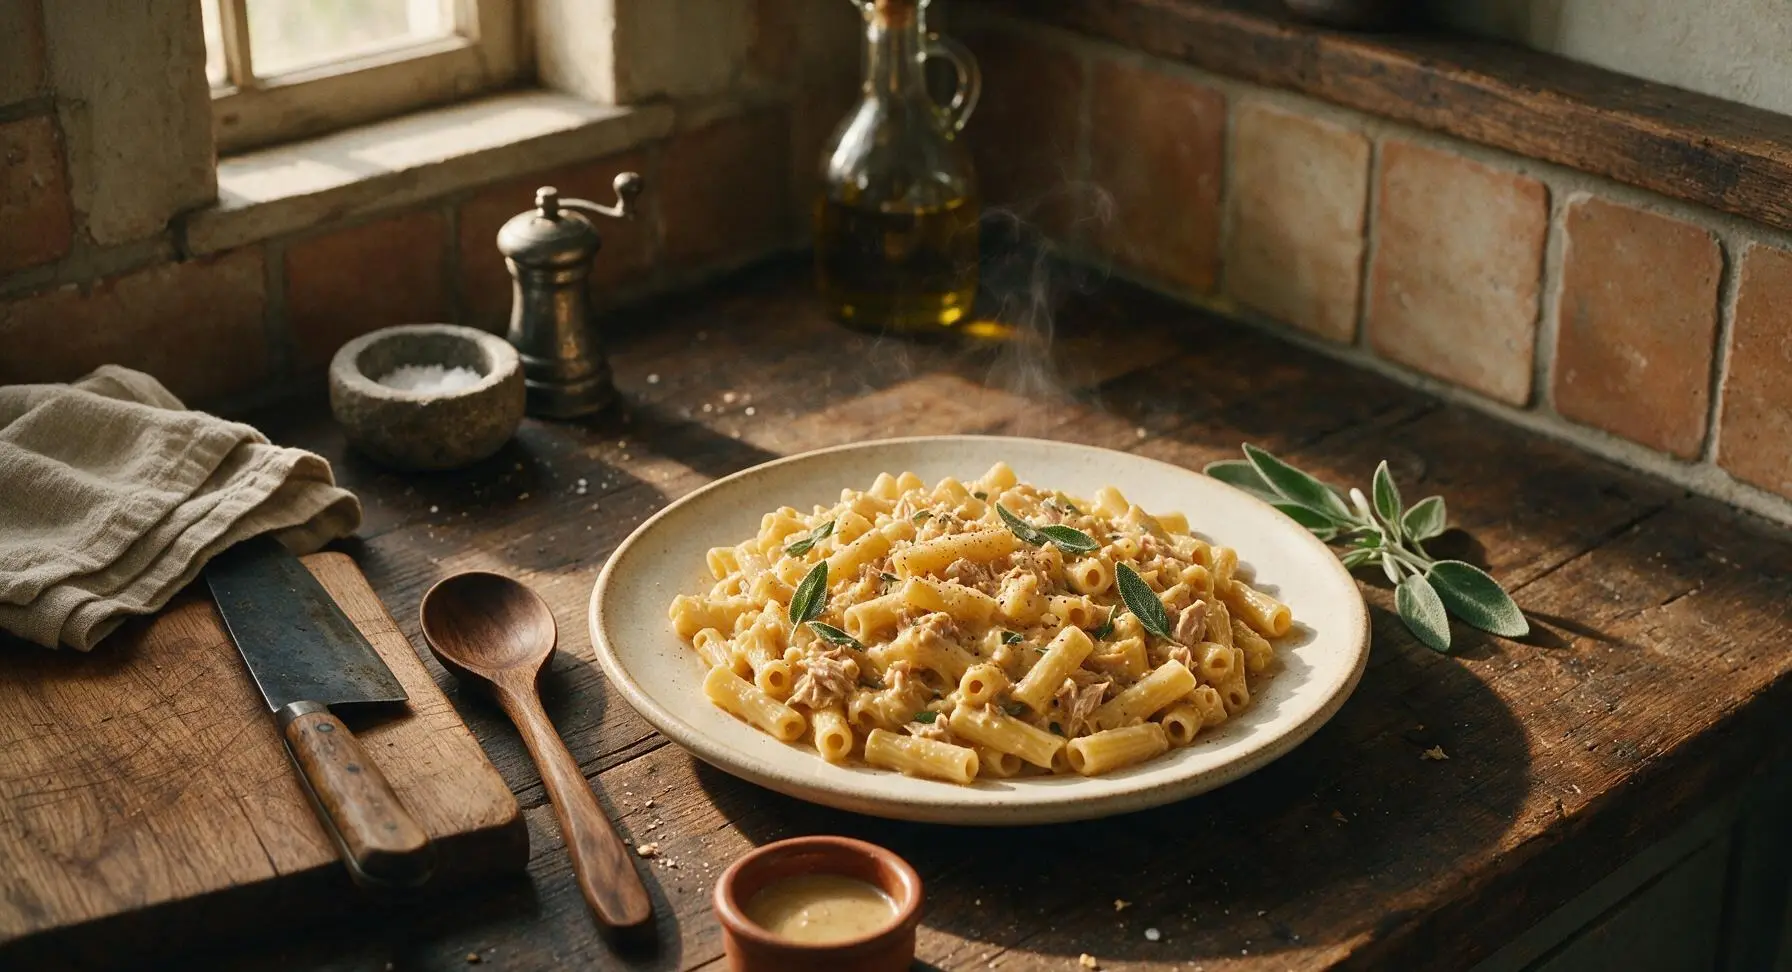
Creamy, cheesy homemade tuna helper swaps processed boxed mix for real, simple ingredients, with tender pasta, flaky tuna, and rich sauce ready in 30 minutes flat.

Ingredients
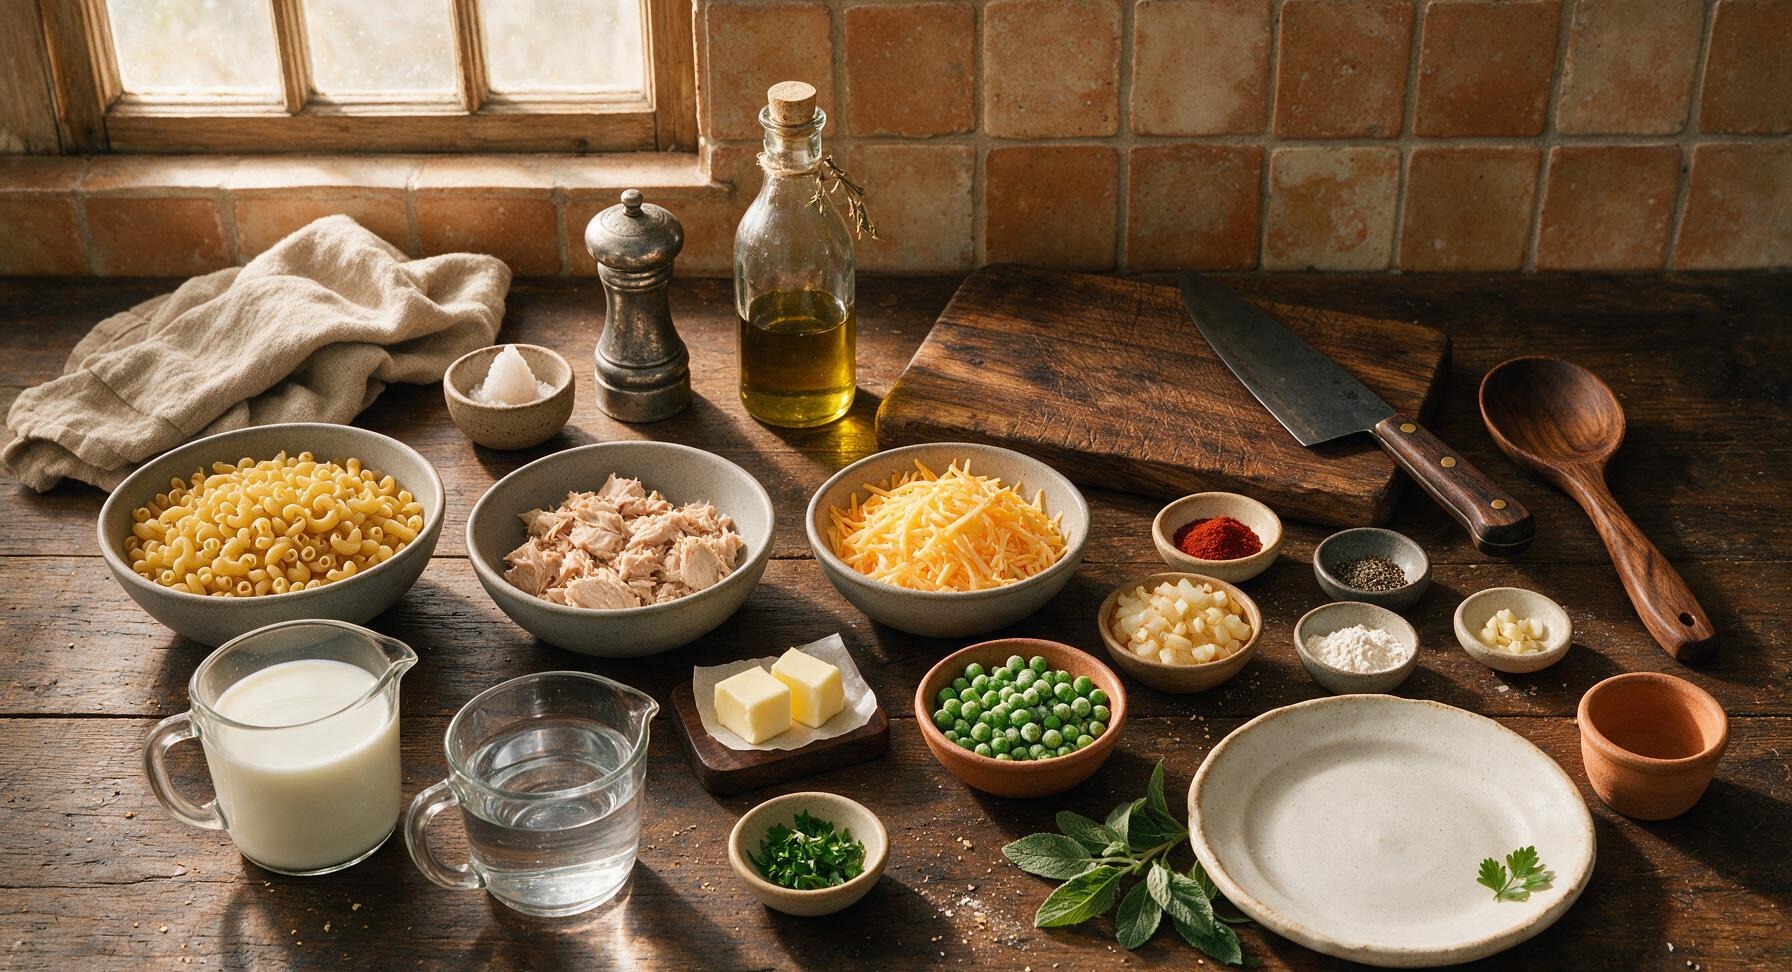
Dry elbow macaroni 2 cups (200g)
Canned tuna in water, drained 2 (5oz/142g) cans
Sharp cheddar cheese, shredded (divided) 1.5 cups (170g)
Unsalted butter 2 tbsp (28g)
Small yellow onion, diced 1 (100g)
Garlic cloves, minced 2 (6g total)
All-purpose flour 2 tbsp (16g)
Whole milk 2 cups (480ml)
Cold water 1.5 cups (360ml)
Frozen green peas 1 cup (130g)
Kosher salt 1 tsp (5g)
Freshly ground black pepper 1/2 tsp (1g)
Smoked paprika 1/4 tsp (0.5g)
Fresh parsley, chopped (optional garnish) 1 tbsp (4g)

Steps

1

Prep Base Aromatics

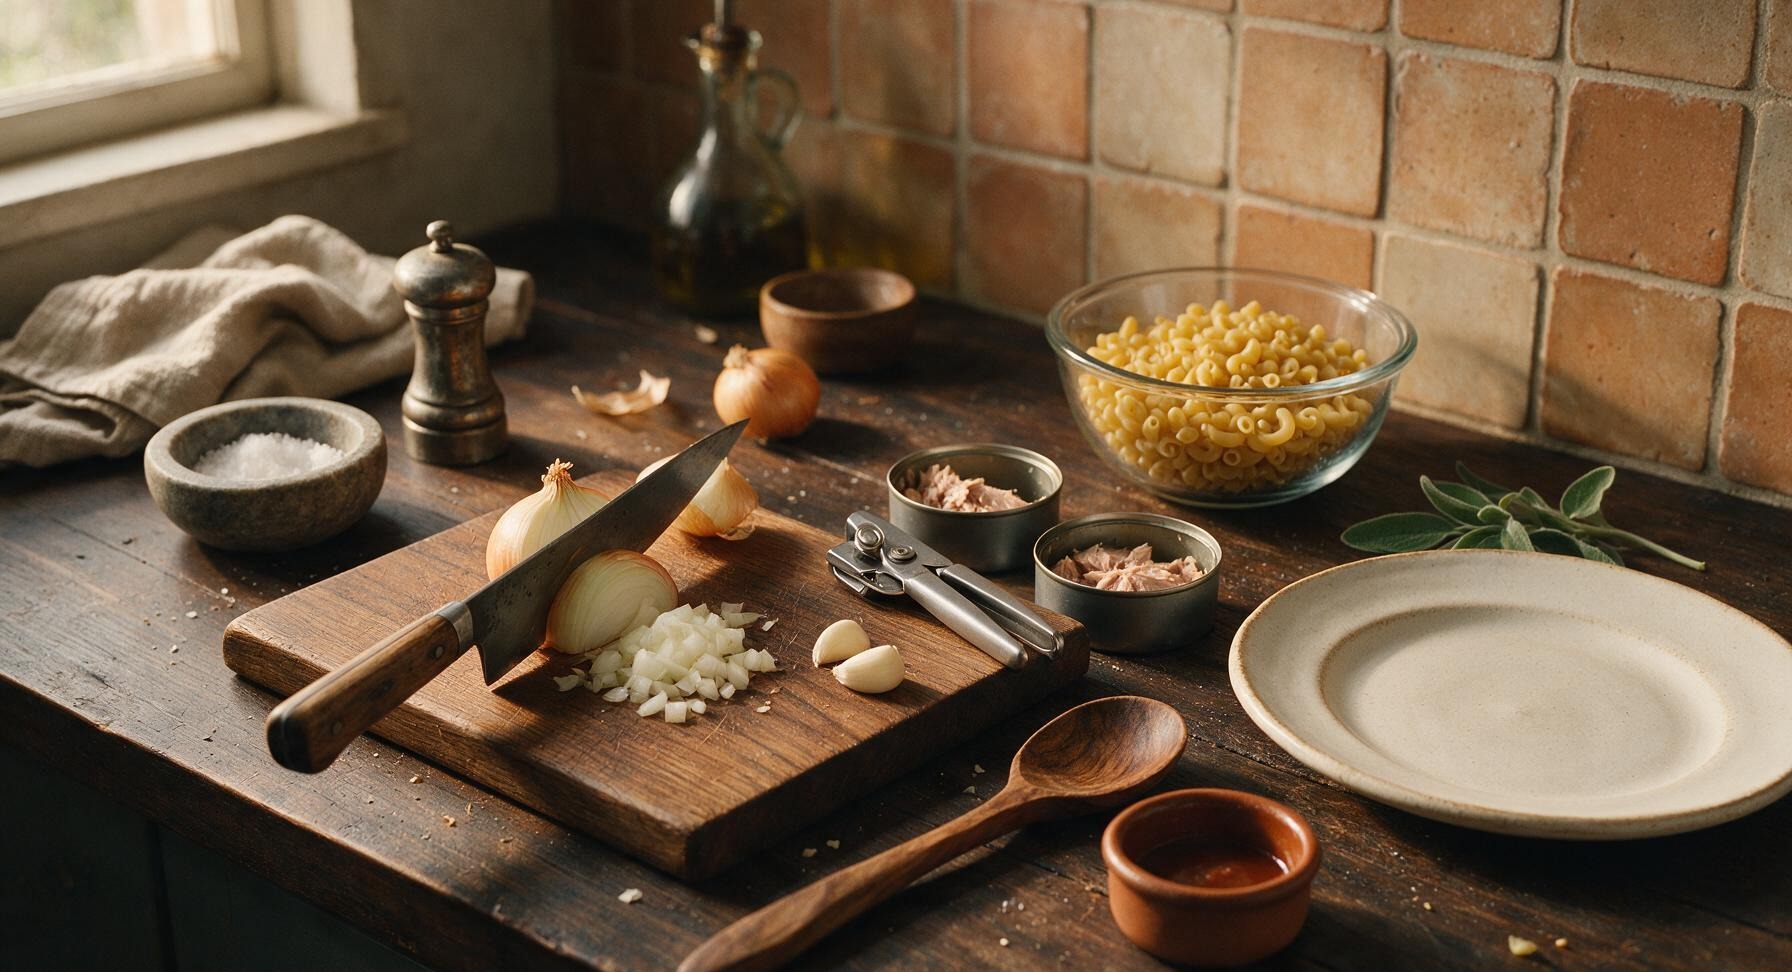
Place the small yellow onion and garlic cloves on the maple cutting board. Using the 8-inch chef knife, dice the onion into uniform 1/4-inch pieces, mince the garlic finely, and push the prepped aromatics to the edge of the cutting board. Use the matte silver can opener to open both cans of tuna, drain all excess water completely, and flake the tuna lightly with a fork (avoid mashing it into a fine paste). Portion out pasta, cheese, butter, flour, peas, and spices into the small clear glass prep bowl to keep within arm’s reach for cooking.
Step 1
step1:Prep Base Aromatics
2

Sauté Aromatic Base

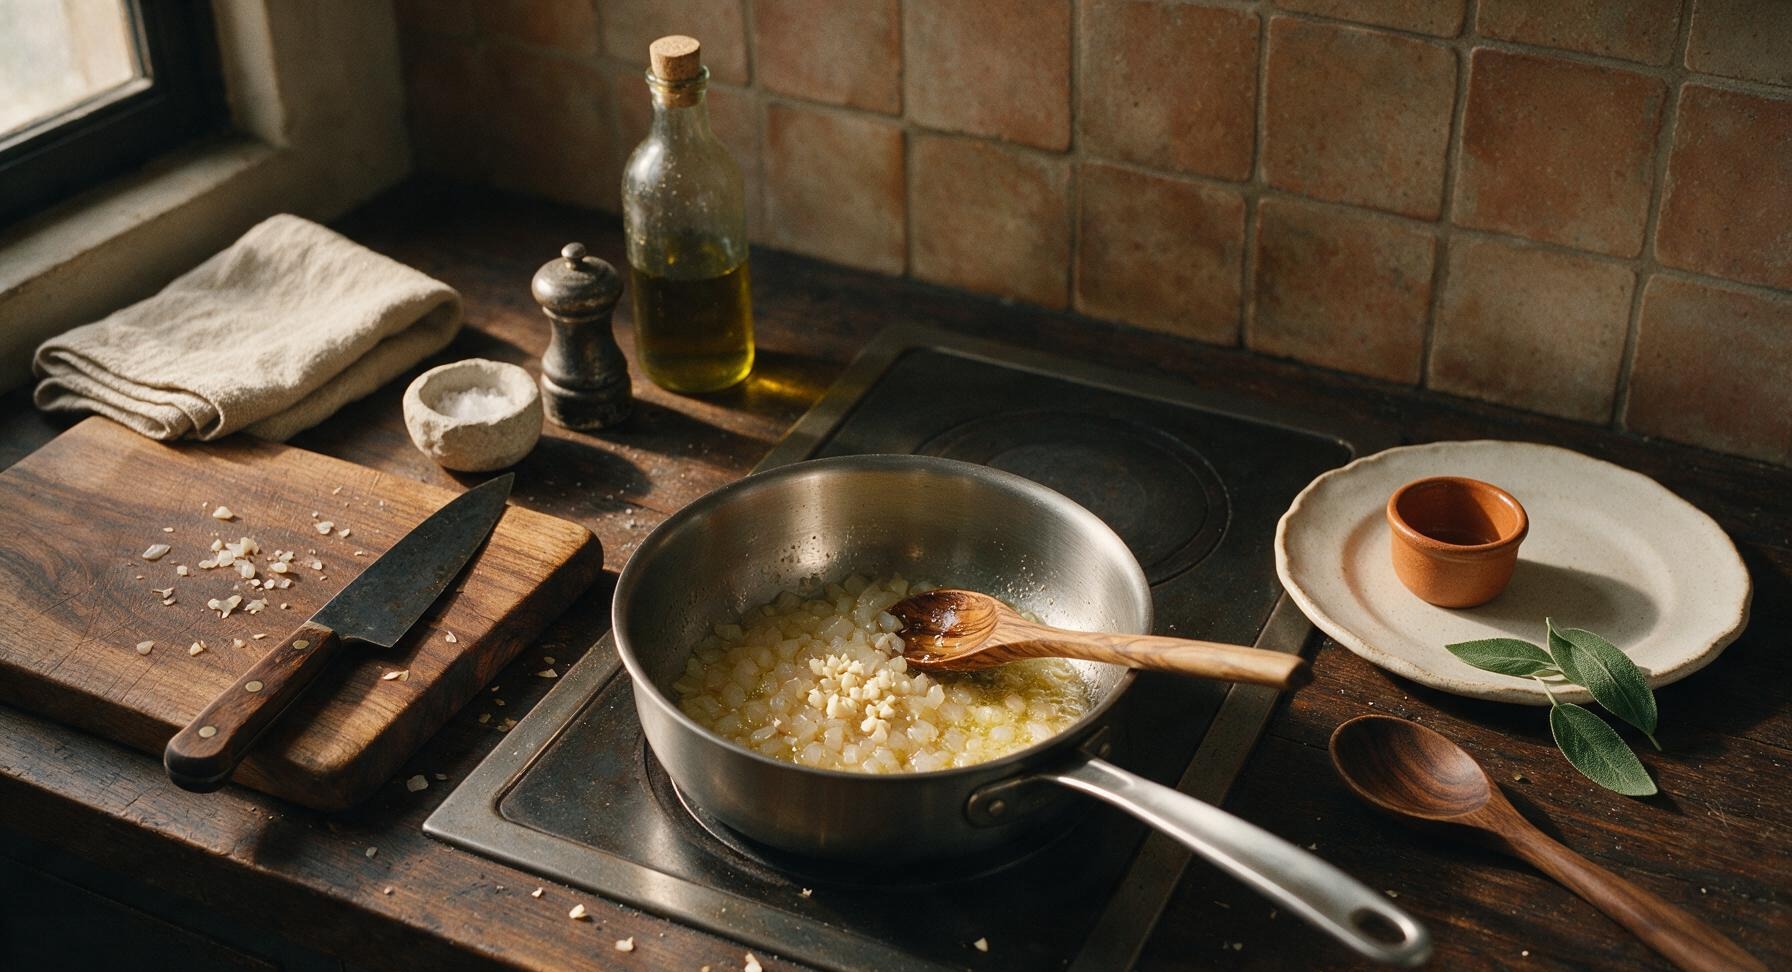
Set the 3-quart brushed stainless steel saucepan on the integrated stovetop burner over medium heat (350°F/175°C). Add 2 tablespoons of unsalted butter to the pan, and once fully melted and foaming slightly (about 1 minute), add the diced onion. Sauté for 3 minutes until the onion turns soft and translucent, then add the minced garlic and cook for 30 seconds more, stirring constantly with the long olive wood spoon, until the garlic releases a warm, fragrant aroma with no browned edges.
Step 2
step2:Sauté Aromatic Base
3

Build Sauce Roux

Sprinkle the 2 tablespoons of all-purpose flour evenly over the sautéed onion and garlic in the saucepan. Stir constantly with the olive wood spoon for exactly 1 minute, cooking the flour until it turns a pale golden color and smells lightly nutty, with no dry white flour clumps remaining. This cooked roux will create a smooth, lump-free sauce that clings to every pasta piece.
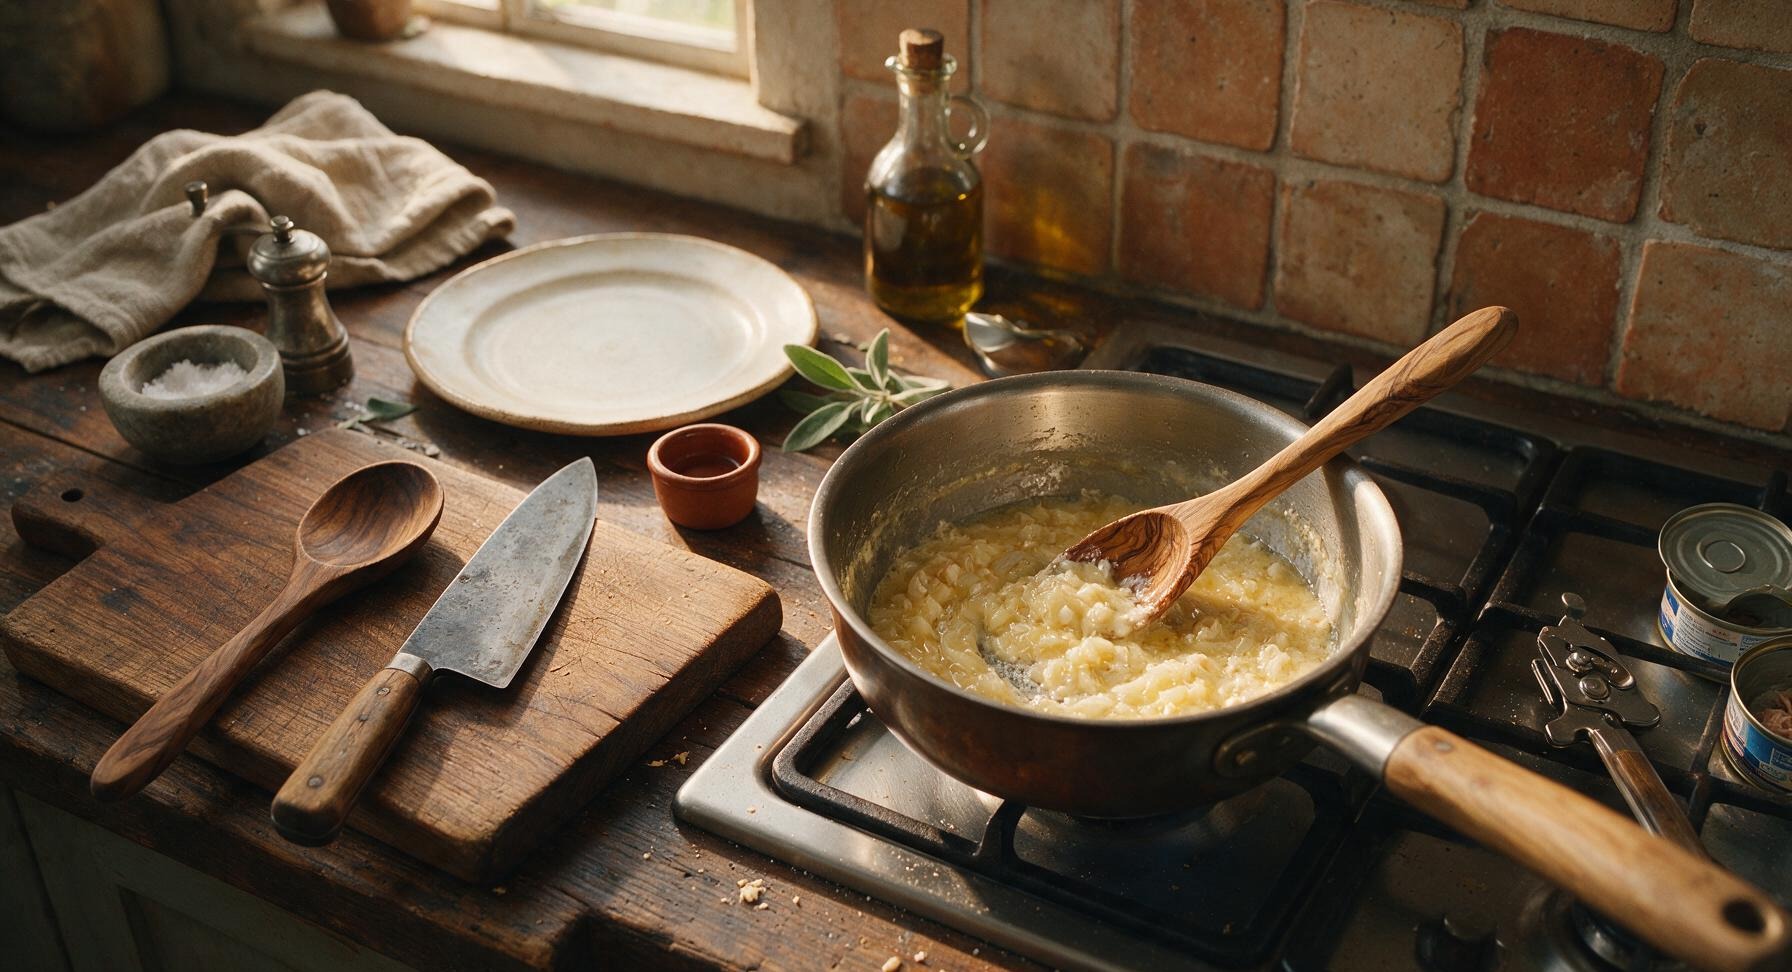
Step 3
step3:Build Sauce Roux
4

Cook Pasta in Liquid

Slowly pour 2 cups of whole milk and 1.5 cups of cold water into the saucepan with the roux, stirring constantly with the olive wood spoon to prevent lumps from forming. Bring the liquid to a gentle rolling boil, then add the 2 cups of dry elbow macaroni and 1 teaspoon of kosher salt. Stir well, reduce heat to medium-low (275°F/135°C) to maintain a soft, steady simmer, and cook for 10-12 minutes, stirring every 2 minutes to prevent pasta from sticking to the pan bottom, until the pasta is al dente (tender with a slight firm bite at the center) and the liquid has thickened into a light coating sauce.
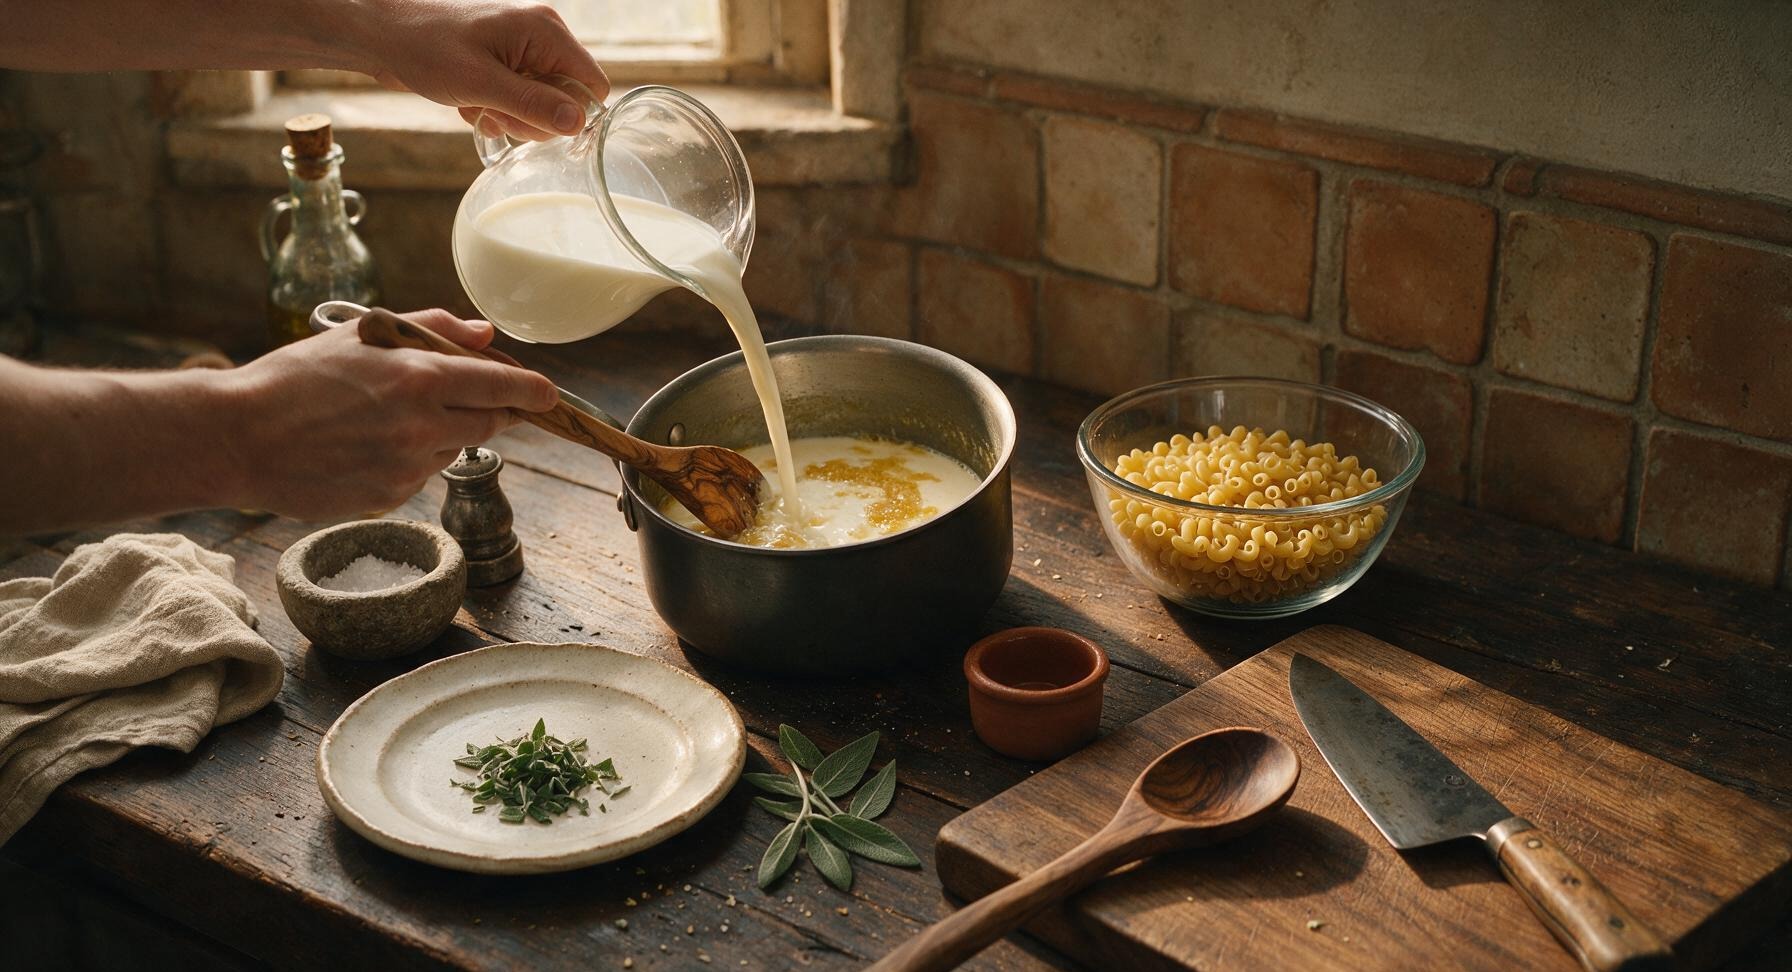
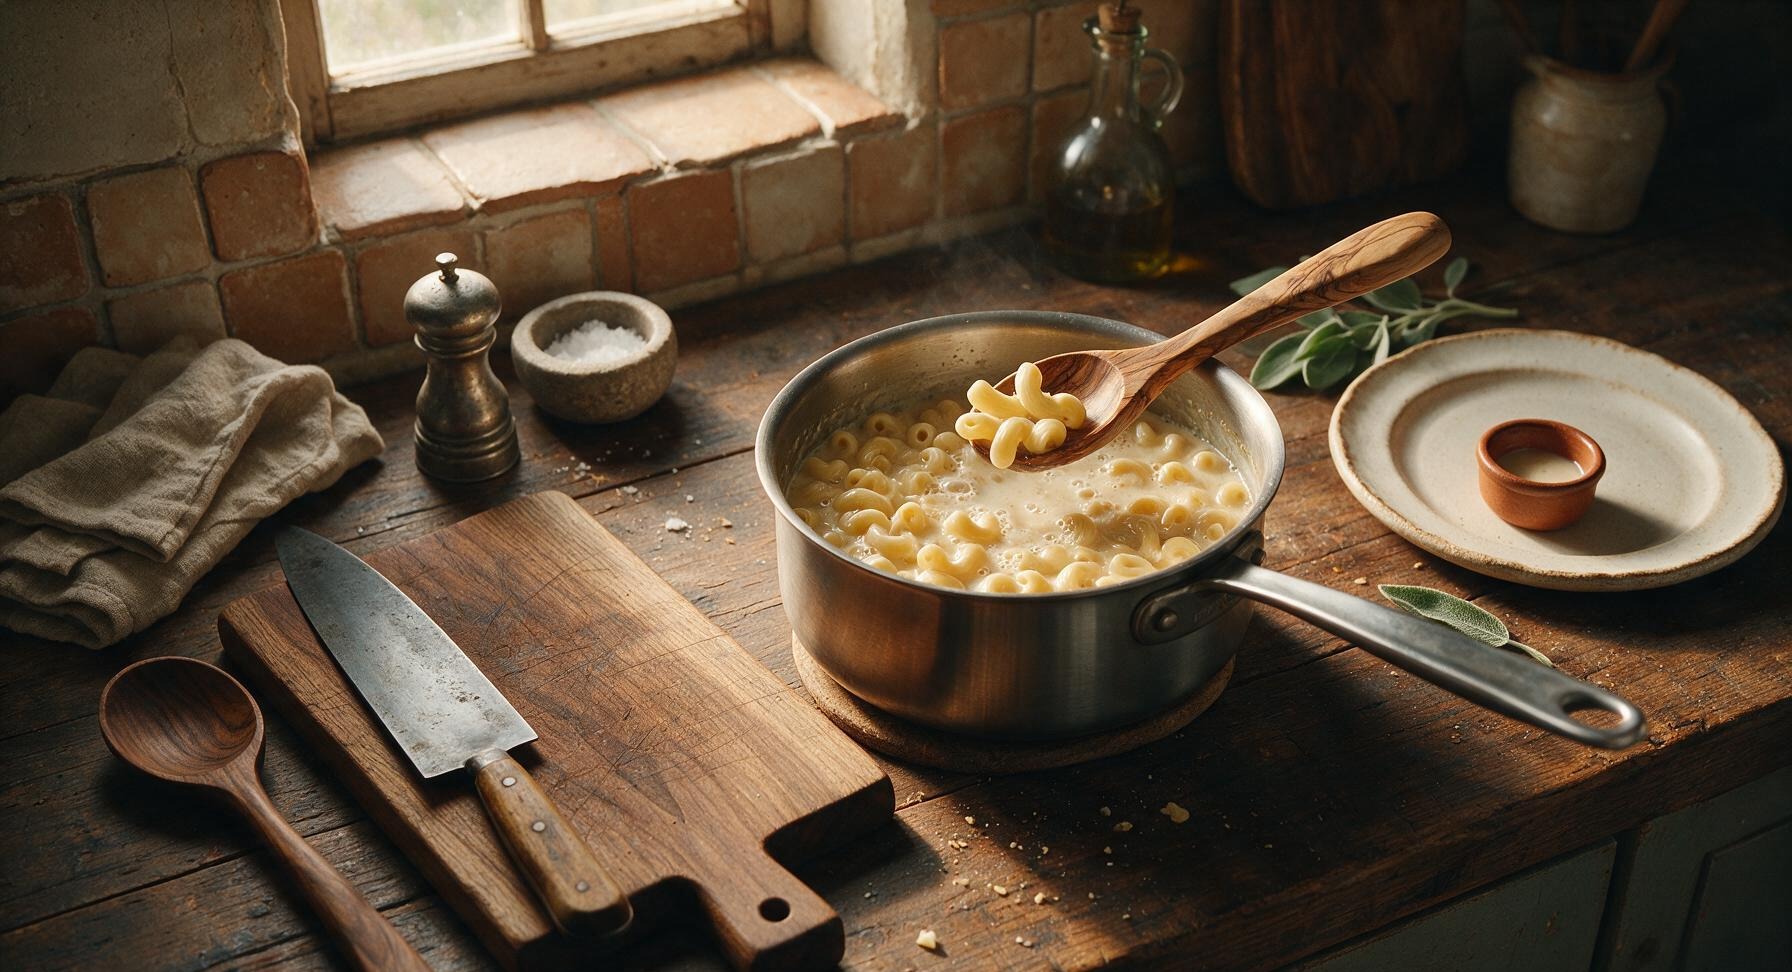
Step 4
step4:Cook Pasta in Liquid
Step 4
step4:Cook Pasta in Liquid
5

Fold in Cheese and Tuna

Once the pasta is al dente and the sauce is thickened, turn the stovetop heat to low. Add 1.25 cups of the shredded sharp cheddar cheese to the pan, stirring with the olive wood spoon until the cheese is fully melted and the sauce is smooth and glossy. Add the drained, flaked tuna, 1 cup of frozen green peas, 1/2 teaspoon freshly ground black pepper, and 1/4 teaspoon smoked paprika to the pan. Stir gently to combine, taking care not to over-mix and mash the tuna into fine crumbles, and cook for 2 more minutes until the peas are heated through and bright green.
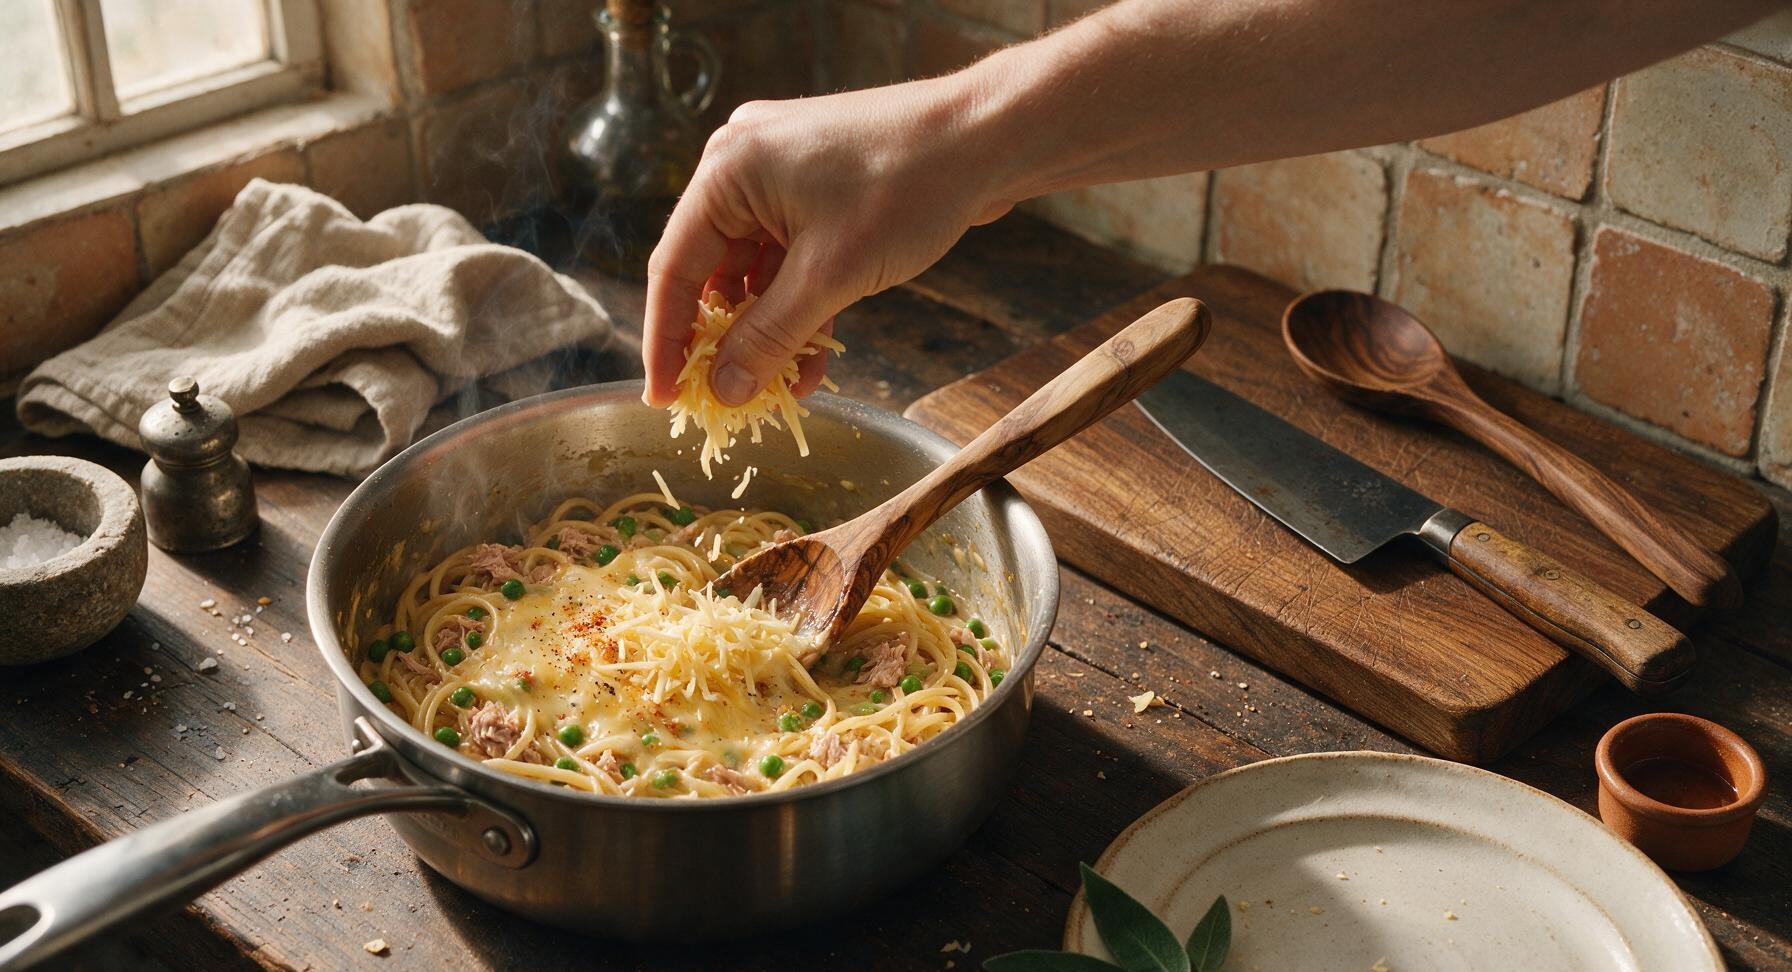
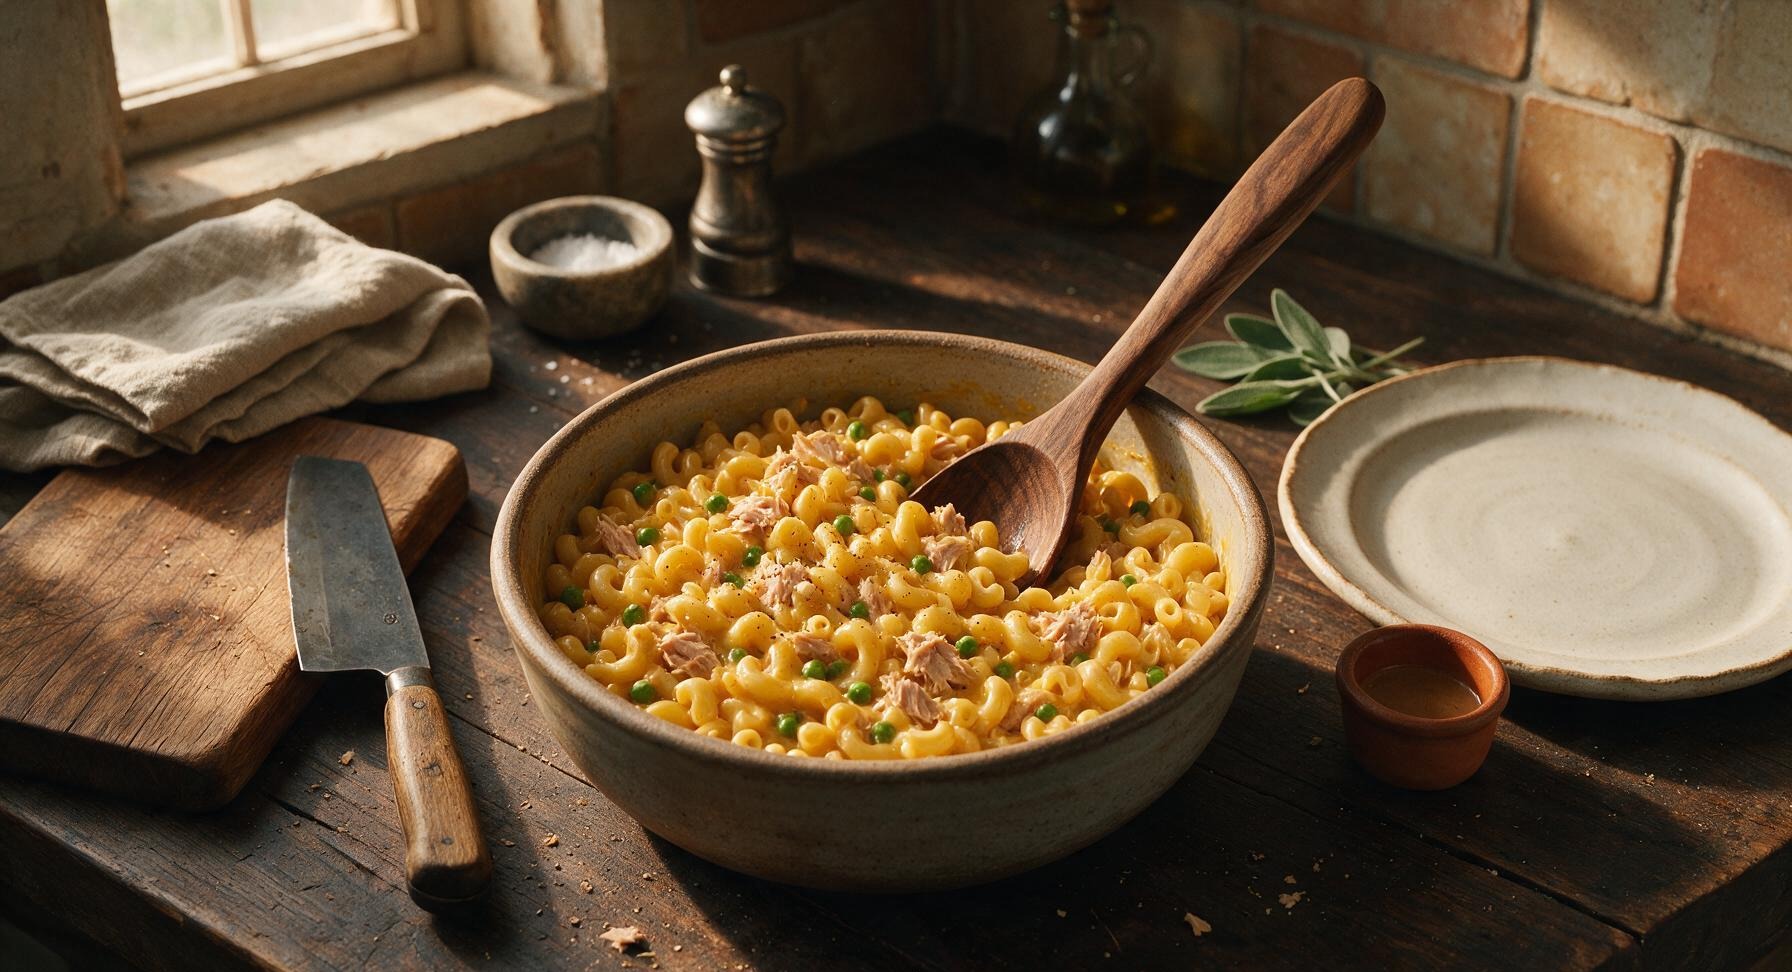
Step 5
step5:Fold in Cheese and Tuna
Step 5
step5:Fold in Cheese and Tuna
6

Rest and Plate Dish

Turn off the stovetop heat, and let the tuna helper rest in the saucepan for 3 full minutes to allow the sauce to thicken further and adhere to the pasta. Taste, and adjust salt or pepper if desired. Spoon a generous 1.5 cup portion onto the waiting cream white matte stoneware dinner plate, and top with the remaining 1/4 cup of shredded cheddar to melt slightly over the warm surface, plus a light sprinkle of chopped parsley if using.
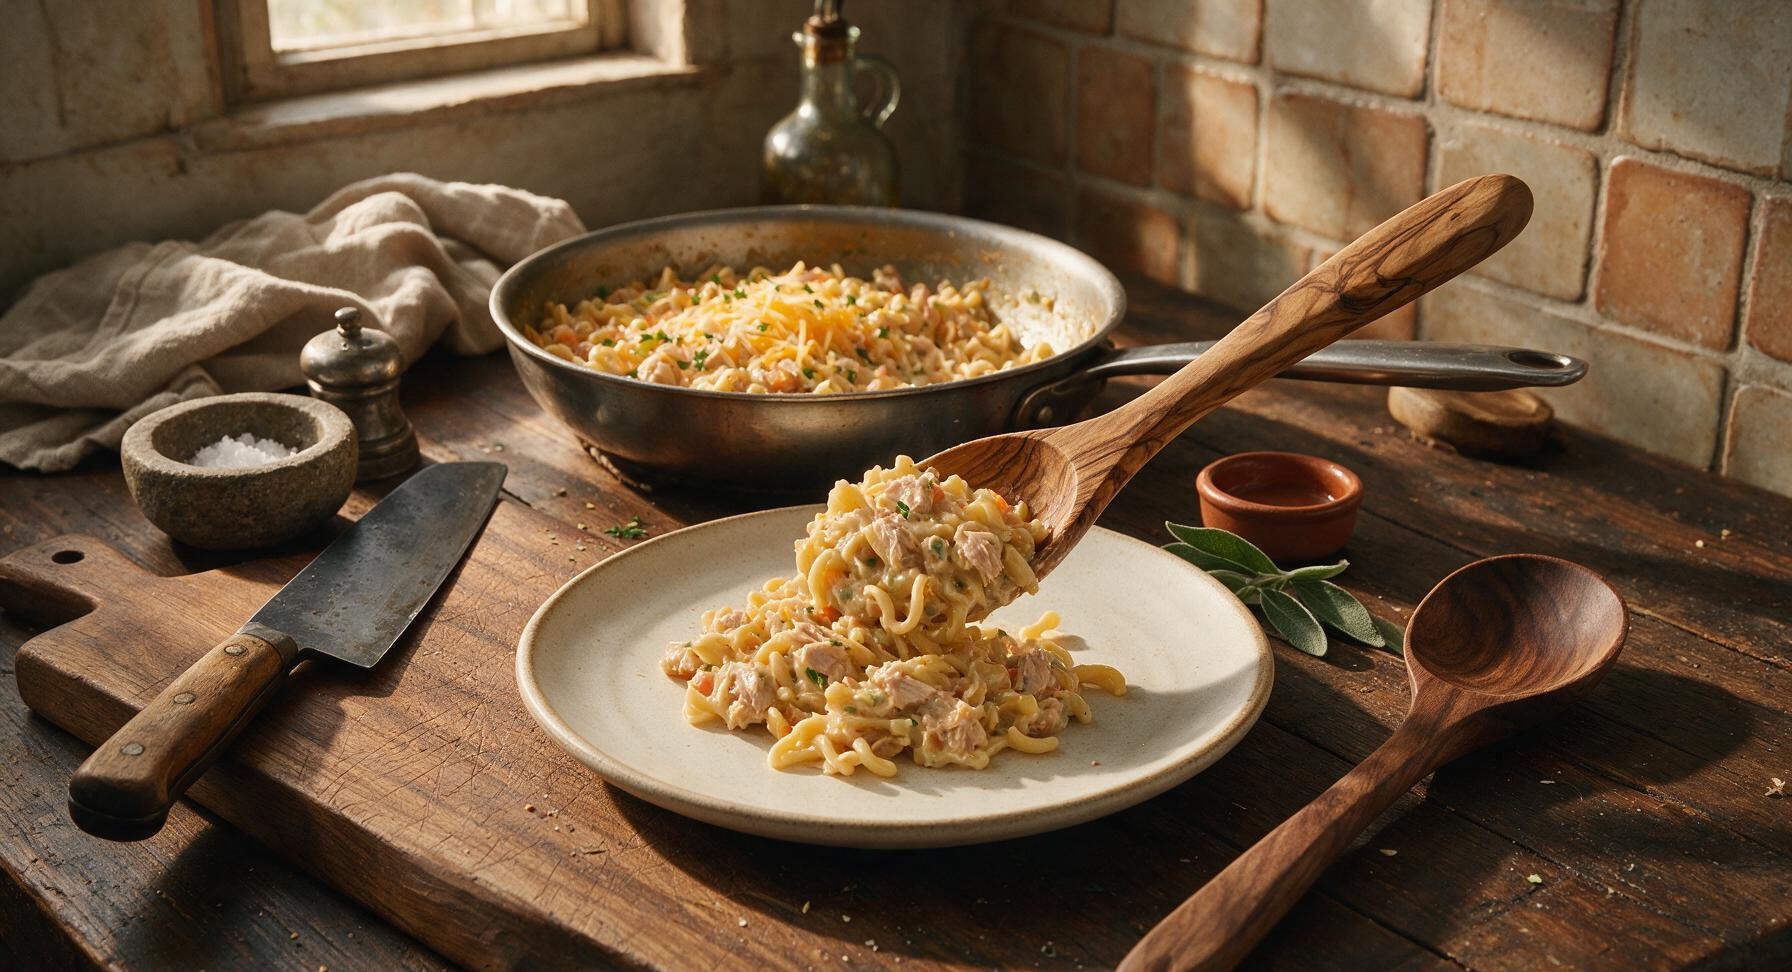
Step 6
step6:Rest and Plate Dish

Tips

1.Avoid over-stirring after adding tuna, as aggressive stirring will break tender tuna flakes into mushy, unappetizing crumbles; gentle folding keeps large, distinct tuna chunks that hold their texture in the creamy sauce.
2.Keep the pasta at a soft, low simmer rather than a rolling boil, as high heat will cause starchy pasta liquid to burn and stick to the bottom of the stainless steel pan, creating a grainy, off-flavored sauce.
3.Do not skip the 3-minute rest time after cooking: the sauce will continue to thicken as it cools slightly, and skipping this step will result in a runny, watery consistency that does not cling to pasta pieces.


✨ You May Also Like

Main Course
🍜 United Kingdom

A showstopping classic of tender seared beef, savory mushroom duxelles, and crisp prosciutto wrapped in flaky golden puff pastry, baked to juicy perfection.

⏱️ 2 hours 1Main Course ★ 4.7
Main Course
🍜 India

Tender charred marinated chicken simmered in a rich, spiced creamy tomato sauce, this iconic Anglo-Indian curry pairs perfectly with basmati rice or warm naan.

⏱️ 50 minuteMain Course ★ 4.6
Main Course
🍜 Thailand

Classic tangy, sweet, and savory Thai stir-fried rice noodles with shrimp, tofu, and crunchy garnishes, balancing all five core Thai flavor profiles.

⏱️ 30 minuteMain Course ★ 4.5
Main Course
🍜 United Kingdom

Crispy golden beer-battered cod and fluffy double-fried chips, served with tangy tartar sauce and malt vinegar: the timeless, beloved British pub comfort classic.

⏱️ 45 minuteMain Course ★ 4.7
Main Course
🍜 Mexico

Smoky, chile-marinated pork tacos with caramelized pineapple, fresh cilantro, and lime: a beloved classic Mexican street food perfect for casual summer gatherings.

⏱️ 1 hour 45Main Course ★ 4.8
Main Course
🍜 United States

Crunchy Fritos corn chips layered with savory beef chili and melted cheddar, topped with cool, zesty fixings for a beloved, cozy Tex-Mex comfort food.

⏱️ 35 minuteMain Course ★ 4.8

homemade tuna helper:Frequently Asked Questions

1.How does this homemade tuna helper compare to store-bought boxed mix? ▾
This version skips the powdered cheese, artificial preservatives, and excess hidden sodium of boxed mixes, using real shredded sharp cheddar, fresh diced onion, and simple pantry staples. It cooks in the same 30-minute window as the boxed kind, but delivers a richer, creamier, more balanced flavor without the processed aftertaste.
2.Can I use a different pasta shape instead of elbow macaroni? ▾
Absolutely! Elbows work great for catching the creamy cheese sauce, but small shells, rotini, cavatappi, or mini penne are all perfect swaps. Just stick to 8 ounces of dry short pasta, and cook it to al dente per package directions so it doesn’t turn mushy when mixed with the warm sauce.
3.Do I have to use tuna packed in water, or can I use oil-packed tuna? ▾
You can use oil-packed tuna if you prefer a richer, more briny flavor—just drain it really well first so extra oil doesn’t make your cheese sauce greasy or thin it out. Tuna in water is the classic pick here because it lets the sharp cheddar and sweet onion flavor shine through without competing.
4.Can I prep this recipe ahead of time for busy weeknights? ▾
You can prep components ahead to cut down on cook time: dice the onion and shred the cheese 2 to 3 days in advance, stored in sealed containers in the fridge. I don’t recommend assembling the full dish ahead, because pasta will absorb all the sauce and turn mushy if it sits too long before cooking.
5.Why is the sharp cheddar listed as divided in the ingredients? ▾
Great question! You’ll stir about two-thirds of the shredded cheddar into the warm sauce and pasta to melt into that rich, creamy base, then sprinkle the remaining third over the top right at the end. That top layer melts into a gooey, slightly stretchy cheesy cap that adds perfect textural contrast.
6.My cheese sauce turned out grainy—what did I do wrong? ▾
Grainy cheese sauce almost always comes from adding shredded cheese too quickly over too-high heat. Turn the stovetop down to low once your butter and onion base is ready, add cheese in small handfuls, and stir constantly until each batch melts. Pre-shredded cheese with anti-caking agents can also cause graininess, so shred your own if you can.
7.Can I make this recipe gluten-free? ▾
Definitely! Swap the regular dry elbow macaroni for your favorite gluten-free short pasta shape—brown rice or chickpea elbows work great, just don’t overcook them. Double check that your shredded cheddar and canned tuna don’t have hidden gluten additives, though most plain versions are totally gluten-free.
8.How long do leftovers keep in the refrigerator? ▾
Stored in a tightly sealed airtight container, leftover tuna helper will stay good for 3 to 4 days in the fridge. When you reheat it, stir in a splash of whole milk or half-and-half as you warm it on the stovetop or microwave to bring the creamy sauce back to its original smooth consistency.
9.Can I freeze homemade tuna helper for later meals? ▾
You can, though the pasta texture will soften a bit after thawing. Let the dish cool completely first, then portion it into freezer-safe airtight containers or zip-top bags, and freeze for up to 3 months. Thaw overnight in the fridge before reheating, and add a splash of milk to loosen the sauce as you warm it.
10.I don’t have sharp cheddar—what other cheeses work well here? ▾
Mild cheddar works if that’s what you have, though it will have a less pronounced cheesy flavor. You can also swap up to half the cheese for Monterey Jack for extra melt, a little pepper jack for a subtle kick, or a handful of parmesan for extra savoriness. Avoid soft cheeses like brie, which make sauce greasy.
11.Do I really need to drain the canned tuna that thoroughly? ▾
Yes, take an extra 30 seconds to press drained tuna against the side of the can with a fork to squeeze out excess water (or oil, if using oil-packed). Skipping this step leaves extra liquid in your sauce, making it thin and watery instead of thick, rich, and clinging perfectly to every piece of pasta.
12.Can I add extra veggies to make this dish more filling? ▾
Absolutely! Diced celery, frozen peas, steamed broccoli florets, or diced bell pepper work beautifully here. Saute firmer veggies like celery and bell pepper right along with the diced onion in butter, and stir frozen peas or pre-steamed broccoli in during the last 2 minutes so they don’t get mushy.
13.What if I don’t have unsalted butter? Can I use salted butter? ▾
You can absolutely use salted butter if that’s what you keep in your fridge—just hold off on adding extra salt to the dish until you’ve tasted it at the end. Salted butter has varying sodium content across brands, so tasting first will keep you from accidentally over-salting the creamy cheese and tuna sauce.
14.Can I make this as a one-pot meal to cut down on dishes? ▾
That’s actually my favorite way to make it! Saute the diced onion in butter right in a large stock pot, then add dry pasta, water, and a pinch of salt, and simmer until pasta is al dente. Stir in tuna, most of the cheese, and a splash of milk if needed, then top with remaining cheese to melt—no extra colander required.
15.My pasta came out mushy last time—how do I prevent that? ▾
Mushy pasta happens when it’s overcooked before mixing with sauce. Cook your elbows to al dente, meaning they still have a tiny firm bite in the center, because they’ll keep cooking for a minute or two when stirred into the warm cheese sauce. Don’t leave cooked pasta sitting in hot water longer than needed before draining.
16.Is there a way to make this a little lighter without losing flavor? ▾
You can cut a few calories without sacrificing taste by using 2% milk to thin the sauce instead of whole milk or half-and-half, swapping half the cheese for a good-melting reduced-fat sharp cheddar, and adding extra veggies like steamed peas or cauliflower to bulk up portions. Avoid fat-free cheese, which doesn’t melt smoothly and causes grainy sauce.
17.Can I use fresh tuna instead of canned for this recipe? ▾
If you want to splurge, you can use fresh cooked tuna: season a 6-ounce tuna steak with salt and pepper, sear it until just flaky, then flake it into large chunks and stir it into the dish at the end. Canned tuna is the classic, budget-friendly pick, but fresh ahi or albacore makes for a nice elevated weeknight treat.
18.What simple seasonings boost the flavor of this tuna helper? ▾
A pinch of garlic powder, a little smoked paprika, a dash of Worcestershire sauce, or a sprinkle of dried dill all pair perfectly with the tuna and cheddar flavors. Start with a small amount of seasoning, taste as you go, and skip extra salt until the end since canned tuna and cheese both already have natural sodium.

Comments (12)

2 days ago

OMG this is such a game changer! I grew up on the boxed tuna helper but this homemade version is SO good, no weird preservatives, and my kids actually asked for seconds! Took exactly 20 minutes to throw together on a busy school night, total weeknight win. Added a little extra frozen peas because my crew loves veggies, will absolutely be adding this to our regular dinner rotation.

yesterday

Wait I added extra peas too! Did you use regular egg noodles or the whole wheat ones? I’m trying to sneak more whole grains in for my husband

yesterday

So happy your kids loved it! Great question from BusyBeeBaker too—both regular and whole wheat egg noodles work perfectly here, if you go whole wheat just add a splash more chicken broth if the sauce feels too thick!

1 week ago

Super easy to make, holds up really well in the fridge for meal prep lunches all week! My only note is that I wish the sauce was a little cheesier, so next time I’ll probably add an extra handful of sharp cheddar. Otherwise, great base recipe, way cheaper than buying the pre-packaged stuff.

5 days ago

Oh adding extra sharp cheddar is such a good call! I tossed in a little parmesan too last time I made it and it was chef’s kiss

3 days ago

Great tip about the extra cheese! Lots of folks love adding a handful of cheddar or parmesan for a richer sauce—feel free to tweak it to your taste, that’s the best part of homemade!

5 days ago

As a broke college student with barely any cooking skills, this was perfect! I had almost all the ingredients in my pantry already, didn’t need any fancy tools, and it tasted way better than the microwave meals I usually live on. 10/10 will make again when I’m tired of ramen.

3 days ago

Dude same! I made this last night in my dorm kitchen and my roommate stole half the pan lmao. Did you use canned tuna in oil or water?

2 days ago

So stoked this worked out for your dorm cooking! To answer RamenKing22’s question, both oil-packed and water-packed tuna work great—oil-packed adds a little extra richness if you have it on hand!

3 days ago

Brought this to our neighborhood potluck last weekend and people were begging for the recipe! I topped it with a little breadcrumb and parmesan crisp before serving, and it was gone in 10 minutes. Who knew homemade tuna helper could be such a crowd pleaser? No one even guessed it only took me 20 minutes to make!

2 days ago

The breadcrumb parmesan topping sounds incredible! What a perfect upgrade for a potluck—thanks for sharing that tip!

2 days ago

So glad I found this! I swapped the regular egg noodles for gluten-free rotini and it turned out absolutely perfect. The sauce is so creamy without being heavy, and I love that I can control how much salt goes in unlike the boxed version. Already made it twice this month!

yesterday

Love the gluten-free swap! Rotini holds the creamy sauce so well, that’s such a smart choice. Thanks for sharing your tweak!

30 minutes ago

Made this last night when I got home late from work, and it was on the table in literally 18 minutes, which is even faster than the recipe says. Used a can of tuna I had in the back of the pantry, some leftover pasta, and frozen mixed veggies—total pantry clean out meal, and it was delicious.

5 minutes ago

Pantry clean out meals are the BEST! I threw in some leftover roasted broccoli I had when I made this and it slapped

2 weeks ago

I’m literally learning how to cook for the first time and I was so nervous I’d mess this up, but it was so easy! The instructions are super straightforward, no weird steps, and my boyfriend said it’s one of the best things I’ve ever made. Win for me!

1 week ago

That makes us so happy to hear! This recipe is perfect for new cooks because it’s so forgiving—can’t wait to hear what other recipes you try!

2 hours ago

Okay, full transparency: I hate canned tuna. But my wife made this for dinner last night and I actually went back for a second helping. The creamy sauce and seasonings totally mellow out that fishy canned taste I can’t stand. Wild. Might even make it myself next time.

30 minutes ago

Same here! I avoided tuna helper my whole life because I thought it would be super fishy, but this homemade version is nothing like the boxed stuff. Total convert

5 minutes ago

Added a big pinch of cayenne and a dash of hot sauce to this to give it a little kick, and oh my gosh it was so good! The creamy sauce balances the heat perfectly. This is my new go-to lazy dinner when I don’t feel like putting in a ton of effort but want something tasty.

1 week ago

I’ve been making tuna noodle casserole for 40 years, and this streamlined 20-minute version is just as good as my old baked recipe! No need to turn on the oven, which is perfect for these hot Arizona summer days. I’ll be making this all season long.

2 weeks ago

Added an extra can of tuna and a scoop of Greek yogurt to bump up the protein for my post-workout meals, and this hits so good. Way better than chugging a protein shake after the gym, and it’s actually filling. Great high-protein base recipe.

just now

Let me preface this by saying I burn toast regularly. I followed this recipe exactly, didn’t burn anything, and my roommate said it tasted like restaurant food. If I can make this, literally anyone can. 10/10 no notes.



