1.Why do my homemade waffles turn out soggy instead of crisp?
▾
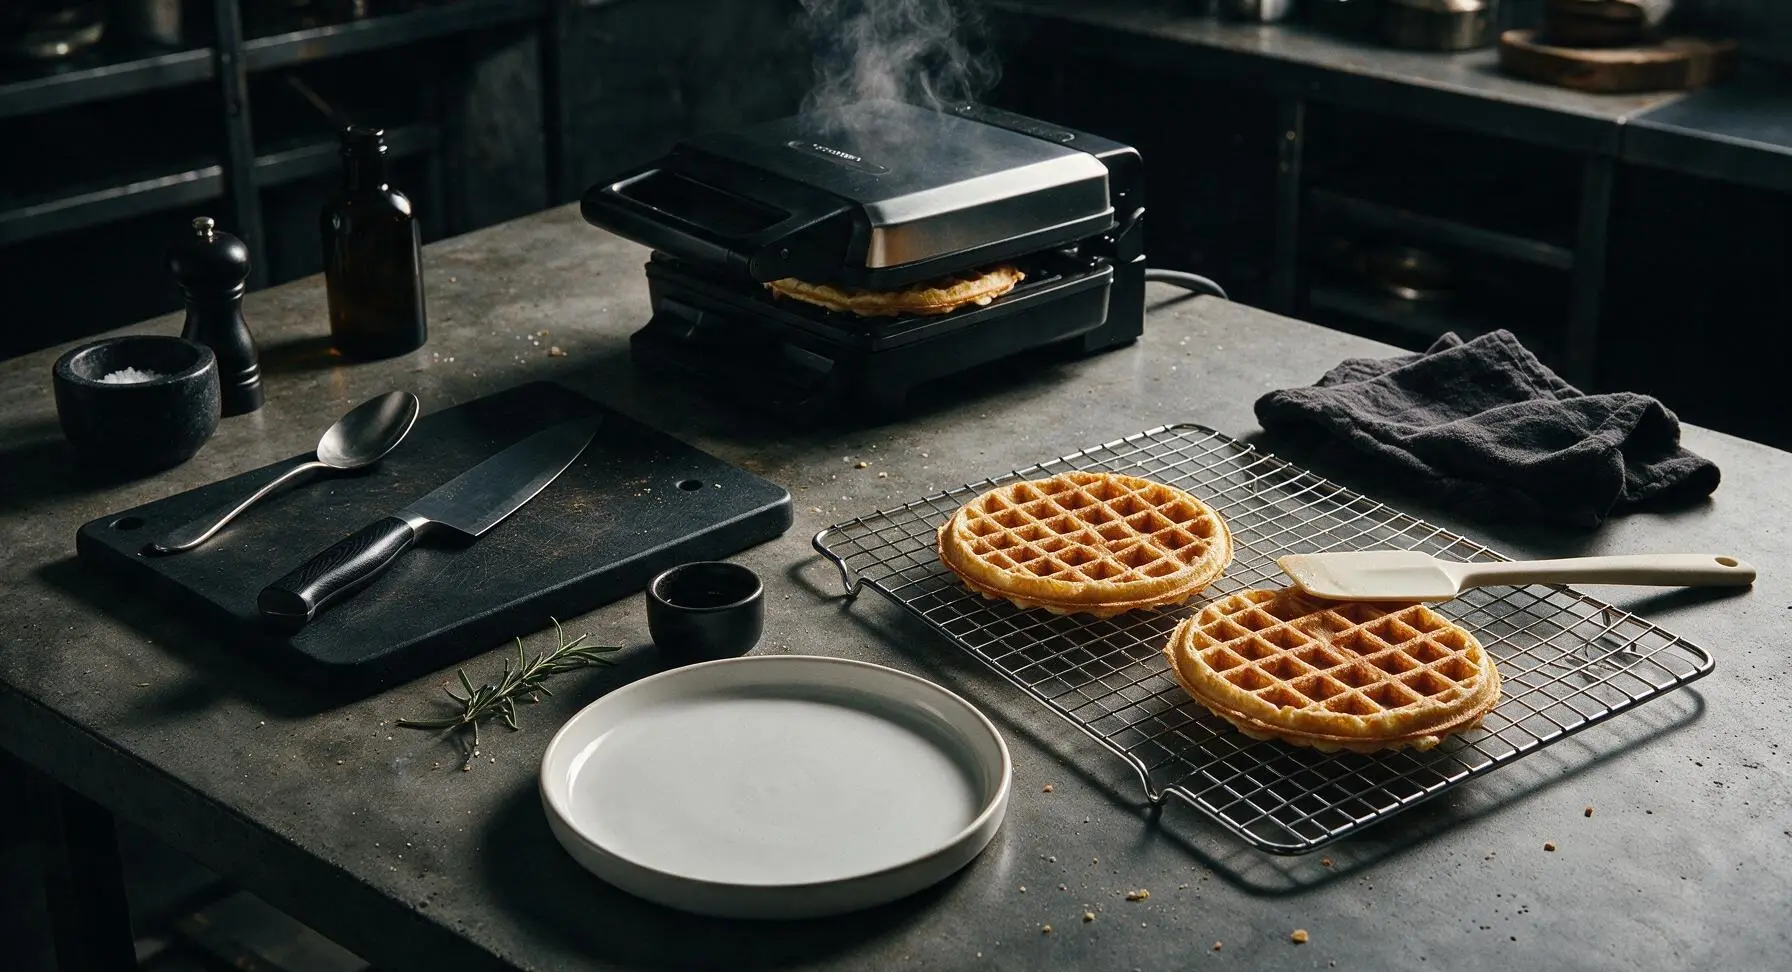
Soggy waffles usually come from three common missteps: your waffle iron wasn’t fully preheated before adding batter, you opened the iron too early (wait until steam stops escaping, about 30 seconds after you think it’s done), or you stacked hot waffles straight on a plate. Rest finished waffles on a wire rack for 1 minute to keep edges crisp, and make sure your melted butter is fully cooled so it doesn’t deflate the light batter structure.
2.Can I use a different type of milk instead of whole milk for this recipe?
▾
Whole milk gives the richest, most tender crumb thanks to its 3.25% fat content, but you can absolutely swap in 2% or skim milk if that’s what you have—just note your waffles will be slightly less rich and fluffy. Plain unsweetened oat or almond milk works as a 1:1 swap for dairy-free versions, but avoid thickened barista blends, which can make batter gummy.
3.Do I need to separate my eggs and whip the whites to get fluffy waffles?
▾
You don’t have to! This recipe is formulated to produce light, fluffy centers without that extra step, as long as you don’t overmix the batter. If you want extra-cloudy, restaurant-style lift, you can separate whites, whip them to soft peaks, and fold them in at the end—just be gentle so you don’t knock out all the trapped air that creates lift.
4.Why does the recipe say to use melted, cooled butter instead of hot melted butter?
▾
Hot melted butter will partially cook the eggs in your batter if you pour it straight in, creating tiny lumps of scrambled egg that ruin waffles’ smooth crumb. It can also break down gluten structure from the flour and deflate air bubbles, leading to flat, dense waffles. Let melted butter sit 3-5 minutes until it’s just warm to the touch before mixing in.
5.How lumpy should my waffle batter be when I’m done mixing?
▾
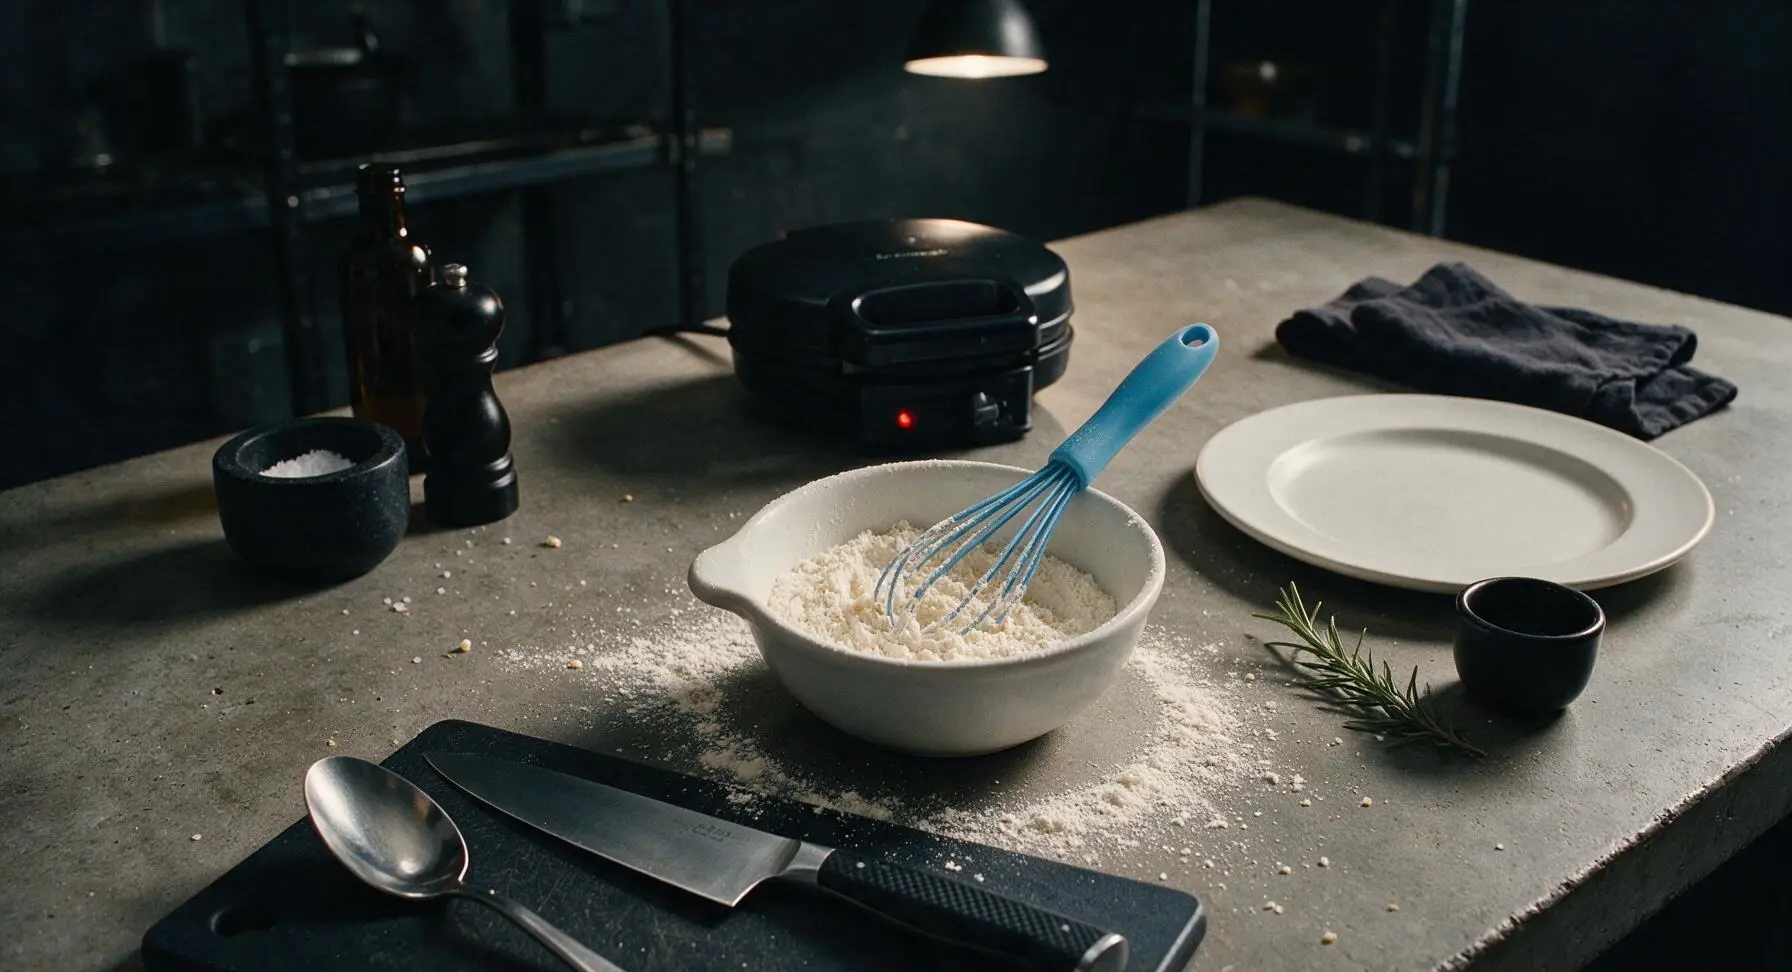
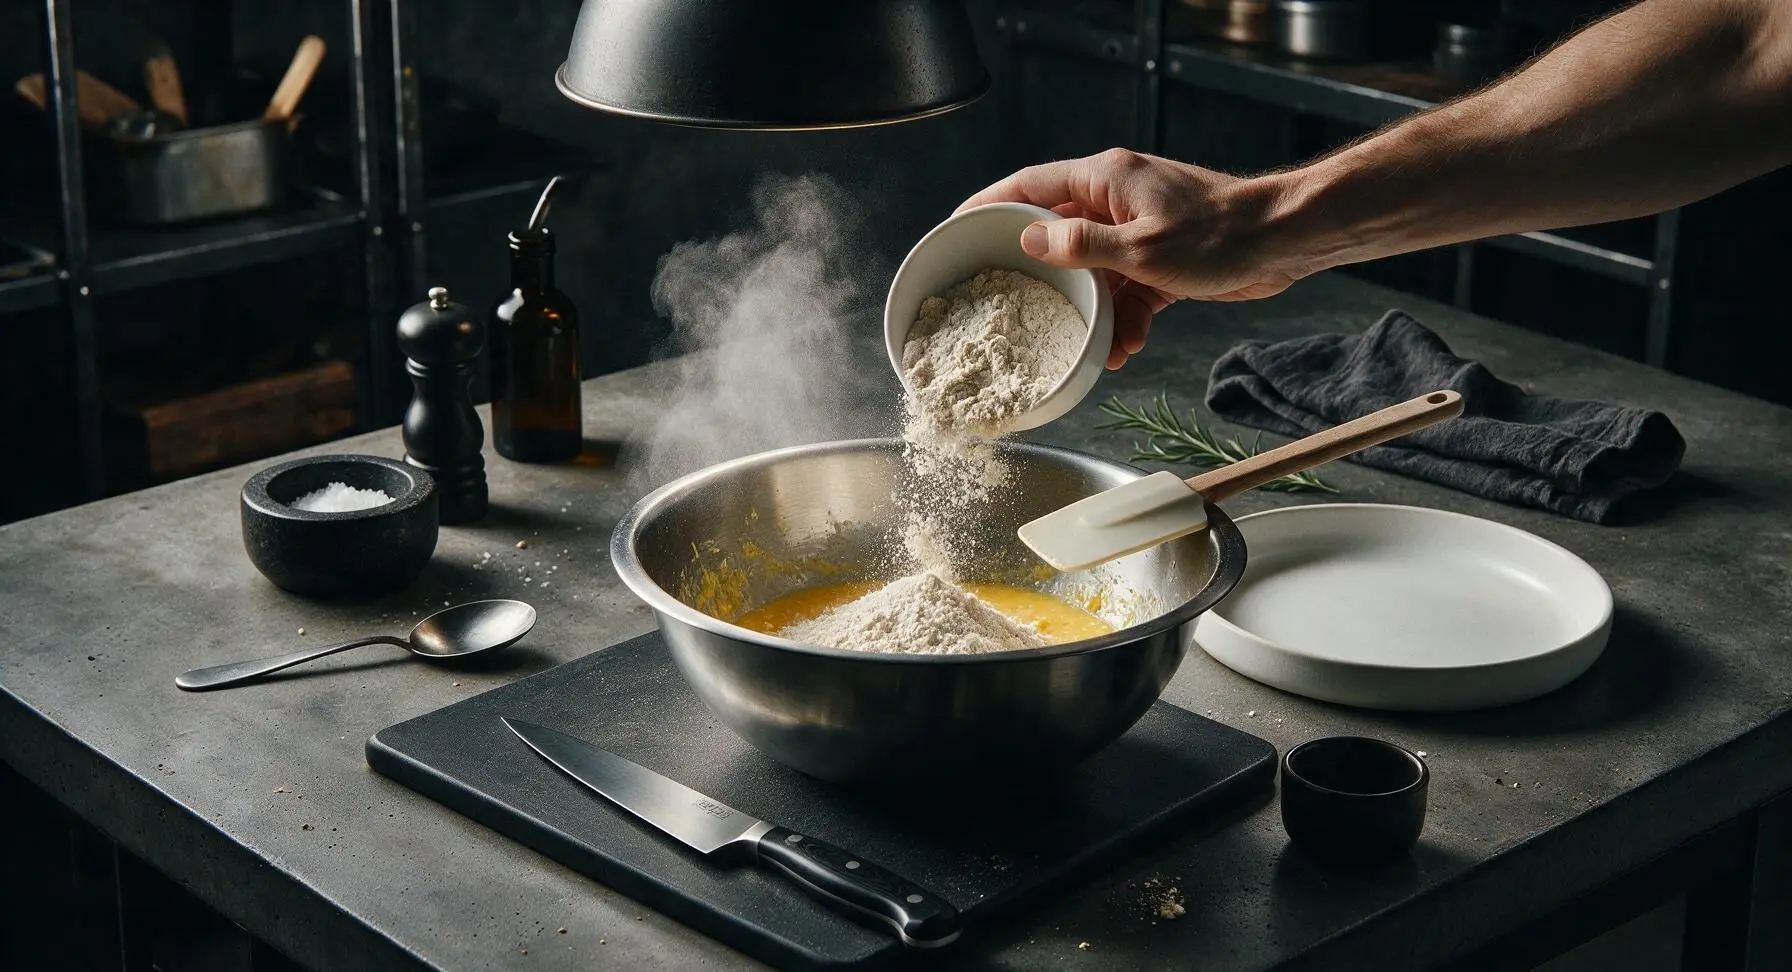
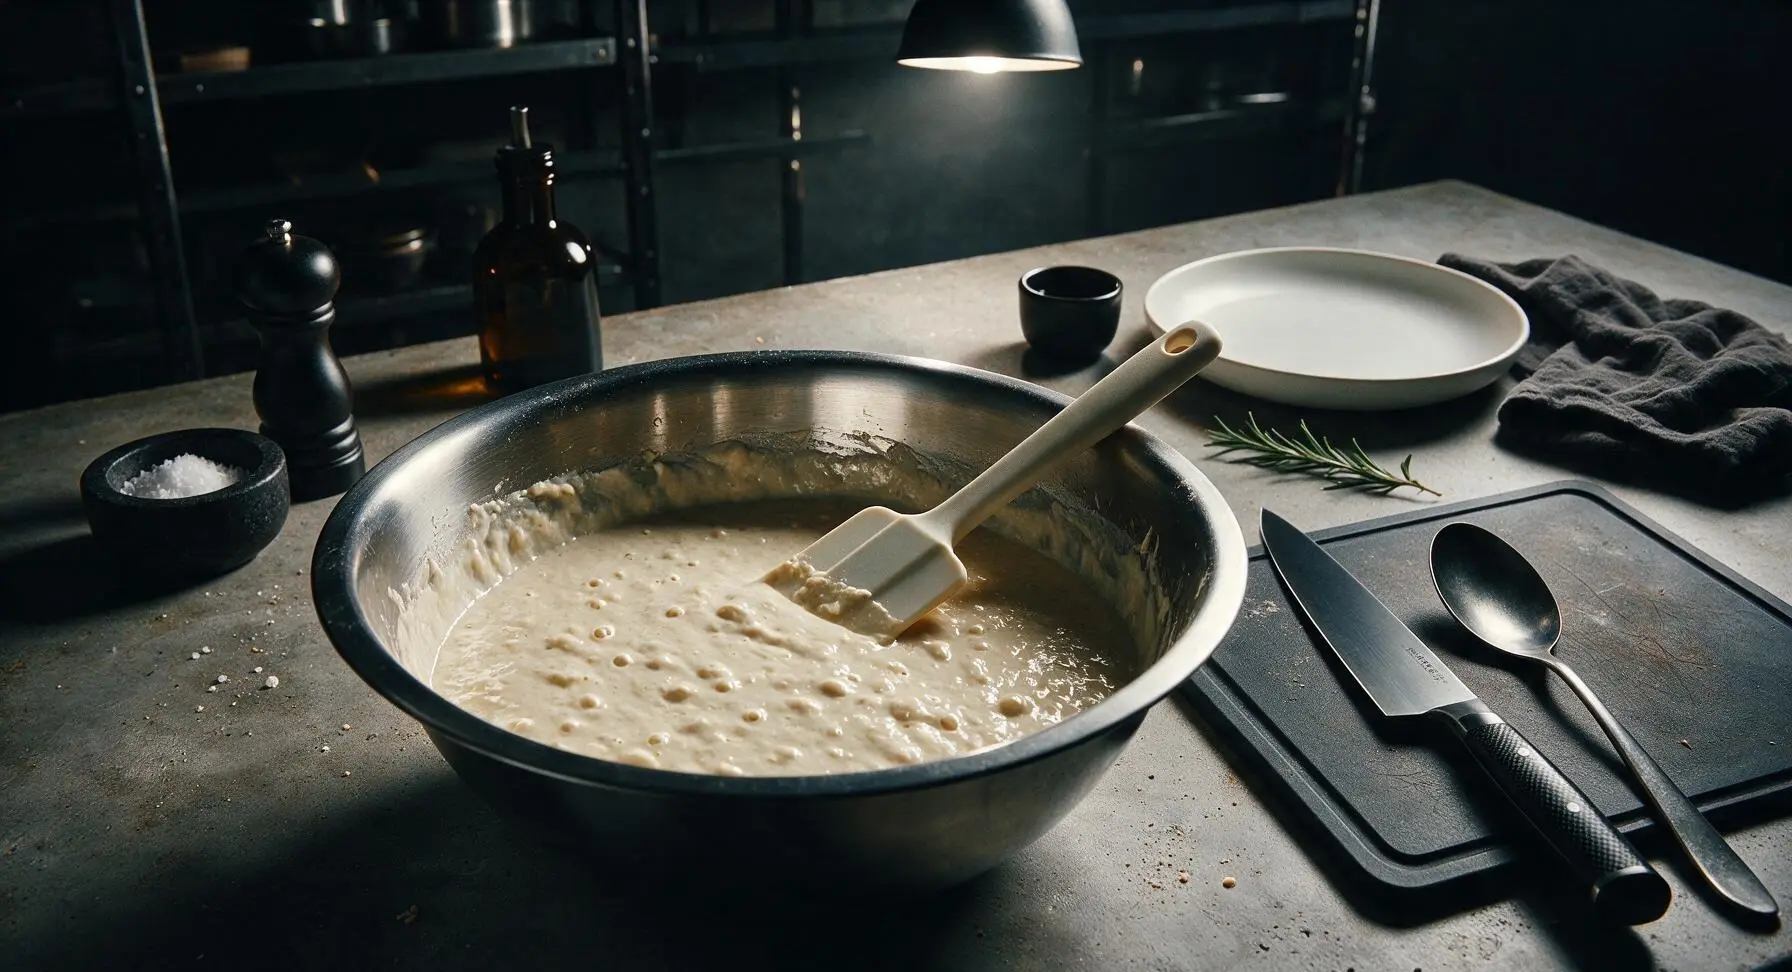
Your batter should be distinctly lumpy, with small pea-sized clumps of flour visible throughout and no large dry flour pockets at the bottom of the bowl. Overmixing to get a perfectly smooth batter develops excess gluten in the all-purpose flour, which turns waffles tough and chewy instead of light and tender. Stop mixing as soon as you no longer see dry flour streaks.
6.Can I make this waffle batter ahead of time for easy weekend brunch prep?
▾
You can mix the dry ingredients (flour, sugar, leavening, salt) up to 3 days ahead and store them in an airtight container at room temperature, but don’t combine wet and dry ingredients until right before you cook. Once wet ingredients hit leavening, the air bubbles that create fluffy waffles dissipate quickly, leading to flat, dense waffles if mixed batter sits longer than 15 minutes.
7.How much batter should I pour into my waffle iron per waffle to avoid messes?
▾
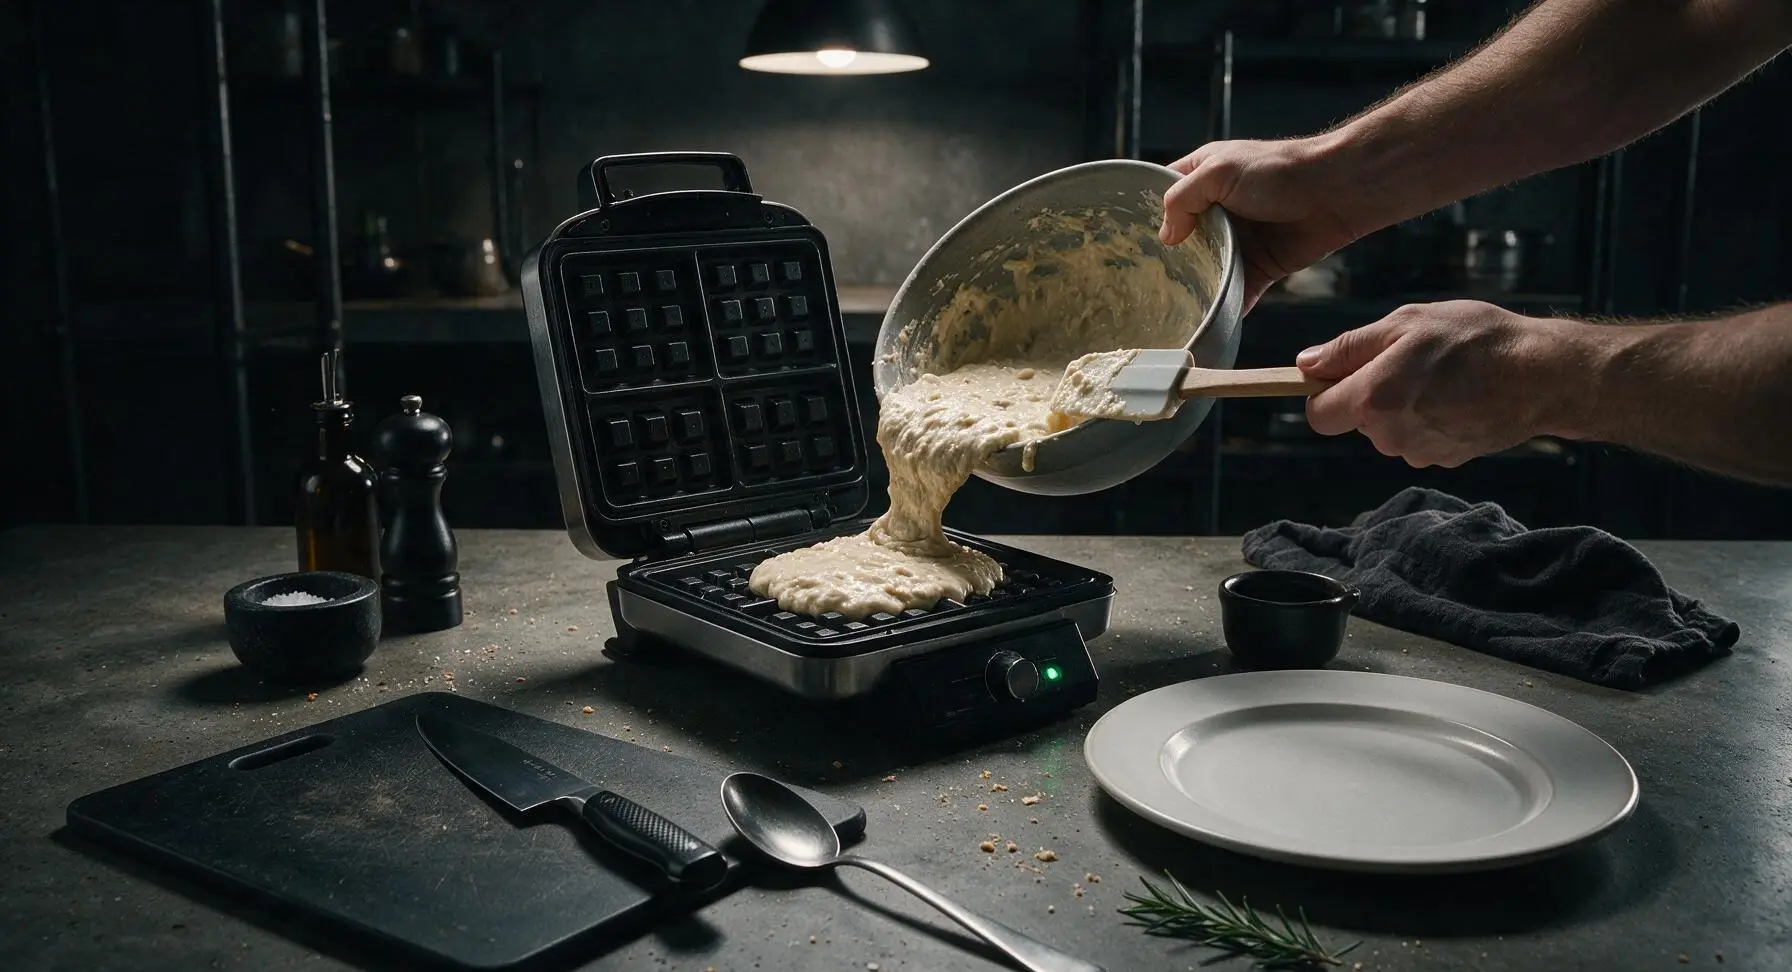
The exact amount depends on your iron size, but a good rule of thumb for standard 7-inch round irons is ½ to ⅔ cup of batter per waffle. Pour batter right in the center of the preheated grid and let it spread naturally as you close the lid—don’t spread it with a spatula, which pushes out trapped air. If batter oozes out the sides, use 2 tablespoons less next time.
8.Can I freeze leftover homemade waffles for quick weekday breakfasts?
▾
Absolutely! Let cooked waffles cool completely to room temperature on a wire rack, then stack them between sheets of parchment paper to prevent sticking, and store in a sealed freezer bag for up to 3 months. Reheat straight from frozen in a toaster or toaster oven on medium—no thawing needed—and you’ll get crisp, fresh-tasting waffles in 2 to 3 minutes.
9.Why do my waffles stick to the waffle iron even when it has a non-stick coating?
▾
Sticking usually happens if your iron isn’t fully preheated, you tried to lift the waffle too early, or you skipped greasing the grids even with a non-stick surface. For this recipe, a light quick brush of butter on preheated grids before the first batch is all you need—you won’t need to re-grease between batches as long as the iron stays consistently hot.
10.Can I use self-rising flour instead of all-purpose flour for this recipe?
▾
You can use self-rising flour as a 1:1 swap for all-purpose flour, but you’ll need to cut out any added baking powder and salt called for in the base recipe to avoid overly salty, soapy-tasting waffles that rise too fast then collapse. Stick to unbleached all-purpose flour for the most consistent, neutral flavor and reliable crisp-tender texture every time.
11.How do I get those deep golden, crisp edges like diner-style waffles?
▾
For perfect diner-style crisp edges, set your waffle iron to medium-high if it has adjustable temperature, and let waffles cook 30 to 60 seconds after the iron’s “done” indicator light turns on, until almost no steam escapes from the sides. The small amount of granulated sugar in the batter also helps caramelize edges for extra crunch and that signature golden color.
12.Can I reduce the amount of granulated sugar in the recipe without ruining texture?
▾
You can cut the granulated sugar in half (down to 1 tablespoon per 2 cups of flour) without major texture changes, but don’t eliminate it entirely. The small amount of sugar here doesn’t just add subtle sweetness—it tenderizes the crumb, supports browning for crisp edges, and balances toppings like maple syrup and fresh berries. No-sugar waffles will be pale, bland, and less crisp.
13.What’s the best way to keep waffles warm while I cook multiple batches for a group?
▾
To keep waffles warm and crisp for a crowd, preheat your oven to 200°F, and set a wire rack inside a rimmed baking sheet. As you finish each waffle, set it directly on the rack in a single layer (don’t stack them!) and slide the sheet into the oven. Waffles will stay perfectly crisp and warm for up to 20 minutes this way, no sogginess.
14.Can I add mix-ins like chocolate chips or blueberries to this waffle batter?
▾
Absolutely! Fold ½ to ¾ cup of your favorite mix-ins—chocolate chips, fresh blueberries, chopped pecans, or lemon zest—into the batter right after you finish mixing, right before cooking. Toss fruit or chocolate chips in a tiny pinch of all-purpose flour first to keep them from sinking to the bottom of the waffle and sticking to the iron as they cook.
15.Why are my waffles dense and heavy instead of light and fluffy in the center?
▾
Dense, heavy waffles usually come from overmixed batter, expired leavening (baking powder past its prime won’t create the air bubbles needed for lift), or using cold eggs and milk straight from the fridge. For the fluffiest centers, let eggs and milk sit out 15 minutes to reach room temp, check that your baking powder is fresh, and keep your batter nicely lumpy.
16.Do I need a fancy Belgian waffle maker to make these waffles well?
▾
You don’t need a high-end Belgian waffle maker for this recipe! It works perfectly in both thin classic waffle irons and deeper-pocket Belgian waffle irons. Just adjust your batter amount slightly: use ¾ to 1 cup of batter for deep Belgian irons, and cook 1 to 2 minutes longer to make sure thicker waffles are fully set in the center with no raw batter pockets.
17.Can I use salted butter instead of unsalted butter in this recipe?
▾
You can use salted butter as a swap for unsalted butter if that’s what you have on hand, just cut any added salt in the recipe by ¼ teaspoon per stick of butter you use. Unsalted butter lets you control exact salt levels for balanced flavor, so waffles don’t taste overly salty with toppings like peanut butter or bacon, but salted butter works fine with that small adjustment.
18.How do I know when waffles are fully cooked without opening the iron too early?
▾
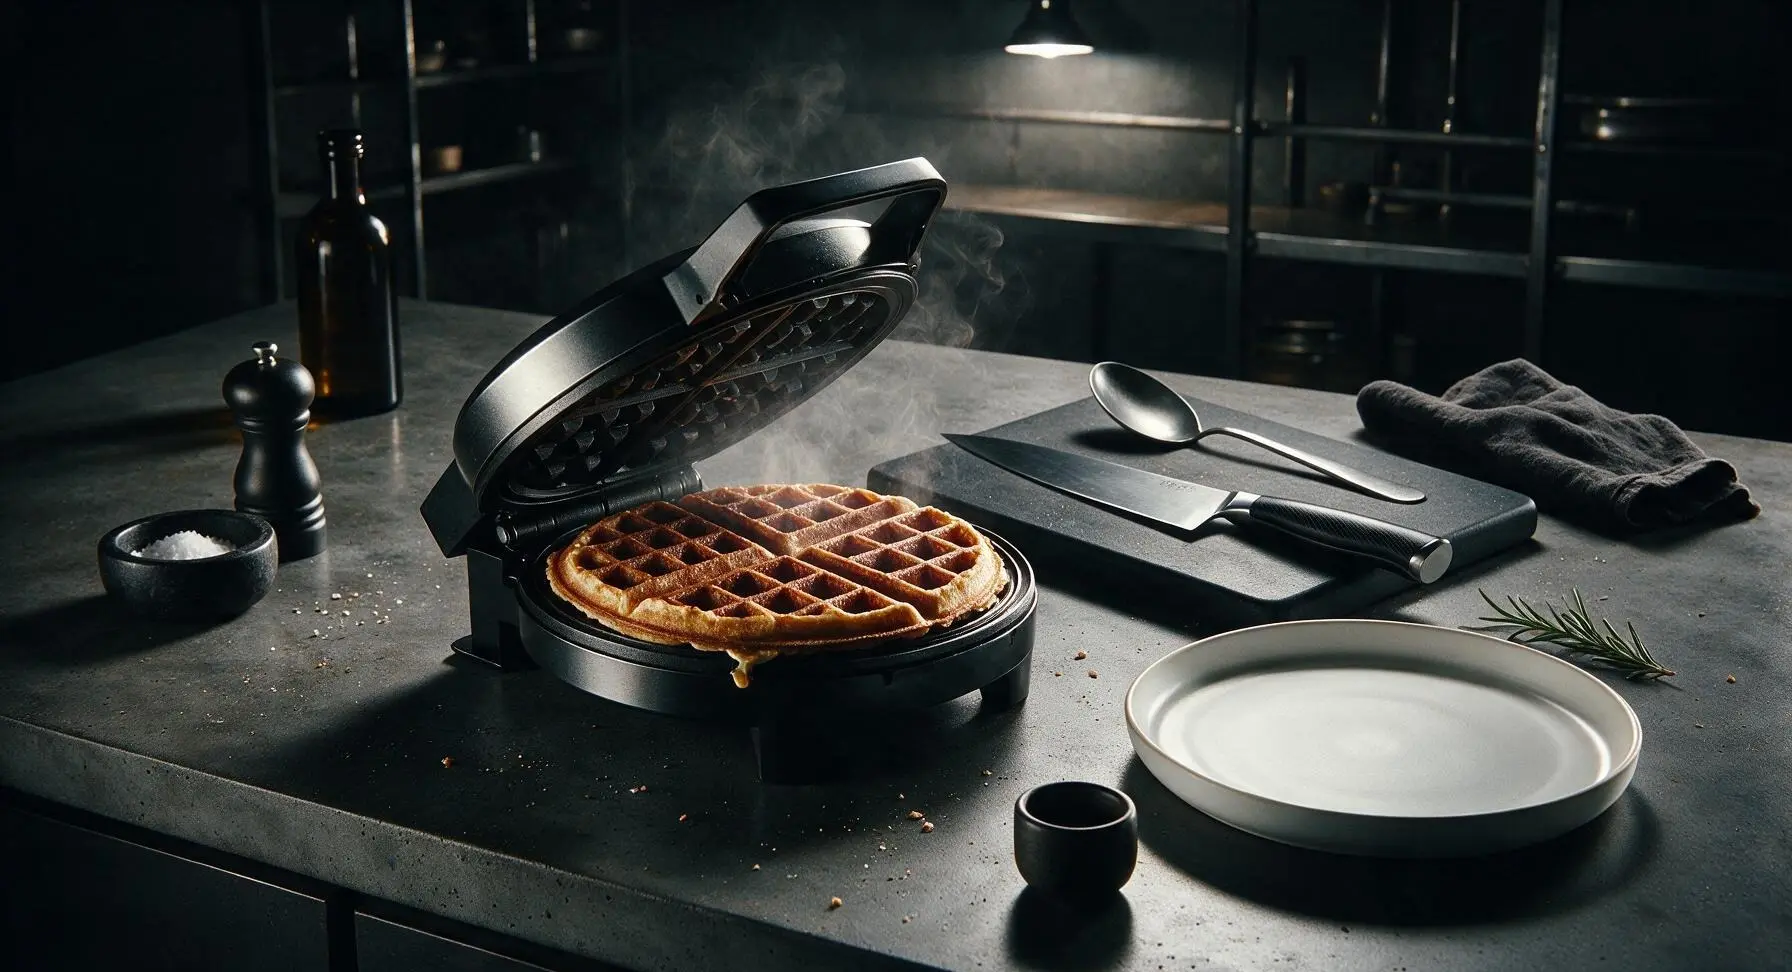
Watch the steam! When you first pour batter and close the iron, thick, steady streams of steam will escape from the edges of the lid. Once that steam slows to almost nothing (usually 3 to 5 minutes per batch, depending on your iron), your waffle is fully cooked, with a crisp exterior and set fluffy center. Peeking early can tear the waffle before it sets, so rely on the steam cue first.
19.What should I do if my waffle batter ends up too thick or too thin after mixing?
▾
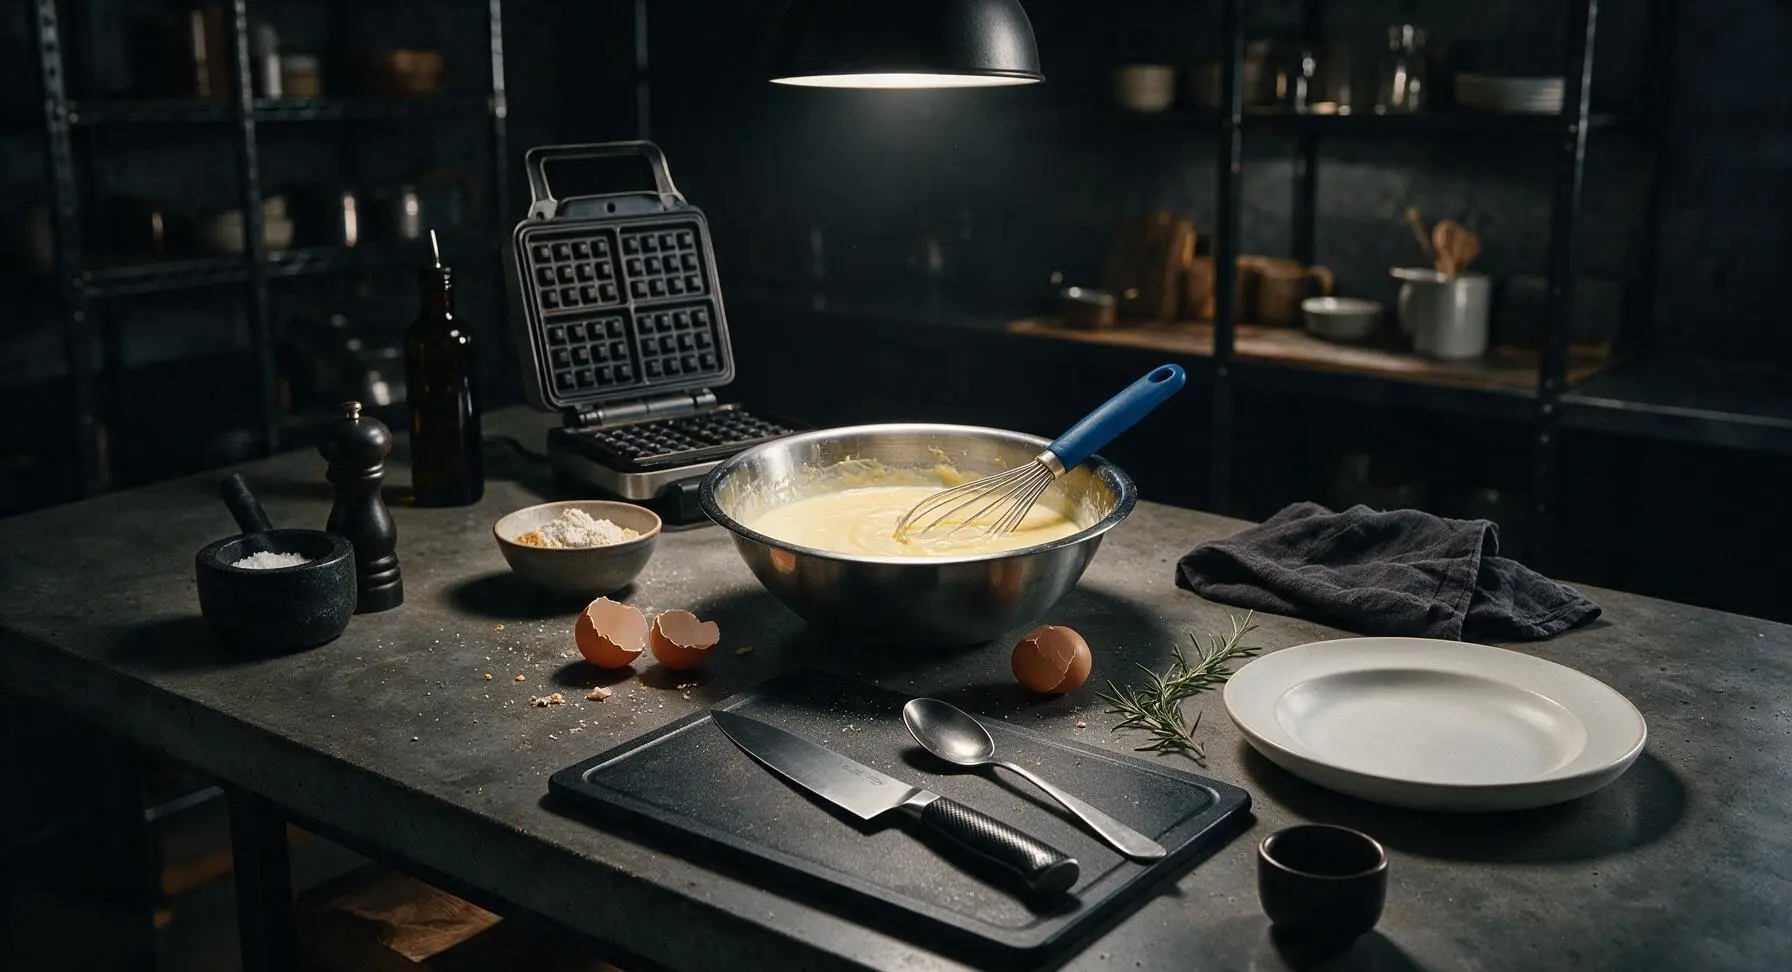
Ideal waffle batter should be thick but pourable, similar to the consistency of thick cake batter. If your batter is so thick it won’t spread at all when poured, stir in 1 tablespoon of extra whole milk at a time until it reaches the right texture. If it’s thin and runny like pancake batter, gently stir in 1 extra tablespoon of all-purpose flour at a time, taking care not to overmix.
20.Are these waffles sturdy enough to hold heavy toppings like fried chicken or loaded whipped cream?
▾
Absolutely! These scratch waffles have a sturdy crisp edge and soft but structured fluffy center that holds up perfectly to heavy toppings, from fried chicken and gravy to mounds of whipped cream, fresh spring strawberries, and drizzles of maple syrup or Nutella. Just cook them to full crispness (wait for steam to stop) so they don’t turn soggy under wet, heavy toppings.


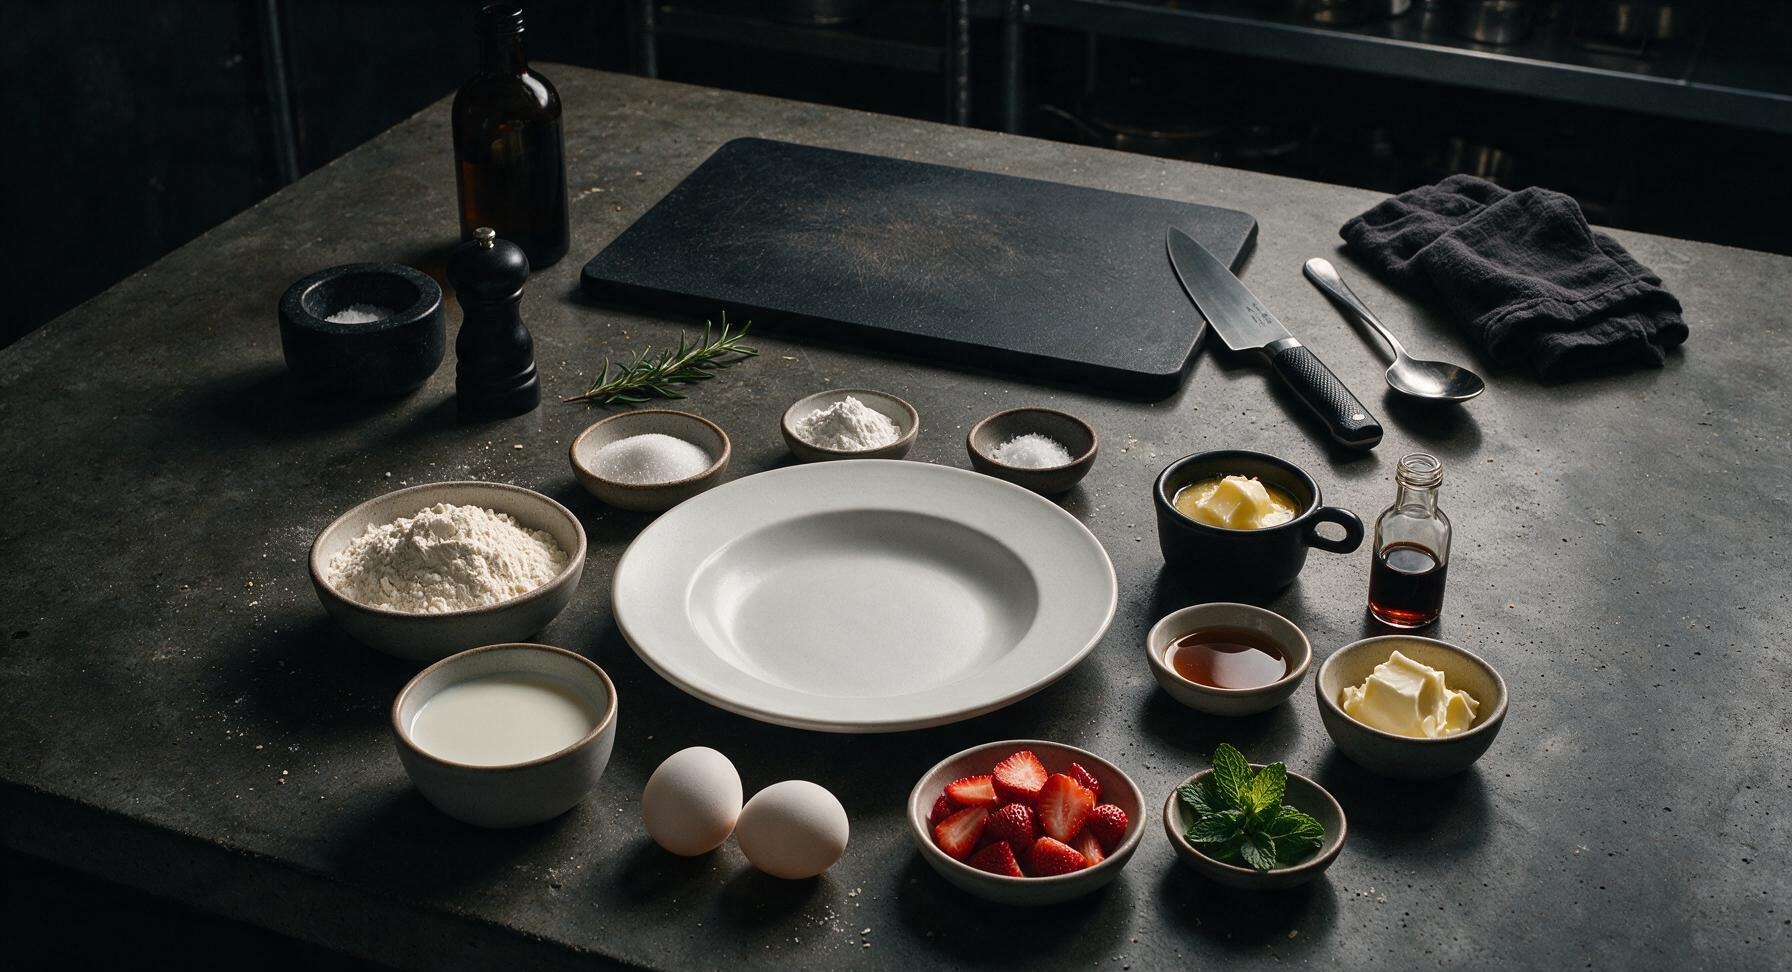








OMG these waffles are a total game changer! I’ve been messing up boxed waffles for years because they always turn out soggy, but this scratch recipe was so easy even my 10 year old helped measure the ingredients. Cooked up perfectly crispy on the outside, fluffy inside in exactly the time the recipe said. My kids begged for seconds before they even finished their first plate! Drizzled with maple syrup and a few fresh strawberries, 10/10 will be making these every Sunday brunch from now on.
Made these for my roommates pre-hike breakfast this morning and everyone lost their minds. I added a dash of cinnamon and a handful of chocolate chips to half the batter, and honestly both versions slapped. Only took 15 minutes total to cook a whole batch for 4 people, no fancy ingredients needed – I already had everything in my pantry. Way better than the diner down the street, no cap.
SO good! I made these for a potluck brunch last weekend and people were asking me for the recipe before they even took their second bite. I did a little topping bar with whipped cream, blueberries, sprinkles, and peanut butter drizzle so everyone could customize, and the waffles held up perfectly even sitting out for a little while. Only note is I’d recommend not overmixing the batter – I got a little overzealous with the whisk on my first batch and they were a tiny bit dense, but the second batch was perfect when I left a few lumps.
Absolute staple for my weekly meal prep! I make a big batch on Sundays, pop them in the toaster during the week, and they taste just as fresh as the day I made them. Way cheaper than buying frozen waffles, and I know exactly what’s going in them so I don’t have to worry about weird preservatives for my toddler’s breakfast. 10/10, already added this to my permanent recipe rotation.
I was nervous this recipe wouldn’t work with my gluten free all purpose flour blend, but it turned out AMAZING. I swapped the regular flour 1:1 for my go-to GF blend, added a tiny extra splash of vanilla, and my husband (who swears he can taste GF baked goods from a mile away) didn’t even notice the difference. Crispy, fluffy, no weird gritty texture – I’m never buying GF waffle mix again.