
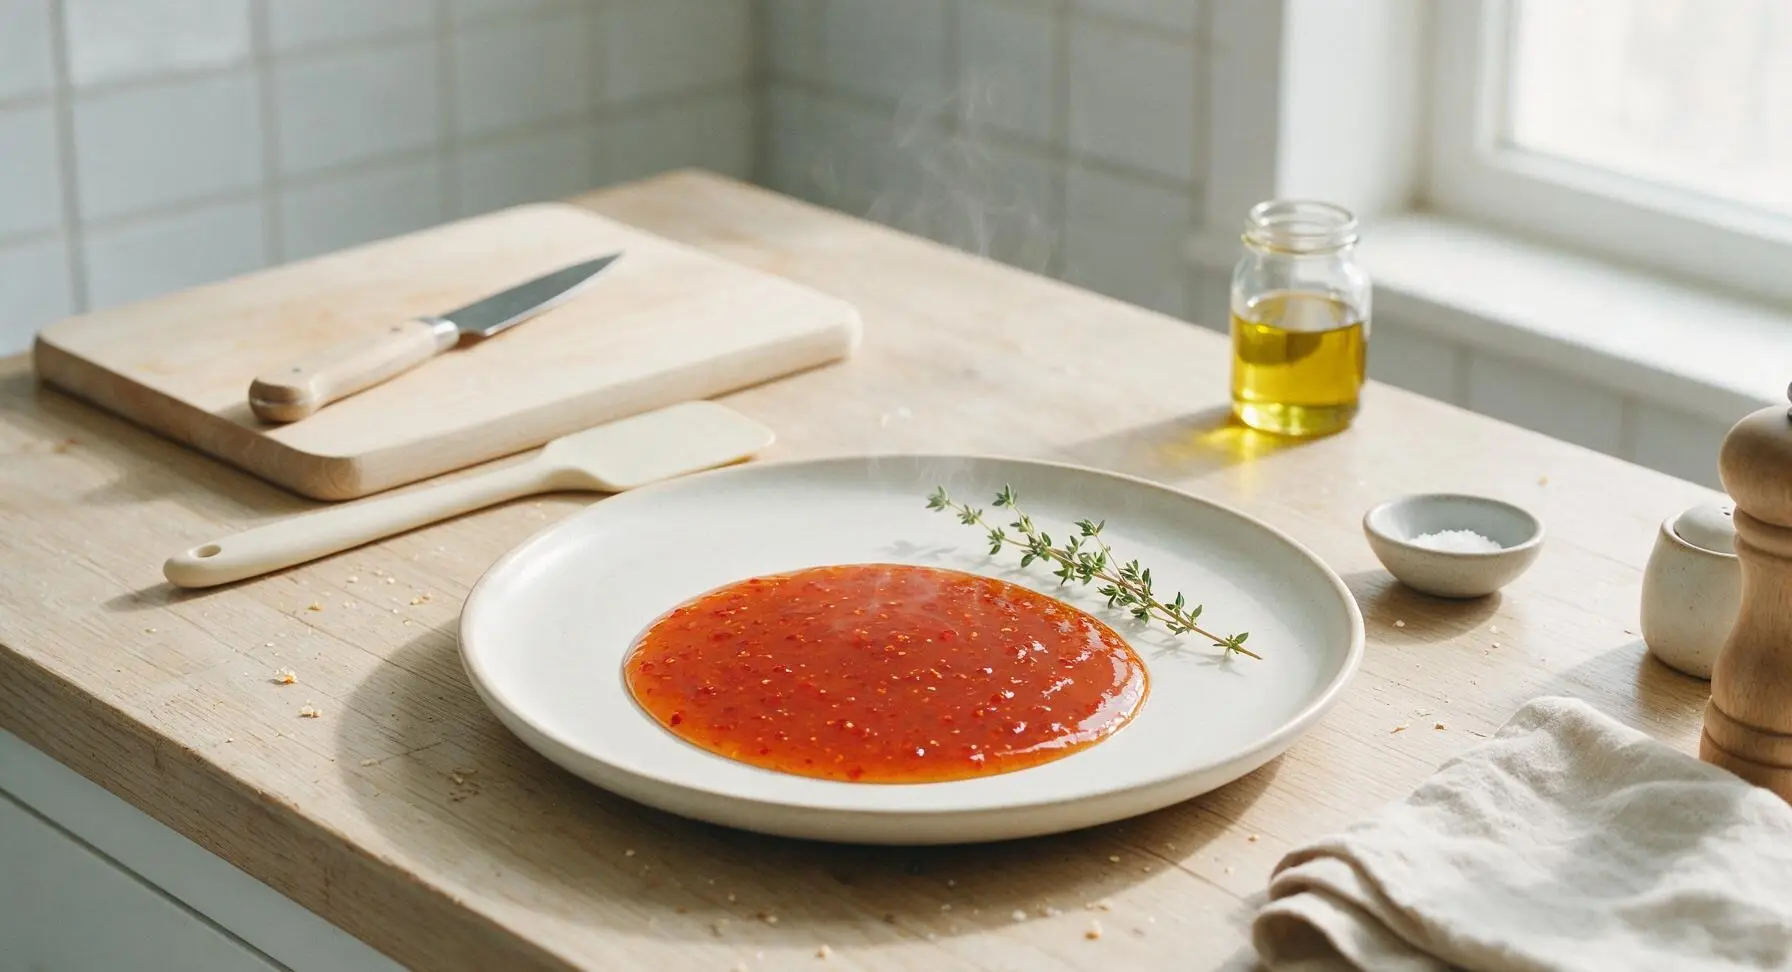
honey chilli sauce

title 1
honey chilli sauce
⏱️ cook time 4 minutes
🍽️ servings 8
⚡ Difficulty easy

intro

Glossy, perfectly balanced sweet-spicy honey chilli sauce — ideal for glazing grilled wings, dipping spring rolls, or drizzling over summer BBQ bites, ready in under 10 minutes total.

Ingredients
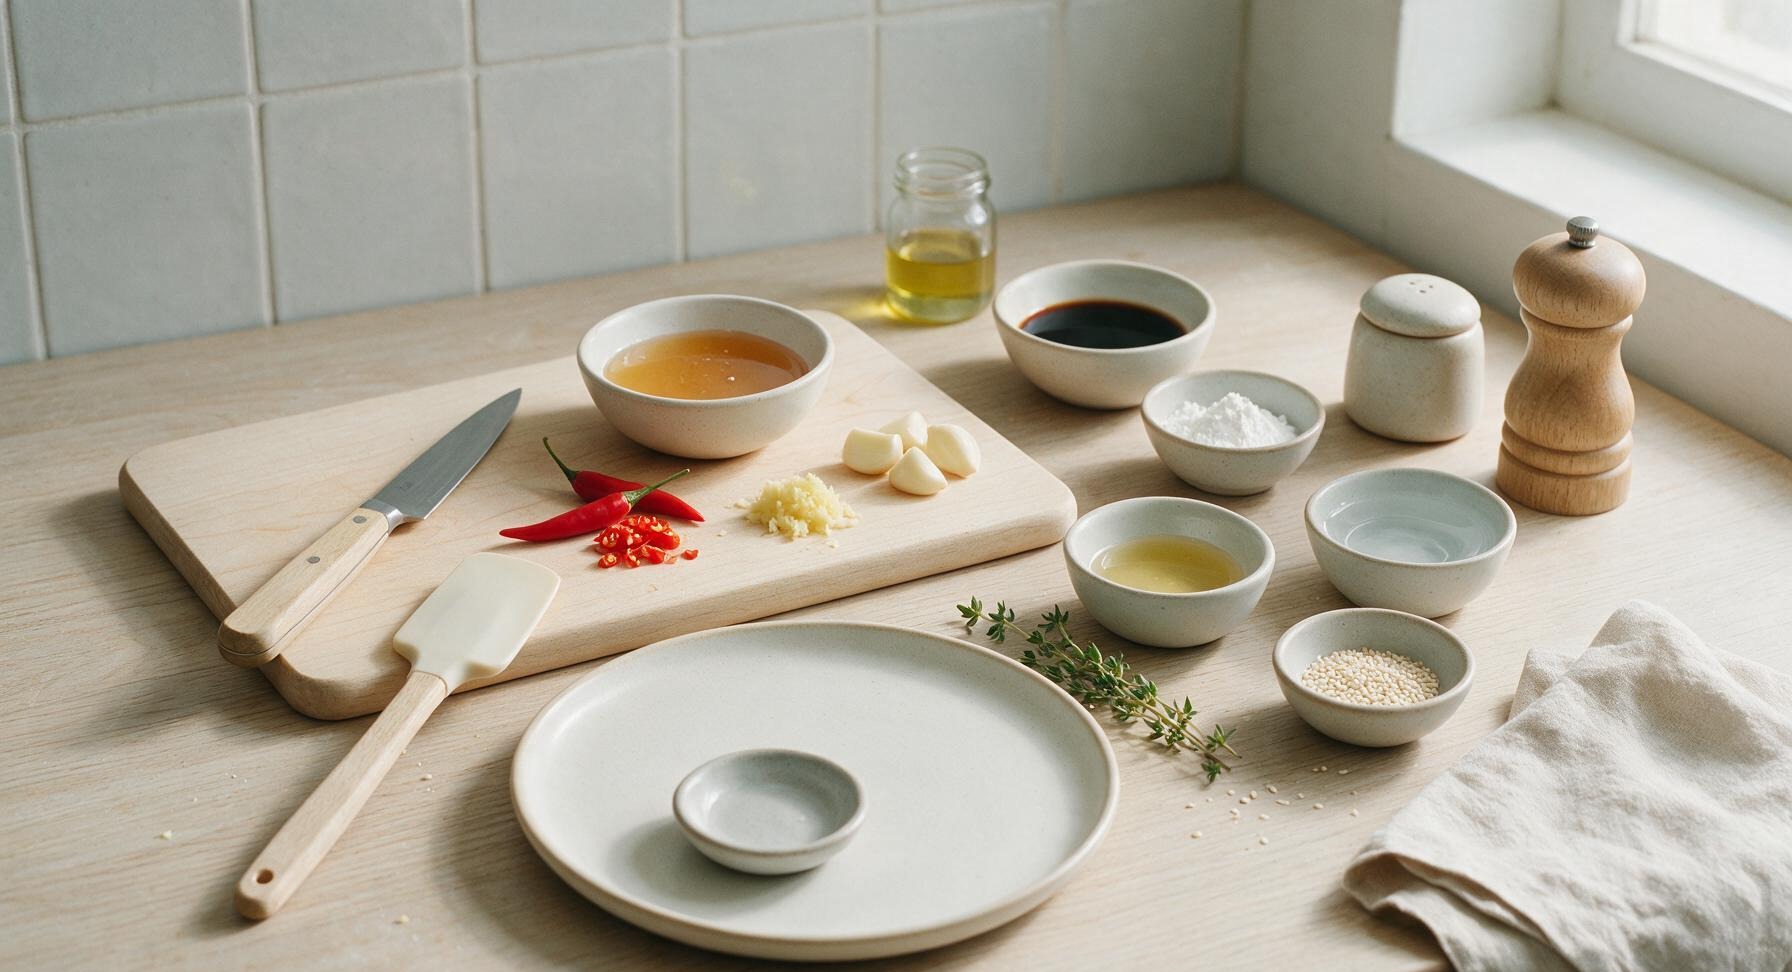
Raw honey 1/3 cup (110g)
Fresh red bird's eye chillies 3 (15g, finely chopped)
Garlic cloves 4 (12g, finely minced)
Light soy sauce 2 tbsp (30ml)
Unseasoned rice vinegar 1.5 tbsp (22ml)
Fresh ginger 1 tsp (5g, finely grated)
Cornstarch 1 tsp (3g)
Cold water 6 tbsp (90ml, divided)
Toasted sesame oil 1 tsp (5ml)
Toasted white sesame seeds 1 tsp (3g, for garnish)

Steps

1

Prep chilli, garlic, ginger

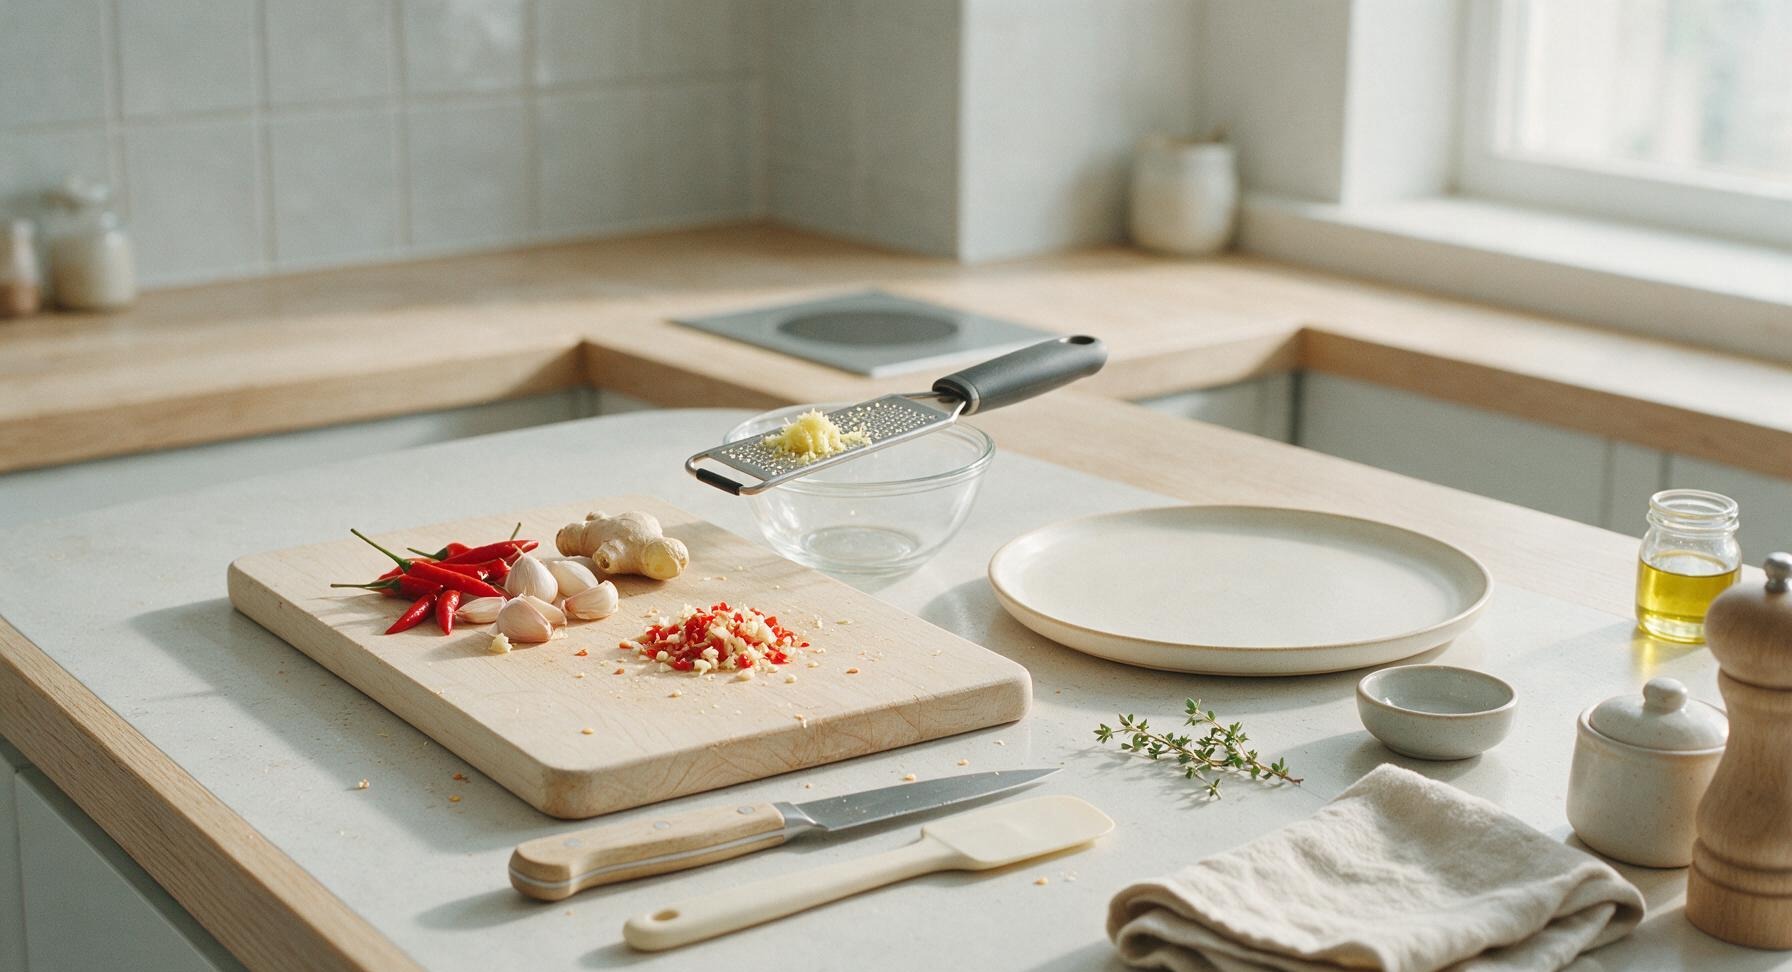
Place the light acacia wood cutting board in its fixed center-left position on the counter. Use the 8-inch chef knife to finely mince 3 red bird's eye chillies (leave seeds in for extra heat, remove for a milder sauce) and 4 garlic cloves. Use the stainless steel microplane grater to finely grate 1 tsp fresh ginger, discarding any tough fibrous pulp. Transfer prepped aromatics to one of the small clear glass prep bowls. This prep step takes approximately 3 minutes.
Step 1
step1:Prep chilli, garlic, ginger
2

Mix wet sauce base

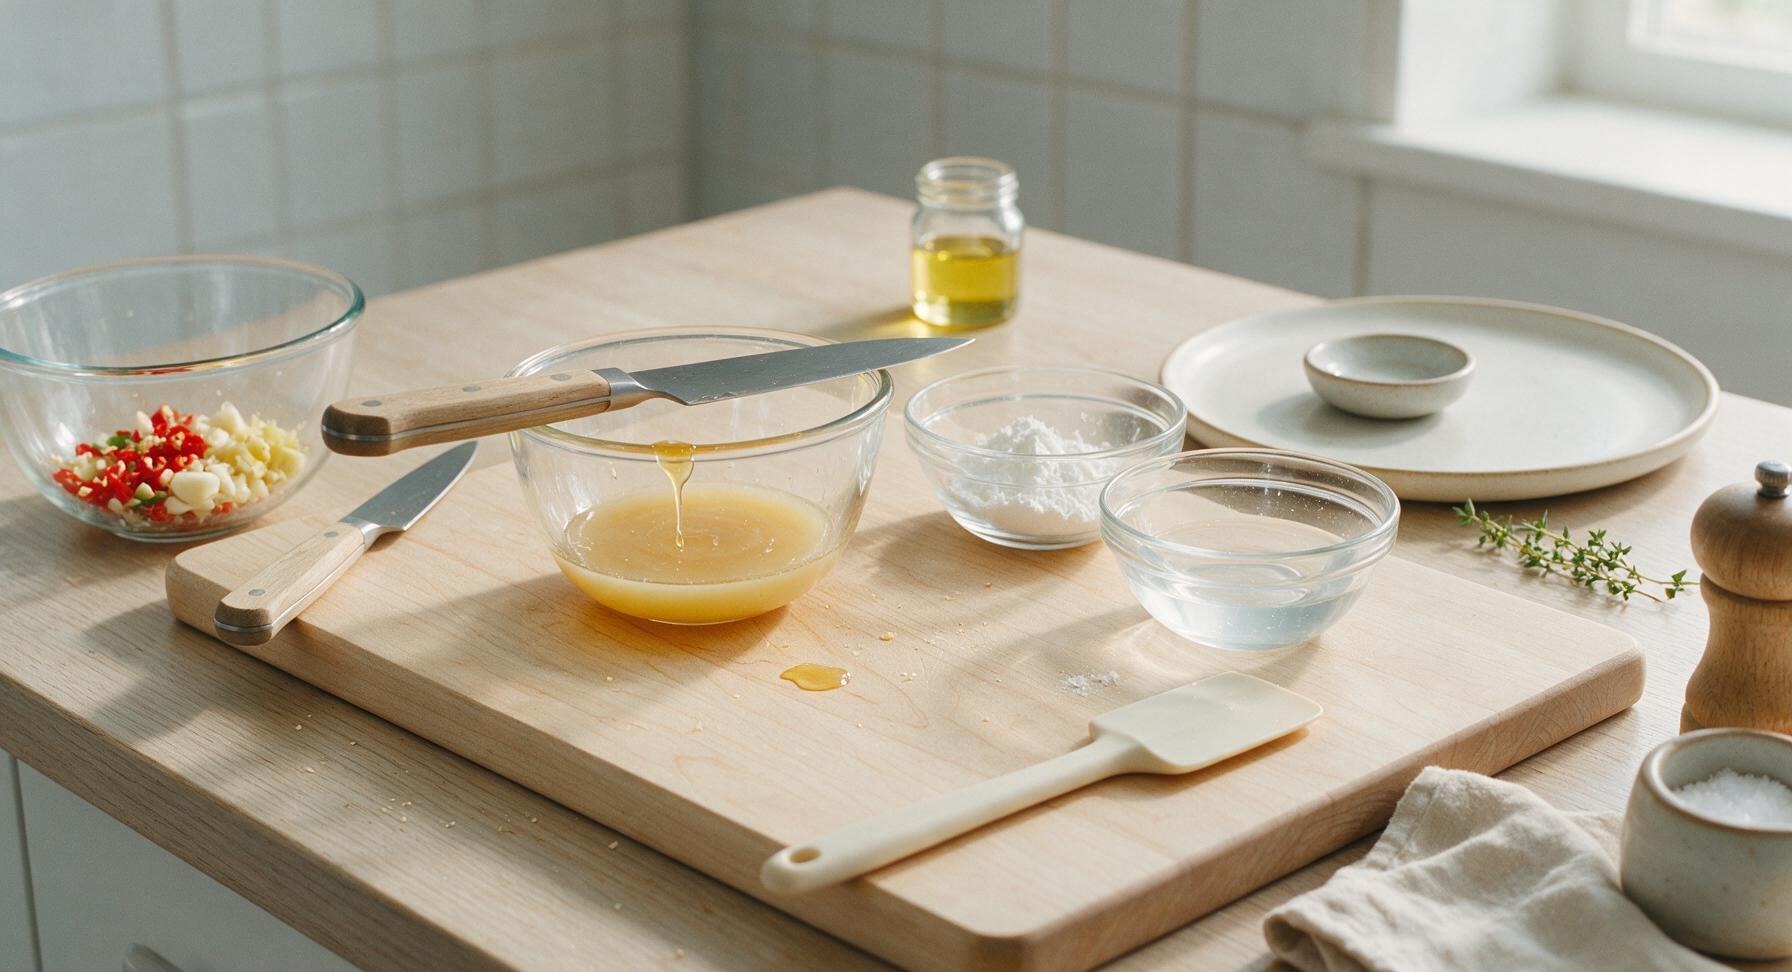
In a second clear glass prep bowl, combine measured honey, light soy sauce, rice vinegar, 4 tbsp cold water, and toasted sesame oil. Stir gently with the tip of the chef knife to combine, until the honey is fully incorporated and no thick, sticky clumps remain at the bottom of the bowl. The finished base will be a pale, translucent golden brown.
Step 2
step2:Mix wet sauce base
3

Whisk cornstarch slurry

In the third small clear glass prep bowl, combine 1 tsp cornstarch with the remaining 2 tbsp cold water. Use the sky-blue silicone whisk to mix the cornstarch and water until completely smooth, with no dry lumps of cornstarch remaining. Set the slurry aside; it will need a quick re-stir right before use, as cornstarch settles quickly to the bottom of the bowl. This step takes 30 seconds.
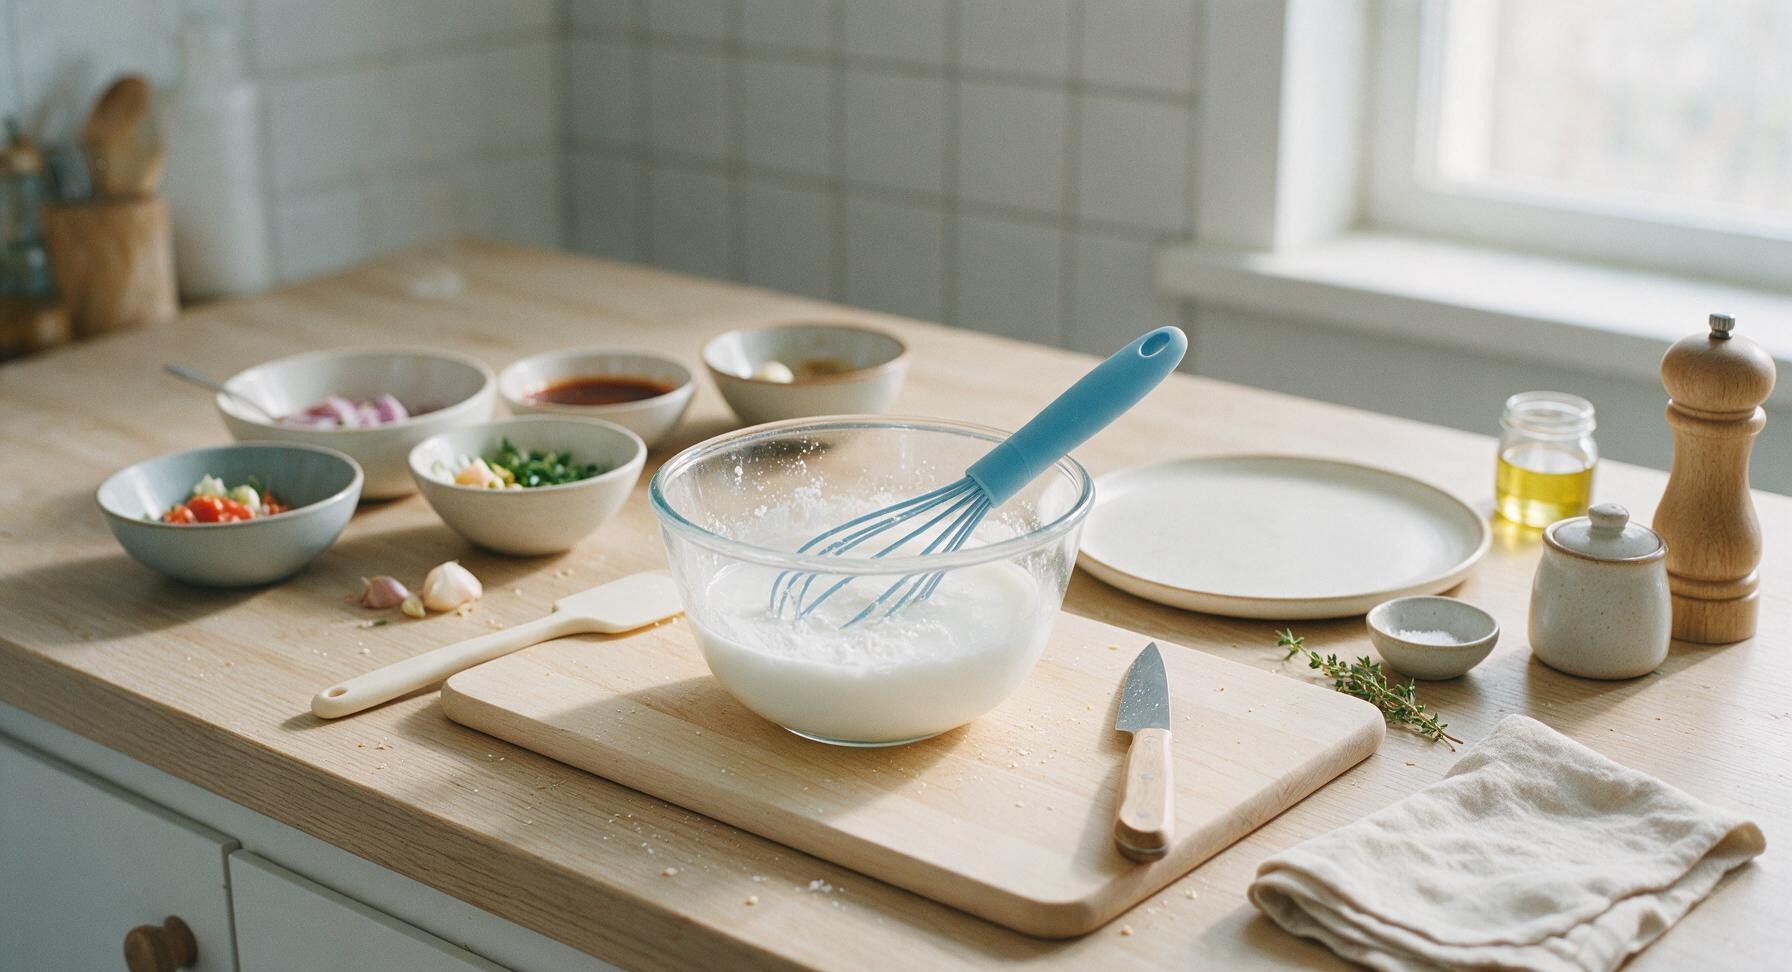
Step 3
step3:Whisk cornstarch slurry
4

Simmer sauce base

Place the 1L matte stainless steel saucepan on the matte white portable induction burner, and set heat to medium-low (120C / 250F). Pour the mixed wet sauce base and prepped chopped aromatics into the saucepan. Bring to a gentle, low simmer (do not boil rapidly, as high heat will give honey a bitter, burnt flavor), stirring occasionally with the silicone whisk. Simmer for 3 minutes, until the garlic and chilli become brightly fragrant and the raw garlic sharpness softens.
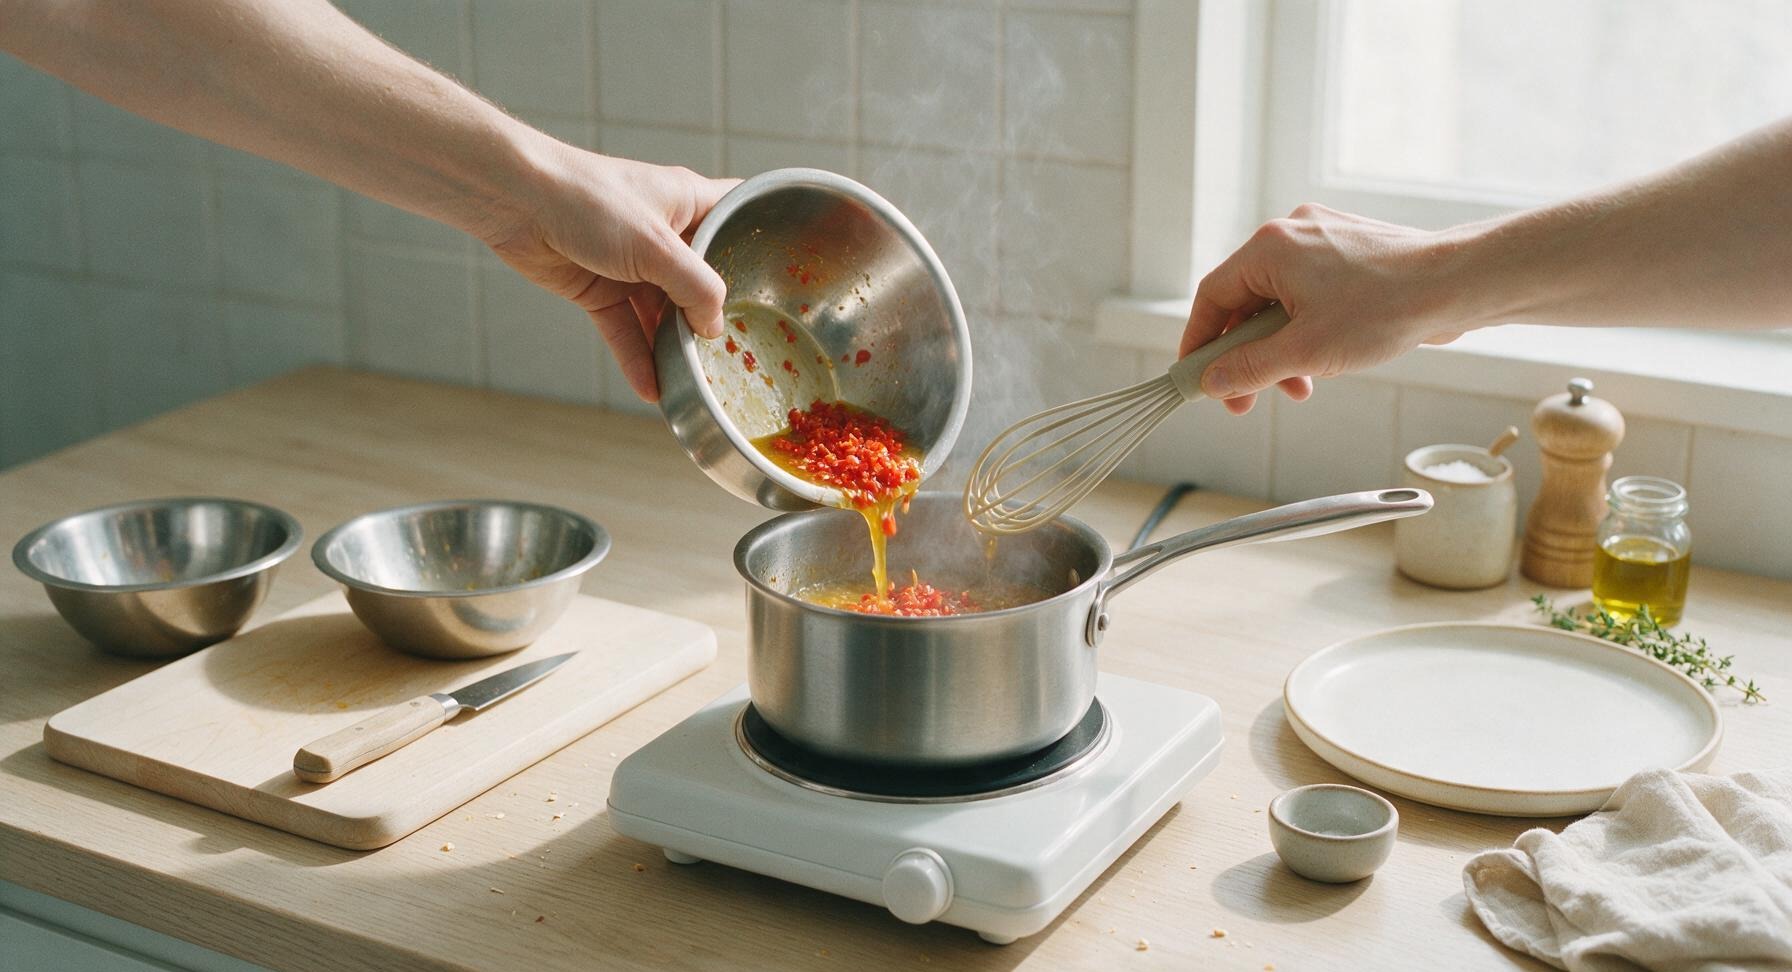
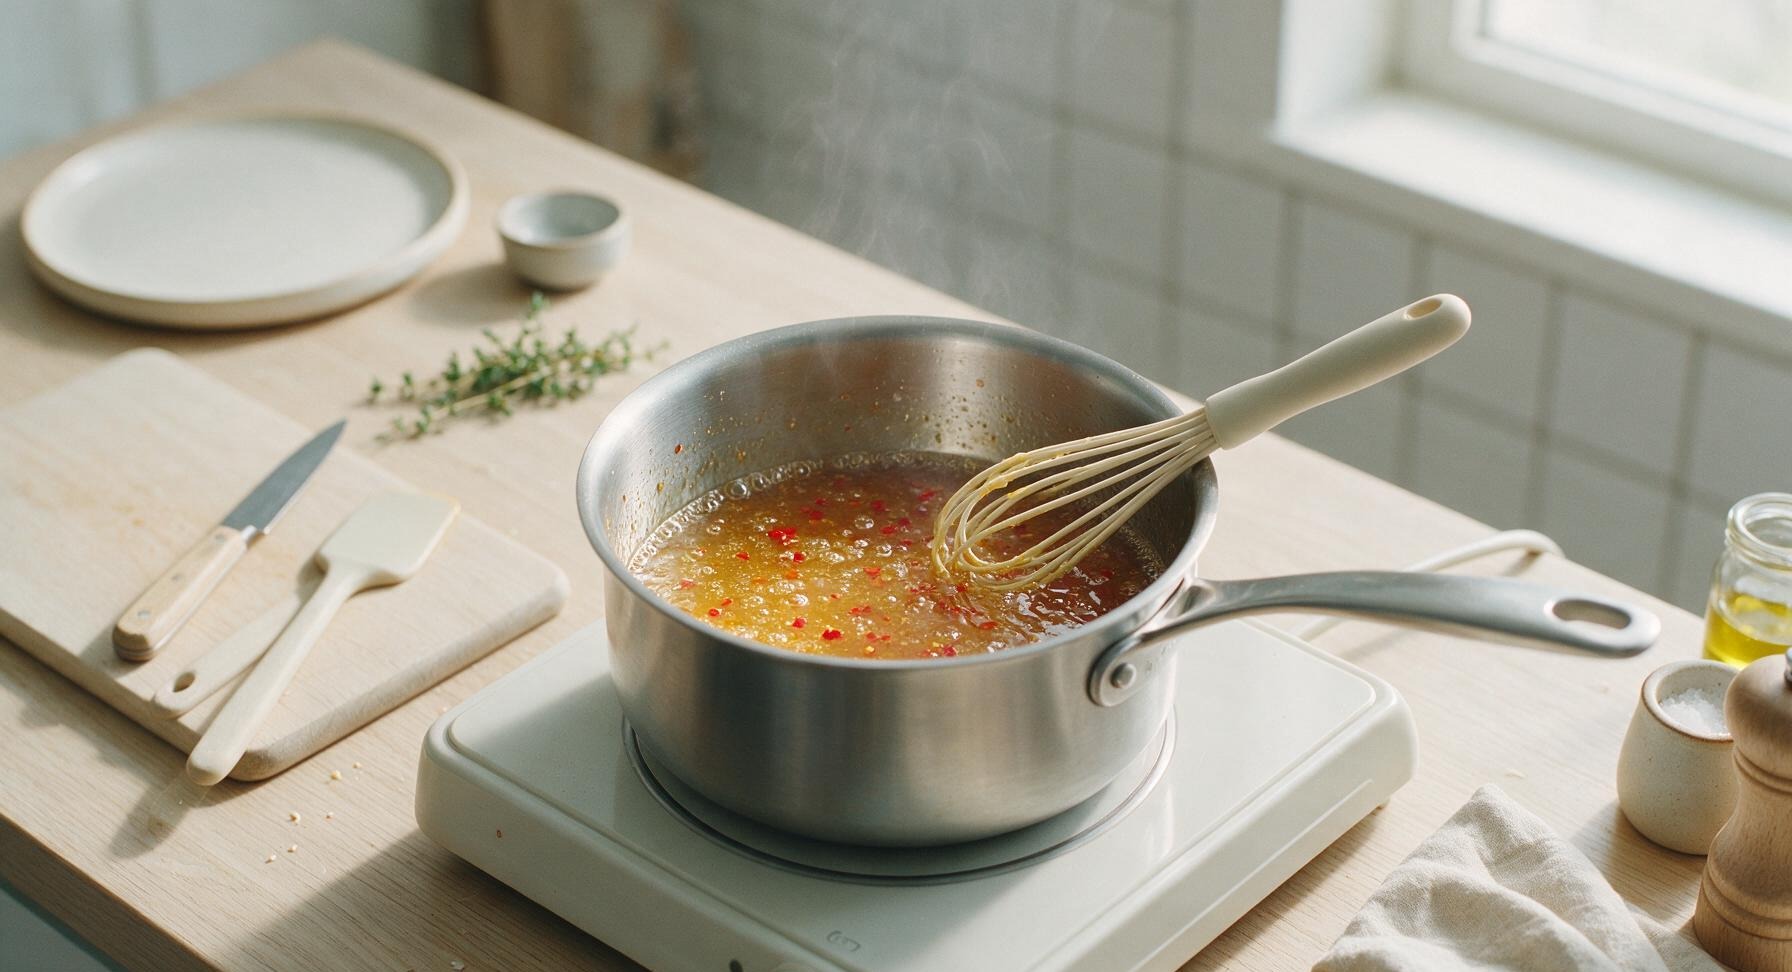
Step 4
step4:Simmer sauce base
Step 4
step4:Simmer sauce base
5

Thicken sauce to glaze

Give the reserved cornstarch slurry a quick 10-second re-stir with the whisk to re-incorporate any settled cornstarch. Slowly pour the slurry into the simmering sauce while whisking constantly in slow circles to avoid lumps. Continue cooking for 1 full minute, whisking gently, until the sauce thickens to a light, syrupy consistency that thinly coats the back of the whisk. Remember the sauce will thicken significantly as it cools, so do not over-reduce it. Turn off the induction burner heat once thickened.
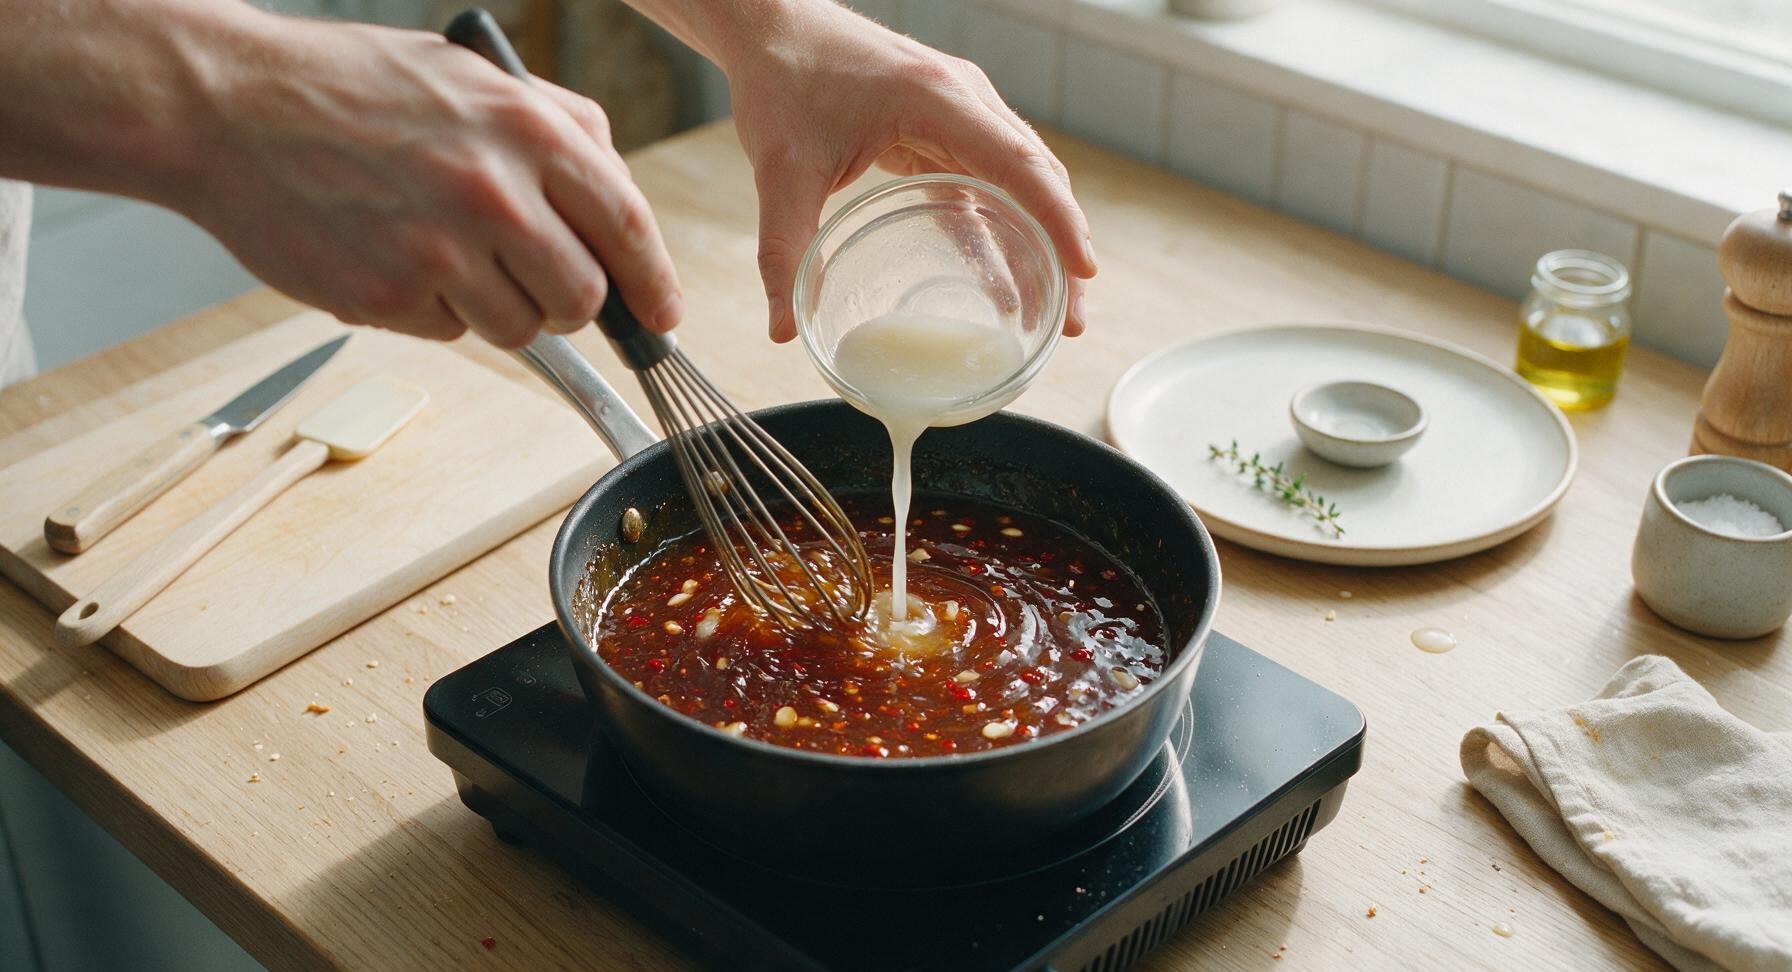
Step 5
step5:Thicken sauce to glaze
6

Rest and adjust seasoning

Carefully slide the saucepan off the hot induction burner onto a cool section of the counter, and let the sauce rest for 2 minutes to cool slightly. Taste a small drop of sauce, and add a tiny pinch of salt if needed (the light soy sauce usually provides enough salt for most palates) or an extra 1/4 tsp of rice vinegar for a brighter, tangier finish. Do not leave the sauce on the hot burner, as residual heat will over-thicken it.
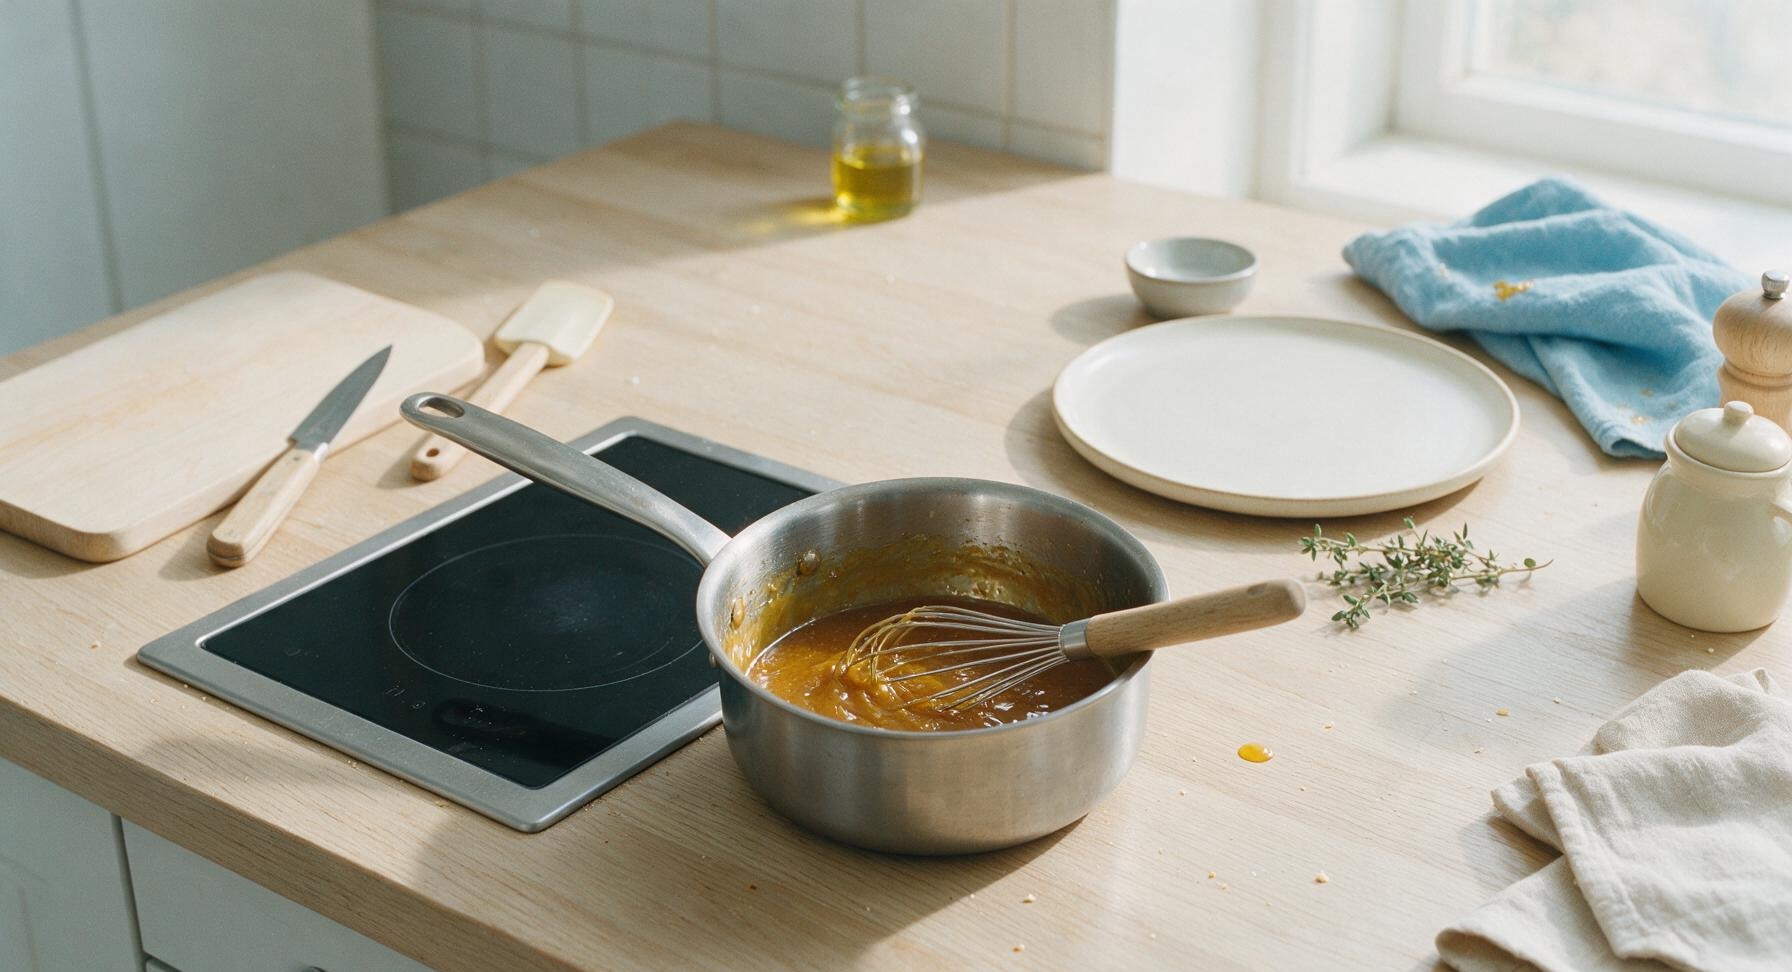
Step 6
step6:Rest and adjust seasoning
7

Serve and garnish sauce

Carefully pour the warm honey chilli sauce into the matte cream ceramic serving bowl. Sprinkle 1 tsp of toasted white sesame seeds evenly across the sauce surface, and tuck one small fresh Thai basil leaf (plucked from the potted plant on the counter) on the bowl rim for a bright, herbal garnish. The sauce is ready to use immediately as a glaze, dip, or drizzle, and will keep in a sealed glass jar in the refrigerator for up to 2 weeks.
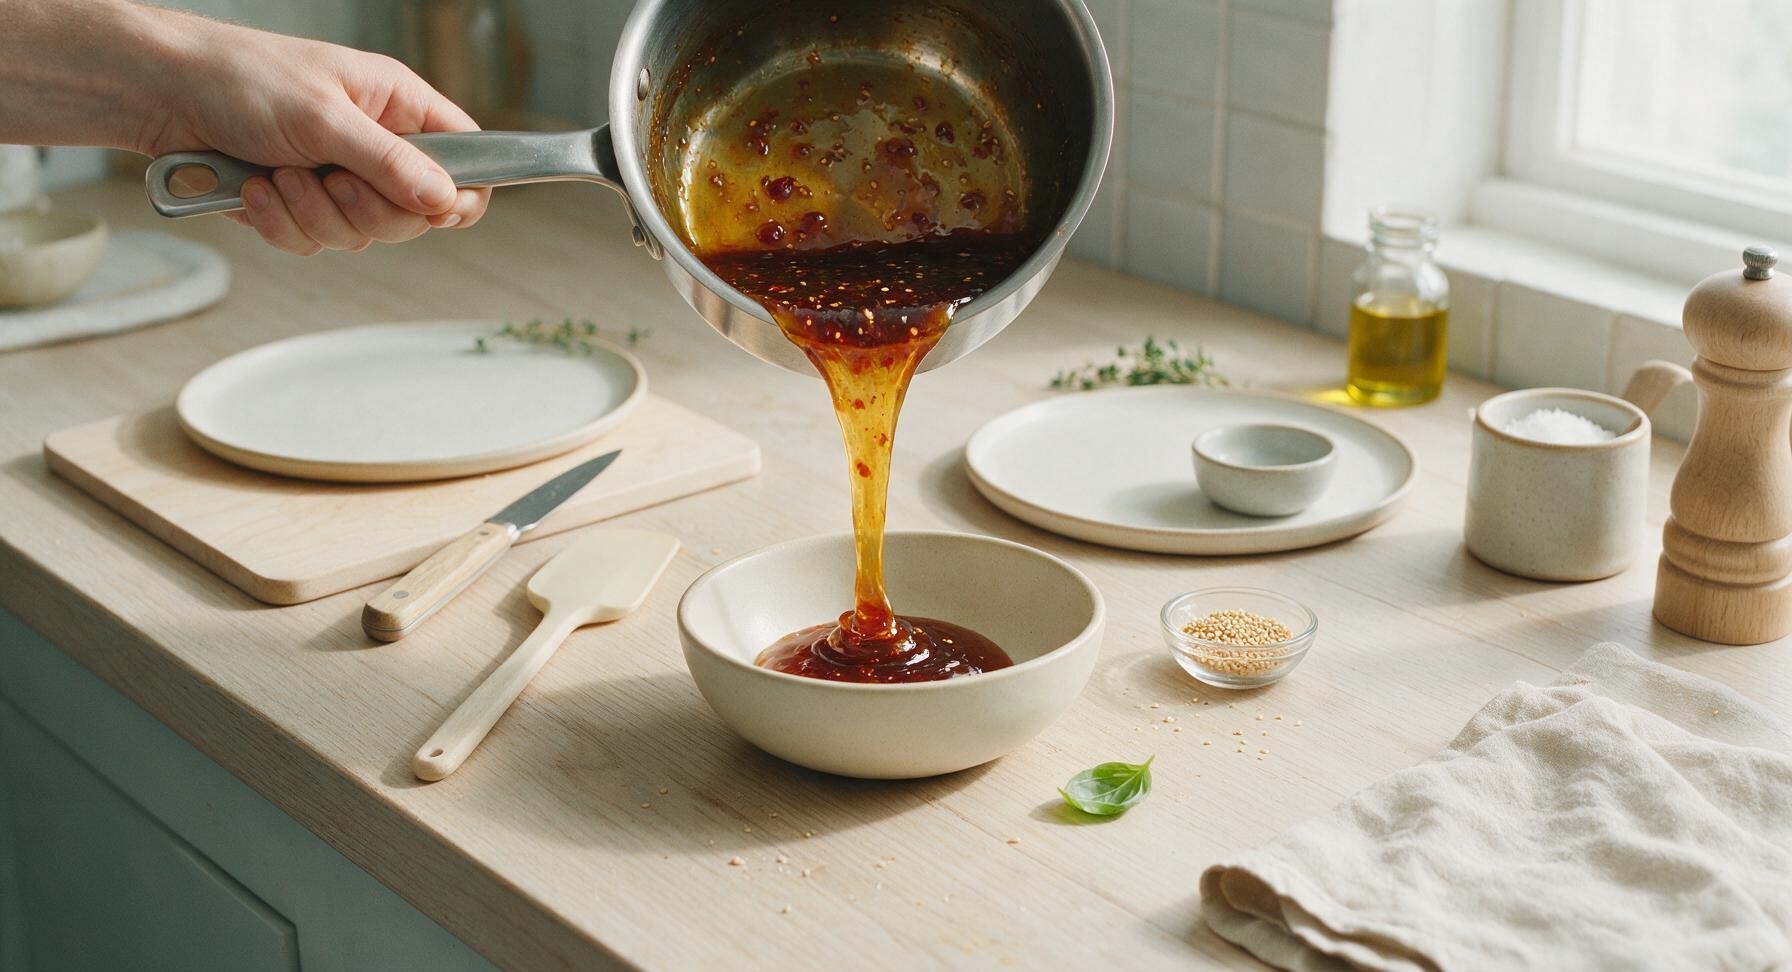
Step 7
step7:Serve and garnish sauce

Tips

1.Avoid boiling the sauce over high heat after adding honey: temperatures above 140C (285F) break down honey's delicate floral notes and create a bitter, burnt aftertaste, so keep the heat at a low, gentle simmer to preserve the bright, balanced flavor.
2.Customize heat levels to your preference: use 1 seeded chilli for a mild, kid-friendly sauce, or 5 chillies (seeds left in) for a fiery version perfect for spicy food lovers. The core sweet-salty-sour flavor balance remains consistent no matter the heat level.
3.Don't over-thicken the sauce during cooking: cornstarch-thickened sauces firm up significantly as they cool, so aim for a thin, syrupy consistency that just coats the back of a whisk while hot. If the sauce becomes too thick after cooling, stir in 1 tsp of warm water at a time until it reaches your desired drizzling texture.


✨ You May Also Like

BBQ & Grilling
🍜 United States

Tender, melt-in-your-mouth beef brisket with a crisp, spiced bark, slow-smoked to deep smoky perfection, the iconic centerpiece of Texas backyard barbecue.

⏱️ 12 hours BBQ & Grilling ★ 4.4
BBQ & Grilling
🍜 Korea

Tender, sweet-savory marinated beef short ribs, a beloved Korean BBQ staple with caramelized, slightly charred edges and deep umami flavor, perfect for outdoor summer gatherings.

⏱️ 4 hours 2BBQ & Grilling ★ 4.8
BBQ & Grilling
🍜 United States

Juicy grilled beef patties topped with smoky homemade chili, melted cheddar, and tangy pickles on toasted brioche buns for a hearty, flavor-packed handheld meal.

⏱️ 40 minuteBBQ & Grilling ★ 4.7
BBQ & Grilling
🍜 United States

A sweet, smoky, tangy BBQ sauce brightened with peak-season dark cherries, ideal for glazing grilled ribs, chicken, pork, or summer roasted veggies.

⏱️ 35 minuteBBQ & Grilling ★ 4.7
BBQ & Grilling
🍜 United States

Rich, smoky, slightly sweet homemade bourbon BBQ sauce with deep caramel notes, ideal for glazing grilled ribs, chicken, and burgers at cookouts.

⏱️ 25 minuteBBQ & Grilling ★ 4.7
BBQ & Grilling
🍜 United States

Iconic Alabama-style BBQ featuring tender hickory-smoked chicken slathered in tangy creamy white sauce, a beloved regional Southern cookout staple.

⏱️ 3 hoursBBQ & Grilling ★ 5

honey chilli sauce:Frequently Asked Questions

1.How long does this honey chilli sauce take to make from start to finish? ▾
This sauce comes together in less than 10 minutes total, no long simmering or fancy equipment required. You’ll spend about 3 minutes prepping chilies and garlic, 4 to 5 minutes gently heating and stirring ingredients to meld flavors, and 1 to 2 minutes letting it cool slightly before use.
2.What are the best ways to use this finished honey chilli sauce? ▾
This glossy, perfectly balanced sauce is incredibly versatile. Brush it as a glaze on grilled or baked chicken wings during the last 2 minutes of cooking, use it as a dip for crispy spring rolls or fried tofu, or drizzle it over grilled shrimp, skewers, or roasted veggies at summer BBQs.
3.Can I substitute regular white vinegar if I don’t have unseasoned rice vinegar? ▾
I don’t recommend swapping in plain white vinegar, as it’s much harsher and more sour than mild, mellow unseasoned rice vinegar. If you’re in a pinch, use apple cider vinegar diluted 1:1 with water, or seasoned rice vinegar with a pinch of extra salt omitted to keep flavor balanced.
4.How spicy is this sauce when made with the recommended bird’s eye chilies? ▾
Fresh red bird’s eye chilies bring a bright, sharp medium-high heat that’s mellowed by the honey and rice vinegar. For milder sauce, remove all seeds and white pith from chilies before chopping, or cut the chili amount in half and swap in milder red Fresno chilies for gentle warmth.
5.Do I have to cook this sauce, or can I just mix the ingredients cold? ▾
You can absolutely mix it cold for a quick raw version, but 3 to 4 minutes of gentle low heat softens the sharp raw garlic bite, helps honey melt into a smooth, glossy consistency, and lets all flavors meld far better than cold mixing for a more cohesive end result.
6.Can I use regular processed clover honey instead of raw honey? ▾
You can use regular processed clover honey in a pinch, but raw honey brings a deeper, more floral, less cloyingly sweet flavor that balances chili heat and soy savoriness perfectly. Avoid honey infused with added flavors, as those will throw off the sauce’s simple, balanced profile.
7.How long will leftover honey chilli sauce stay fresh in the refrigerator? ▾
Stored in a clean, airtight glass jar with a tight-fitting lid, this sauce will stay fresh for up to 2 weeks in the refrigerator. Give it a good stir before each use, as honey may separate slightly from vinegar and soy when chilled, and the sauce will thicken a bit as it cools.
8.Is light soy sauce required, or can I use dark soy sauce instead? ▾
Stick to light soy sauce for this recipe, as dark soy sauce is much thicker, saltier, and has a deep caramelized color that will make the sauce murky and overly salty. If you only have low-sodium light soy sauce, you can use it as a 1:1 swap with no extra adjustments for most palates.
9.How do I keep the garlic from making the sauce taste bitter? ▾
Avoid browning or burning the garlic when heating the sauce, as that’s the number one cause of bitter off-flavors. Keep your stovetop on low heat, stir constantly once you add garlic, and pull the pan off heat as soon as you smell soft, aromatic garlic, before it turns golden.
10.Can I make this honey chilli sauce ahead of time for a party or BBQ? ▾
Absolutely! This sauce actually tastes even better after 24 hours in the fridge, as chili heat and garlic flavor infuse more evenly into the honey and vinegar base. Make it 1 to 2 days before your event, store it sealed in the fridge, and give it a quick stir before serving.
11.Is this honey chilli sauce recipe naturally gluten-free? ▾
The base recipe is not gluten-free because standard light soy sauce contains wheat. To make a fully gluten-free version, swap regular light soy sauce for certified gluten-free tamari in the same measurement, and double-check that your rice vinegar has no hidden wheat-based additives before mixing.
12.Can I freeze leftover honey chilli sauce for longer-term storage? ▾
You can freeze this sauce for up to 3 months in a freezer-safe airtight container, leaving ½ inch of headspace at the top to account for expansion. Thaw it overnight in the fridge before use, and stir vigorously to recombine any separated ingredients before brushing or drizzling.
13.How do I fix the sauce if it comes out too sweet for my taste? ▾
If your sauce tastes overly sweet, stir in an extra ¼ teaspoon of unseasoned rice vinegar at a time, tasting as you go, until the balance feels right. You can also add a tiny pinch of flaky sea salt to cut the sweetness, but go easy so you don’t make it too salty to enjoy.
14.Can I use dried chili flakes instead of fresh bird’s eye chilies? ▾
You can swap fresh bird’s eye chilies for 1 to 1.5 teaspoons of crushed red chili flakes if you don’t have fresh chilies on hand. Note that the flavor will be slightly deeper and less bright than fresh chili, but it will still deliver that pleasant sweet-spicy kick the sauce is known for.
15.Why is my sauce too runny, and how can I thicken it to the right consistency? ▾
If your sauce is thinner than you’d like, simmer it over low heat for 1 to 2 extra minutes to reduce slightly, or stir in a tiny slurry of ¼ teaspoon cornstarch mixed with 1 teaspoon cold water, then cook 30 seconds until glossy. Don’t over-thicken it, as it naturally thickens as it cools.
16.Can I use this honey chilli sauce as a marinade for raw meat or seafood? ▾
It works beautifully as a quick marinade for chicken, shrimp, or pork, but because of its high honey content, don’t marinate proteins for longer than 1 hour. The sugar in honey burns quickly on high heat, so reserve un-marinated sauce to brush on during the last minute of cooking for extra gloss.
17.Is there a way to adjust this recipe to make it vegan? ▾
Since raw honey is an animal byproduct, you can make a fully vegan version by swapping the raw honey for the same amount of raw agave nectar or light grade A maple syrup for the mildest flavor. Keep all other ingredient measurements the same to retain that balanced sweet-spicy profile.
18.Do I need to peel the garlic cloves before adding them to the sauce? ▾
Yes, always peel garlic cloves before adding them to the sauce, as the papery outer skin is tough, bitter, and will leave unpleasant floating bits in your finished sauce. Mince garlic finely for even flavor distribution, or grate it on a microplane for a smoother, more garlicky texture.

Comments (8)

2 days ago

OMG this honey chilli sauce is a GAME CHANGER. I tossed it with crispy chicken wings for game night last weekend and my friends begged for the recipe before the first quarter was even over. So easy too, 4 minutes? I thought I misread that at first! No weird hard to find ingredients, just stuff I already had in the pantry. 10/10 will be making this weekly.

1 week ago

I make a big batch of this every Sunday for my meal prep! It goes great with roasted veggies, grilled chicken, even as a dip for spring rolls. Only note is I added a tiny pinch of red pepper flakes for extra heat because my household loves spicy food. So glad I found this easy recipe, no more store bought sauce with weird preservatives for us!

5 days ago

Love that you’re customizing it to your taste! The red pepper flake add-in is chef’s kiss, so glad this is working for your weekly meal prep rotation.

3 days ago

Wait y’all, I’m a broke college student with basically no cooking skills and I pulled this off? Tossed it with some frozen popcorn chicken I had in my freezer and it tasted like takeout from that fancy place downtown. Only thing is I didn’t have fresh garlic so I used garlic powder, still slapped. Will be making this for my dorm floor potluck next week!

2 days ago

Oh I did the garlic powder swap too! Worked perfectly, I also added a splash of extra soy sauce because I love that umami kick. Let me know how the potluck goes!

2 days ago

Garlic powder is such a smart swap when you don’t have fresh on hand! I’m so impressed you’re making this for your dorm potluck, it’s always a crowd pleaser. Pro tip: make a double batch, it goes fast!

yesterday

My kids are SO picky when it comes to sauces, they usually turn their nose up at anything that’s not plain ketchup. I made this to go with crispy tofu bites for dinner last night and they asked for seconds! Even asked me to pack it in their school lunches with chicken nuggets today. Total win.

5 days ago

Brought this sauce (tossed with fried shrimp) to my neighborhood block party on Saturday and people were literally coming up to me asking for the recipe all night. Cook time is only 4 minutes? I almost didn’t believe it until I made it. So quick, so flavorful, way better than any store bought honey chilli sauce I’ve ever bought. Only feedback is I wish I’d made a triple batch instead of a double, it was gone in 20 minutes!

3 days ago

Oh that makes me so happy to hear! I always recommend making extra for potlucks because people go crazy for it, I’ve definitely had batches disappear in record time at my own gatherings too.

2 weeks ago

This sauce is so tasty! I made it gluten free by swapping regular soy sauce for tamari and it turned out perfect. My only note is that if you’re using a very sweet wildflower honey, you might want to cut it with a tiny extra splash of rice vinegar to balance it out, mine came out a touch too sweet on the first try. Still so good though, I’ll be making it again!

2 weeks ago

Great tip about the tamari swap for gluten free folks! And you’re totally right about balancing extra sweet honey with a splash more vinegar—adjusting to taste is always the move, so glad you enjoyed it even with the first batch being a little sweet!

2 hours ago

Wait, am I the only one who uses this honey chilli sauce as a glaze for grilled salmon? I tried it on a whim last night when I realized I was out of my usual teriyaki and it was INCREDIBLE. The sweet heat pairs so well with the fatty salmon, my husband said it’s the best salmon I’ve ever made.

30 minutes ago

Oh my gosh I did that too last month! I also brushed it on grilled shrimp skewers for a cookout and everyone lost their minds. It’s so versatile, I swear I put it on everything now.

5 minutes ago

I love hearing that creative swap! I’ve used it as a salmon glaze too and it’s such a perfect pair—so happy you and your husband loved it, that’s the kind of kitchen win we live for!

30 minutes ago

Just made this 10 minutes ago to dip my frozen french fries in and I’m never using regular ketchup again? Wait why is this so good? It’s sweet, it’s spicy, it’s sticky, it coats every fry perfectly. I can’t believe how fast it came together, I was eating before my fries even got cold.

5 minutes ago

Wait that’s such a good idea! I’ve only used this for chicken so far, I’m definitely making a batch tonight just for fries now. Do you dip them straight or toss the fries in the sauce?

just now

I did both! Tossed half the fries in the sauce for that sticky coated vibe and dipped the other half straight, both hit so hard. You’re gonna love it!



