
honey garlic butter shrimp

title 1
honey garlic butter shrimp
⏱️ cook time 8 minutes
🍽️ servings 4
⚡ Difficulty easy

intro

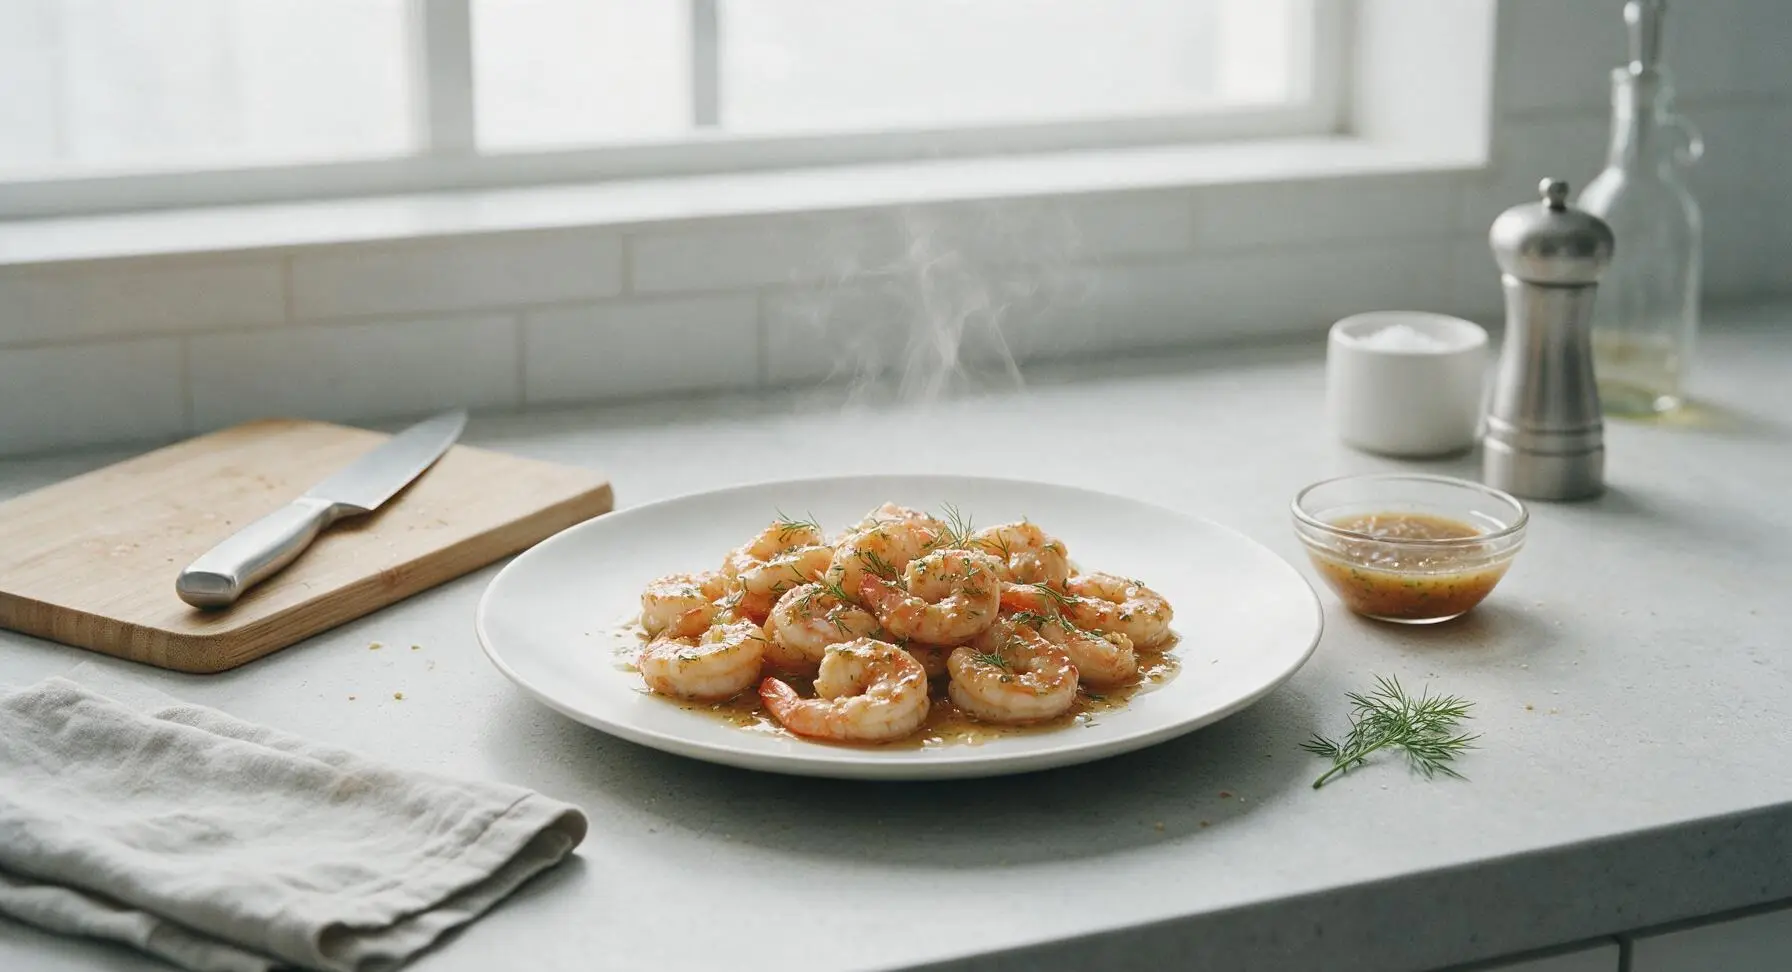
Succulent, plump shrimp coated in a glossy, sweet-savory honey garlic butter sauce, with a subtle warm heat, ready in under 20 minutes for a restaurant-worthy weeknight meal.

Ingredients
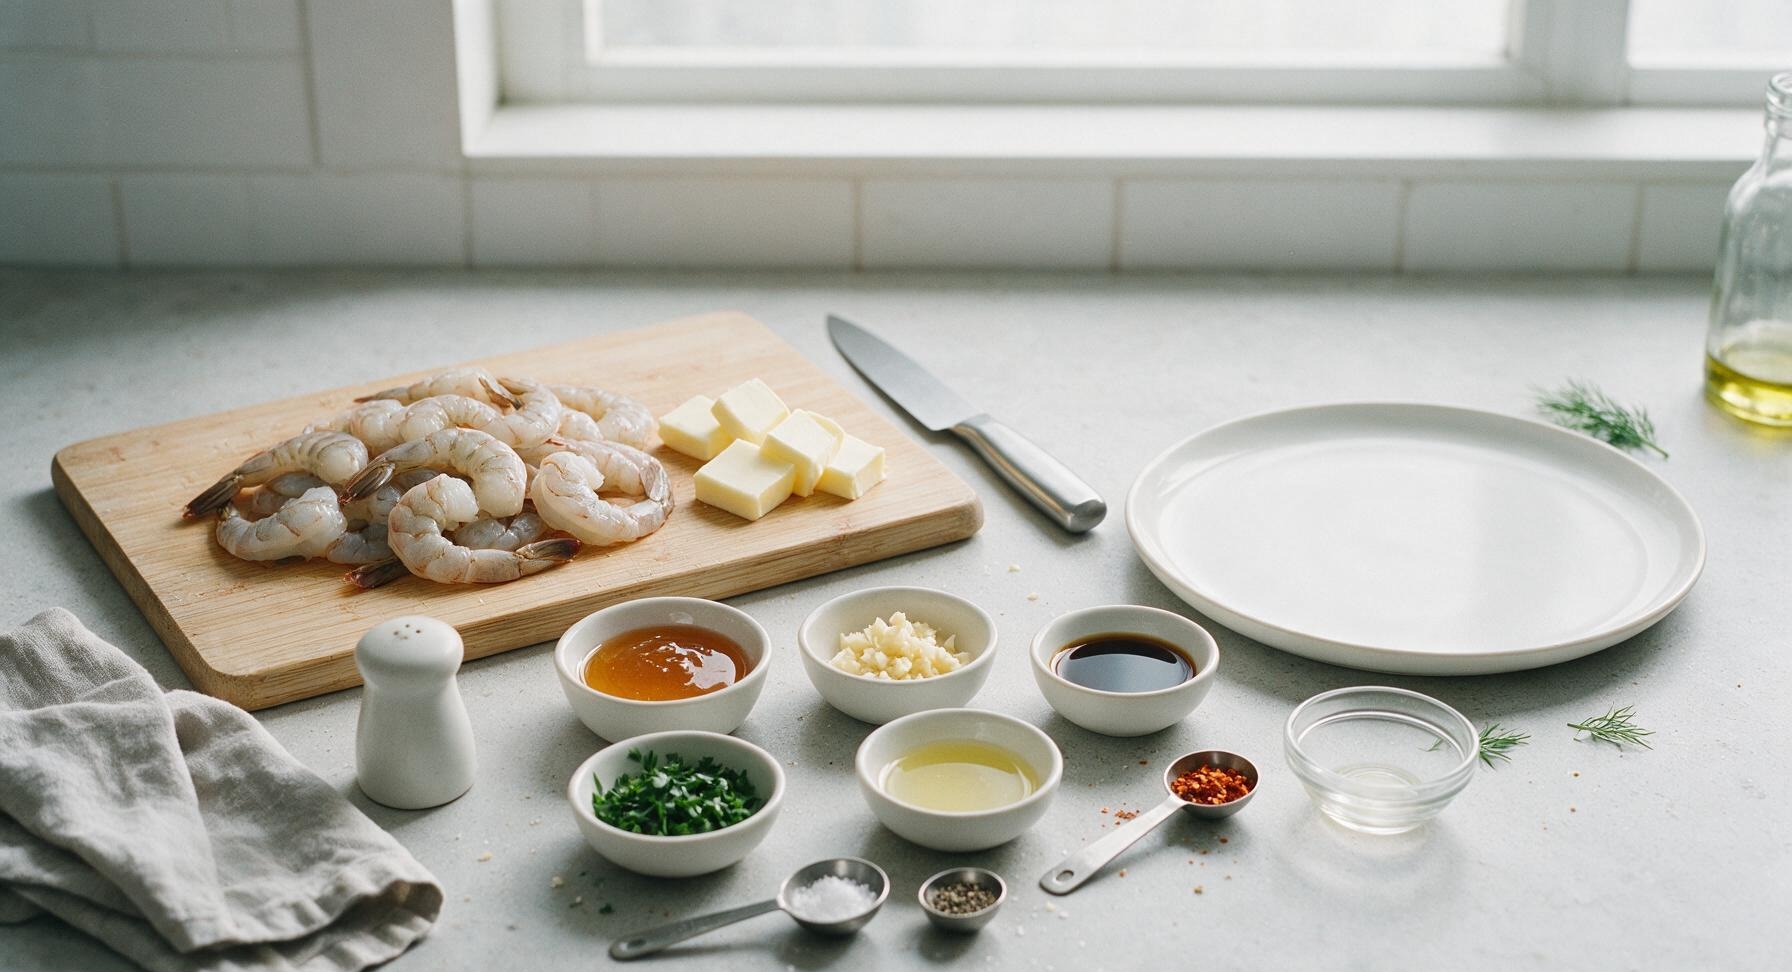
Large raw shrimp (peeled, deveined, tails on) 1 lb (450g)
Unsalted butter, cut into 1 tbsp pats 4 tbsp (56g)
Raw honey 3 tbsp (63g)
Garlic cloves, finely minced 6 cloves (18g)
Low-sodium soy sauce 2 tbsp (30ml)
Extra-virgin olive oil 1 tbsp (15ml)
Fresh lemon juice 1 tbsp (15ml)
Red pepper flakes 1/4 tsp (0.5g)
Fresh flat-leaf parsley, chopped 2 tbsp (6g)
Flaky sea salt 1/4 tsp (1.5g)
Freshly ground black pepper 1/4 tsp (0.5g)

Steps

1

Pat Shrimp Dry

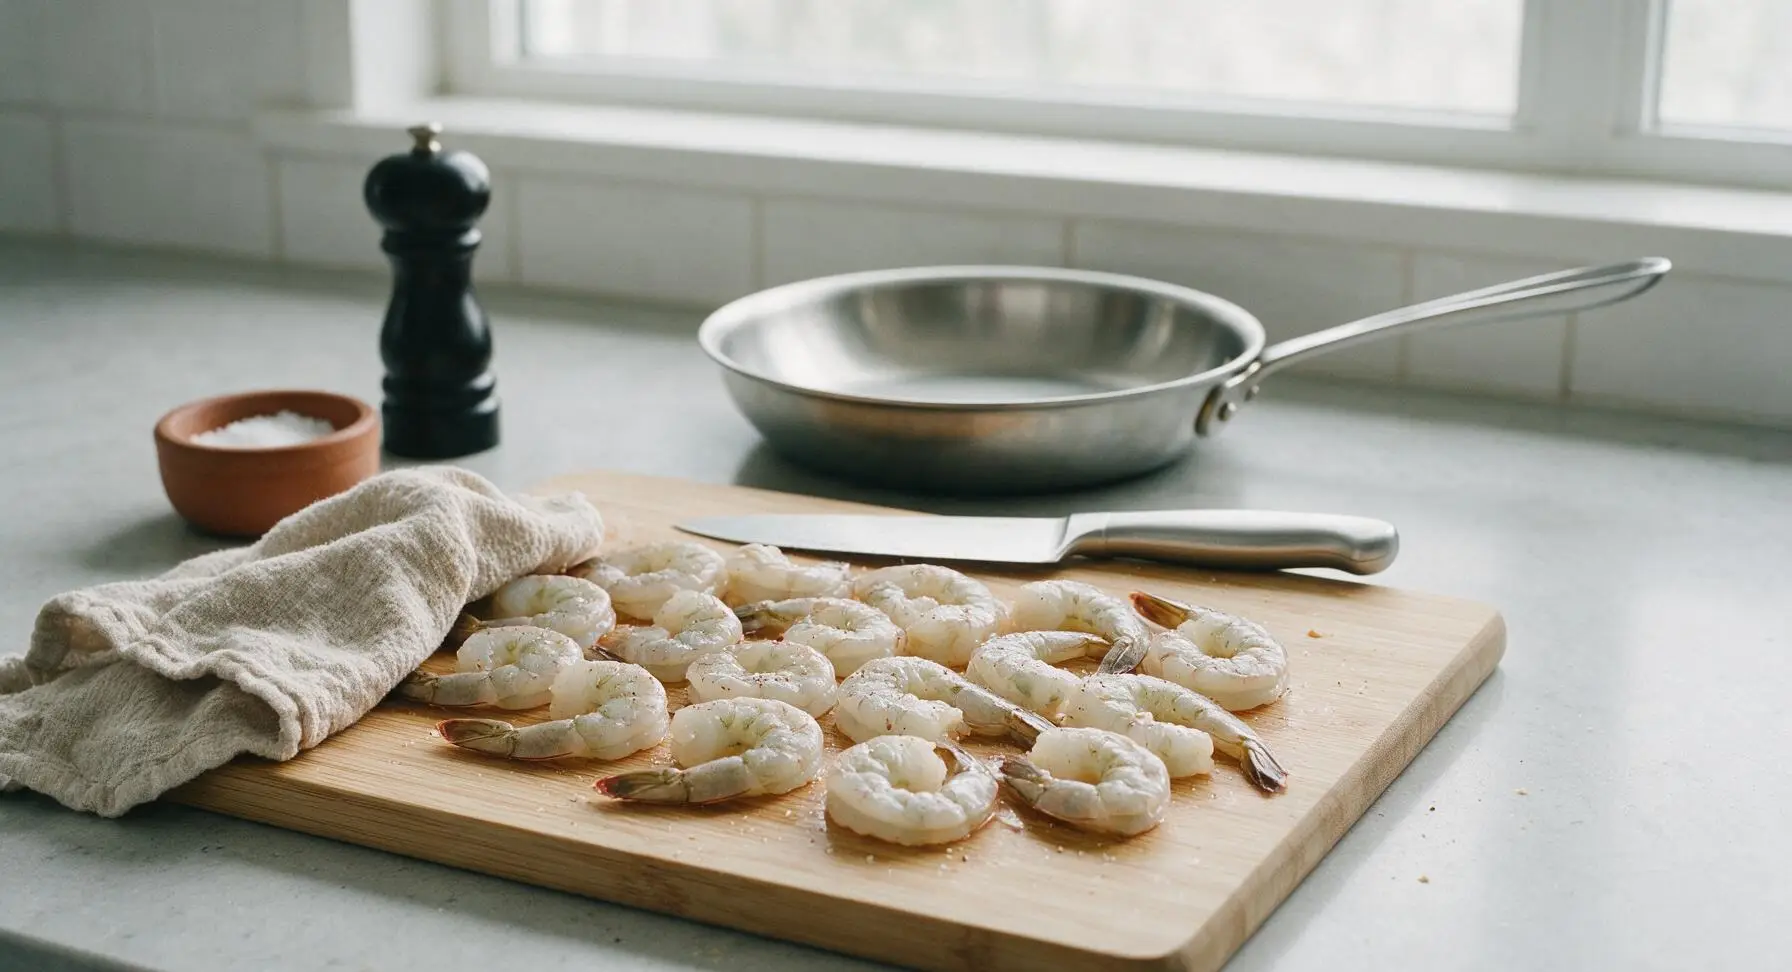
Place the 1lb peeled, deveined large shrimp (tails on) on the light maple cutting board. Pat thoroughly dry on all sides with the oatmeal linen towel, then season evenly with 1/4 tsp flaky sea salt and 1/4 tsp freshly ground black pepper. Dry shrimp will sear to a golden crisp instead of steaming in the pan.
Step 1
step1:Pat Shrimp Dry
2

Mix Honey Garlic Sauce

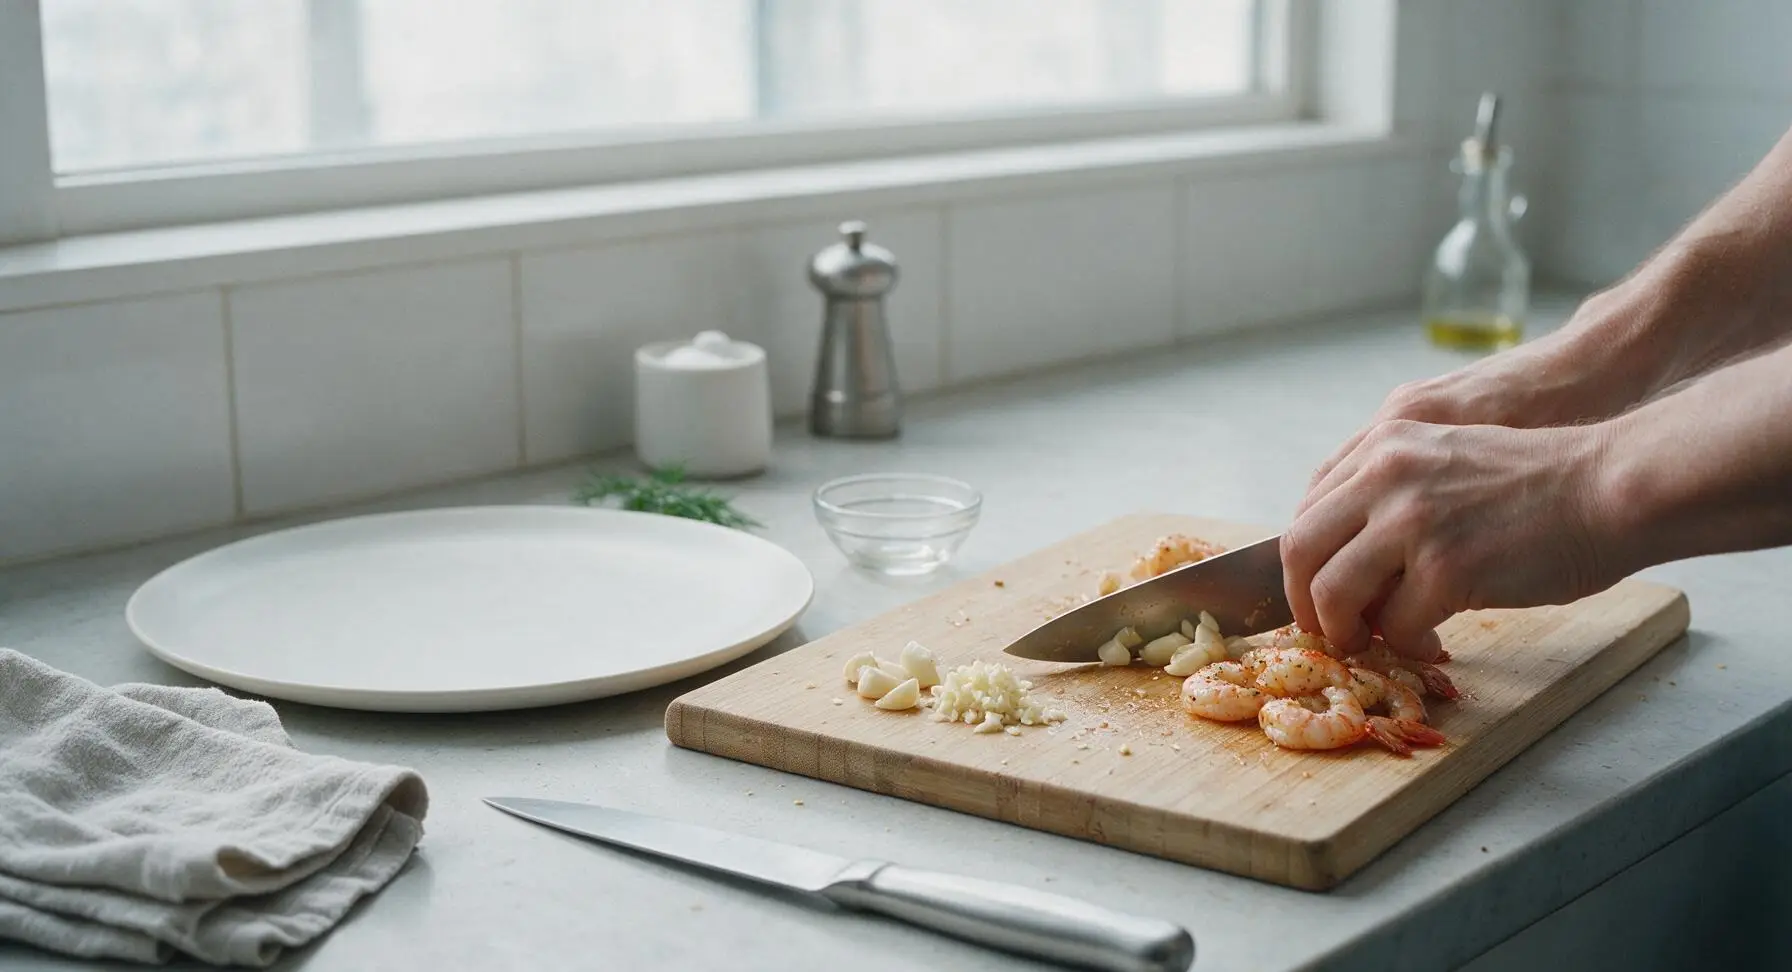
Using the chef knife, mince the 6 garlic cloves finely to a coarse texture (avoid over-mincing to a paste, which burns easily). In one of the small clear glass prep bowls, whisk together 3 tbsp raw honey, 2 tbsp low-sodium soy sauce, 1 tbsp fresh lemon juice, and 1/4 tsp red pepper flakes with the small stainless steel whisk until completely smooth, with no thick honey clumps remaining. Transfer minced garlic to the small off-white ramekin for later use.
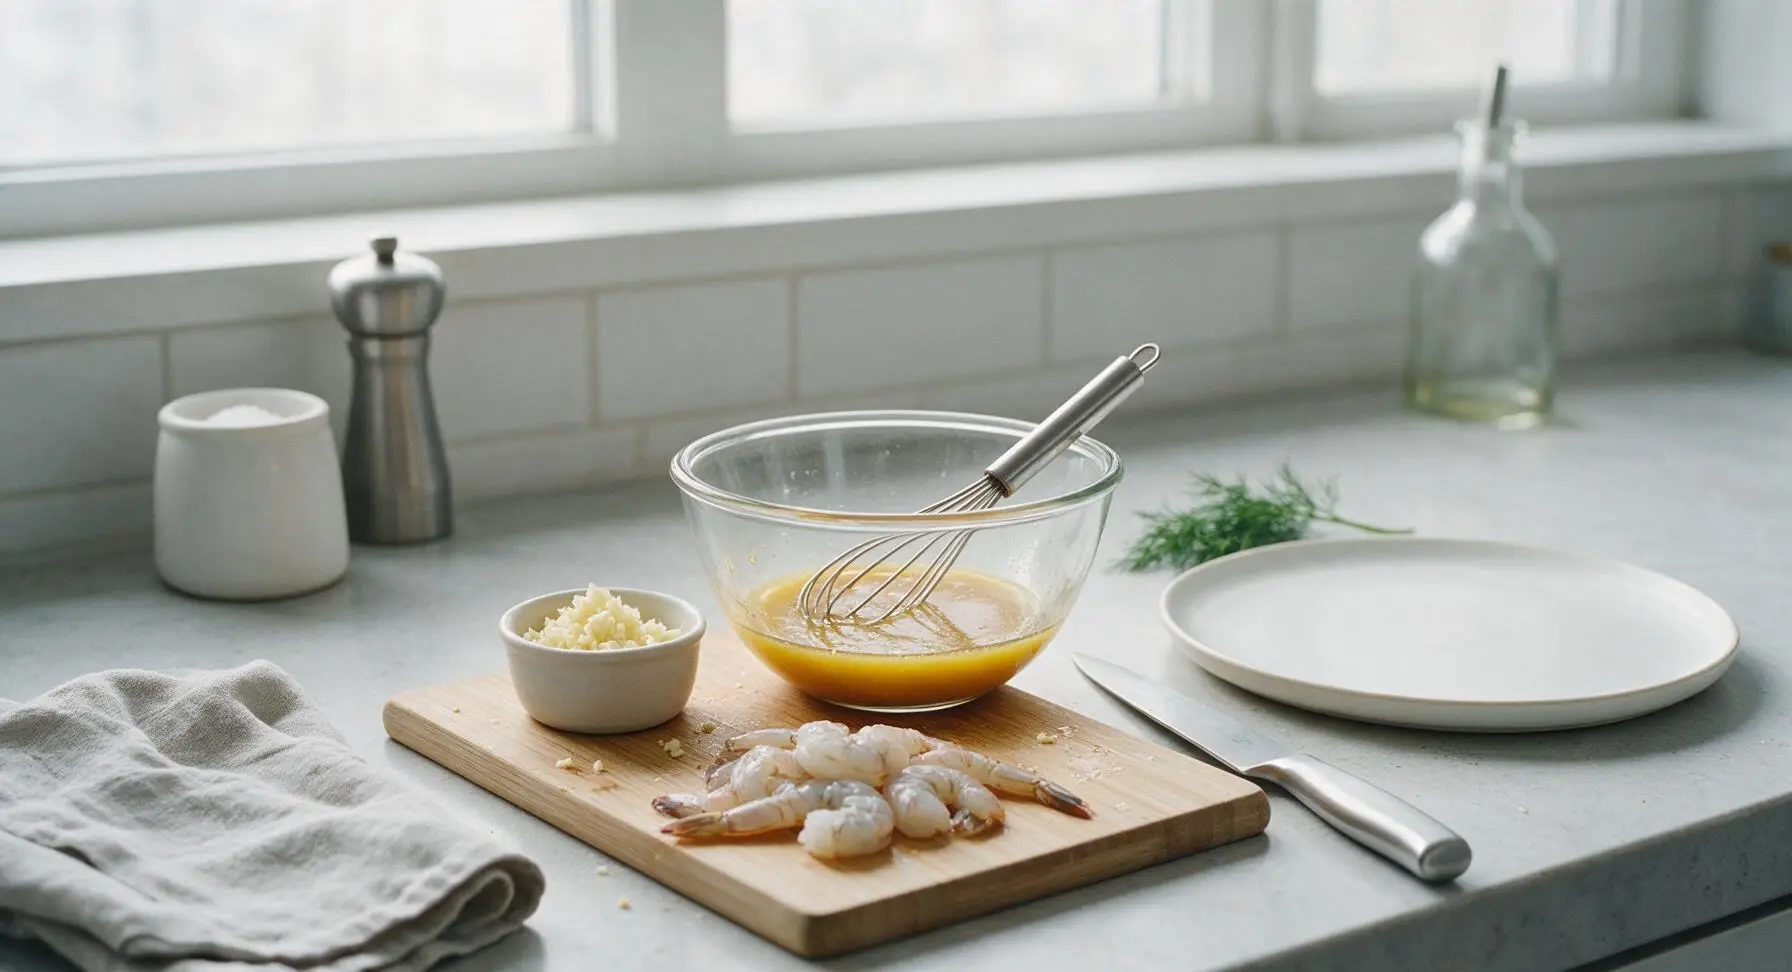
Step 2
step2:Mix Honey Garlic Sauce
Step 2
step2:Mix Honey Garlic Sauce
3

Sear Shrimp First Side

Move the 12-inch stainless steel skillet to the center induction burner, heat 1 tbsp extra-virgin olive oil over medium-high heat (375°F / 190°C) until the oil shimmers and moves easily across the pan surface, about 2 minutes. Add the seasoned shrimp in a single, uncrowded layer—cook in 2 batches if your pan is too small to fit all shrimp without touching, as crowding causes steaming instead of searing. Cook for 1.5 minutes on the first side, until the bottom edge turns bright opaque pink with a light golden, slightly crisp sear.
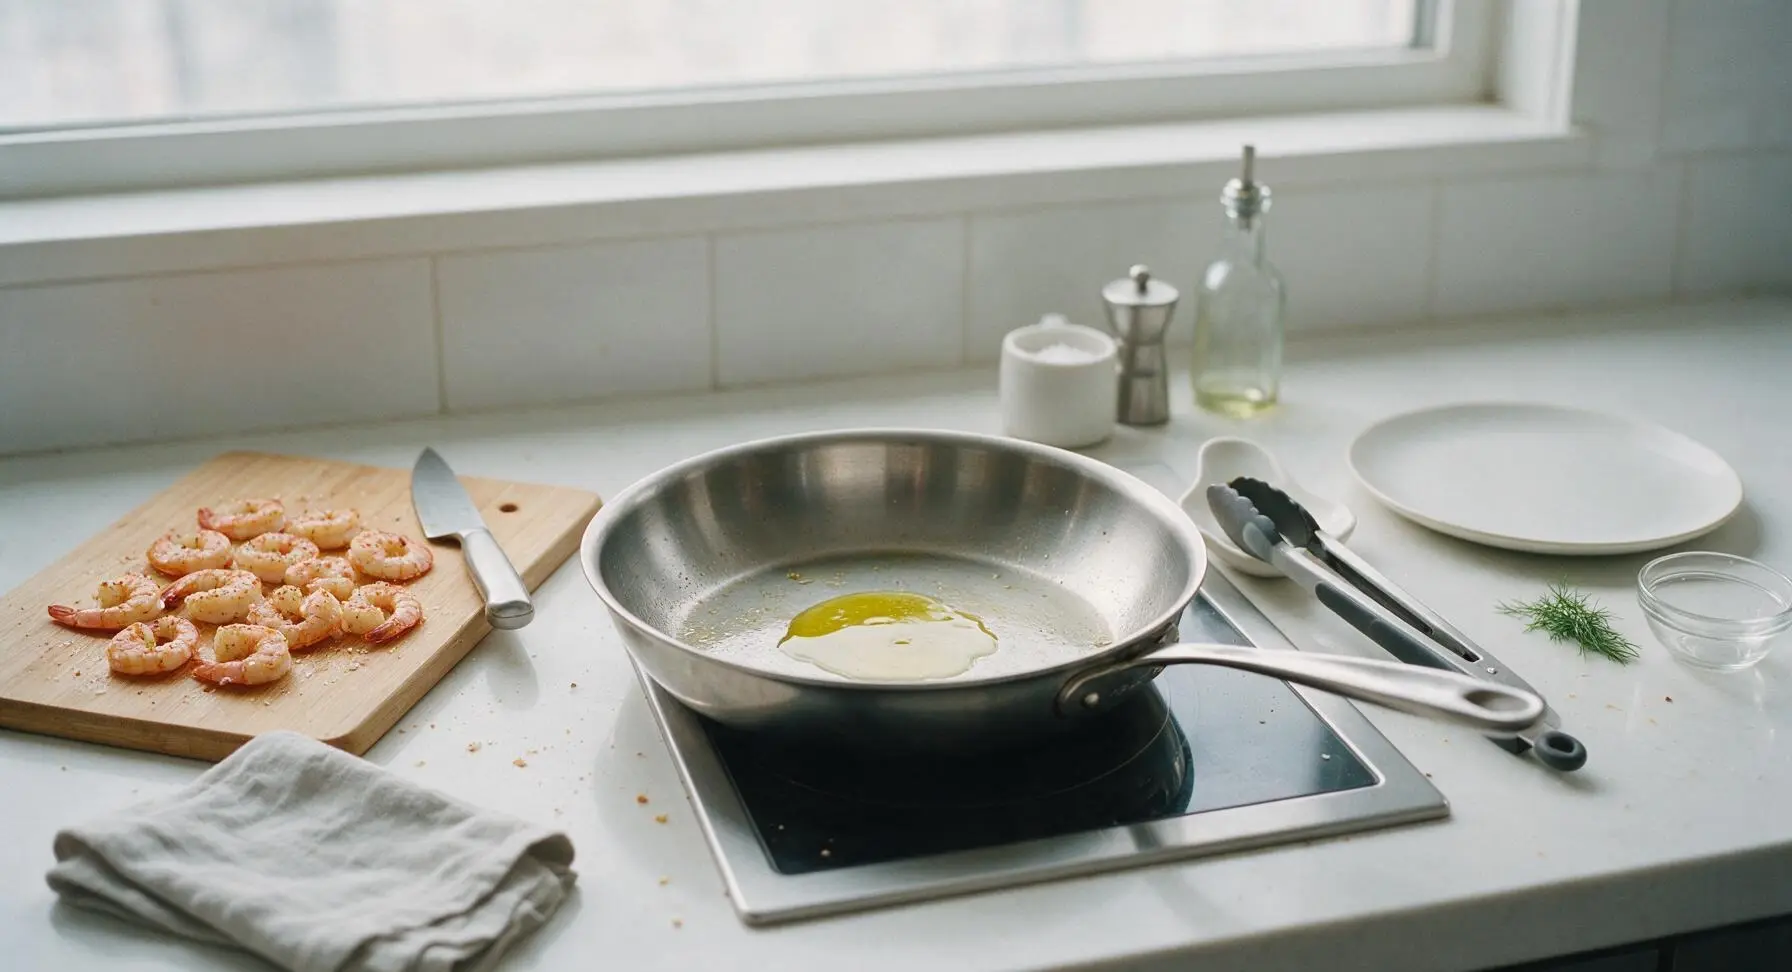
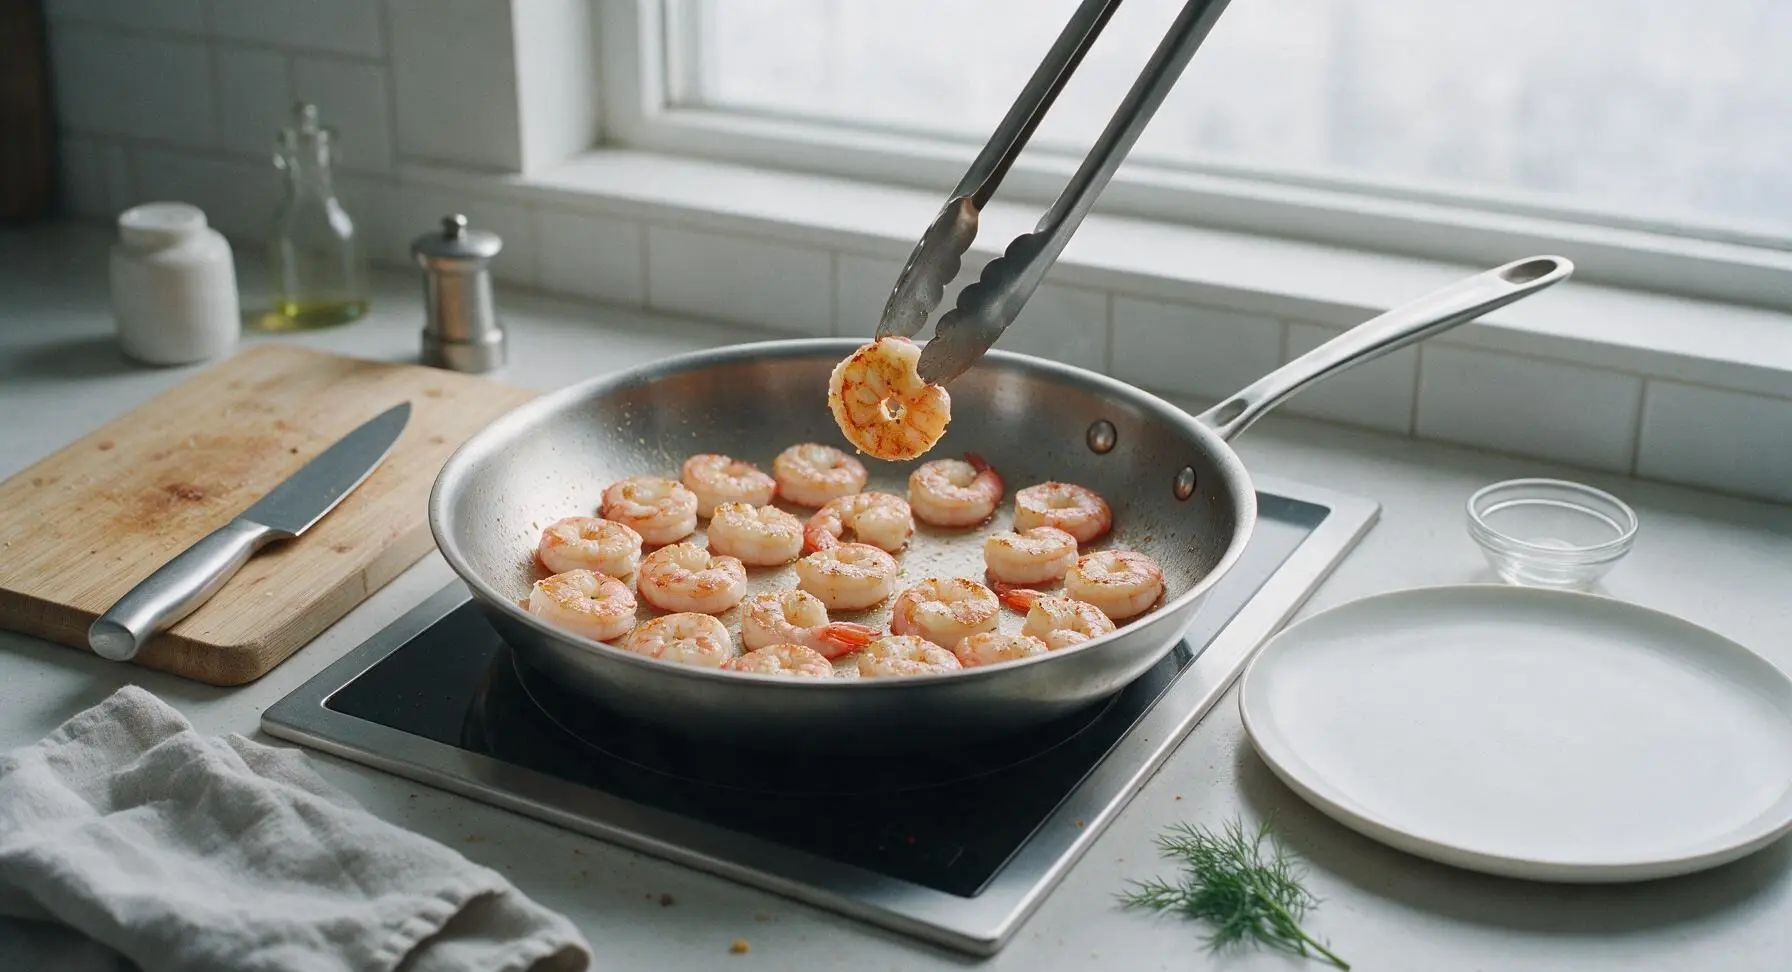
Step 3
step3:Sear Shrimp First Side
Step 3
step3:Sear Shrimp First Side
4

Add Garlic and Butter

Flip all shrimp to the second side using the silicone-tipped tongs, then add the 4 tbsp of cold cubed unsalted butter and all the minced garlic to the empty space in the skillet. As the butter melts and foams (about 30 seconds), tilt the pan slightly toward you to pool the butter, and use the stainless steel cooking spoon to baste the shrimp repeatedly with the bubbling garlic butter. Cook for 1.5 full minutes, until the garlic turns fragrant and pale golden; stop immediately if the garlic starts to turn dark brown, as burnt garlic adds a harsh, bitter flavor to the sauce.
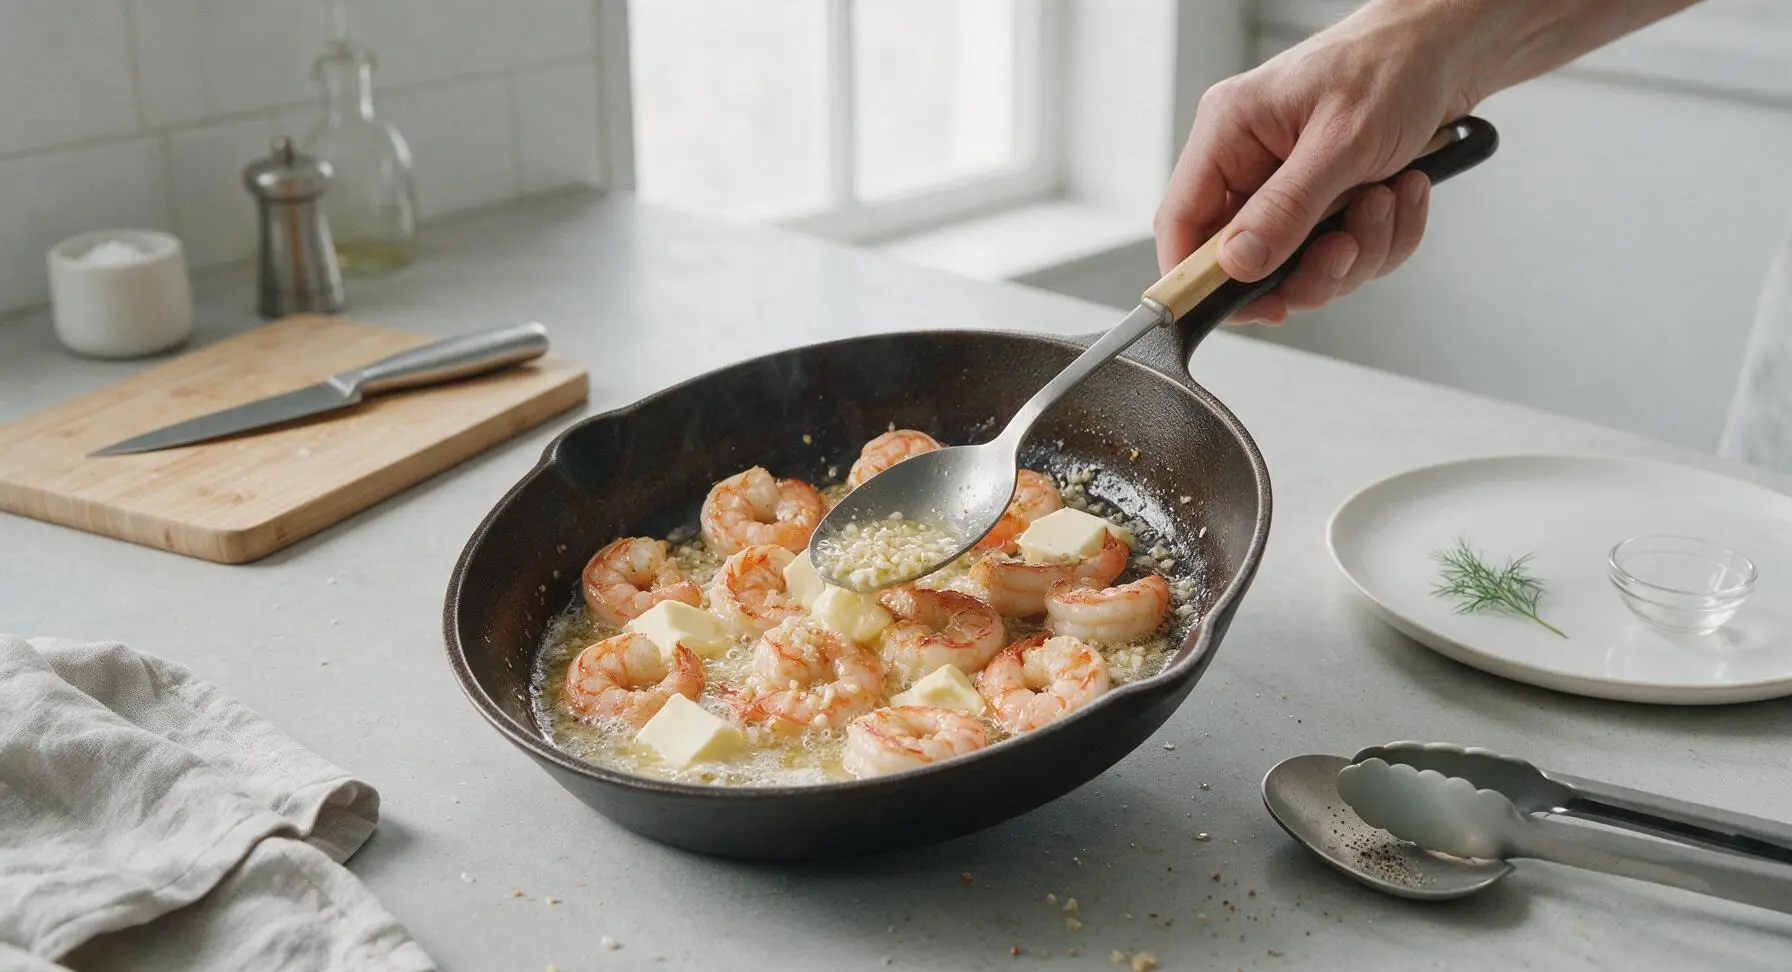
Step 4
step4:Add Garlic and Butter
5

Coat in Honey Sauce

Pour the pre-mixed honey, soy sauce, lemon juice, and red pepper flake mixture into the skillet, stirring constantly with the stainless steel cooking spoon to toss and coat every shrimp evenly. Bring the sauce to a gentle simmer, cooking for 2 full minutes, until the sauce reduces to a glossy, syrupy consistency that leaves a thick coat on the back of the spoon. Confirm shrimp are fully cooked: they will be bright pink, opaque all the way through, with a firm, springy texture, reaching an internal temperature of 145°F (63°C).
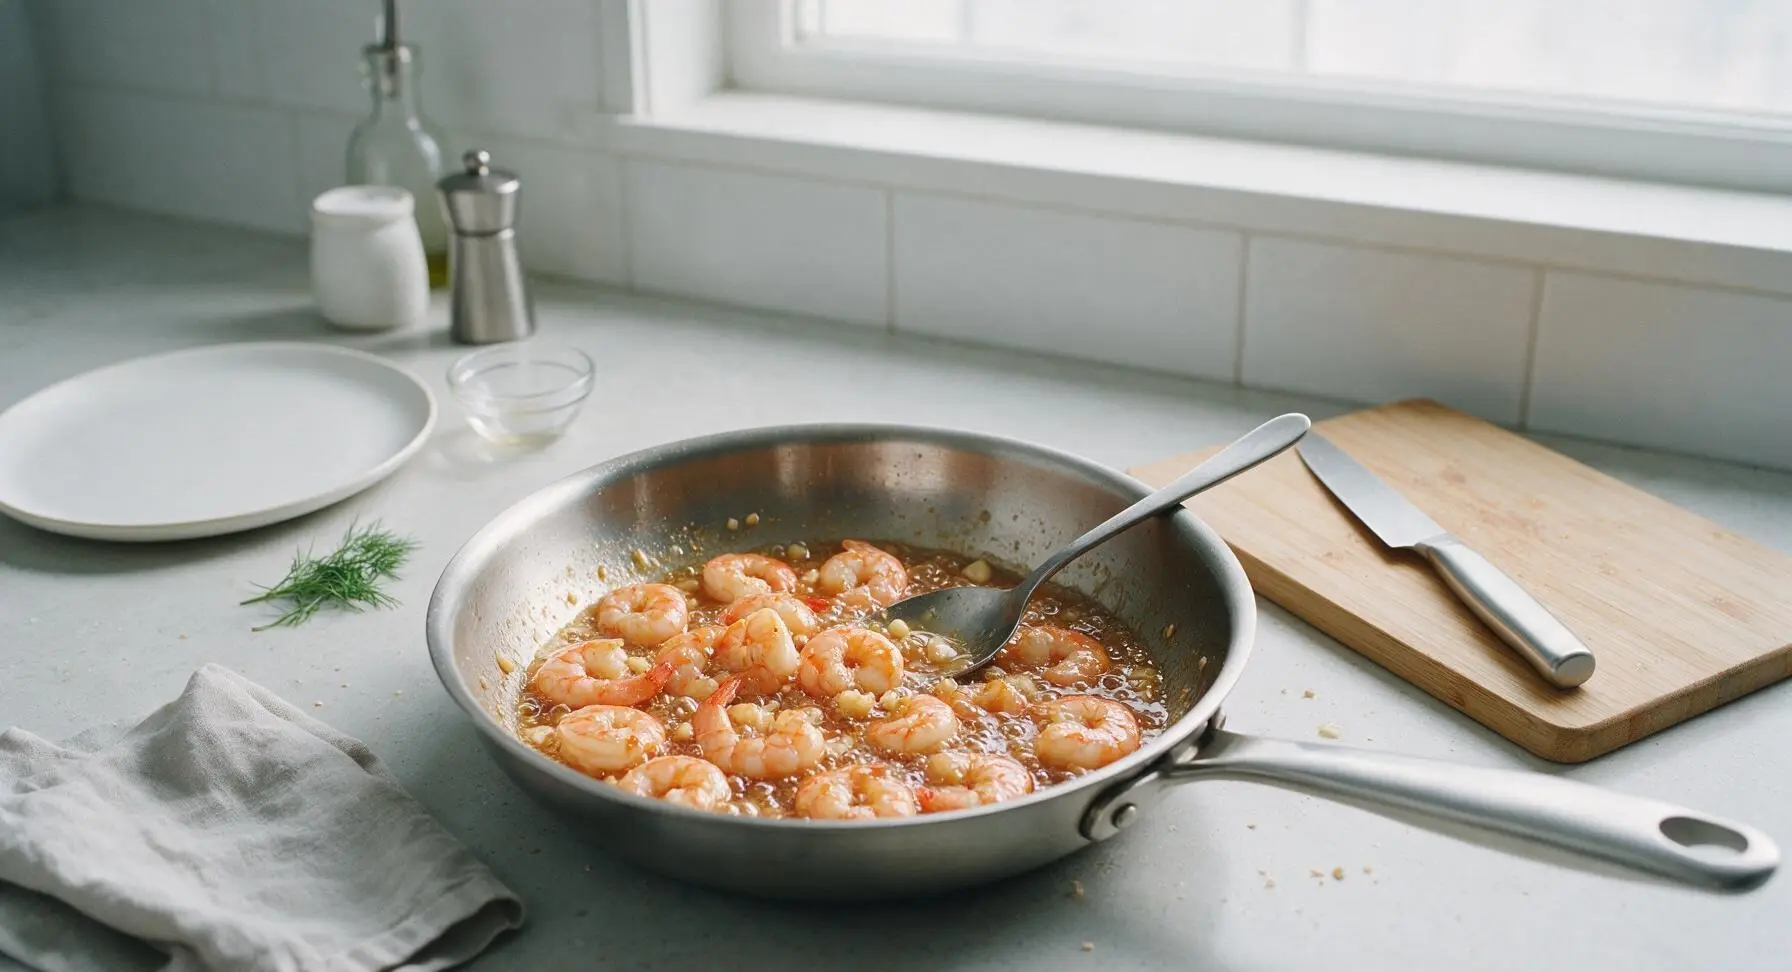
Step 5
step5:Coat in Honey Sauce
6

Plate and Garnish

Turn off the induction burner, and let the shrimp rest in the warm sauce for 1 minute to absorb flavor, which prevents the sauce from running off when plated. Use the silicone-tipped tongs to transfer the shrimp to the waiting matte warm off-white ceramic dinner plate, piling them loosely in the center. Drizzle all remaining thickened sauce from the skillet over the top of the shrimp, then sprinkle evenly with the 2 tbsp of chopped fresh flat-leaf parsley. Add a thin lemon wedge to the plate for optional extra brightness, and serve immediately.
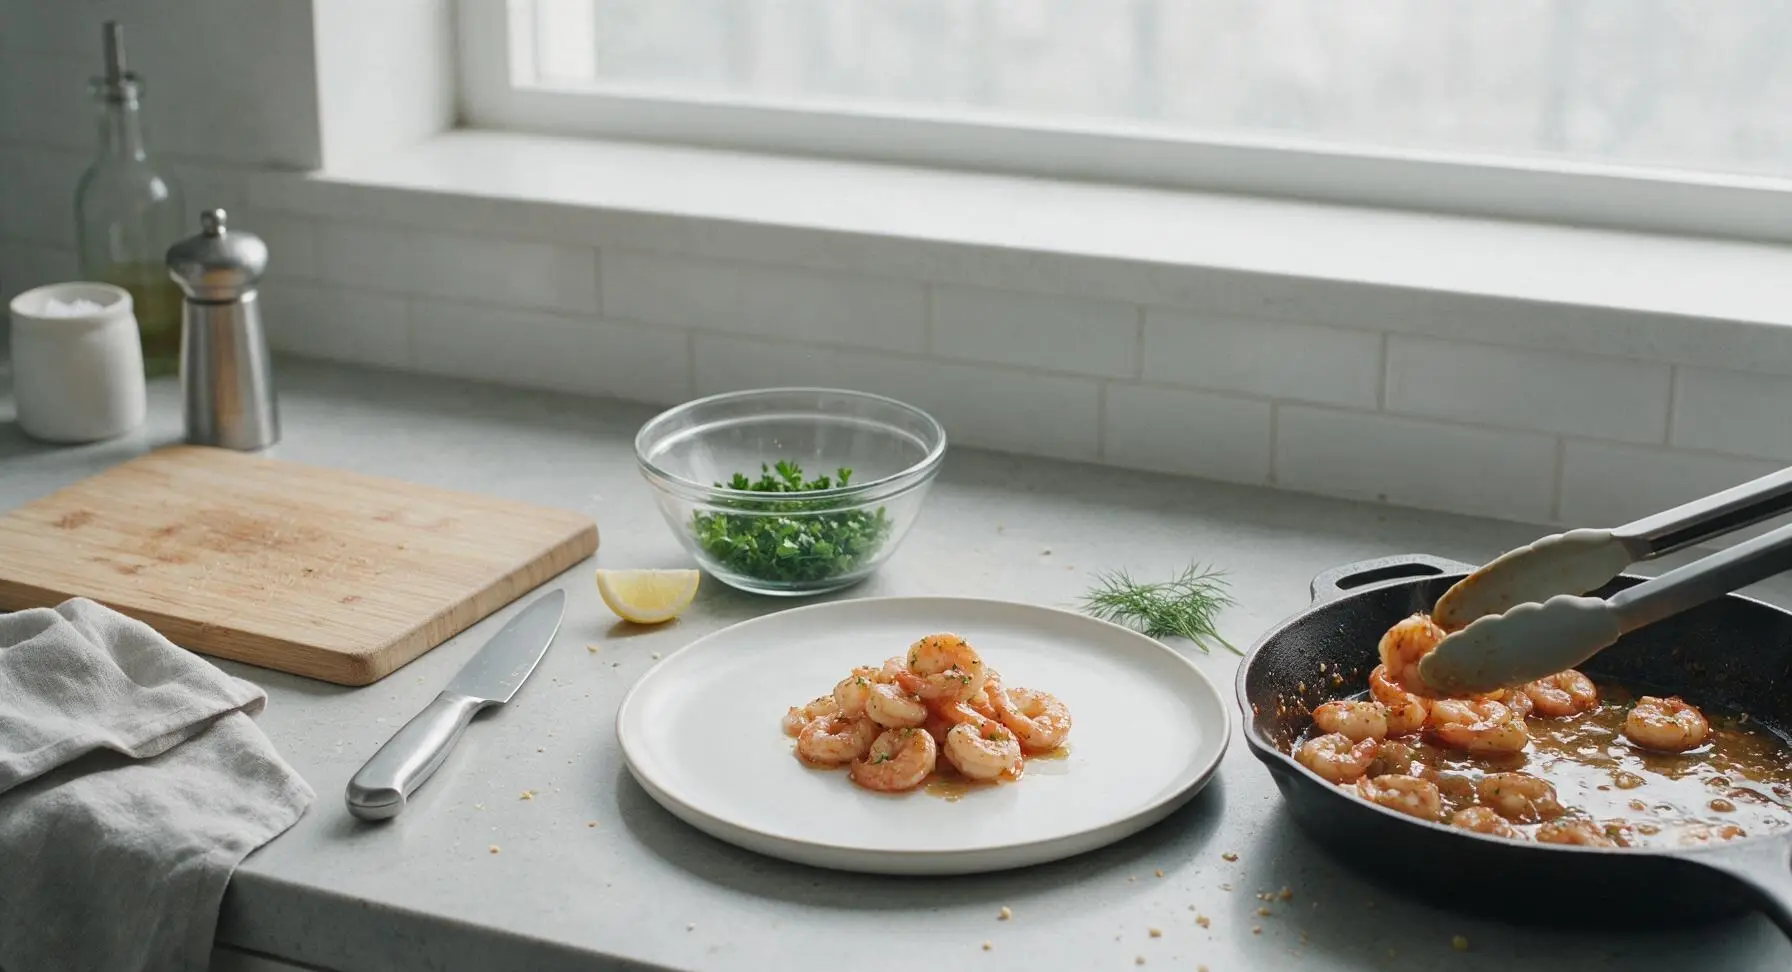
Step 6
step6:Plate and Garnish

Tips

1.Pat shrimp completely dry with the linen towel before searing: excess surface moisture causes shrimp to steam instead of developing a light, crisp golden sear, and prevents the thick sauce from clinging evenly to each shrimp.
2.Add garlic only after flipping the shrimp, and cook for no more than 1.5 minutes: finely minced garlic cooks extremely quickly in hot butter, and even 30 seconds too long will turn it dark brown and bitter, ruining the sauce’s balanced sweet-savory flavor.
3.Avoid overcooking shrimp: shrimp transition from perfectly tender to rubbery in as little as 30 seconds. Remove the pan from heat as soon as shrimp are uniformly bright pink and opaque, as residual heat will continue to cook them slightly during the 1-minute rest period.


✨ You May Also Like

Main Course
🍜 United Kingdom

A showstopping classic of tender seared beef, savory mushroom duxelles, and crisp prosciutto wrapped in flaky golden puff pastry, baked to juicy perfection.

⏱️ 2 hours 1Main Course ★ 4.7
Main Course
🍜 India

Tender charred marinated chicken simmered in a rich, spiced creamy tomato sauce, this iconic Anglo-Indian curry pairs perfectly with basmati rice or warm naan.

⏱️ 50 minuteMain Course ★ 4.6
Main Course
🍜 Thailand

Classic tangy, sweet, and savory Thai stir-fried rice noodles with shrimp, tofu, and crunchy garnishes, balancing all five core Thai flavor profiles.

⏱️ 30 minuteMain Course ★ 4.5
Main Course
🍜 United Kingdom

Crispy golden beer-battered cod and fluffy double-fried chips, served with tangy tartar sauce and malt vinegar: the timeless, beloved British pub comfort classic.

⏱️ 45 minuteMain Course ★ 4.7
Main Course
🍜 Mexico

Smoky, chile-marinated pork tacos with caramelized pineapple, fresh cilantro, and lime: a beloved classic Mexican street food perfect for casual summer gatherings.

⏱️ 1 hour 45Main Course ★ 4.8
Main Course
🍜 United States

Crunchy Fritos corn chips layered with savory beef chili and melted cheddar, topped with cool, zesty fixings for a beloved, cozy Tex-Mex comfort food.

⏱️ 35 minuteMain Course ★ 4.8

honey garlic butter shrimp:Frequently Asked Questions

1.Can I use frozen shrimp instead of fresh for this honey garlic butter shrimp? ▾
Absolutely—frozen shrimp works perfectly here! Thaw it fully by sealing in a zip-top bag and submerging in cold tap water for 15 to 20 minutes, then pat every shrimp completely dry with paper towels before cooking. Dry shrimp sears crisp instead of steaming, so it stays plump and won’t water down your glossy sauce.
2.Do I have to leave the shrimp tails on, or can I peel them fully? ▾
You can absolutely peel the shrimp fully if you prefer easier, no-mess eating! Leaving tails on adds a subtle, briny shellfish depth as the shrimp cooks and makes for that classic restaurant-style presentation, but removing them won’t ruin the flavor or texture of the final dish at all.
3.Why does the recipe call for low-sodium soy sauce instead of regular? ▾
Low-sodium soy sauce lets you control the dish’s salt level much more easily, so the sweet honey, rich butter, and sharp garlic don’t get overpowered by overly salty soy. If you only have regular soy sauce on hand, cut the amount by 25% and skip adding extra salt to the shrimp while searing to keep flavors balanced.
4.How do I keep my shrimp from getting rubbery and overcooked? ▾
Shrimp cook extremely fast, so keep your heat at medium-high and only sear them for 1 to 2 minutes per side, until they turn opaque pink and curl into a loose 'C' shape. Pull them out of the pan right at that point—they’ll keep cooking for a minute from residual heat as you toss them in the finished sauce.
5.Can I make this recipe less sweet if I don’t love super honey-heavy dishes? ▾
Definitely! Start with 2/3 of the measured raw honey first, taste the sauce once it’s melted and combined, then add more honey a teaspoon at a time until it hits your preferred sweetness balance. You can also squeeze in a tiny splash of fresh lime juice to cut residual sweetness and add a bright, zesty kick.
6.What’s the best way to mince garlic so it doesn’t burn in the butter? ▾
Mince garlic to a fine, even consistency, and don’t add it to the pan until right after you pull the seared shrimp out. Keep heat at medium once you add garlic to the melted butter, and stir it constantly for only 30 seconds until fragrant—burnt garlic adds a bitter, unpleasant taste that ruins the smooth sauce.
7.Is there a substitute for raw honey if I don’t have any on hand? ▾
You can swap raw honey for pure maple syrup for a similar rich, sweet depth, though it will add a subtle earthy, woody note instead of honey’s bright floral sweetness. Avoid processed honey substitutes or granulated sugar here, as they won’t melt into the butter and soy to create that signature thick, glossy, clingy glaze.
8.What side dishes pair best with this honey garlic butter shrimp? ▾
This shrimp pairs beautifully with quick-cooking sides that soak up extra sauce! Try it over fluffy white rice, buttered pasta, roasted broccoli, crispy roasted potatoes, or a simple green salad. For a lighter weeknight option, serve it over cauliflower rice or zucchini noodles to keep the meal low-carb.
9.Can I add a spicy kick to this dish like the intro mentions? ▾
Absolutely! For that subtle warm heat noted in the recipe, add 1/4 teaspoon of red pepper flakes to the butter sauce when you add the garlic, or stir in a tiny splash of hot sauce once the sauce is fully combined. If you love extra spice, toss in a thinly sliced fresh serrano pepper while sautéing garlic for brighter, sharper heat.
10.Why do you cut the butter into 1-tablespoon pats instead of adding it all at once? ▾
Cutting butter into individual 1-tbsp pats helps it melt slowly and evenly into the sauce without separating or getting greasy, so you get a smooth, emulsified glaze that coats every shrimp evenly. Adding a whole cold block of butter at once can shock the pan temperature, leading to a greasy, split sauce that won’t stick well.
11.How long does this honey garlic butter shrimp stay good for leftovers? ▾
Stored in an airtight container in the fridge, leftover shrimp will stay fresh for up to 3 days. Reheat it gently in a skillet over low heat, stirring often, for 2 to 3 minutes until just warmed through—microwaving on high will overcook shrimp fast and turn them rubbery, so low, slow reheating works best.
12.Can I use salted butter instead of unsalted for this recipe? ▾
You can use salted butter, but you’ll need to adjust other salty ingredients to keep the dish balanced. If using salted butter, cut the low-sodium soy sauce by about 1 tablespoon, and don’t season the shrimp with any extra salt before searing. Taste the finished sauce before serving, and add a tiny extra splash of soy only if needed.
13.What size shrimp works best for this recipe? ▾
Large shrimp, labeled as 21/25 count (meaning 21 to 25 shrimp per pound) are ideal here—they’re big enough to get a nice sear on the outside without overcooking before the sauce comes together, and they hold up well to the thick, rich glaze. Avoid tiny salad shrimp, as they cook too fast and get lost in the sauce.
14.My sauce turned out too thin and won’t stick to the shrimp—what did I do wrong? ▾
Thin sauce usually happens if you didn’t pat the shrimp dry enough, so excess water leaked into the pan while searing, or if you didn’t let the sauce simmer for 1 to 2 minutes after combining honey, soy, and butter to thicken slightly. Next time, dry shrimp thoroughly and let the sauce bubble gently until it coats the back of a spoon.
15.Can I meal prep this recipe ahead of busy weeknights? ▾
You can prep components ahead to cut down on cook time! Peel and devein shrimp (or buy pre-peeled) and store it in the fridge, mince garlic and measure out your honey, soy, and butter pats 1 to 2 days ahead. I don’t recommend cooking shrimp fully ahead, as it can get rubbery when reheated, but prep cuts total cook time to under 10 minutes.
16.Do I need to use a nonstick pan to make this, or will a stainless steel pan work? ▾
A stainless steel pan works perfectly, and it will actually give you a nicer, slightly caramelized sear on the shrimp than a nonstick pan! Just make sure the pan is fully hot before you add the first tablespoon of butter and shrimp, and don’t move the shrimp around for the first minute of searing so they release easily from the pan surface.
17.Can I add other veggies to this dish to make it a one-pan meal? ▾
Absolutely! Toss in quick-cooking veggies like bite-sized broccoli florets, sliced bell peppers, snap peas, or diced asparagus to the pan after you sear the shrimp, sauté them for 2 to 3 minutes until crisp-tender, then add the garlic, honey, soy, and remaining butter to toss everything together in the glossy sauce.
18.Is there a gluten-free swap for the soy sauce in this recipe? ▾
Yes! Swap the low-sodium soy sauce for gluten-free tamari, which has the same rich, umami savoriness as regular soy but is made without wheat. Make sure to pick a low-sodium gluten-free tamari if you’re watching salt intake, so you can keep the same sweet-savory balance of the original recipe without any gluten-containing ingredients.
19.Can I use pre-minced garlic from a jar instead of fresh minced cloves? ▾
You can use jarred pre-minced garlic in a pinch, but fresh minced garlic will give you a much brighter, sharper, more aromatic flavor for the sauce. Jarred pre-minced garlic is often packed in water or preservatives that can give it a muted, slightly bitter taste, so if you use it, drain it really well and use about 25% less than the recipe calls for.

Comments (7)

2 days ago

OMG this was the easiest weeknight dinner ever! I threw this together after work in literally 8 minutes just like the recipe said, no fancy hard-to-find ingredients needed. My two super picky kids devoured every last shrimp and asked for seconds before I even sat down to eat. The honey garlic balance is *chef's kiss* — not too sweet, not too savory, totally perfect.

yesterday

Wait did you use fresh or frozen shrimp? I only have a big bag of frozen in my freezer right now and want to make this for my family tonight!

2 hours ago

Great question! Frozen shrimp works perfectly here, just thaw it completely and pat it really dry with paper towels before searing so it gets that nice crisp edge instead of steaming in the pan. Hope you and your family love it!

1 week ago

Game changer!! I brought this to my neighborhood potluck last weekend and people were hovering around the platter asking for the recipe before I even set it down on the table. The honey garlic butter sauce is so good I was dipping sourdough bread in the leftover bits stuck to the pan. No weird complicated steps, zero stress, total crowd pleaser.

2 hours ago

Made this for a last-minute date night in, and my date thought I spent hours cooking! It looked so fancy, tasted even better, and I didn't even have to run to the grocery store for anything because I already had all the staples in my pantry and fridge. Total win.

30 minutes ago

So glad this saved your date night! It's the perfect impressive-but-low-effort meal for when you want something special without all the fuss. Love that you already had all the ingredients on hand!

yesterday

This was really tasty but I felt like the sauce was a little too thin for my taste? Did I mess up a step? I followed the measurements exactly but it didn't coat the shrimp as thick as it looked in the recipe photos. Still ate every single bite, it just wasn't the texture I was expecting.

2 hours ago

Oh I had that same issue the first time I made it! I let the sauce simmer for like an extra minute after adding the butter, and it thickened right up. Turns out I was taking it off the heat too fast before it could reduce down!

5 minutes ago

Great tip from Maria! If you want a thicker, clingier glaze, just let the sauce bubble for 30-60 seconds longer after stirring in the cold butter. It will reduce perfectly without needing any extra cornstarch, if that's the texture you prefer!

30 minutes ago

Bro I'm a total beginner who can barely make boxed mac and cheese without burning it and this came out perfect on the first try?? The 8 minute cook time is no cap, I literally set a kitchen timer. Ate the whole pan standing up over the stove it was that good.

5 minutes ago

LMAO same, I'm terrible at cooking too and just made this last night! Pro tip: toss some roasted asparagus in the extra sauce left in the pan, it slaps.

5 days ago

Perfect for my Sunday meal prep routine! I made a double batch, portioned it out with jasmine rice and roasted broccoli, and it reheated like an absolute dream all work week. The sauce didn't get weird or gummy at all, which is always my biggest worry with prepping seafood ahead of time. This will be on my regular weeknight rotation for sure.

just now

I was looking for a quick shrimp recipe to make for my grandkids when they visit this weekend, and this did NOT disappoint! I did a test run tonight and it's SO good, the sweet and savory honey garlic combo is right up their alley. I'm planning to serve it over buttered egg noodles for them, I know they'll clean their plates.

just now

What a lovely dinner idea for your grandkids! Serving it over buttered egg noodles is such a great call — the noodles will soak up every last bit of that delicious honey garlic butter sauce. Hope they love it as much as your test batch did!



