
honey waffles
intro
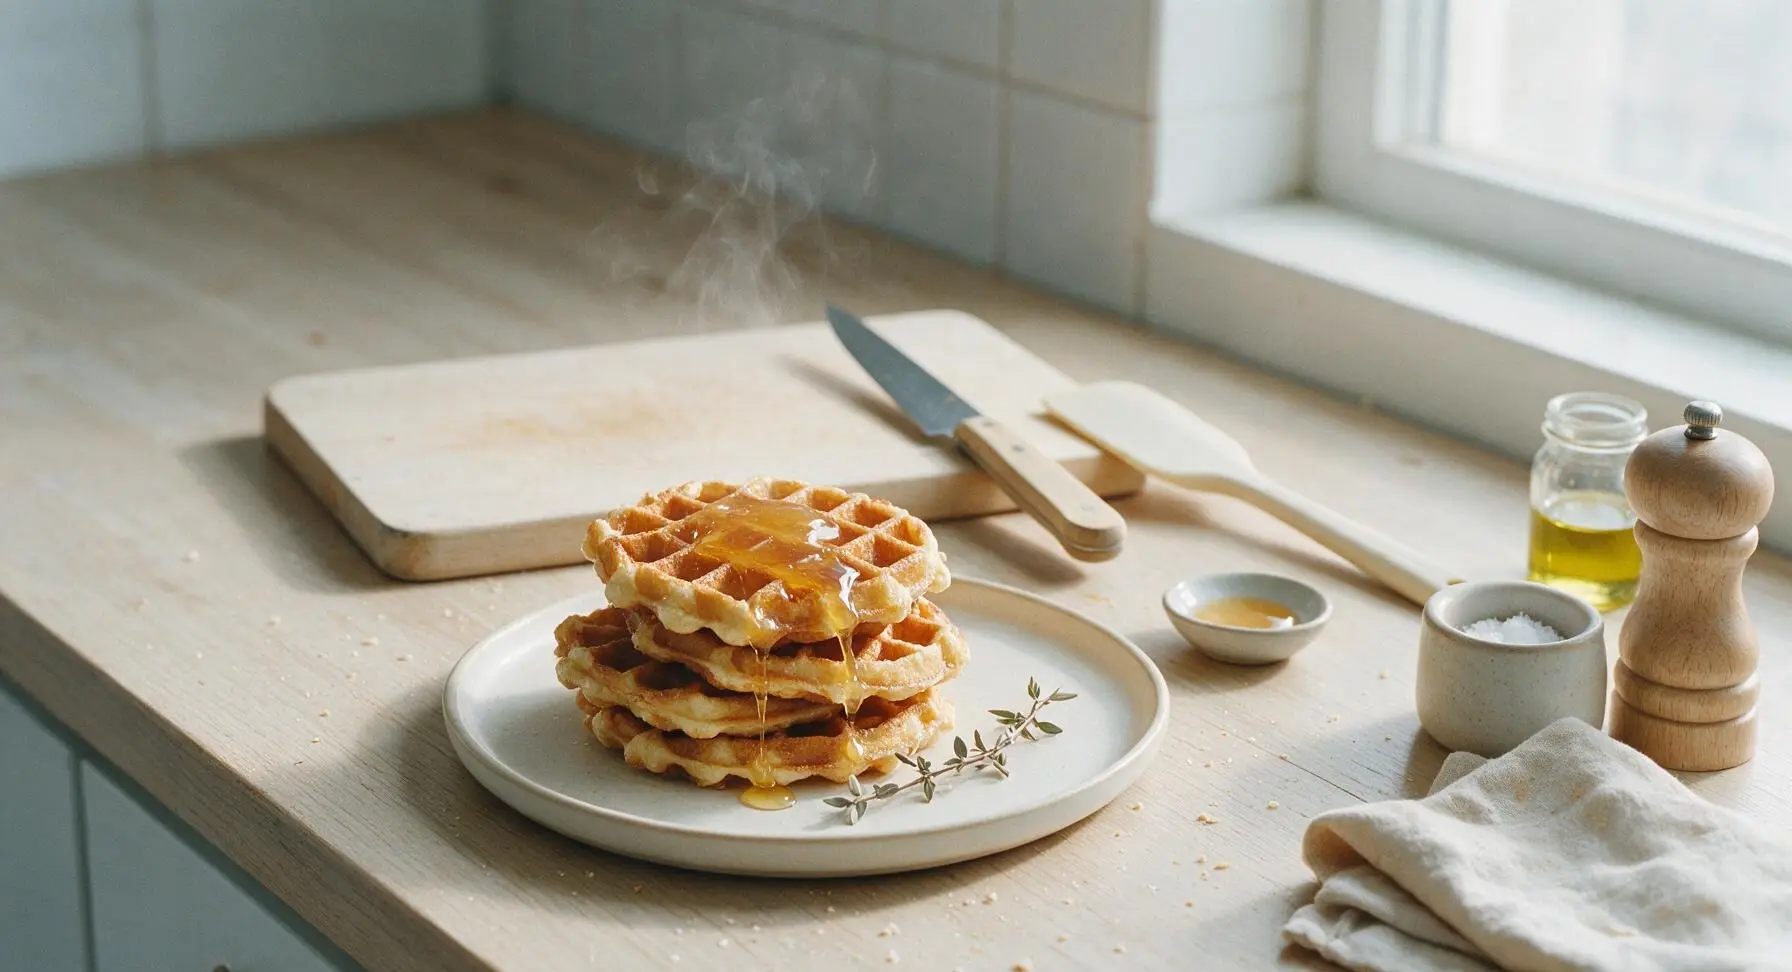
Crisp-edged, fluffy-centered golden honey waffles drizzled with extra raw honey make a warm, comforting quick breakfast the whole family will love.
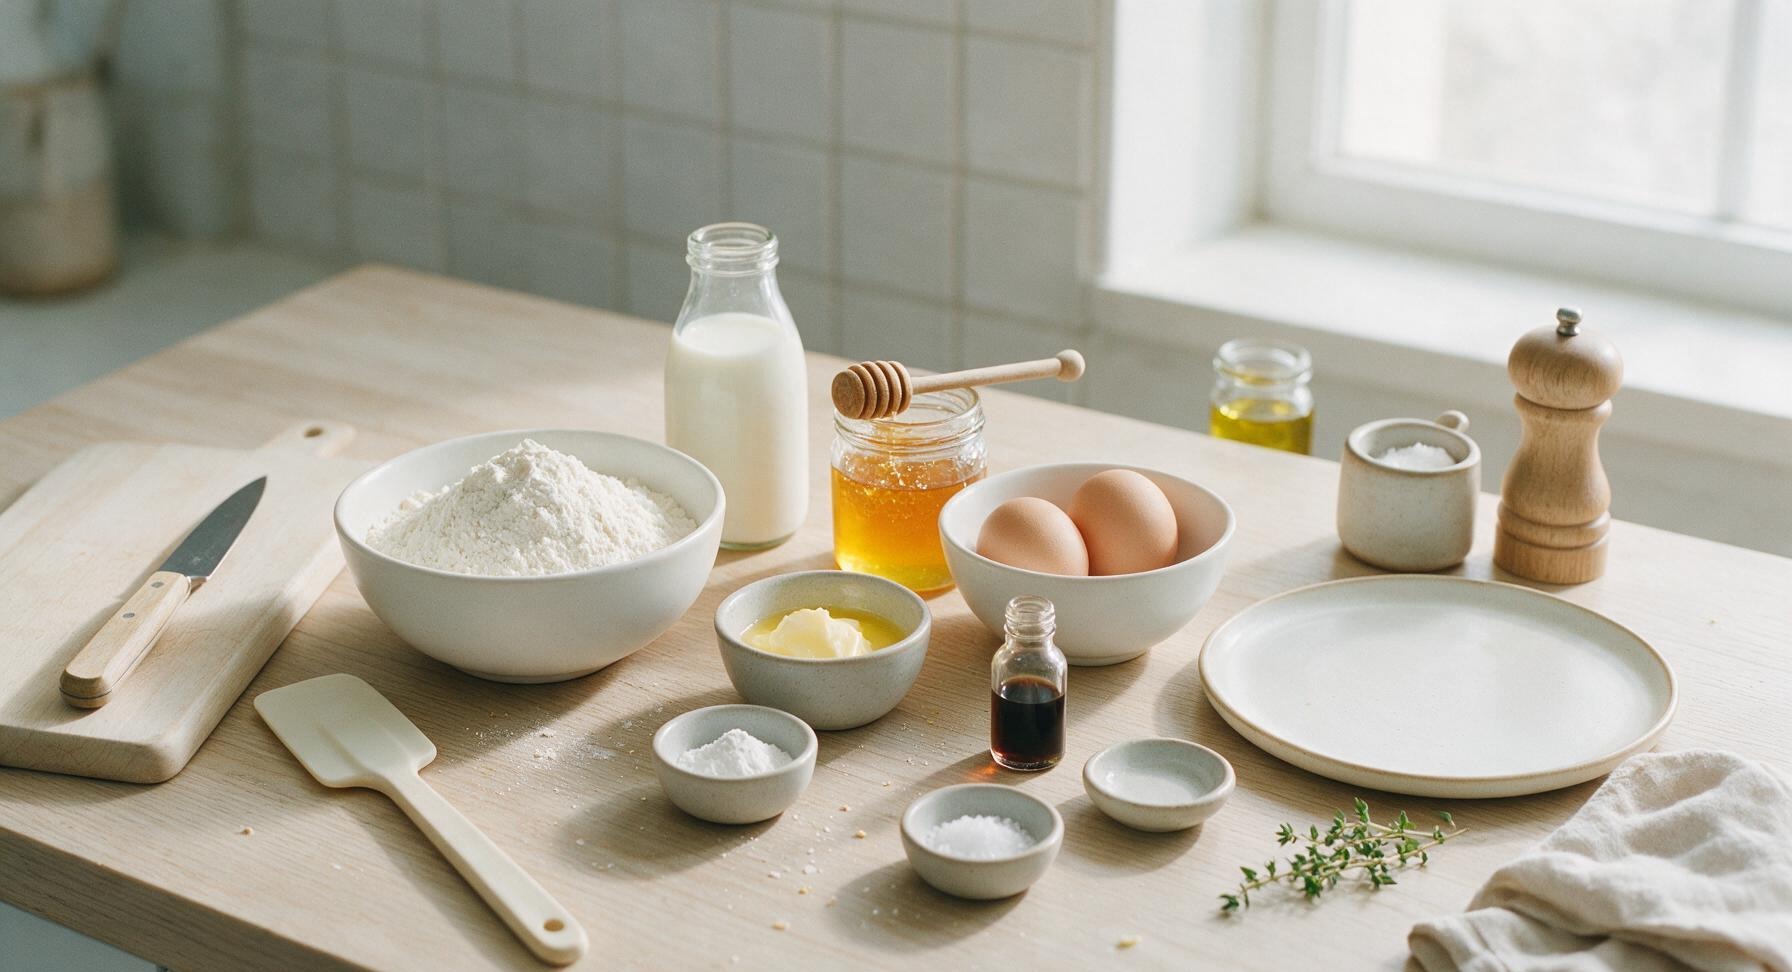
Ingredients
Steps
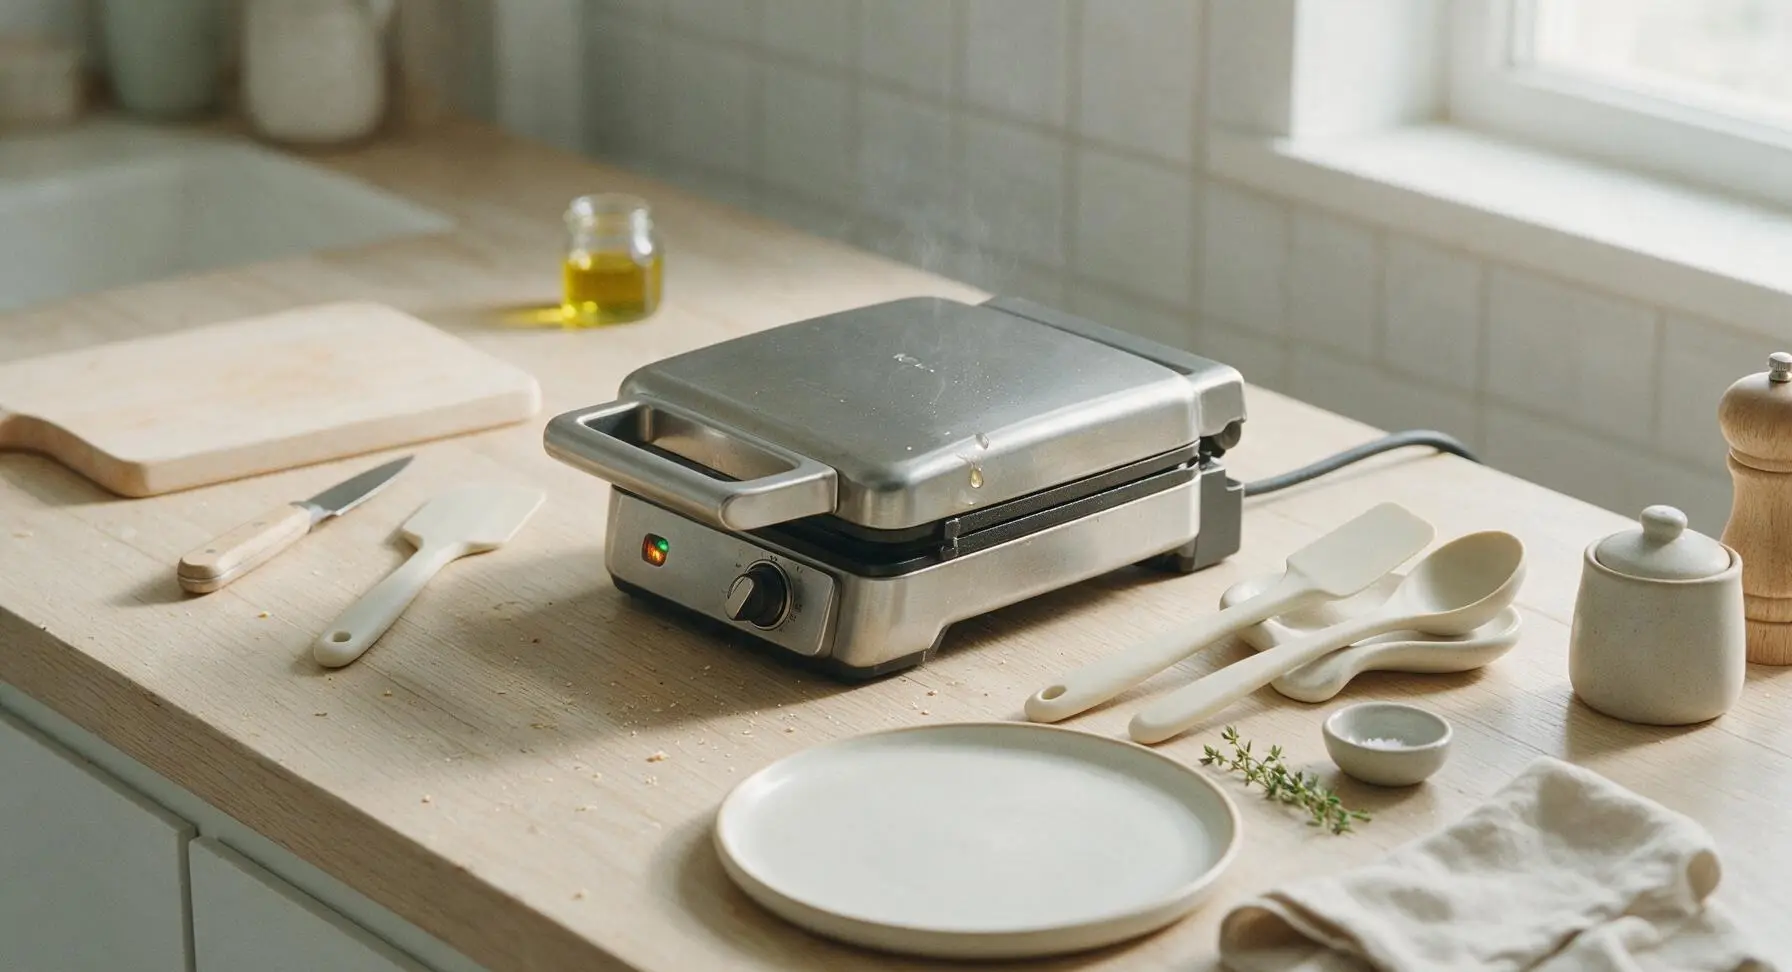
Preheat Waffle Iron
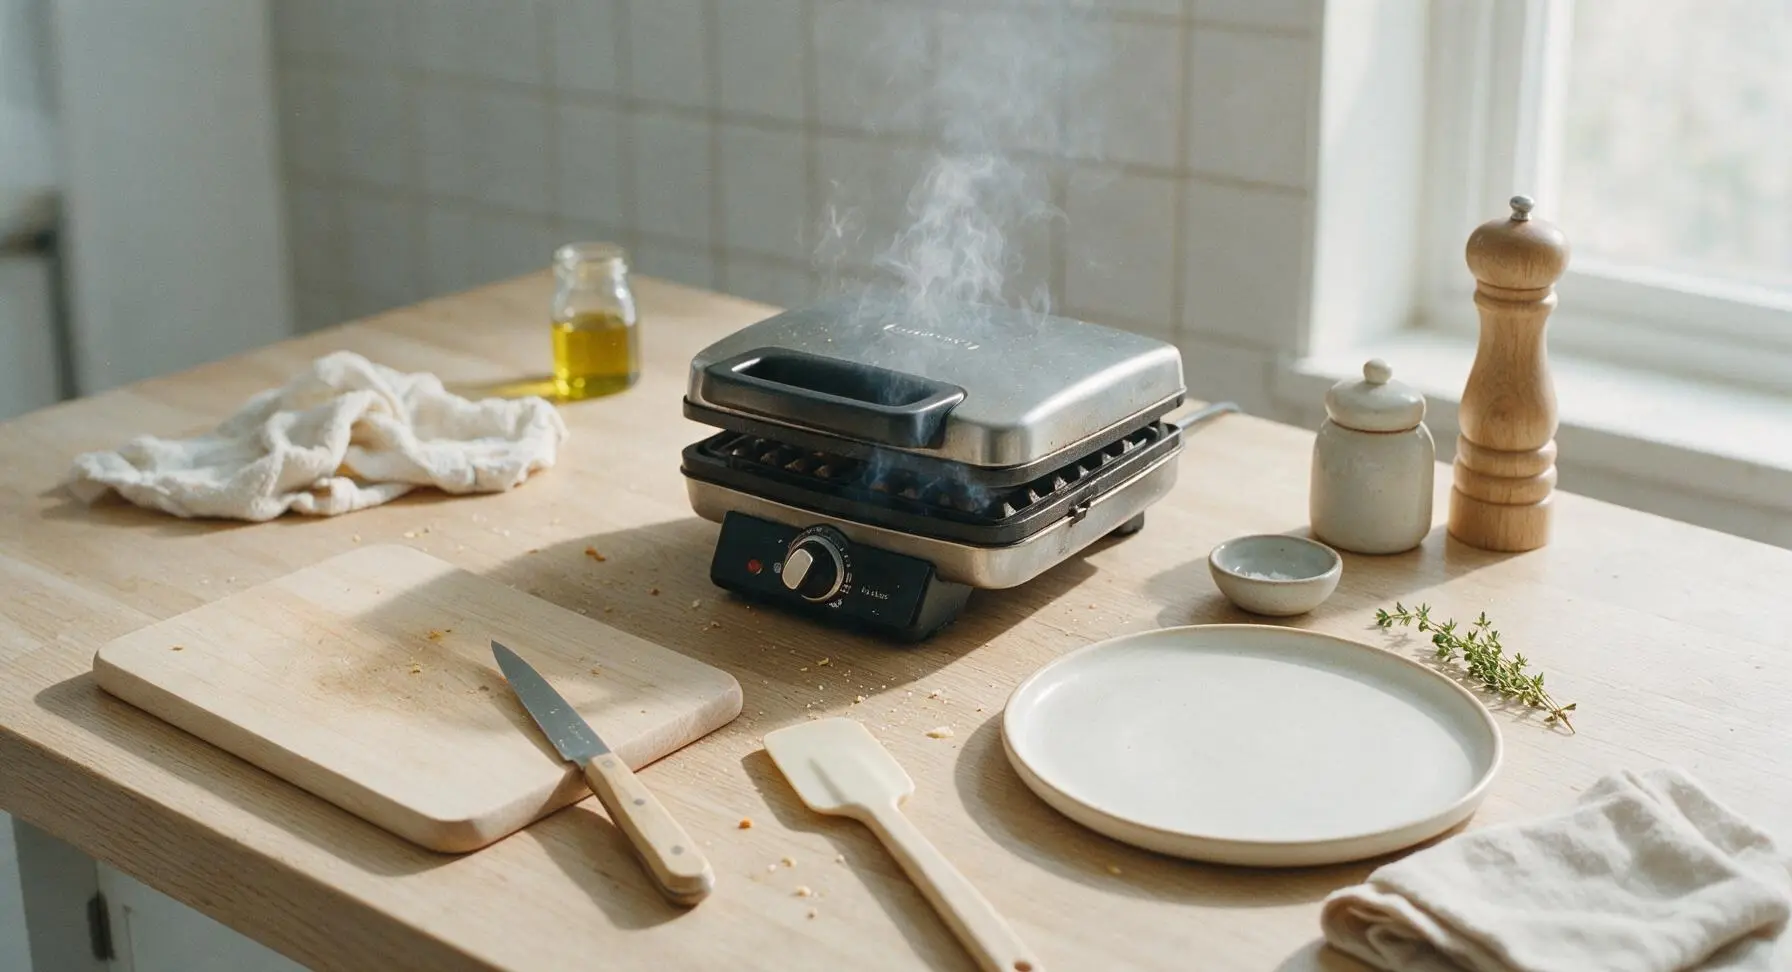
Plug in the stainless steel waffle iron and set the browning dial to medium-high (375°F/190°C). Allow it to preheat for 5 minutes, testing for readiness by sprinkling a single drop of water on the cooking plate—if it sizzles and evaporates immediately, the iron is ready. Lightly coat the cooking plates with a thin layer of melted butter or non-stick cooking spray to prevent sticking.
Mix Dry Ingredients
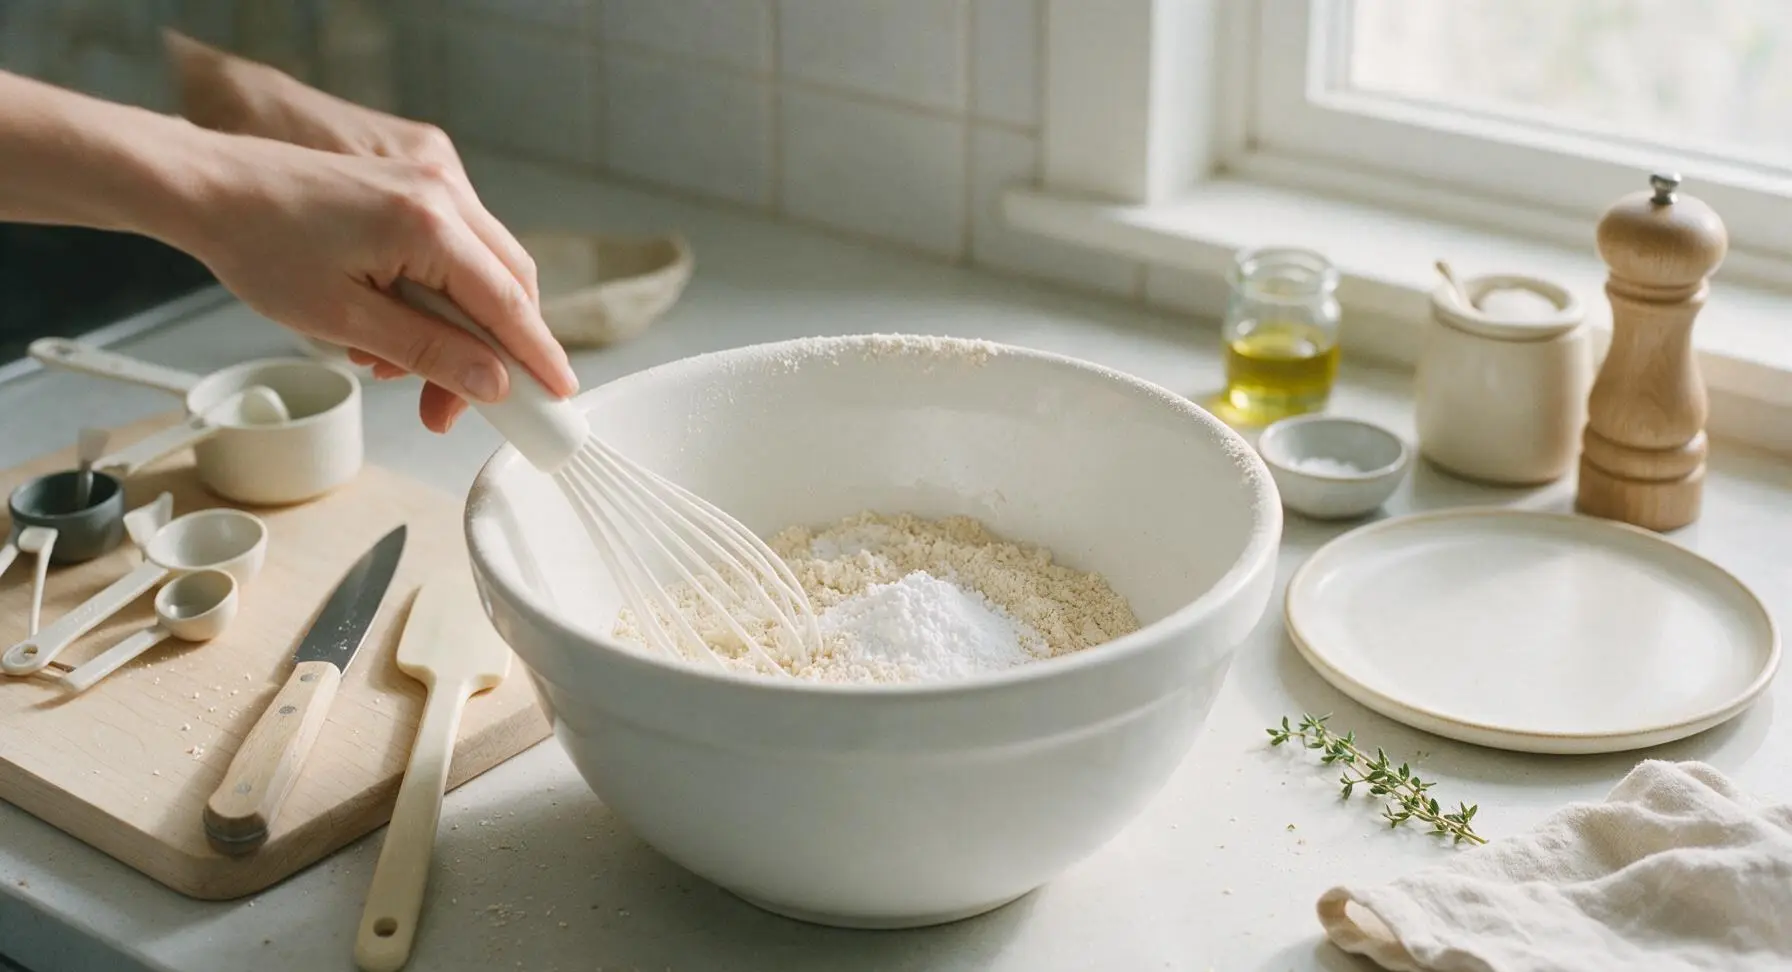
Add 2 cups (240g) all-purpose flour, 2 tsp baking powder, and 1/4 tsp fine sea salt to the large matte white ceramic mixing bowl. Use the silicone whisk to stir the dry ingredients together for 30 seconds, until they are fully combined and evenly distributed, with no visible clumps of baking powder.
Add Wet Ingredients
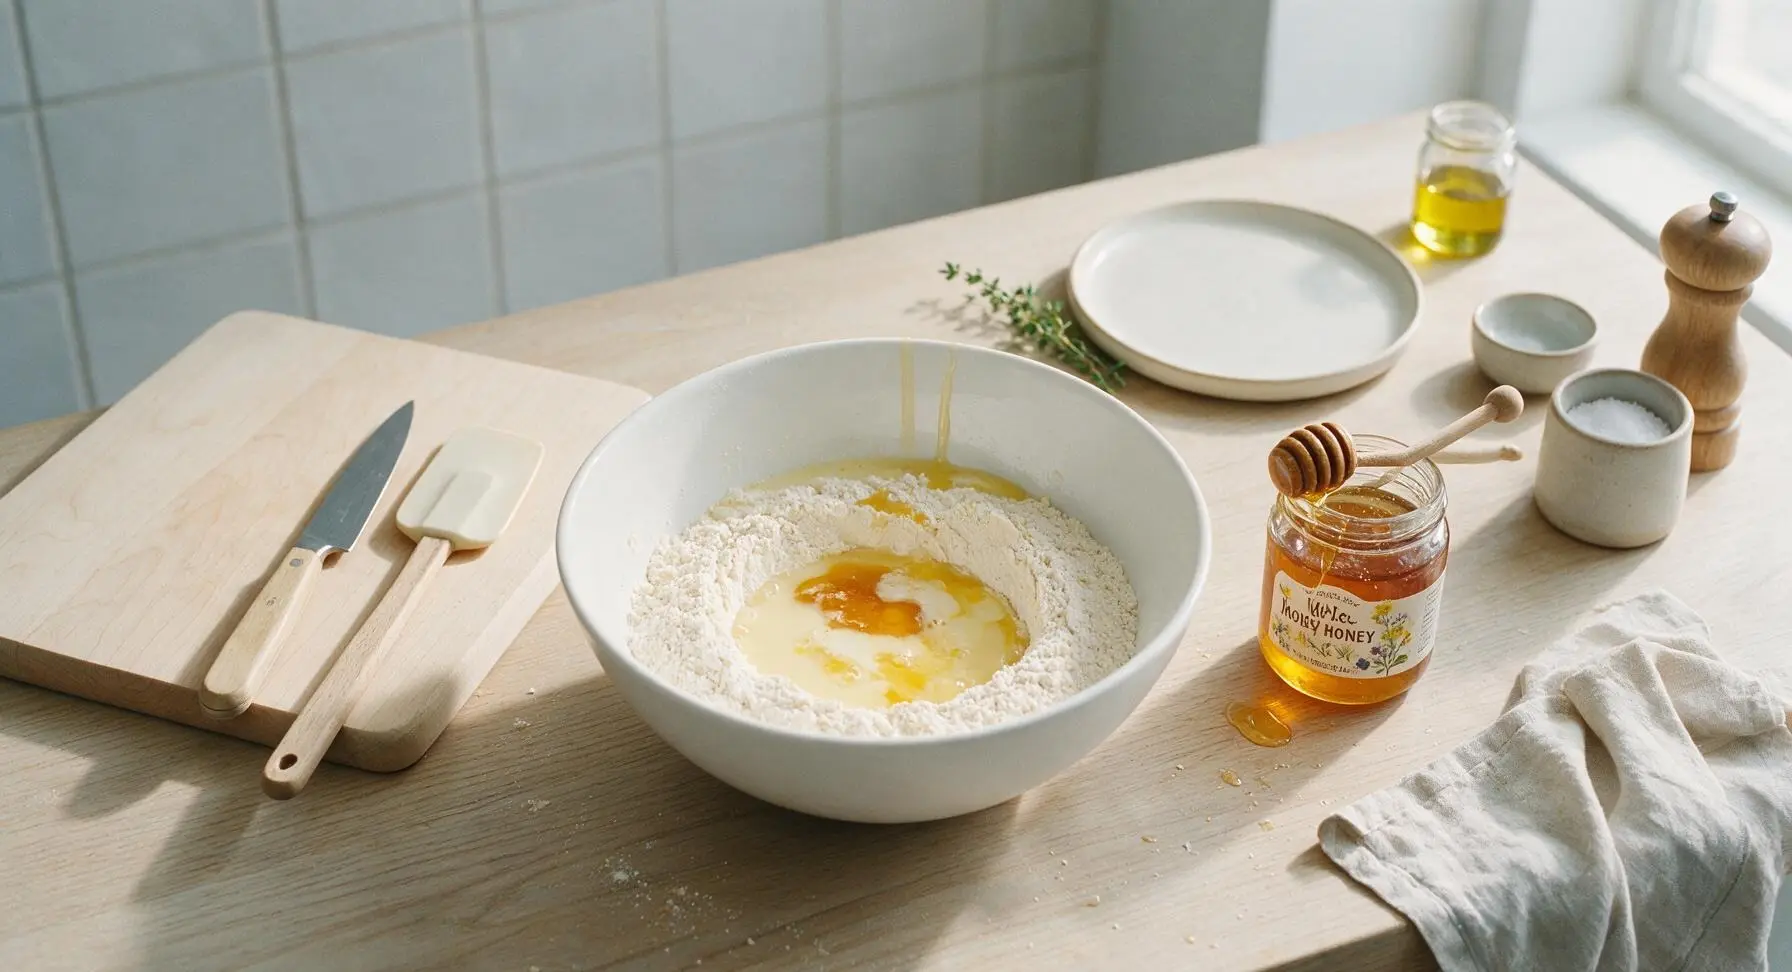
Create a 3-inch wide well in the center of the combined dry ingredients in the mixing bowl. Pour 1.5 cups (360ml) whole milk, 2 lightly beaten large eggs, 1/3 cup (113g) wildflower honey, 4 tbsp (57g) cooled melted unsalted butter, and 1 tsp vanilla extract into the well, taking care not to splash flour over the bowl edges.
Mix Waffle Batter
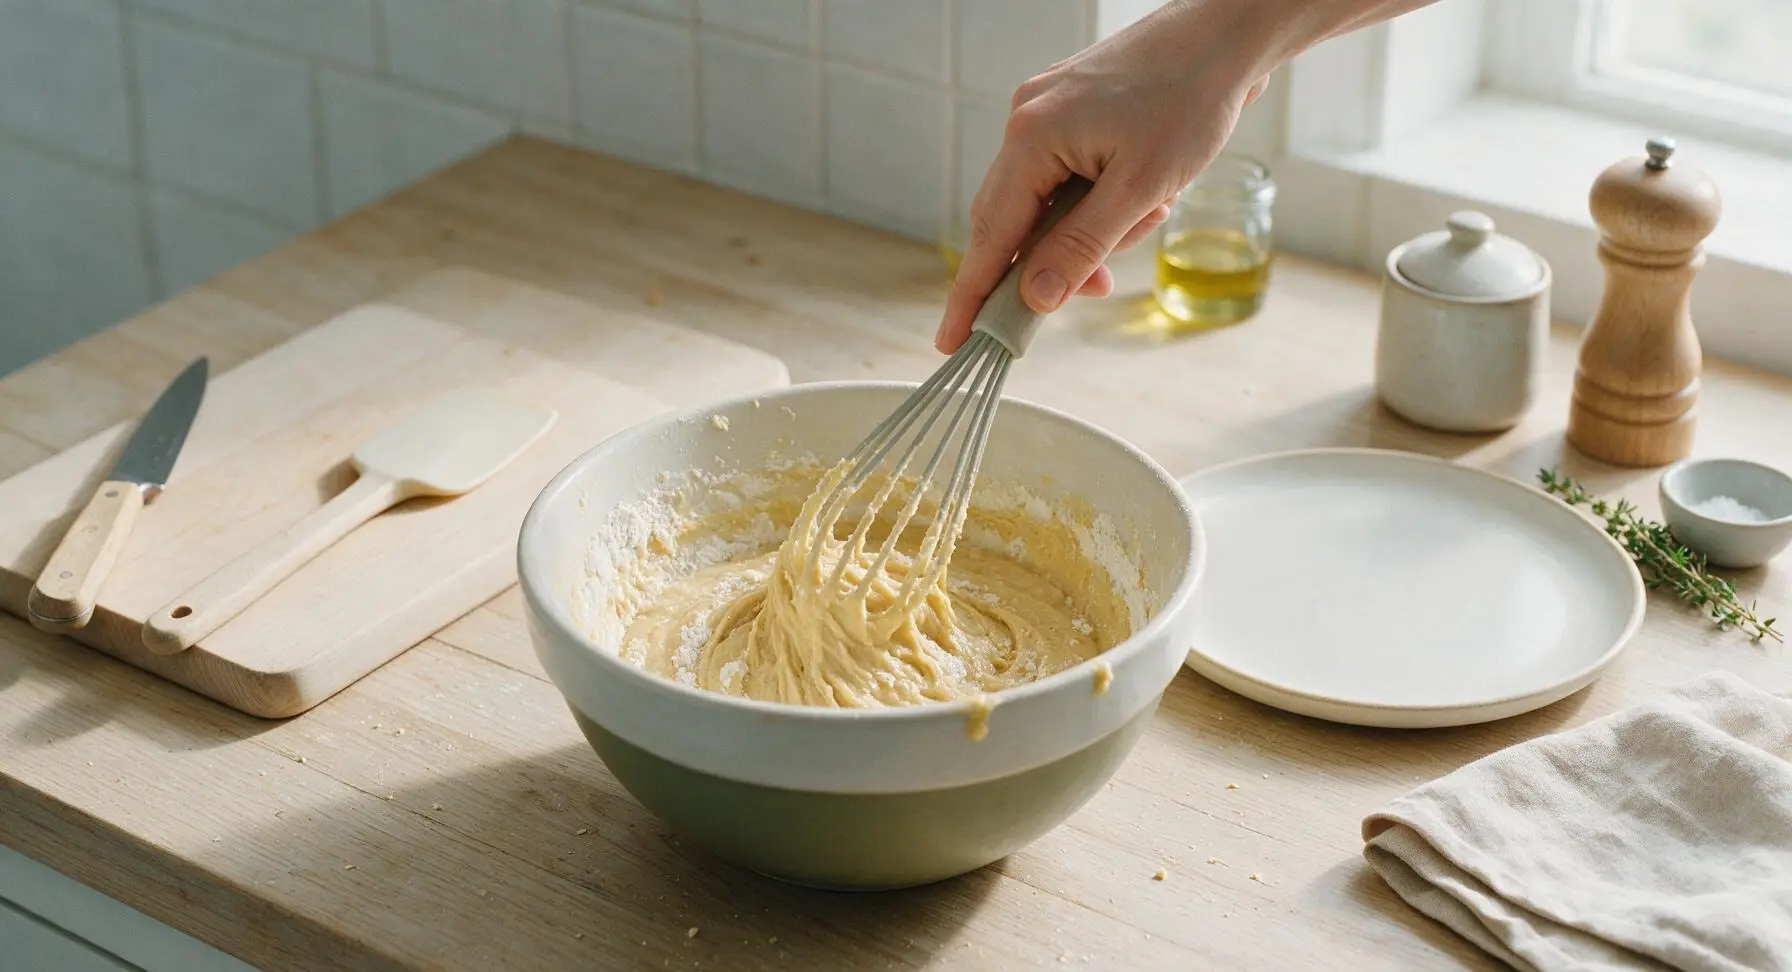
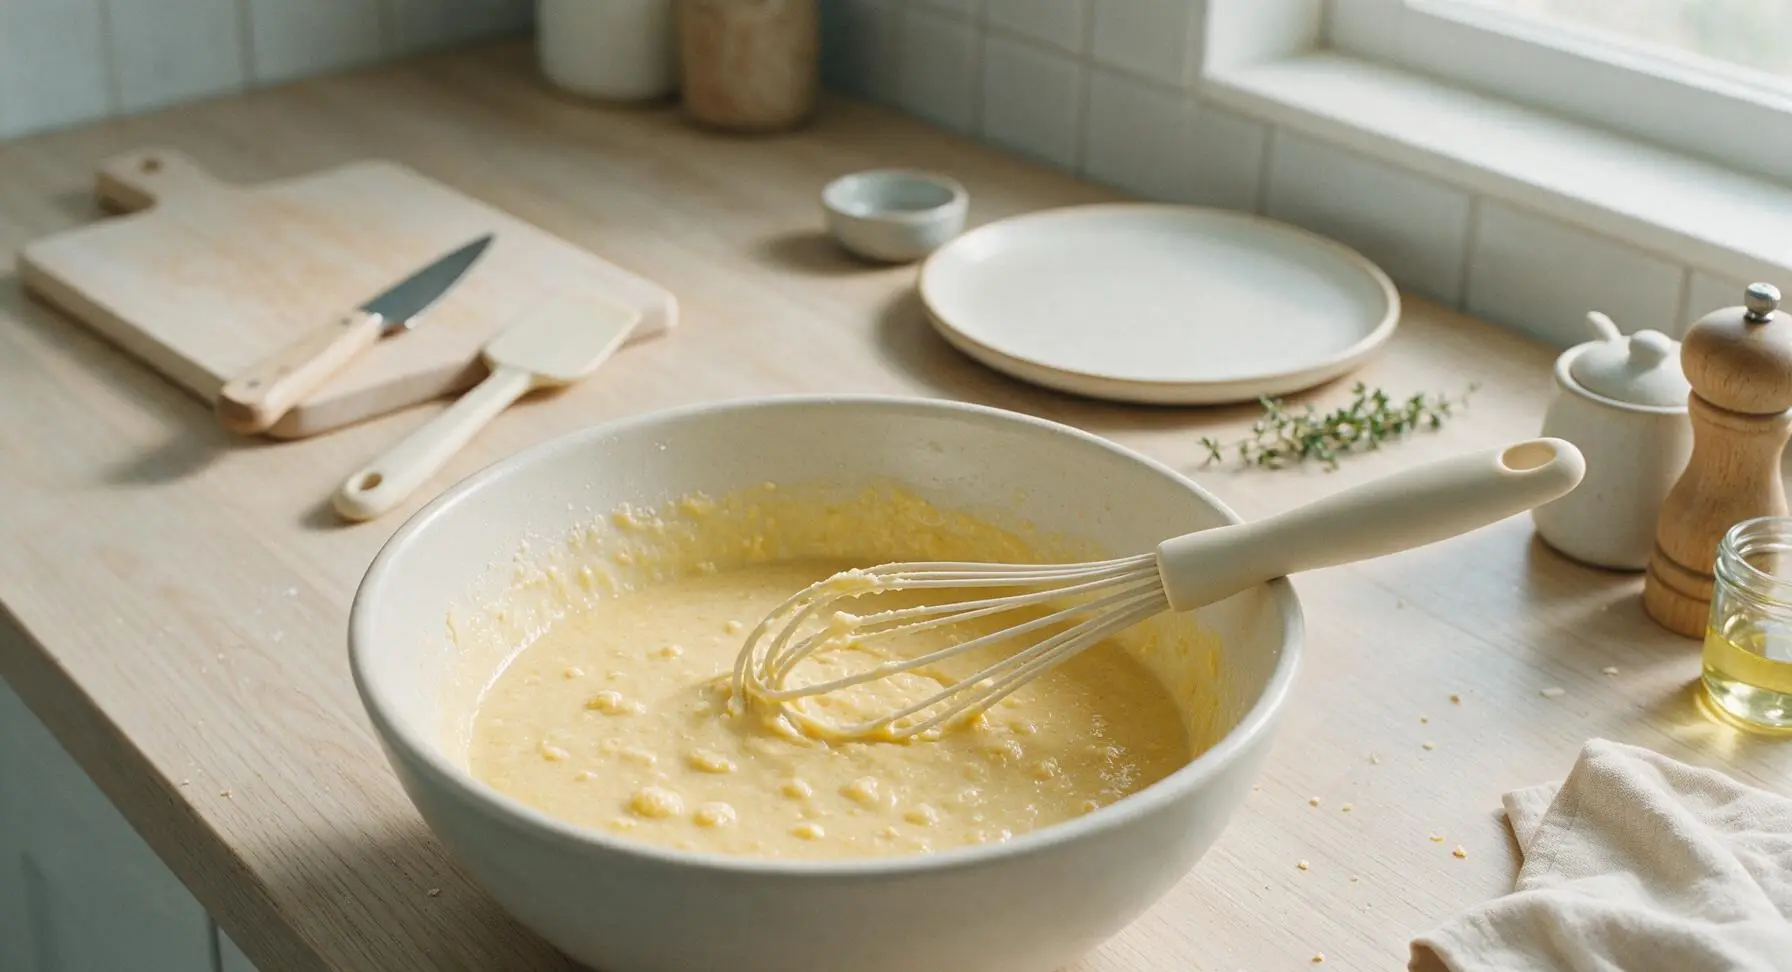
Use the silicone whisk to gently stir the wet ingredients into the dry ingredients, mixing only just until no large pockets of dry flour remain. The batter will be slightly lumpy—do not overmix, as this will develop gluten and create tough, dense waffles. Stop stirring as soon as the last streak of flour disappears; small 1/4-inch lumps are ideal. Let the batter rest for 2 minutes while the waffle iron finishes preheating.
Pour Batter Onto Iron
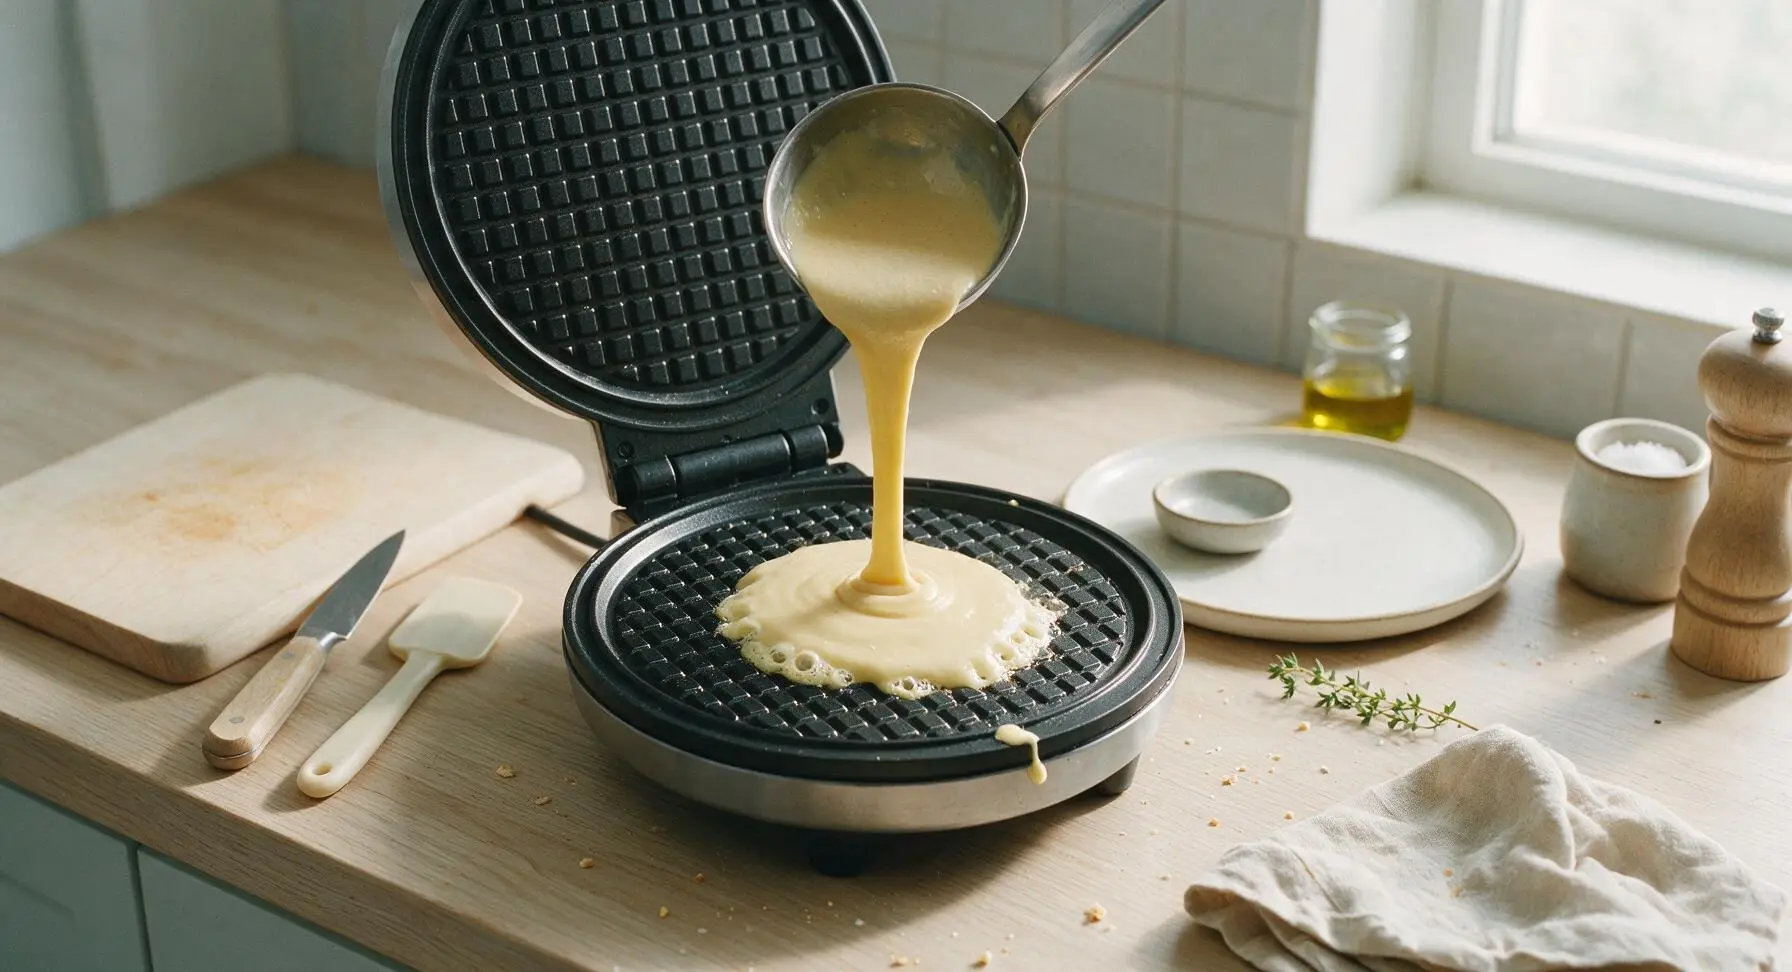
Use the stainless steel ladle to scoop 3/4 cup (180ml) of batter, pouring it directly onto the center of the preheated waffle iron cooking plate. Do not spread the batter manually—close the lid immediately, and allow the batter to spread naturally as it cooks to create crisp, evenly shaped waffles with defined grid pockets.
Cook Until Golden
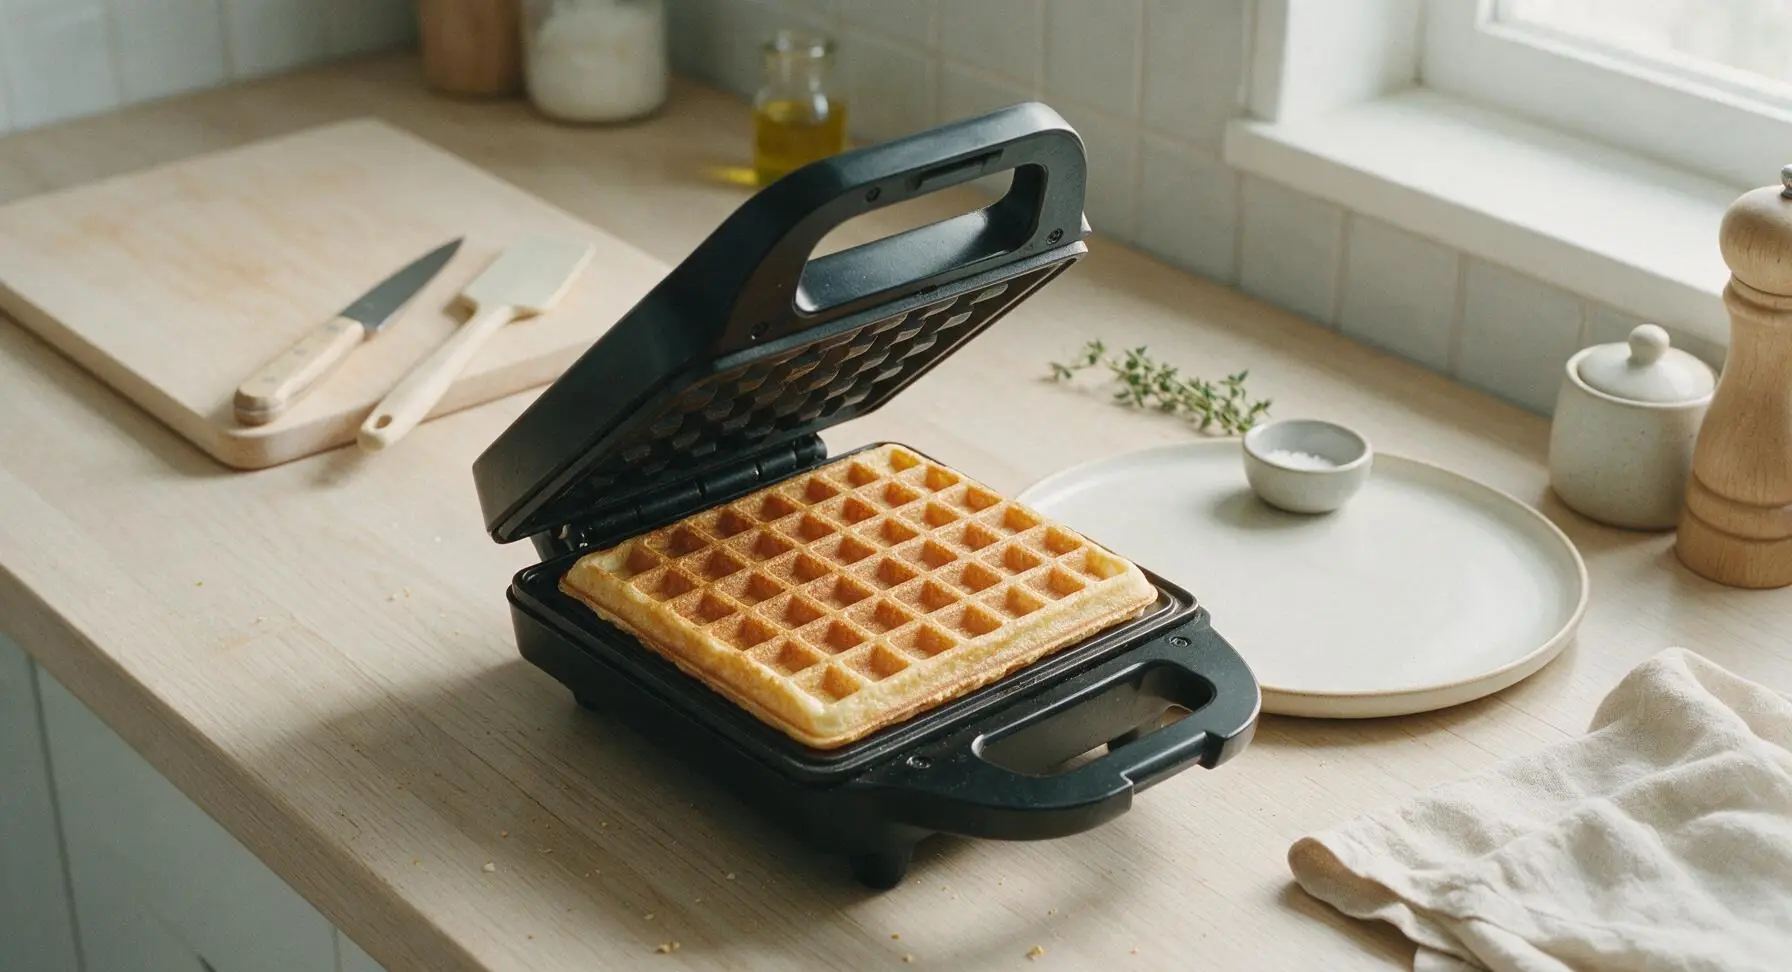
Close the waffle iron lid and cook for 3 to 4 minutes, until the waffle is deep golden brown, crisp around the edges, and no more steam escapes from the sides of the iron. Resist the urge to open the lid early, as this can cause the waffle to split or stick to the plates. Adjust cook time by 30 seconds for softer or crispier waffles to taste.
Remove Cooked Waffles
Use the silicone turner spatula to gently lift the cooked waffle from the iron, taking care not to tear the crisp edges. Transfer the finished waffle to the matte cream ceramic dinner plate, and repeat the pouring and cooking process with the remaining batter, stacking cooked waffles loosely on the plate to keep them warm while you work.
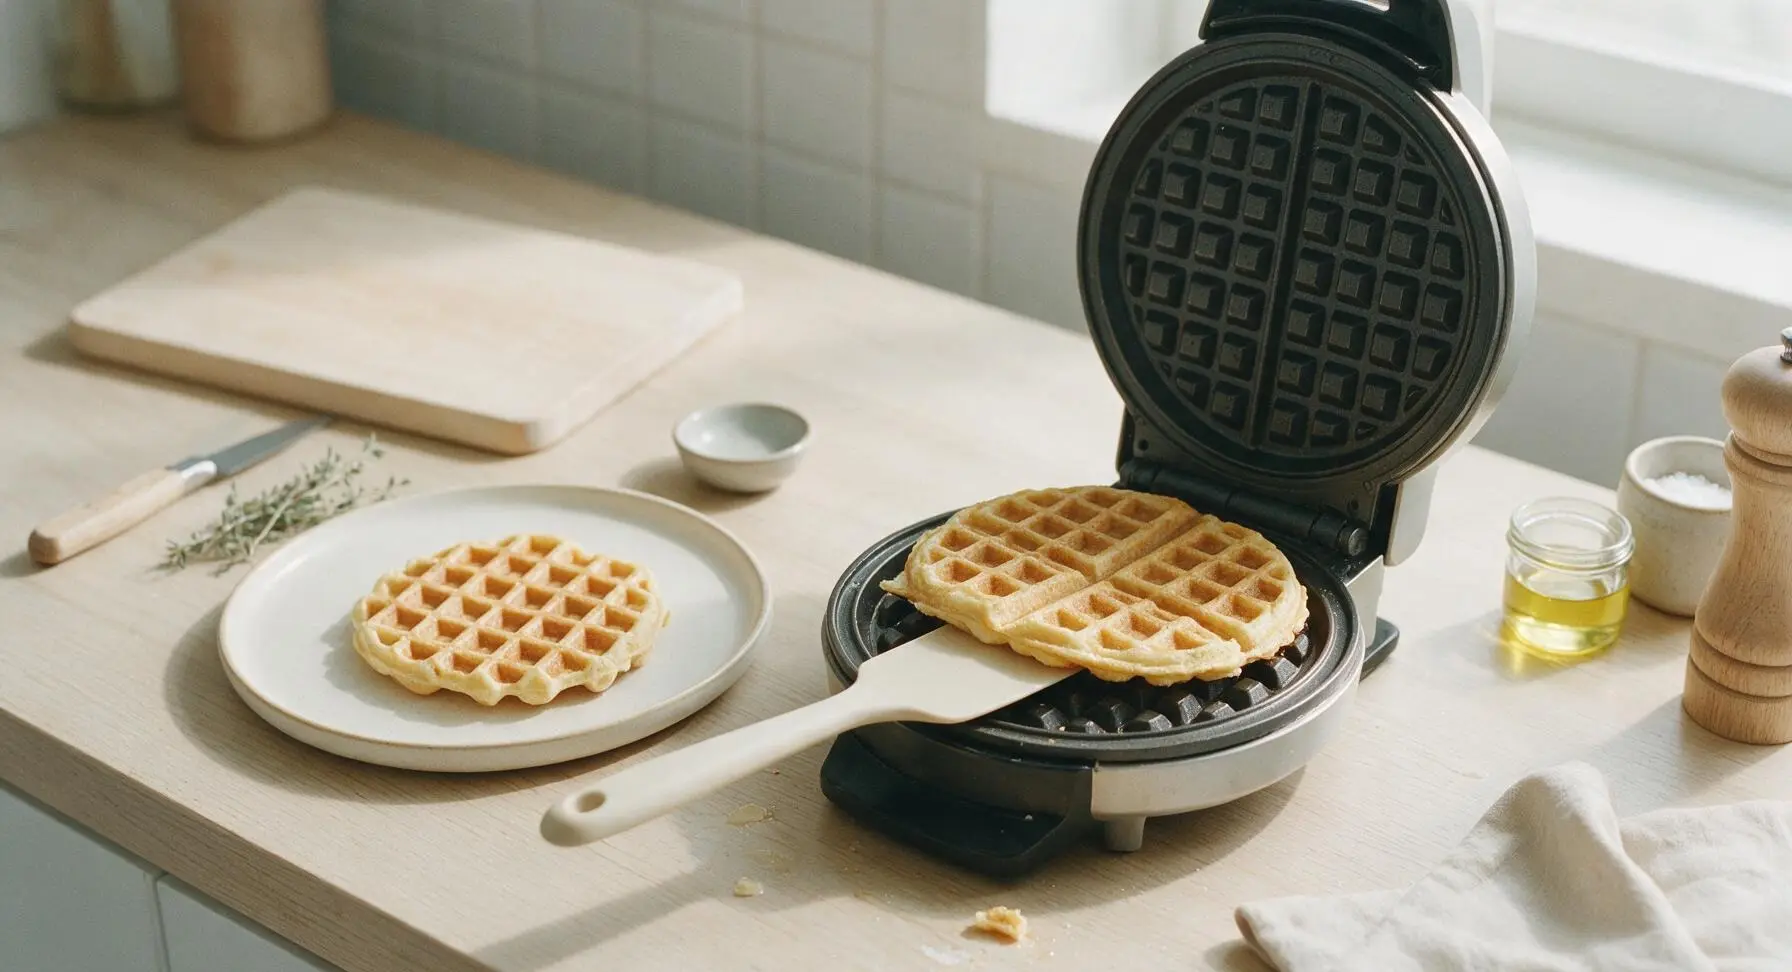
Plate and Serve
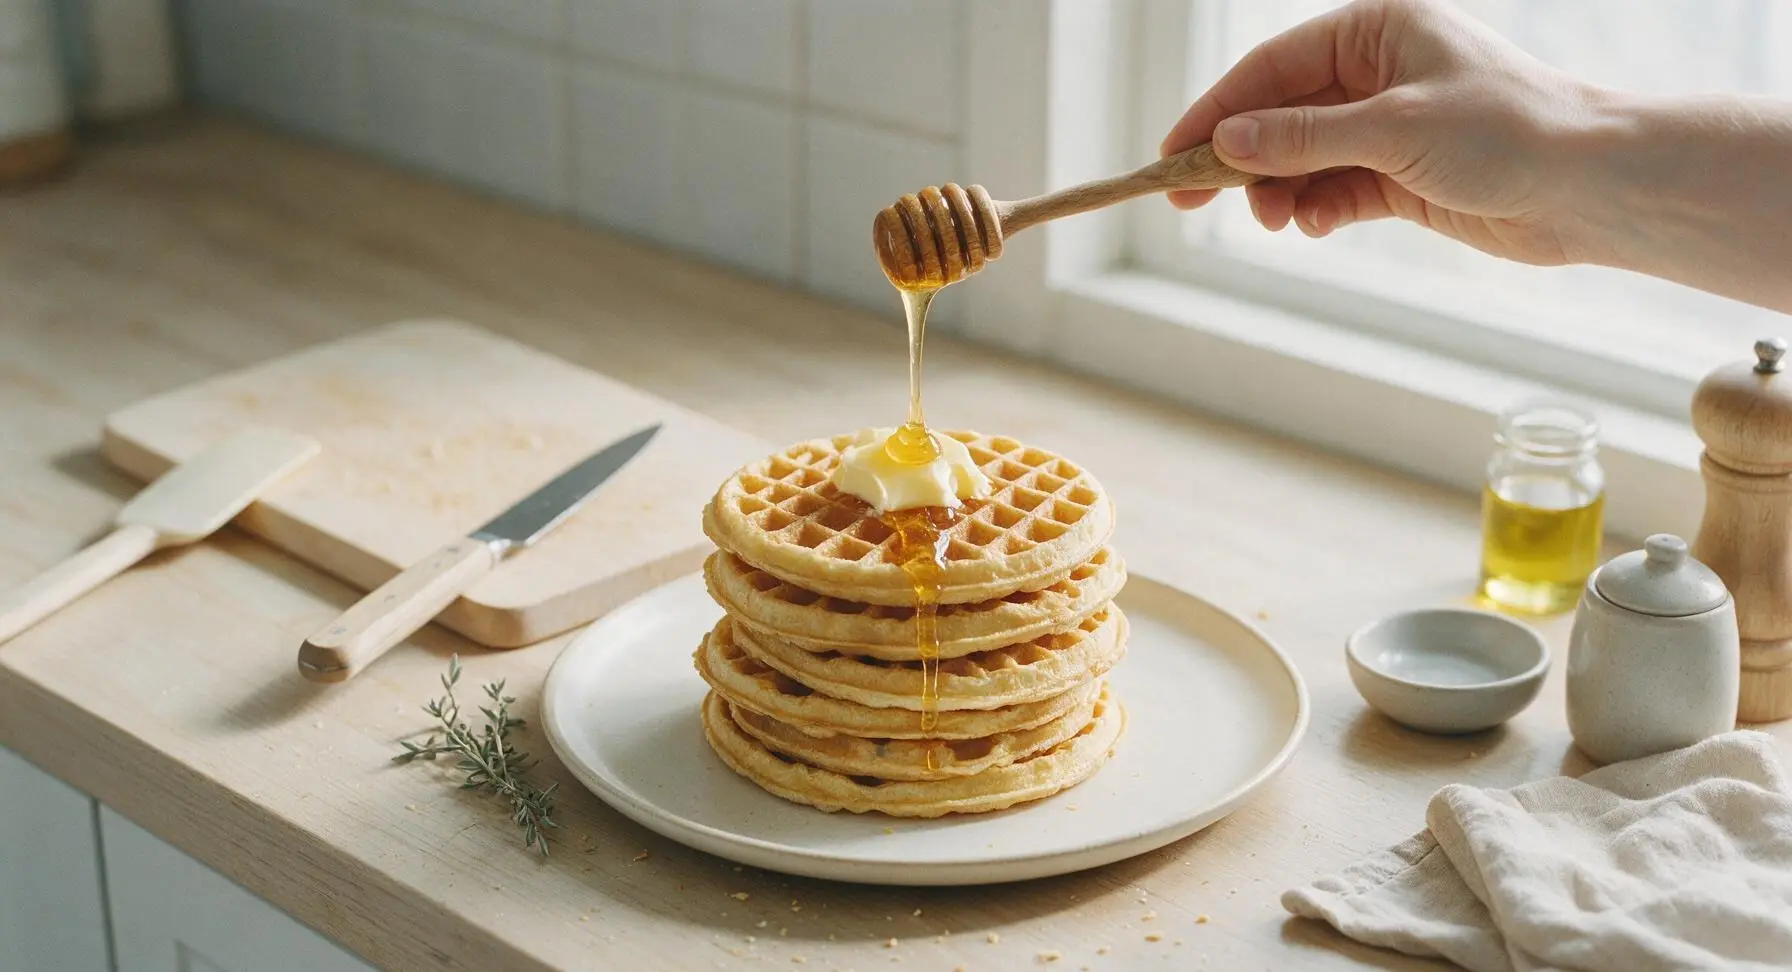
Once all waffles are cooked, stack them neatly on the cream ceramic dinner plate. Top the stack with a thin pat of salted butter, then drizzle generously with extra raw wildflower honey, allowing it to run down the sides and fill the waffle grid pockets. Serve immediately while warm, before the crisp edges soften.
Tips
2.Cool melted butter for 2 minutes before adding it to the batter: Hot butter can partially cook the eggs in the wet mixture, creating small lumps of curdled egg in your finished batter. Slightly cooled butter mixes smoothly without curdling for a uniform batter texture.
3.Wait for steam to stop before opening the waffle iron: If you lift the lid too early, the unset waffle will stick to the plates and tear, ruining the crisp grid texture. When steam stops escaping from the iron edges, the moisture has cooked off and the waffle is set enough to lift cleanly with the spatula.






OMG these honey waffles are a GAME CHANGER for our busy school mornings! I whipped up the batter the night before for meal prep, popped it in the waffle iron for 3 minutes each, and my kids absolutely devoured them. Drizzled a little extra honey and added some fresh strawberries, no more fighting over breakfast! So easy even my sleep-deprived brain can pull it off before 7am.
Really solid honey waffle recipe! Super easy to follow, cook time was totally accurate for my old beat-up waffle maker. Only tweak I made was adding a tiny pinch of cinnamon to the batter, it paired so nicely with the honey. Would absolutely make these again for a lazy Sunday brunch.
SO good. I made these at 1am after getting home from a late shift, didn’t even have to run to the store for ingredients because everything was pantry staples. Crispy on the outside, fluffy on the inside, not too sweet. 10/10, will be making these instead of buying frozen waffles from now on.
Brought these to my office potluck last week and people were begging me for the recipe! I cut them into little bite-sized squares, put out small bowls of whipped cream, berries, and extra honey for dipping, and they were gone in 10 minutes flat. Can’t believe how low-effort these are for how impressive they taste!
First time ever making waffles from scratch and I didn’t mess them up!!! I was so nervous I’d burn them or the batter would be lumpy, but the instructions were so straightforward, 12 minutes total cook time was exactly right for my waffle iron. My roommate said they’re better than the diner waffles we get down the street. Win!
Great base recipe! I swapped the all-purpose flour for a 1:1 gluten free baking mix and it worked like a charm. The honey gives it just the right amount of sweetness so I didn’t even need to add extra syrup. My whole family ate them up, even my teen who turns his nose up at most GF baked goods. Will make again!
Just made these for my partner’s birthday breakfast in bed and he said they’re the best thing I’ve ever baked! I topped them with a little drizzle of salted honey and a dollop of Greek yogurt instead of whipped cream to keep it a little lighter, and it was chef’s kiss. So easy to throw together even when I’m half-asleep trying to be cute for a birthday surprise.