
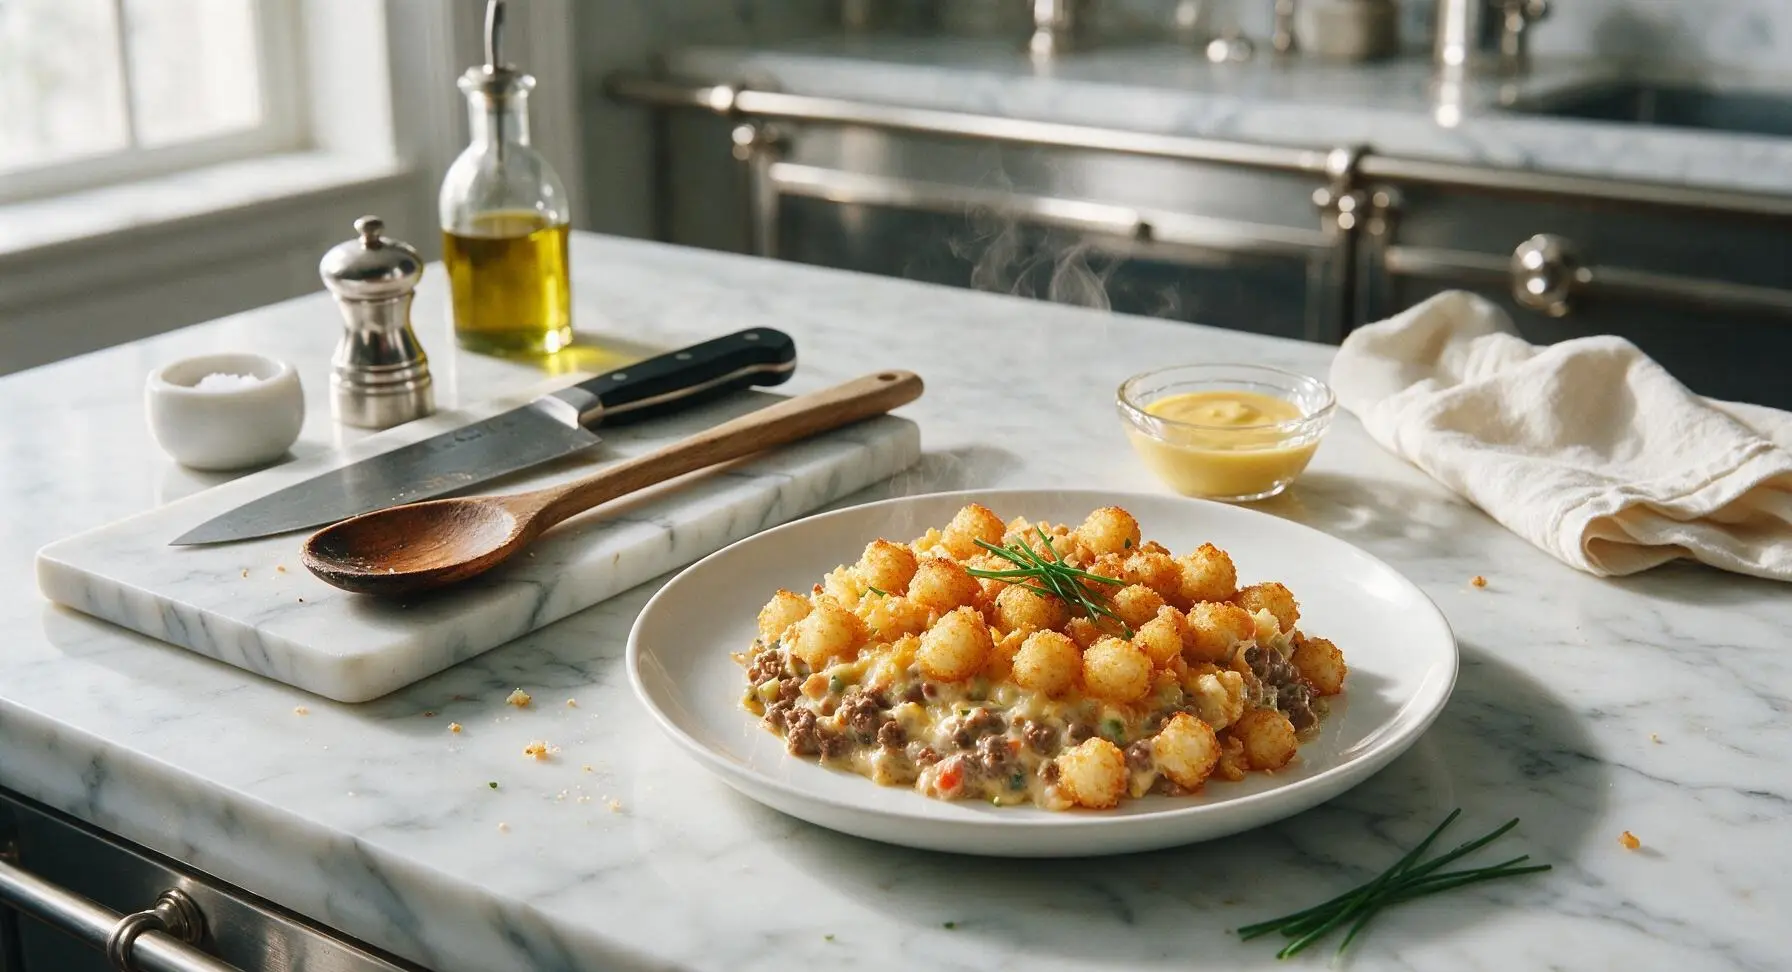
hot dish tater tot casserole

title 1
hot dish tater tot casserole
⏱️ cook time 50 minutes
🍽️ servings 8
⚡ Difficulty easy

intro

The iconic Midwestern American comfort food: creamy savory ground beef and vegetable filling topped with crispy golden tater tots, baked until bubbly, made for sharing at casual gatherings.

Ingredients
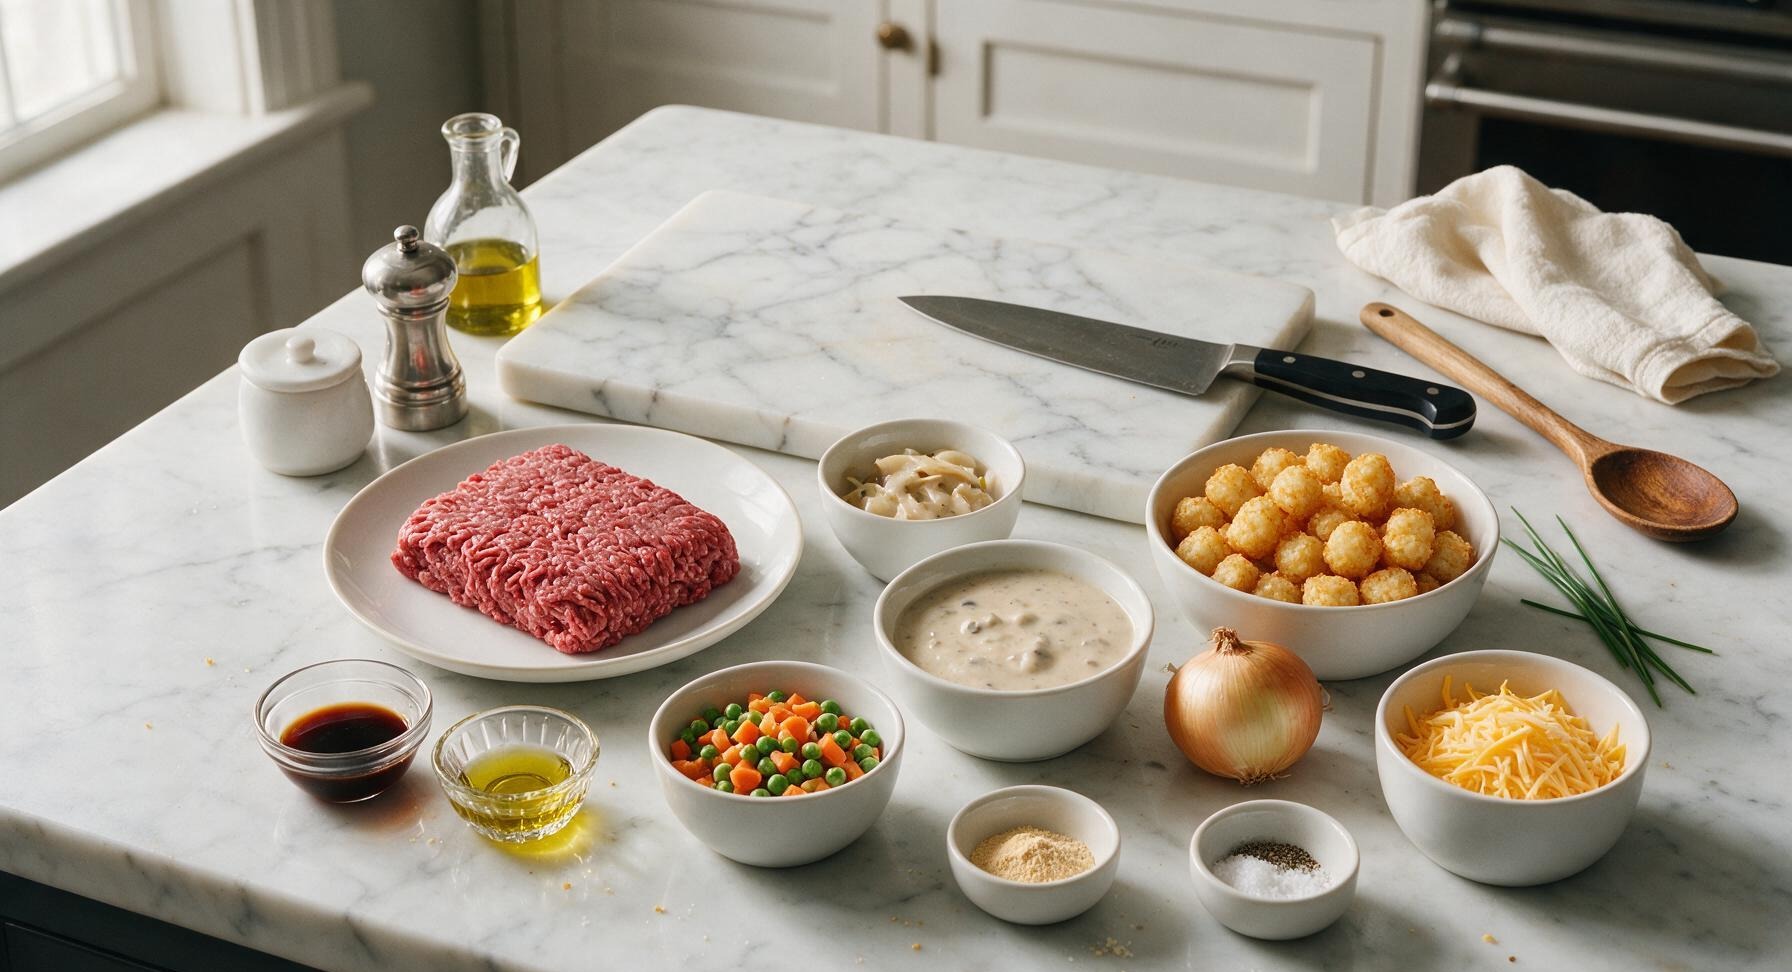
Lean ground beef (85/15) 1 lb (450g)
Frozen tater tots 32 oz (900g)
Condensed cream of mushroom soup 10.5 oz (298g)
Frozen mixed peas and carrots 1 cup (150g)
Small yellow onion 1 each (110g)
Shredded sharp cheddar cheese 1 cup (113g)
Worcestershire sauce 2 tbsp (30ml)
Garlic powder 1 tsp (3g)
Kosher salt 1 tsp (5g)
Ground black pepper 1/2 tsp (1g)
Olive oil 1 tsp (5ml)

Steps

1

Preheat and Prep Ingredients

Adjust your oven rack to the middle position, then preheat the oven to 400°F (200°C). Use the 8-inch chef knife on the light beige cutting board to dice the small yellow onion into uniform 1/4-inch pieces, transferring diced onion to the small matte white ramekin. Measure out frozen peas and carrots, shredded cheddar, and Worcestershire sauce and set them within easy reach of the stovetop to streamline cooking.
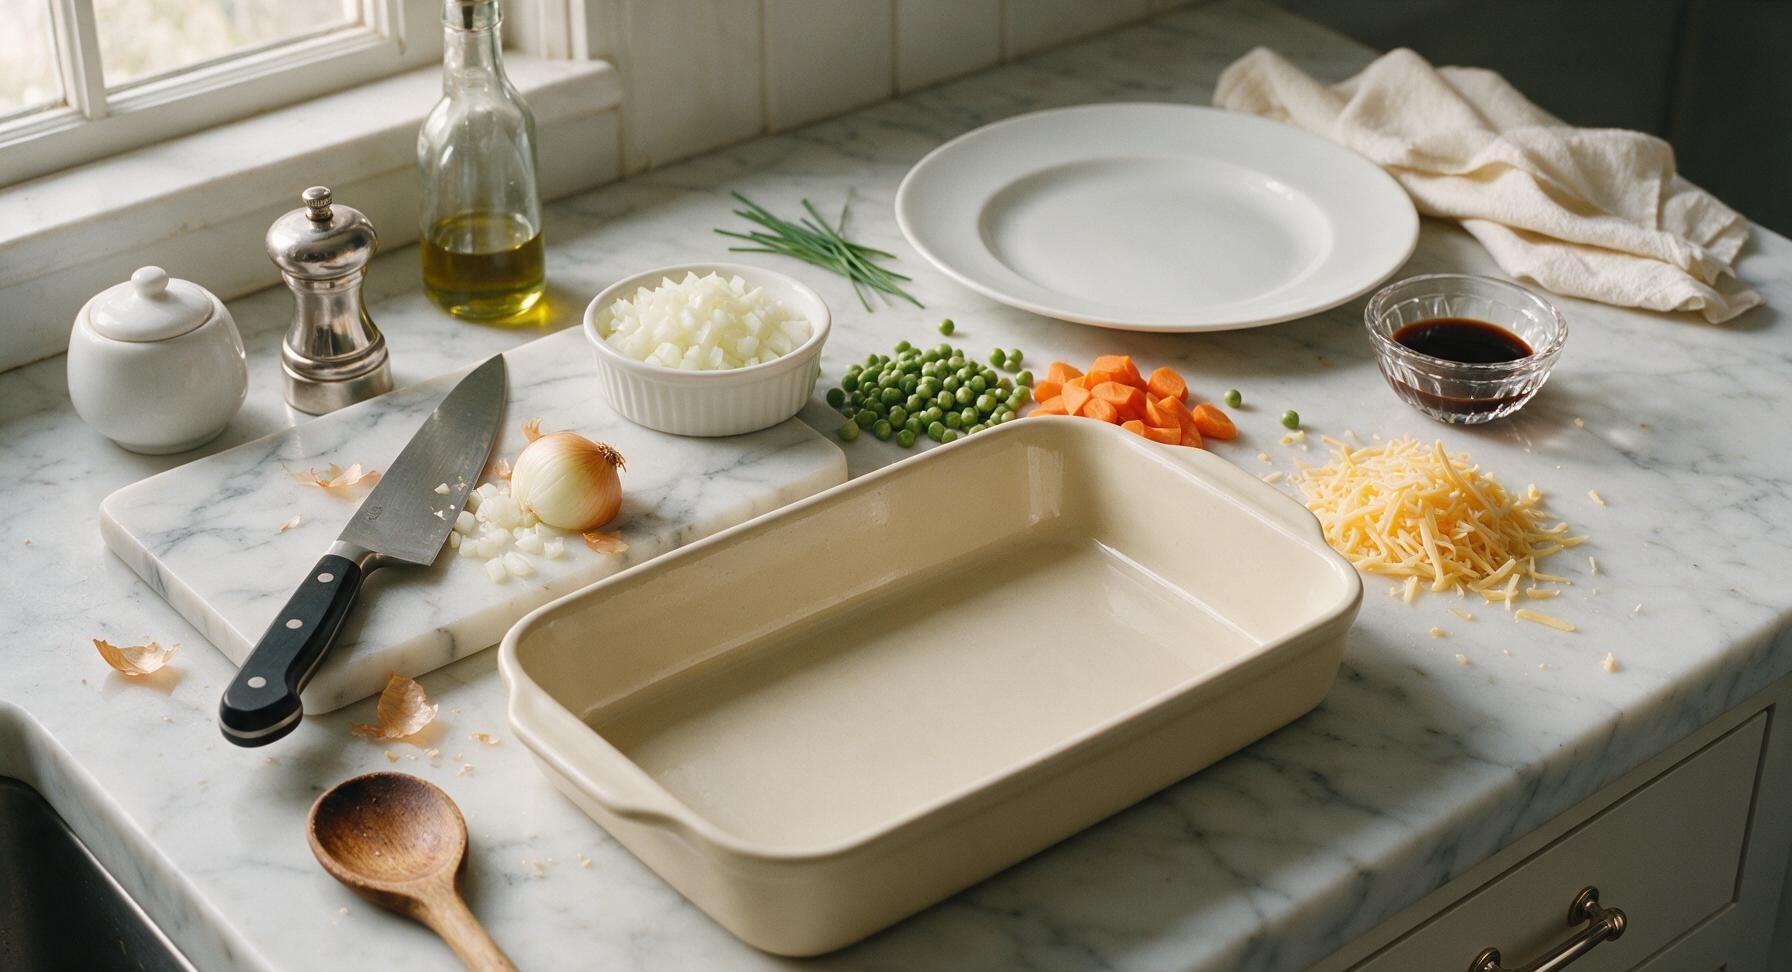
Step 1
step1:Preheat and Prep Ingredients
2

Brown Beef and Onion

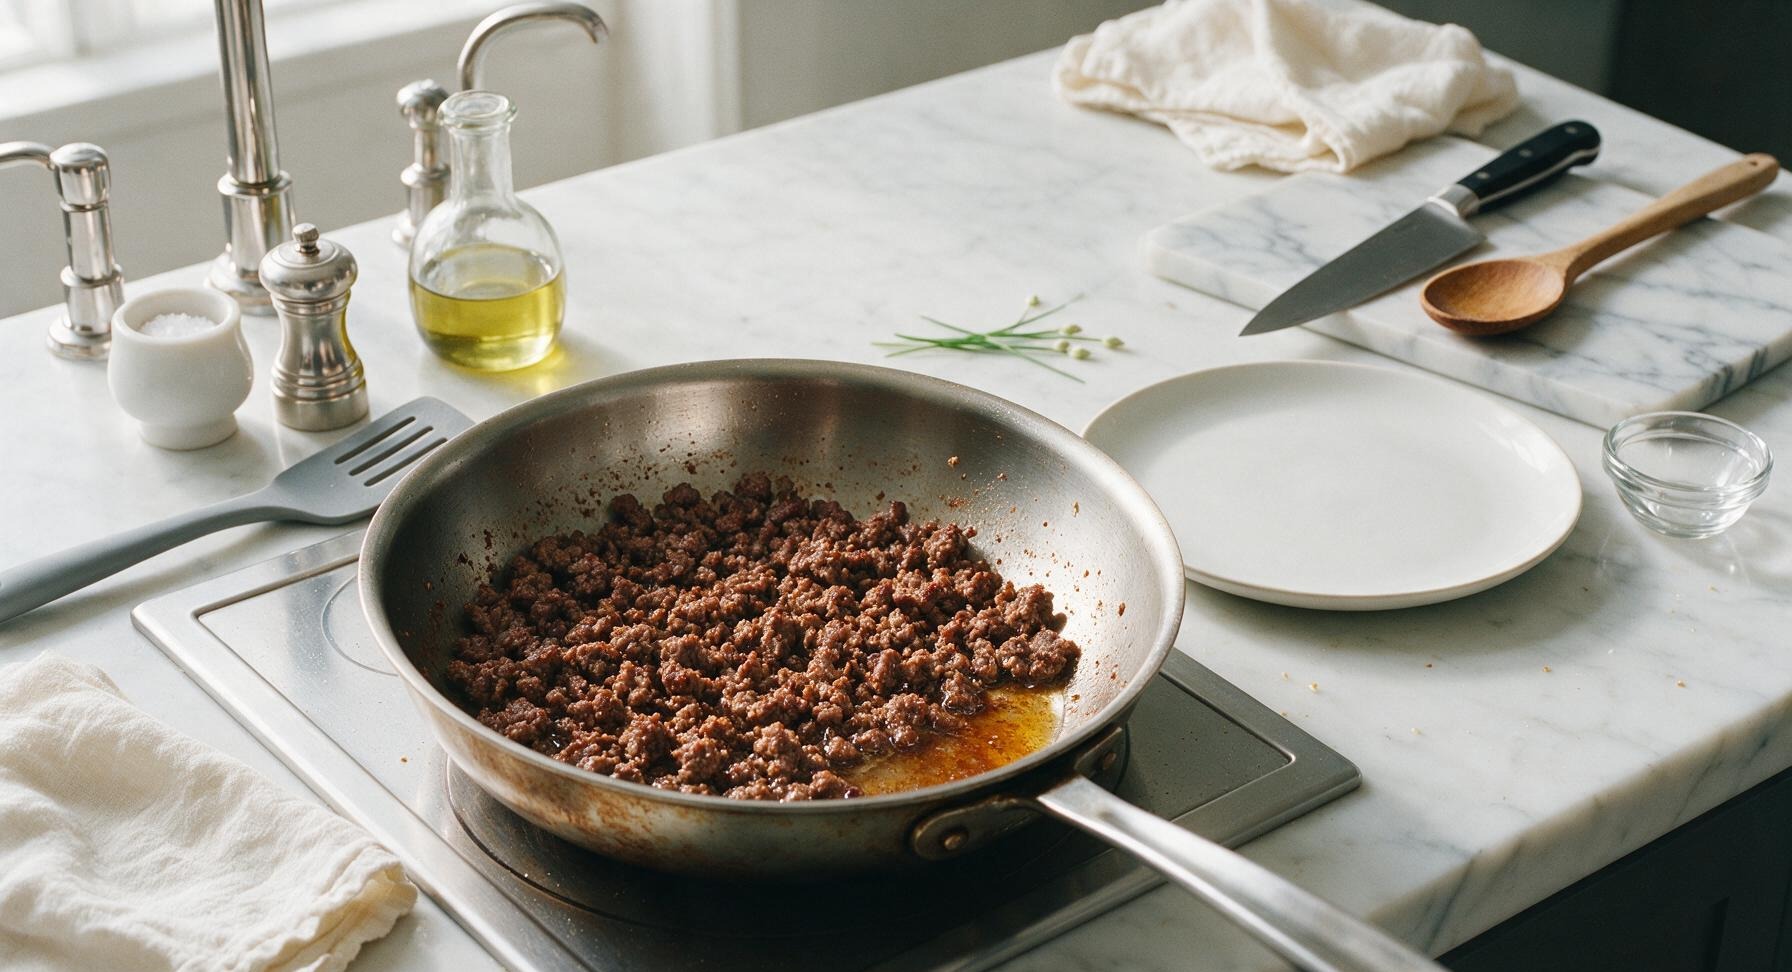
Heat 1 teaspoon of olive oil in the 10-inch stainless steel skillet over medium heat on the left induction burner. Add the diced onion and sauté for 3 minutes until soft and translucent, then add the full 1lb of ground beef. Use the grey silicone spatula to break the beef into small, even crumbles as it cooks, for 7-8 minutes total until no pink remains. Tilt the skillet and carefully drain off all excess rendered grease.
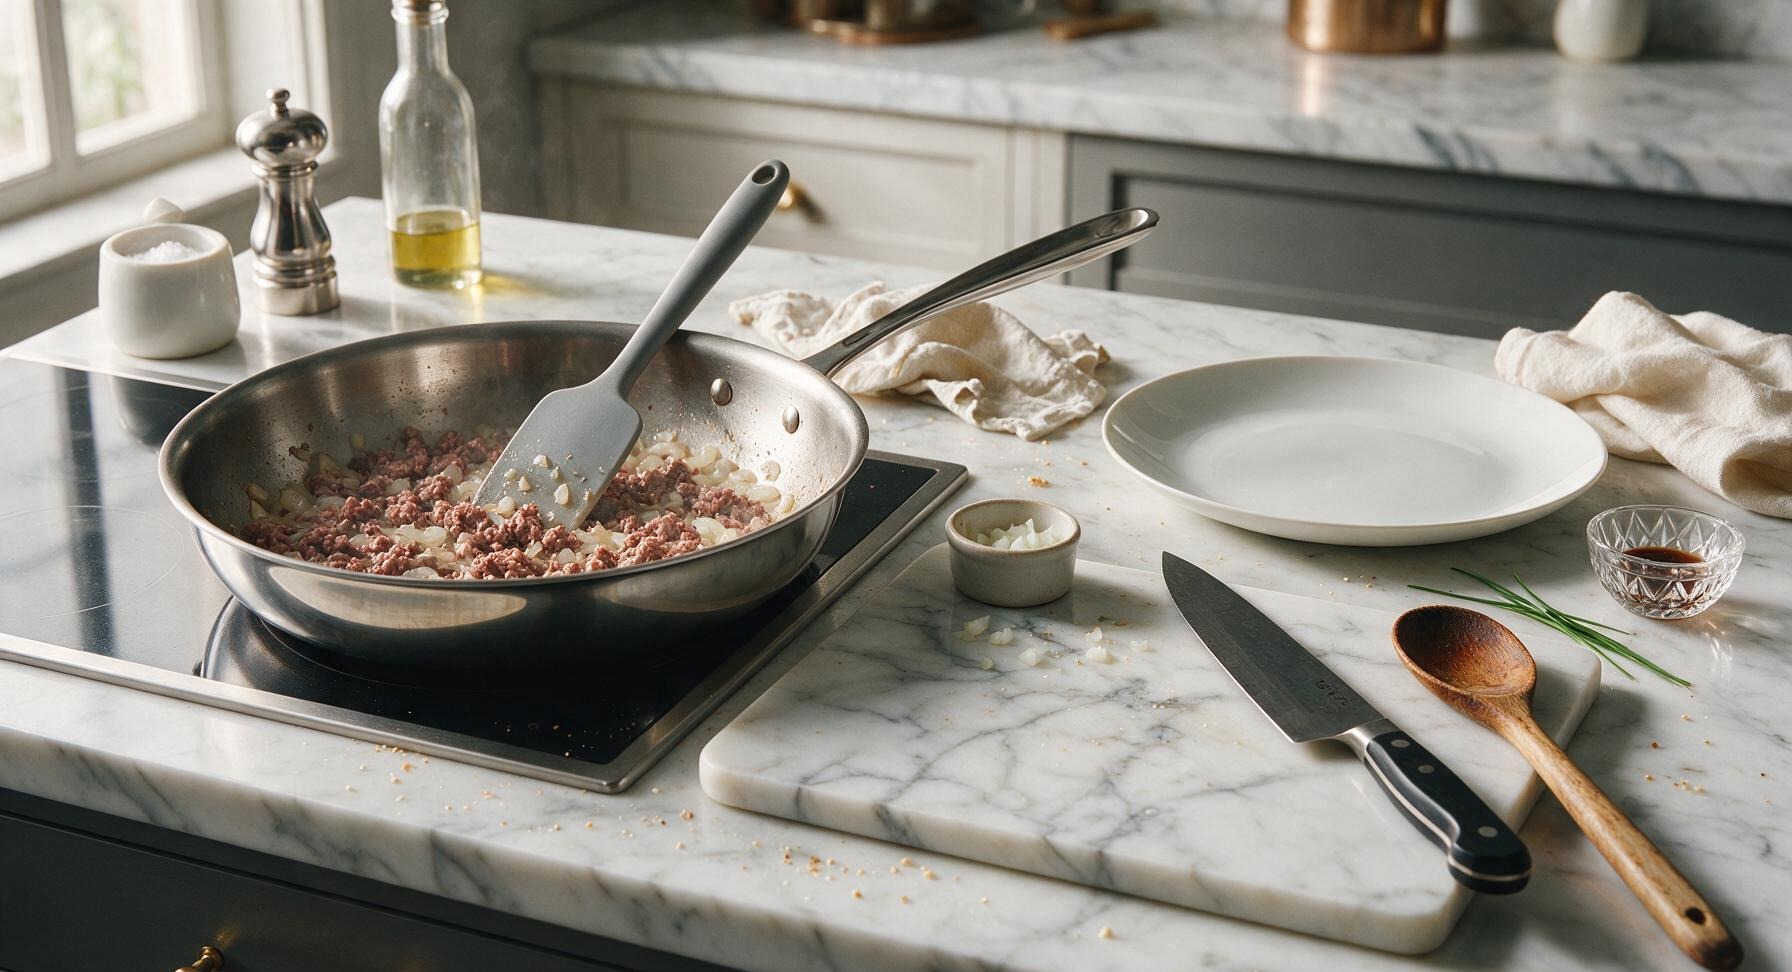
Step 2
step2:Brown Beef and Onion
Step 2
step2:Brown Beef and Onion
3

Mix Creamy Filling

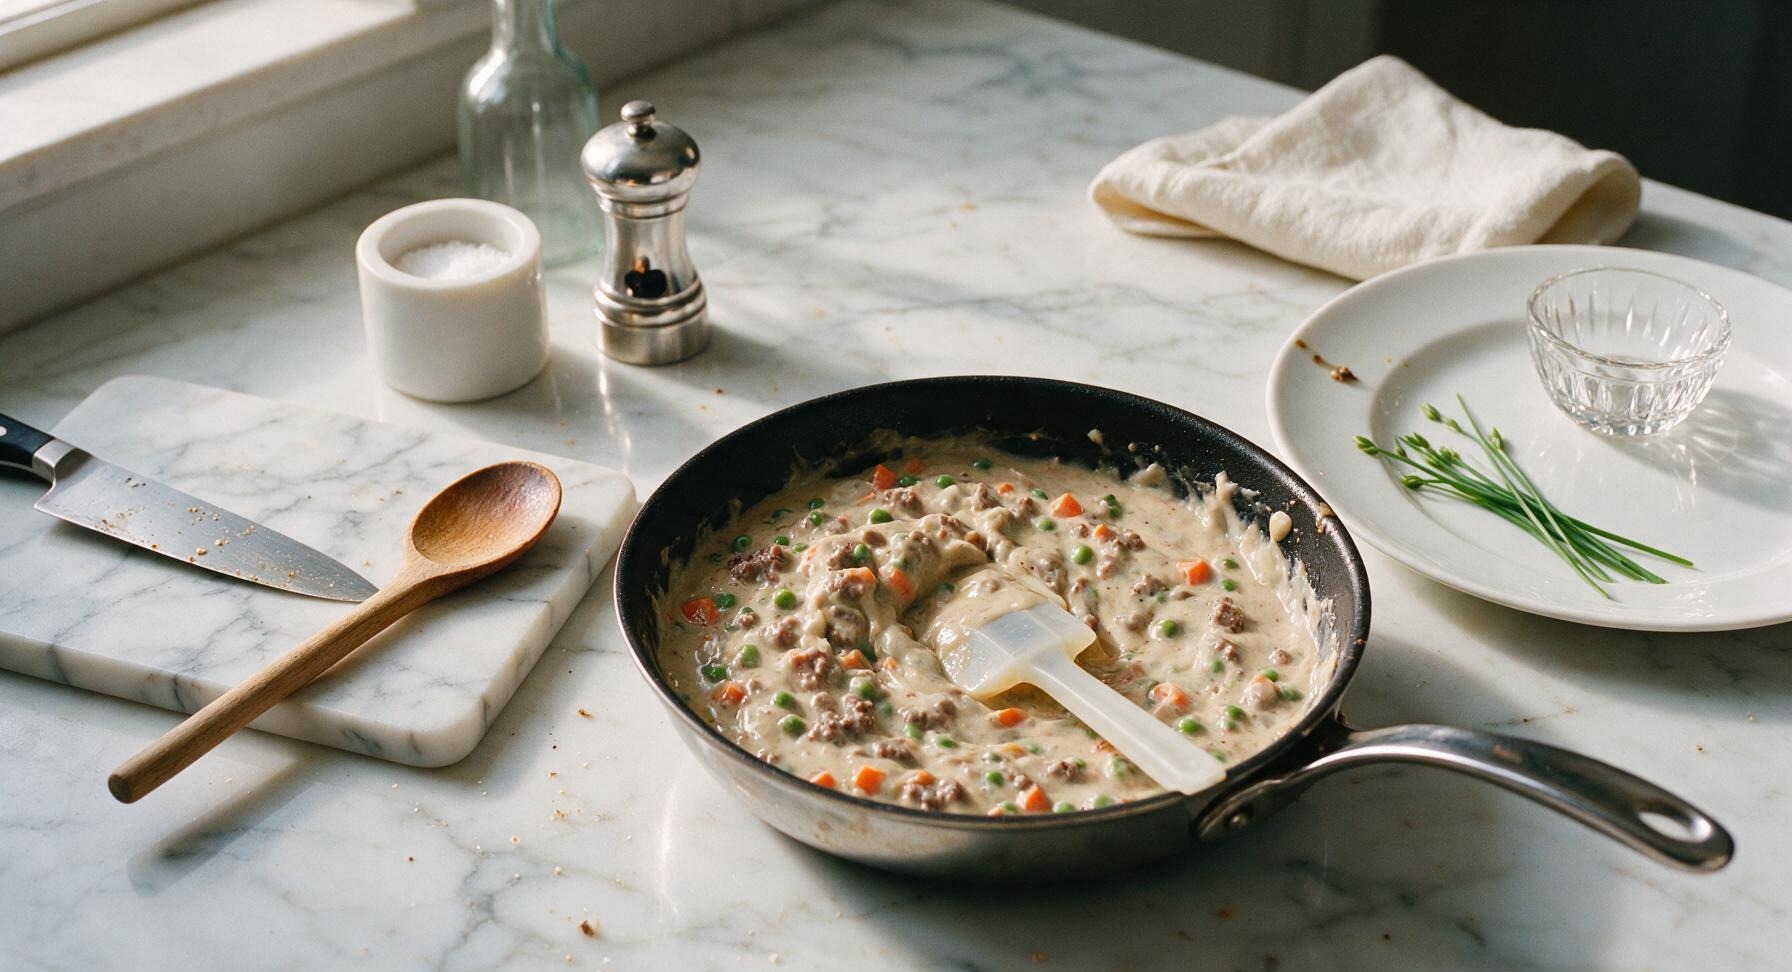
Reduce stovetop heat to low. Add the condensed cream of mushroom soup, frozen peas and carrots, Worcestershire sauce, garlic powder, 1/2 teaspoon kosher salt, and 1/4 teaspoon black pepper to the skillet with browned beef. Stir thoroughly with the silicone spatula until fully combined, cooking for 2 minutes until the mixture is uniformly warm and creamy, with no undissolved clumps of soup remaining.
Step 3
step3:Mix Creamy Filling
4

Layer Filling in Dish

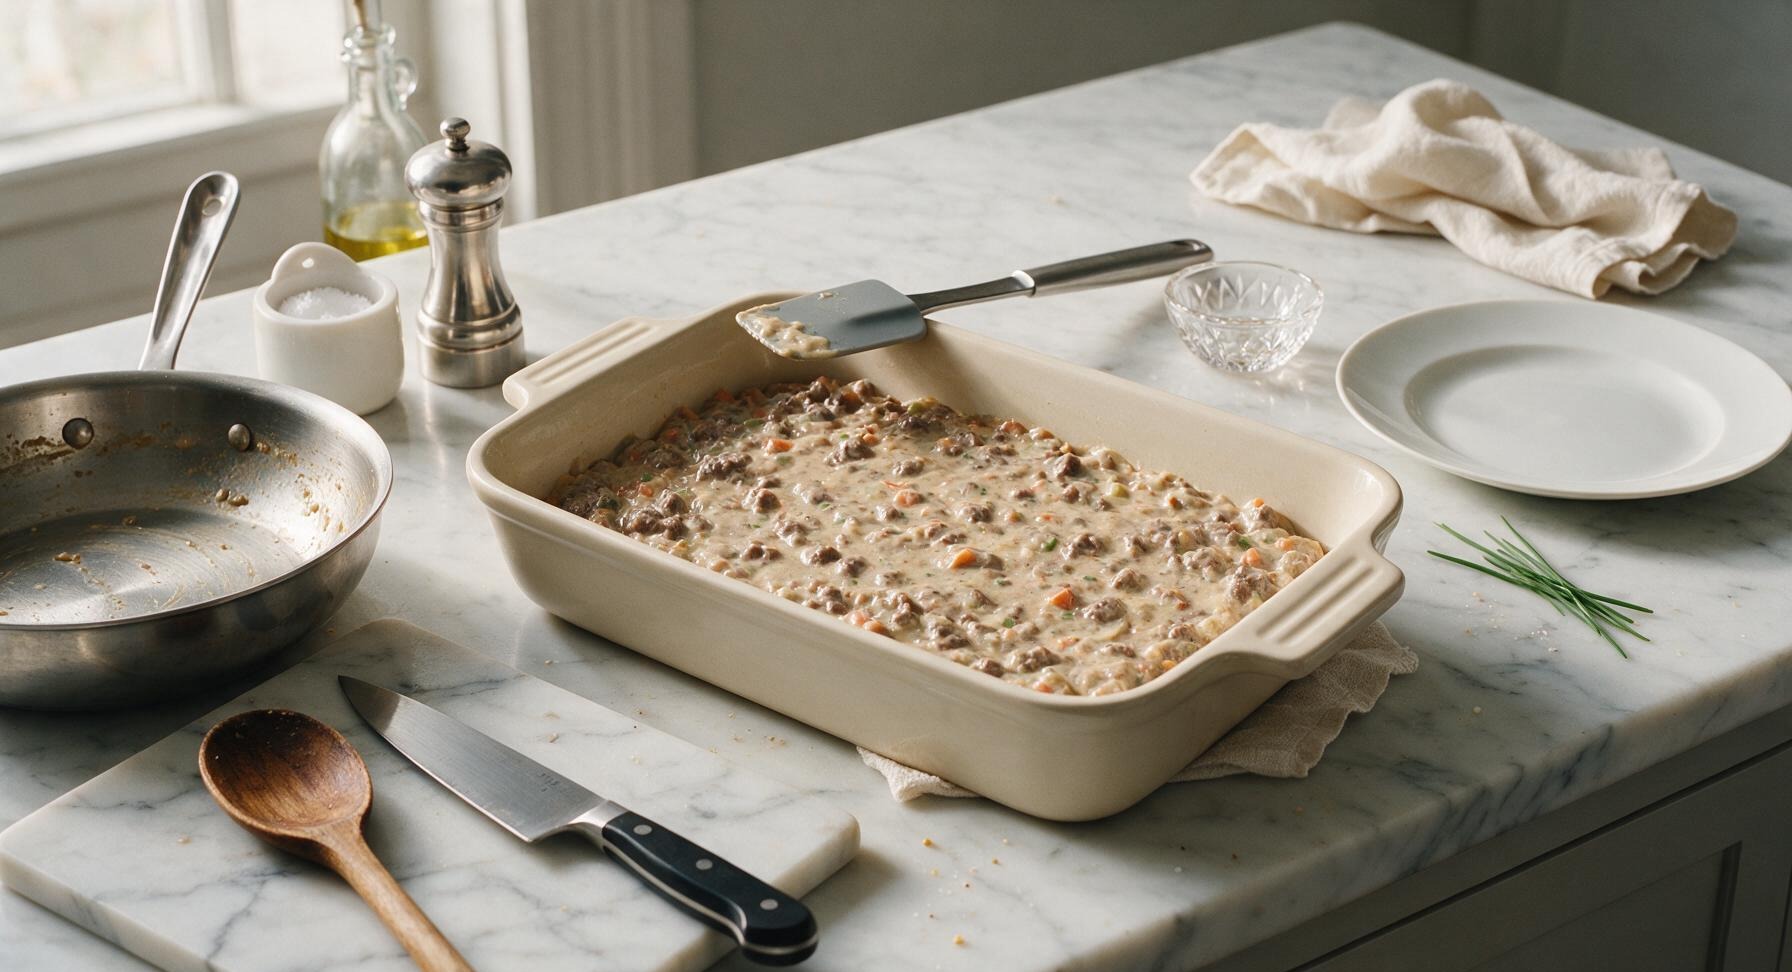
Pour the entire beef and vegetable filling mixture from the skillet into the 9x13 matte cream ceramic baking dish. Use the silicone spatula to spread the filling into a perfectly even, flat layer across the entire bottom of the dish, ensuring consistent thickness from edge to edge so the casserole cooks evenly.
Step 4
step4:Layer Filling in Dish
5

Add Cheese and Tots

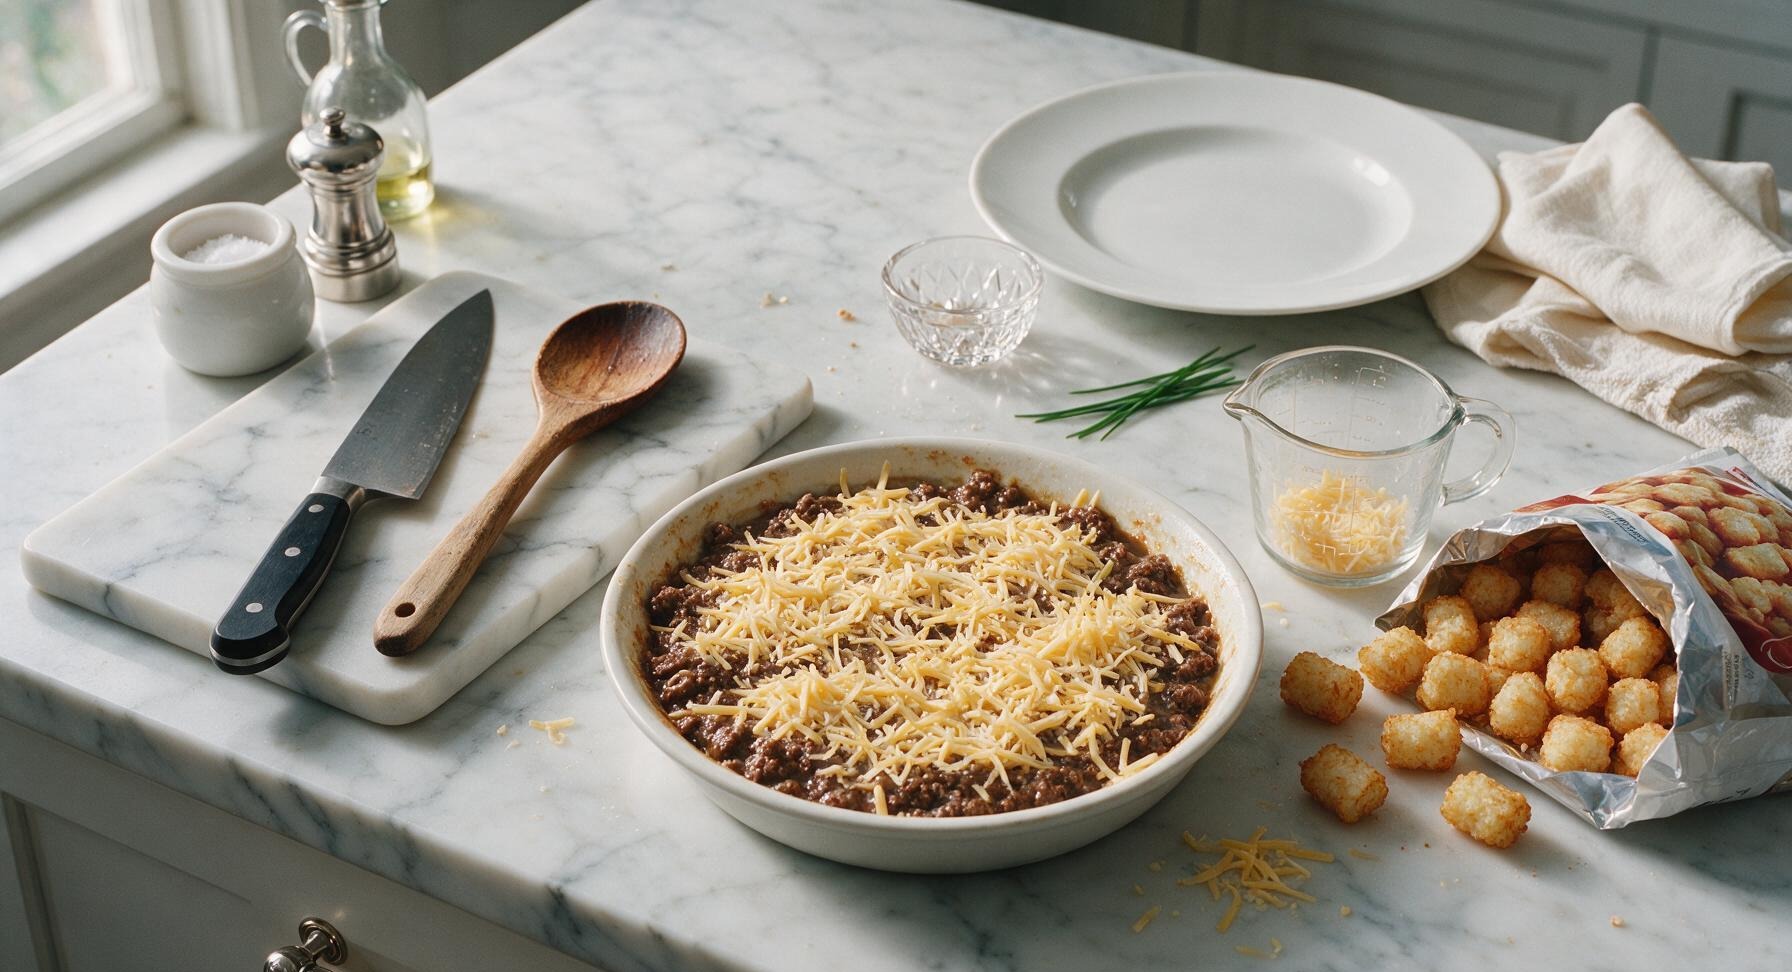
Sprinkle the 1 cup of shredded sharp cheddar cheese in an even layer over the beef filling, leaving a 1/4-inch border around the dish edge. Arrange frozen tater tots in neat, closely spaced overlapping rows across the entire cheese surface, placing each tot flat-side down to maximize crispiness, with no gaps showing the filling underneath.
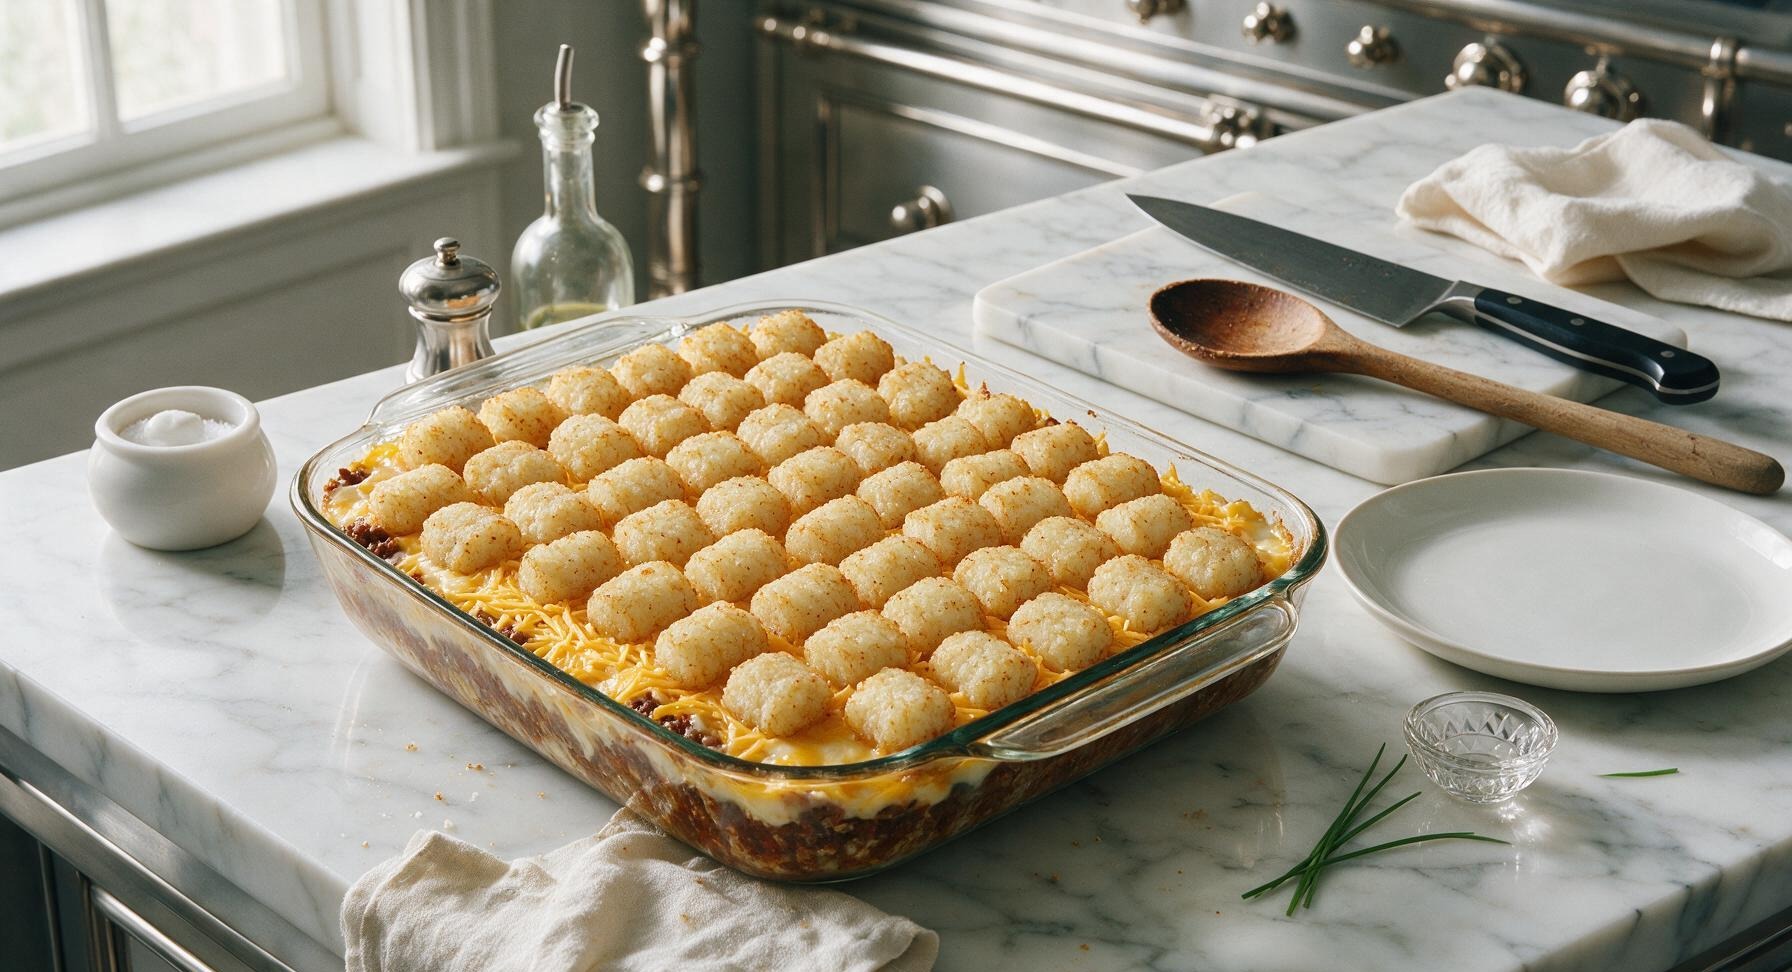
Step 5
step5:Add Cheese and Tots
Step 5
step5:Add Cheese and Tots
6

Bake Until Crispy

Carefully place the assembled baking dish on the middle rack of the preheated 400°F (200°C) oven. Bake uncovered for 35 minutes, until tater tots are deep golden brown and crispy across the top, and the creamy filling bubbles gently around the edges of the dish.
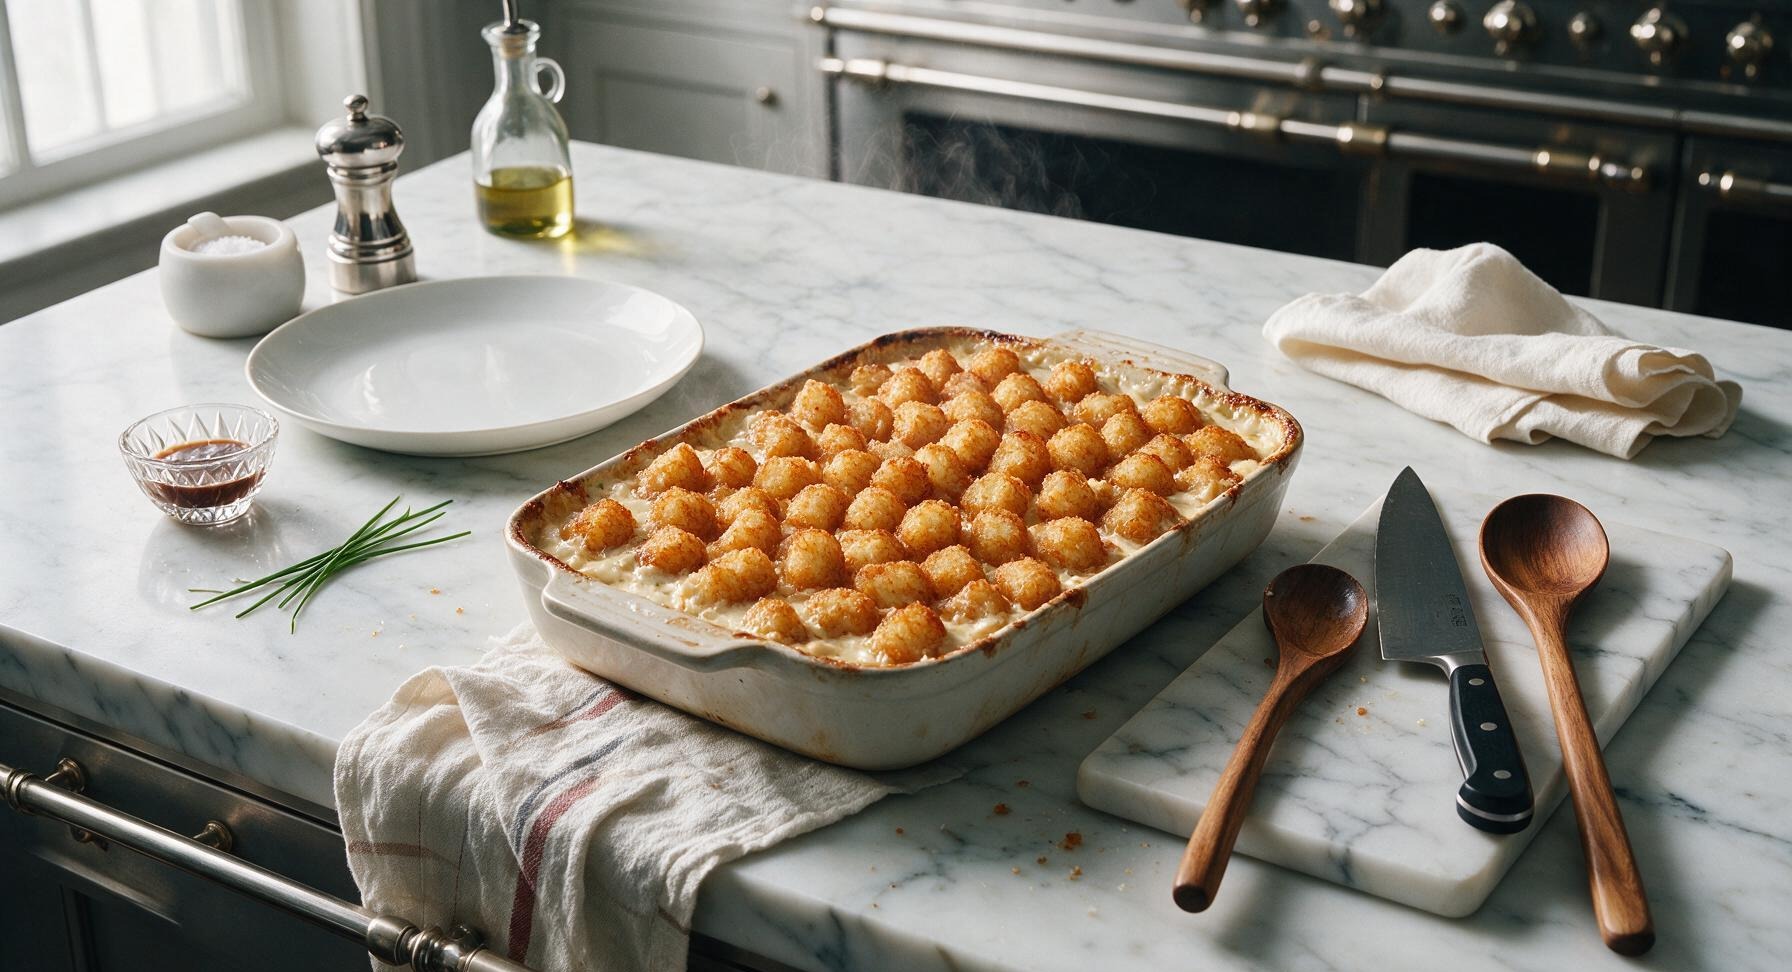
Step 6
step6:Bake Until Crispy
7

Rest and Serve

Sprinkle the remaining 1/2 teaspoon kosher salt and 1/4 teaspoon black pepper evenly over the crispy tater tot topping. Let the casserole rest for 10 minutes at room temperature to allow the filling to set, then scoop into portions and serve.
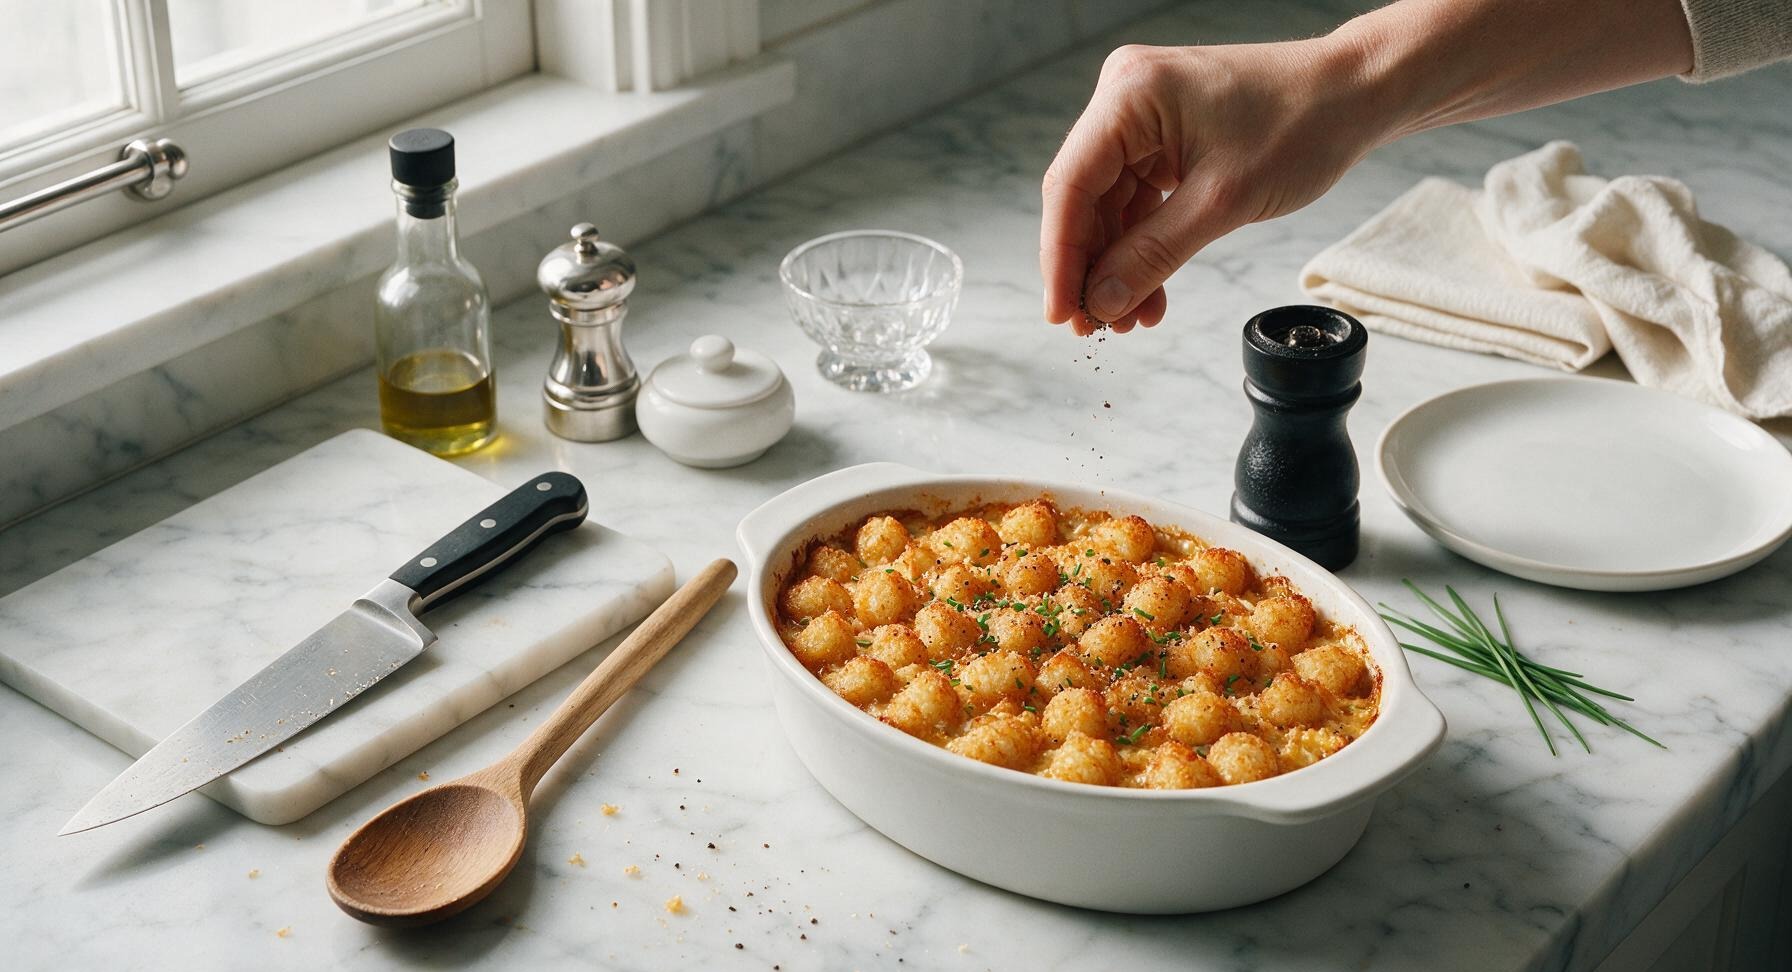
Step 7
step7:Rest and Serve

Tips

1.Keep tater tots fully frozen until you arrange them on the casserole: thawed tots absorb excess moisture from the creamy filling and turn soggy during baking, while frozen tots develop a perfect crunchy outer crust and fluffy potato interior.
2.Drain all excess rendered grease from the browned ground beef before adding soup and vegetables: leftover grease will make the filling greasy instead of rich and creamy, and can seep up to make the tater tot base soggy instead of crisp.
3.Don’t skip the 10-minute rest after baking: the hot filling is very loose straight out of the oven, and resting allows the cheese and soup starch to set so you can scoop clean, intact portions instead of runny filling spilling across plates.


✨ You May Also Like

Main Course
🍜 United Kingdom

A showstopping classic of tender seared beef, savory mushroom duxelles, and crisp prosciutto wrapped in flaky golden puff pastry, baked to juicy perfection.

⏱️ 2 hours 1Main Course ★ 4.7
Main Course
🍜 India

Tender charred marinated chicken simmered in a rich, spiced creamy tomato sauce, this iconic Anglo-Indian curry pairs perfectly with basmati rice or warm naan.

⏱️ 50 minuteMain Course ★ 4.6
Main Course
🍜 Thailand

Classic tangy, sweet, and savory Thai stir-fried rice noodles with shrimp, tofu, and crunchy garnishes, balancing all five core Thai flavor profiles.

⏱️ 30 minuteMain Course ★ 4.5
Main Course
🍜 United Kingdom

Crispy golden beer-battered cod and fluffy double-fried chips, served with tangy tartar sauce and malt vinegar: the timeless, beloved British pub comfort classic.

⏱️ 45 minuteMain Course ★ 4.7
Main Course
🍜 Mexico

Smoky, chile-marinated pork tacos with caramelized pineapple, fresh cilantro, and lime: a beloved classic Mexican street food perfect for casual summer gatherings.

⏱️ 1 hour 45Main Course ★ 4.8
Main Course
🍜 United States

Crunchy Fritos corn chips layered with savory beef chili and melted cheddar, topped with cool, zesty fixings for a beloved, cozy Tex-Mex comfort food.

⏱️ 35 minuteMain Course ★ 4.8

hot dish tater tot casserole:Frequently Asked Questions

1.Can I make this tater tot hot dish ahead of time for a potluck or casual gathering? ▾
Absolutely! Assemble the ground beef, vegetable, and soup filling up to 2 days ahead, cover tightly, and store it in the fridge. Wait to top with frozen tater tots until right before baking to prevent sogginess. Add 10–15 minutes to the bake time if cooking straight from the fridge, until the filling bubbles and tots are golden crisp.
2.Why do you recommend 85/15 lean ground beef instead of a leaner or fattier blend? ▾
The 85/15 ratio hits the perfect sweet spot for this casserole: the 15% fat adds rich, savory depth to keep the filling moist without leaving a greasy layer on the finished dish. Leaner blends like 90/10 can make the filling dry, while fattier blends will make the final casserole feel heavy and overly greasy.
3.Do I need to thaw the frozen tater tots or mixed peas and carrots before baking? ▾
Nope, no thawing required for either! Add frozen peas and carrots straight into the filling mixture, and arrange frozen tater tots in an even layer on top right before baking. Thawing tots ahead of time will make them turn soggy instead of crisping up to that perfect golden, crunchy texture we all love.
4.Can I substitute the condensed cream of mushroom soup if I don’t have it on hand? ▾
You can swap in an equal amount of condensed cream of chicken or cream of celery soup for a nearly identical creamy, savory base if you don’t have cream of mushroom. If you want to skip canned soup entirely, use 1 ½ cups of homemade thick mushroom white sauce made with a roux, milk, and sautéed mushrooms for a fresher take.
5.How do I keep the tater tot topping from getting soggy instead of crispy? ▾
First, never thaw your tater tots before adding them to the casserole. Arrange them in a single, even layer on top of the filling instead of piling them high, and bake the casserole uncovered for the full bake time. For extra crunch, sprinkle a light layer of shredded cheddar over the tots during the last 5 minutes of baking.
6.What size baking dish works best for this hot dish recipe? ▾
A standard 9x13 inch glass or ceramic baking dish is ideal for this recipe, as it gives you enough space to spread the filling evenly and arrange tater tots in a single crisp layer. If you use a deeper, smaller dish, your tots will be piled too high to crisp properly, and the filling may not heat through evenly.
7.Can I add extra ingredients to customize the filling to my family’s tastes? ▾
Definitely! This classic Midwestern base is super flexible. Try adding cooked crumbled bacon, sautéed mushrooms, diced bell pepper, or a handful of shredded cheddar to the beef filling for extra flavor. Just skip watery add-ins like undrained canned tomatoes that will thin the creamy filling and make your tots soggy.
8.How do I know when the casserole is fully done and ready to serve? ▾
You’ll know it’s ready when the creamy filling is bubbling vigorously around the edges of the dish, and the tater tots on top are deep golden brown and crisp all over, usually 45–55 minutes at 375°F. If the tots brown too fast before the filling bubbles, tent the top loosely with foil for the remaining bake time.
9.How should I store leftovers, and how long will they stay good to eat? ▾
Let leftover casserole cool completely, then cover it tightly with a lid or plastic wrap and store it in the refrigerator for up to 4 days. Reheat individual portions in the microwave, or pop servings in a 400°F oven for 5 minutes if you want to crisp the tater tots back up instead of them getting soft.
10.Do I need to drain the ground beef after browning it for the filling? ▾
If you’re using the recommended 85/15 ground beef, you only need to drain off excess grease if there is more than a tablespoon or so left in the pan after browning. Leaving a small amount of fat adds great flavor to the diced yellow onion and veggies, but draining extra grease prevents a greasy, unappetizing film on the finished casserole.

Comments (8)

2 days ago

OMG this was such a game changer for our weeknight family dinner! I’ve been making tater tot hotdish my whole life but this version cuts out so many unnecessary steps without skimping on that classic creamy, savory flavor. My kids went back for seconds AND thirds, even my picky 7 year old who turns his nose up at literally everything. 10/10 will be making this for our next neighborhood potluck too!

yesterday

Wait same! My picky kid ate three servings last night when I made this, I was shocked. I added a little extra sharp cheddar on top per my husband’s request and it was chef’s kiss.

2 hours ago

So glad the whole family loved it! Adding extra sharp cheddar is always a great call, it melts perfectly over the crispy tater tots during that last 10 minutes of bake time.

5 minutes ago

Just popped this in the oven 10 minutes ago and the whole house smells insane already. Grabbed all the ingredients on my way home from work, super easy to throw together even after a 10 hour shift. Can’t wait to dig in with the kids tonight!

3 days ago

Super easy to make in my tiny dorm oven! Only thing is I wish I’d let the tater tots crisp a little longer on top, mine came out a little soggy on the first go. Still tasted great though, way better than the dining hall food for sure, and my floor mates all begged for a bite.

2 days ago

Thanks for the feedback! For extra crispy tots, try arranging them in a single layer without overcrowding, and pop them on the top rack for the last 15 minutes of cook time—works every time!

1 week ago

Brought this to my office potluck last week and people were begging me for the recipe before I even made it back to my desk! I added a can of sweet corn and a handful of crumbled bacon to the beef layer and it was *chef’s kiss*. SO good, even better leftover the next day for lunch.

5 days ago

The bacon add is genius! I did the same thing when I made this for my fantasy football watch party last weekend, the guys devoured the whole pan in 15 minutes flat.

3 days ago

Love the corn and bacon add-ins! This recipe is so customizable, it’s the perfect base to toss in whatever veggies or toppings your crew loves. So happy it was a potluck hit!

2 weeks ago

Meal prepped this for the week on Sunday and it held up perfectly! Portioned it out into 5 containers, just reheat for 2 minutes in the microwave and it tastes just as good as the night I made it. Saved me so much money on takeout lunches this week, will be adding this to my regular rotation.

yesterday

I’ve been making tater tot hotdish for my grandkids for 40+ years and I was skeptical a random internet recipe could hold up to my go-to, but wow! This is so straightforward, the flavor is exactly the classic comfort food I remember from my own childhood. My grandkids ate every last bite, even asked if I could make it again for their combined birthday dinner next month.

2 hours ago

That means the world to us, Ellie! There’s nothing better than a classic comfort food recipe that stands the test of time, and we’re so honored it’s earned a spot on your family dinner menu.

5 days ago

Really solid base recipe! I tossed in a diced jalapeño and a sprinkle of cajun seasoning to give it a little kick, and it was amazing. Only reason I’m not giving 5 stars is the total cook time felt a little long for a busy weeknight, but it was worth the wait honestly.

3 days ago

Wait the jalapeño add is such a good idea! I love a little heat with my creamy casseroles, definitely trying that next time I make this.

2 days ago

Love the spicy twist! If you’re short on time on weeknights, you can brown the beef ahead of time and store it in the fridge for 2-3 days, that cuts the active prep time down to under 10 minutes on busy nights!

30 minutes ago

First time ever making a casserole by myself and it turned out perfect!!! I was so nervous I’d mess it up but the steps were so easy to follow, even for someone who burns toast half the time. My roommate said it’s the best thing I’ve ever made, total win for me!

just now

Yay so happy for you! This was my first ever casserole too a couple weeks ago, now I make it every other Sunday, it’s foolproof for real!



