
hot dog pie
intro
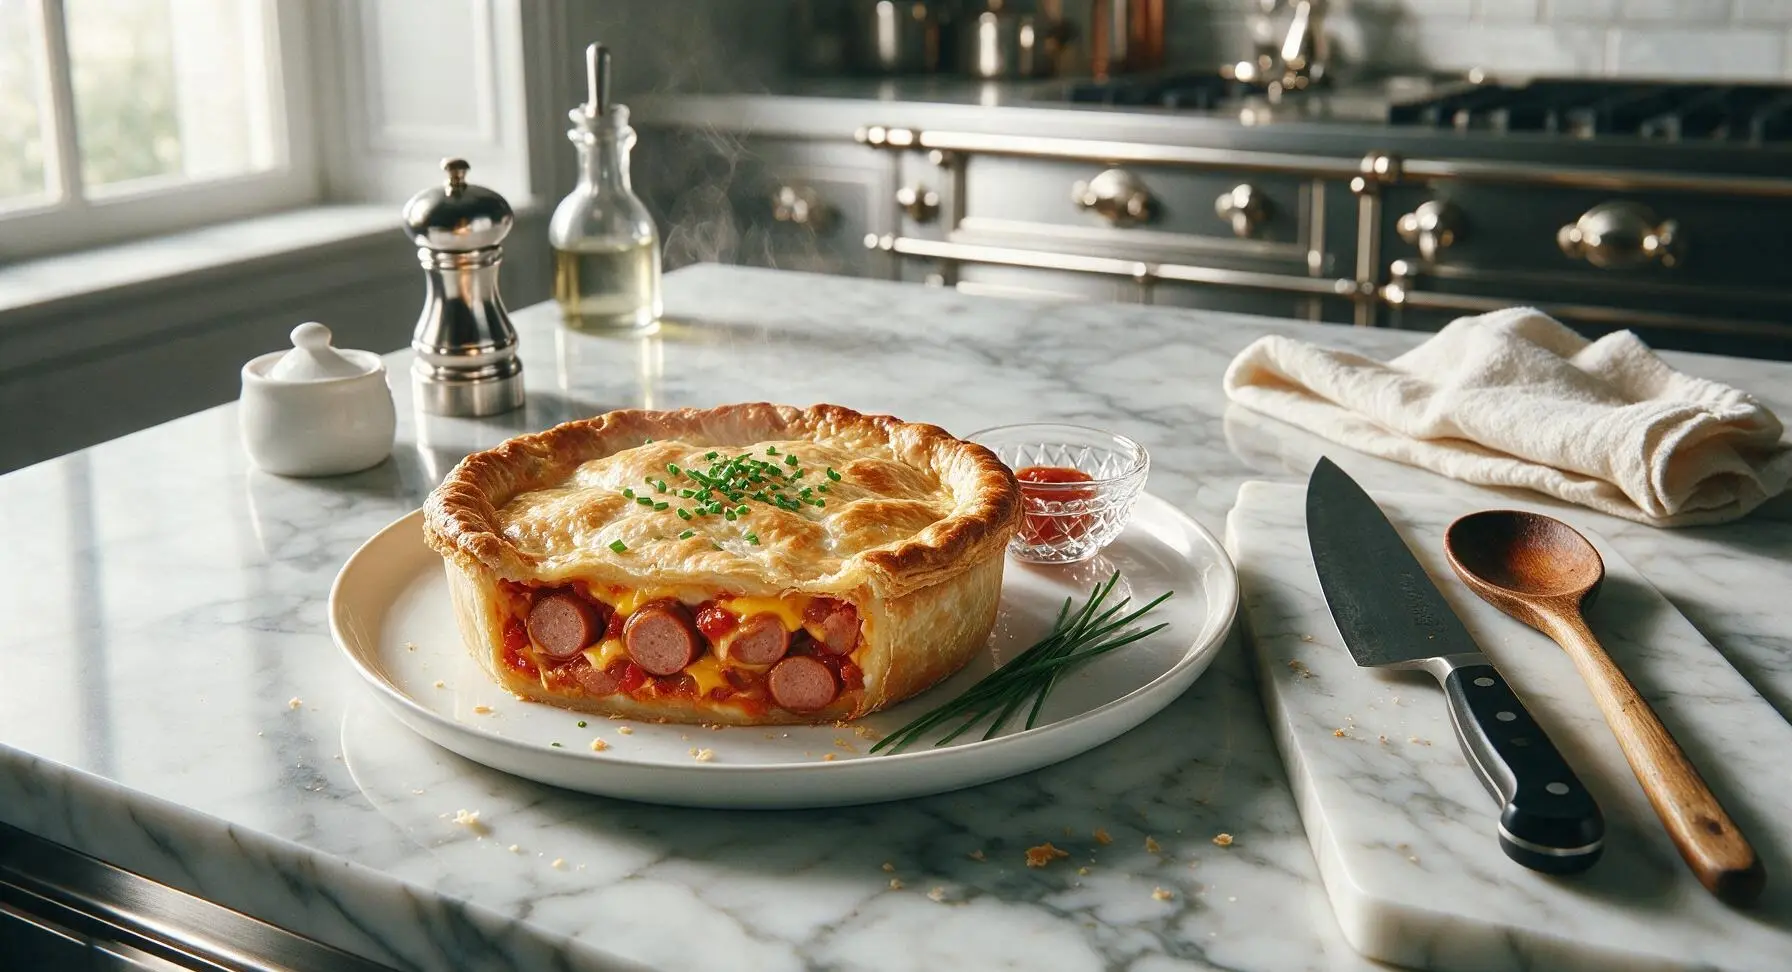
A nostalgic, savory baked pie loaded with sliced hot dogs, melted cheddar, and zesty tomato filling in a flaky crust—casual, crowd-pleasing comfort food perfect for sharing.
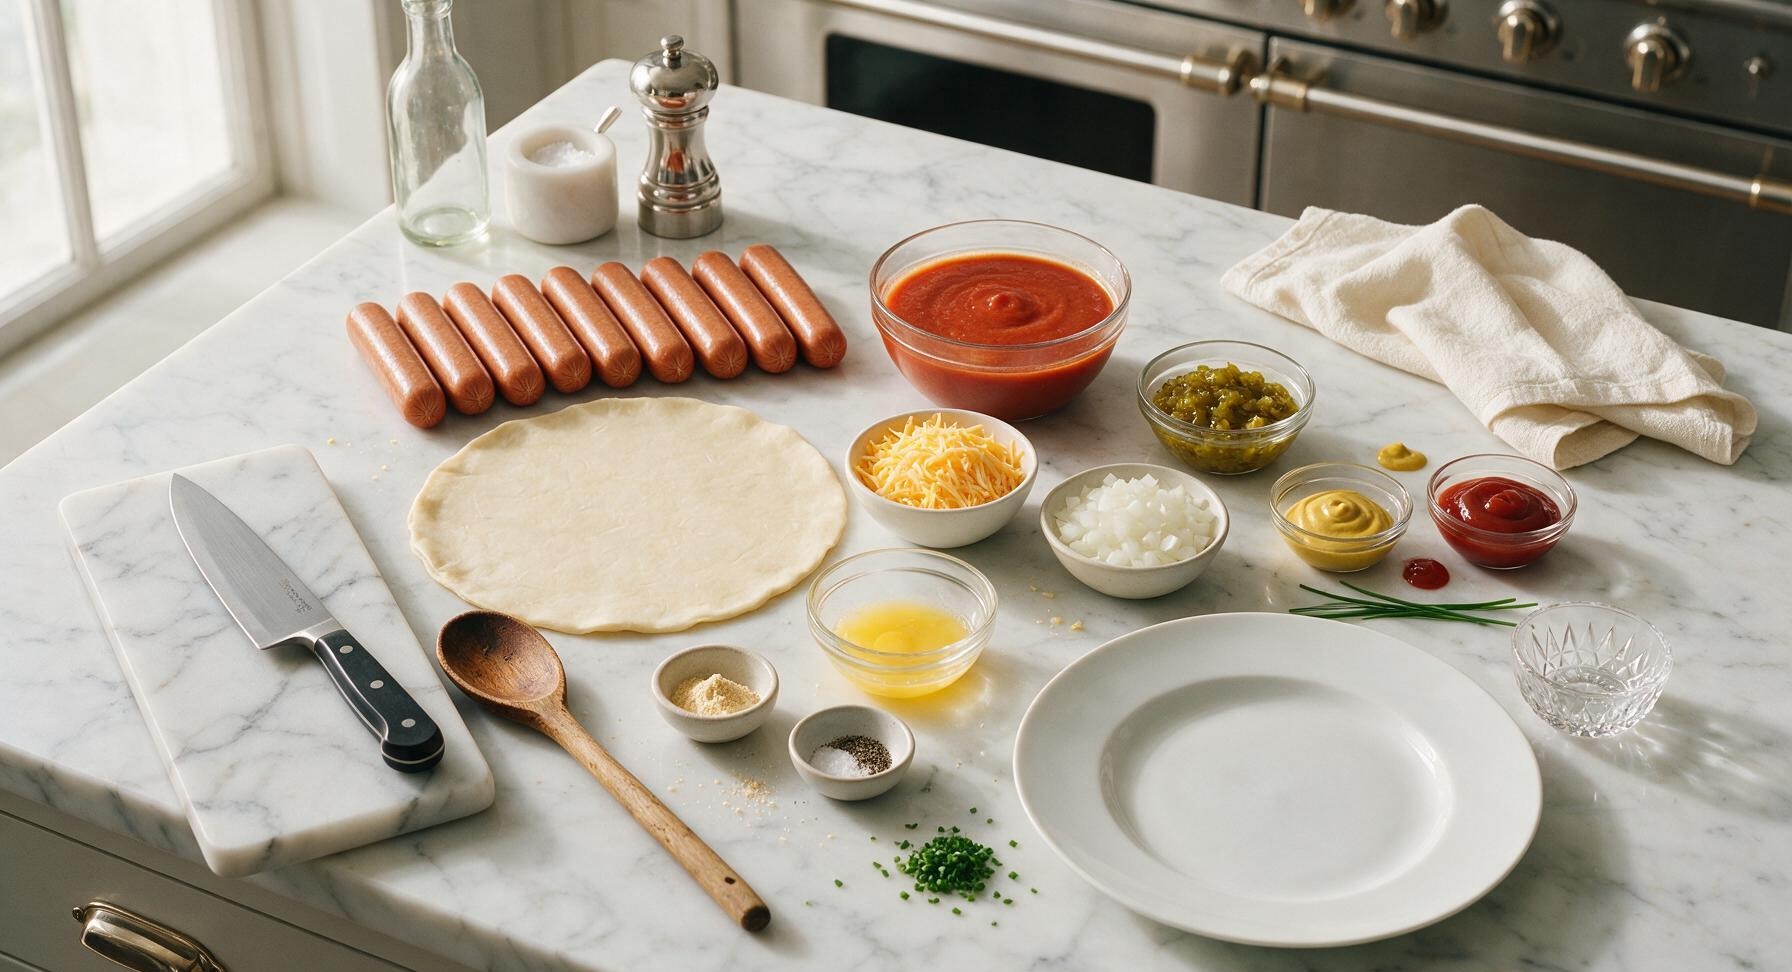
Ingredients
Steps
Preheat Oven, Prep Crust
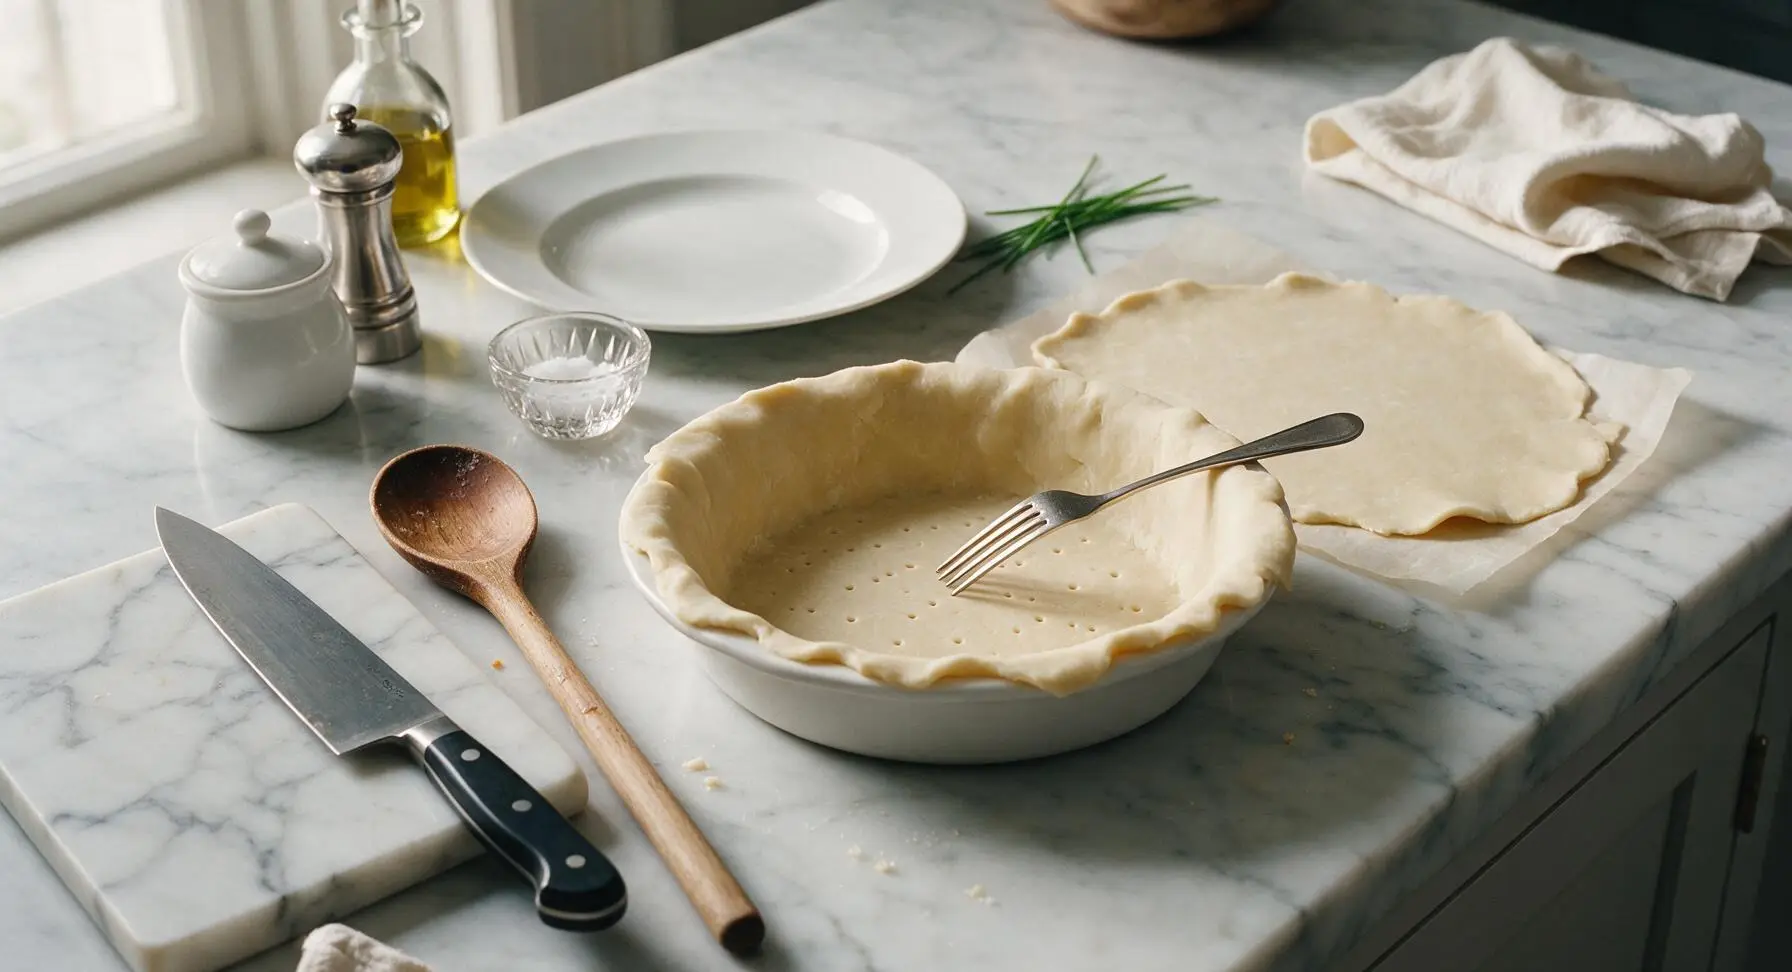
Preheat your oven to 400°F (200°C). Unroll one of the refrigerated pie crusts, and gently press it into the bottom and up the sides of the matte white 9-inch ceramic pie dish, leaving a 1/2-inch overhang around the rim. Prick the bottom of the crust all over with the stainless steel dinner fork 8-10 times to prevent air bubbles from forming during baking. Set the remaining unrolled top crust aside on its parchment paper for later use.
Slice Hot Dogs Evenly
Place the 8 all-beef hot dogs on the light grey cutting board. Using the 8-inch chef knife, slice the hot dogs into uniform 1/4-inch thick round coins, discarding any tough curled end pieces if desired. Consistent slice thickness ensures every bite has even amounts of hot dog and filling.

Combine Pie Filling
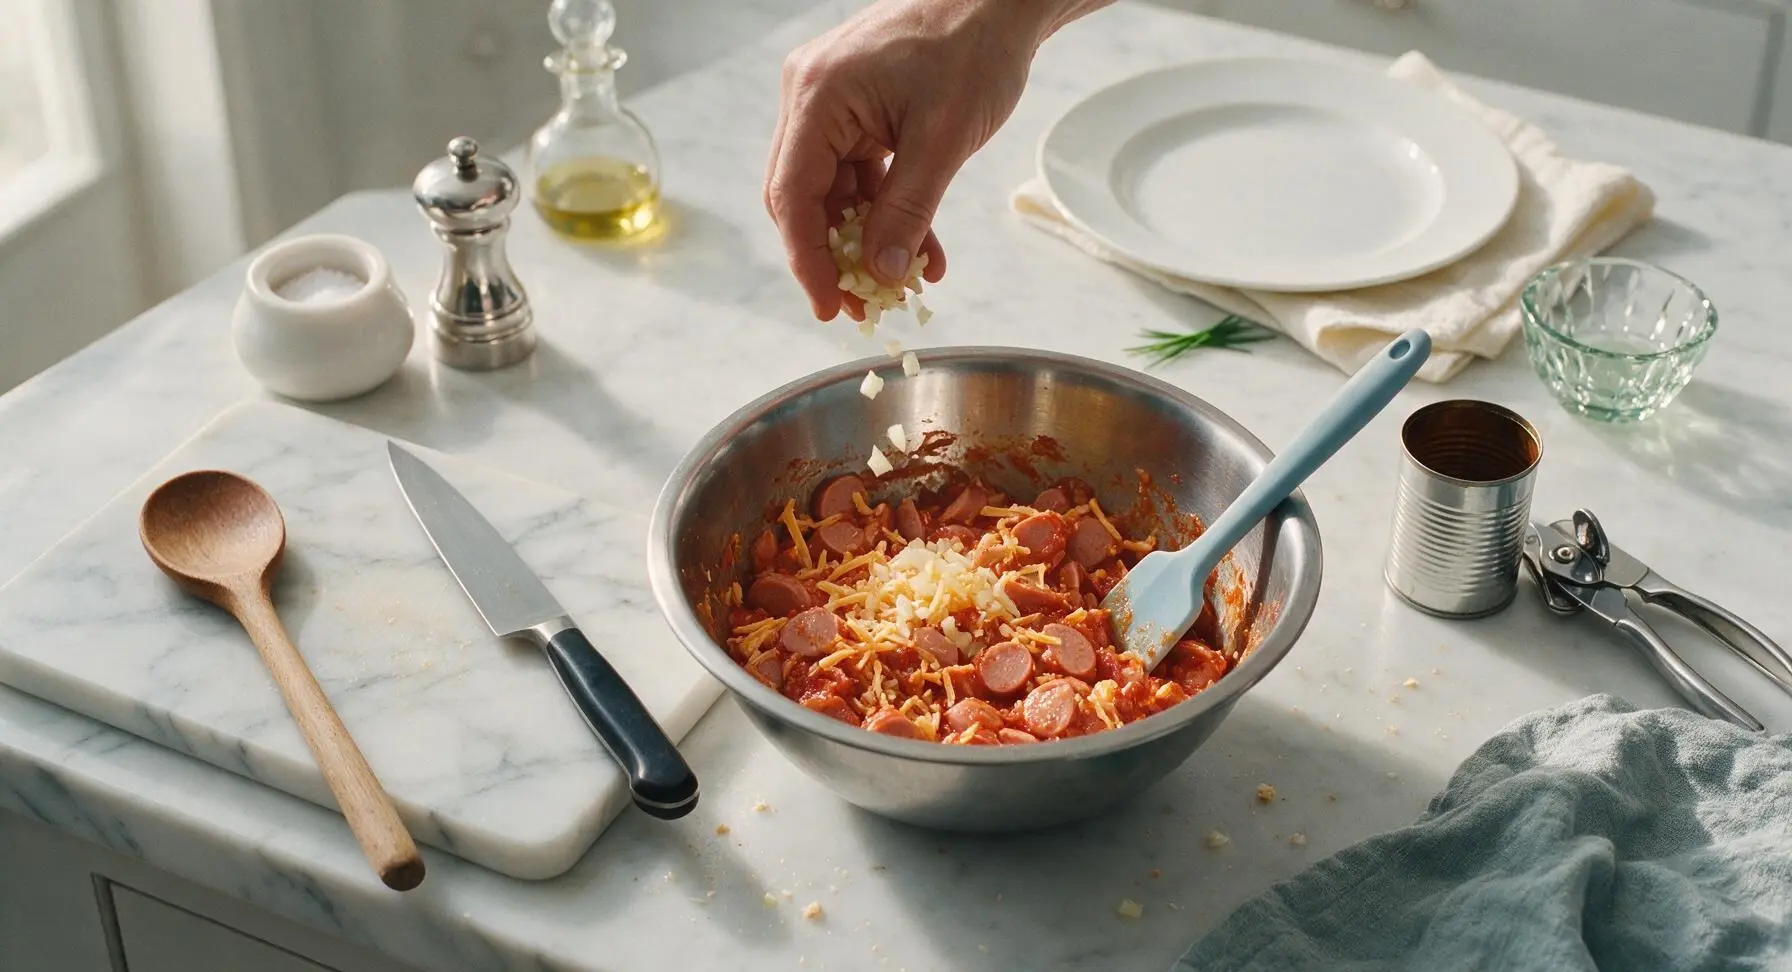
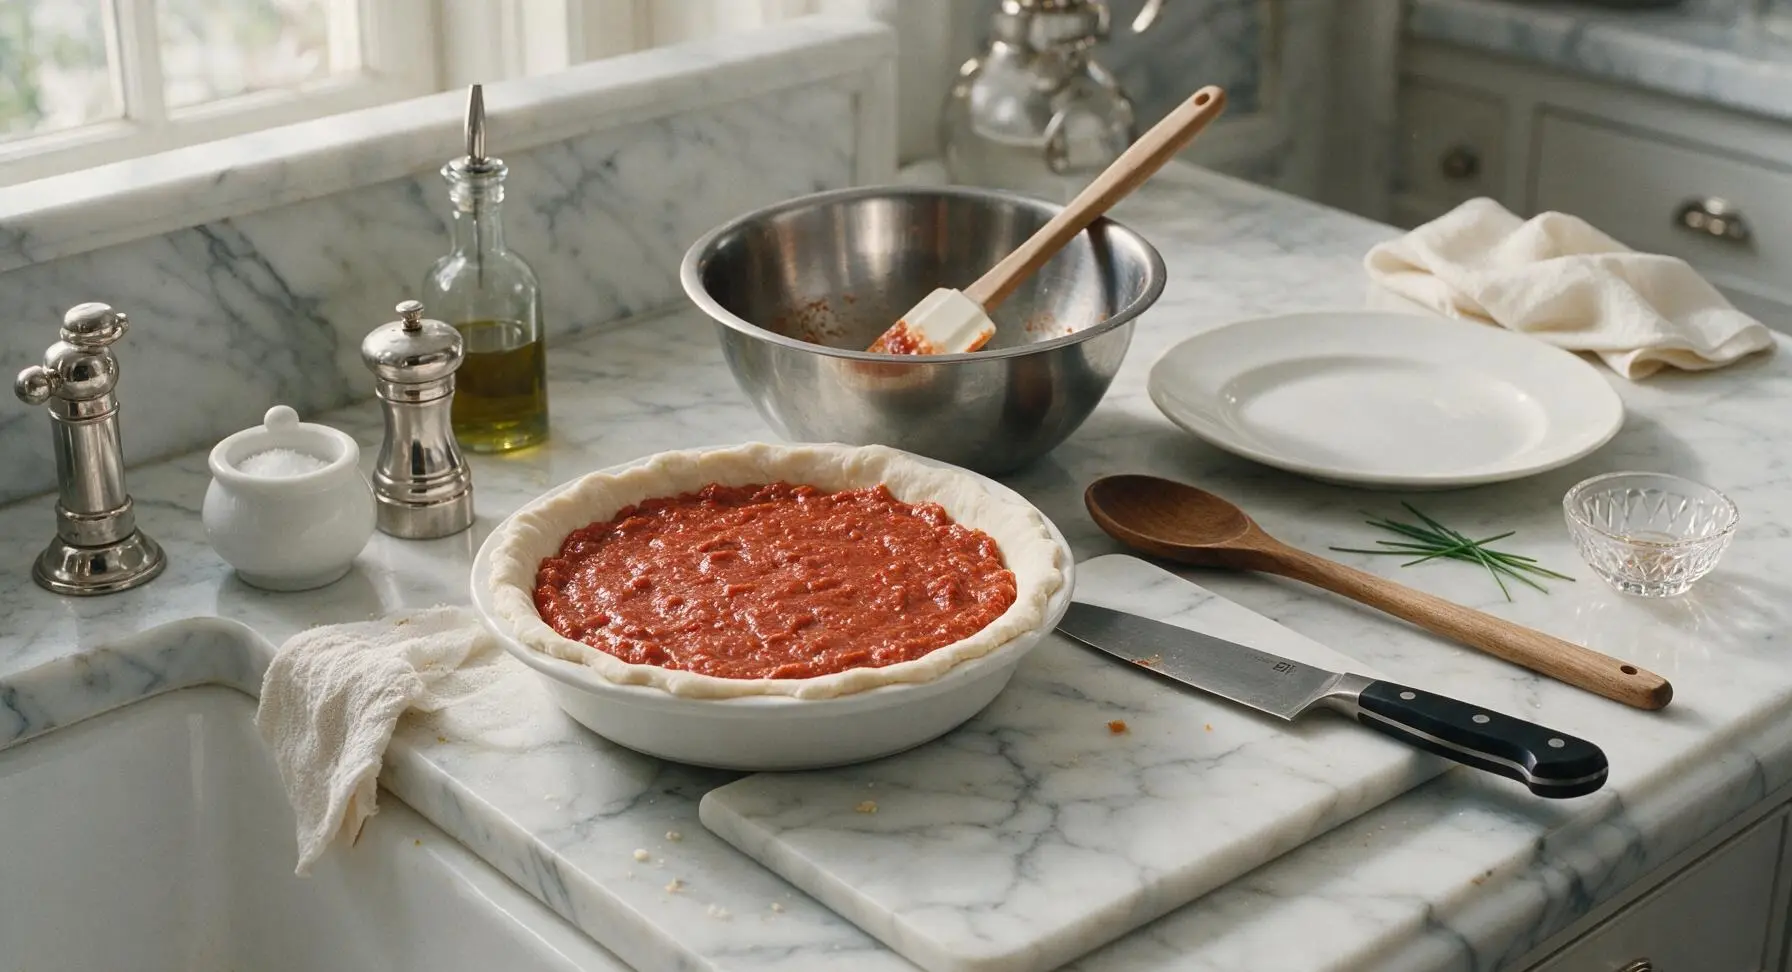
Open the can of condensed tomato soup using the stainless steel can opener, then add the soup, sliced hot dogs, shredded sharp cheddar, diced yellow onion, sweet pickle relish, 2 tablespoons yellow mustard, 1 tablespoon ketchup, garlic powder, and black pepper to the medium stainless steel mixing bowl. Stir thoroughly with the light blue silicone spatula until all ingredients are evenly coated in the thick tomato-mustard mixture, with no dry pockets of cheese or spice left at the bottom of the bowl.

Fill Bottom Pie Crust
Pour the entire mixed hot dog filling into the prepared bottom crust in the white ceramic pie dish, spreading it into a smooth, even layer with the silicone spatula. A level filling layer ensures the top crust will lay flat without trapped air gaps.
Seal Top Pie Crust
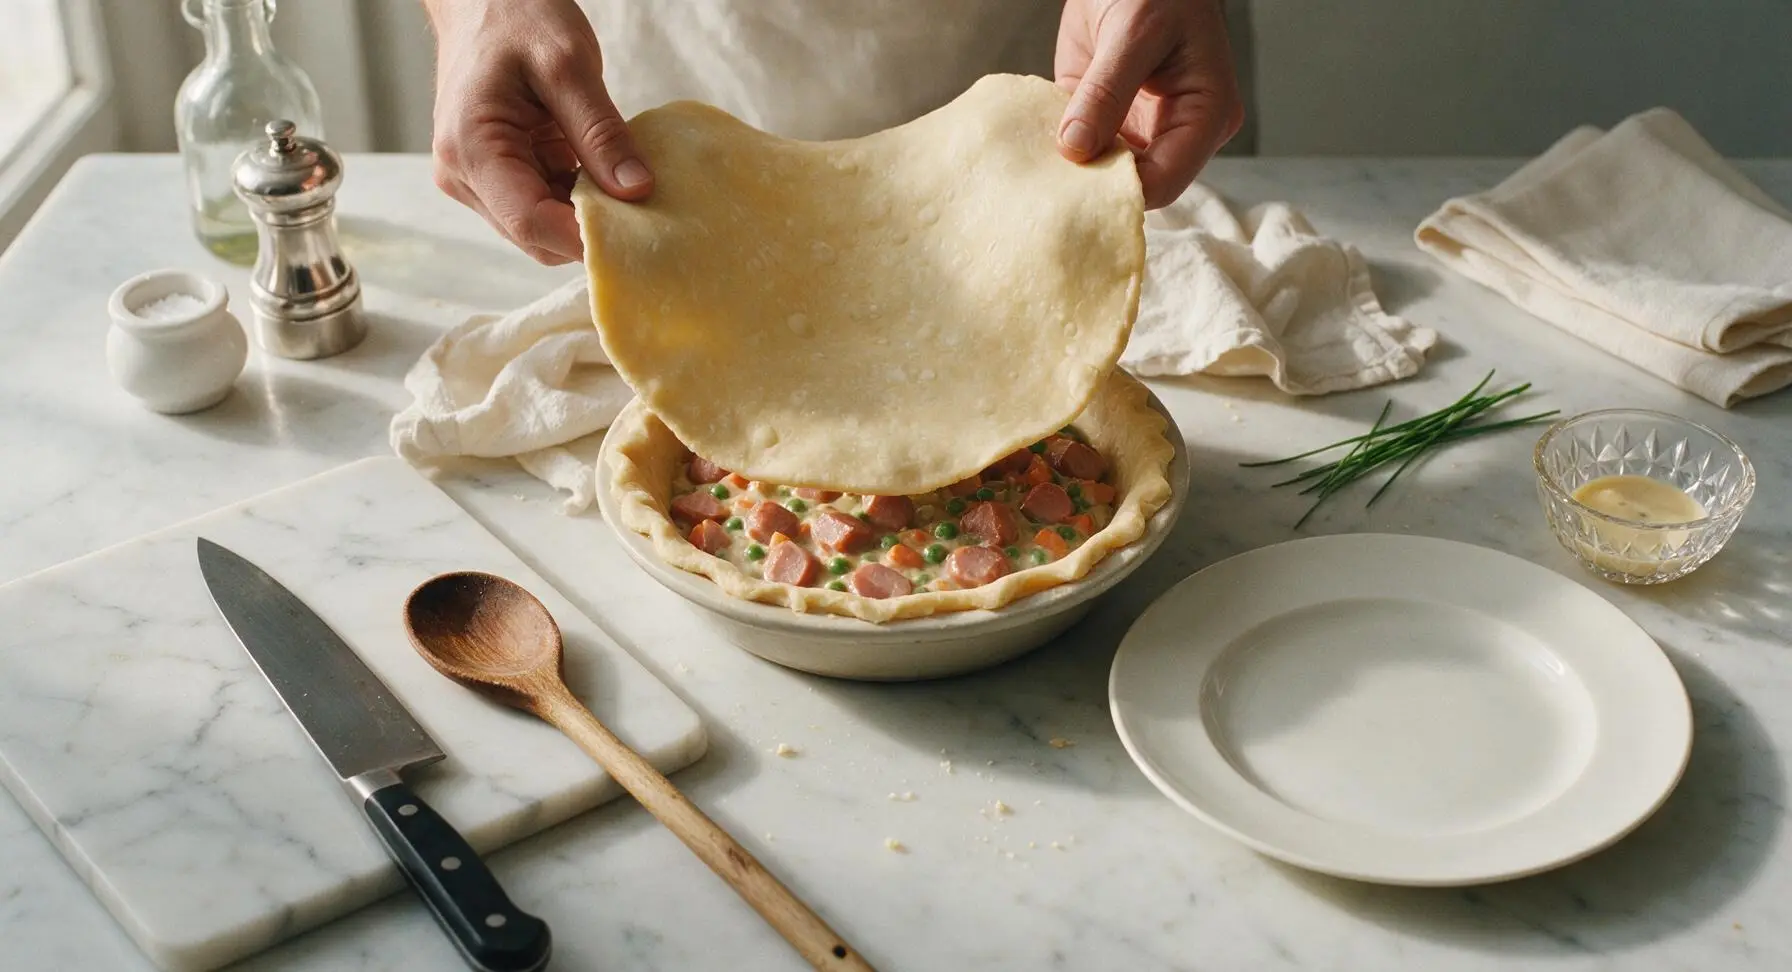
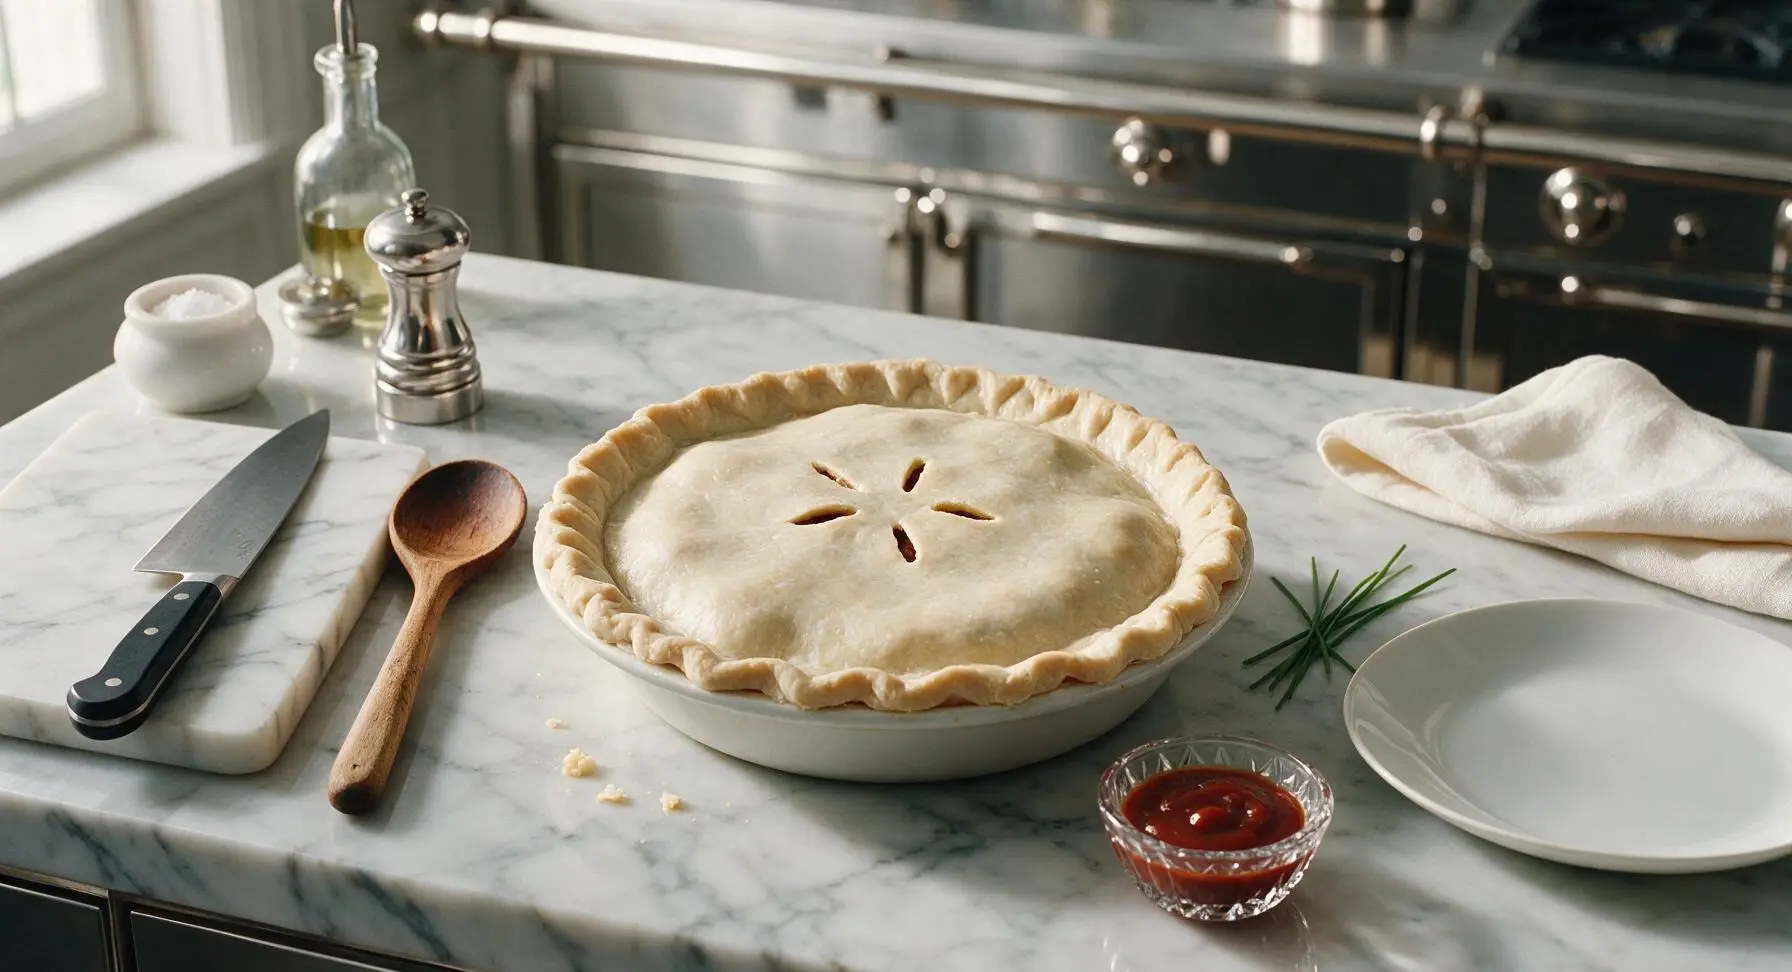
Lay the second unrolled pie crust gently over the top of the filling. Press the edges of the top and bottom crust together firmly, folding the 1/2-inch overhang under itself to create a tight seal, then crimp the edges with your fingers for a decorative finish. Cut 4 small 1-inch slits in the center of the top crust using the chef knife to allow steam to escape during baking.
Brush With Egg Wash
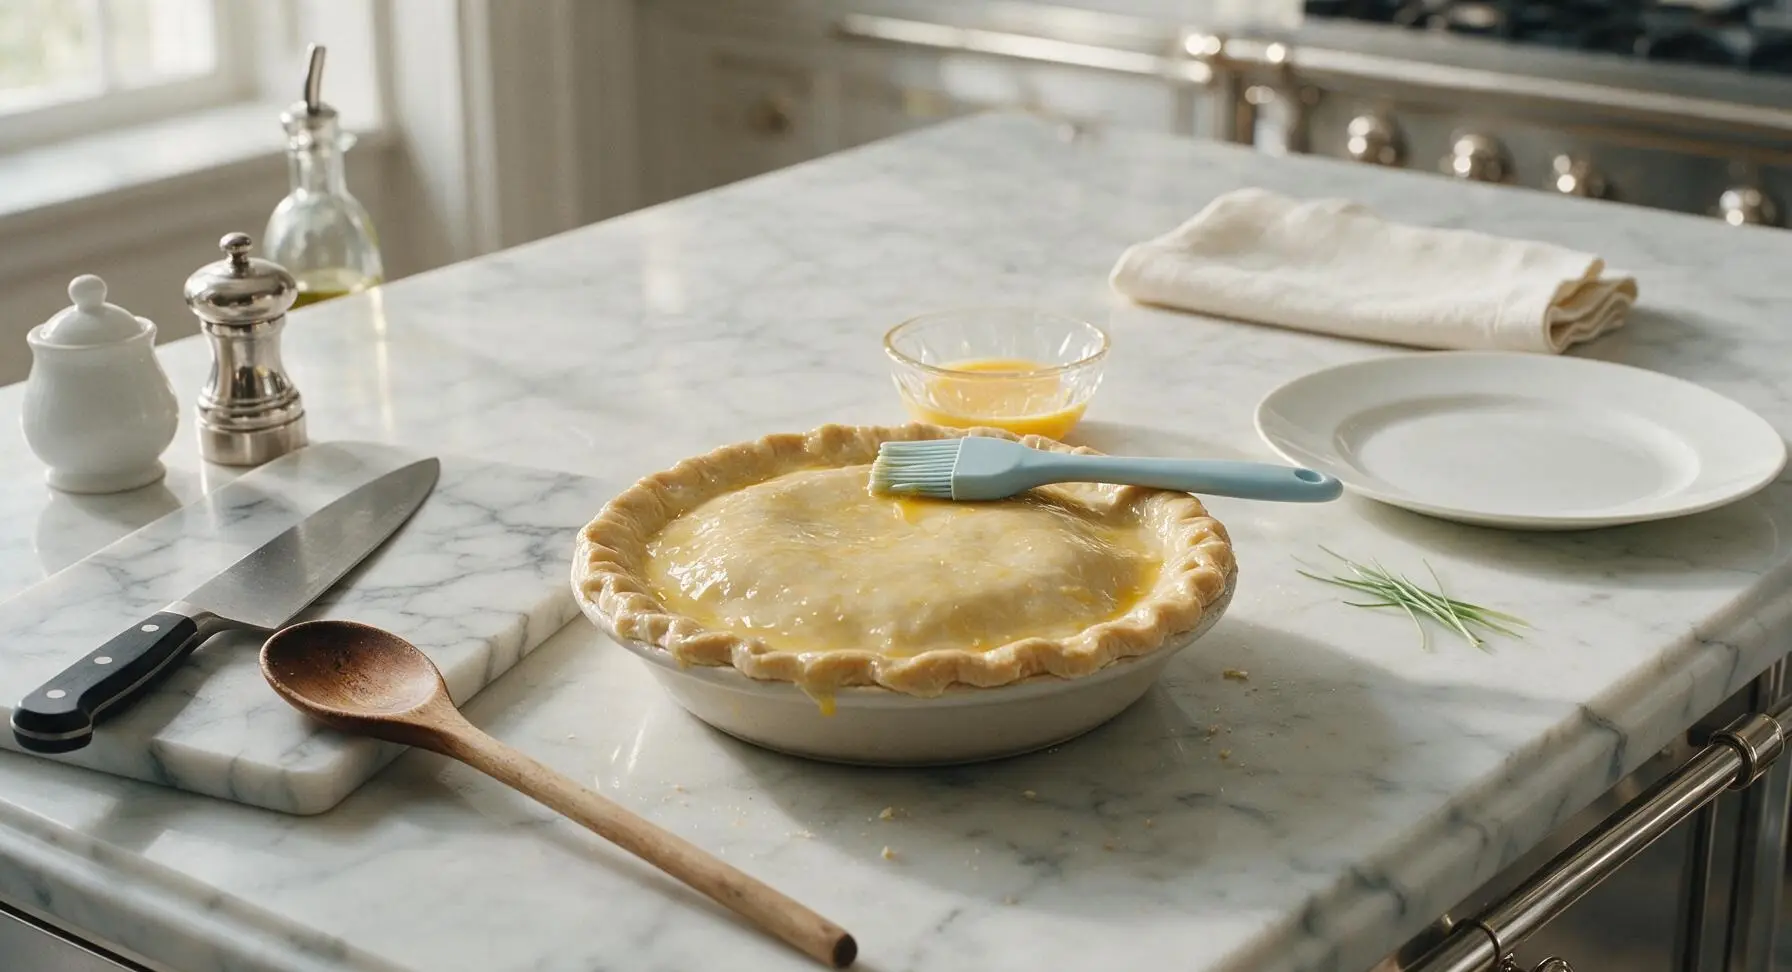
Crack the large egg into a small bowl, beating lightly with the stainless steel dinner fork until the yolk and white are fully combined. Use the light blue silicone pastry brush to coat the entire top crust and crimped edges with a thin, even layer of beaten egg. Avoid pooling egg in the crimp crevices, as this will burn during baking and leave dark, bitter spots.
Bake Until Golden
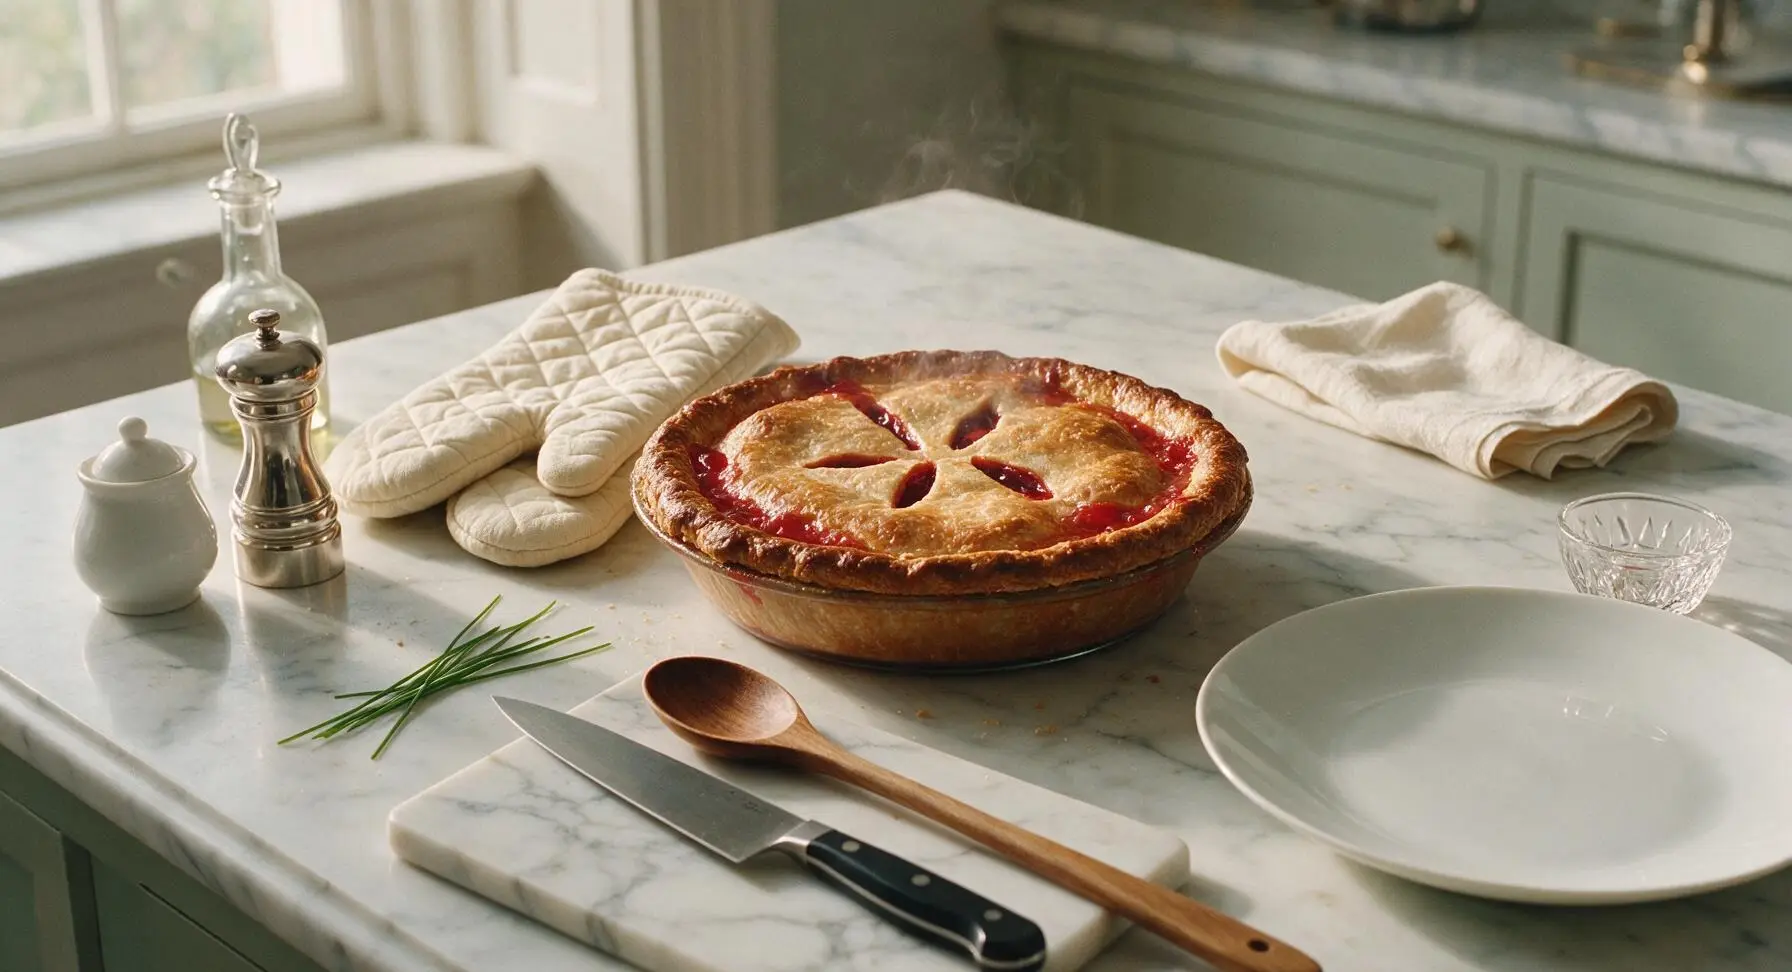
Carefully place the pie on the middle rack of the preheated 400°F (200°C) oven. Bake for 30-35 minutes, until the crust is a deep, even golden brown, and thick red filling bubbles visibly through the center slits. If the crust edges brown too quickly after 20 minutes, cover them loosely with a strip of aluminum foil to prevent burning. Once done, use the quilted cream oven mitts to remove the pie from the oven, and set it on the counter to rest for 10 minutes.
Garnish and Serve
After the 10-minute rest, drizzle the top of the pie with thin zigzags of extra yellow mustard and ketchup from plain squeeze bottles, then sprinkle with chopped fresh chives. Slice into 6 even wedges, and serve warm with extra ketchup and mustard on the side in the small clear glass condiment bowl.

Tips
2.For extra smoky depth, swap regular all-beef hot dogs for smoked beef franks or pre-grilled hot dogs; the light char adds a BBQ-style note that pairs perfectly with the tangy tomato and cheddar filling.
3.Don’t skip pricking the bottom crust before adding filling: this prevents air pockets from puffing up the crust under the weight of the filling, which creates gaps between crust and filling and leads to a soggy bottom crust.






OMG this was such a hit at our weeknight family dinner! My two picky eaters went back for seconds, even asked if I could put it in their lunchboxes tomorrow. It was so easy to throw together after work, total game changer for those nights I don’t feel like cooking something complicated. 10/10 will be making this every other week for sure!
Made this for the guys during our Sunday football watch party and it got demolished faster than the wings! I swapped the regular hot dogs for spicy smoked ones and it slapped. Only note is I wish I’d made two pies, everyone was asking for the recipe before the first quarter ended.
SO good, and I only had to grab 5 ingredients from the campus grocery store! I don’t have a fancy pie dish so I used a regular baking pan and it still turned out great. Perfect for meal prepping for the week between classes, way cheaper than getting takeout every night.
This took me right back to my grandma’s kitchen in the 70s! She used to make something almost identical for our summer visits and I haven’t had it in years. Tasted exactly how I remembered, super easy to follow recipe too. The only thing I did different was add a little diced onion to the filling, just like grandma did.
Tried this last night and it was solid! Cook time was exactly as advertised, which is a win for me when I’m juggling soccer practice drop offs and work deadlines. My only tiny critique is that the crust got a little soggier than I expected on the bottom, any tips for that next time I make it?
Skeptical at first because hot dog pie sounds weird, but wow, it’s actually so comforting? I topped mine with a little ketchup and mustard drizzle just like I do on regular hot dogs and it hit the spot. Super easy, minimal cleanup, will definitely be adding this to my easy dinner rotation.
Brought this to my office potluck today and it was the first empty dish on the table! Three different people asked me for the recipe before I even left the break room. I added a sprinkle of paprika on top for a little color and it looked so pretty on the potluck spread. Zero complaints!
Made this for my kid’s birthday party this weekend and it was a total crowd pleaser for both the kids and the parents! I cut it into little squares instead of slices so it was easier for little hands to grab. Only thing is I burned the edges a tiny bit because my oven runs hot, oops. Still tasted great though!
I meal prepped this on Sunday and it held up perfectly all week for work lunches! I ate it cold a couple days when I didn’t have access to a microwave and it was still tasty, though warmed up is definitely better. Super budget friendly too, all the ingredients cost me less than $12 total for the whole pie.
I’ve been making a version of this for years for my camping trips! I cook it in my cast iron skillet over the campfire instead of the oven and it comes out insane. The crust gets all crispy and smoky from the fire, it’s next level. Love that this classic recipe is getting more love online!