
hot dog sandwich
intro
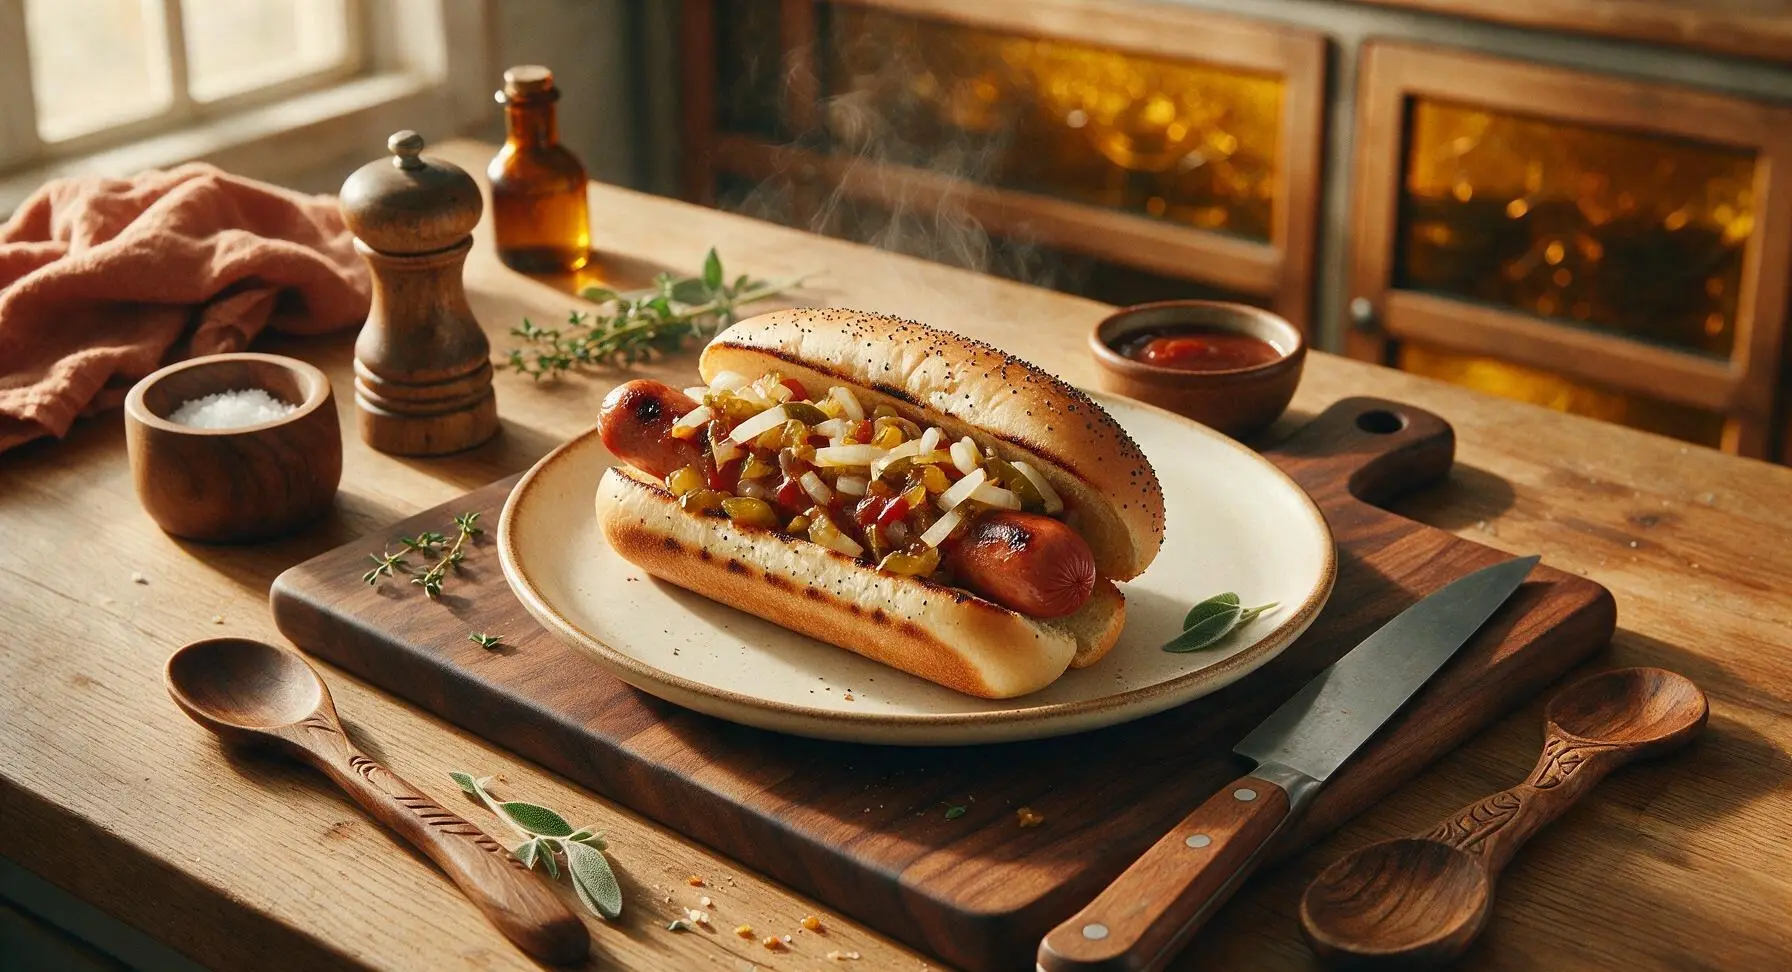
Juicy grilled all-beef franks tucked into soft toasted poppy seed buns, piled high with tangy classic toppings for the ultimate nostalgic summer cookout bite.
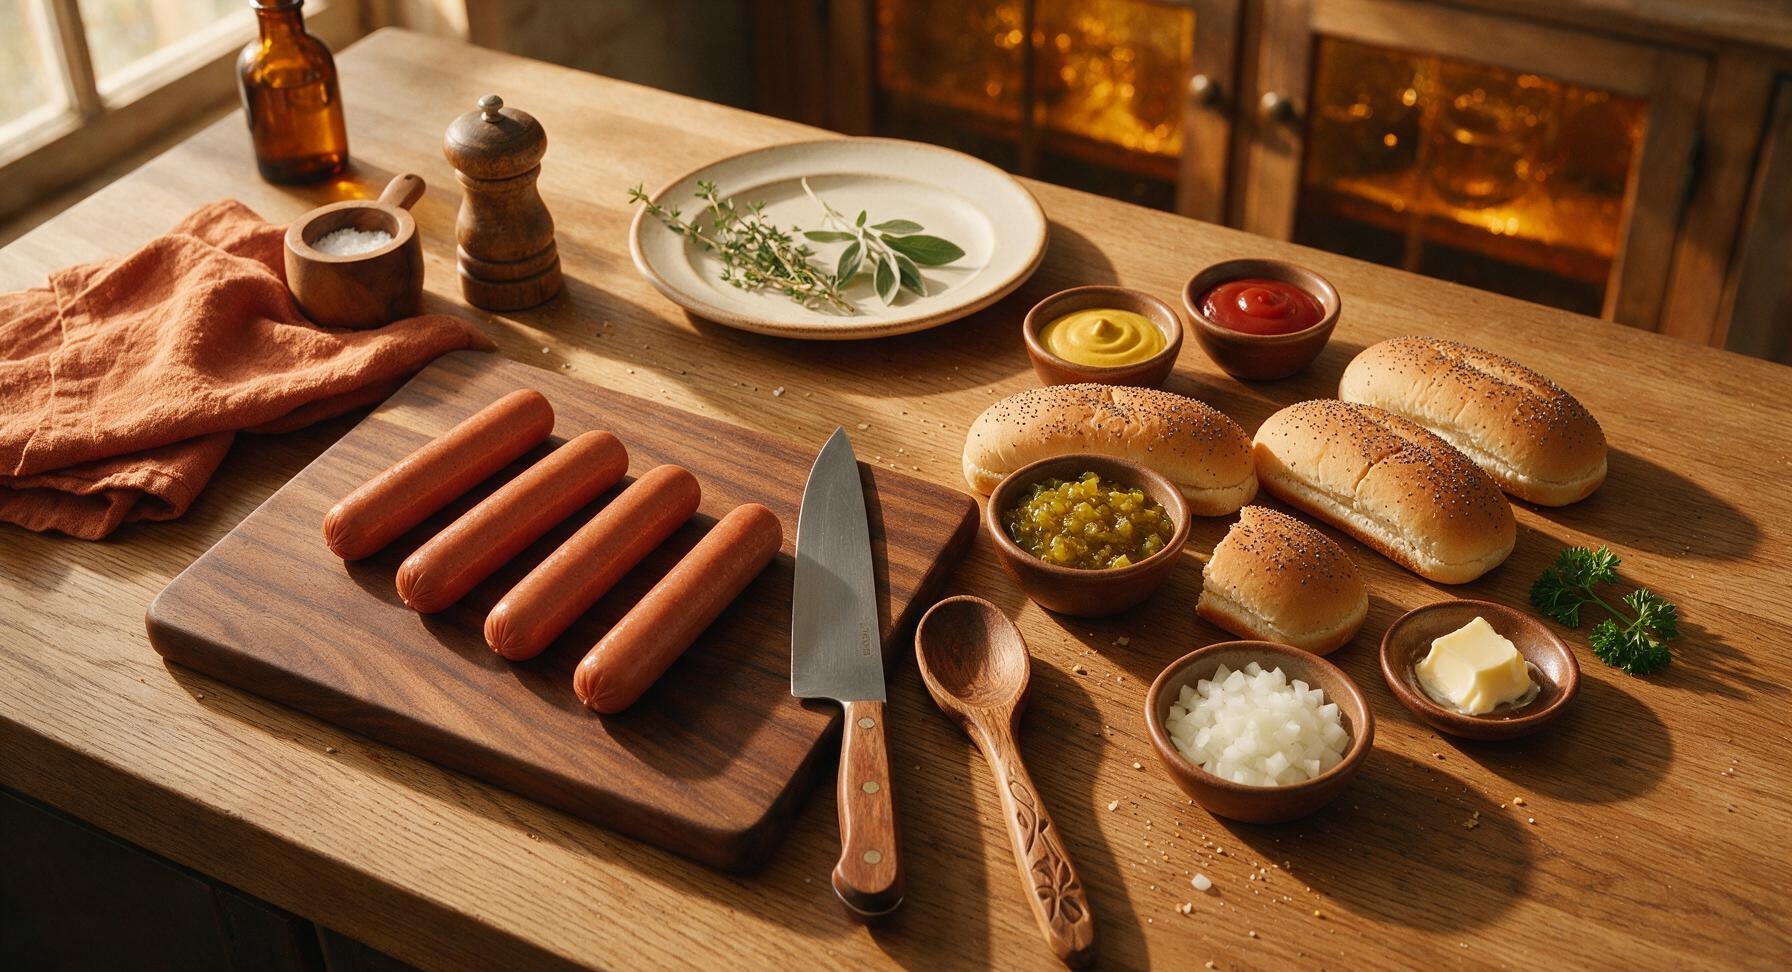
Ingredients
Steps
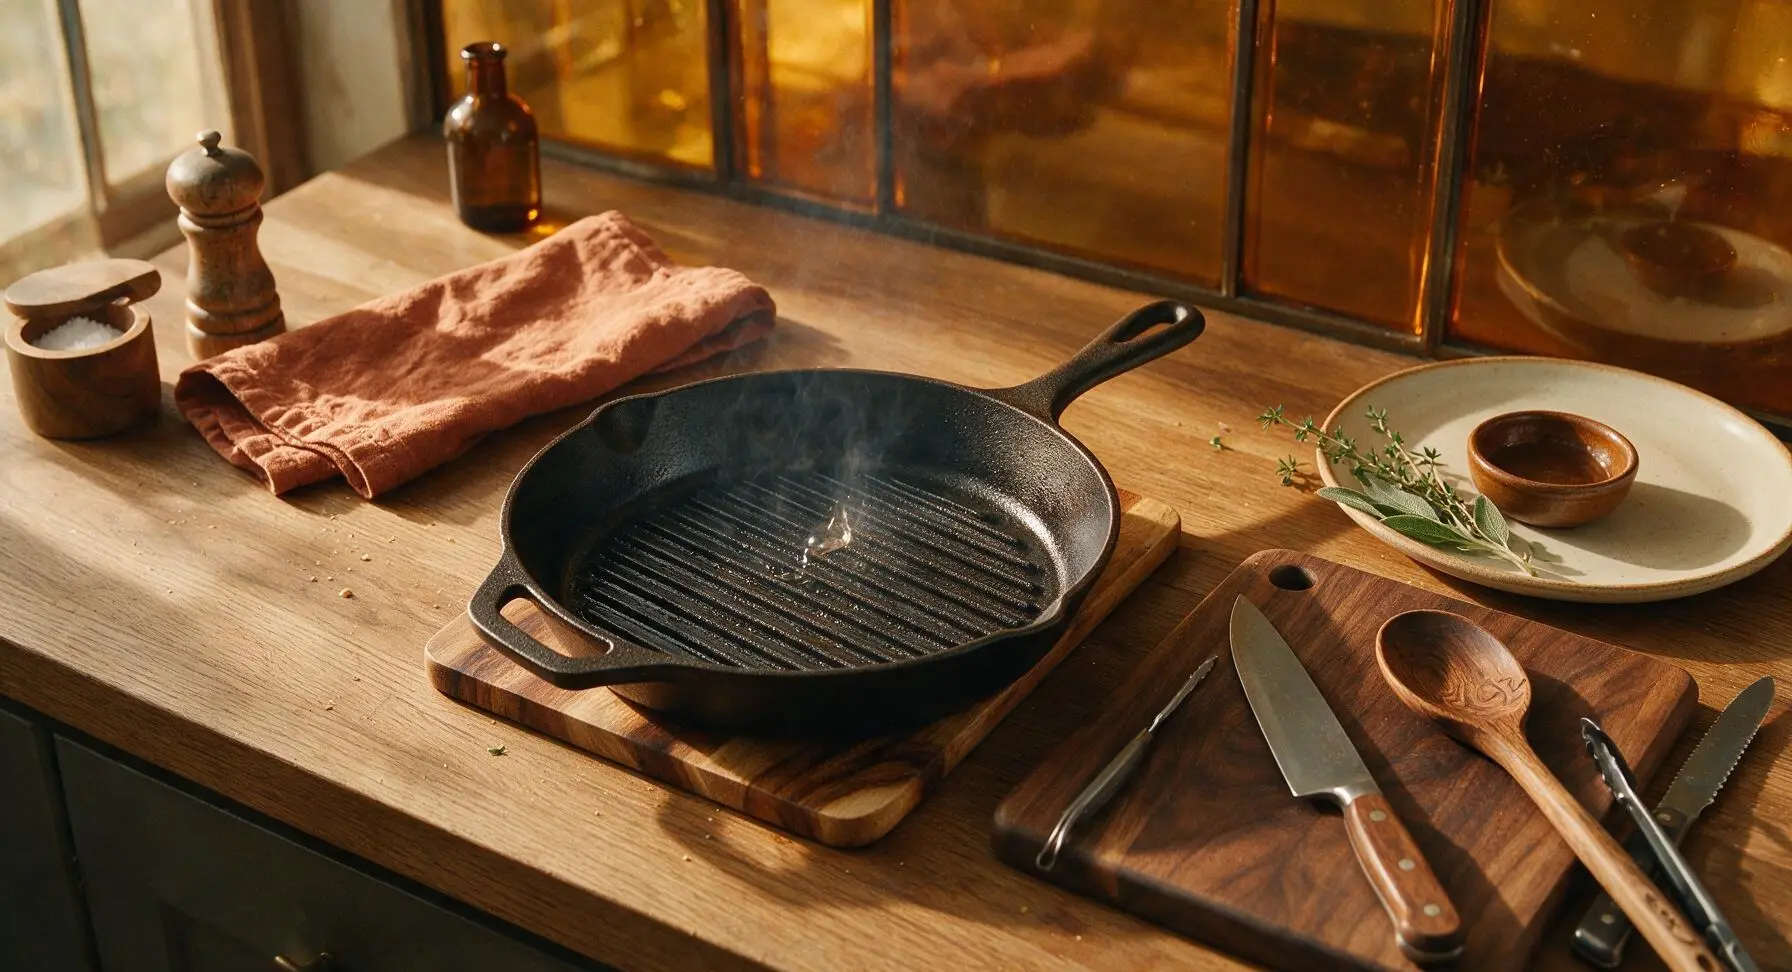
Preheat Grill Pan
Place the cast iron grill pan on the counter cooktop over medium heat (375°F/190°C). Allow it to preheat for 5 minutes, until a drop of water flicked onto the surface sizzles and evaporates immediately. Do not oil the pan at this stage, as hot dog franks have enough natural fat to prevent sticking.
Butter Split Buns
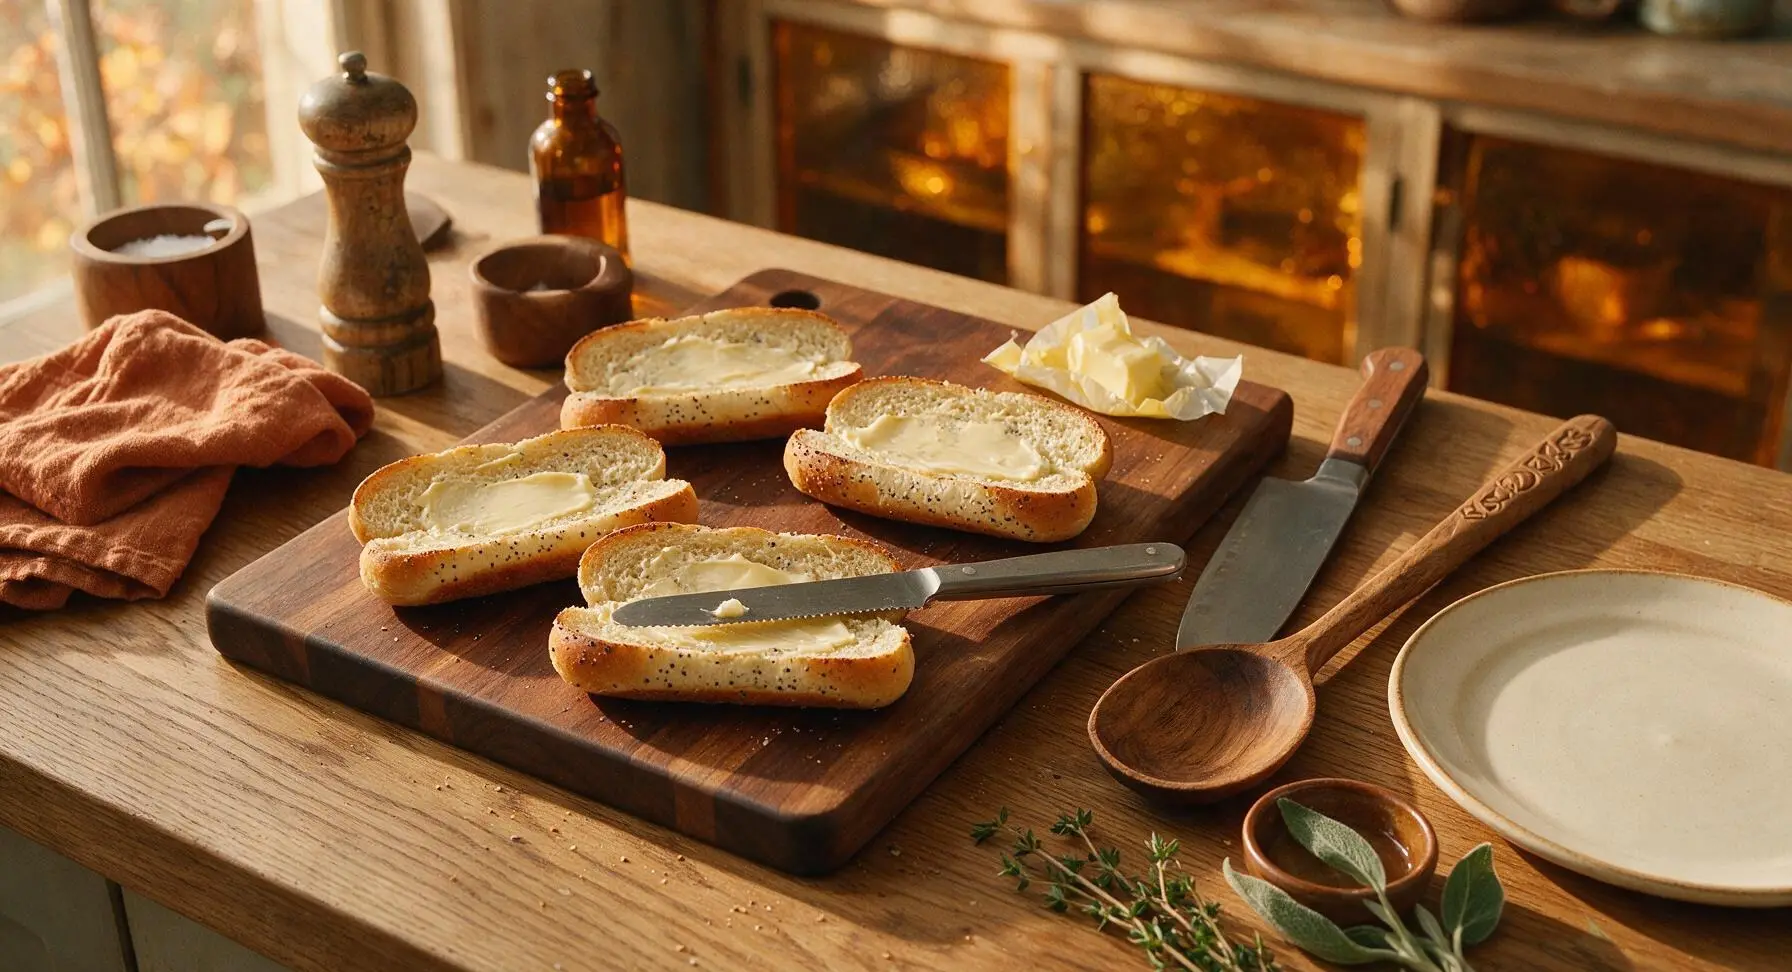
Lay the 4 split poppy seed hot dog buns cut-side up on the acacia cutting board. Use the tip of the serrated utility knife to spread 1/4 teaspoon of softened unsalted butter evenly across the cut interior of each bun. The butter should form a thin, even layer with no thick clumps, to ensure even toasting without burning.
Grill Beef Franks
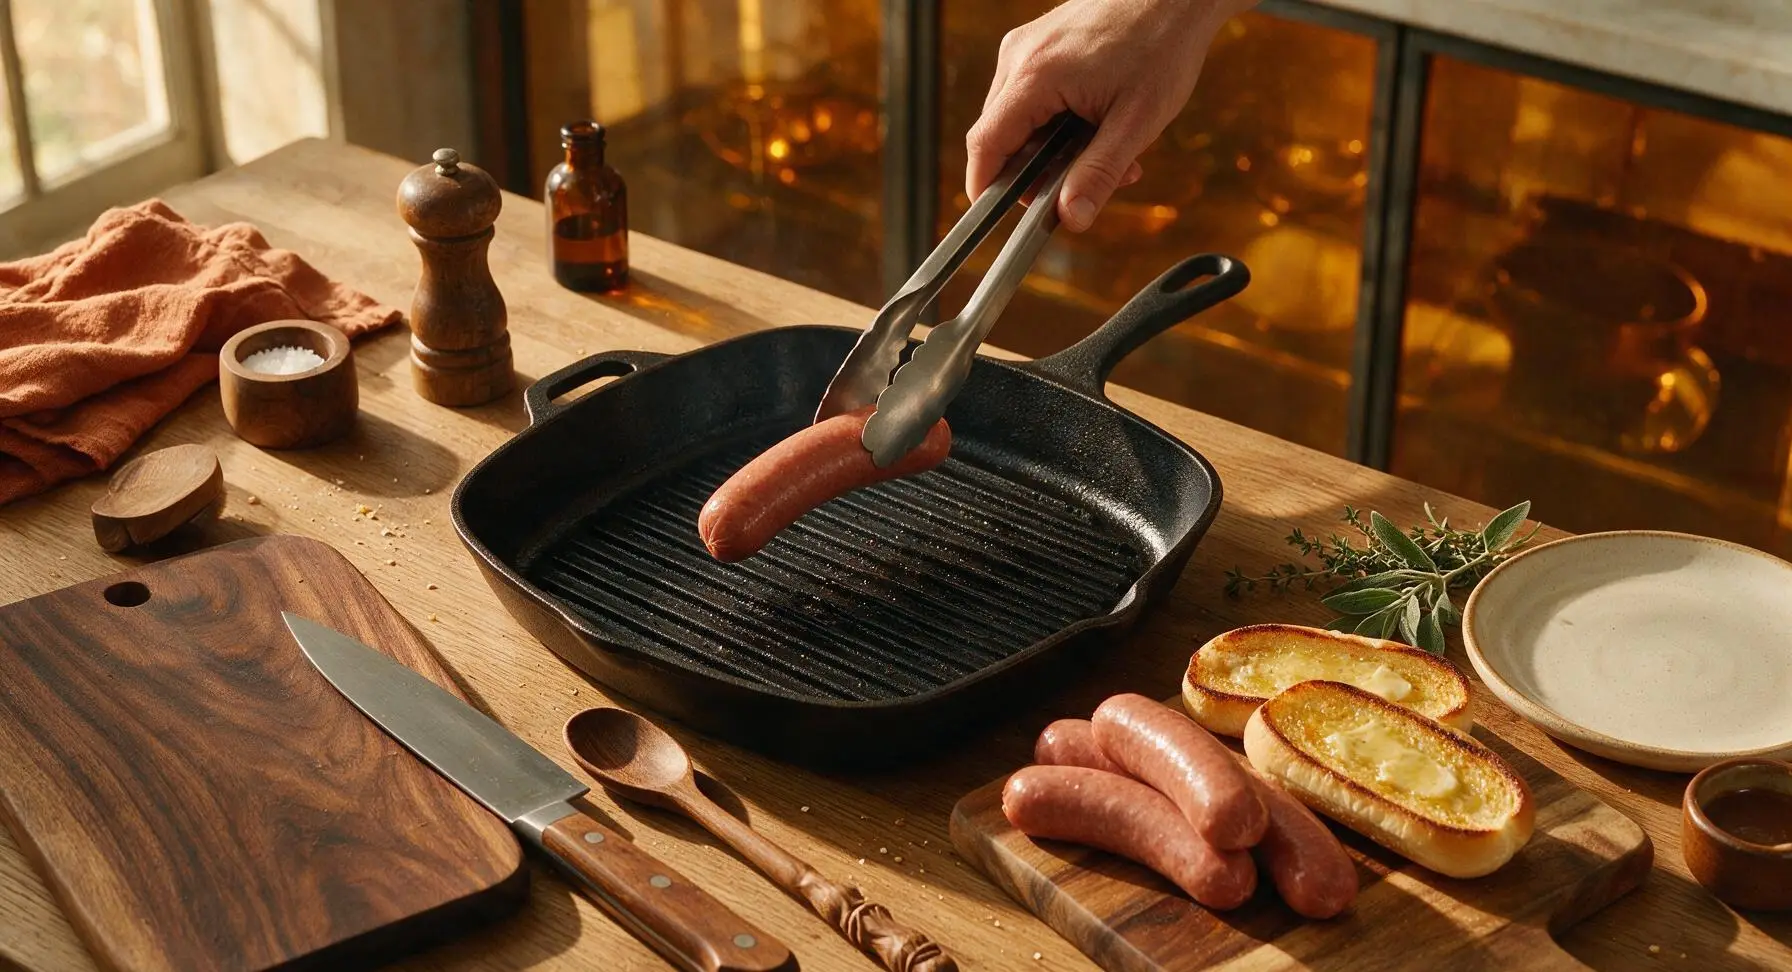
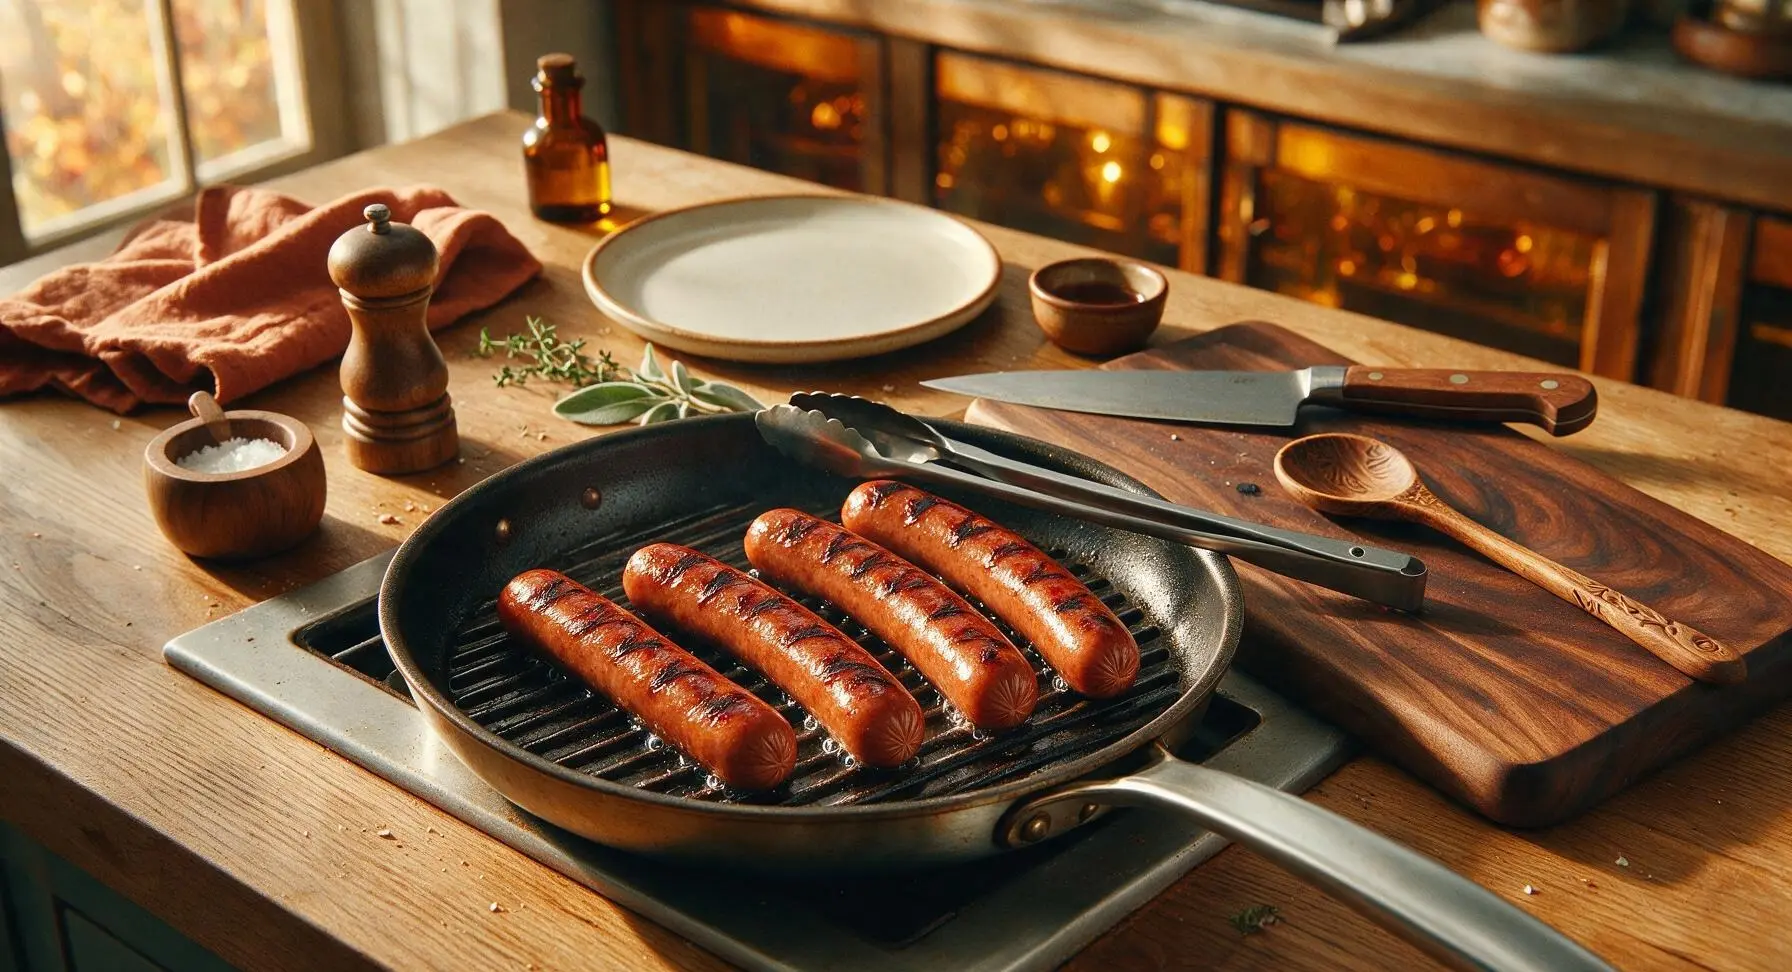
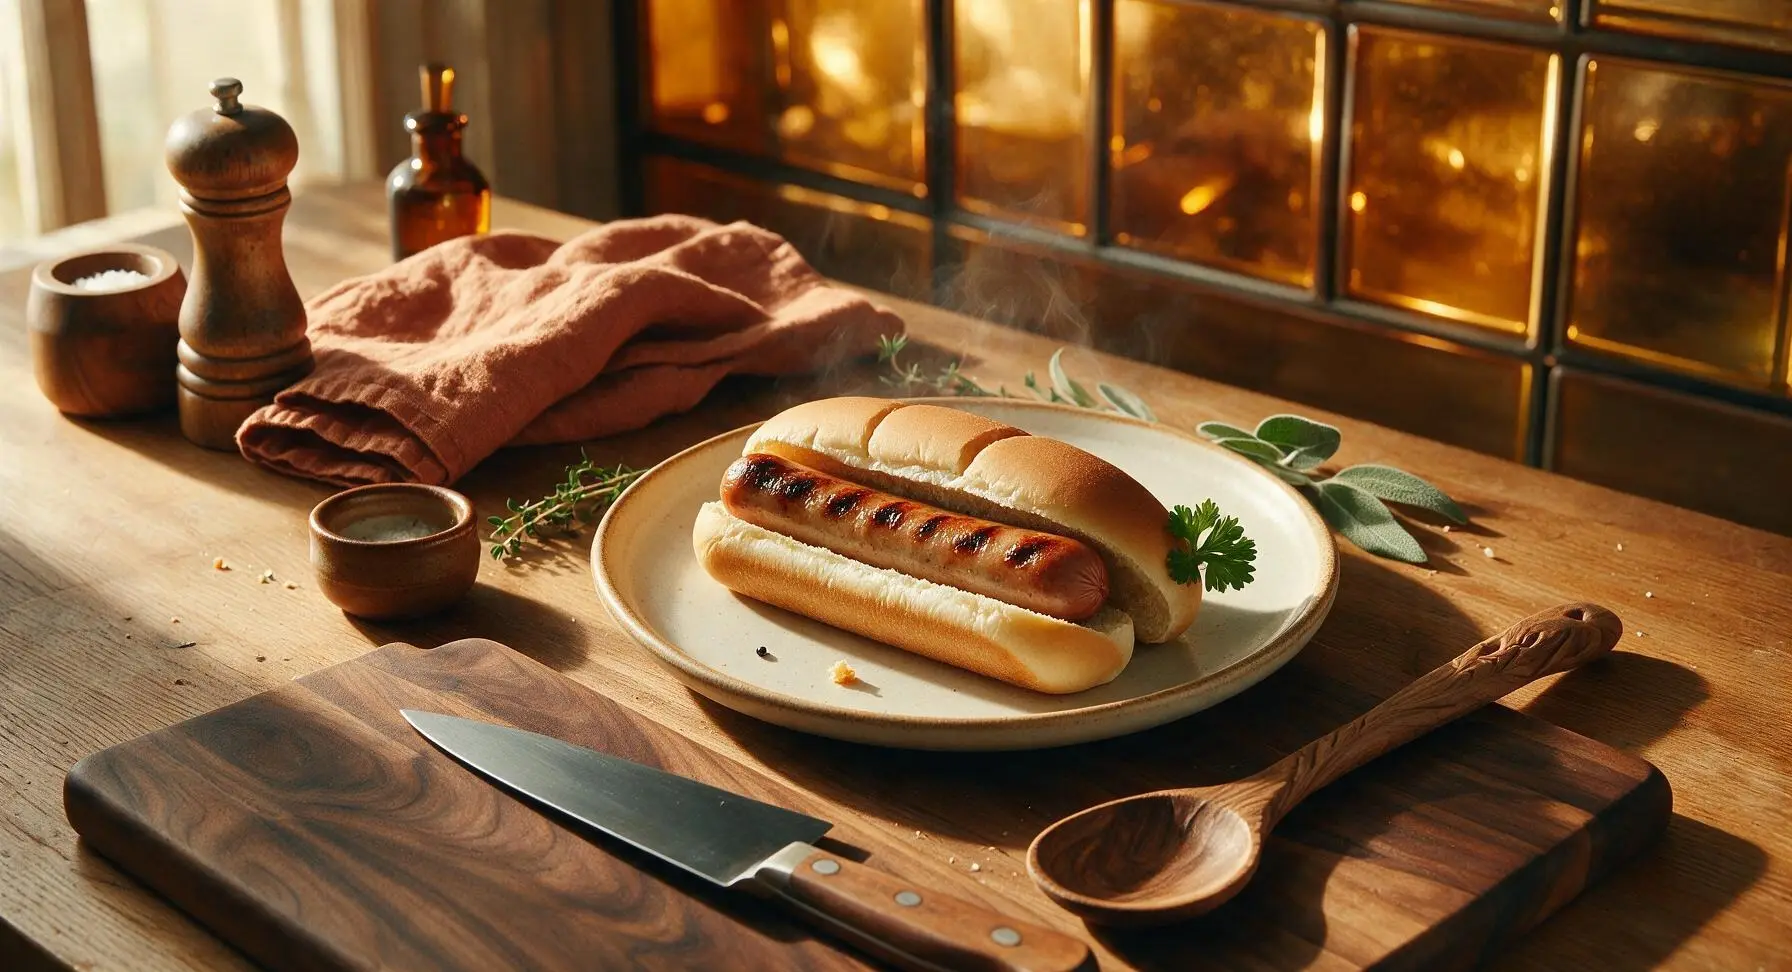
Use the stainless steel grill tongs to place the 4 all-beef franks directly on the preheated grill pan. Cook for 7-8 minutes total, turning every 2 minutes with the tongs, until the franks have dark, distinct grill marks on all sides, are plump and taut, and reach an internal temperature of 160°F/71°C. Do not pierce the franks with a fork, as this will let flavorful juices escape and cause grill flare-ups.
Toast Buttered Buns
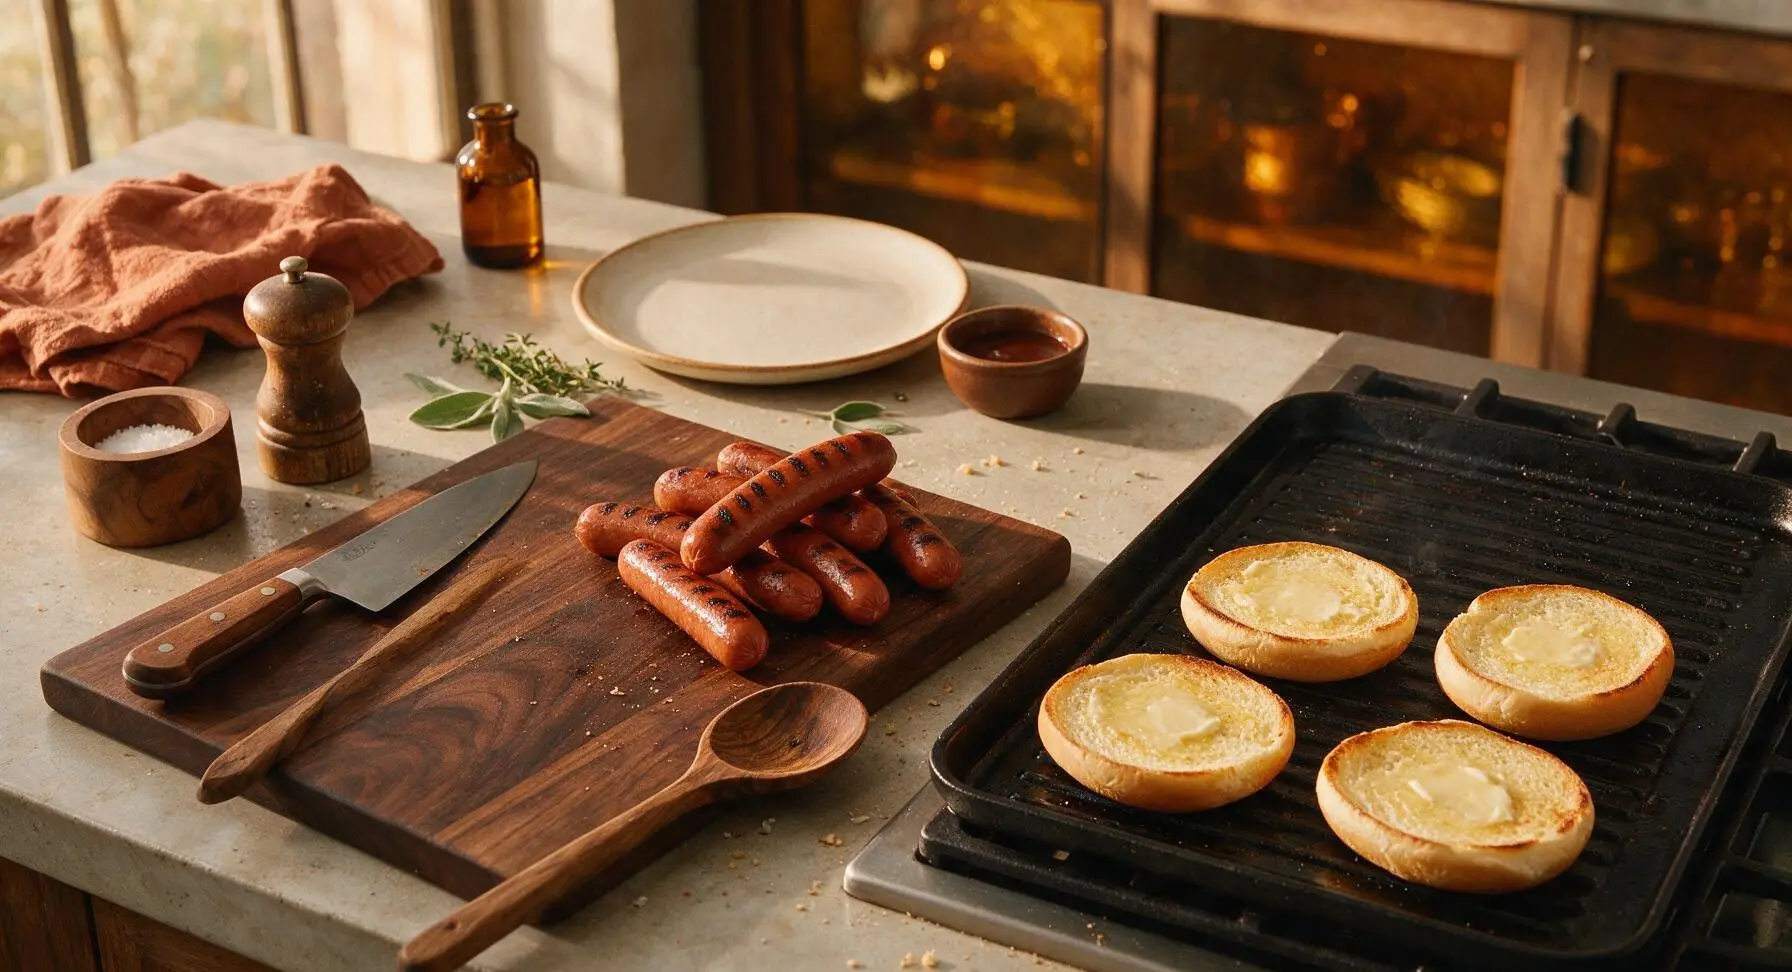
Once the franks are fully cooked, transfer them temporarily to the empty edge of the acacia cutting board with the tongs. Place the buttered buns cut-side down directly on the hot grill pan. Toast for 45-60 seconds, until the cut surface is golden brown with faint grill marks, and the bun is slightly crisp on the cut side but still soft and pillowy on the exterior. Watch closely to avoid burning, as the buttered surface toasts very quickly at grill temperature.
Nestle Franks in Buns
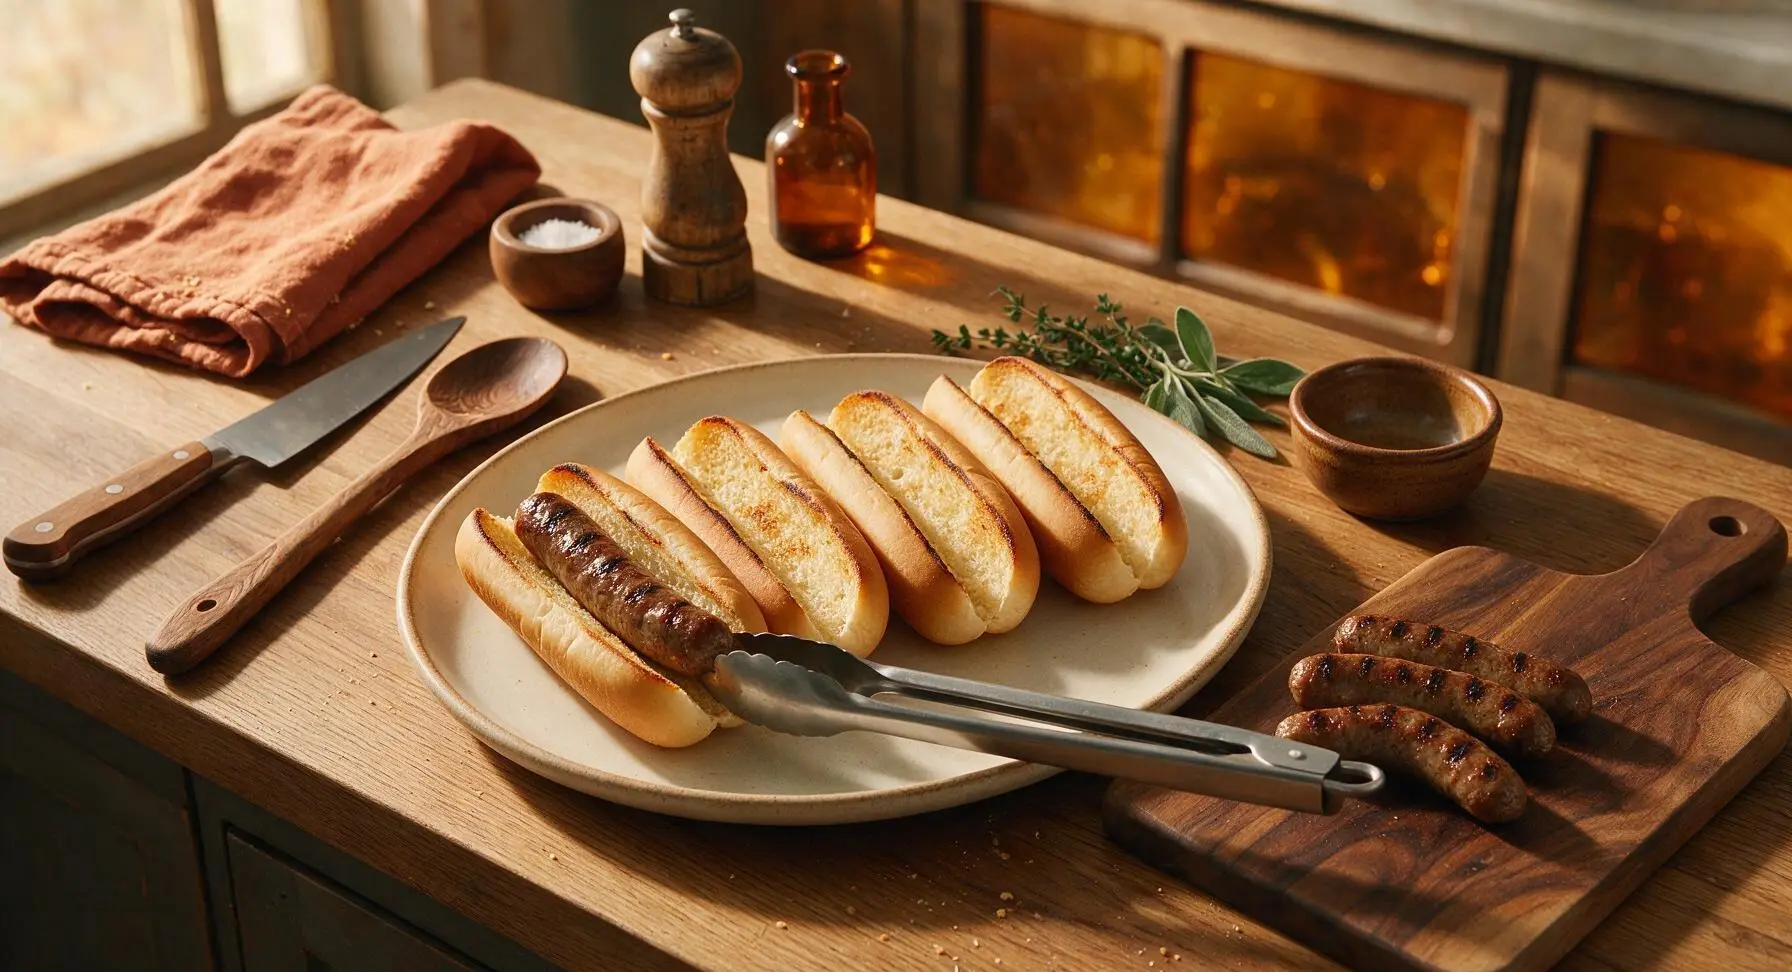
Use the tongs to lift each toasted bun off the grill pan, placing them cut-side up in a single row on the top matte cream white ceramic plate from the left-side stack. Tuck one grilled beef frank snugly into the split of each toasted bun, adjusting so the frank sits evenly with 1cm peeking out of both ends of the bun for a classic presentation.
Add Classic Toppings
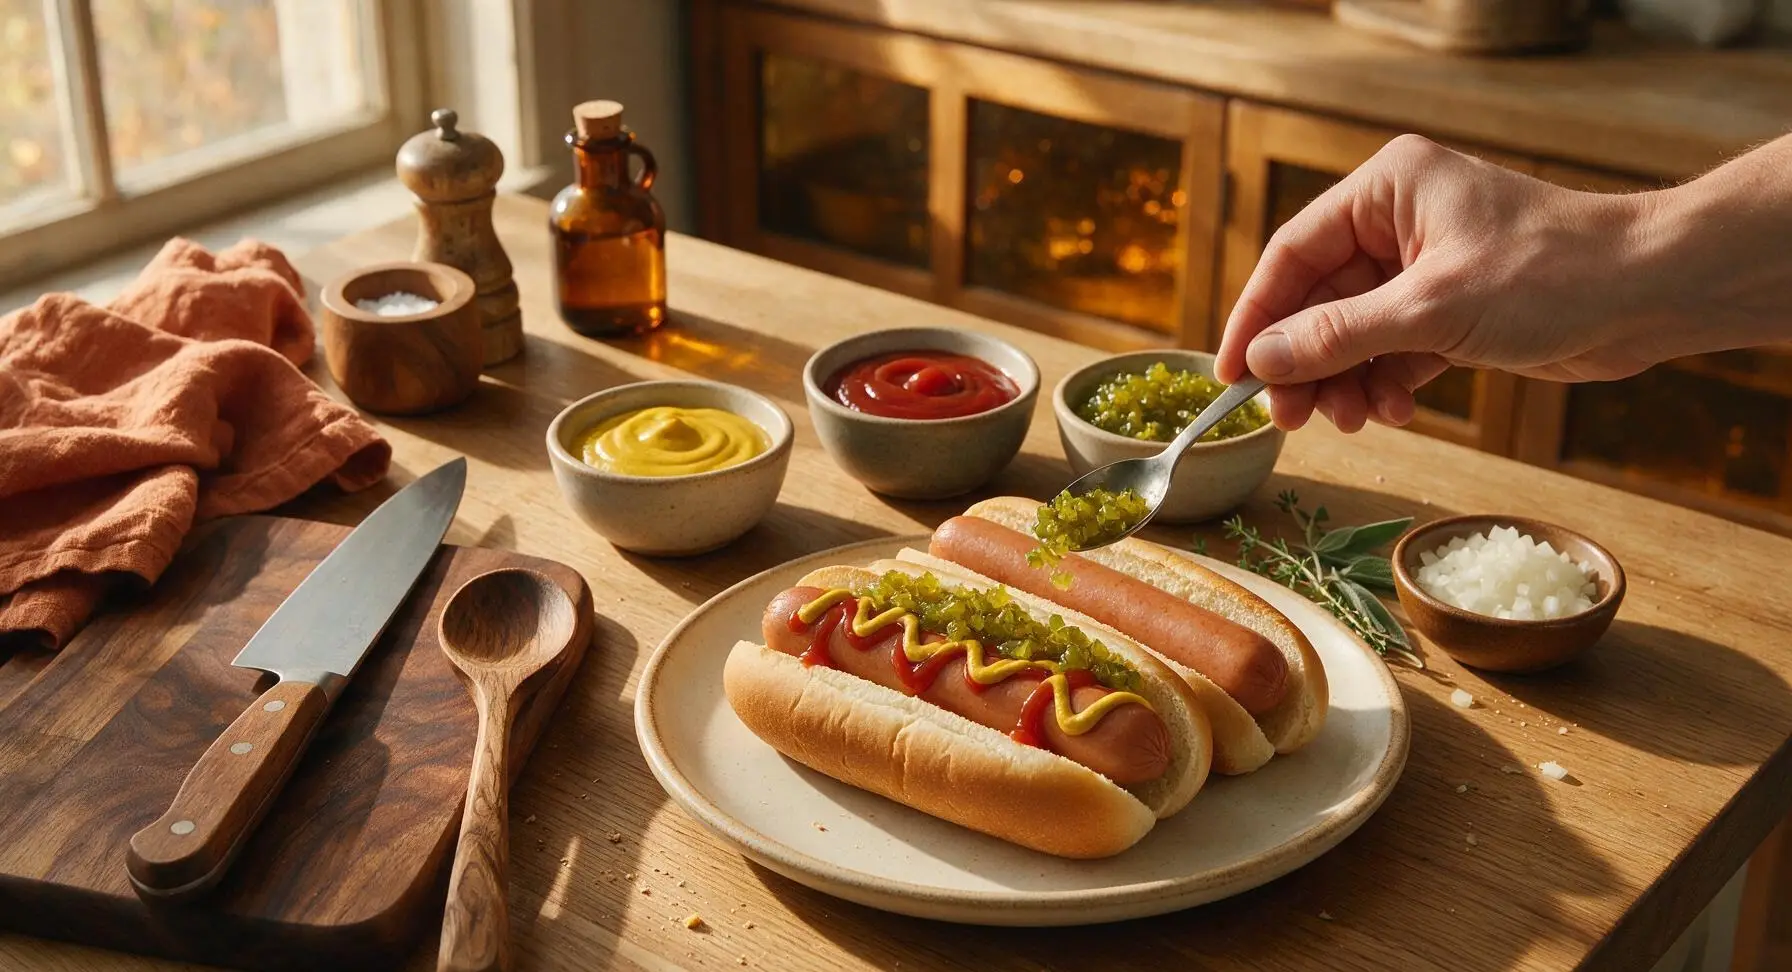
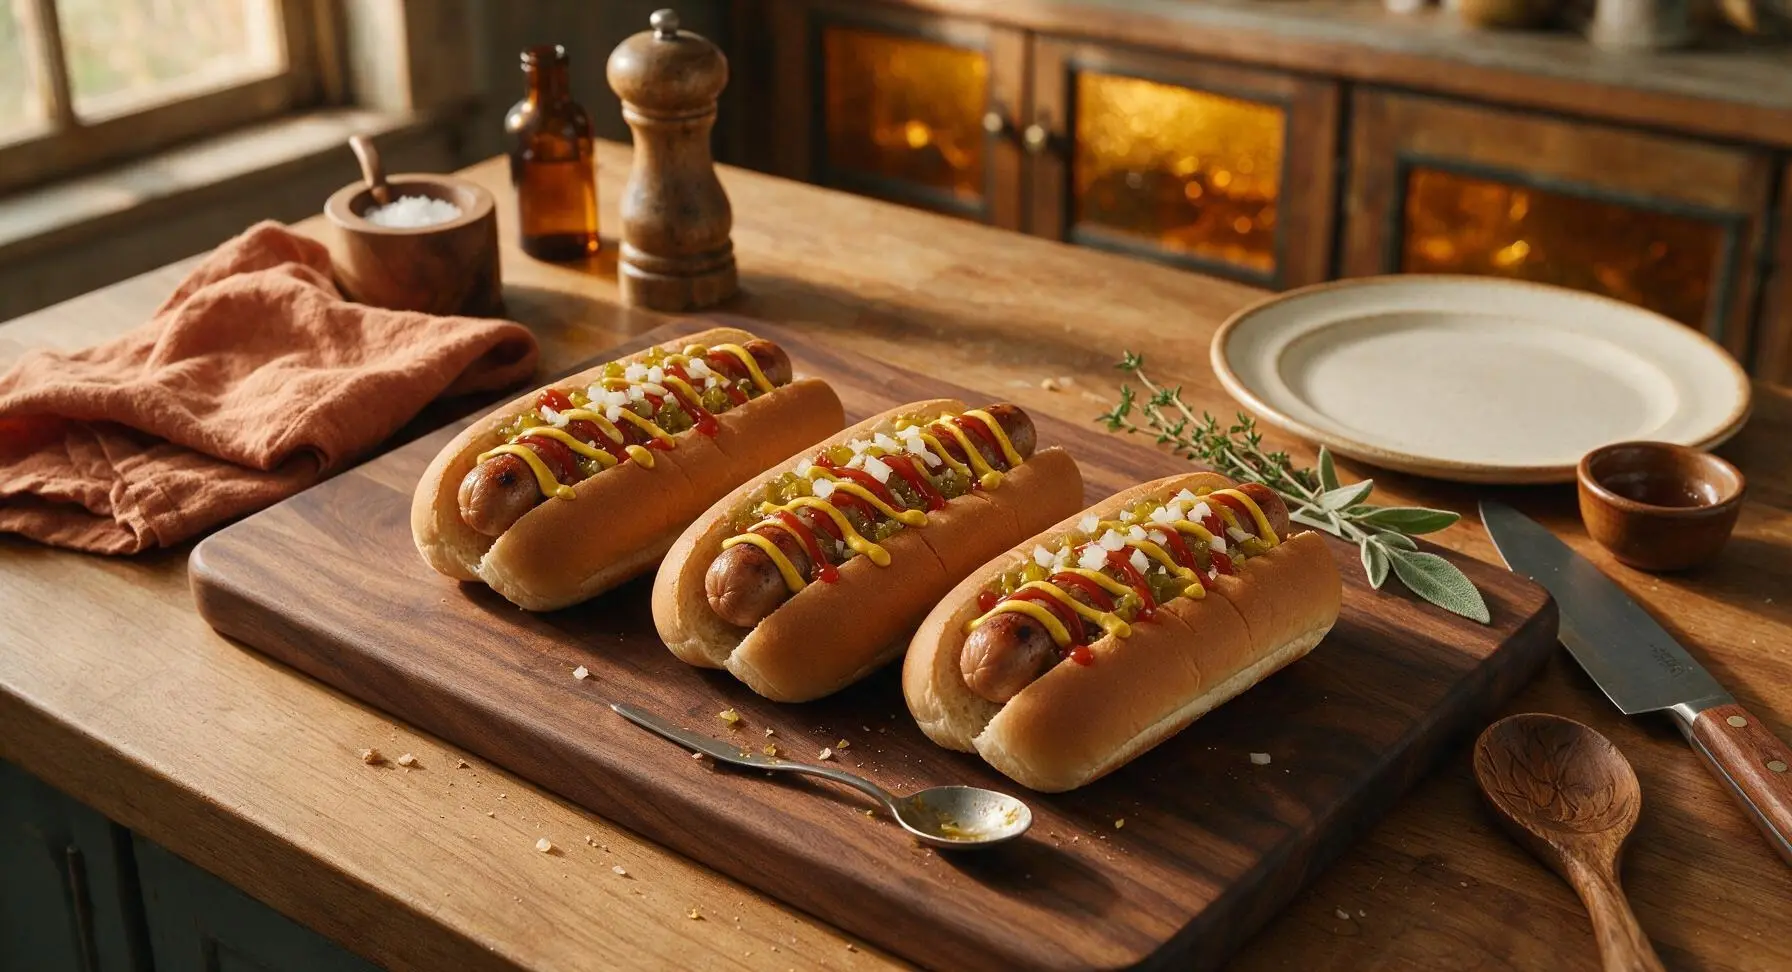
Use the small stainless steel condiment spoon to top each hot dog evenly: first a zigzag of yellow mustard, then a thin parallel drizzle of ketchup, followed by 1 heaping teaspoon of sweet dill relish, and a light sprinkle of finely diced white onion. Do not overstuff the buns, so toppings stay securely in place when the sandwich is picked up to eat.
Garnish and Serve
Tuck one small curly parsley leaf against the right edge of each bun for a pop of fresh green color. Let the hot dogs rest for 1 minute before serving, so the buns absorb a thin layer of savory frank juice for extra flavor, and the toppings settle slightly to prevent sliding.
Tips
2.Butter bun cut sides before toasting instead of toasting dry: the melted butter creates a thin, crisp, water-resistant barrier that prevents the bun from getting soggy from condiments or hot dog juices, even if you let the sandwich sit for 10-15 minutes before eating.
3.Let assembled hot dogs rest for 1 minute before adding cold toppings: this brief rest lets the bun absorb a thin layer of savory frank juice for deeper flavor, and lets the frank surface cool slightly so cold mustard, ketchup, and relish don't slide off the hot, slick sausage immediately.






OMG these came out SO good for our weekend backyard cookout! I topped mine with diced onions, sweet relish and a squirt of yellow mustard, just like my dad used to make when I was a kid. Total cook time was right at 12 minutes like the recipe said, zero hassle even when I was juggling running the grill and watching the kids run around the yard. My kids loved it so much they asked for seconds before they even finished their first dog! 10/10 will be making these for our next potluck too.
Super easy recipe, perfect for quick weeknight dinners when I don’t feel like putting a ton of effort in after work. I prepped a pack of these last Sunday to eat for quick lunches through the week, they reheat way better than I expected! Only tiny note is I turned the heat up a little too high my first go and charred one of the dogs a liiiittle too much, but that was 100% my bad, not the recipe’s fault.
Made these for our neighborhood block party last weekend and they were gone in 10 minutes flat! I set out a whole topping bar with chili, sauerkraut, cheese, pickles, jalapeños, and all the condiments so people could build their own, and everyone was raving about how perfectly juicy the grilled dogs were. Way better than boiling them, I’ll never go back!