
hot pocket burrito
intro
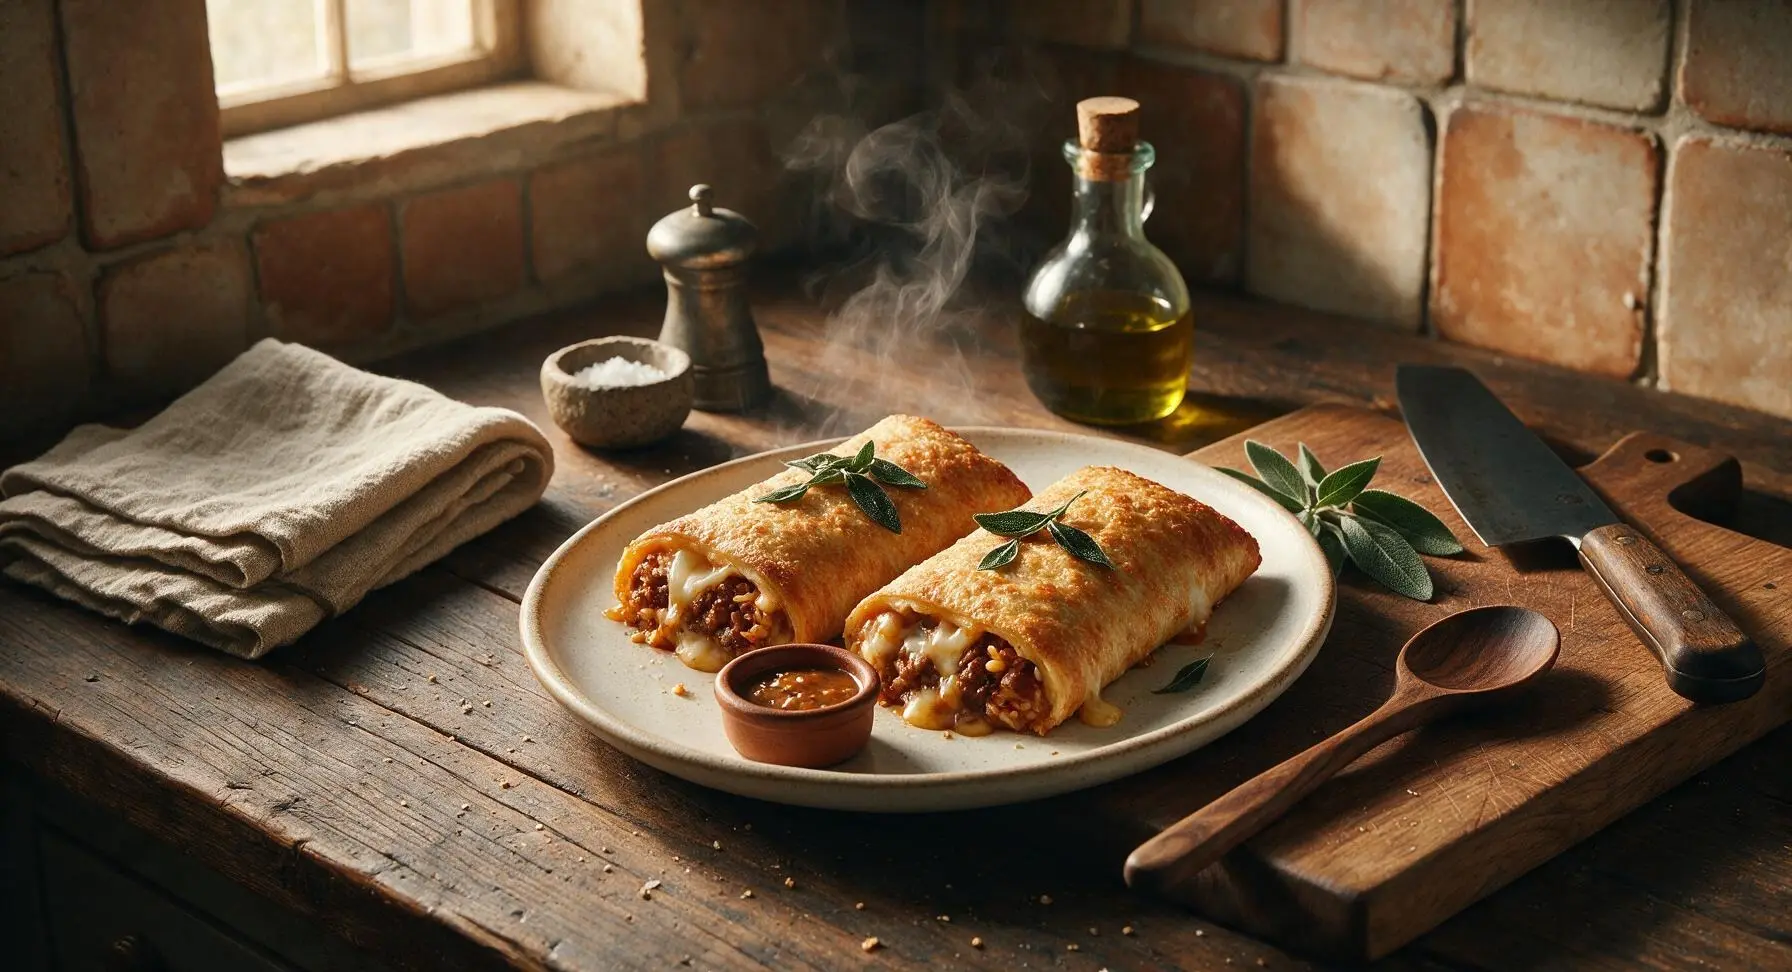
Crispy golden baked burritos stuffed with seasoned beef, rice, beans, and melty cheese—all the cozy Tex-Mex flavor you love in a mess-free, hand-held hot pocket format.
Ingredients
Steps
Sauté Beef Filling
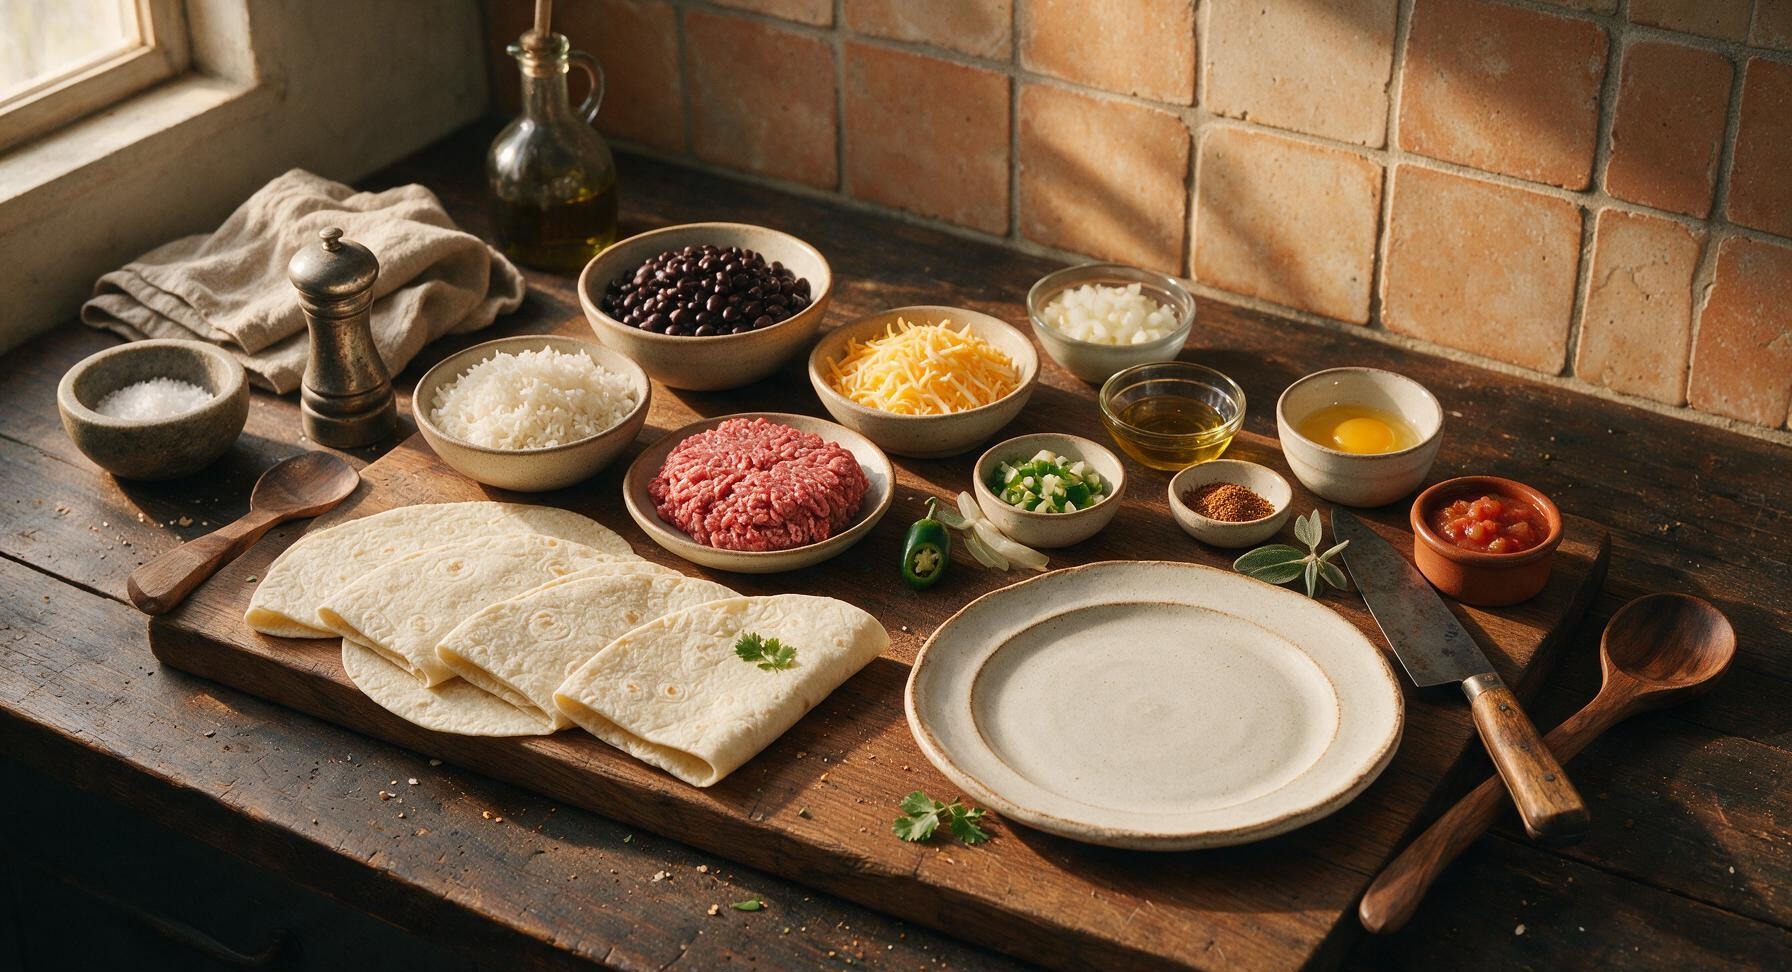
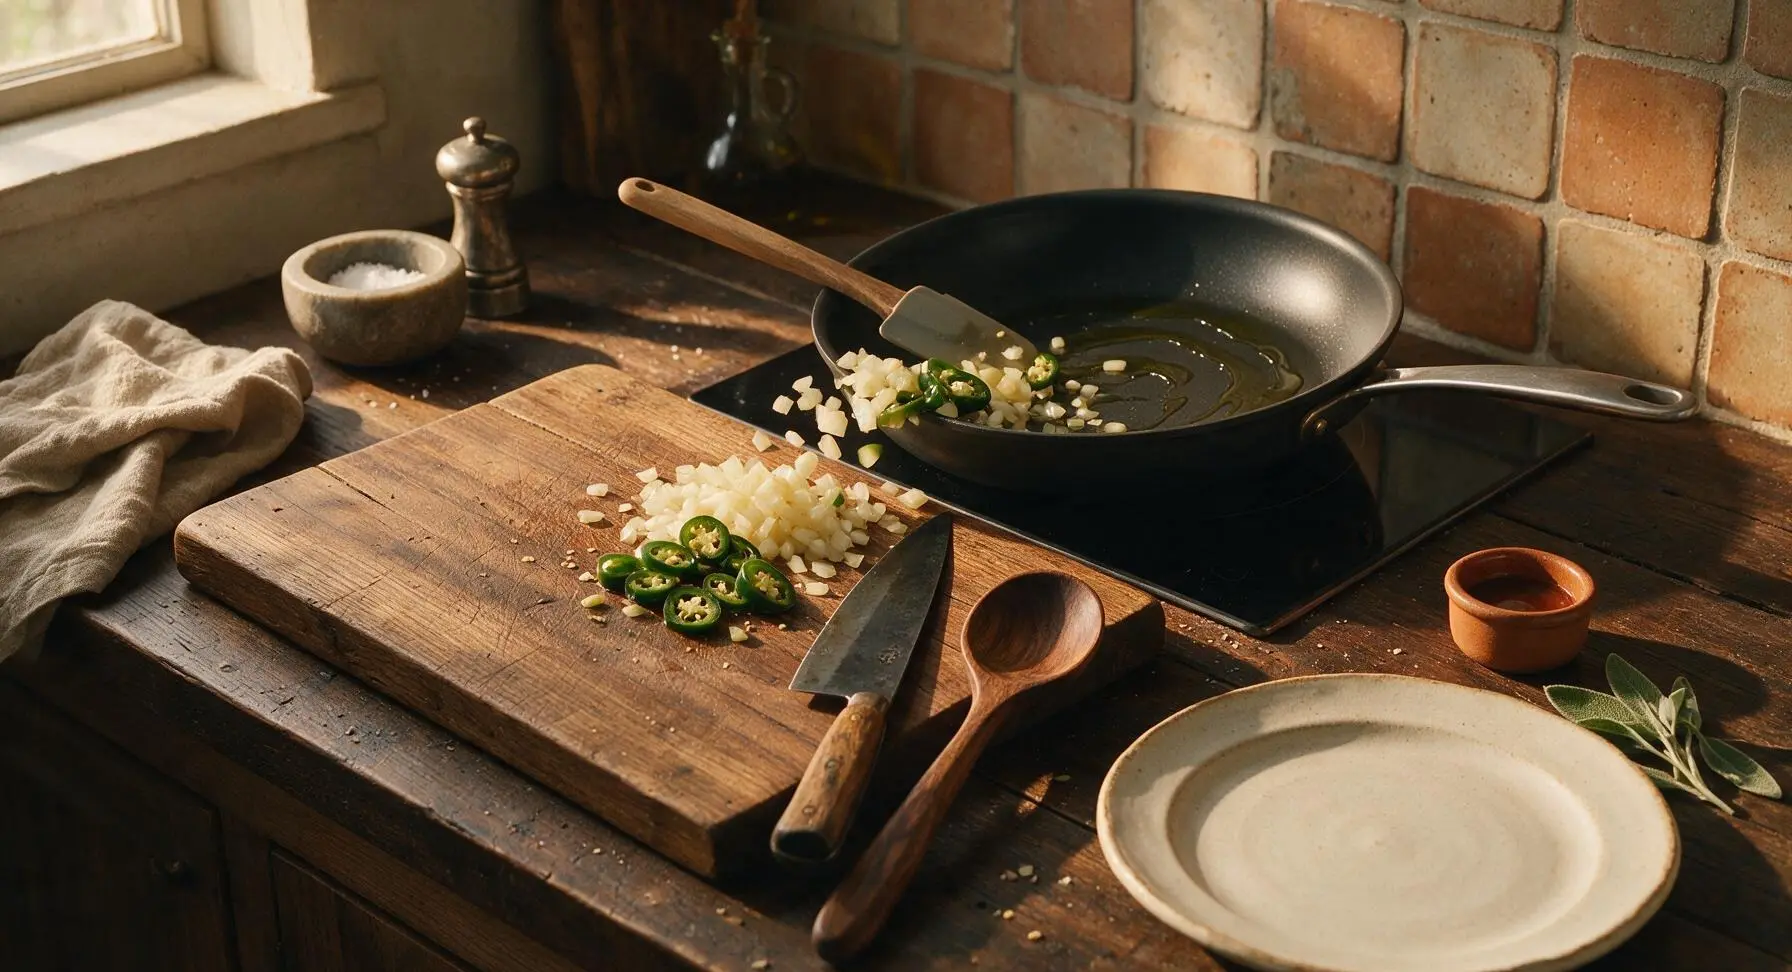
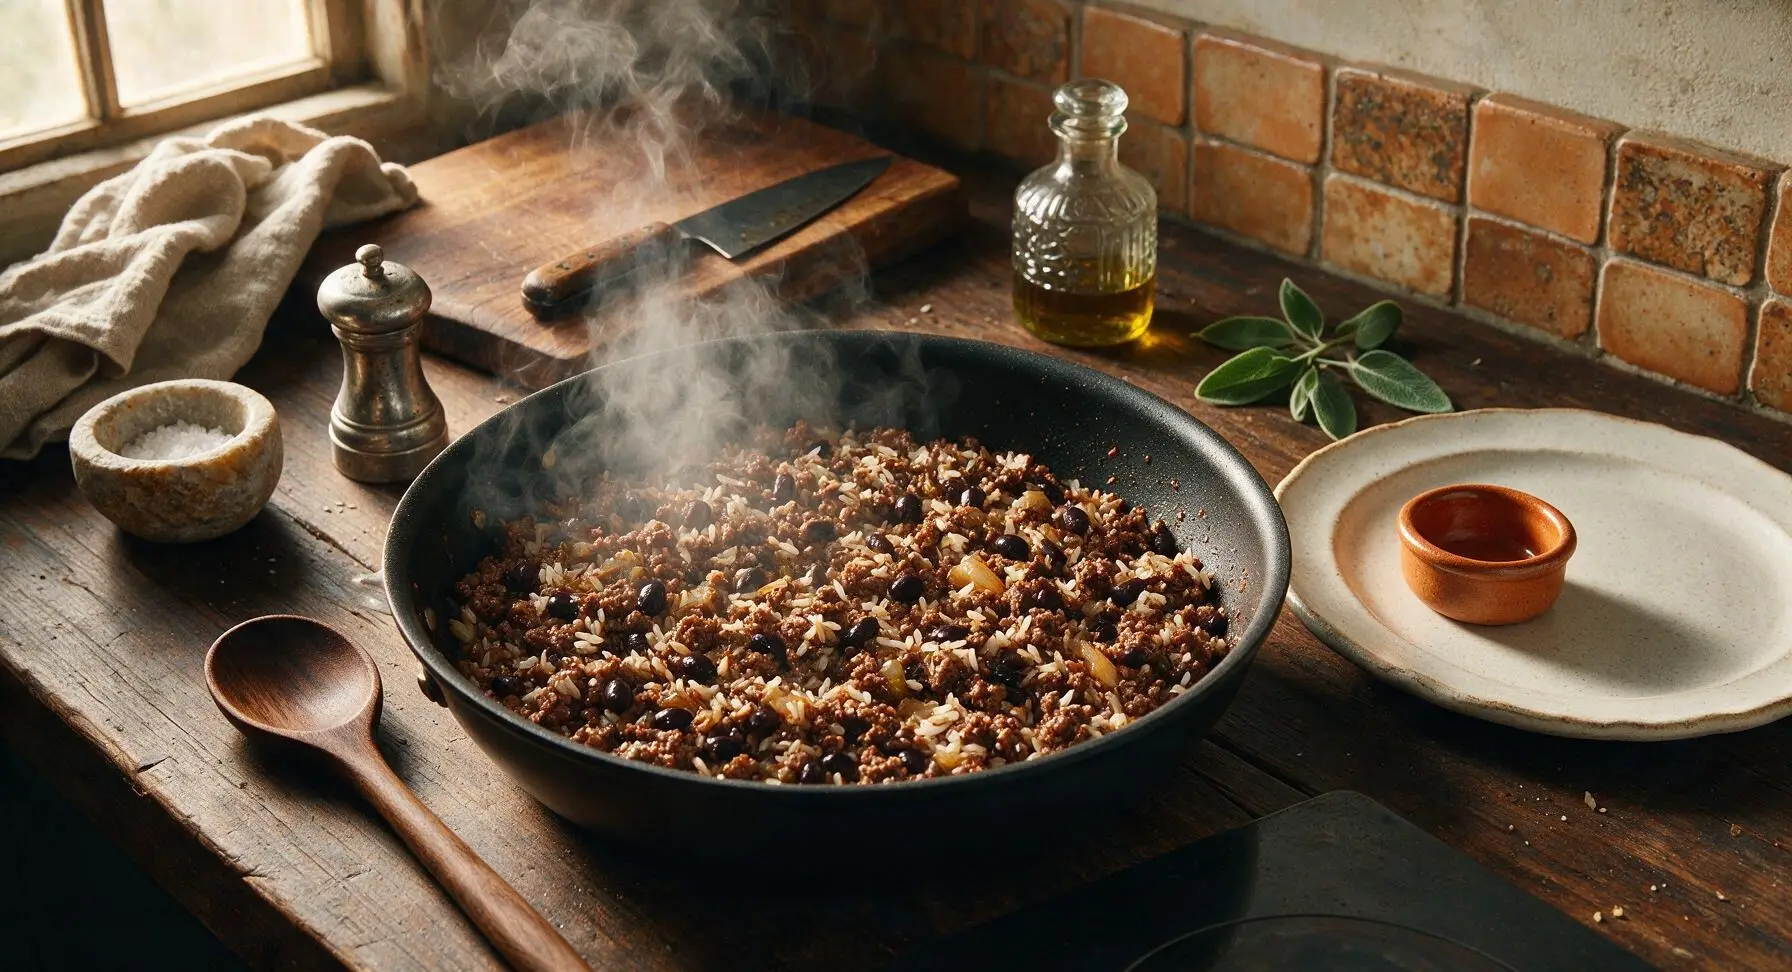
Heat 1 tablespoon olive oil in the 10-inch matte black non-stick skillet over medium heat (350°F/175°C on the induction burner). Add diced yellow onion and seeded jalapeño, sauté for 3 minutes until soft and translucent. Add ground beef, breaking it into fine crumbles with the silicone spatula as it cooks. Cook 5-6 minutes until no pink remains in the beef, then stir in 2 tablespoons taco seasoning and 2 tablespoons water. Simmer 2 minutes until the spiced liquid thickens and coats the beef, then remove from heat, stir in cooked white rice and rinsed black beans, and let the filling cool 5 minutes (hot filling will tear tortillas during folding).
Fill Tortilla Wraps
Lay all 4 10-inch flour tortillas flat on the bamboo cutting board. Spoon exactly 1/4 of the cooled beef filling in a tight line down the center of each tortilla, leaving a 1.5-inch clear border on all sides. Top each filling mound with 1/4 cup shredded cheddar jack cheese. Do not overfill, as excess filling will burst through seams during baking.
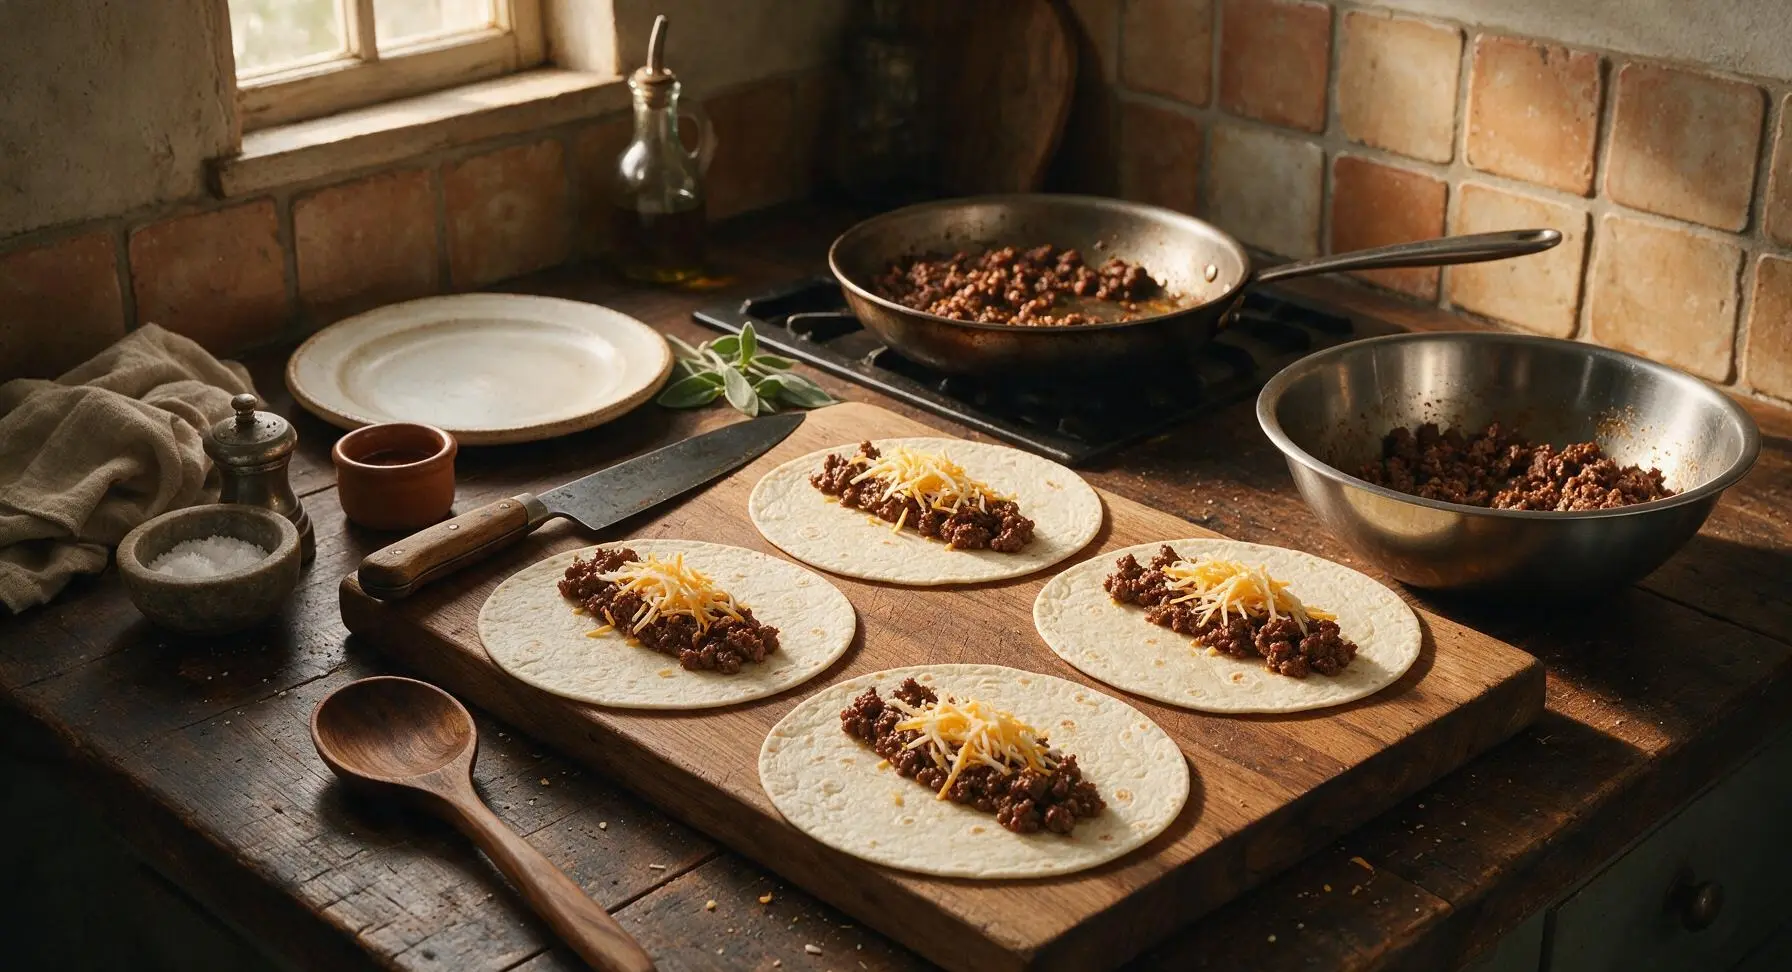
Fold Sealed Pockets
For each filled tortilla, first fold the short 1.5-inch end borders in over the filling to seal the ends, then roll the long side of the tortilla tightly over the filling to create a compact, cylindrical burrito shape. Press the seam gently with your palm to help it adhere, ensuring no filling peeks out from any edges.
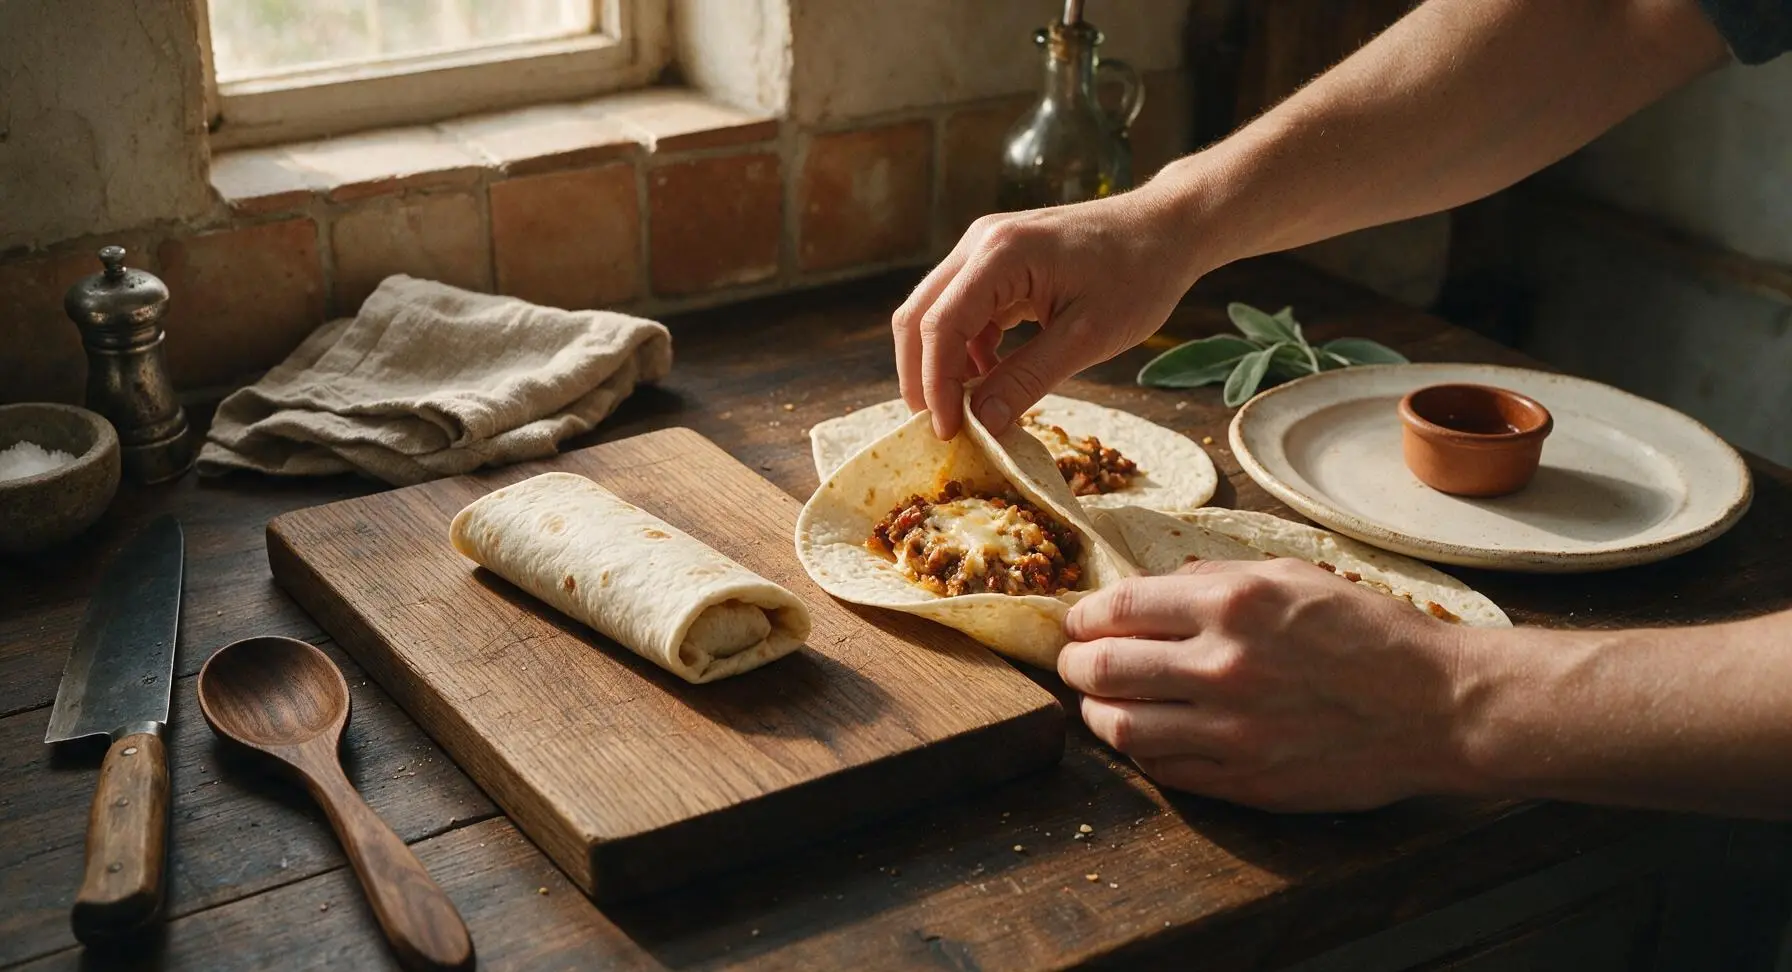
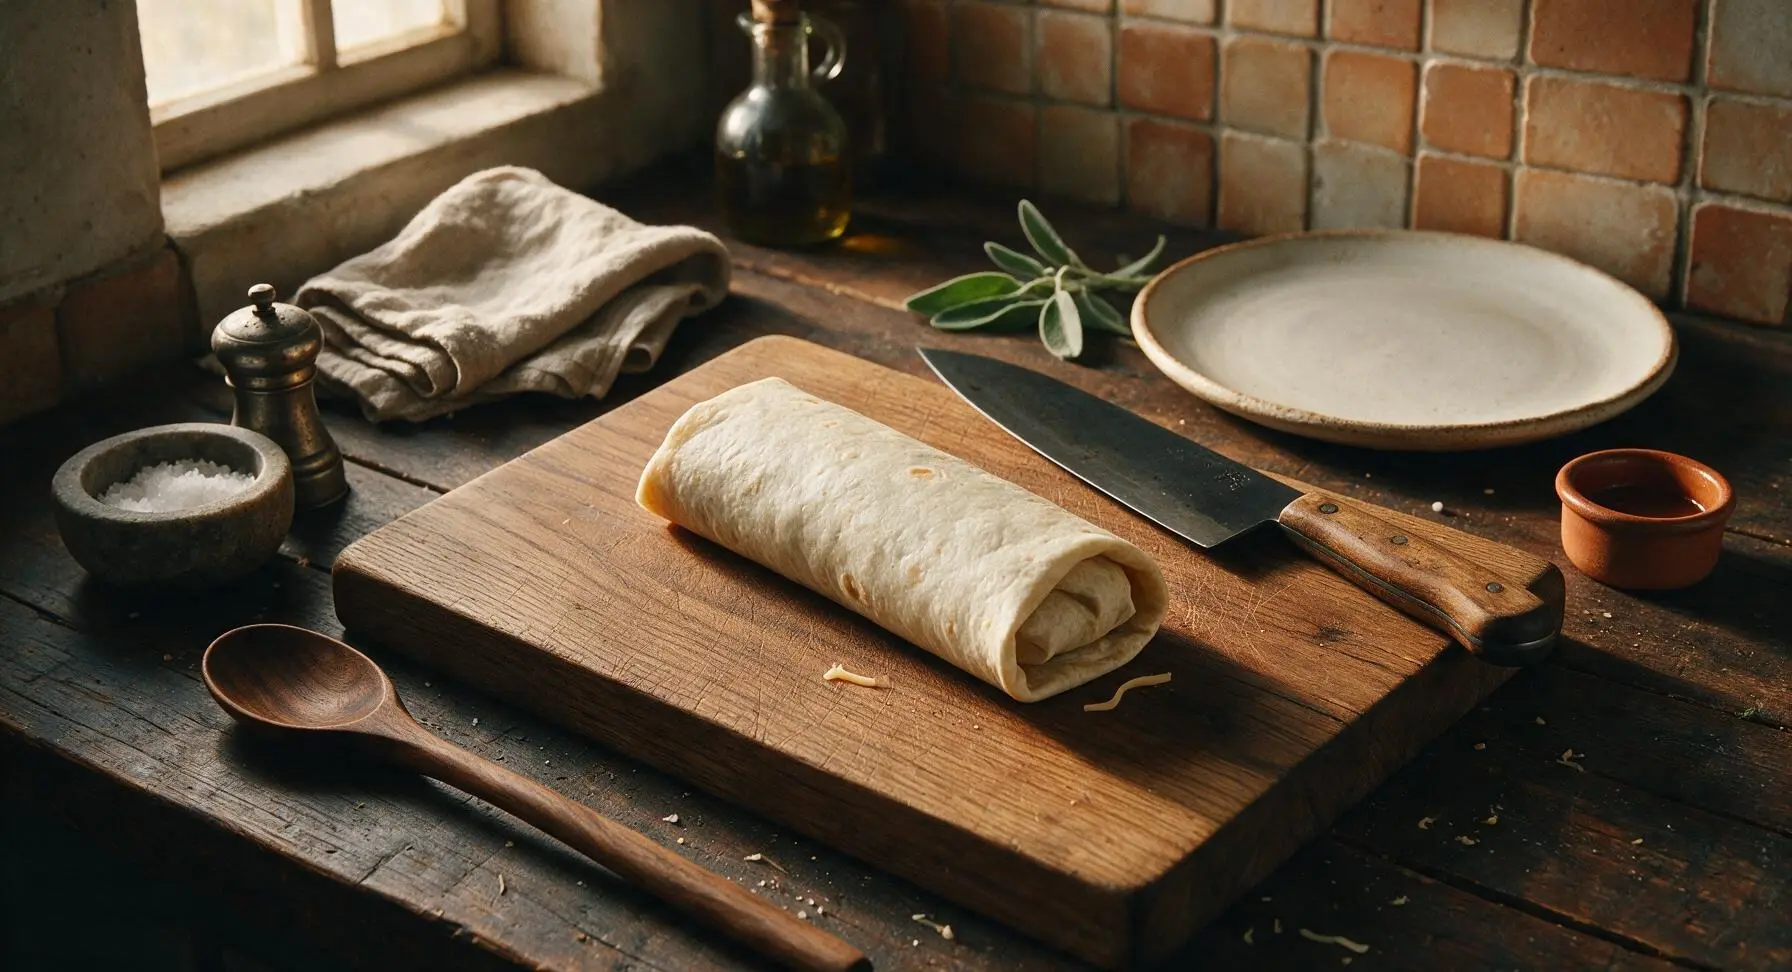
Arrange on Baking Sheet
Line the light silver aluminized steel baking sheet with a sheet of unbleached parchment paper. Place all 4 folded burritos seam-side down on the sheet, spaced 2 inches apart to allow hot air to circulate and crisp every side evenly during baking.
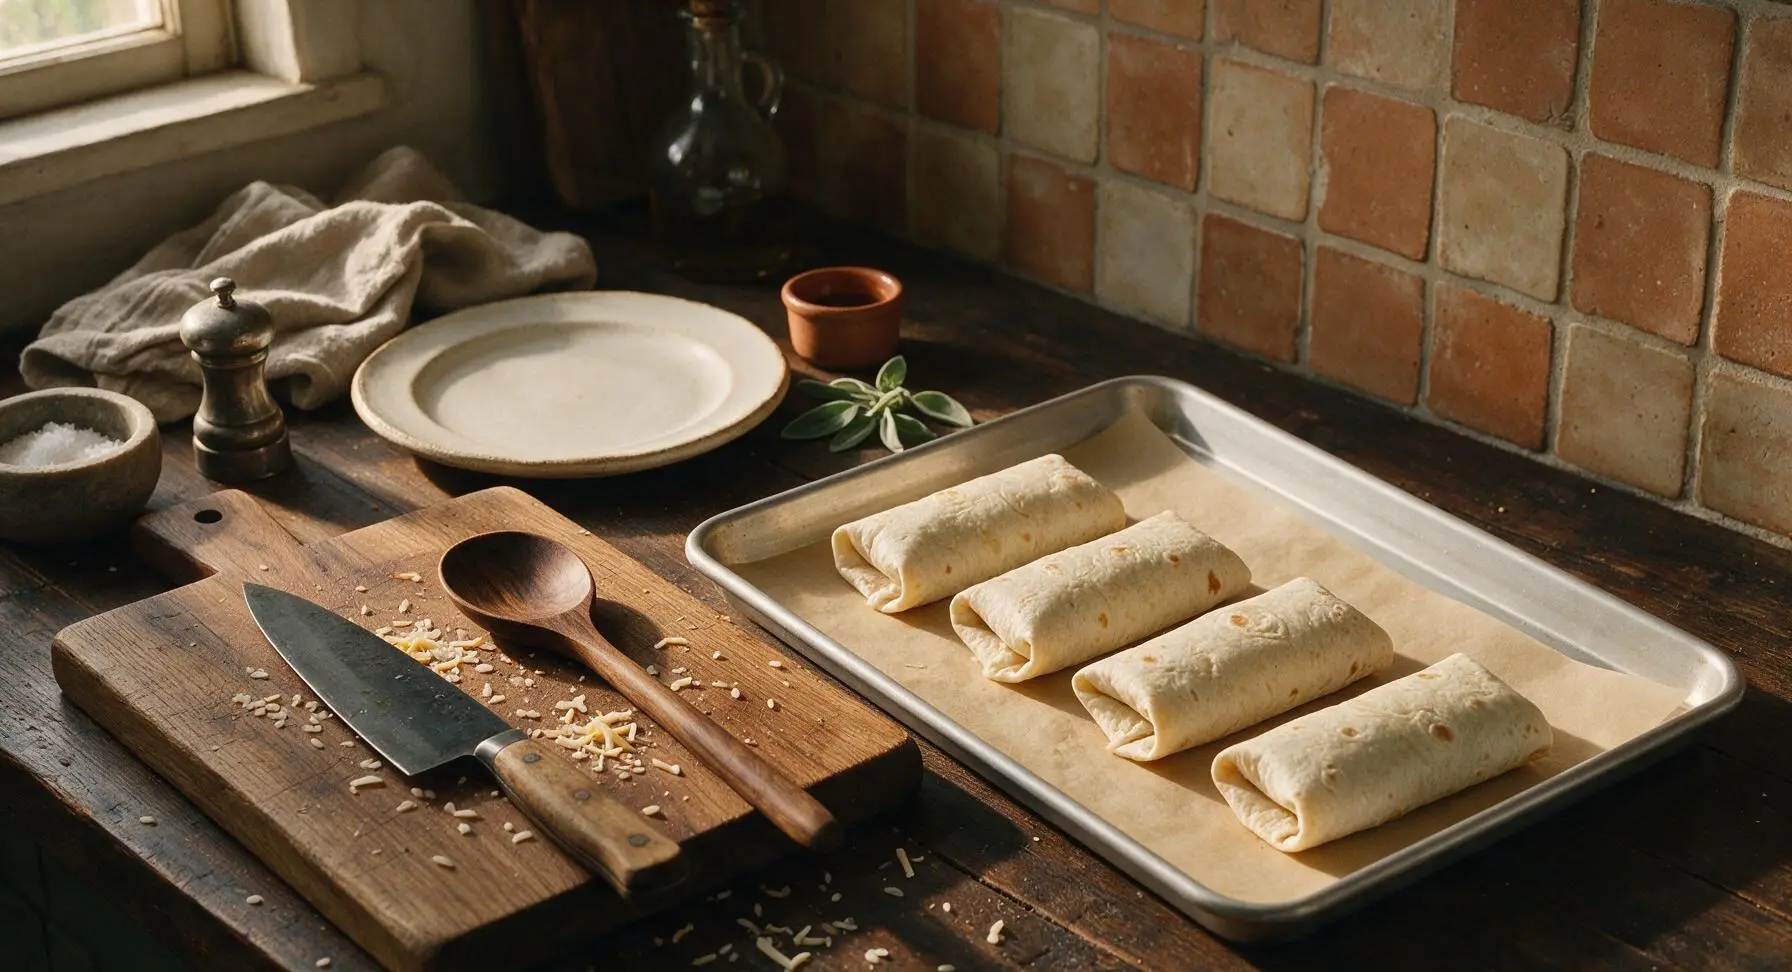
Brush with Egg Wash
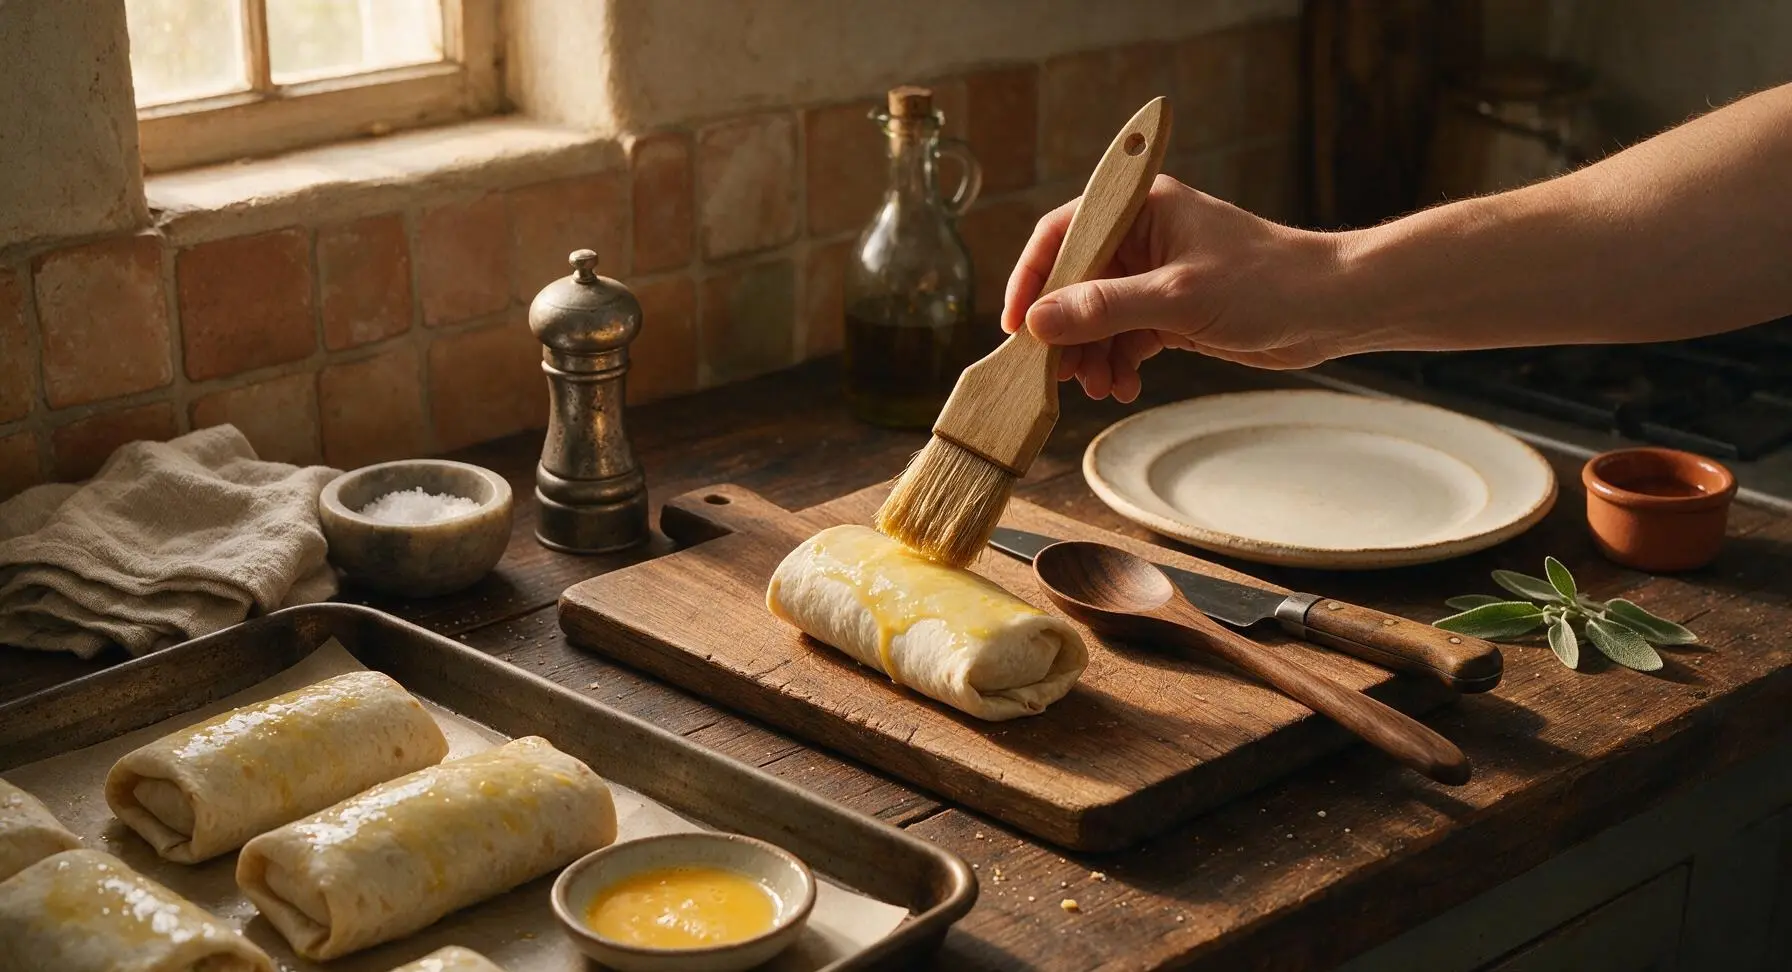
Use the natural boar bristle pastry brush to lightly coat the entire exposed top and side surface of each burrito with beaten egg. The thin egg wash will create a shiny, ultra-crispy golden crust as it bakes, rather than a dry, matte tortilla finish.
Bake Until Golden
Carefully slide the baking sheet into a preheated 400°F (200°C) oven. Bake for 15-18 minutes, rotating the sheet 180 degrees at the 8-minute mark for even browning. The burritos are done when the tortillas are deep golden brown, crispy to the touch, and small bubbles of melted cheese peek out from the seams.
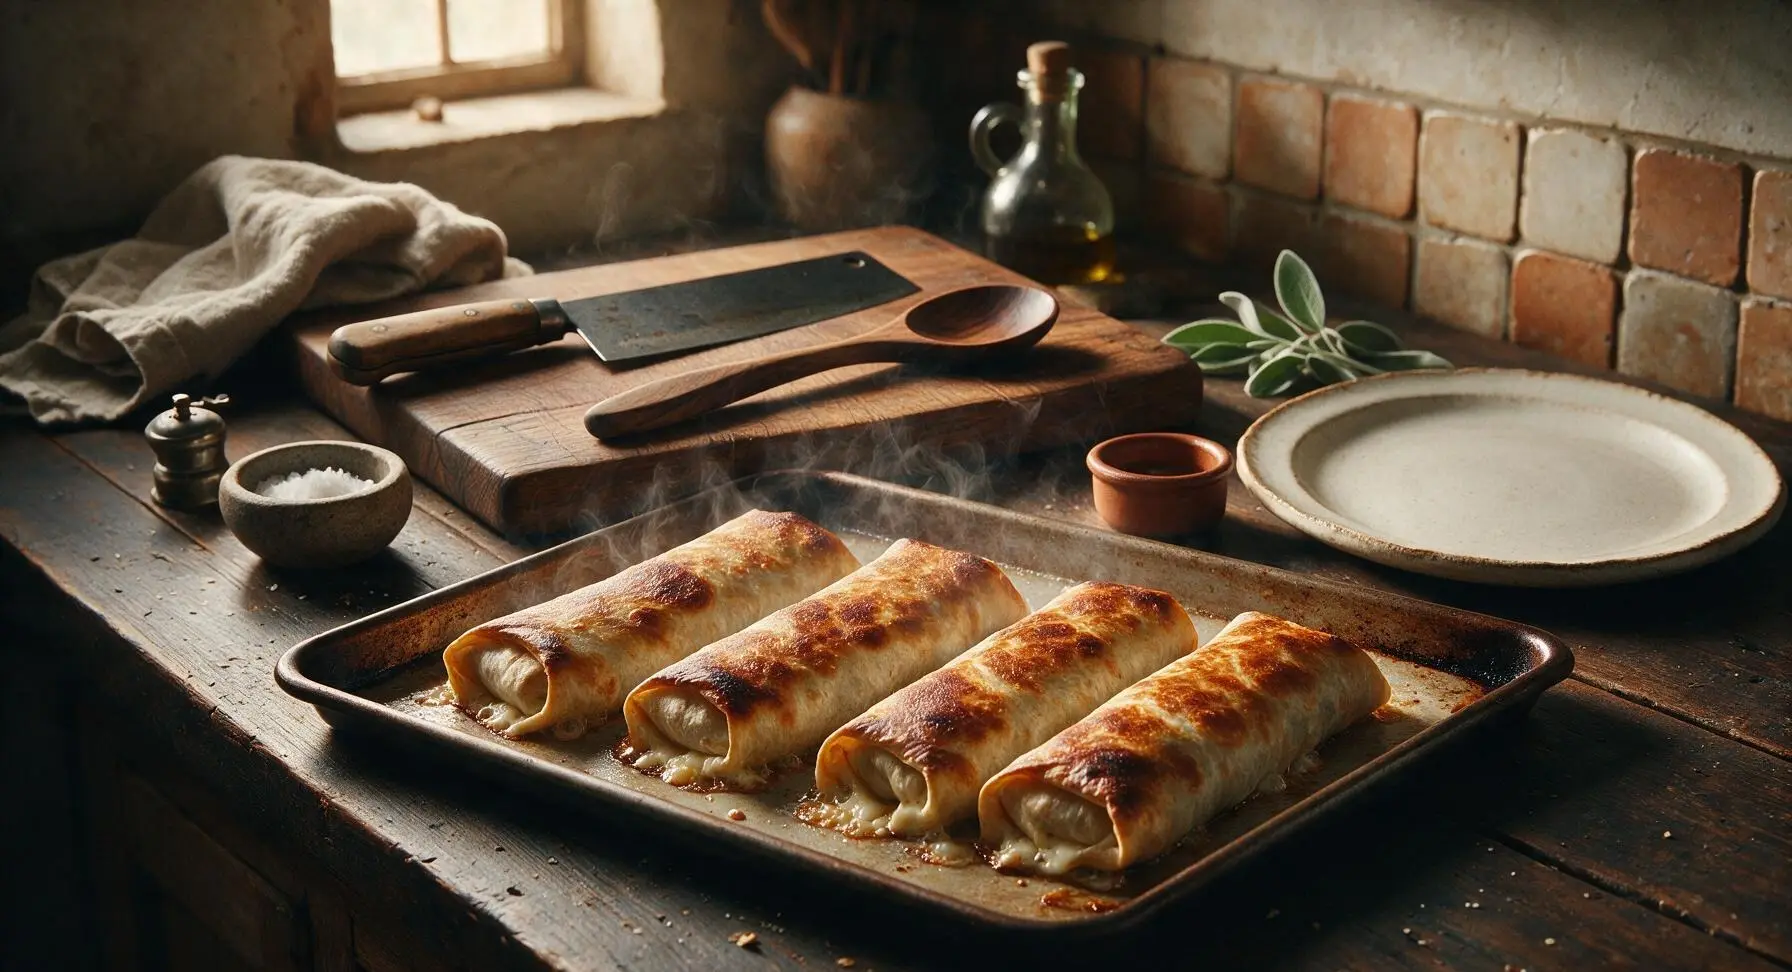
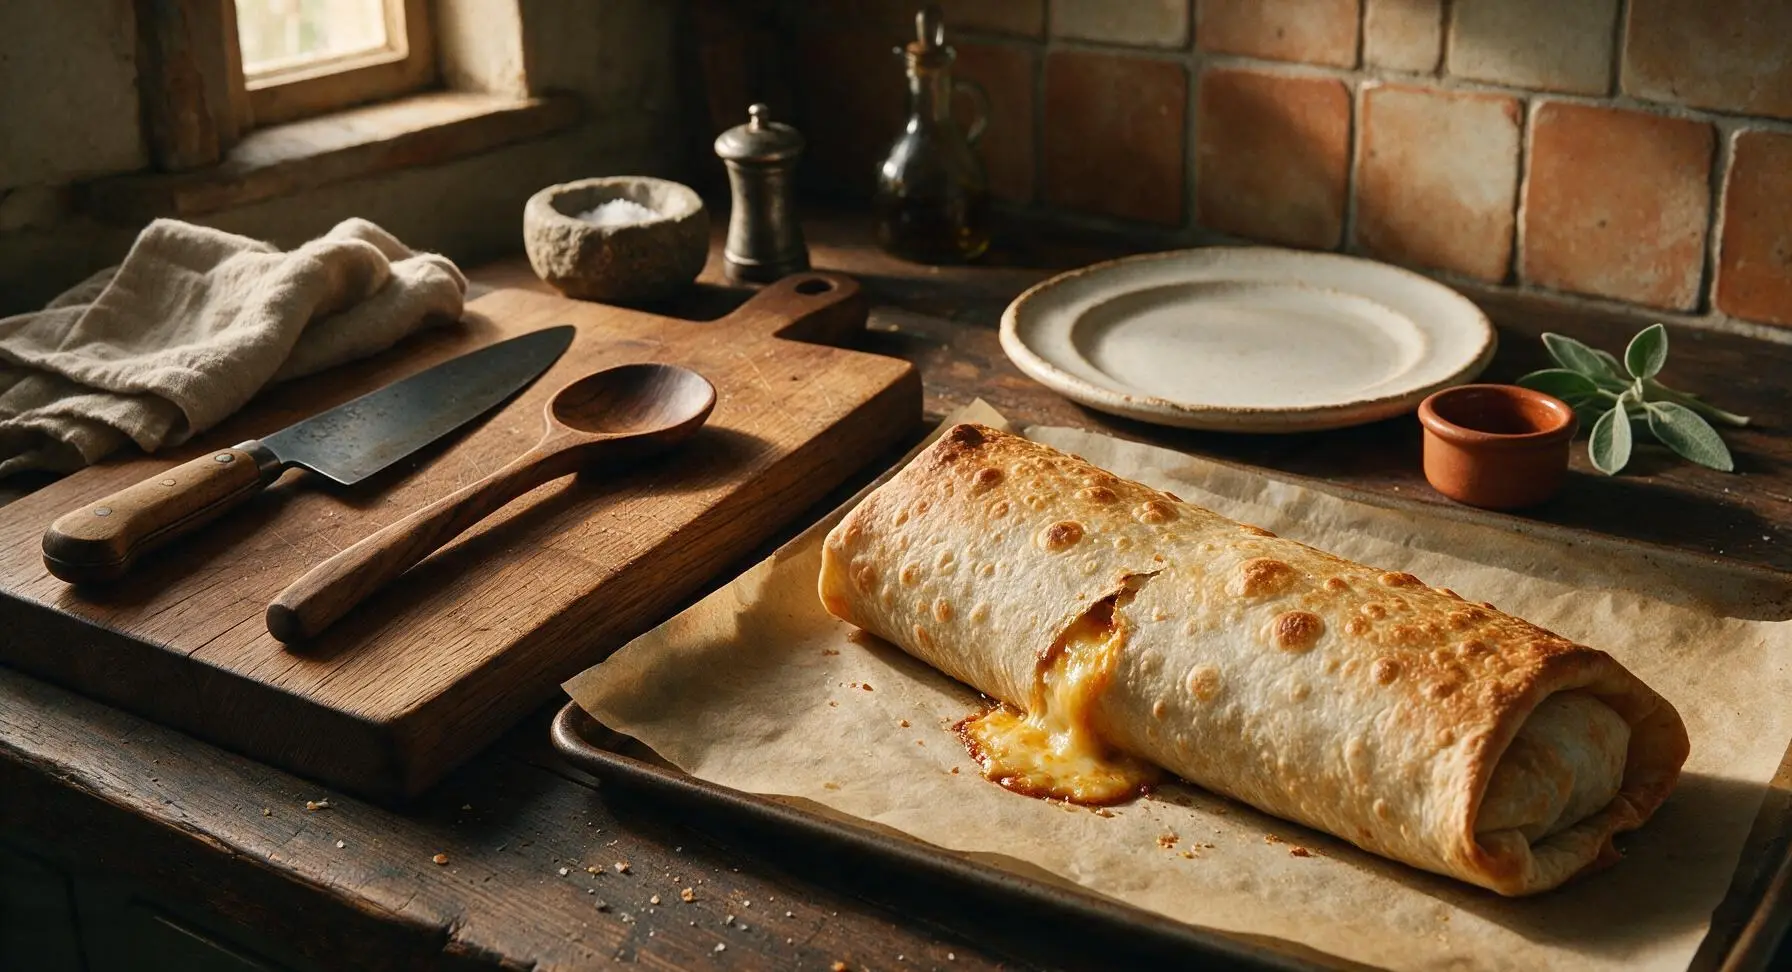
Plate and Garnish
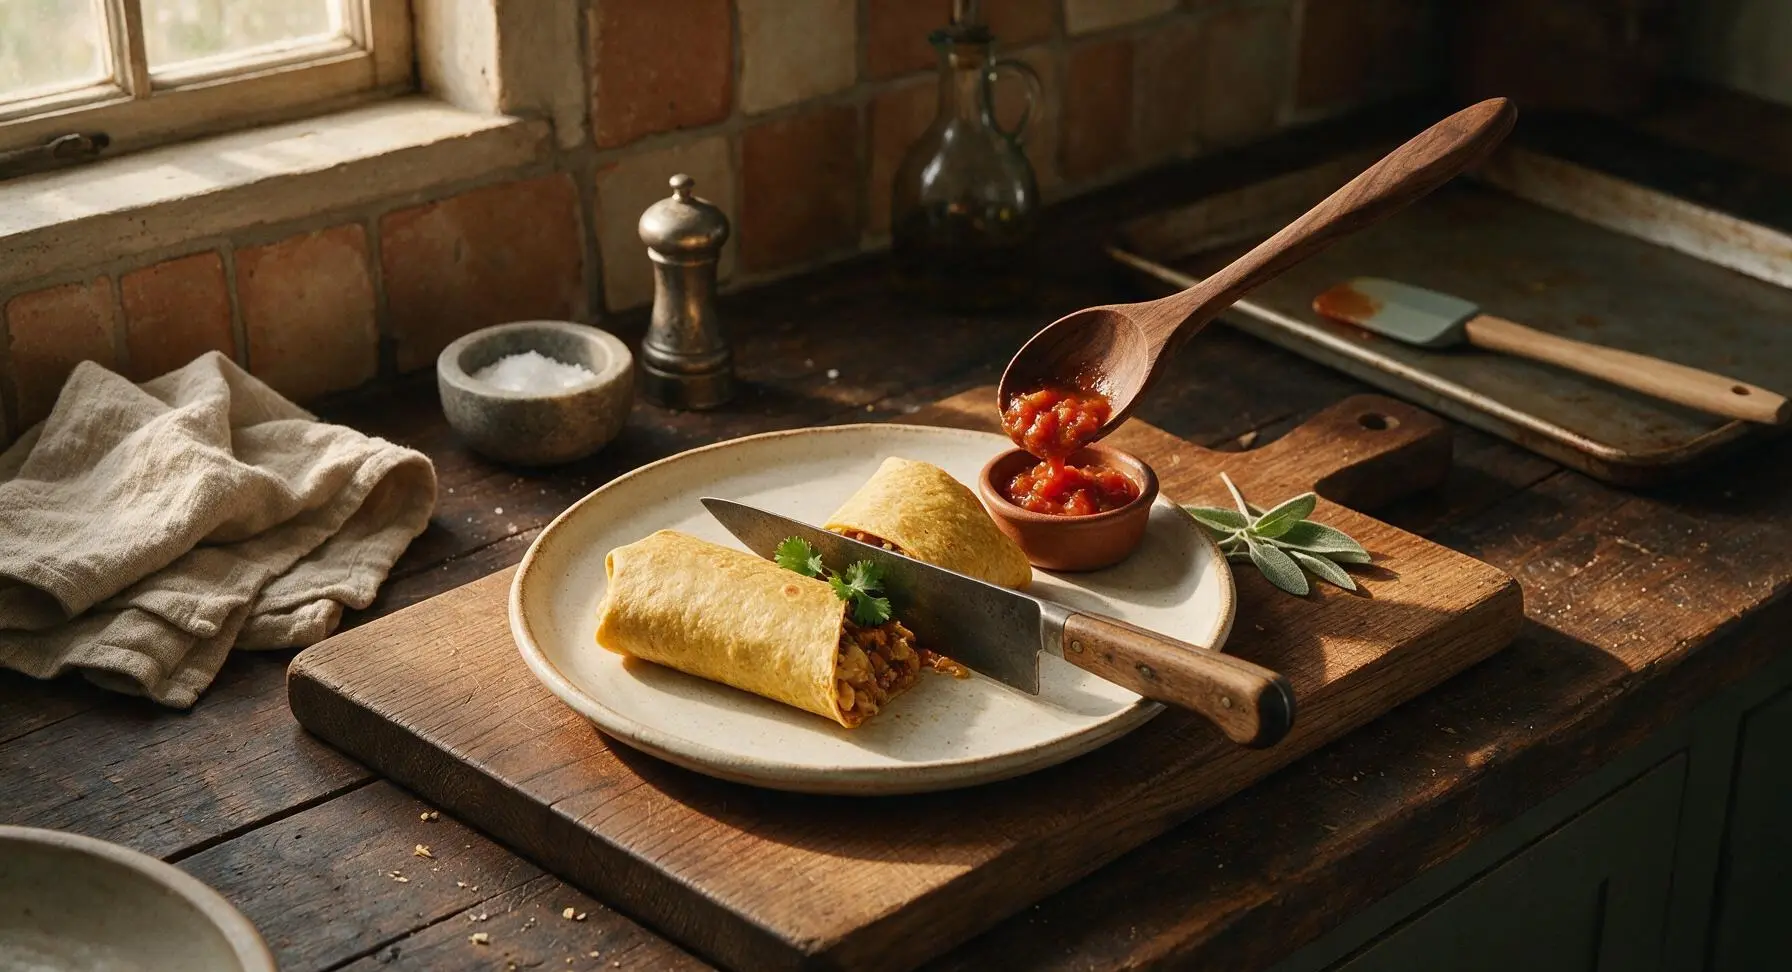
Let the baked burritos rest for 2 minutes to allow the cheese to set slightly (this prevents oozing and burnt mouths). Use the silicone spatula to transfer one burrito to the matte terracotta dinner plate, cut it diagonally in half with the chef knife, spoon chunky salsa into the adjacent clear glass ramekin, and tuck a small sprig of fresh cilantro between the burrito halves for garnish.
Tips
2.Always place burritos seam-side down on the baking sheet: the weight of the filling presses the seam firmly closed as it bakes, preventing burritos from unrolling or spilling filling in the oven.
3.Don’t skip the thin egg wash: plain baked tortillas develop a dry, matte, cracker-like texture, but the egg wash creates a shiny, shatteringly crisp golden crust that matches the classic hot pocket texture.






Made these for my teen son’s after-school snack yesterday and he begged me to make them again tonight! The crunch is unreal, I can’t believe how easy these are for only 25 minutes total. I added a little extra pepperoni inside and it was chef’s kiss.
Total game changer for my weekly meal prep! I made a batch on Sunday, wrapped them individually, and they reheat perfectly in the air fryer for 3 minutes for quick work lunches. Way cheaper and tastier than grabbing fast food on my lunch break.
I brought a platter of these cut into bite-sized pieces to our neighborhood potluck last weekend and they were gone in literally 5 minutes. Everyone was asking for the recipe! I dipped them in queso and salsa, 10/10 potluck food.
I made these last night in my regular oven since I don’t have an air fryer, and they were tasty but not nearly as crispy as the photos look! Any tips to get that crunch without an air fryer?
SO good. I was skeptical that a burrito could taste like a better hot pocket but the crispy tortilla shell hits so much harder than that weird crust frozen ones have. My 7 year old said these are “better than pizza” which is the highest possible praise in our house.
Perfect for my tiny dorm kitchen! I only have a little toaster oven and a mini fridge, and these came together so easy with basic ingredients I grabbed from the corner market. Saved me from spending $15 on takeout for the third night in a row lmao
I added a dash of hot sauce and some pickled jalapeños to the filling and WOW. The heat cuts through the cheesy filling so perfectly, I will never make these plain again. Great base recipe to customize!
Wait, I tried these last night and my tortillas kept splitting open when I rolled them? Did I do something wrong? They still tasted amazing but they looked a little messy lmao
Made these for family dinner last night with a side of tater tots and it was such a hit! Even my super picky toddler ate a whole half without throwing any on the floor, which is basically a miracle. The crispy texture is chef’s kiss, no sad soggy burritos here.
This recipe saved my grocery budget this week! I had leftover lunch meat and shredded cheese in the fridge, grabbed a pack of tortillas for $1, and made 4 of these for less than $5 total. Way better than spending money on frozen meals, will be making these all the time.
Wait how do you get them so crispy? I tried making these last night and they were a little chewy, not crunchy like the photos. I used my air fryer at 400 for 10 minutes, did I do something wrong?