
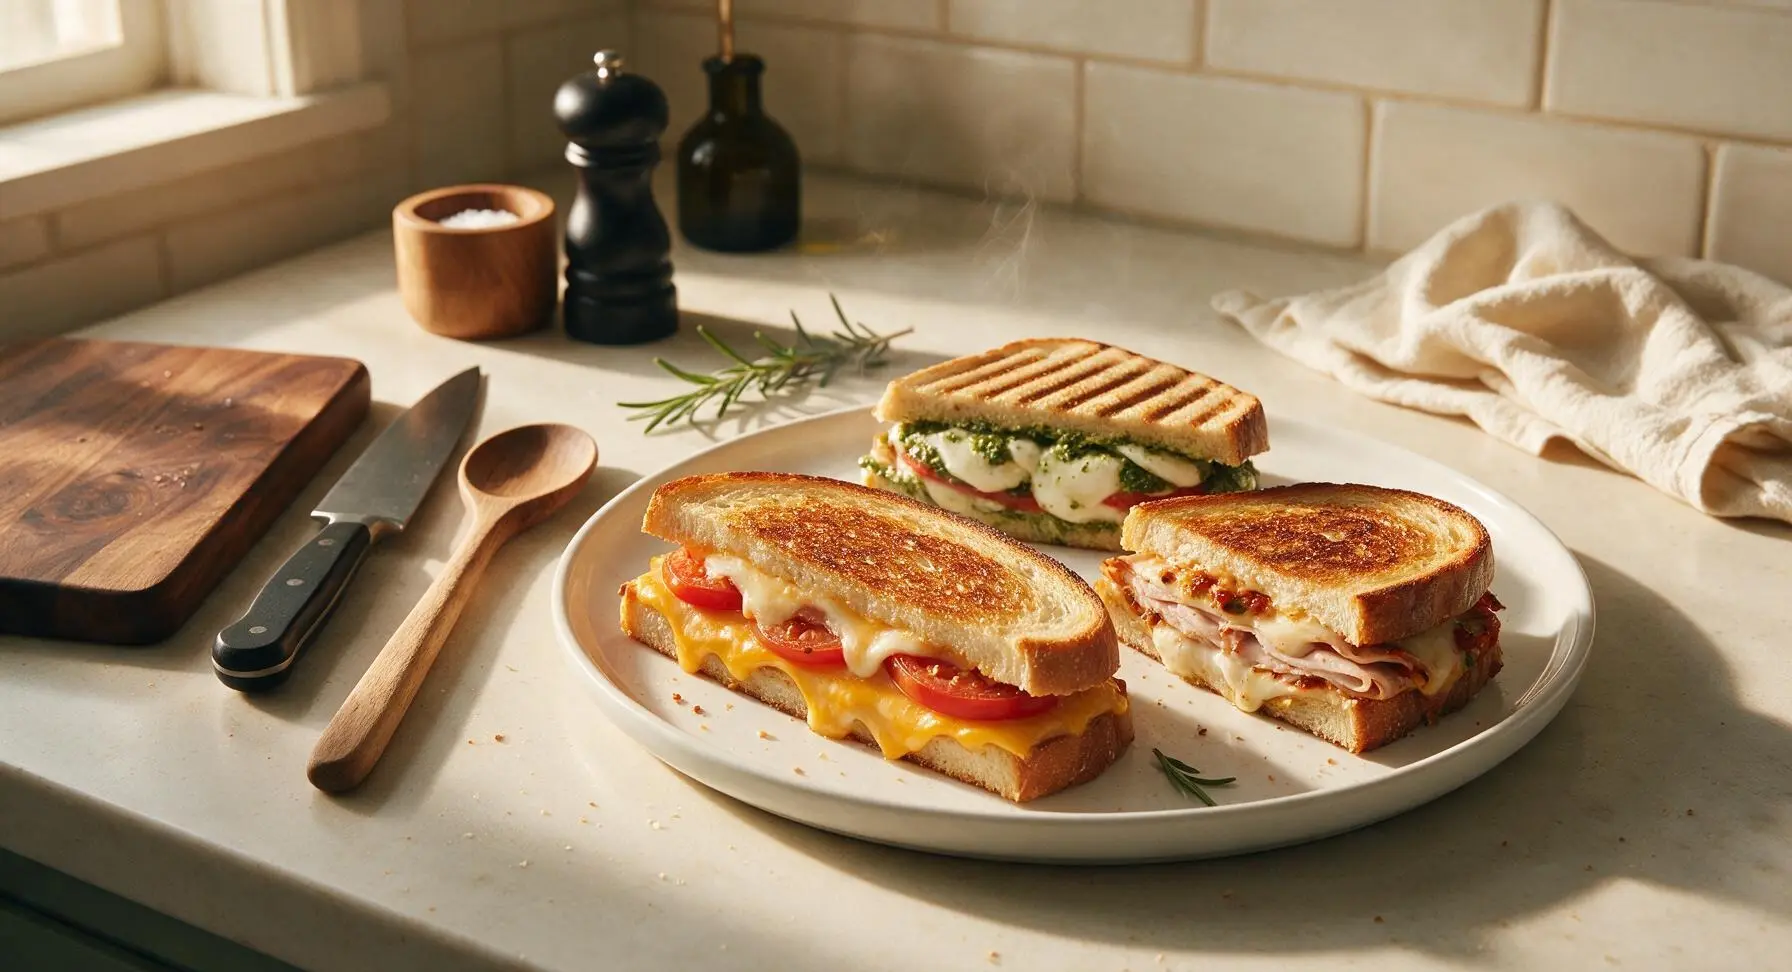
hot sandwich ideas

title 1
hot sandwich ideas
⏱️ cook time 15 minutes
🍽️ servings 4
⚡ Difficulty easy

intro

Three crispy, melty hot sandwich varieties—classic cheddar tomato, pesto mozzarella panini, and spicy turkey melt—for fast, satisfying weeknight meals with minimal cleanup.

Ingredients
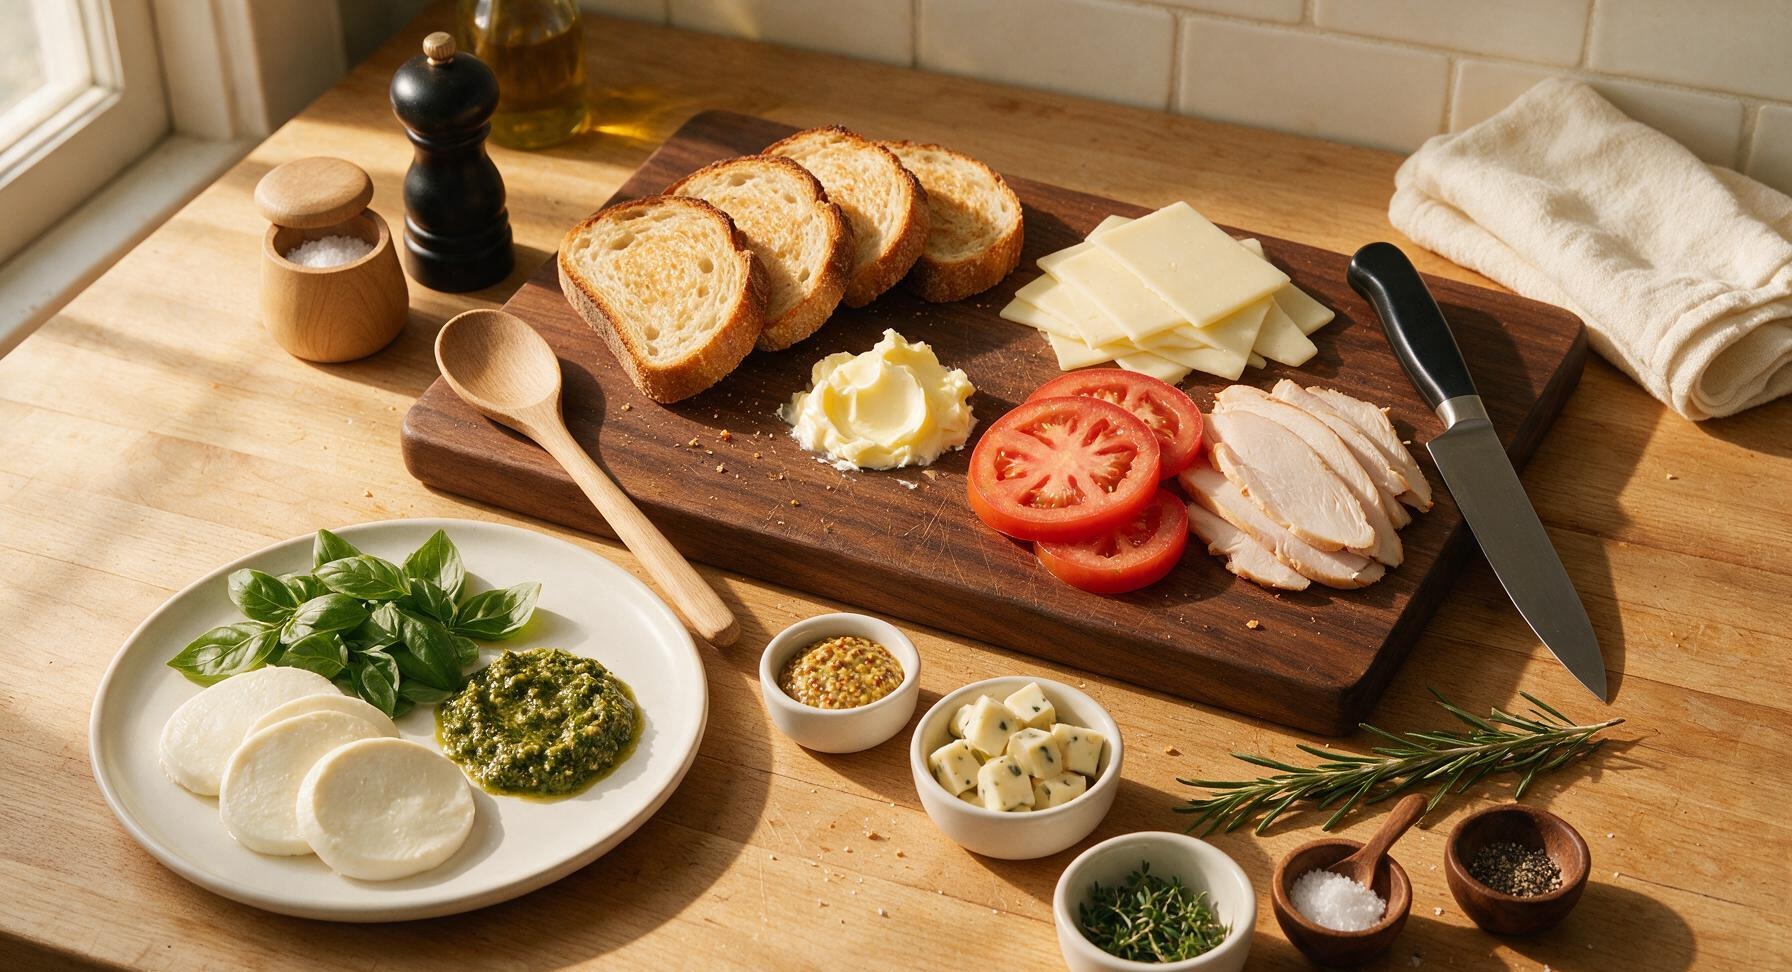
Thick-cut sourdough bread 8 slices (1/2-inch thick)
Unsalted butter 4 tbsp, softened to room temperature
Sharp white cheddar cheese 4 oz, thinly sliced
Beefsteak tomato 1 large (approx 8oz), sliced 1/4-inch thick, patted dry
Sliced roasted turkey breast 3 oz
Basil pesto 1.5 tbsp
Fresh mozzarella cheese 2 oz, thinly sliced
Pepper jack cheese 1.5 oz, thinly sliced
Whole grain mustard 1 tbsp
Fresh thyme leaves 1 tsp, picked
Kosher salt 1/4 tsp
Freshly ground black pepper 1/8 tsp

Steps

1

Butter bread slices

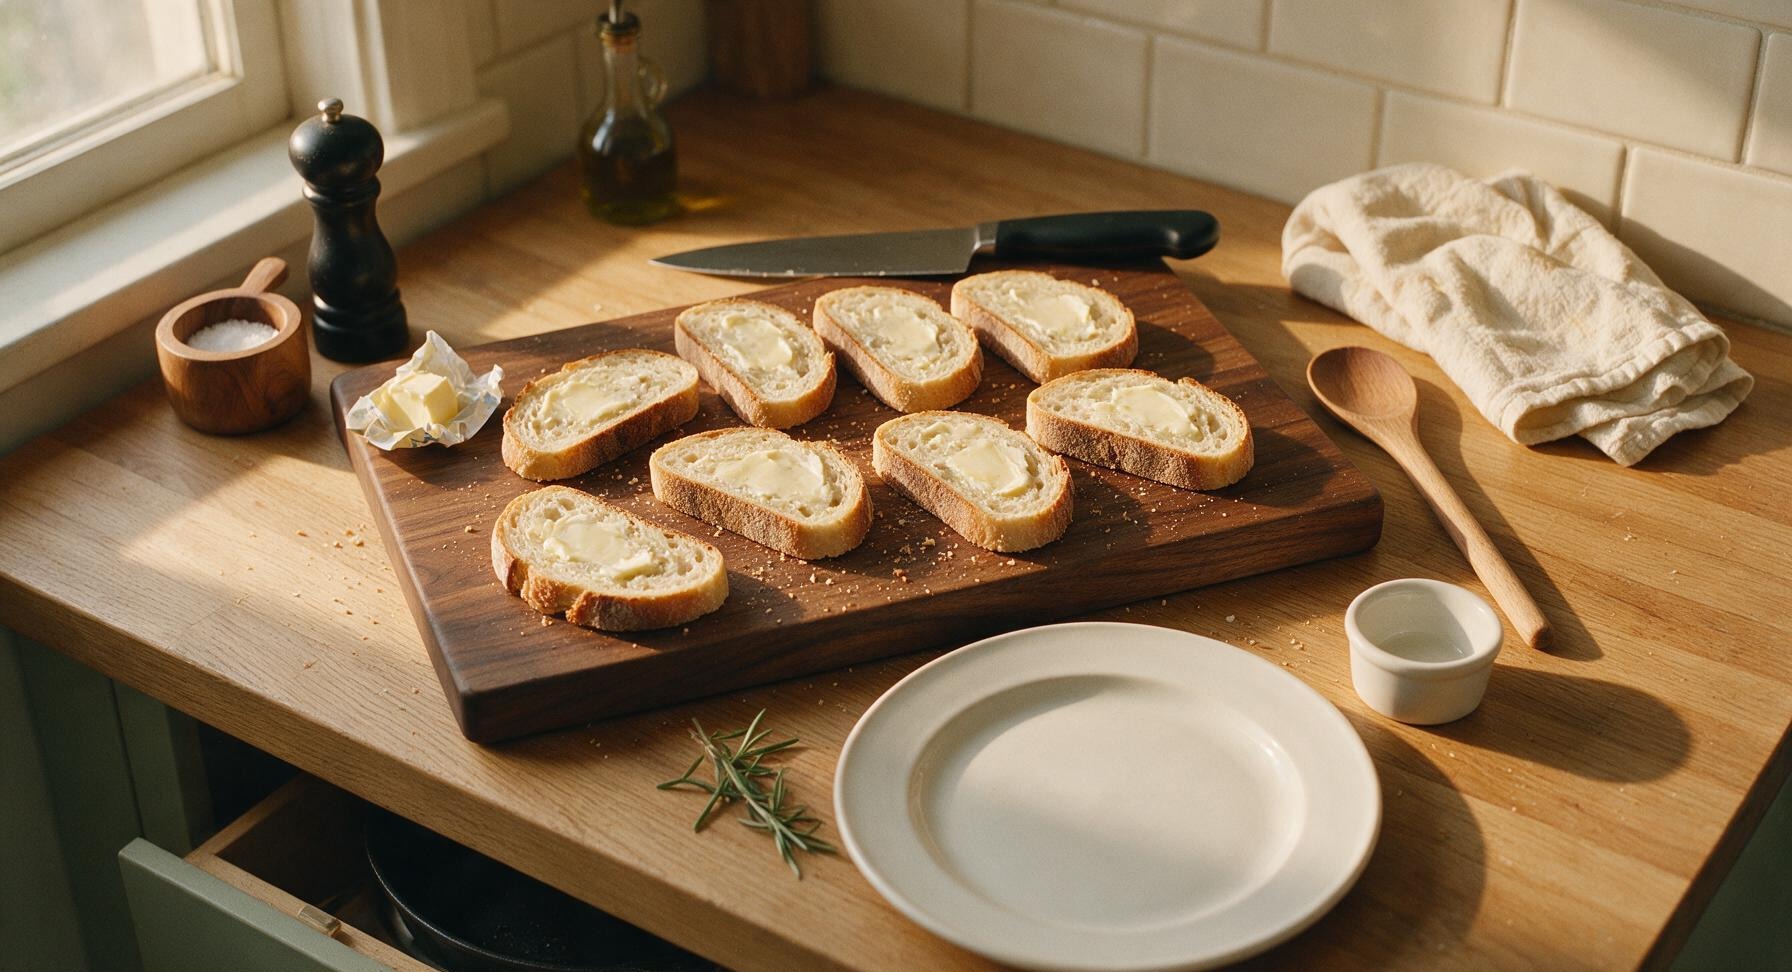
Lay all 8 sourdough slices flat on the honey oak cutting board. Spread 1/2 tbsp of softened unsalted butter evenly across one entire side of each bread slice, making sure to cover all the way to the crusts to prevent burnt dry spots during cooking. Season the buttered sides lightly with the 1/4 tsp kosher salt. The buttered sides will face outward against the hot pan to create a crispy, golden crust.
Step 1
step1:Butter bread slices
2

Assemble cheddar tomato melt

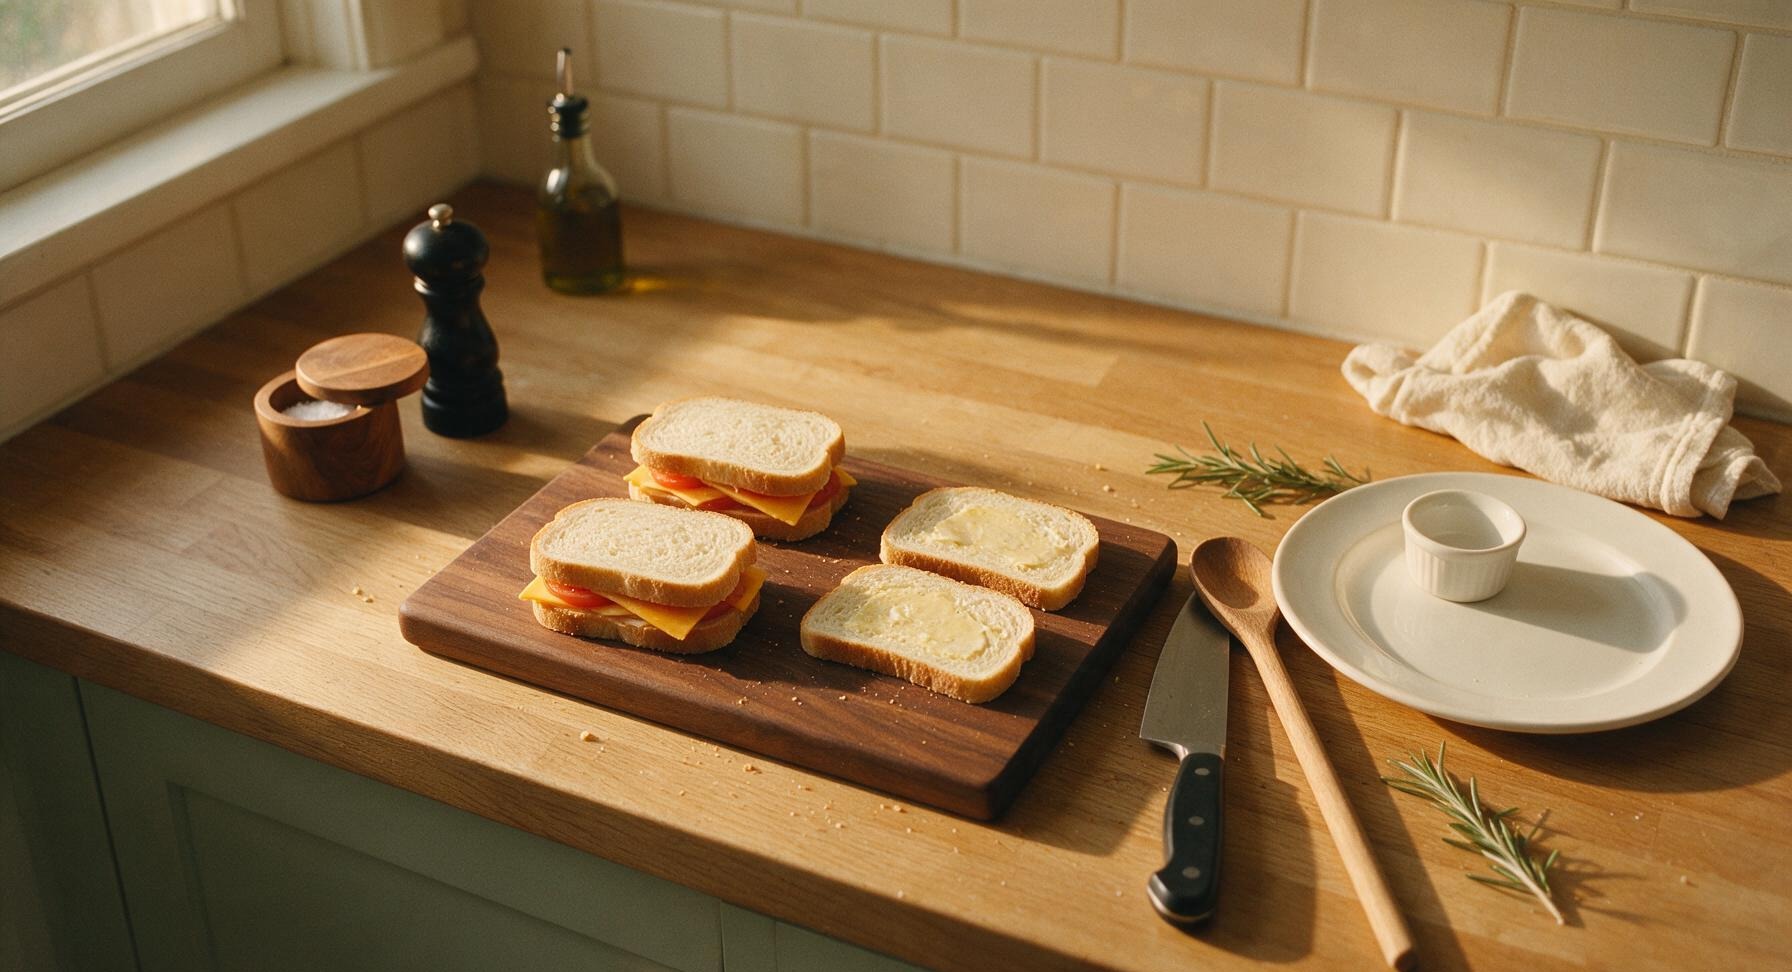
Flip 4 of the bread slices so the buttered side faces down. Layer 1 oz of thin-sliced sharp white cheddar on the unbuttered side of two of these flipped slices, top with 2 thin, patted-dry tomato slices per sandwich, a light crack of black pepper, then the remaining 1 oz cheddar per sandwich (2 oz total per sandwich). Top with the matching bread slice, buttered side facing up. Press down gently to adhere the layers. Patted-dry tomatoes prevent soggy bread, a common beginner mistake.
Step 2
step2:Assemble cheddar tomato melt
3

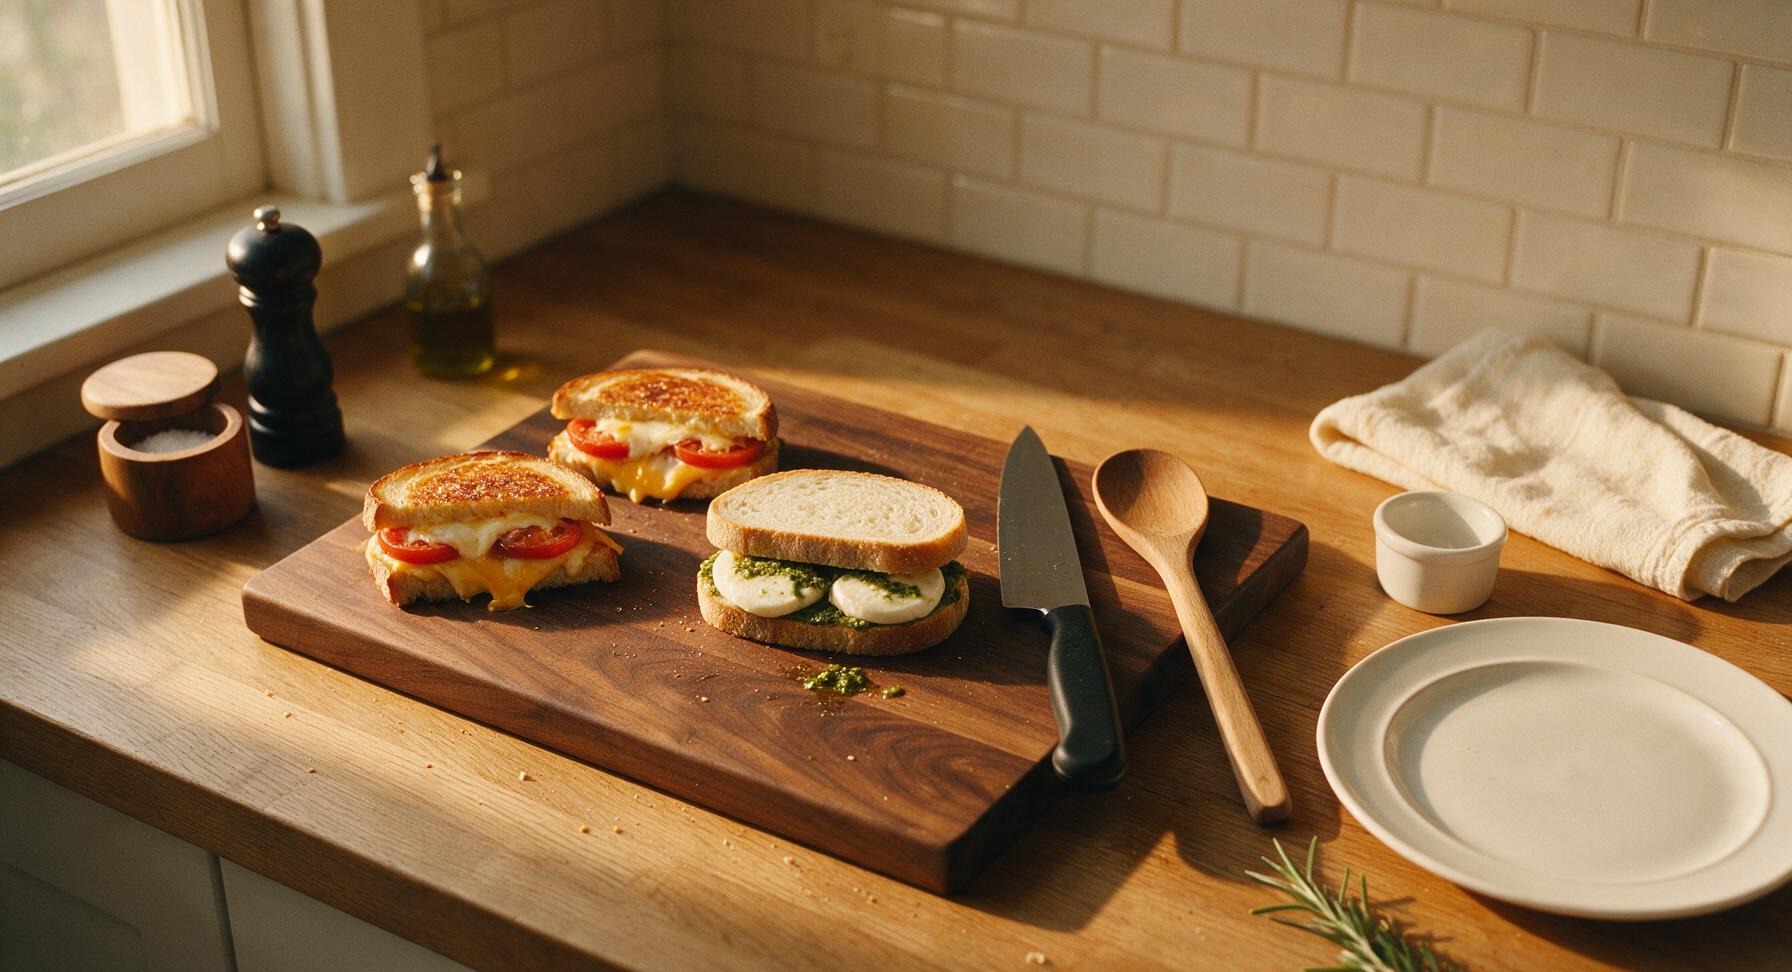
Assemble pesto panini

Spread 1.5 tbsp of basil pesto evenly across the unbuttered side of one of the remaining flipped bread slices. Top with 2 oz of thinly sliced fresh mozzarella, a light sprinkle of picked thyme leaves, then cap with the matching top bread slice, buttered side up. Press gently to compact layers; do not overstuff, as melted mozzarella will leak out during cooking.
Step 3
step3:Assemble pesto panini
4

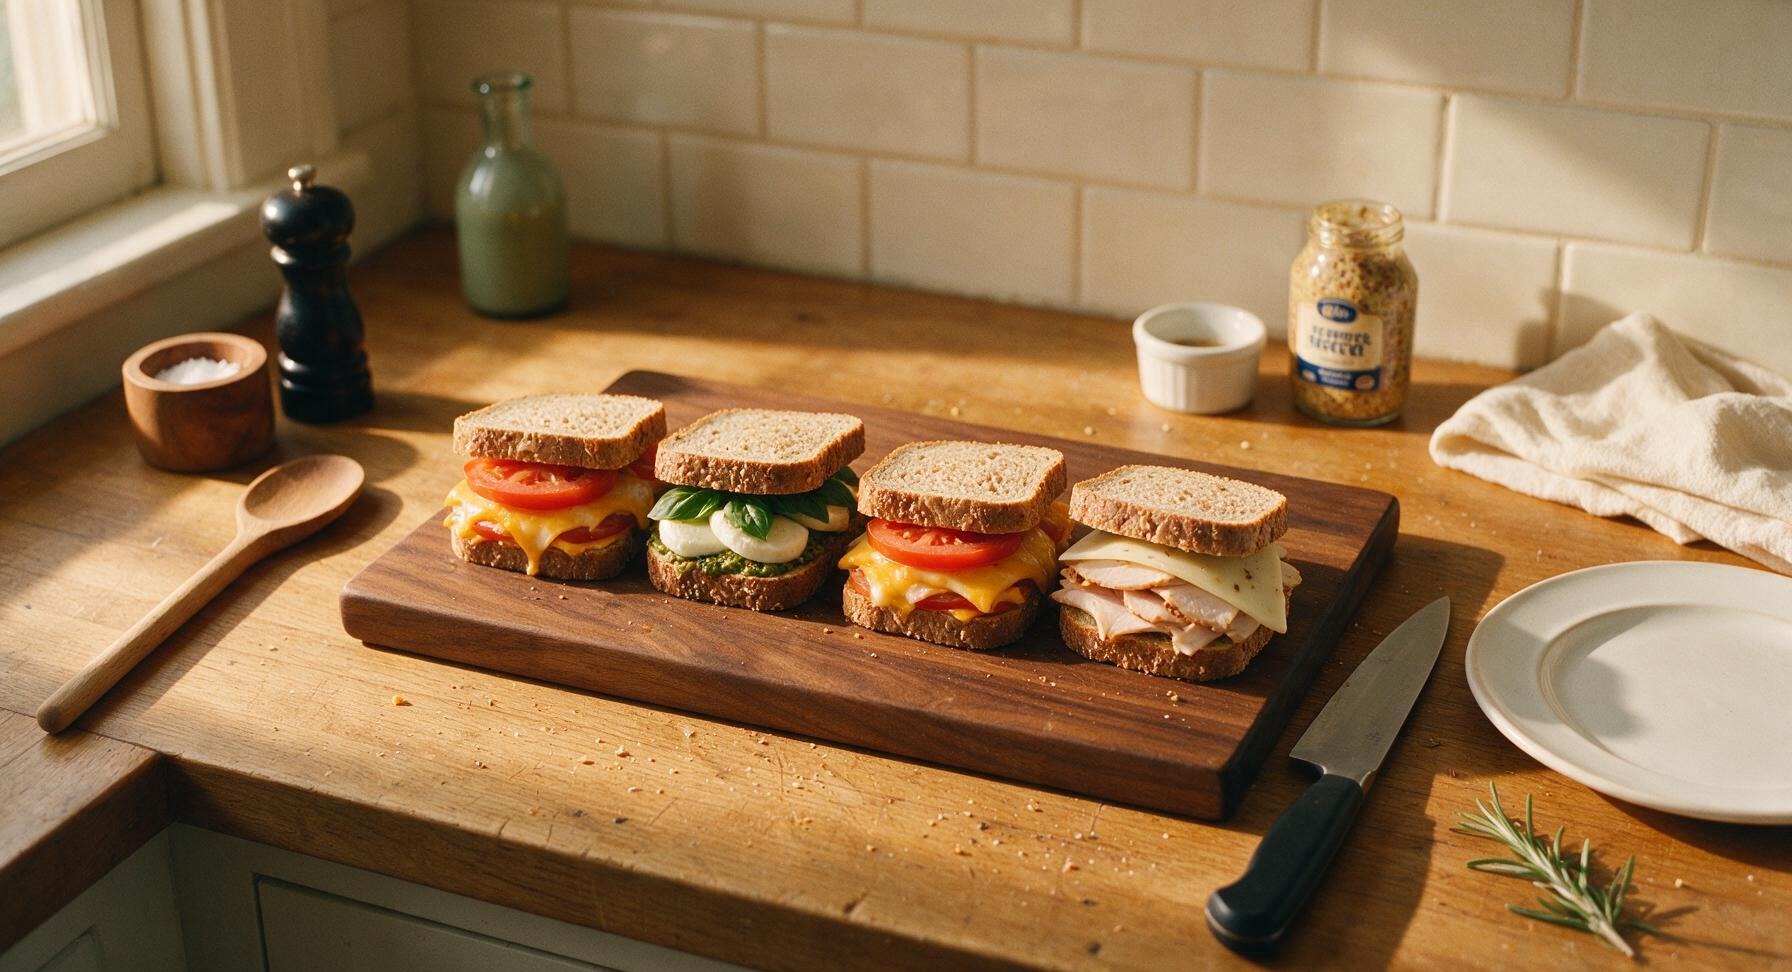
Assemble spicy turkey melt

Spread 1 tbsp of whole grain mustard across the unbuttered side of the last flipped bread slice. Layer 3 oz of sliced roasted turkey and 1.5 oz of thin-sliced pepper jack on top, then cap with the matching bread slice, buttered side up. Press firmly so all layers stay in place when transferring to the pan.
Step 4
step4:Assemble spicy turkey melt
5

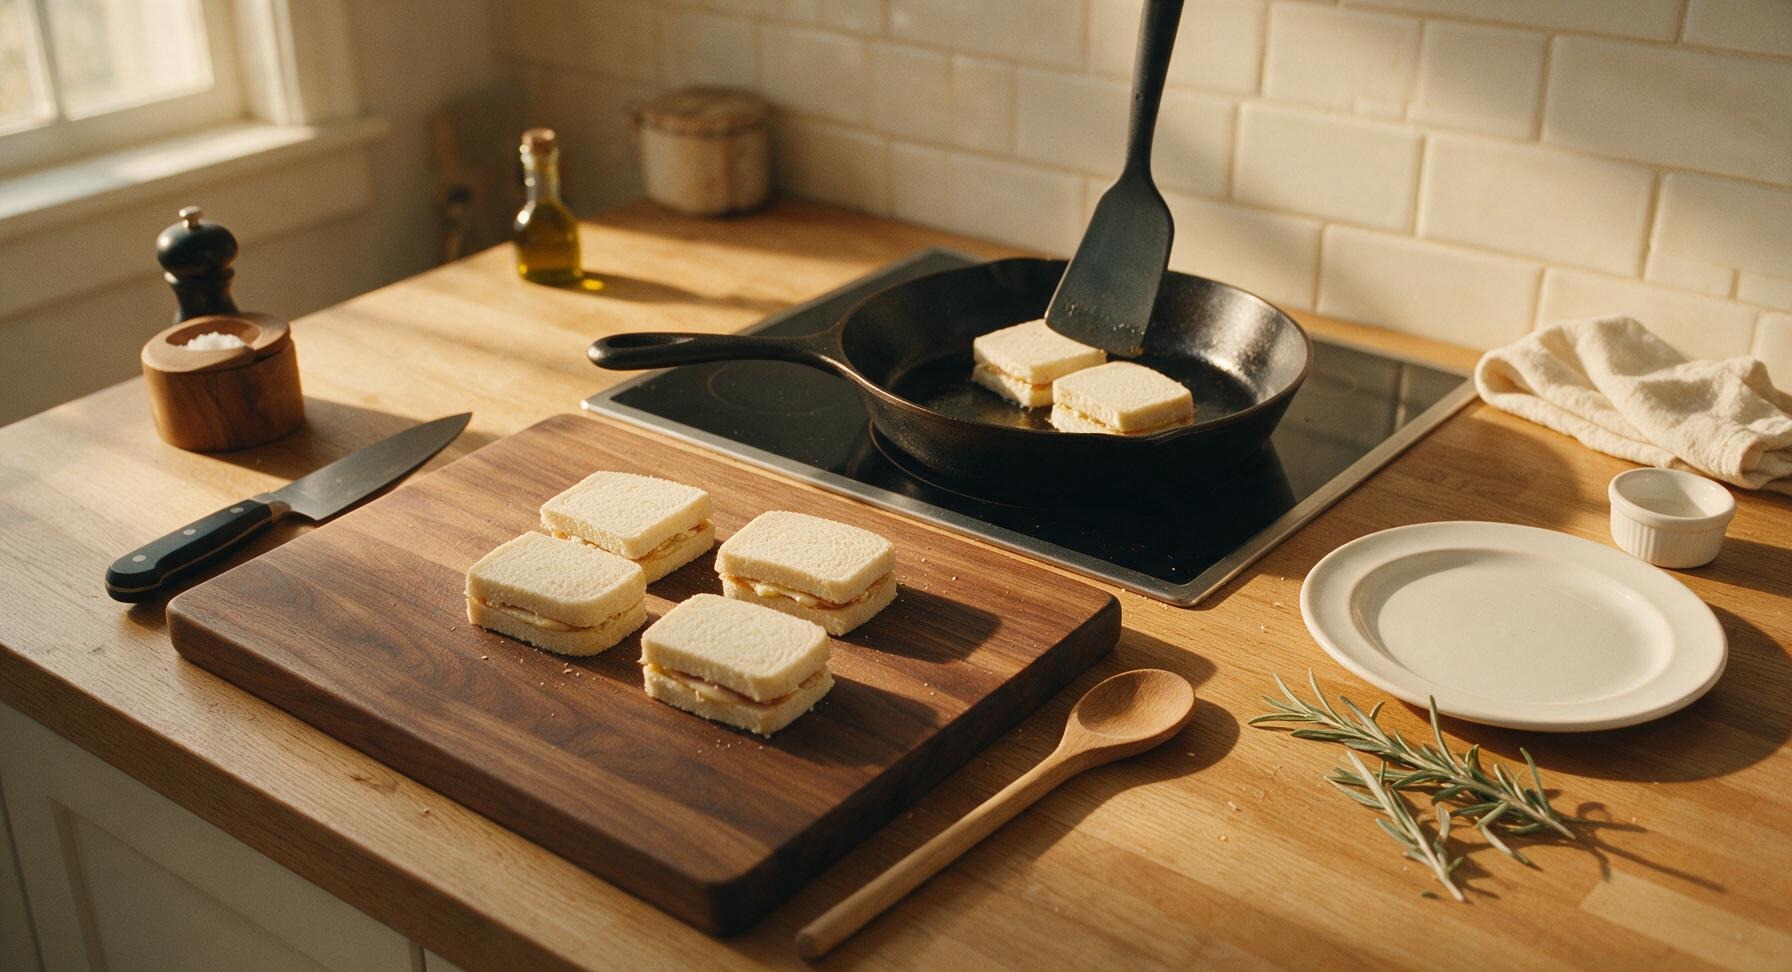
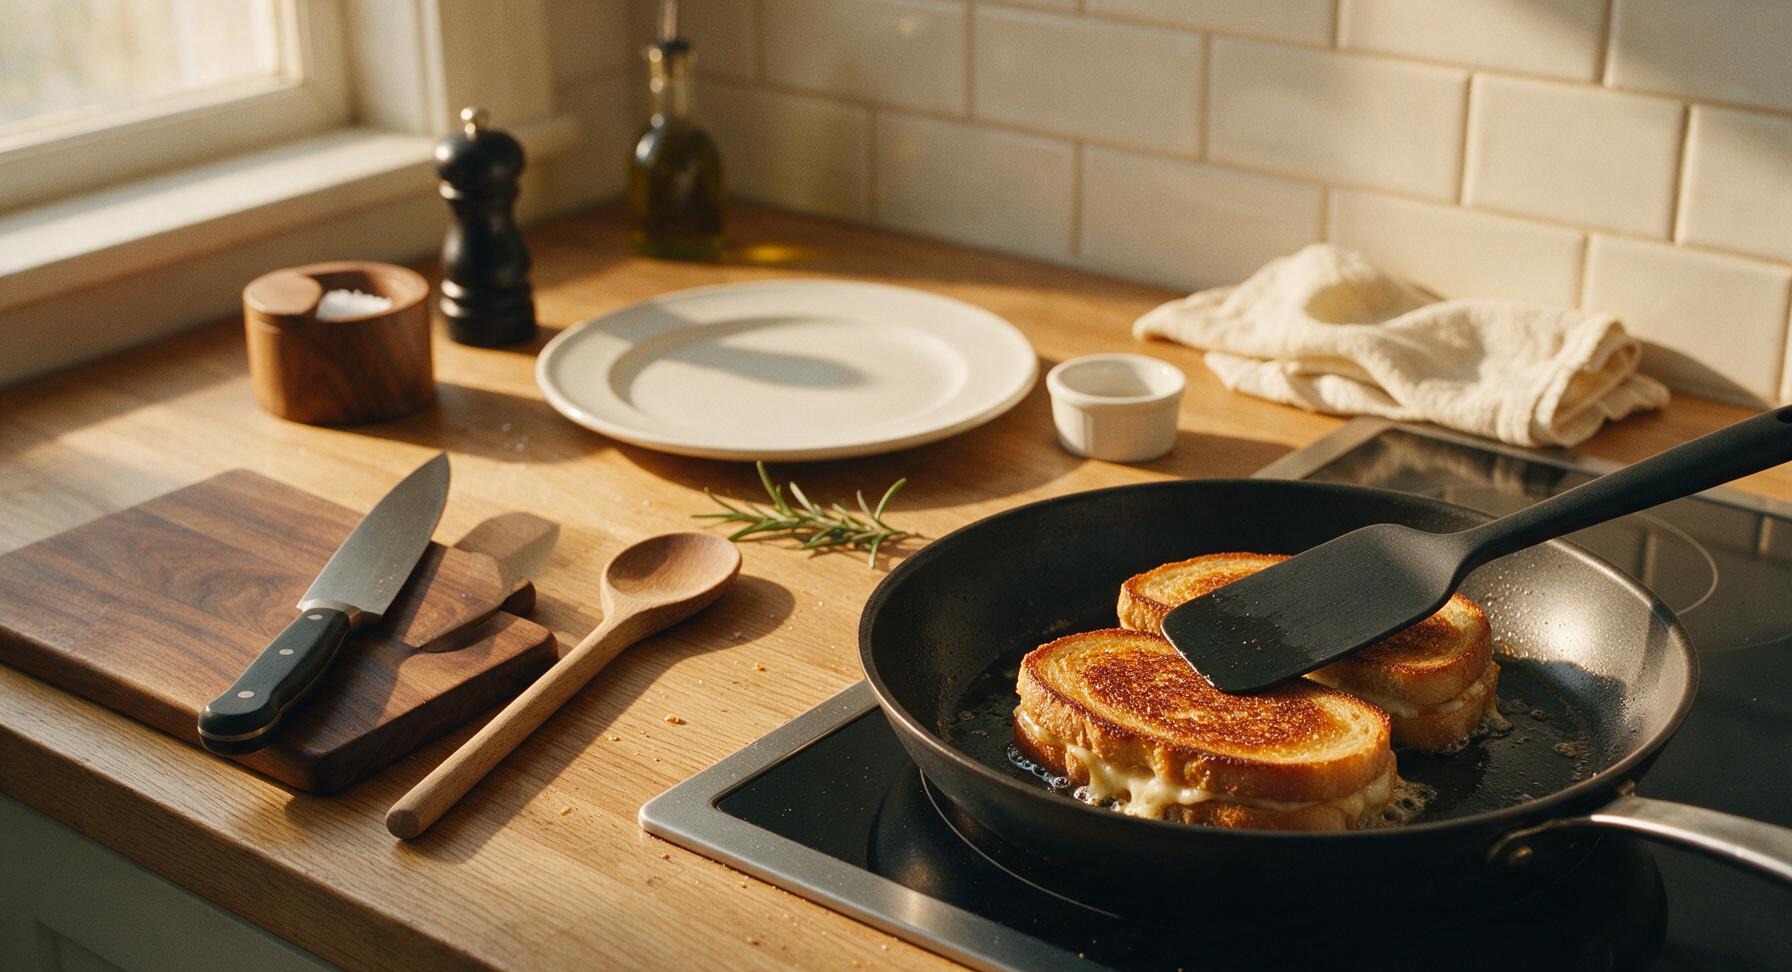
Cook first sandwich batch

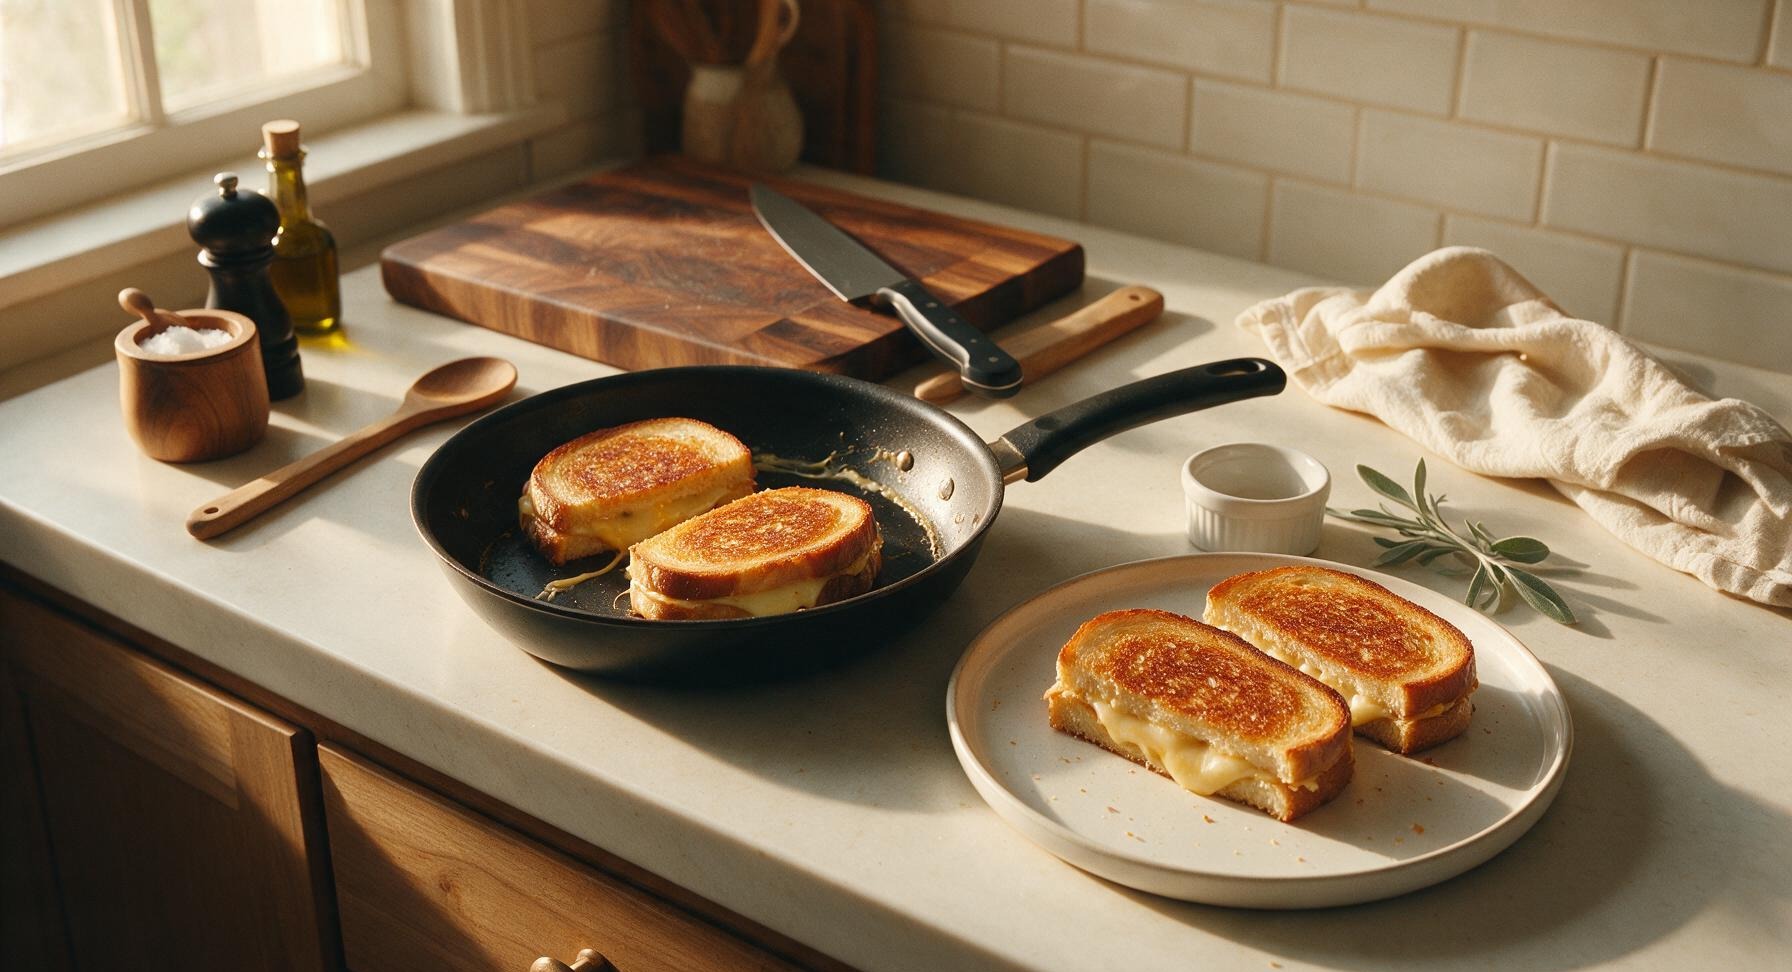
Retrieve the 10-inch matte black carbon steel skillet and silicone spatula from the lower drawer, and place the skillet on the right rear induction cooktop over medium heat. Let preheat for 2 minutes until a drop of water sizzles and dances across the surface. Working in two batches to avoid crowding the pan, place 2 sandwiches in the skillet first. Cook for 3-4 minutes per side, pressing gently with the silicone spatula, until the bread is deep golden brown and crispy, and the cheese is fully melted with no hard, un-melted chunks visible at the edges. Adjust heat to medium-low if the bread browns faster than 3 minutes per side to avoid burning before cheese melts.
Step 5
step5:Cook first sandwich batch
Step 5
step5:Cook first sandwich batch
6

Cook remaining sandwiches

Transfer the first batch of cooked sandwiches to the matte cream stoneware plate to rest for 1 minute, then add the remaining two uncooked sandwiches to the skillet. Repeat the cooking process: 3-4 minutes per side over medium heat, pressing gently with the spatula, until golden brown outside and fully melted inside. Resting sandwiches for 1 minute allows the cheese to set slightly so it does not run out when cut.
Step 6
step6:Cook remaining sandwiches
7

Slice and serve hot

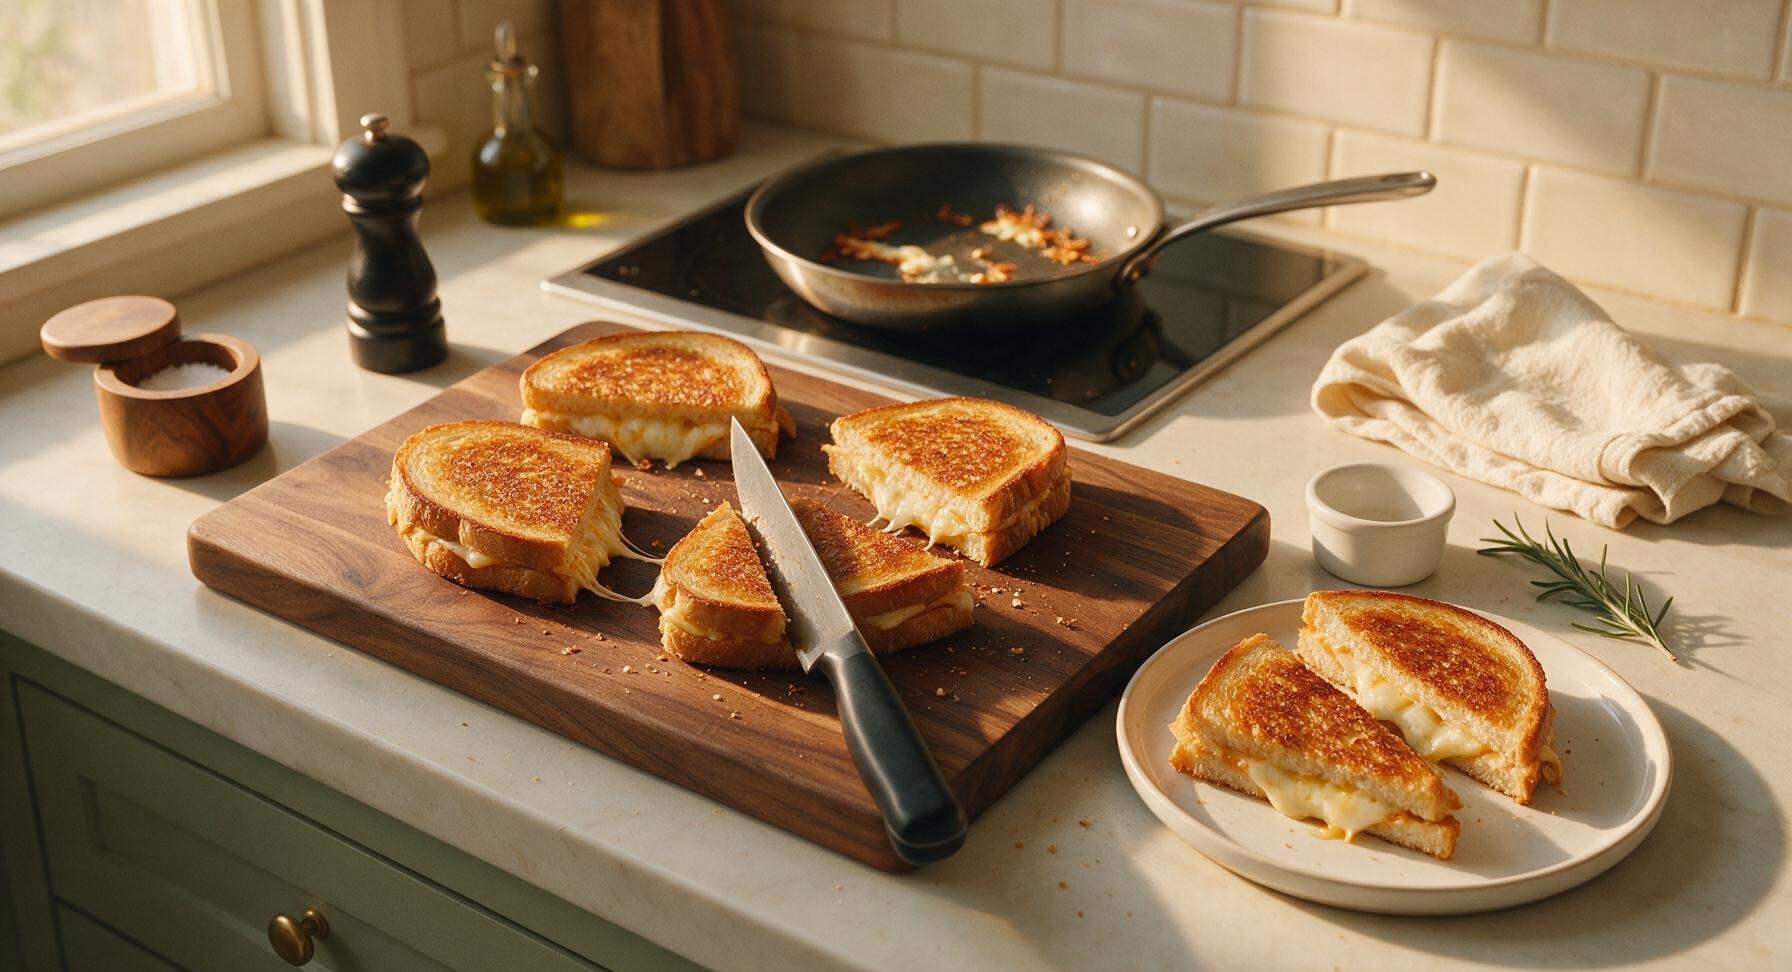
Transfer all cooked sandwiches to the cutting board. Using the 8-inch walnut-handled chef knife, cut each sandwich diagonally into two triangular halves. Arrange the halves on the matte cream stoneware plate, sprinkle lightly with the remaining fresh thyme leaves, and serve immediately while hot and crispy.
Step 7
step7:Slice and serve hot

Tips

1.Pat tomato slices dry with a paper towel for 30 seconds before adding to sandwiches: excess tomato moisture seeps into bread during cooking and is the top cause of soggy, limp slices, even with a crispy buttered crust.
2.Soften butter to room temperature (65°F/18°C) before spreading: cold butter tears soft sourdough crumb and leaves uneven coverage, leading to patchy, burnt crust spots instead of an even, golden crisp.
3.Avoid overcrowding the pan by cooking a maximum of 2 sandwiches at a time: crowded pans trap steam instead of allowing dry, crisping heat to circulate, leading to soft, chewy bread instead of the desired crunchy crust.


✨ You May Also Like

Main Course
🍜 United Kingdom

A showstopping classic of tender seared beef, savory mushroom duxelles, and crisp prosciutto wrapped in flaky golden puff pastry, baked to juicy perfection.

⏱️ 2 hours 1Main Course ★ 4.7
Main Course
🍜 India

Tender charred marinated chicken simmered in a rich, spiced creamy tomato sauce, this iconic Anglo-Indian curry pairs perfectly with basmati rice or warm naan.

⏱️ 50 minuteMain Course ★ 4.6
Main Course
🍜 Thailand

Classic tangy, sweet, and savory Thai stir-fried rice noodles with shrimp, tofu, and crunchy garnishes, balancing all five core Thai flavor profiles.

⏱️ 30 minuteMain Course ★ 4.5
Main Course
🍜 United Kingdom

Crispy golden beer-battered cod and fluffy double-fried chips, served with tangy tartar sauce and malt vinegar: the timeless, beloved British pub comfort classic.

⏱️ 45 minuteMain Course ★ 4.7
Main Course
🍜 Mexico

Smoky, chile-marinated pork tacos with caramelized pineapple, fresh cilantro, and lime: a beloved classic Mexican street food perfect for casual summer gatherings.

⏱️ 1 hour 45Main Course ★ 4.8
Main Course
🍜 United States

Crunchy Fritos corn chips layered with savory beef chili and melted cheddar, topped with cool, zesty fixings for a beloved, cozy Tex-Mex comfort food.

⏱️ 35 minuteMain Course ★ 4.8

hot sandwich ideas:Frequently Asked Questions

1.Can I use a different type of bread if I don’t have thick-cut sourdough on hand? ▾
Absolutely! Sturdy, thick-cut breads work best to avoid sogginess—try crusty ciabatta, whole-grain artisan loaves, or even Texas toast as a swap. Skip thin, soft sandwich bread, as it will get mushy when pressed or toasted, and won’t hold up to melted cheese, juicy tomato, and turkey fillings.
2.I don’t own a panini press—can I still make these hot sandwiches without special equipment? ▾
Totally no special gear required! Heat a regular skillet over medium-low, butter the outsides of your bread, and cook each sandwich 3-4 minutes per side until golden. Press firmly with a spatula as it cooks, or set a foil-wrapped heavy canned good on top to get that crispy, pressed panini texture.
3.How do I keep the classic cheddar tomato sandwich from getting soggy? ▾
Great question—soggy bread is the #1 complaint with tomato melts! Pat your sliced beefsteak tomato dry with paper towels before adding it to the sandwich, and layer cheese directly against both slices of bread to create a moisture barrier between the tomato and bread for crisp bites every time.
4.Can I prep these sandwiches ahead of time to make weeknight dinners even faster? ▾
You can absolutely do partial prep to cut down on cook time! Slice or shred your cheeses, pat tomato slices dry, and portion out turkey and pesto 1-2 days ahead, storing components separately in airtight fridge containers. Wait to assemble and cook sandwiches until right before eating to avoid limp, soggy bread.
5.What’s a good substitute for sharp white cheddar if I don’t have it in my fridge? ▾
No problem at all! Sharp yellow cheddar works as a direct 1:1 swap, or you can use Gruyère for a nuttier melt, fontina for extra creaminess, or smoked gouda for a rich, smoky twist on the cheddar tomato melt. Stick to smoothly melting cheeses, and skip crumbly options that won’t get that gooey cheese pull.
6.How spicy is the spicy turkey melt, and can I adjust the heat level to suit my taste? ▾
The heat level is totally customizable! The standard version uses a thin layer of spicy mayo or a light sprinkle of red pepper flakes for a gentle, warm kick that won’t overwhelm mild palates. Turn heat up with pickled jalapeños or hot honey, or dial it back completely for kids or heat-sensitive eaters.
7.How do I get fully melted cheese without burning the outside of the bread? ▾
The trick is low and slow heat! Cook your sandwiches over medium-low (not high) heat, so the bread toasts to a deep golden crisp slowly over 3-4 minutes per side, giving cheese time to melt all the way through. If bread browns too fast, cover the pan with a lid for 1 minute to trap heat and speed up melting.
8.Can I adapt these sandwiches to be dairy-free or vegan for guests with dietary restrictions? ▾
Absolutely! Swap the unsalted butter for your favorite plant-based butter, and use high-quality, smoothly melting vegan mozzarella and cheddar-style shreds for all three sandwich varieties. For the pesto mozzarella panini, pick a dairy-free basil pesto to keep the recipe fully vegan without losing that bright, herby flavor.
9.What quick, low-cleanup sides pair well with these sandwiches for a full weeknight meal? ▾
These sandwiches pair perfectly with low-fuss, minimal-cleanup sides that take barely any extra time! Try a simple mixed green side salad, a cup of pre-made tomato soup, crispy baked frozen fries, or dill pickle spears and potato chips. All come together in the time it takes to cook your sandwiches for a cozy, complete weeknight meal.

Comments (14)

2 hours ago

OMG these hot sandwiches were a total game changer for our busy Tuesday night! I made the turkey avocado melt one and my 8 and 10 year old devoured them before I even sat down to eat. 15 minute cook time is no joke, I had everything prepped while the oven preheated. SO good, will be adding these to our regular weeknight rotation!

30 minutes ago

Wait did you use sourdough or regular sandwich bread for the turkey melt? I’ve been trying to find a bread that doesn’t get soggy!

5 minutes ago

Great question Jake! We recommend sourdough or a thick-cut country white for all these melts—they hold up really well to the fillings and get perfectly crispy without getting soggy if you give them a quick light toast before adding toppings!

yesterday

I was so sick of our usual taco Tuesday and pasta night rut, so I tested all three of these last night for dinner. The BBQ chicken one was the clear favorite in my house! Even my super picky toddler ate half a sandwich without throwing it on the floor, which is basically a miracle. Meal prepped the extra filling for lunches this week too!

yesterday

That makes us so happy to hear! The BBQ chicken melt is a staff favorite too—love that you repurposed the filling for lunches, that’s such a smart weeknight hack.

30 minutes ago

Made the caprese melt version for a quick work from home lunch today and it hit so different. The balsamic glaze drizzle at the end is chef’s kiss, I didn’t even have to run to the grocery store because I already had all the ingredients on hand. Perfect for days I don’t feel like putting a ton of effort in.

3 days ago

Took these to our neighborhood block party potluck this past weekend and people were asking me for the recipe left and right! I cooked them up on my cast iron griddle out on the patio instead of the oven and they got that perfect crispy crust. Only note is I added a little extra pickles to the ham and cheese one for extra zing.

2 days ago

Love that cast iron griddle hack, Rob! Adding extra pickles sounds like the perfect tangy upgrade, we’ll have to try that next time we make them.

5 days ago

Wait does anyone know if these work well in a dorm room air fryer? I don’t have a full oven in my dorm and I’m so sick of dining hall food, these look like they’d be perfect to make between study sessions.

3 days ago

I made the ham and cheese one in my 4qt dorm air fryer last week! 375 for 6 minutes, flip halfway, it came out perfectly crispy. No oven needed!

2 days ago

Sophie is totally right! These work amazing in an air fryer—just keep an eye on them so the bread doesn’t burn, since every air fryer runs a little different. Perfect quick study break meal!

1 week ago

15 minutes from start to finish? I was skeptical but timed it last night and it actually only took me 14 minutes, including pulling everything out of the fridge. I don’t think I’ll ever pay for a fancy deli sandwich again when I can make these at home for a fraction of the cost.

2 days ago

I swapped the turkey for marinated portobello slices on the first sandwich idea and it was *chef’s kiss* for a vegetarian option! The melty cheese and roasted red peppers paired so well with the mushroom, I didn’t even miss the meat. My meat-eating boyfriend stole half my sandwich, so that says a lot.

yesterday

That portobello swap sounds incredible! We love when folks customize these recipes to fit their dietary preferences—we might have to test that veggie version for a future post, thanks for the idea!

2 weeks ago

These are perfect for my weekly meal prep! I assembled all the sandwiches ahead of time, wrapped them in foil, and stuck them in the fridge. All I have to do when I get home from work is pop them in the oven for 10 minutes and dinner is done. No cleanup, no fuss, exactly what I need after a long commute.

2 weeks ago

Steve, that’s such a smart meal prep move! Wrapping them in foil helps keep them from drying out in the fridge too, we’re so glad these are making your weeknights easier.

just now

Wait hold on, the melted brie on the apple and ham sandwich? I never would have thought to pair apple with ham and cheese but it was the best sweet-savory combo I’ve had in months. I added a little drizzle of honey on mine and I’m officially obsessed. My husband said it tastes like something you’d order at a fancy bistro!

just now

The honey drizzle is such a good call! I added a sprinkle of cinnamon too last time I made that version, it was insane.

just now

That honey and cinnamon addition sounds so cozy, Meg and Liz! The sweet-savory balance is why that apple ham brie melt is one of our go-tos on cold nights, we love your upgrades!

1 week ago

Made these after my kid’s late soccer practice last night and we were all eating by 6:30, which never happens on practice nights. No complaints from anyone, which is a rare win in our house. I’ll be keeping all three of these recipes taped to my fridge from now on.

5 minutes ago

I was worried these would be too basic, but the flavor combinations are actually really thoughtful for how simple they are to throw together. I appreciated that none of the ingredients are weird, hard to find specialty items—just regular grocery store stuff that tastes amazing when it’s all melted together.

just now

So glad you appreciated that, Frank! Our goal with these weeknight recipes is always to use accessible, easy-to-find ingredients so you don’t have to make a special trip to the store to get a great meal on the table.

3 days ago

I made the classic tuna melt version (I added a little diced celery and onion to my tuna, like I’ve done for 50 years) for my bridge club luncheon this week and all the ladies asked for the recipe. So easy, even for us old folks who don’t love complicated new recipes! Tasted just like the melts I used to make for my kids when they were little.

5 days ago

Made the BBQ chicken melt as a midnight snack after my late shift last night and it hit so much better than the fast food I usually grab on my way home. I used leftover rotisserie chicken I had in the fridge, tossed it in BBQ sauce, and it was ready in 10 minutes flat. Absolute game changer for post-work meals.

3 days ago

Leftover rotisserie chicken is our secret shortcut for that BBQ melt too, Joe! So glad this saved you a late night fast food run, that’s exactly what these easy recipes are for.

2 weeks ago

Has anyone tried making these with gluten free bread? I have a gluten sensitivity and I’m always looking for easy weeknight meals that don’t require a ton of weird specialty ingredients, these look perfect!

1 week ago

I made them with my favorite gluten free sourdough last week and it worked great! I just toasted the bread a little longer before adding the toppings so it didn’t get mushy, came out perfect.

1 week ago

Thanks for sharing that tip, Sam! We’ve tested these with a few gluten free bread brands too, and toasting the bread first really does make all the difference to keep that perfect crispy texture. So glad you both can enjoy them!



