
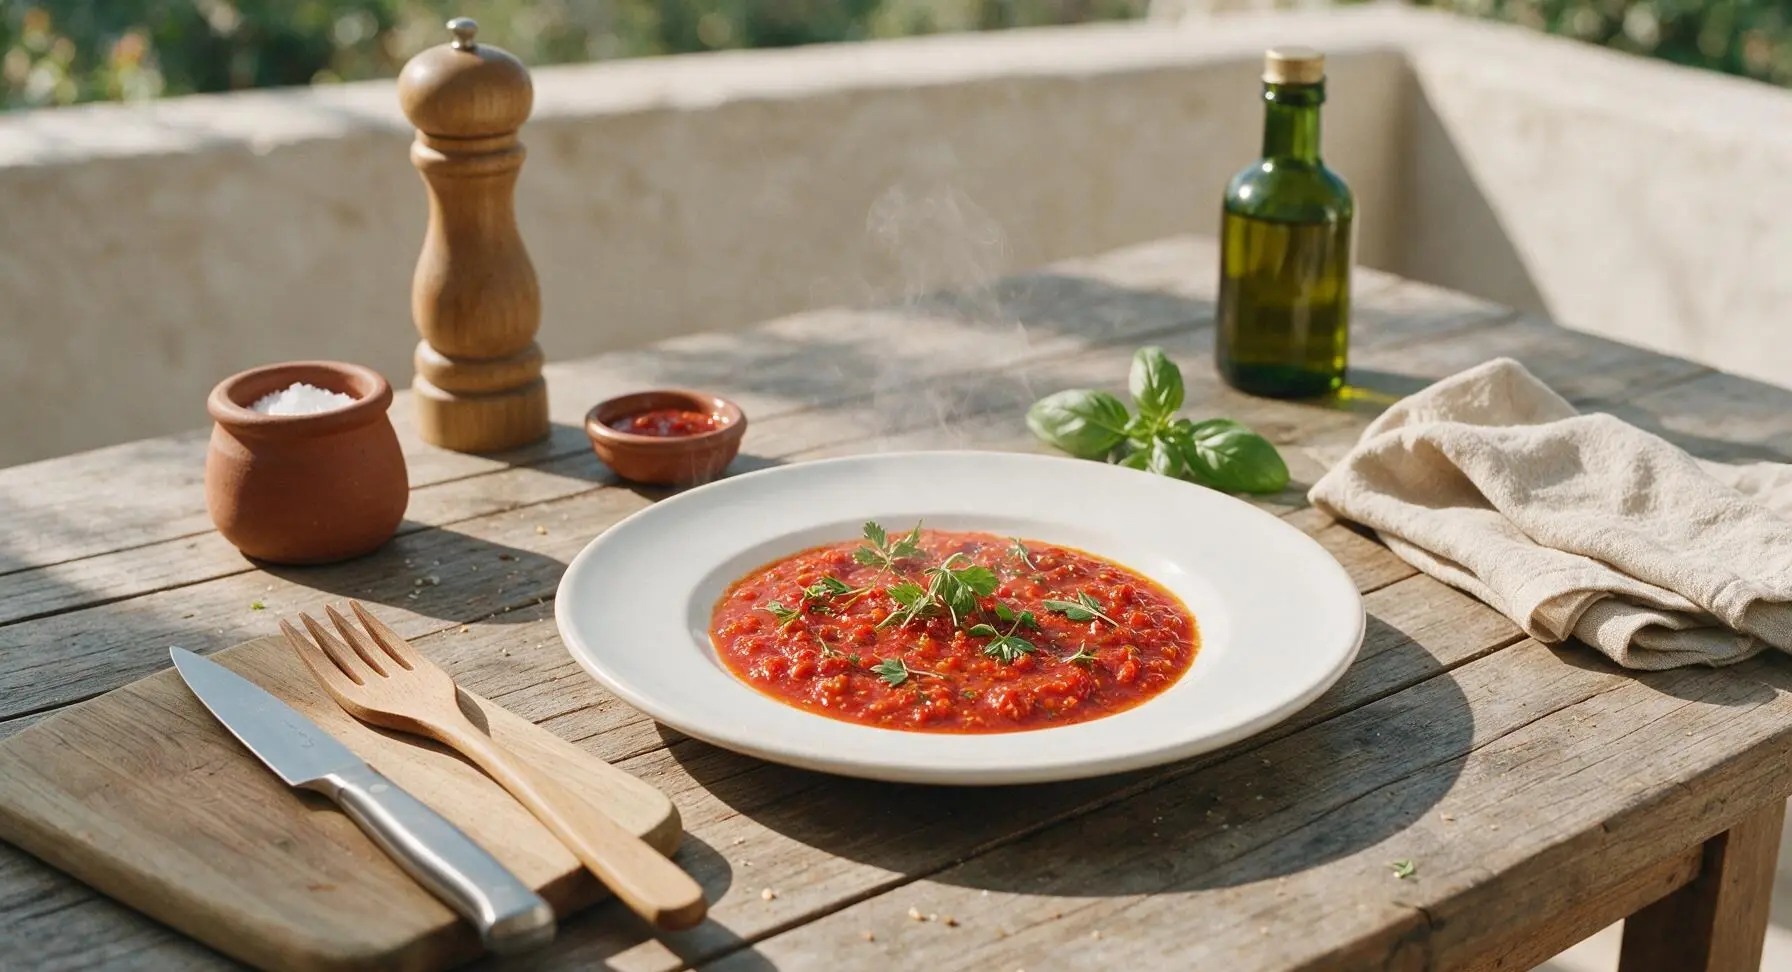
hot sauce

title 1
hot sauce
⏱️ cook time 10 minutes
🍽️ servings 24
⚡ Difficulty medium

intro

Bright, tangy fermented hot sauce with layered, balanced heat, perfect for drizzling on grilled meats, tacos, eggs, and all your favorite summer backyard dishes.

Ingredients
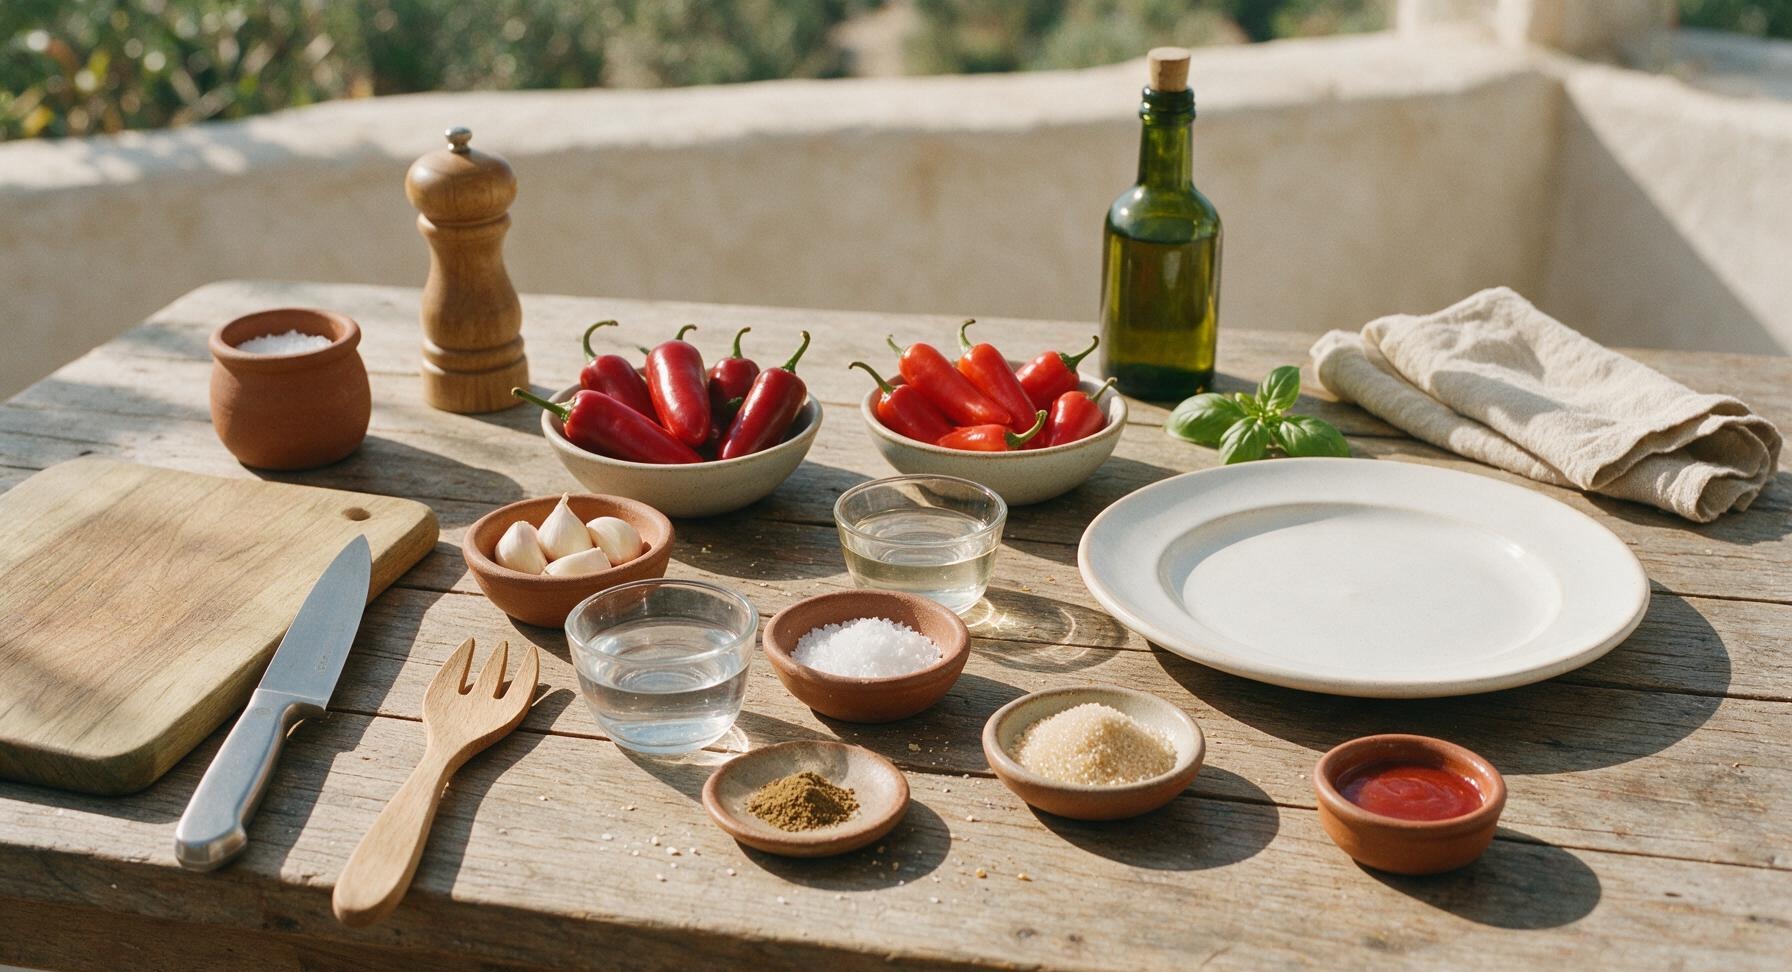
Fresh red jalapeño peppers 225g
Fresh Fresno chili peppers 115g
Garlic cloves 4 cloves (15g)
Non-iodized fine sea salt 2 tbsp (30g)
Filtered water 1 cup (240ml)
White distilled vinegar 1/3 cup (80ml)
Raw cane sugar 1 tsp (5g)
Ground cumin 1/4 tsp (1g)

Steps

1

Prep Chili Peppers

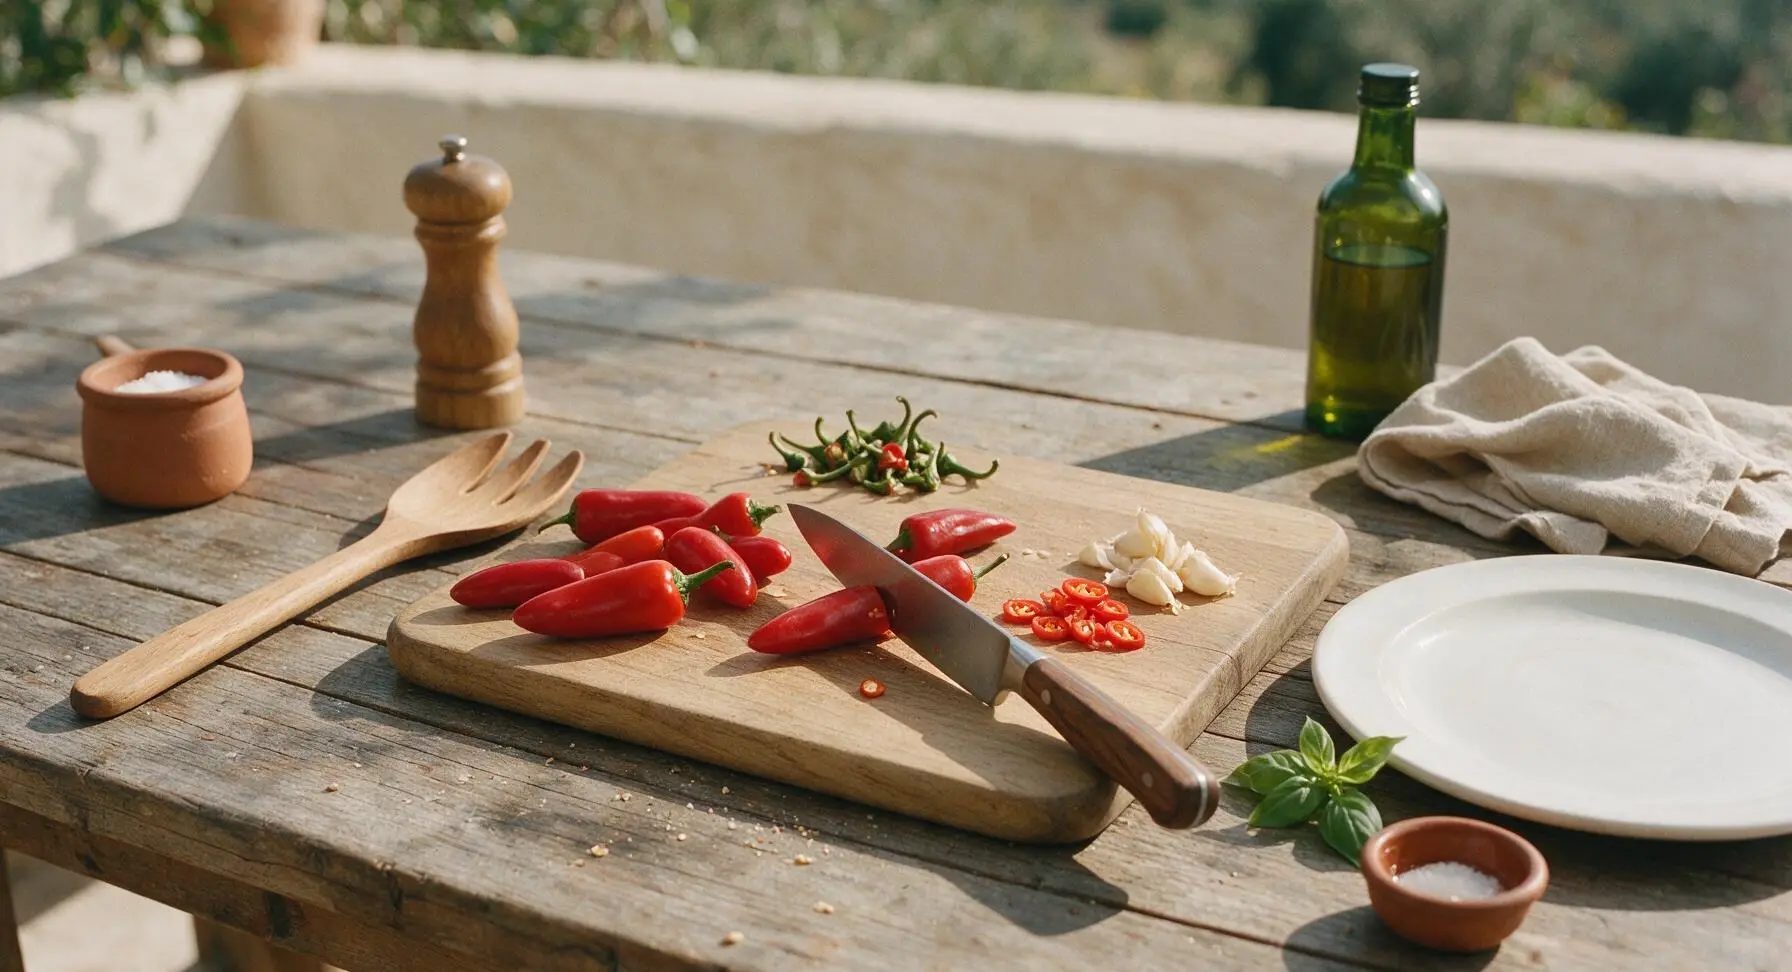
Rinse the jalapeño and Fresno chilies under cool running water, pat dry with the cream kitchen towel. Slice off and discard the green stem tops, then cut each pepper into 1/2-inch thick rings, leaving seeds and membranes intact for medium heat. Peel the garlic cloves and crush them lightly with the flat of the chef knife. Wear disposable gloves if you have sensitive skin to avoid chili oil irritation.
Step 1
step1:Prep Chili Peppers
2

Mix Salt Brine

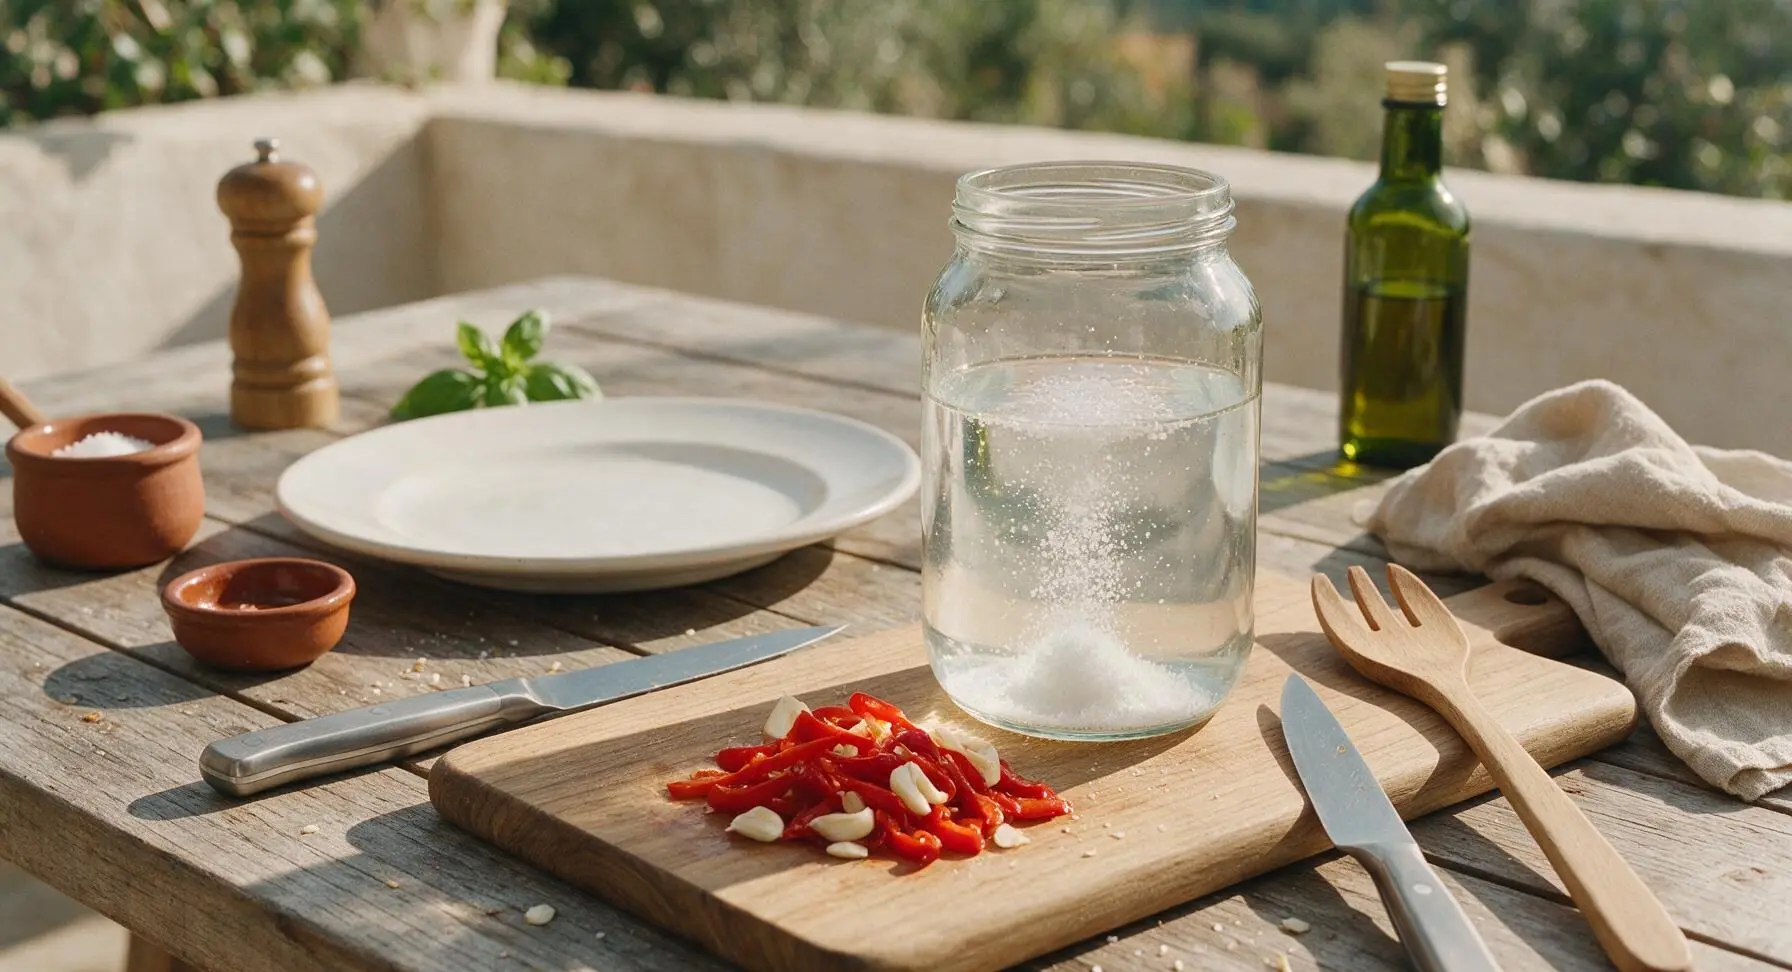
In the clean glass fermentation jar, combine 2 tablespoons non-iodized sea salt and 1 cup cool filtered water, stirring gently with the knife tip until the salt is fully dissolved. Do not use tap water, as chlorine can prevent healthy fermentation. The brine should taste as salty as seawater.
Step 2
step2:Mix Salt Brine
3

Pack Fermentation Jar

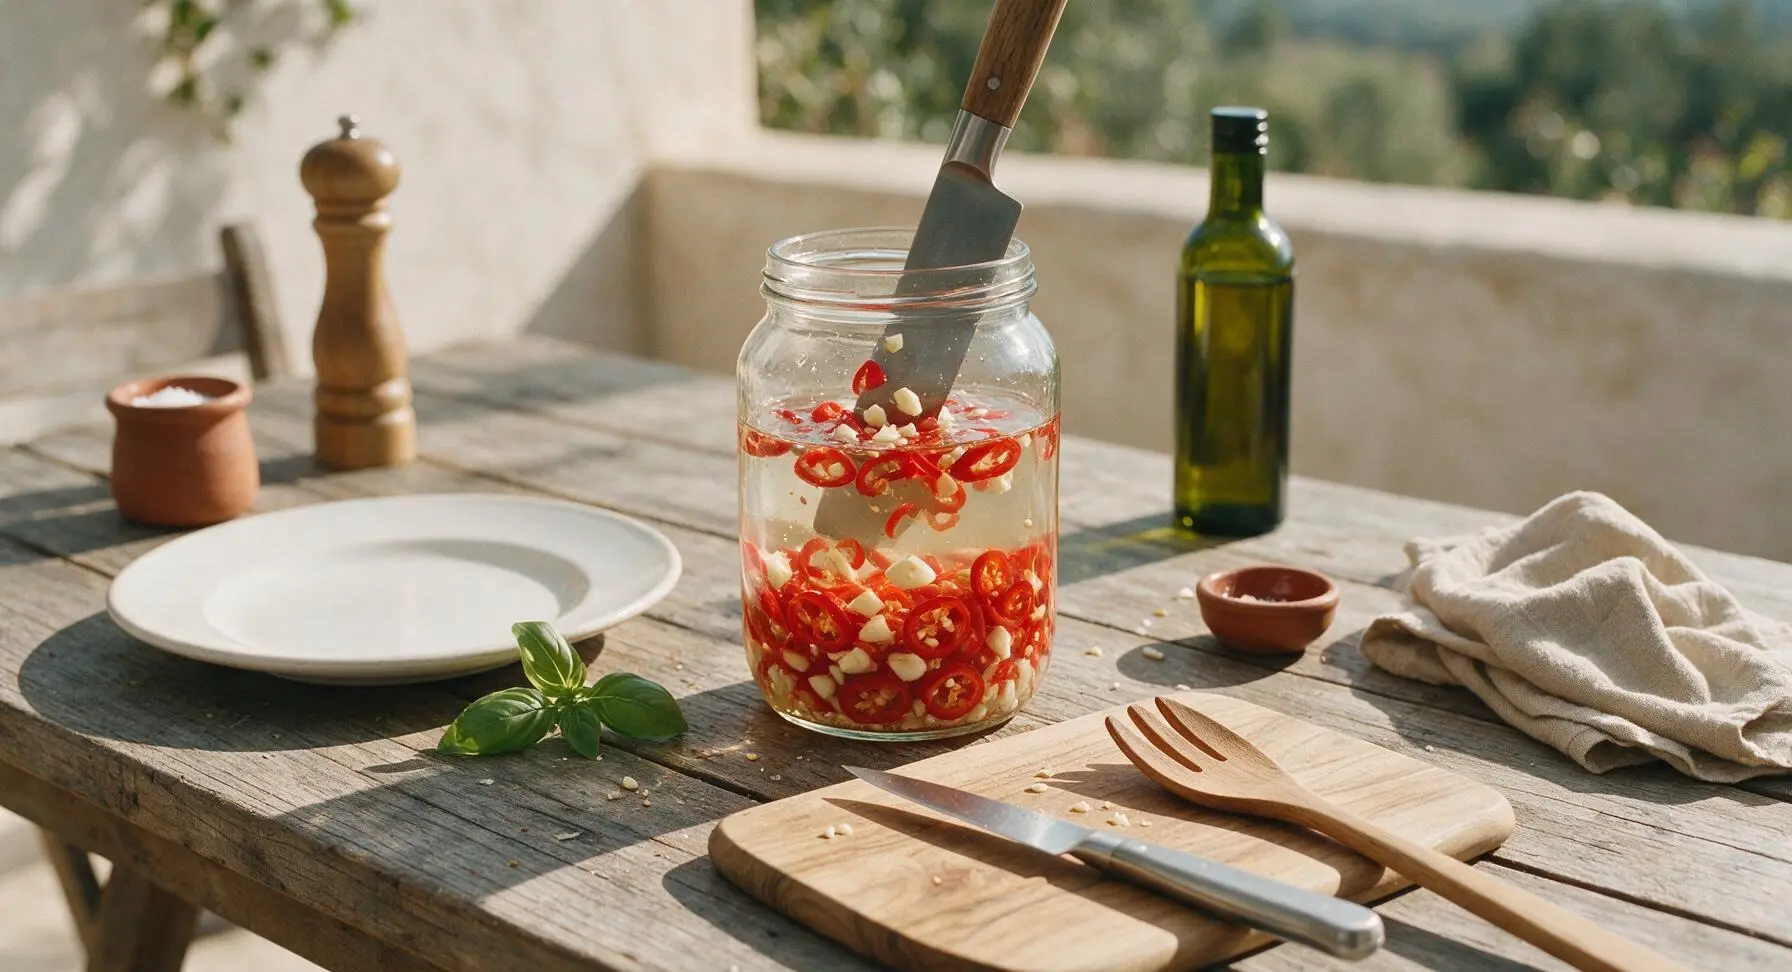
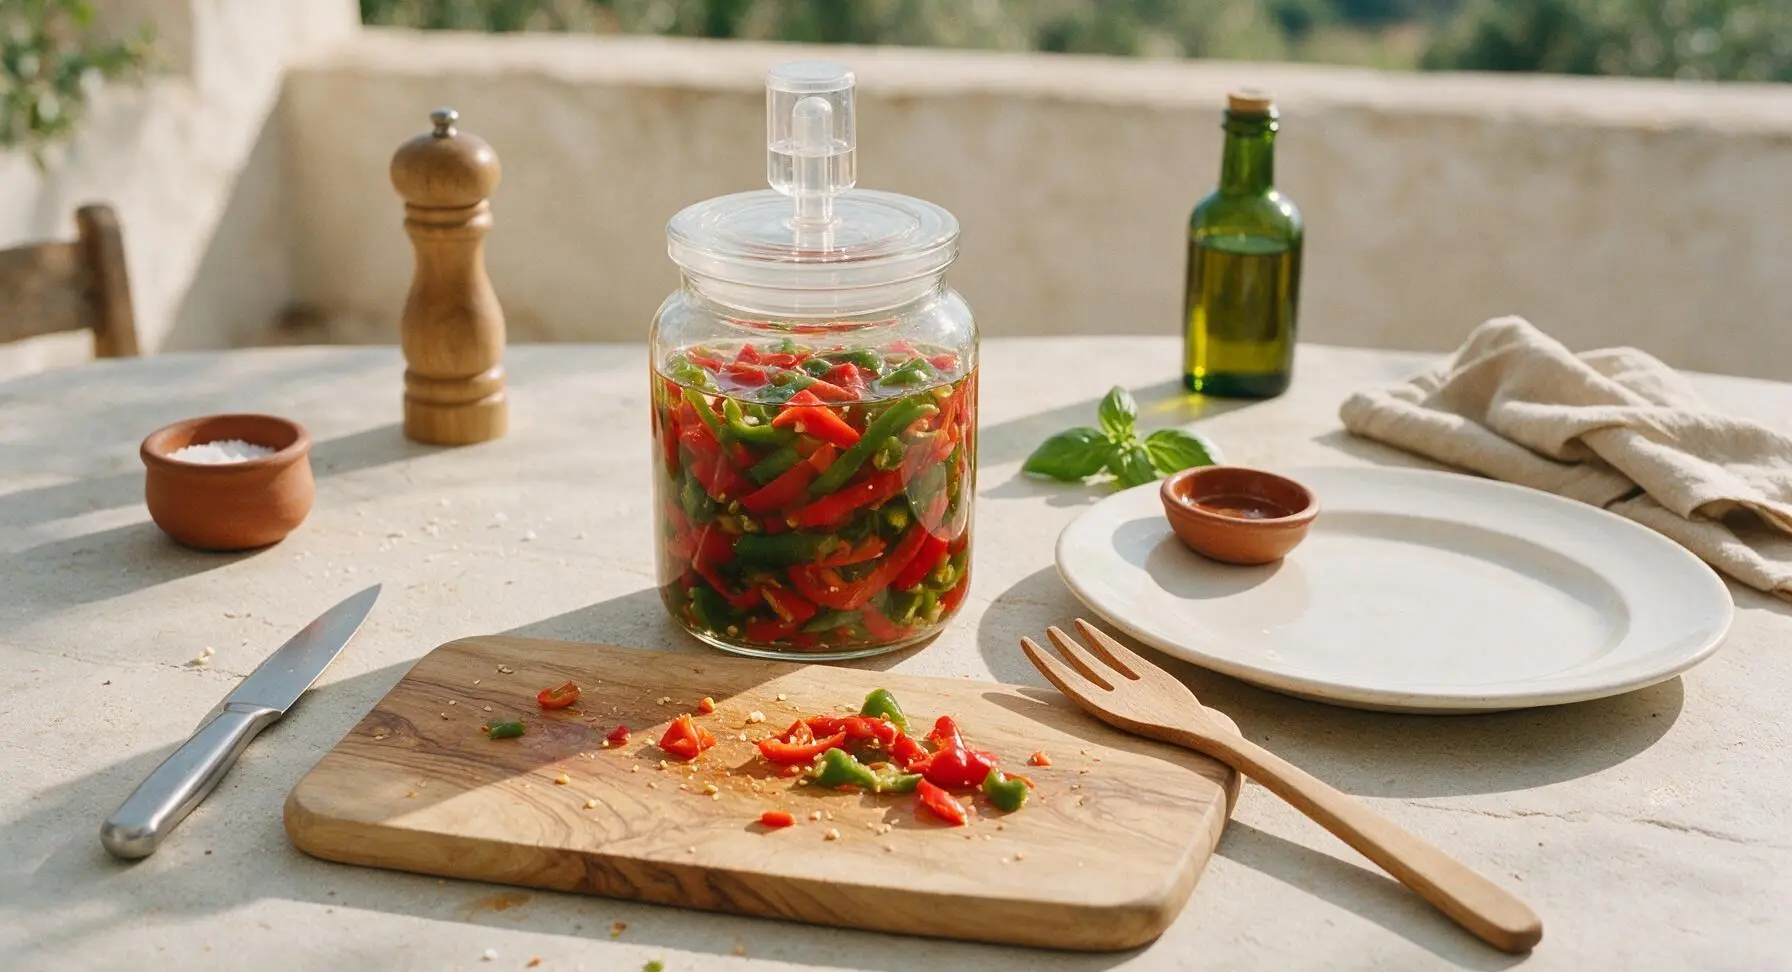
Tuck the sliced peppers and crushed garlic into the brine in the fermentation jar, pressing down firmly so all pieces are fully submerged under the brine. Leave 1 inch of headspace at the top of the jar to allow for bubbling during fermentation. Seal the jar with the airlock lid, filling the airlock to the marked line with extra filtered water.
Step 3
step3:Pack Fermentation Jar
Step 3
step3:Pack Fermentation Jar
4

Ferment 5-7 Days

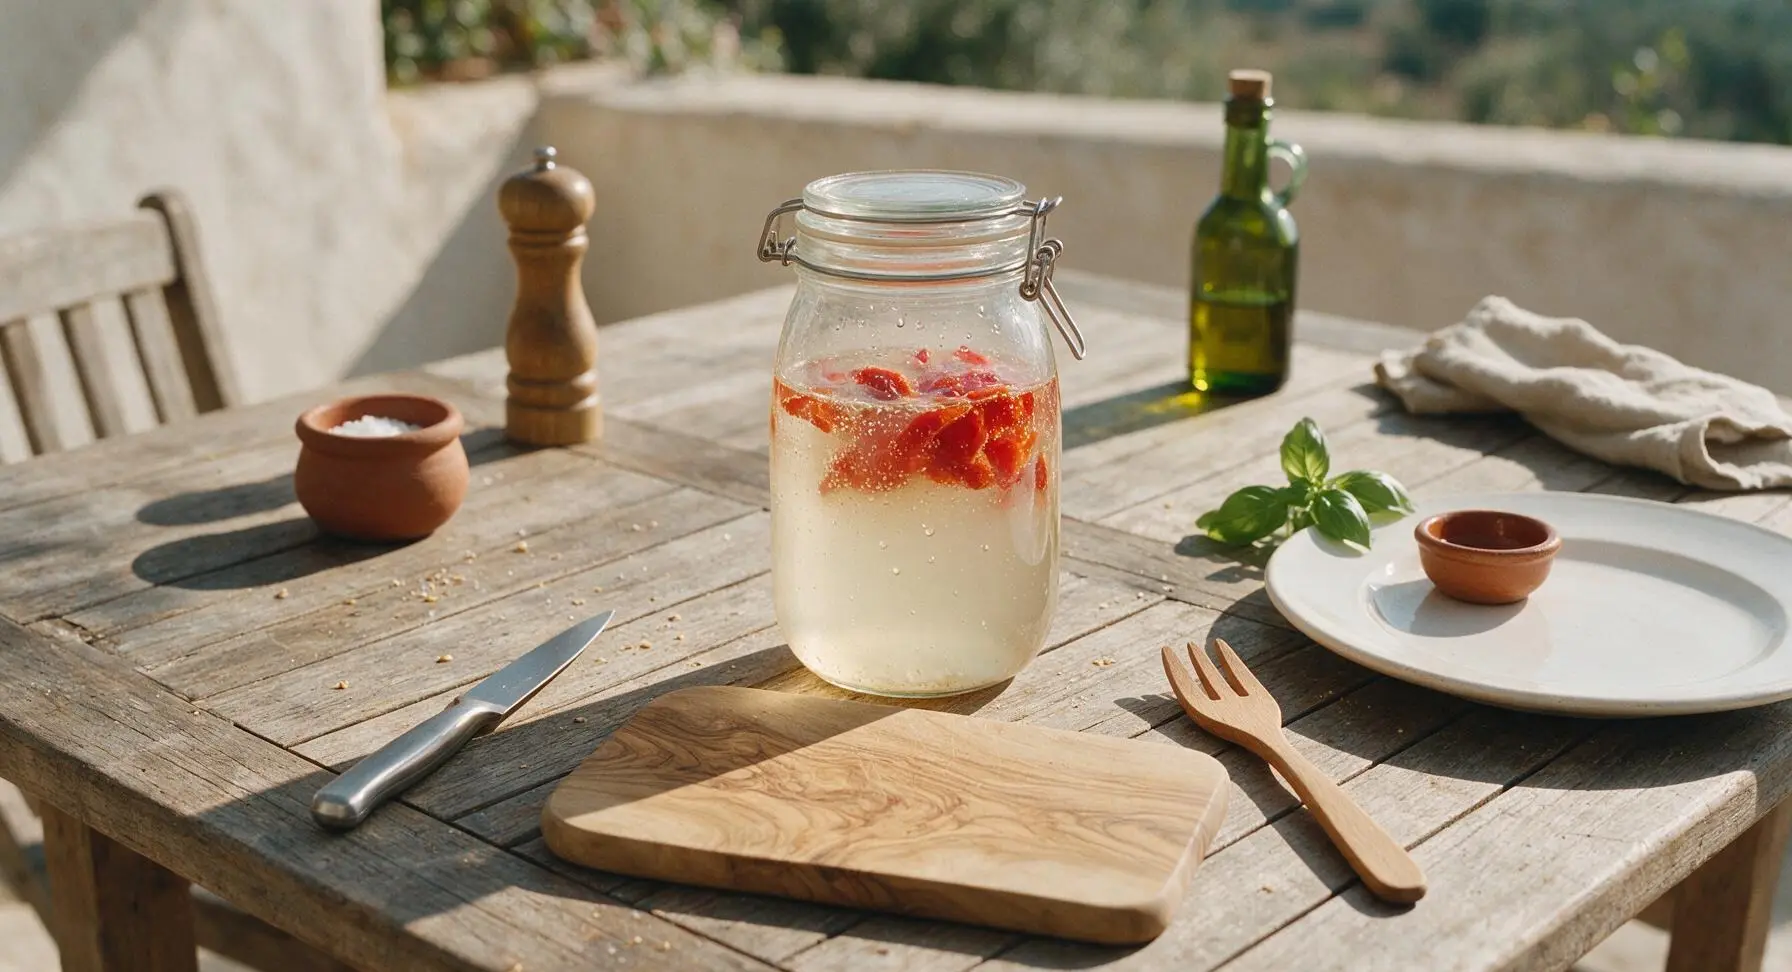
Set the sealed jar in a cool, dark spot (65-70°F / 18-21°C) away from direct sunlight for 5 to 7 days. Check daily to ensure peppers remain submerged; you will see small bubbles rising through the brine once active fermentation starts, and the brine will turn slightly cloudy with a tangy, bright aroma when ready. Do not open the jar unnecessarily during fermentation.
Step 4
step4:Ferment 5-7 Days
5

Drain Fermented Peppers

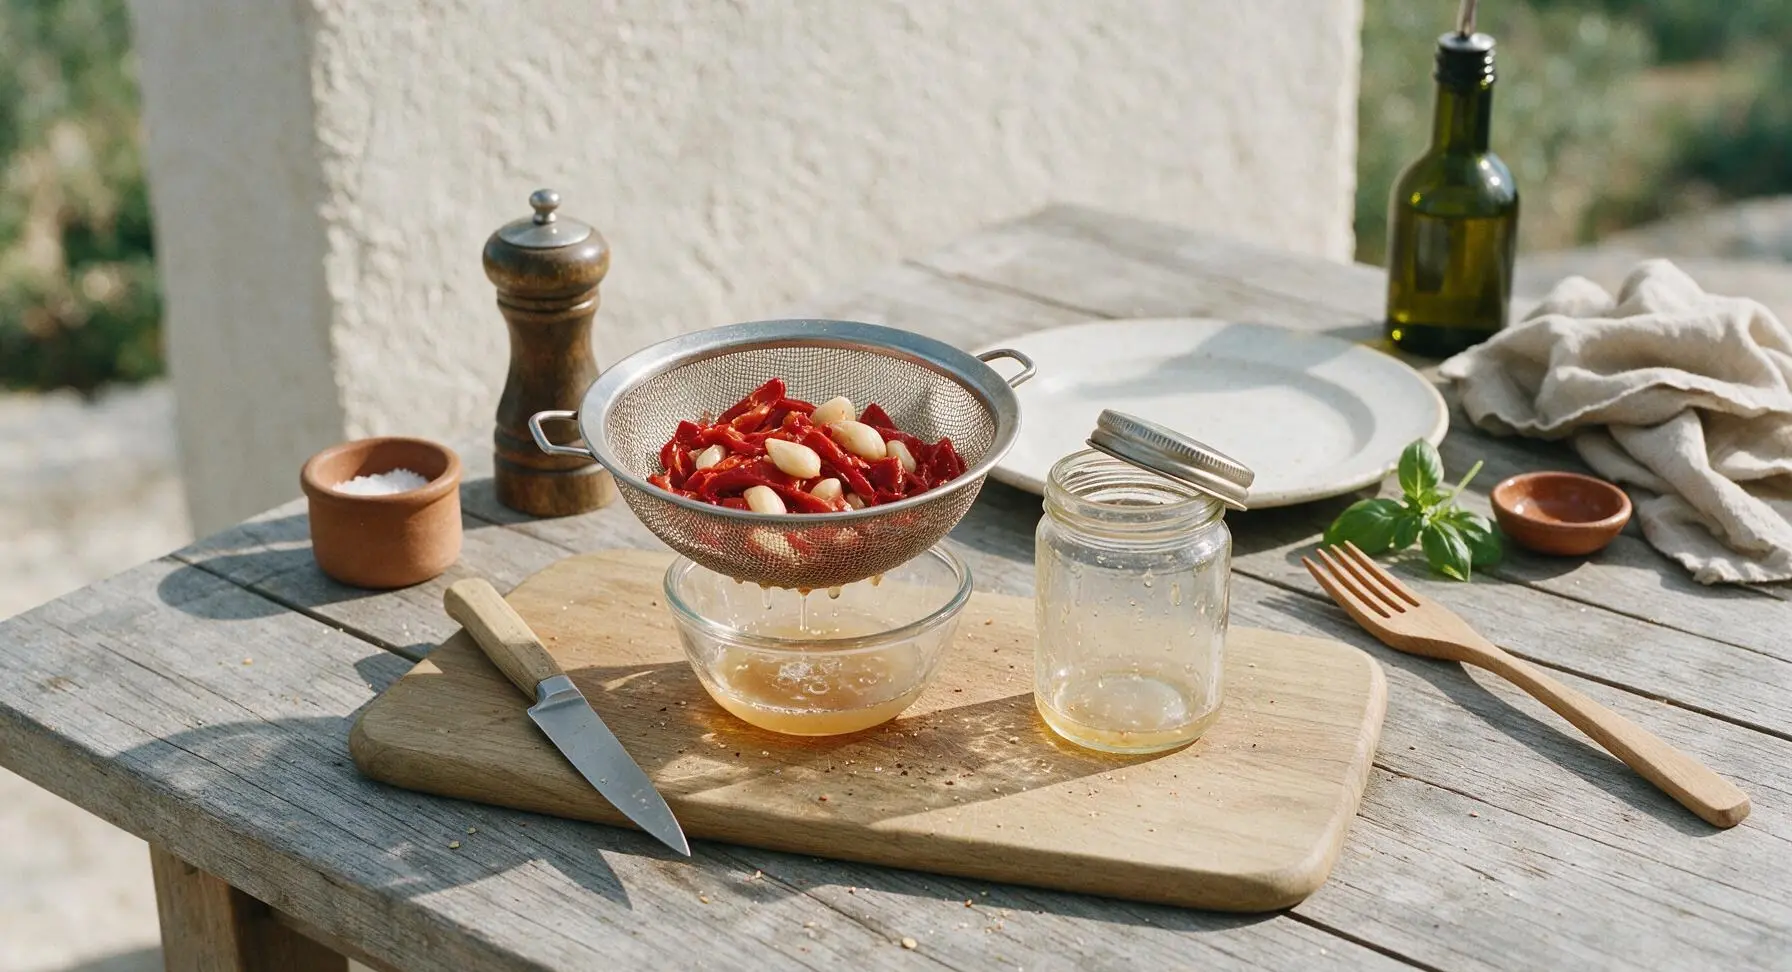
After fermentation is complete, remove the airlock lid from the jar. Pour the pepper and brine mixture through the fine-mesh sieve set over a clear glass bowl, reserving 1/4 cup of the fermentation brine to adjust sauce consistency later. Discard any discolored or mushy pepper pieces that float to the top.
Step 5
step5:Drain Fermented Peppers
6

Blend Sauce Mixture

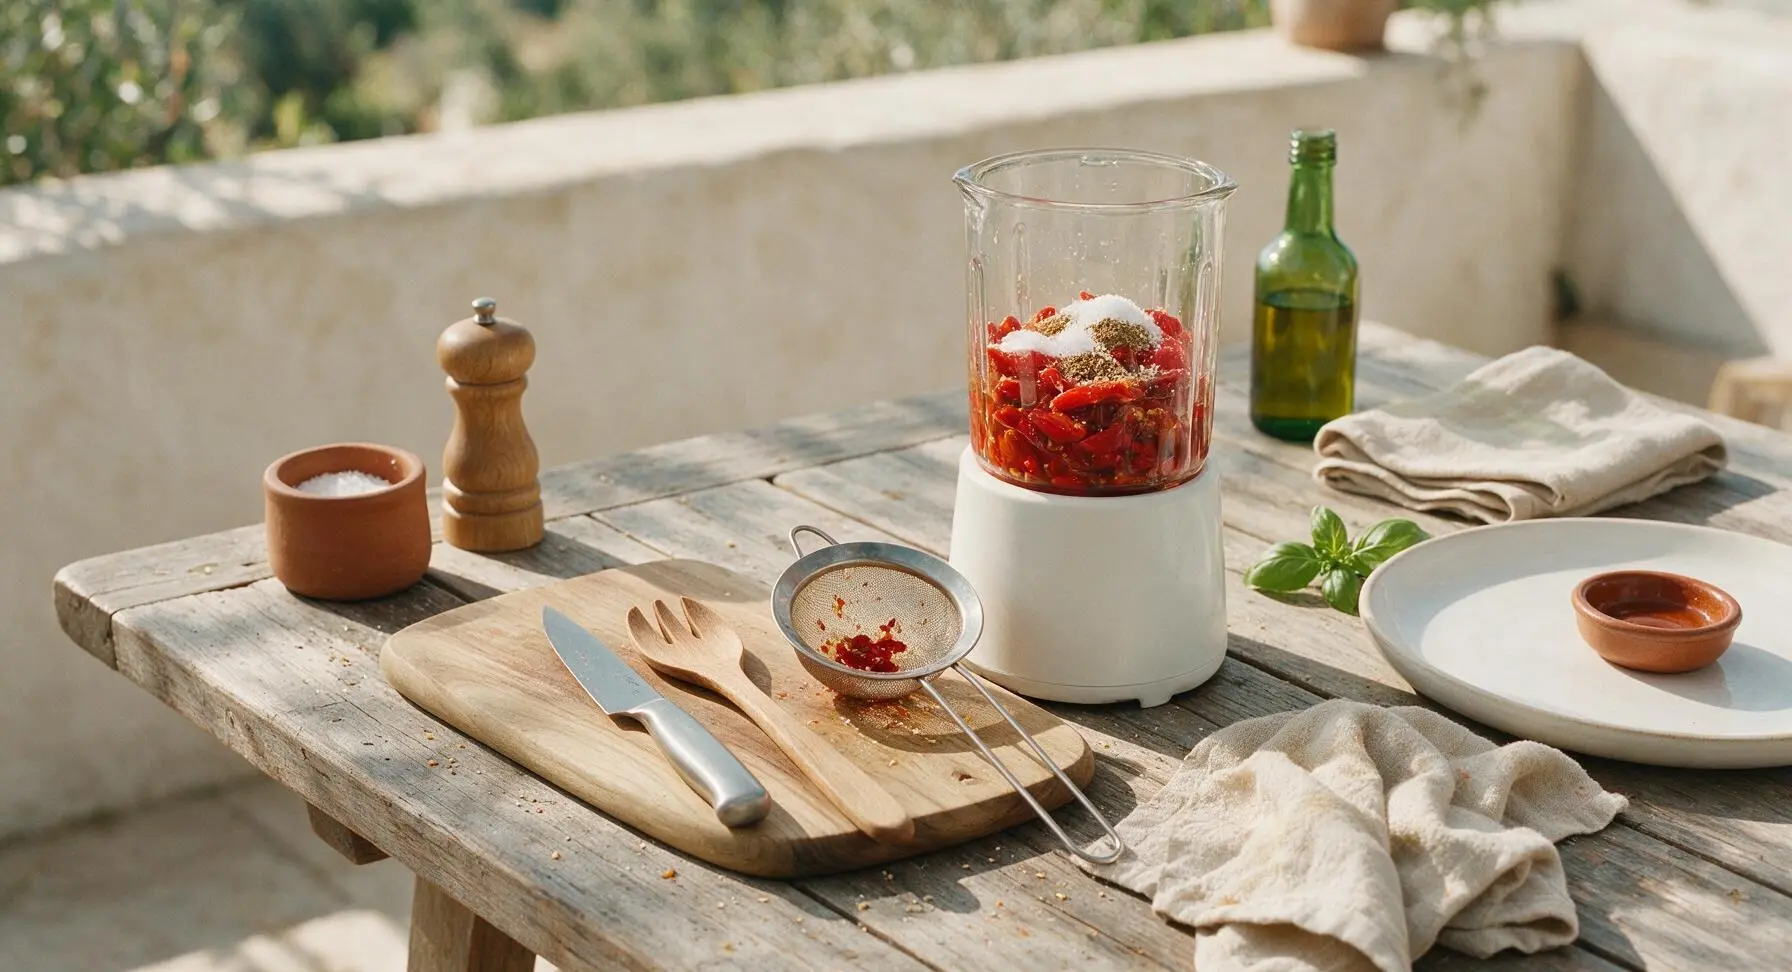
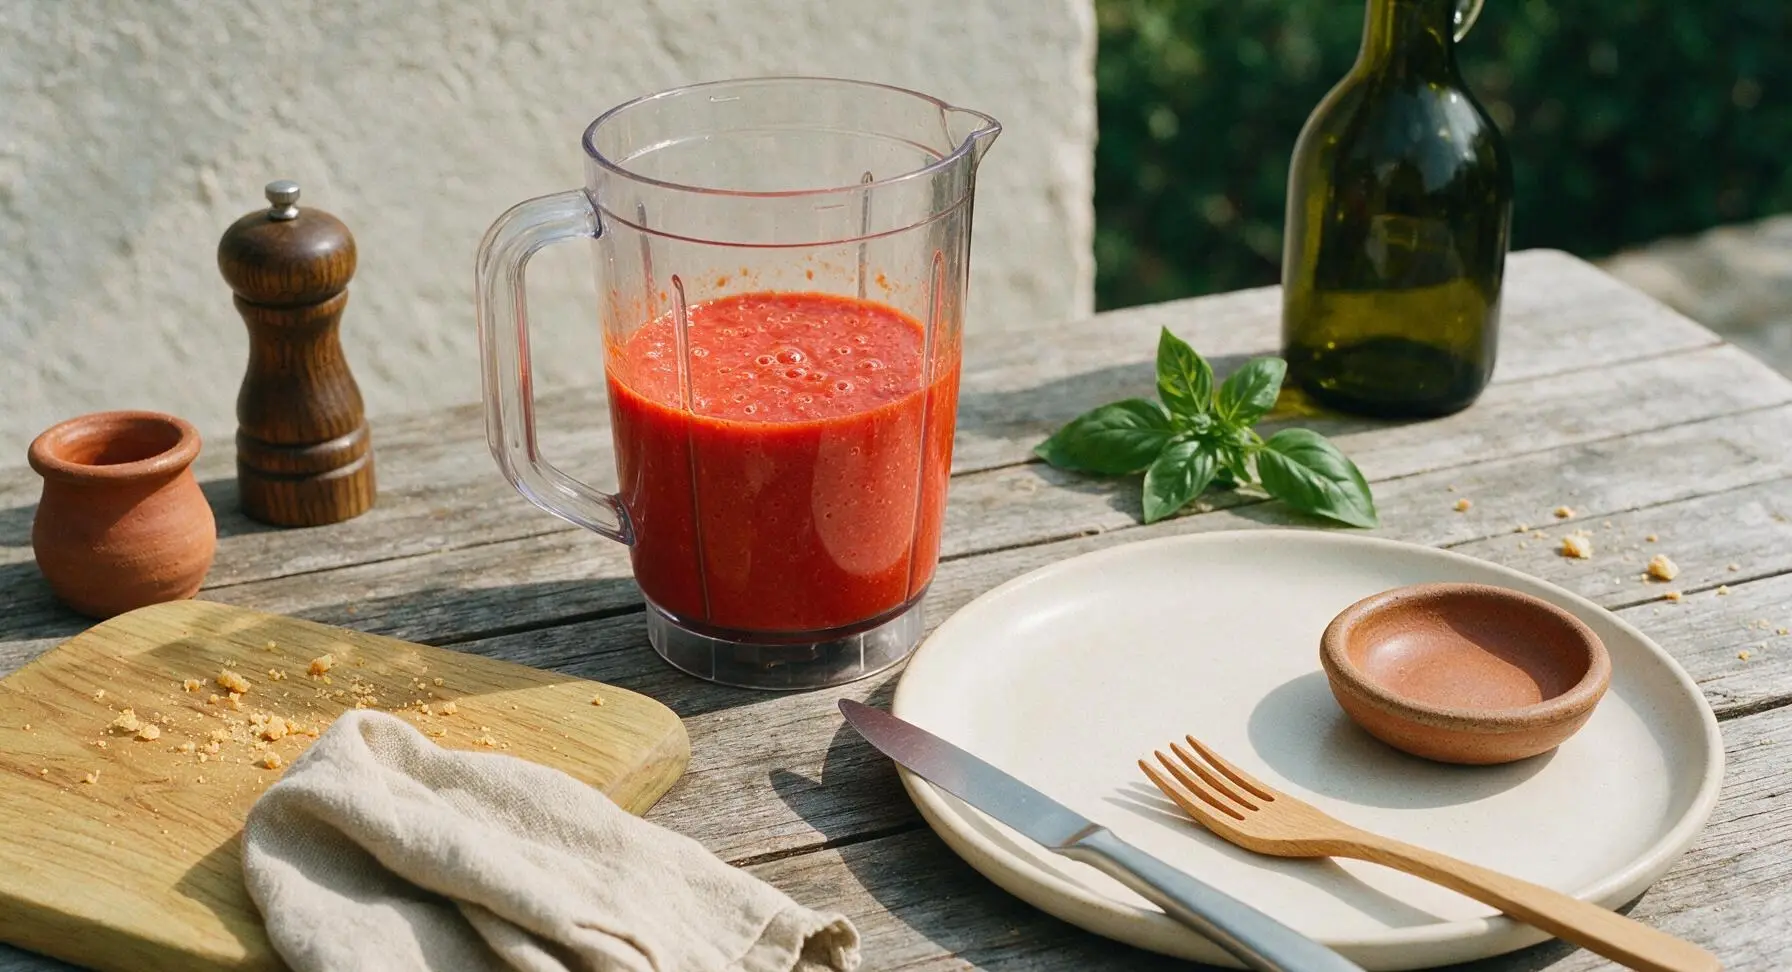
Transfer the drained fermented peppers and garlic to the blender carafe. Add 1/3 cup white distilled vinegar, 1 teaspoon raw cane sugar, and 1/4 teaspoon ground cumin. Blend on high speed for 30 to 45 seconds until the sauce is completely smooth, with no large pepper chunks remaining.
Step 6
step6:Blend Sauce Mixture
Step 6
step6:Blend Sauce Mixture
7

Simmer Sauce Briefly

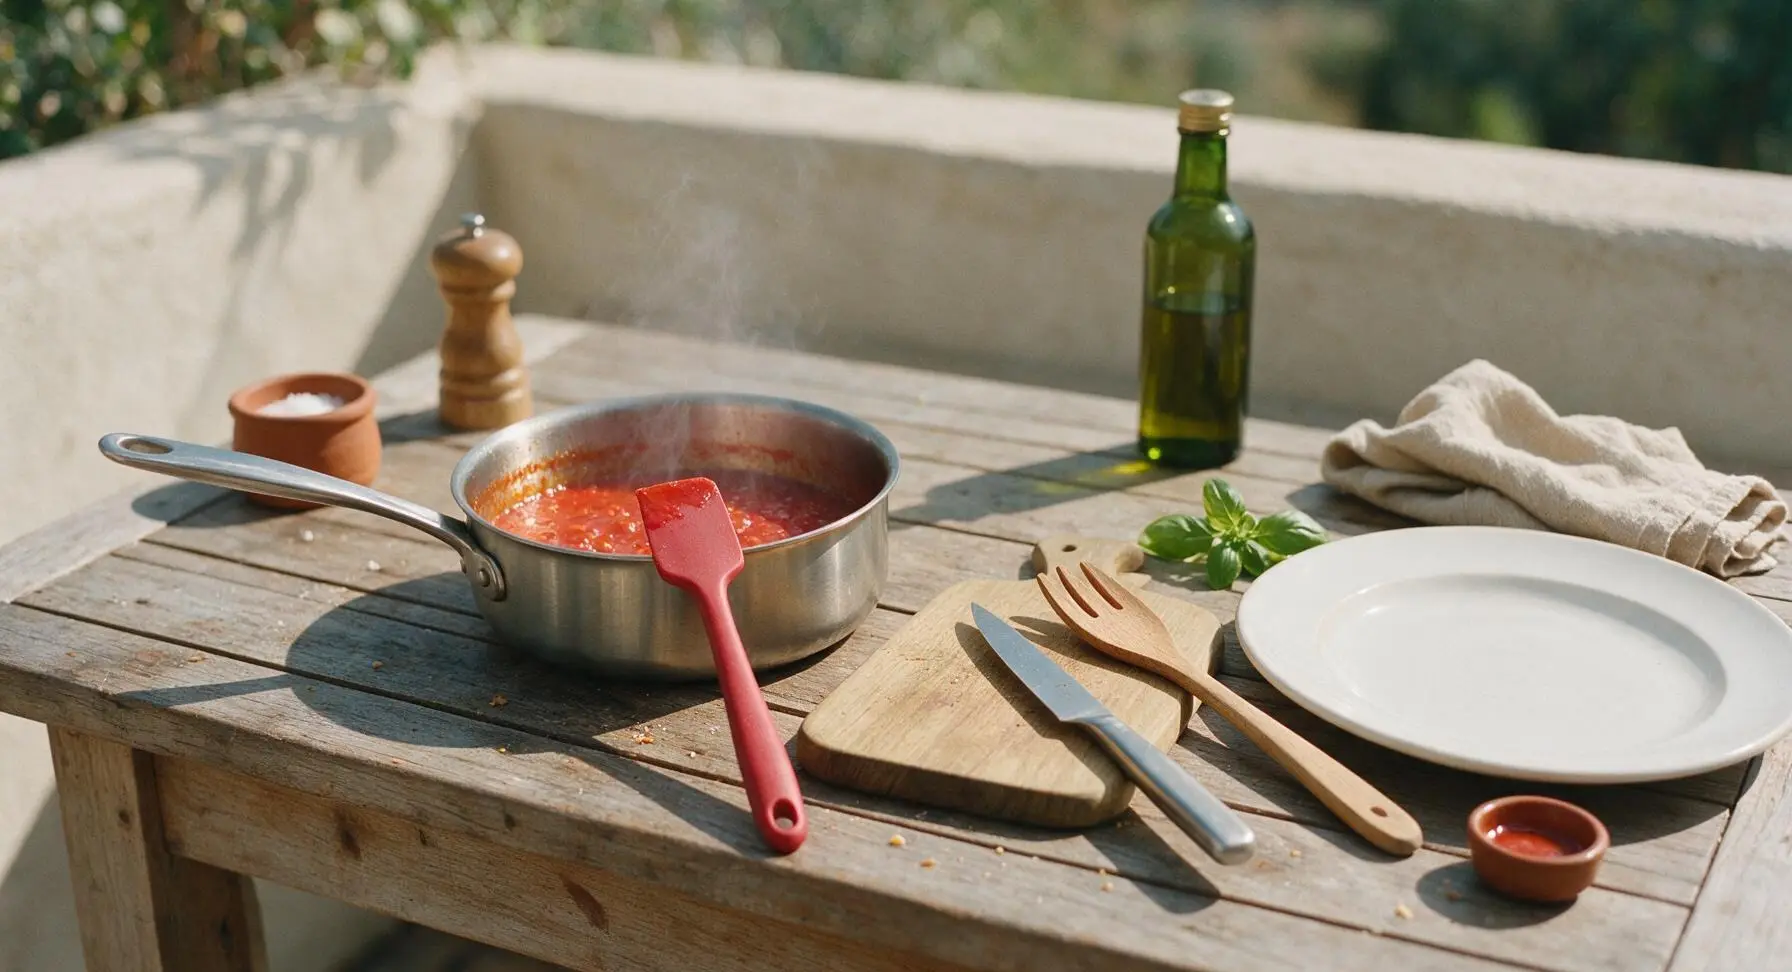
Pour the blended pepper puree into the stainless steel saucepan. Bring to a gentle simmer over medium-low heat (180°F / 82°C), stirring frequently with the silicone spatula, and cook for 5 minutes to mellow the raw vinegar bite and stop active fermentation. Do not boil rapidly, as this will cook off the bright, fresh pepper flavor.
Step 7
step7:Simmer Sauce Briefly
8

Strain and Bottle

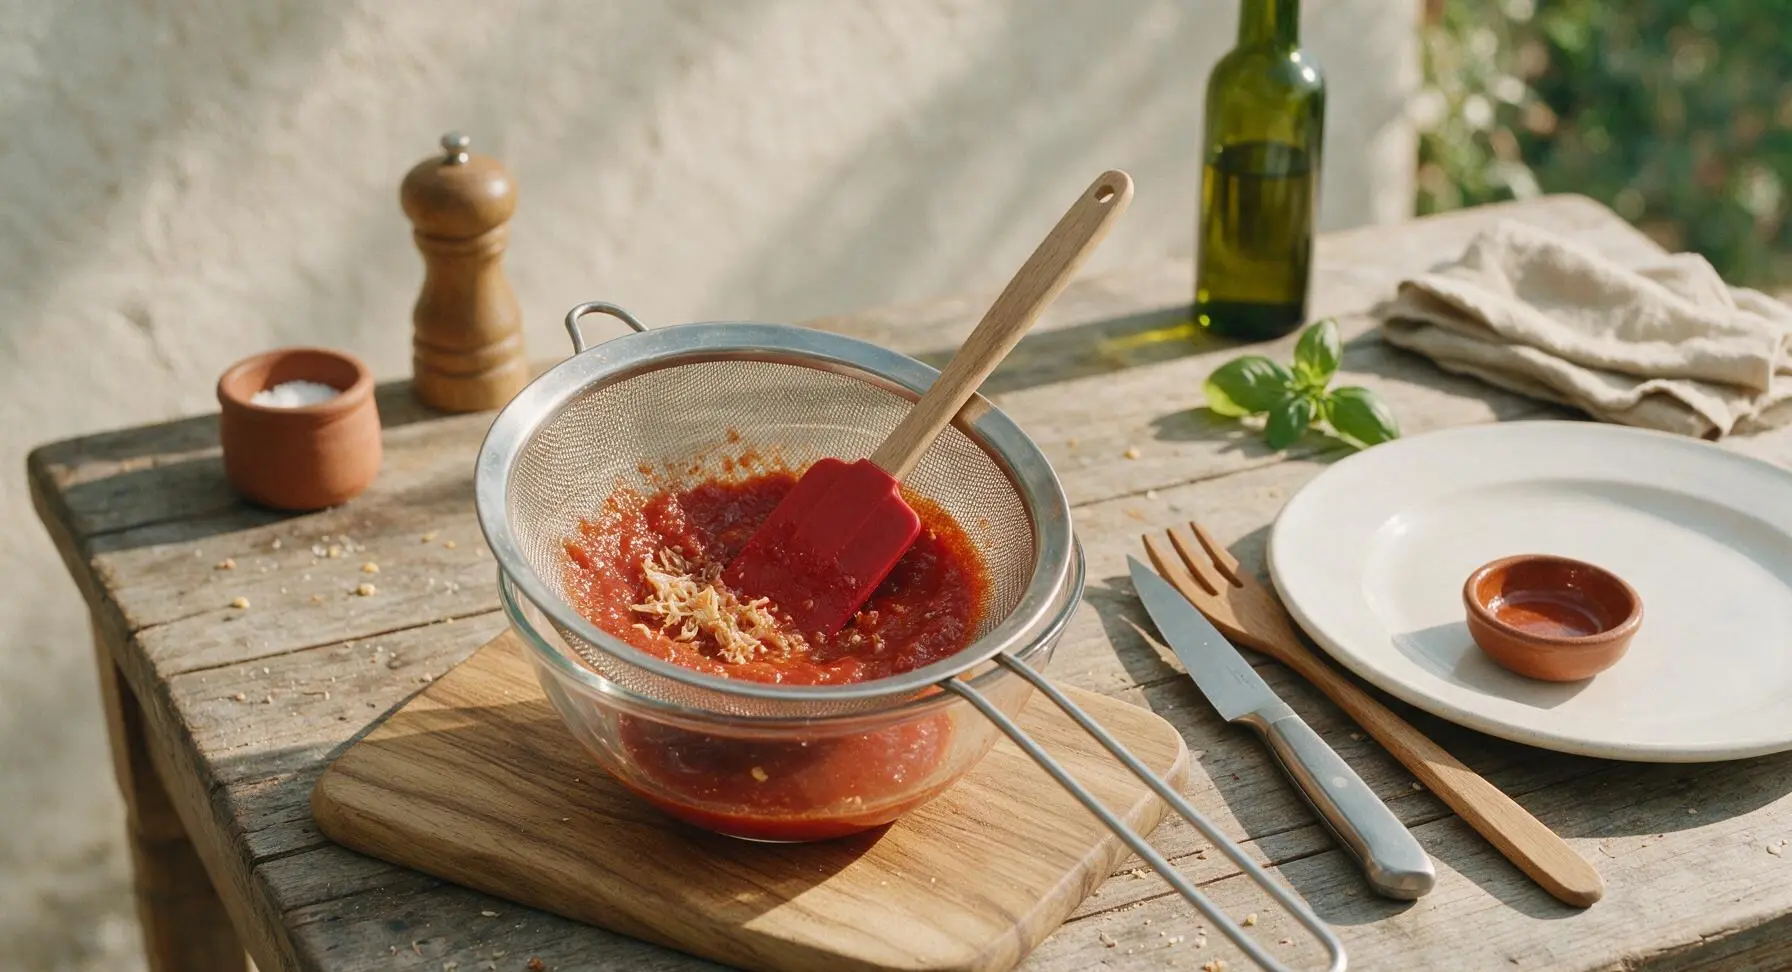
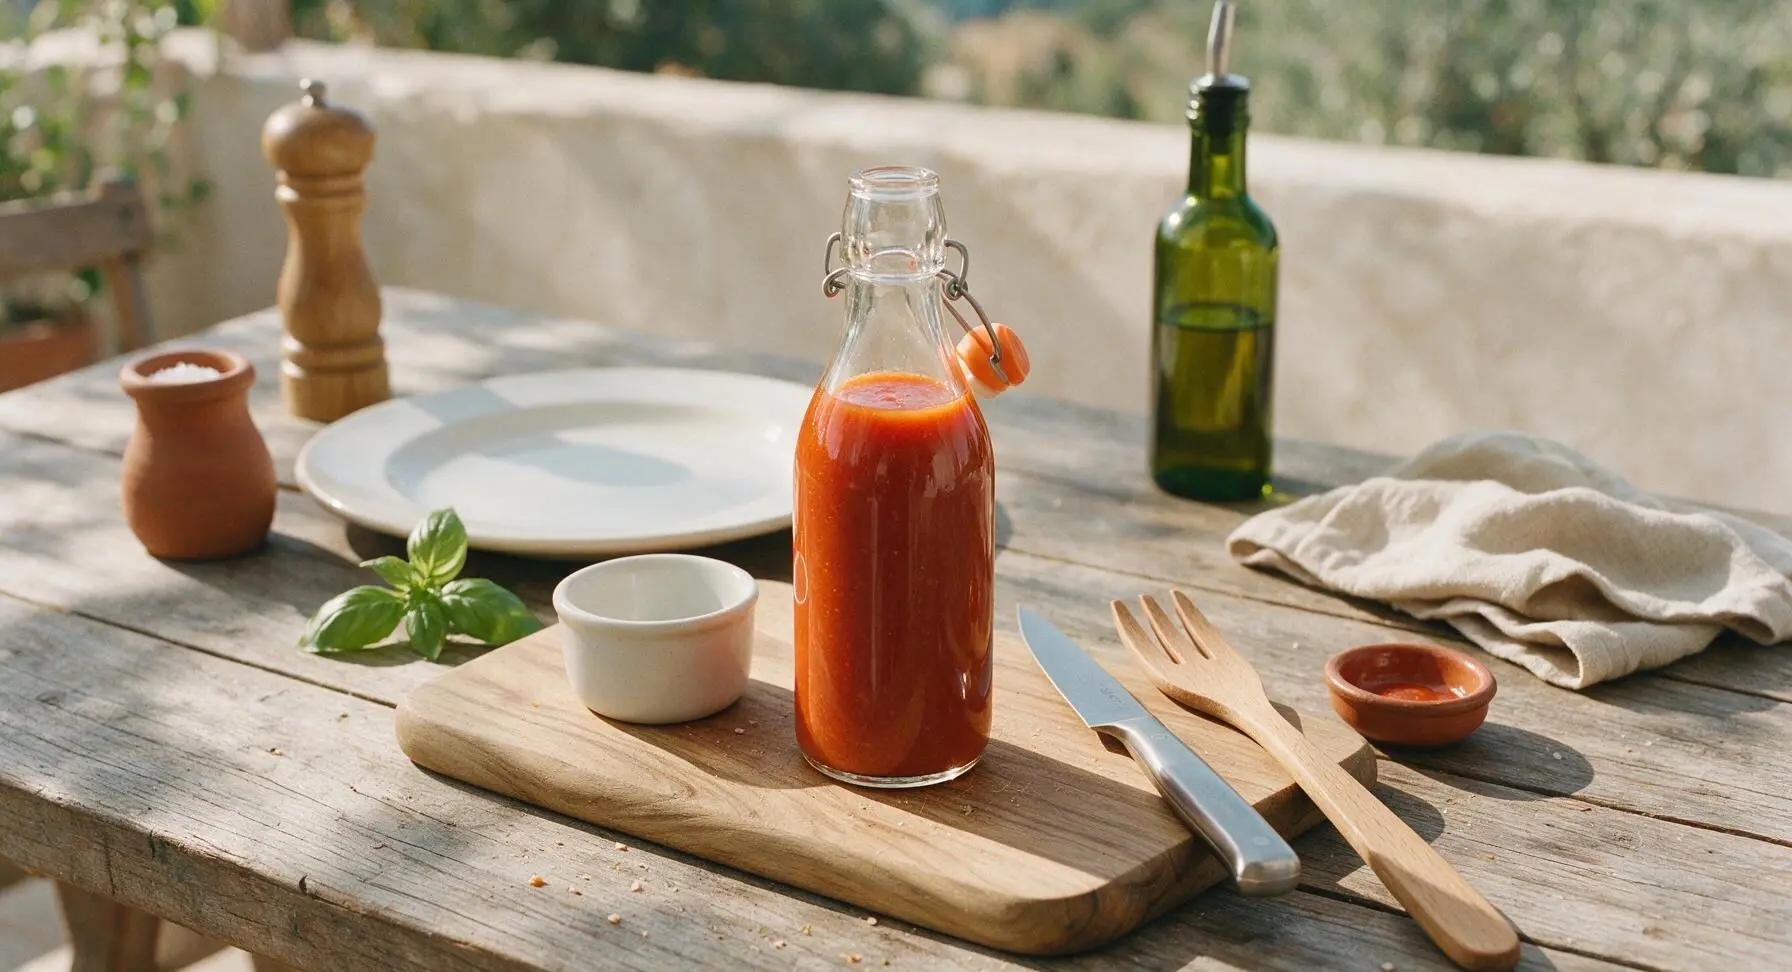
Remove the saucepan from heat and let the sauce cool for 10 minutes. Pour the cooled sauce through the fine-mesh sieve back into a clean bowl, pressing with the spatula to extract all smooth liquid, leaving behind tough seed and skin bits. Stir in reserved fermentation brine 1 tablespoon at a time until the sauce reaches a pourable, slightly thick consistency. Funnel into the clean swing-top glass bottle and seal tightly.
Step 8
step8:Strain and Bottle
Step 8
step8:Strain and Bottle

Tips

1.Adjust heat level to your preference: remove half the seeds and membranes from peppers before fermenting for a mild sauce, or add 2 habanero peppers for extra heat, as seeds and membranes hold the majority of a chili's capsaicin.
2.Use only non-iodized salt and chlorine-free filtered water for fermentation: iodine and chlorine kill the beneficial lactic acid bacteria that create the sauce's signature tang, and can lead to unwanted mold growth instead of healthy fermentation.
3.Store finished hot sauce in the refrigerator for up to 6 months: cold temperatures slow residual fermentation, preserve bright fresh pepper flavor, and prevent spoilage; expect the flavor to mellow and deepen slightly over the first 2 weeks of storage.


✨ You May Also Like

BBQ & Grilling
🍜 United States

Tender, melt-in-your-mouth beef brisket with a crisp, spiced bark, slow-smoked to deep smoky perfection, the iconic centerpiece of Texas backyard barbecue.

⏱️ 12 hours BBQ & Grilling ★ 4.4
BBQ & Grilling
🍜 Korea

Tender, sweet-savory marinated beef short ribs, a beloved Korean BBQ staple with caramelized, slightly charred edges and deep umami flavor, perfect for outdoor summer gatherings.

⏱️ 4 hours 2BBQ & Grilling ★ 4.8
BBQ & Grilling
🍜 United States

Juicy grilled beef patties topped with smoky homemade chili, melted cheddar, and tangy pickles on toasted brioche buns for a hearty, flavor-packed handheld meal.

⏱️ 40 minuteBBQ & Grilling ★ 4.7
BBQ & Grilling
🍜 United States

A sweet, smoky, tangy BBQ sauce brightened with peak-season dark cherries, ideal for glazing grilled ribs, chicken, pork, or summer roasted veggies.

⏱️ 35 minuteBBQ & Grilling ★ 4.7
BBQ & Grilling
🍜 United States

Rich, smoky, slightly sweet homemade bourbon BBQ sauce with deep caramel notes, ideal for glazing grilled ribs, chicken, and burgers at cookouts.

⏱️ 25 minuteBBQ & Grilling ★ 4.7
BBQ & Grilling
🍜 United States

Iconic Alabama-style BBQ featuring tender hickory-smoked chicken slathered in tangy creamy white sauce, a beloved regional Southern cookout staple.

⏱️ 3 hoursBBQ & Grilling ★ 5

hot sauce:Frequently Asked Questions

1.Why do I need to use non-iodized fine sea salt for this recipe instead of regular table salt? ▾
Iodized table salt contains iodine and anti-caking agents that can kill the beneficial lactic acid bacteria responsible for safe, tangy fermentation, leading to off-flavors, mushy peppers, or even mold growth. Non-iodized fine sea salt creates a hospitable brine environment for good bacteria without adding harsh, bitter notes to your finished sauce.
2.How long do I need to let the peppers ferment before the sauce is ready? ▾
For the best balanced, bright tang and layered heat, let your pepper and garlic mixture ferment for 5 to 7 days at a steady 65 to 75°F. You’ll know it’s ready when the brine is cloudy, small bubbles rise when you tap the jar, and the mixture smells tangy, not rotten. You can ferment up to 2 weeks for deeper, more complex sour notes if you prefer.
3.Do I have to use both red jalapeños and Fresno chilis, or can I use just one pepper type? ▾
You absolutely can swap or use a single pepper type if that’s all you have! The blend of red jalapeños (bright, grassy, medium heat) and Fresnos (fruitier, slightly sharper heat) creates a balanced profile, but using all red jalapeños makes a milder, earthier sauce, while all Fresnos give a brighter, fruitier, slightly hotter end product.
4.Why does the recipe call for filtered water instead of regular tap water for the brine? ▾
Most municipal tap water contains chlorine or chloramine, added to kill harmful bacteria—but those same chemicals will also wipe out the good lactic acid bacteria you need for successful fermentation. Filtered water removes those compounds, so your ferment stays healthy, develops the right tangy flavor, and doesn’t grow unwanted mold during the process.
5.What should I do if I see fuzzy growth on top of my fermenting peppers? ▾
First, don’t panic if you spot a thin, white, matte kahm yeast layer—it’s harmless, a common wild yeast growth. Simply skim it off completely, make sure all peppers are fully submerged under the brine, and check that your ferment isn’t too warm. If you see fuzzy green, black, or pink mold, or smell rotten, putrid odors, throw the whole batch out to stay safe.
6.How do I keep peppers from floating above the brine while they ferment? ▾
Floating peppers exposed to air are the top cause of mold growth, so you’ll need a weight to hold everything fully under the brine. If you don’t have a dedicated glass fermentation weight, a clean sterilized small glass jar filled with extra brine, or a sealed food-safe bag of salt water works perfectly to keep peppers submerged.
7.How spicy is this finished fermented red hot sauce? ▾
This blend lands at a medium heat level, roughly 5,000 to 10,000 Scoville Heat Units, similar to a milder commercial Louisiana-style hot sauce. Fermentation softens the sharp, raw burn of fresh chilis to a rounder, more lingering heat. Add 1 to 2 habaneros for extra heat, or swap half the chilis for red bell pepper for a milder batch.
8.Do I need a special airlock lid to ferment this hot sauce successfully? ▾
You don’t need a fancy airlock, though they do make the process more hands-off! If you don’t have one, cover your jar with clean cheesecloth secured with a rubber band, or loosely fasten a regular canning lid so built-up carbonation can escape. Just remember to “burp” the jar once a day if using a solid lid to release pressure.
9.How long will the finished blended hot sauce stay good to eat? ▾
Once you blend the fermented peppers, garlic, and brine to your desired consistency, pour the sauce into sterilized glass bottles or jars and store it in the fridge. It will stay fresh, tangy, and safe to eat for up to 6 months, as the ferment’s high acid content and salt act as natural preservatives. Flavor will mellow slightly over time.
10.Should I remove the seeds and membranes from the peppers before fermenting? ▾
That’s totally up to your heat preference! The seeds and inner white membranes hold most of a chili’s capsaicin, so leaving them in gives you a hotter, more robust sauce, while removing them creates a milder, smoother end product. I recommend leaving at least a quarter of the seeds in for well-rounded heat that doesn’t overpower the tangy fermented flavor.
11.Can I add extra flavors to the sauce when I blend it after fermentation? ▾
Absolutely! Once fermentation is complete, you can customize the blended sauce to taste with add-ins like a splash of apple cider vinegar for extra tang, a pinch of smoked paprika for depth, a squeeze of lime for brightness, or a tiny bit of honey to balance heat. Add small amounts at a time and taste as you go to avoid covering up the bright pepper flavor.
12.What temperature is safest and best for fermenting these peppers? ▾
Aim to keep your fermenting jar in a dark, consistent spot between 65°F and 75°F for the most reliable results. Temperatures above 80°F can encourage unwanted bad bacteria and mold growth, while temps below 60°F slow fermentation to a crawl, leading to flat, bland flavor instead of the bright, tangy profile you want. Keep the jar out of direct sunlight.
13.Why is my hot sauce still bubbling after I put it in the fridge? ▾
That bubbling is totally normal! Cold temperatures slow fermentation but don’t stop it completely, so you may still see small bubbles rising in the sauce for a week or two after refrigeration. Just leave a little headspace in your storage bottles to prevent pressure buildup, and burp the lids every few days for the first couple of weeks if you notice excess carbonation.

Comments (12)

2 days ago

OMG this fermented red hot sauce is a total game changer! I’ve been buying store-bought hot sauce for years and never thought to make my own. The 10 minute prep time was no joke, I tossed all the peppers in the ferment jar before work on Monday and it was ready to bottle by last weekend. Drizzled it on our taco night spread and my partner went back for thirds. 10/10 will make again for our next potluck!

yesterday

Wait how long did you let yours ferment? I’m nervous about leaving it out too long and getting mold!

yesterday

Great question! For this recipe, we recommend fermenting for 5-7 days at room temperature out of direct sunlight — just burp the jar daily and keep the peppers fully submerged under the brine, and you won’t have to worry about mold popping up!

1 week ago

My kids are OBSESSED with this sauce! I was worried the ferment would make it too tangy for their picky palates but they’ve been putting it on everything from scrambled eggs to chicken nuggets. I did cut the habaneros with a few extra red bell peppers to mellow the heat a little and it turned out SO good. Already prepping a second batch to give out as neighbor gifts for the holidays!

3 days ago

Really solid hot sauce recipe! Cook time was super quick like it said, only reason I knocked a star off is I let mine ferment a day too long and it got a little funkier than I prefer. Still, it’s great on smoked wings and I’ll absolutely be making it again, just setting a timer for the ferment next time.

2 days ago

So glad you enjoyed it overall! Fermentation speed can vary a lot based on how warm your kitchen is — if your space runs over 75°F, you can cut the ferment time down to 3-4 days for that bright, tangy flavor without the extra earthy funk!

5 days ago

Perfect for meal prep! I bottled this up in small squeeze bottles and it’s lasted me 3 weeks in the fridge so far with zero weird texture changes. I add a splash to my grain bowls, avocado toast, even my homemade Bloody Marys on the weekends. Can’t believe how much money I’m saving not buying fancy artisanal hot sauce at the grocery store.

3 days ago

Do you add any garlic to yours? I’ve been tweaking the base recipe to add extra depth!

2 days ago

Adding 3-4 crushed garlic cloves to the ferment jar is one of our favorite easy swaps! It mutes some of the sharp pepper heat and adds that delicious savory note that pairs so well with brunch drinks like Bloody Marys.

2 weeks ago

Brought this to our neighborhood block party potluck last weekend and people were begging me for the recipe before I even left! It’s got the perfect balance of heat and tang, not so spicy that people with milder tolerance can’t enjoy it, but enough kick to make hot sauce fanatics happy. I left a little pulp in mine for extra texture instead of straining it super fine, and that was chef’s kiss.

yesterday

I was SO intimidated to try fermenting anything for the first time, I thought it was super complicated and I’d mess it up. This recipe was so straightforward! The instructions were easy to follow and I didn’t run into any issues with mold or weird brine cloudiness. My first batch is almost done fermenting and it already smells incredible.

30 minutes ago

Right?! I was scared of fermenting too until I tried this sauce — once you nail the basic salt brine ratio you can make all kinds of fermented pickles and veggies too, it’s so addicting!

2 hours ago

Taste was great, but I wish the difficulty was listed a little more clearly? Medium makes sense but I feel like new fermenters might be caught off guard by how often you have to check on the jar during the ferment process. I almost missed a day of burping the jar and it nearly bubbled over all over my kitchen counter.

30 minutes ago

Thanks so much for the honest feedback! We’ll update the recipe notes to make the daily jar burping step extra prominent for first-time fermenters — we totally get how easy it is to forget when you’re busy with work and household chores!

1 week ago

Used this sauce on my smoked pulled pork sliders for the college football tailgate last Saturday and it was the hit of the parking lot! So many people asked if I bought it from a local hot sauce shop, they couldn’t believe I made it myself. The tang from the ferment cuts through the rich pork so perfectly, I’ll never use plain vinegar-based store sauce for tailgates again.

5 days ago

Did you add any extra smoked paprika to match the pulled pork? That sounds like such a good combo!

3 days ago

Love that tailgate hack! Adding 1/4 tsp of smoked paprika per cup of finished sauce is a fantastic way to amp up that wood-fired flavor for grilled and smoked meats, thanks for the inspo!

30 minutes ago

Finally a hot sauce that doesn’t have weird preservatives or hidden gluten! I have celiac so I’m super careful about condiments, and making my own means I know exactly what’s going in it. This is tangy, bright, has just the right amount of heat, and I don’t have to worry about cross-contamination. Absolute staple in my fridge from now on.

5 minutes ago

Great base recipe! I added a handful of mango chunks to my second ferment for a little sweet heat twist and it turned out amazing on fish tacos. Only thing is I wish the recipe included notes on how to adjust heat levels for people who can’t handle super spicy food.

just now

That mango addition sounds incredible! For milder hot sauce, you can swap half the hot red peppers for roasted red bell peppers, or remove all the seeds and membranes from your peppers before fermenting to cut the heat by about 60%. We’ll add those tips to the recipe card soon!

3 days ago

My teen son is a total hot sauce fanatic and he said this is better than the $12 a bottle specialty stuff he begs me to buy at the gourmet food shop. We did a batch last weekend and he’s already asking when we can make a hotter version with ghost peppers for him to share with his friends. Win for mom, no more overpriced condiment runs!

2 days ago

Same with my 16 year old! He’s been experimenting with adding different peppers every batch, it’s turned into such a fun weekend project for us to do together.

5 days ago

I’ve been on a homemade condiment kick lately and this is easily the best thing I’ve made all month. The ferment gives it such a complex, bright flavor that regular non-fermented hot sauce just can’t compete with. I even stirred a spoonful into my weeknight chili last night and it took the whole pot to the next level. 10/10, will be a permanent recipe in my rotation.



