
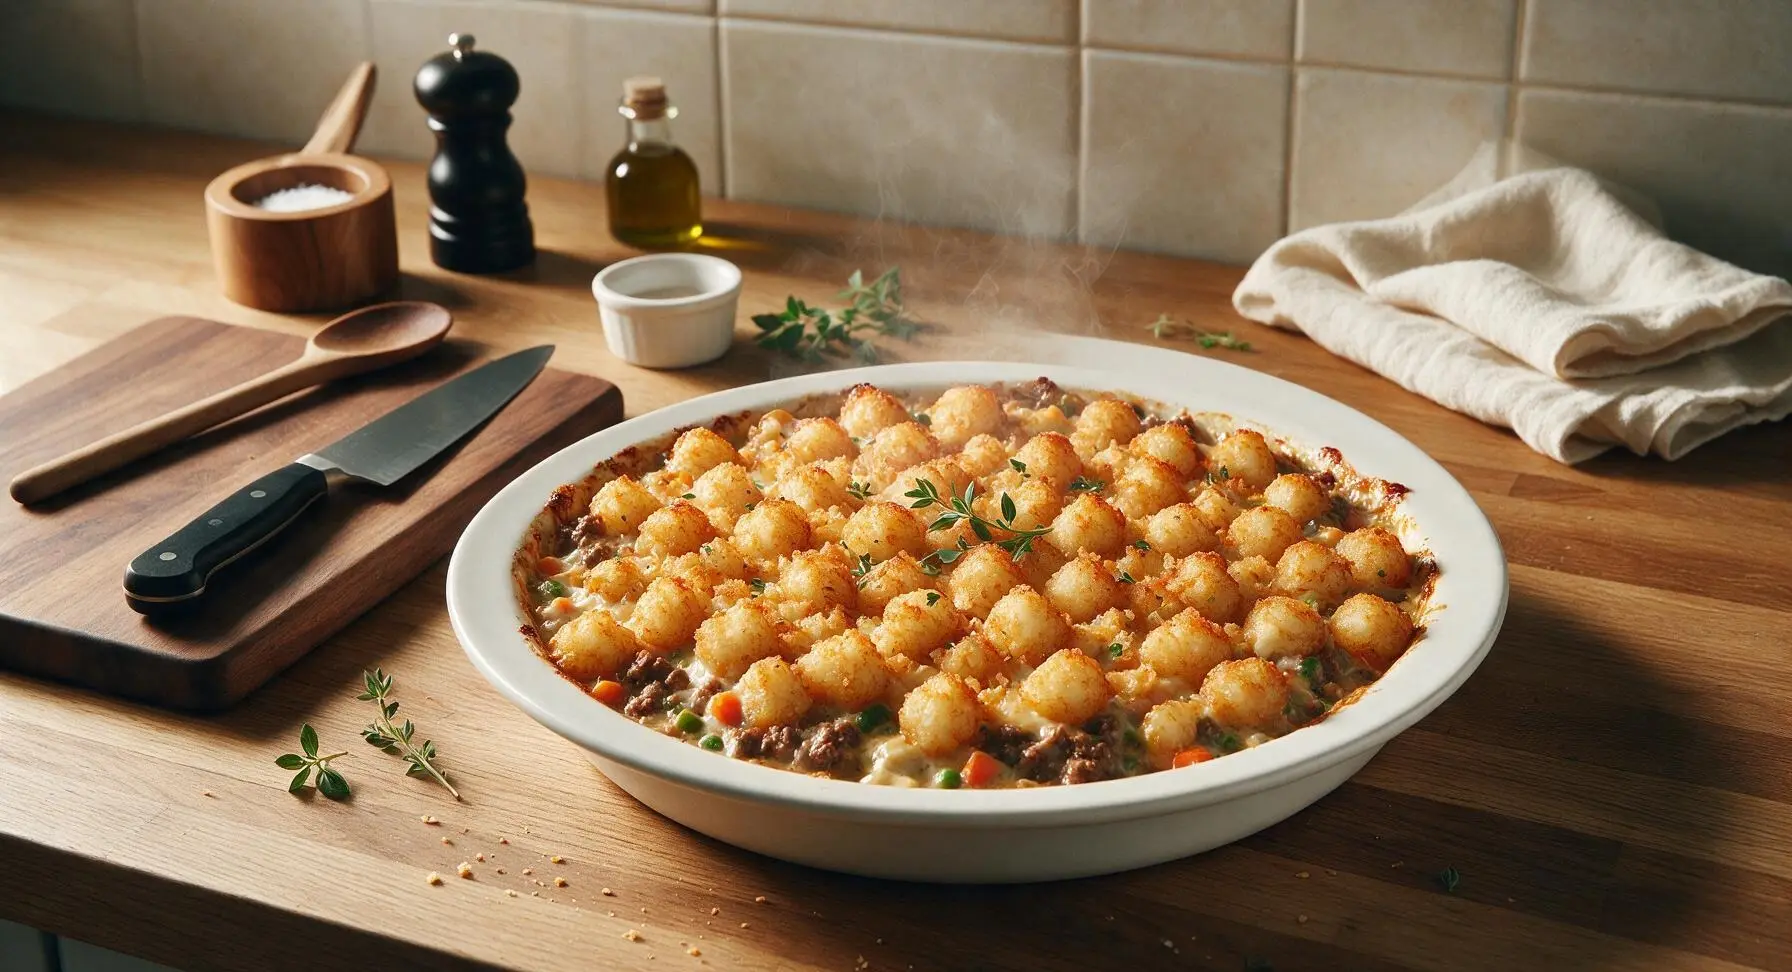
hotdish

title 1
hotdish
⏱️ cook time 50 minutes
🍽️ servings 6
⚡ Difficulty easy

intro

Creamy, hearty classic Upper Midwest tater tot hotdish, loaded with savory beef, tender veggies, and crispy tots— the ultimate cozy, crowd-pleasing one-pan potluck staple.

Ingredients
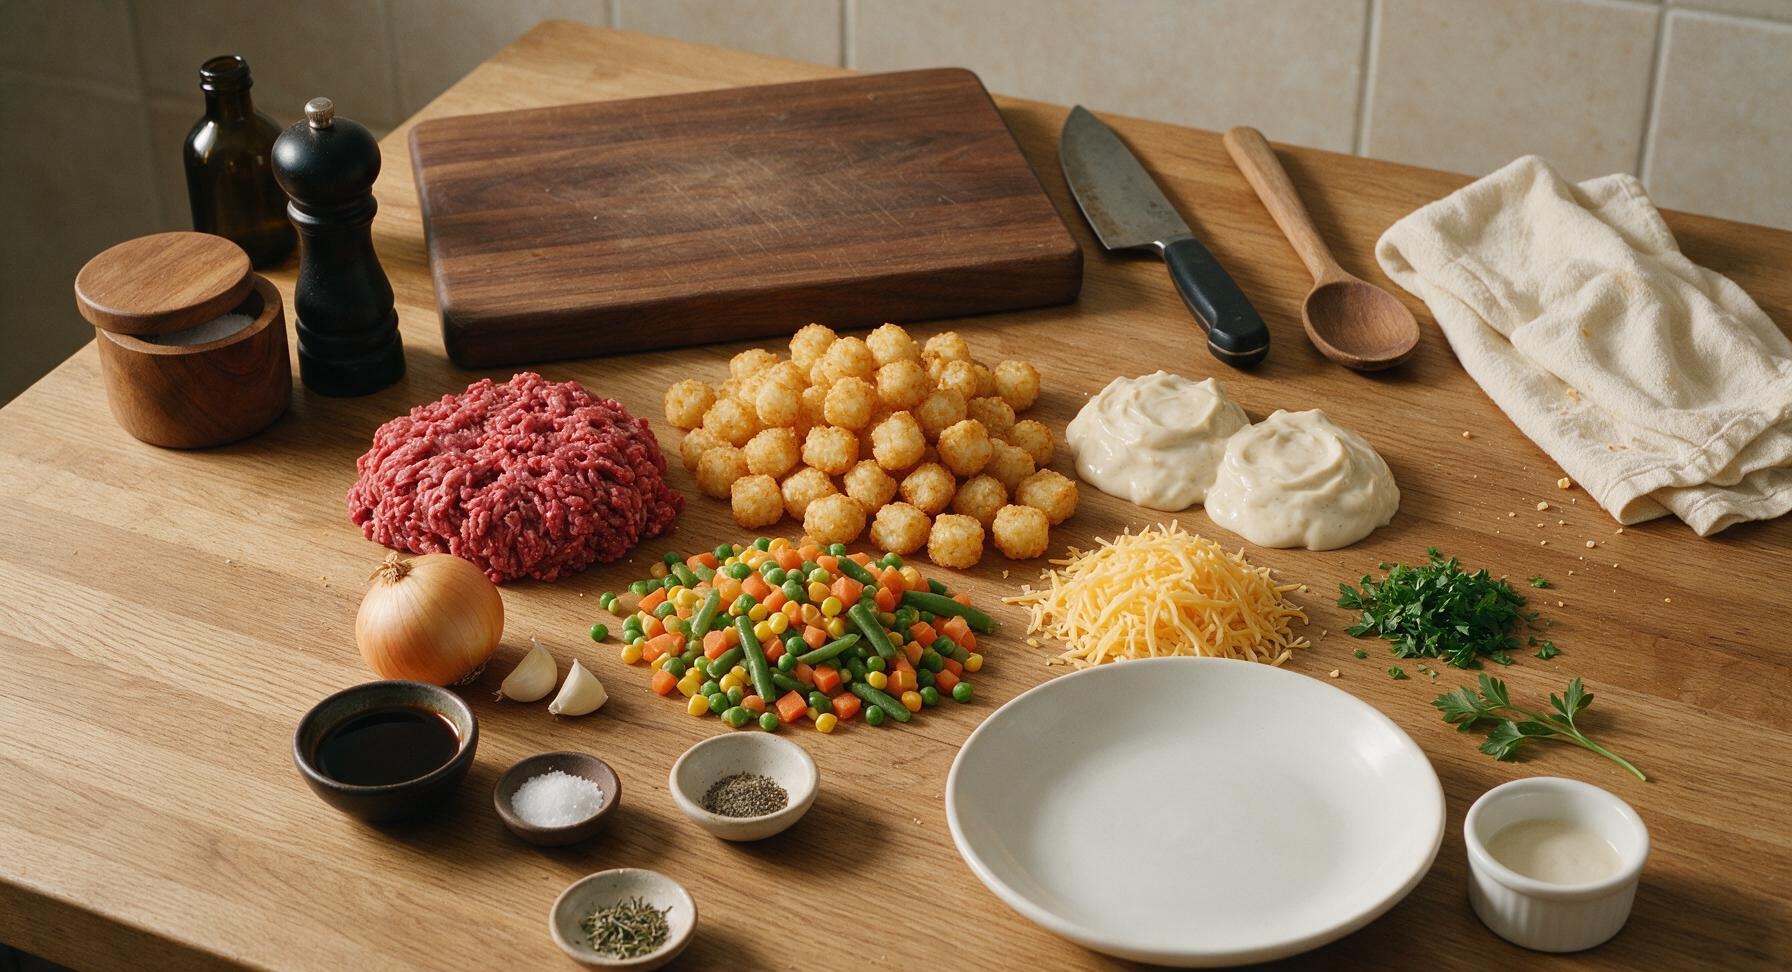
80/20 ground beef 450g (1 lb)
Frozen tater tots 900g (32 oz bag)
Condensed cream of mushroom soup 595g (two 10.5oz cans)
Frozen mixed vegetables (peas, carrots, corn, green beans) 340g (12 oz)
Yellow onion 1 medium (150g)
Garlic cloves 2 (6g)
Worcestershire sauce 30ml (2 tbsp)
Kosher salt 1 tsp (5g)
Ground black pepper 1/2 tsp (1g)
Dried thyme 1/2 tsp (1g)
Shredded sharp cheddar cheese 113g (1 cup)
Fresh flat-leaf parsley 2 tbsp (5g, chopped)

Steps

1

Preheat Oven, Chop Aromatics

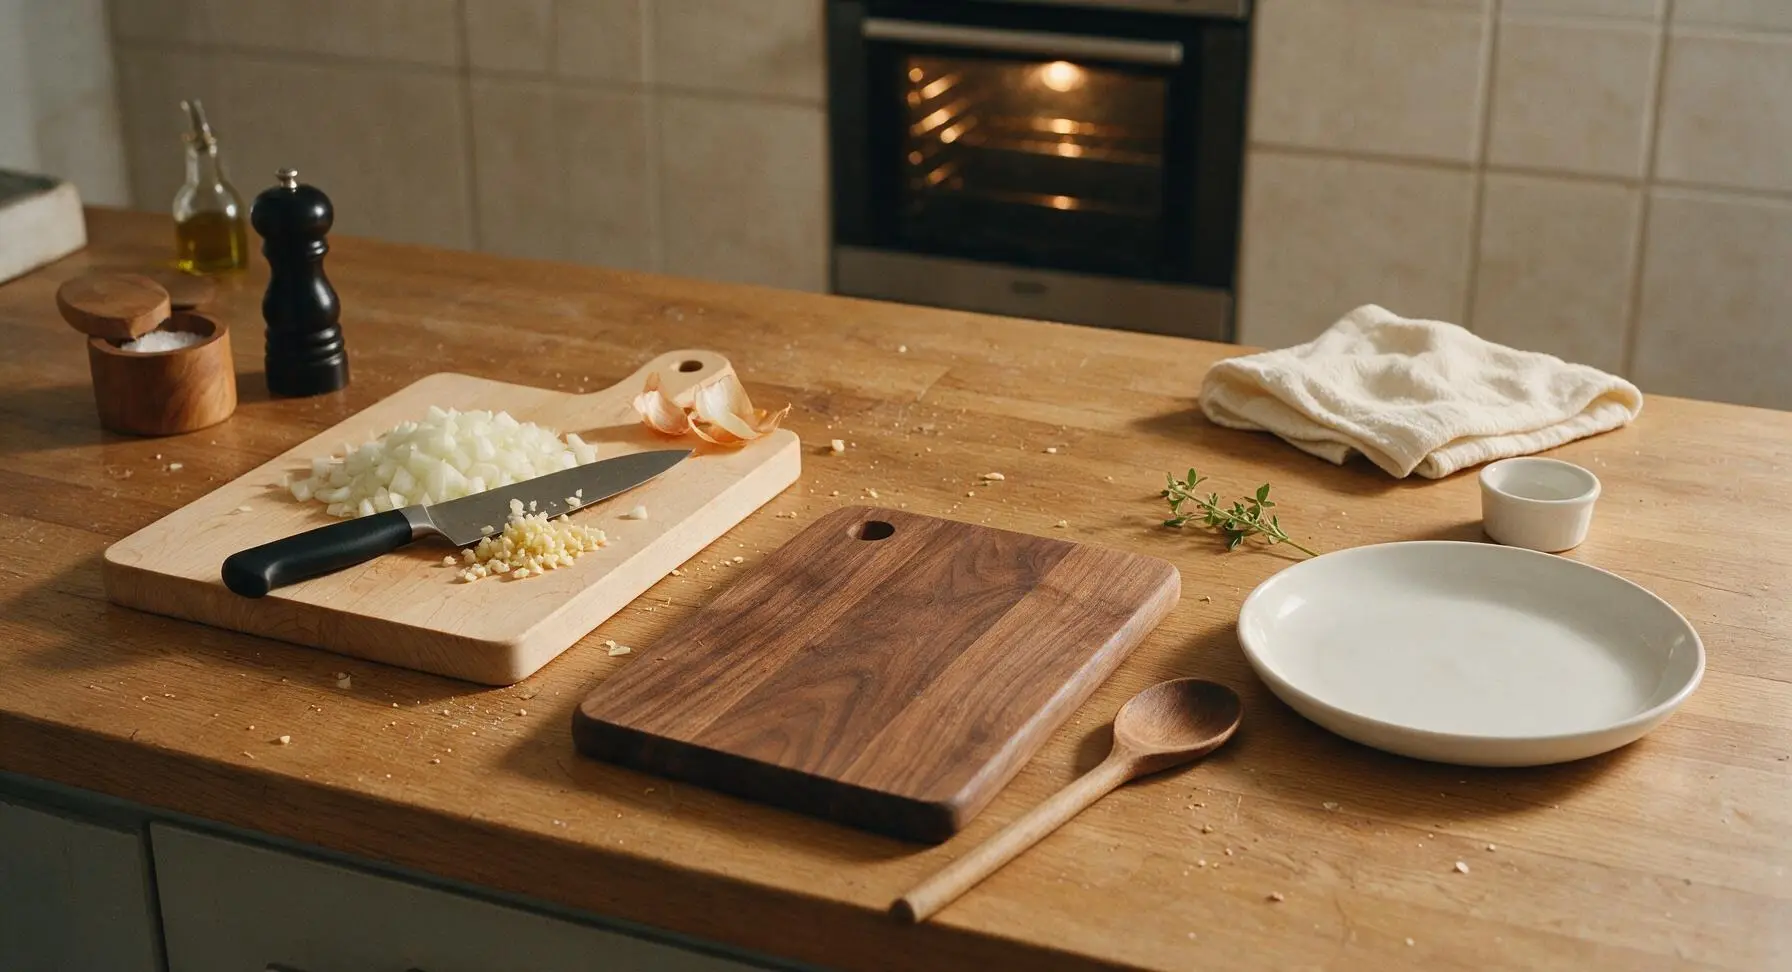
Adjust oven rack to middle position, preheat oven to 190C (375F). Pull the birch wood cutting board from under the right counter and place it on the center left work area. Using the 8-inch stainless steel chef's knife, dice the medium yellow onion into 1/4-inch pieces, mince the 2 garlic cloves finely, and pile them on the center of the cutting board. Discard dry papery onion skins into a small scrap bowl kept off-frame to the right.
Step 1
step1:Preheat Oven, Chop Aromatics
2

Brown Ground Beef

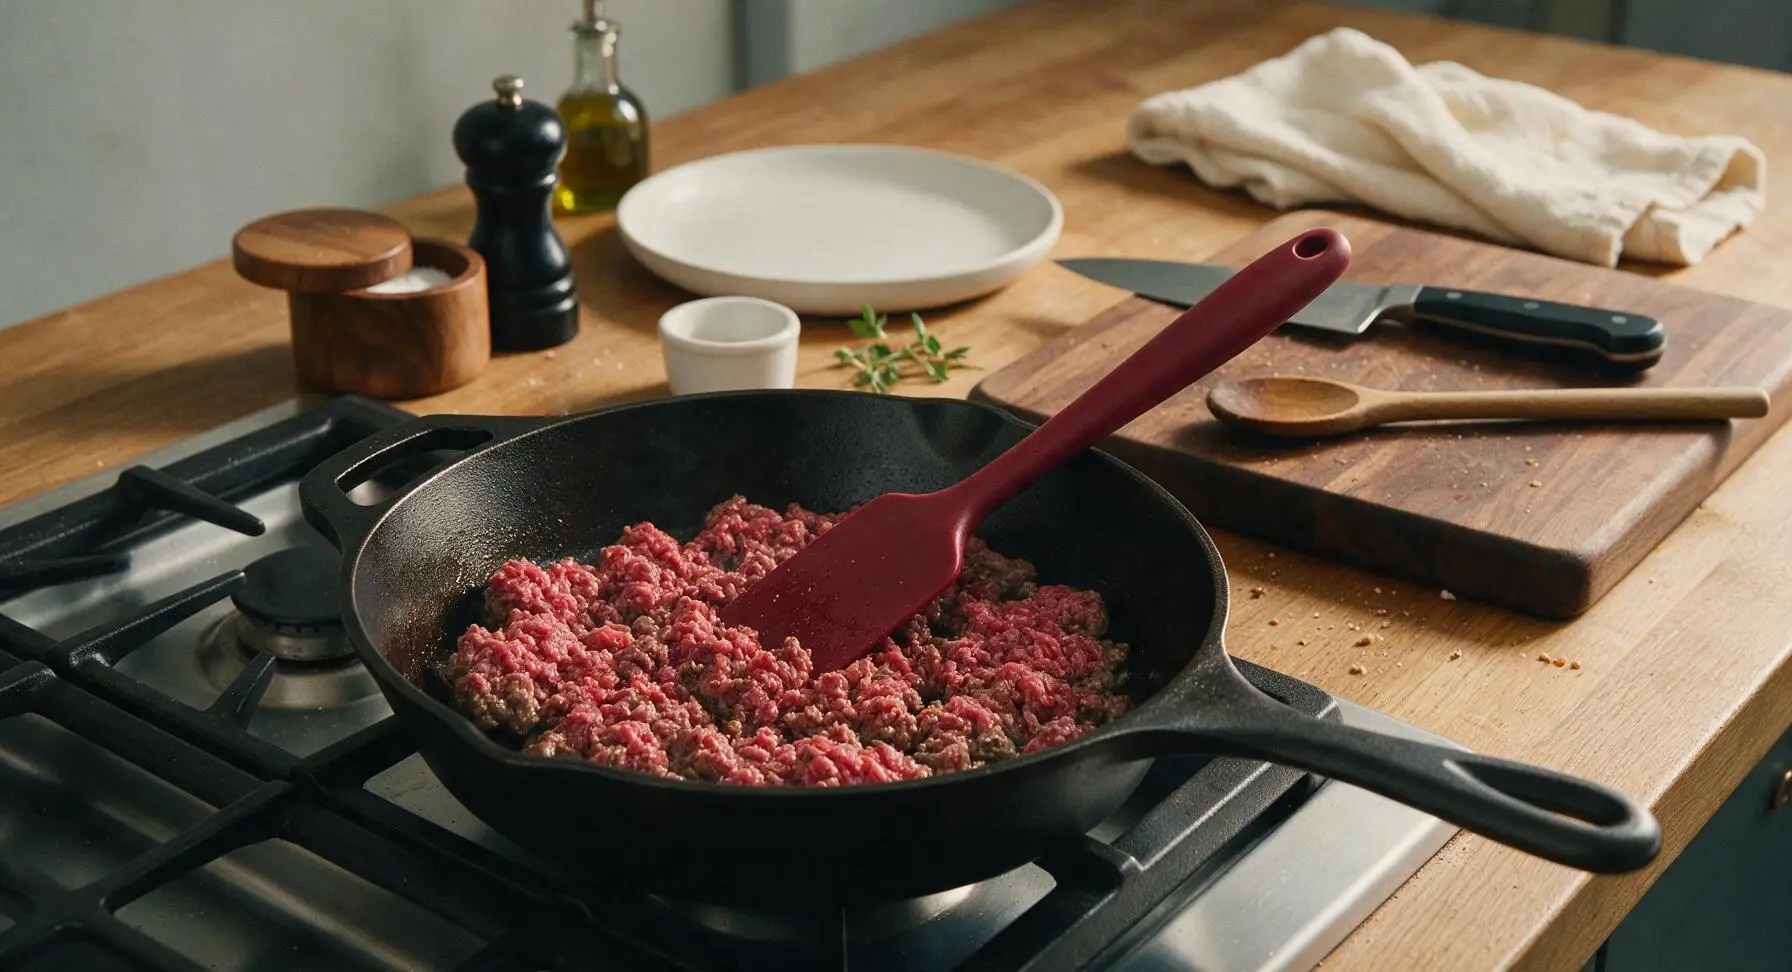
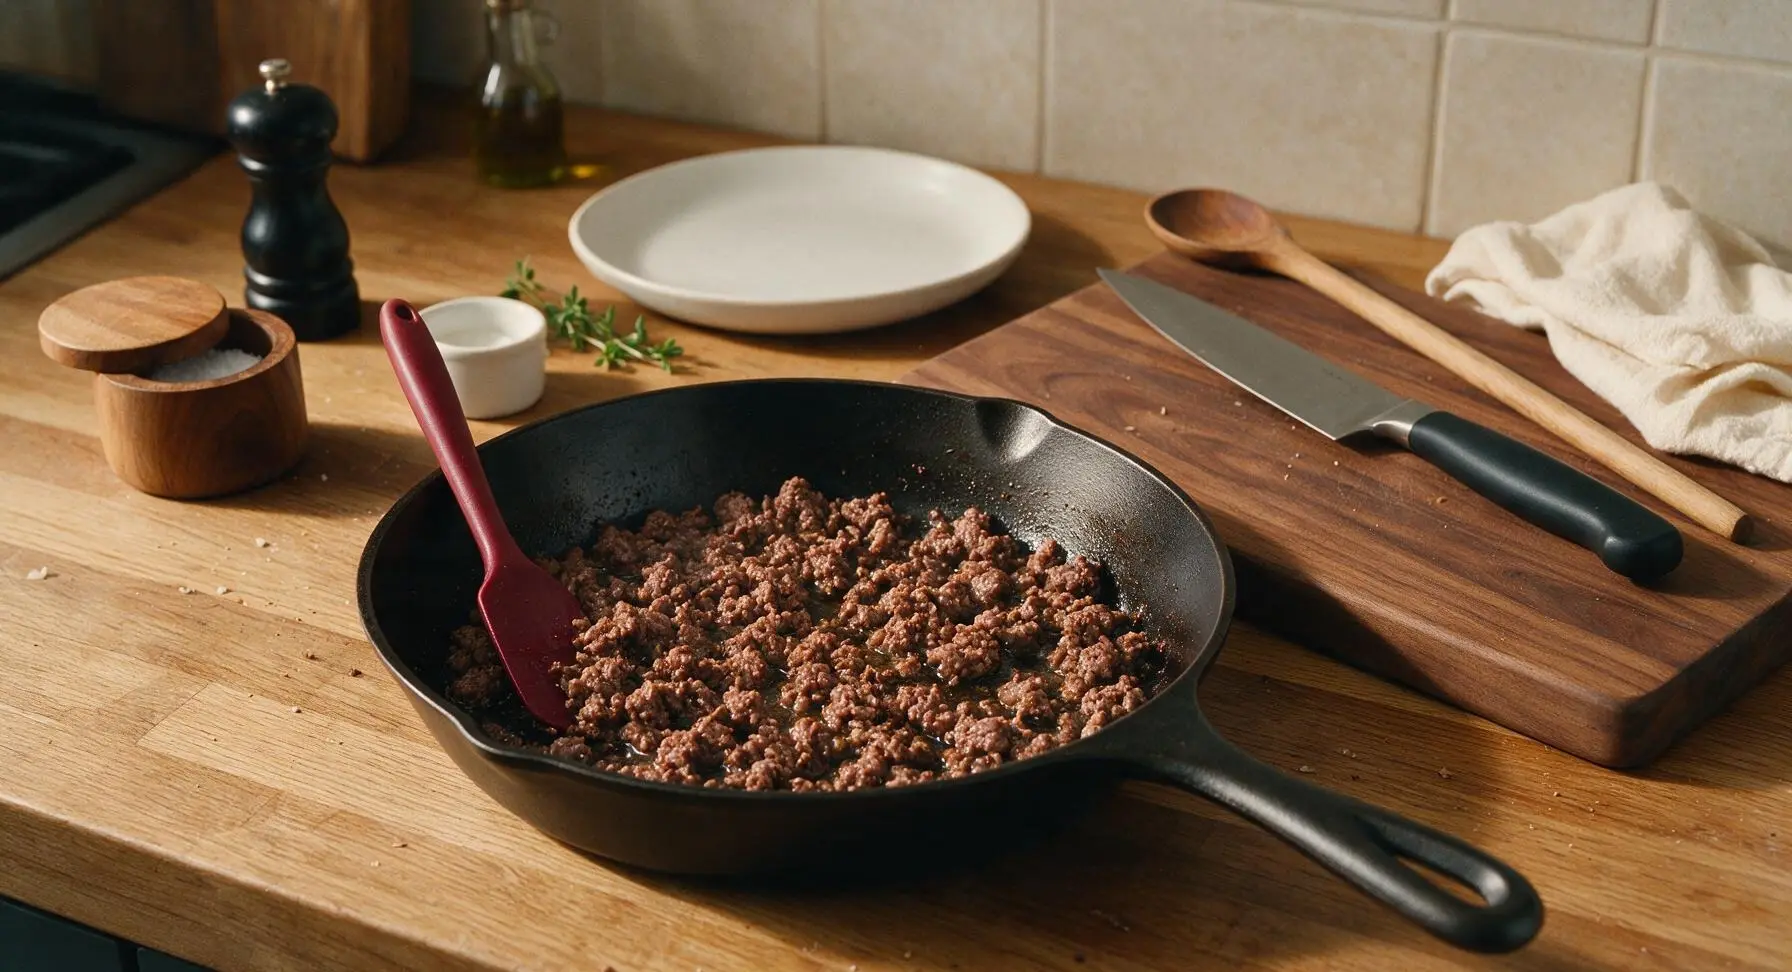
Place the 10-inch matte black seasoned carbon steel skillet on the stovetop over medium heat (175C/350F surface temperature). Add the 1lb 80/20 ground beef to the dry skillet, breaking it apart into small, pea-sized crumbles with the deep red silicone spatula as it cooks. Cook for 7-8 minutes, until the beef is fully browned with no pink remaining, and excess fat has rendered out. Tilt the skillet and spoon out 2 tablespoons of excess rendered fat, leaving 1 tablespoon in the pan to cook the aromatics.
Step 2
step2:Brown Ground Beef
Step 2
step2:Brown Ground Beef
3

Sauté Aromatics, Season

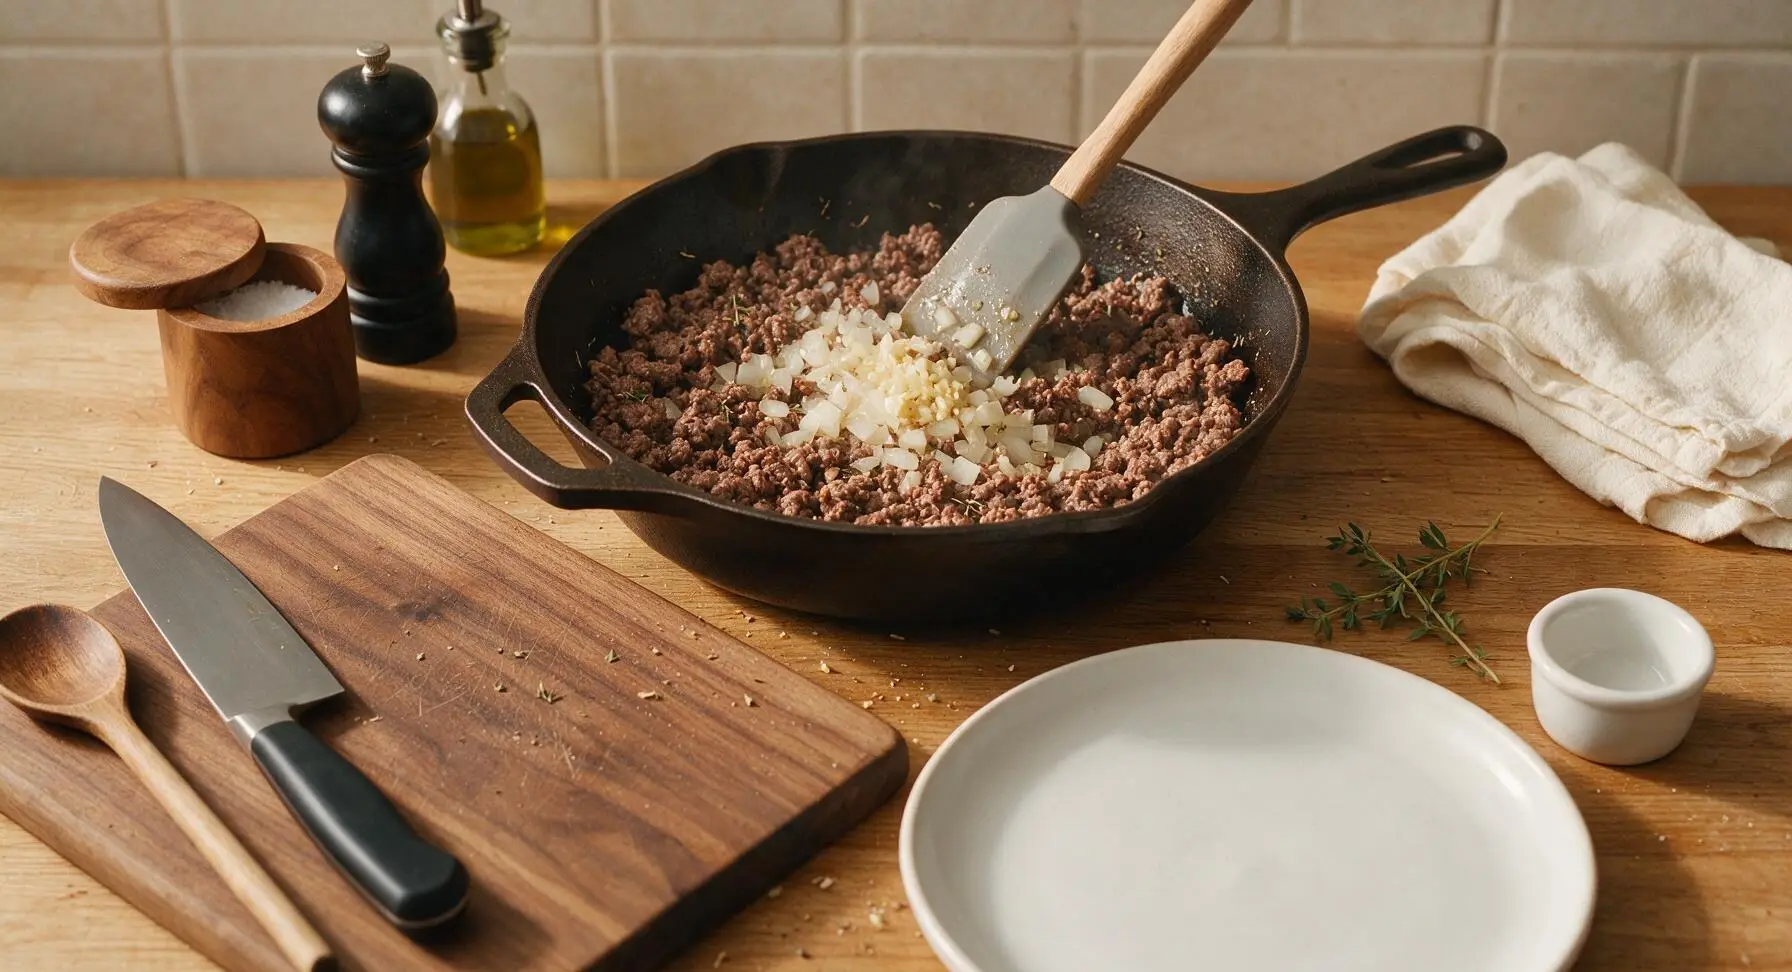
Add the diced onion and minced garlic from the cutting board to the skillet with the browned beef. Sauté for 3 minutes over medium heat, stirring occasionally with the silicone spatula, until the onion turns soft and translucent and the garlic releases a warm, fragrant aroma. Stir in the 1 tsp kosher salt, 1/2 tsp ground black pepper, 1/2 tsp dried thyme, and 2 tbsp Worcestershire sauce, tossing to coat all beef crumbles evenly. Cook for 1 additional minute to toast the dried spices and deepen their flavor.
Step 3
step3:Sauté Aromatics, Season
4

Mix Filling Base

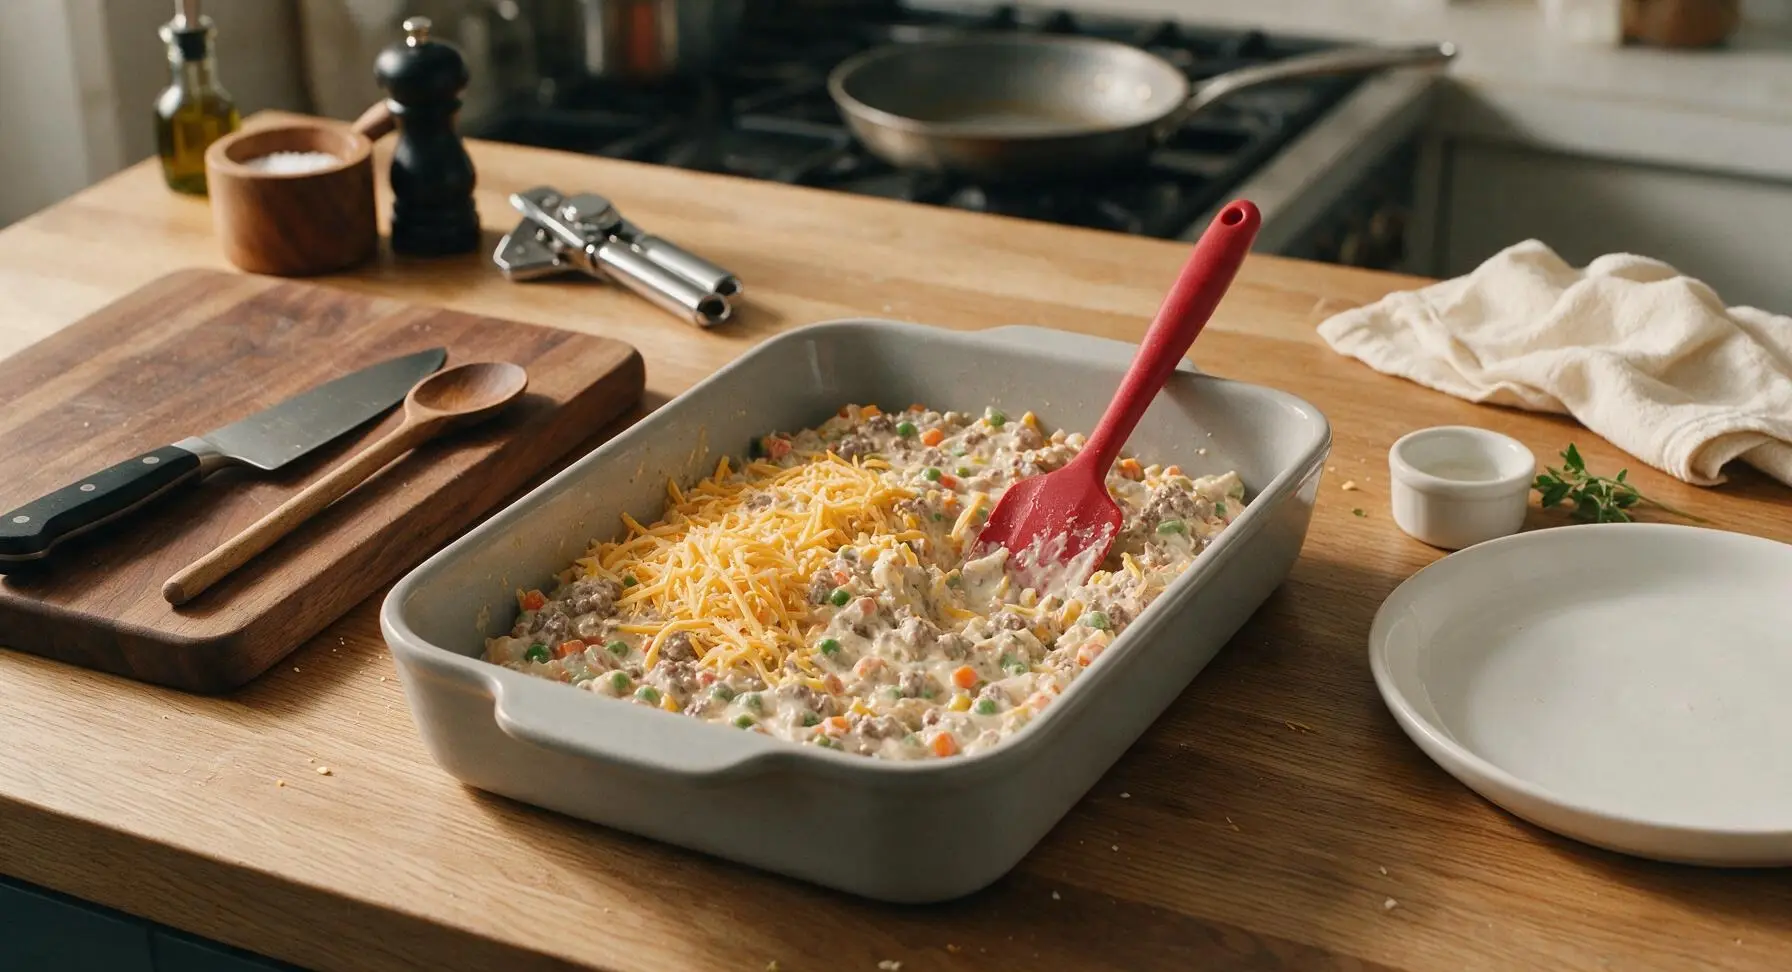
Pull the matte light gray ceramic 9x13 baking dish from the lower cabinet and place it centered on the counter. Use the silicone spatula to transfer the seasoned beef and onion mixture from the skillet into the baking dish. Add the 12oz frozen mixed vegetables, both cans of condensed cream of mushroom soup (opened with the chrome can opener), and 1/2 cup of the shredded sharp cheddar cheese to the dish. Stir thoroughly until all ingredients are evenly coated in creamy soup, then spread the mixture into a smooth, flat, even layer across the bottom of the dish.
Step 4
step4:Mix Filling Base
5

Arrange Tater Tot Topping

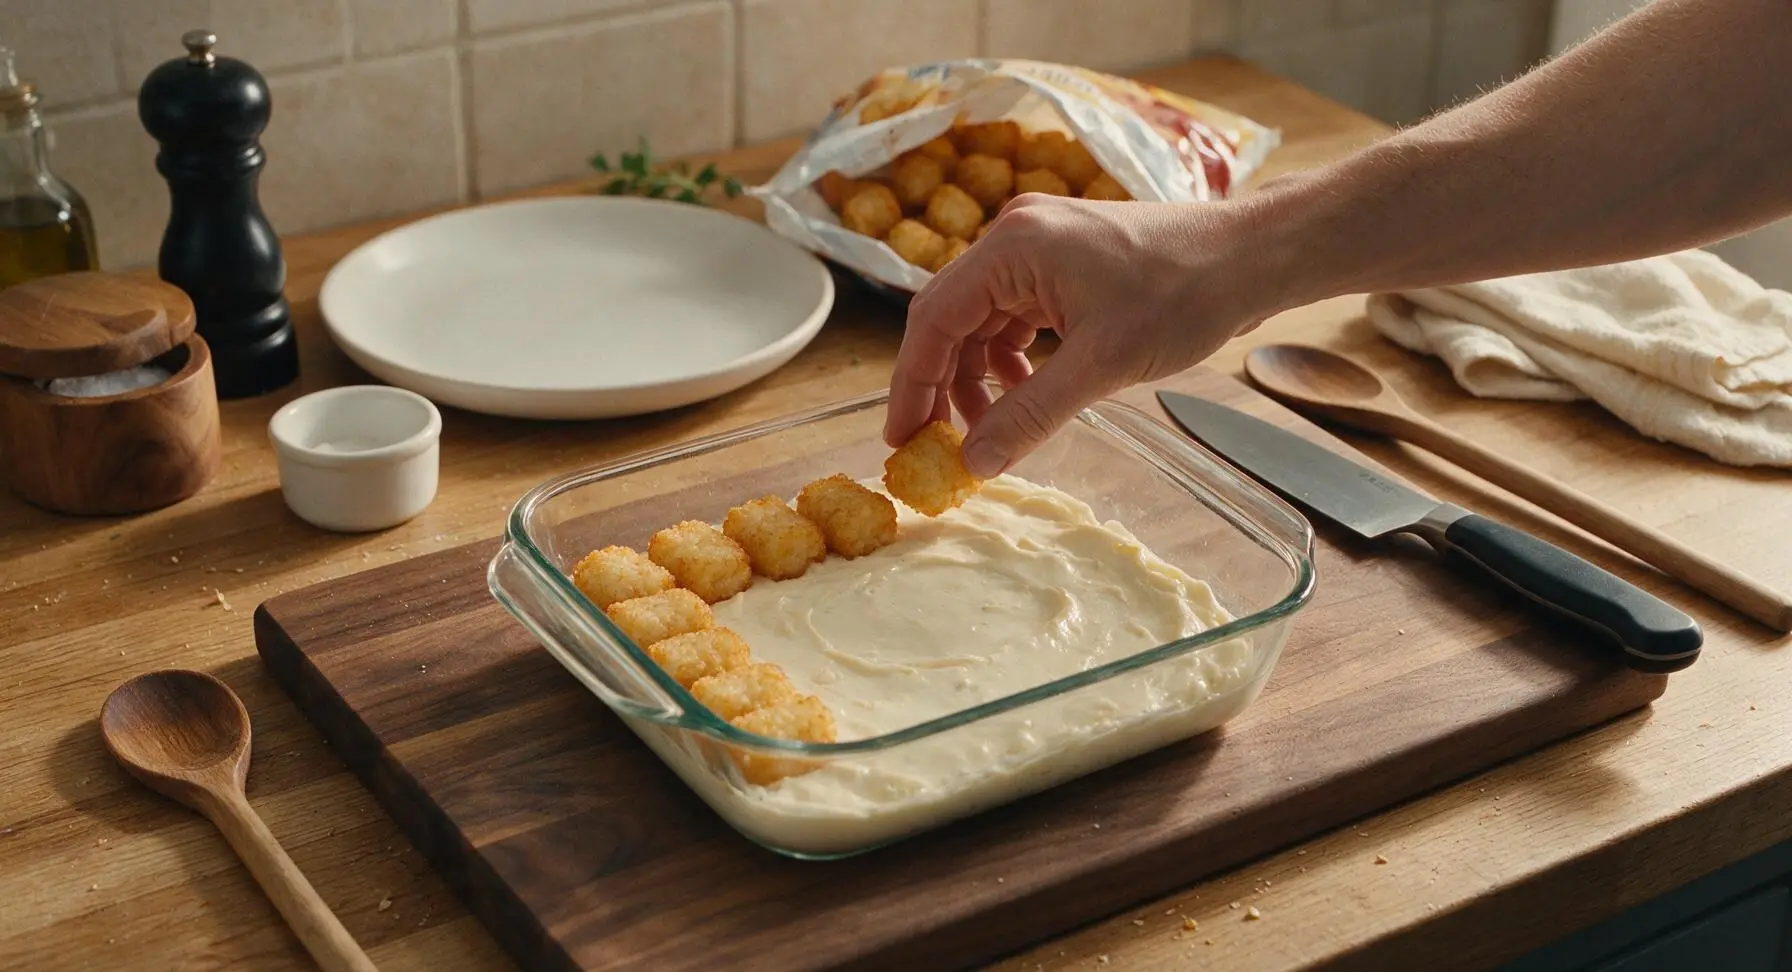
Open the bag of frozen tater tots, arranging them in tight, evenly spaced rows across the top of the creamy filling, flat side down, to cover the entire surface completely. Do not press the tots into the filling—leave them resting loosely on top to allow air circulation for crisping. Sprinkle the remaining 1/2 cup of shredded cheddar cheese into the small gaps between the tater tots.
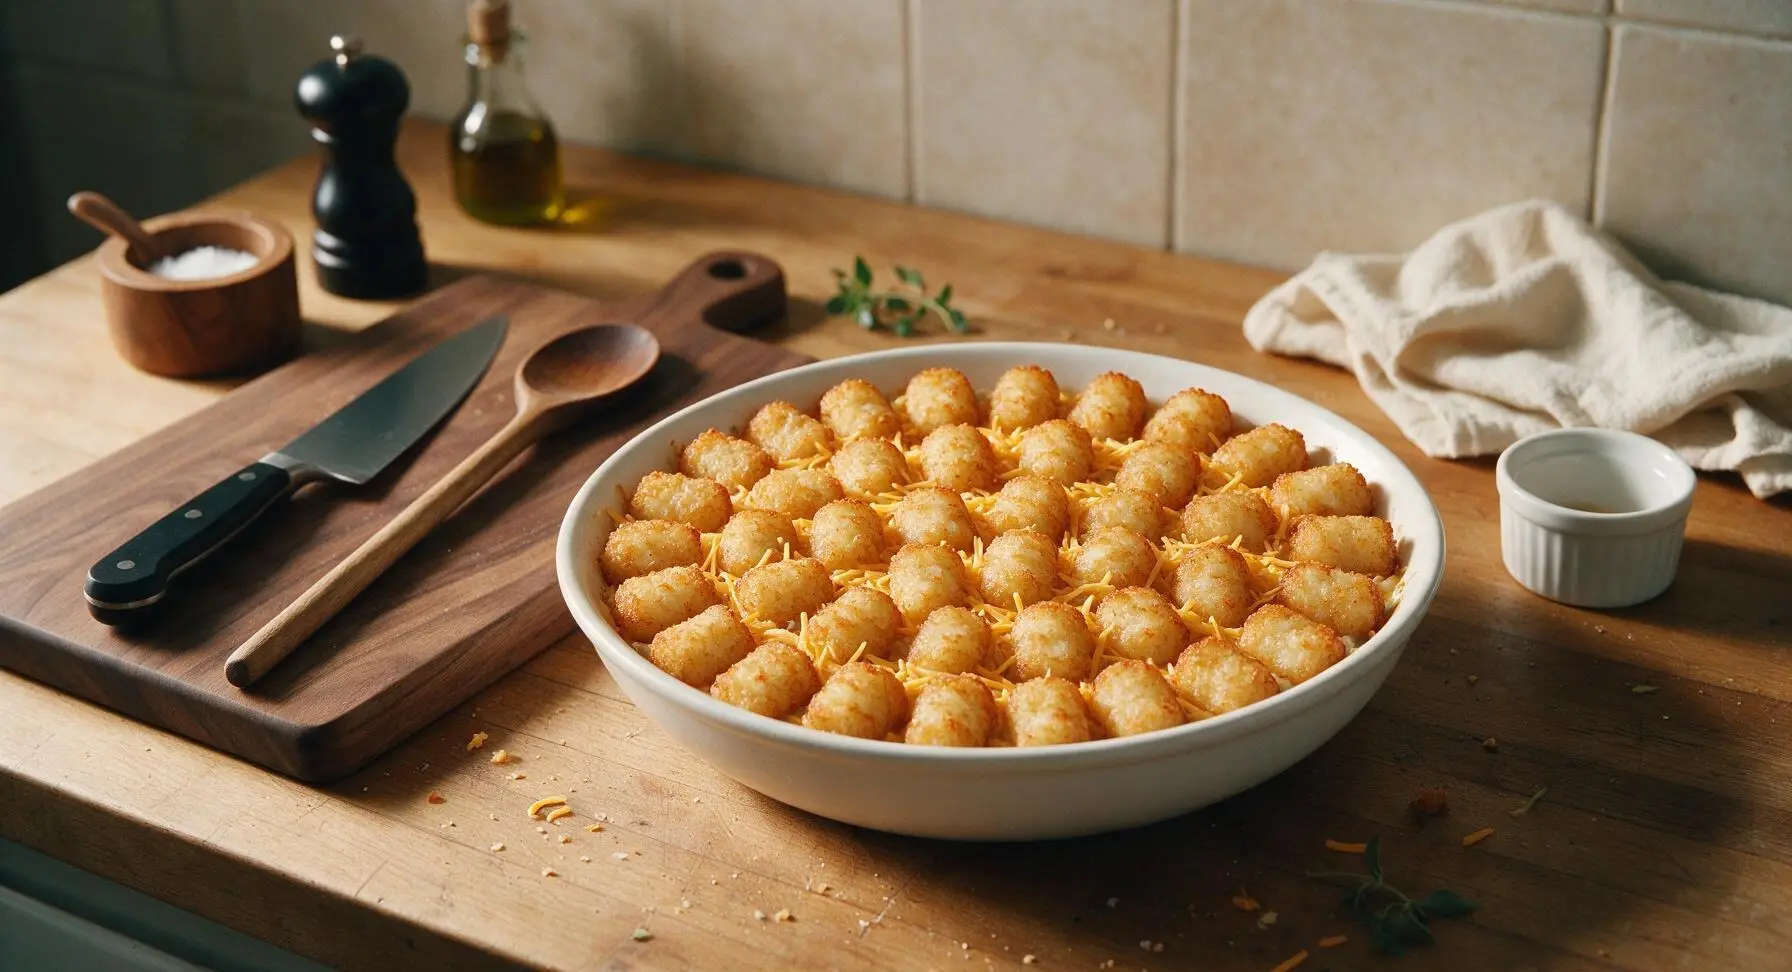
Step 5
step5:Arrange Tater Tot Topping
Step 5
step5:Arrange Tater Tot Topping
6

Bake Until Bubbly

Carefully lift the assembled baking dish and place it on the middle rack of the preheated 375F (190C) oven. Bake for 40 minutes, until the tater tots are deep golden and crispy on top, and the creamy filling is bubbling vigorously around the edges of the dish. If the tots darken too quickly after 30 minutes of baking, tent a loose sheet of aluminum foil over the top for the remaining cook time to prevent burning.
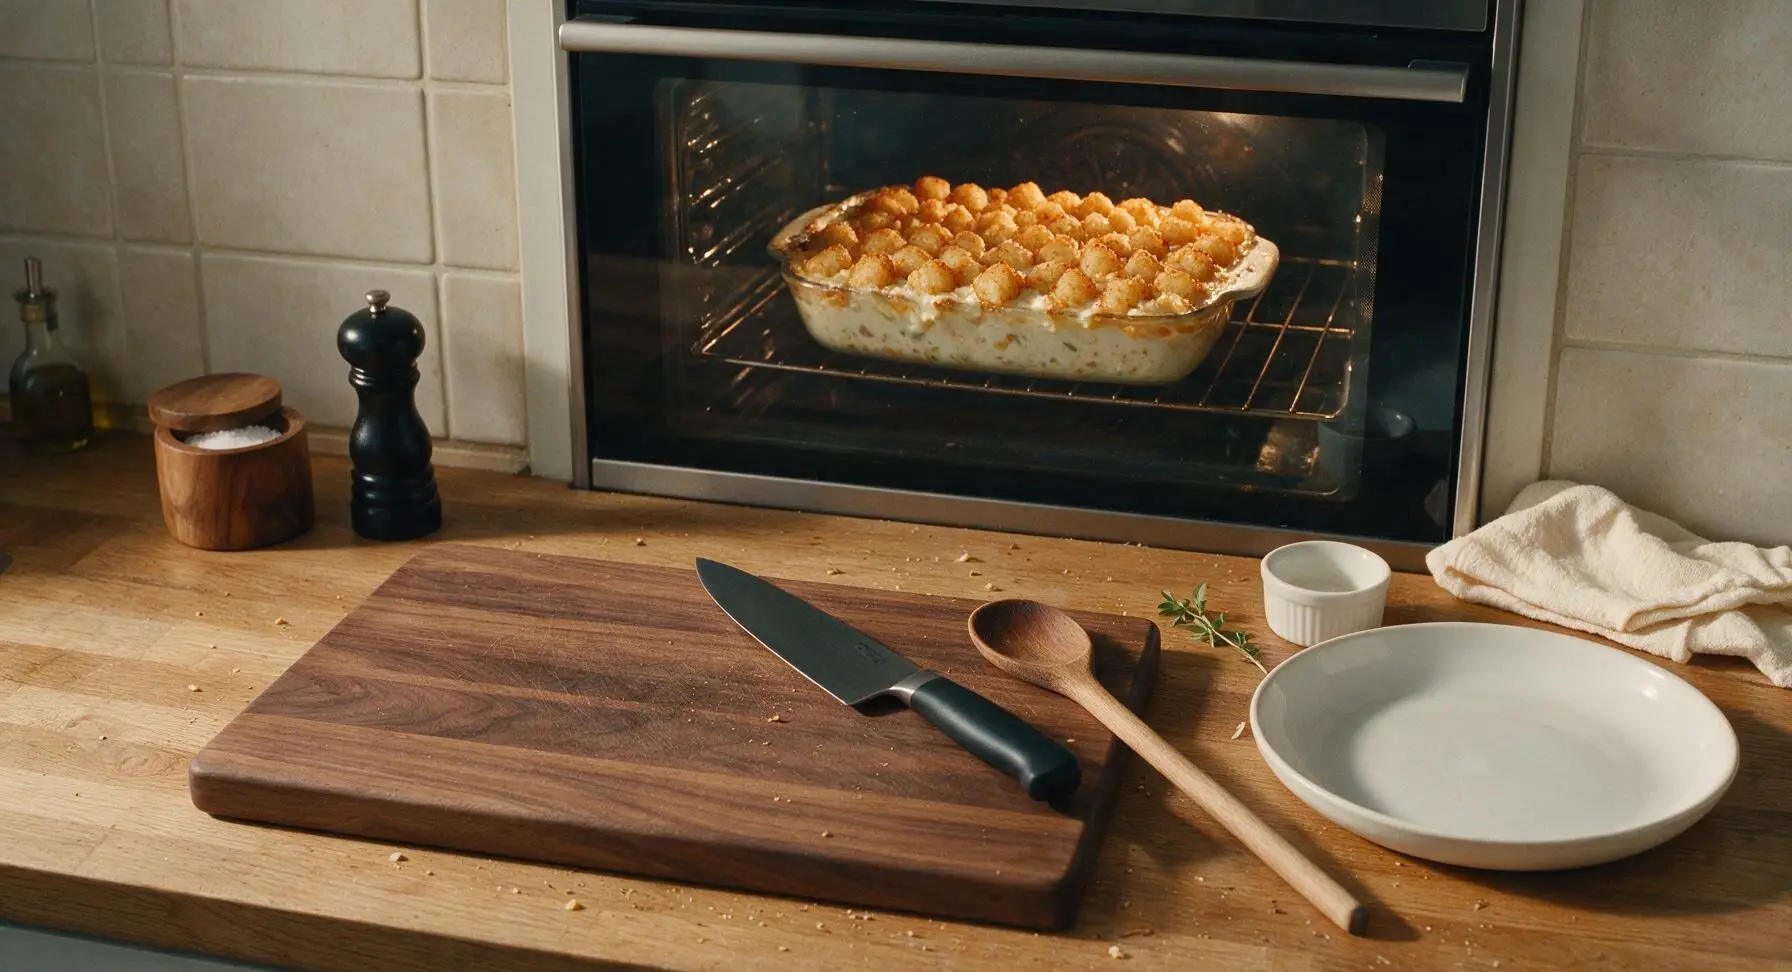
Step 6
step6:Bake Until Bubbly
7

Rest, Garnish, Serve

Wearing oven mitts, carefully remove the hot baking dish from the oven and return it to its centered position on the counter. Let the hotdish rest for 10 minutes to allow the filling to set, so portions hold their shape when scooped. Sprinkle the 2 tbsp of chopped fresh flat-leaf parsley evenly across the top of the crispy tater tots before serving.
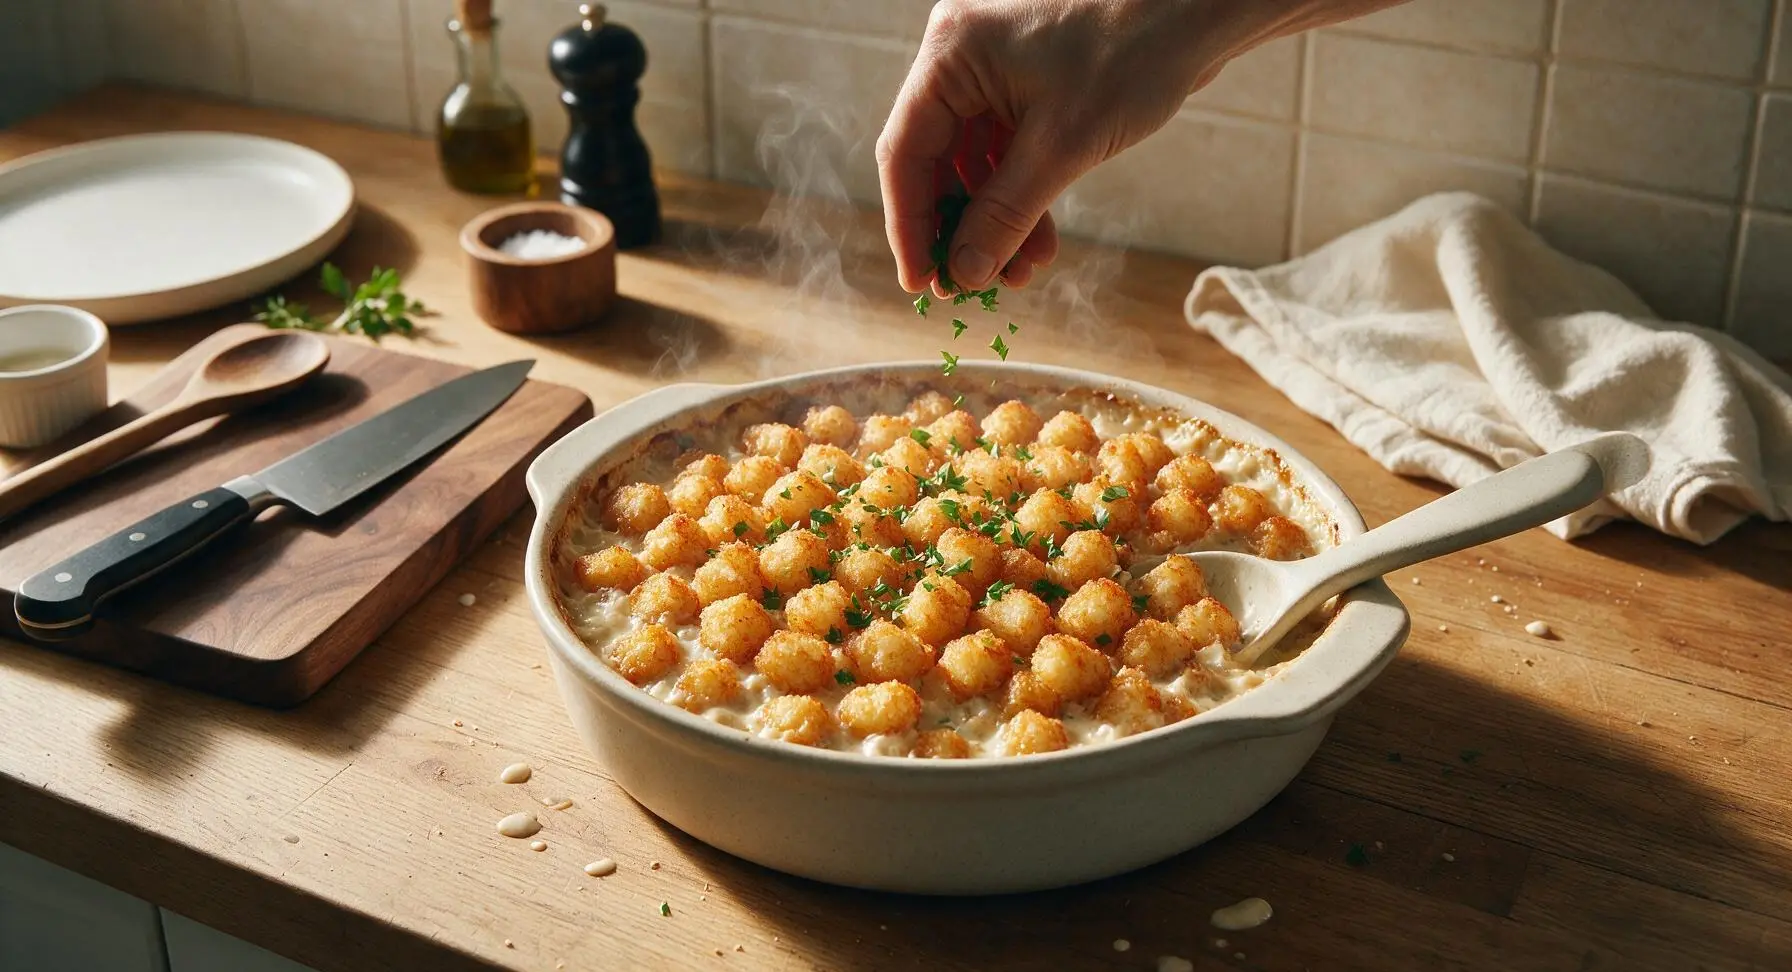
Step 7
step7:Rest, Garnish, Serve

Tips

1.Skip pressing tater tots into the filling: leaving them loosely arranged on top allows hot oven air to circulate around every tot, creating a shatteringly crisp topping instead of soggy, sauce-soaked potatoes.
2.Stick to 80/20 ground beef for the best balance: the 20% fat content adds rich, savory depth to the filling without making it greasy, and you won’t need extra cooking oil to brown the beef or sauté the onions.
3.Let the hotdish rest for the full 10 minutes after baking: this gives the creamy filling time to set, so scooped portions hold their neat shape instead of running across plates, which is especially helpful for transporting and serving at potlucks.


✨ You May Also Like

Main Course
🍜 United Kingdom

A showstopping classic of tender seared beef, savory mushroom duxelles, and crisp prosciutto wrapped in flaky golden puff pastry, baked to juicy perfection.

⏱️ 2 hours 1Main Course ★ 4.7
Main Course
🍜 India

Tender charred marinated chicken simmered in a rich, spiced creamy tomato sauce, this iconic Anglo-Indian curry pairs perfectly with basmati rice or warm naan.

⏱️ 50 minuteMain Course ★ 4.6
Main Course
🍜 Thailand

Classic tangy, sweet, and savory Thai stir-fried rice noodles with shrimp, tofu, and crunchy garnishes, balancing all five core Thai flavor profiles.

⏱️ 30 minuteMain Course ★ 4.5
Main Course
🍜 United Kingdom

Crispy golden beer-battered cod and fluffy double-fried chips, served with tangy tartar sauce and malt vinegar: the timeless, beloved British pub comfort classic.

⏱️ 45 minuteMain Course ★ 4.7
Main Course
🍜 Mexico

Smoky, chile-marinated pork tacos with caramelized pineapple, fresh cilantro, and lime: a beloved classic Mexican street food perfect for casual summer gatherings.

⏱️ 1 hour 45Main Course ★ 4.8
Main Course
🍜 United States

Crunchy Fritos corn chips layered with savory beef chili and melted cheddar, topped with cool, zesty fixings for a beloved, cozy Tex-Mex comfort food.

⏱️ 35 minuteMain Course ★ 4.8

hotdish:Frequently Asked Questions

1.Why do you recommend 80/20 ground beef instead of a leaner blend for this hotdish? ▾
The 20% fat content adds rich, deep savory flavor without extra cooking oil, and keeps the filling from drying out during baking. You only need to drain excess grease if more than a tablespoon remains after browning; a small amount of fat ties the creamy soup to the beef and veggies, while leaner blends turn out crumbly and bland.
2.Can I assemble this hotdish ahead of time for a potluck? ▾
Absolutely! Assemble the beef, onion, veggie, and soup base, cover tightly, and store it in the fridge for up to 2 days. Wait to top with frozen tater tots until right before baking, as early contact with the creamy filling will make tots soggy. Add 10 to 15 minutes to the bake time for cold, refrigerated filling until the center is bubbly.
3.Do I need to thaw the frozen tater tots or mixed vegetables first? ▾
No need to thaw either! Thawing tater tots leads to mushy, less crispy tops, and thawed frozen veggies release excess water that makes the filling runny. Keep both frozen right up until use: stir veggies straight into the browned beef and onion mixture, and arrange tots in an even top layer right before sliding the pan into the oven.
4.Why use condensed cream of mushroom soup instead of a homemade white sauce? ▾
That condensed soup is the iconic, nostalgic base of this Upper Midwest staple! It creates a perfectly thick, creamy, umami-rich filling without extra roux work, holds up to baking and potluck travel far better than a thin homemade white sauce, and delivers the exact cozy, familiar flavor people expect from classic tater tot hotdish.
5.My tater tots never get crispy on top—what am I doing wrong? ▾
A few easy fixes will get you perfectly crunchy tots! First, use tots straight from the freezer, no thawing. Arrange them in a single, even layer without overcrowding so hot air can circulate around each one. Bake uncovered on the middle rack, and for extra crunch, broil for the last 2 to 3 minutes, watching closely to avoid burning.
6.Can I swap the ground beef for a different protein? ▾
Sure! Ground turkey works well if you prefer it, just add a tablespoon of olive oil when browning to make up for its lower fat content so it doesn’t dry out. Crumbled cooked breakfast sausage adds a savorier twist, and drained canned chickpeas work for a vegetarian swap, though those variations stray from the classic regional recipe.
7.Do I have to drain all the grease after browning the ground beef? ▾
If using the recommended 80/20 blend, you only need to drain excess grease if there’s more than a tablespoon left in the pan after browning. A small amount of that beef fat adds huge, savory depth and keeps the filling rich, but too much grease will make the hotdish oily and cause the creamy soup base to separate as it bakes.
8.What size baking pan works best for this recipe? ▾
A standard 9x13 inch glass or metal baking pan is perfect. It leaves enough room for a thick, hearty layer of beef and veggie filling, plus an even single layer of tater tots across the top. A smaller pan will make the filling too deep and cause tots to sink, while an oversize pan spreads the filling too thin to cook evenly.
9.Is it okay to add cheese to this classic hotdish? ▾
You absolutely can, though cheese isn’t part of the most traditional Upper Midwest version! If you want that extra richness, sprinkle 1 cup of shredded sharp cheddar over the beef and veggie filling right before arranging the tater tots on top. It melts into the creamy base without overpowering the classic, nostalgic hotdish flavor.
10.How do I tell when the hotdish is fully done baking? ▾
You’ll know it’s ready when the edges of the creamy filling are actively bubbling up around the pan sides, the tater tots on top are deep golden and crispy, and the center of the dish hits 165°F on an instant-read thermometer. That usually takes 40 to 45 minutes at 375°F for a freshly assembled, room-temperature pan.
11.Can I freeze leftover tater tot hotdish? ▾
Yes! Let the cooked hotdish cool completely, cut it into individual portions, wrap tightly in plastic wrap and foil, and freeze for up to 3 months. Reheat portions in a 350°F oven, covered for the first 15 minutes then uncovered to crisp the tots back up. The tots won’t be quite as crisp as fresh, but the flavor holds up beautifully.
12.Why use yellow onion instead of white or sweet onion? ▾
Yellow onion has the perfect balance of sharp, savory flavor that mellows and sweetens as it sautés with the ground beef, without being too mild or overpowering. White onion is sharper and can taste harsh if not fully cooked, while sweet onion adds an unexpected sugary note that clashes with the hotdish’s classic savory profile.
13.How can I make this recipe lower in sodium? ▾
It’s easy to adjust! Opt for low-sodium condensed cream of mushroom soup, pick no-salt-added frozen mixed vegetables, and skip adding extra salt when browning the beef and onion. Bump up flavor with a pinch of black pepper, garlic powder, or a dash of Worcestershire sauce instead, so you don’t lose that classic savory taste.
14.Why is this called a hotdish instead of a casserole? ▾
That’s the classic Upper Midwest terminology! Hotdish specifically refers to these hearty, one-pan, starch-topped, creamy baked dishes designed to feed a crowd at potlucks, church suppers, and family gatherings, dating back to early 20th century Midwest home cooking. Casserole is a broader term, but hotdish is the iconic regional name.
15.Can I use fresh vegetables instead of the frozen mixed blend? ▾
You can, but you’ll need to adjust prep a bit. Dice fresh carrots and green beans small, then blanch them for 2 to 3 minutes first so they get tender during baking, since they take longer to cook than peas or corn. Fresh veggies release more moisture than frozen, so add 2 extra tablespoons of soup to keep the filling creamy.
16.My hotdish filling came out runny—what went wrong? ▾
Runny filling usually traces back to one of two issues: either you thawed your frozen veggies before adding them, which releases extra water as they cook, or you didn’t let the hotdish rest for 5 to 10 minutes after pulling it from the oven. That short rest lets the creamy soup base set up, just like lasagna needs to rest before slicing.
17.What are classic side dishes to serve with this hotdish? ▾
This is a hearty one-pan meal on its own, but classic Upper Midwest pairings include a crisp side salad with tangy Italian dressing, dill pickle spears, buttered dinner rolls, or tangy coleslaw. The bright, acidic sides cut through the rich, creamy filling perfectly, which is why they’re standard at every potluck featuring this hotdish.
18.Can I cook this hotdish in a slow cooker instead of the oven? ▾
You can, with one small adjustment! Cook the browned beef, sautéed onion, soup, and veggies on low for 3 hours in the slow cooker, then top with frozen tater tots, turn the heat to high, and cook for 1 more hour uncovered so the tots crisp up instead of turning soggy. It won’t be quite as crunchy as oven-baked, but works great for busy nights.

Comments (5)

2 days ago

OMG this is exactly the hotdish I grew up eating at church potlucks! I was so worried I’d lost the recipe after my grandma moved out of state, but this tastes identical. My kids devoured two servings each last night, even my picky 7-year-old who hates every casserole I make usually. It was so easy to throw together after work too—no fancy ingredients, just ground beef, cream of mushroom, mixed veggies, tater tots, obviously. Game changer for our weekly dinner rotation!

yesterday

So glad this brought back those cozy childhood potluck memories, Liz! Nothing beats a no-fuss hotdish that wins over even the pickiest eaters. Pro tip: add a handful of shredded cheddar over the tots the last 10 minutes of baking if you want an extra cheesy kick next time!

30 minutes ago

Wait that cheddar tip is chef’s kiss! I did that last time I made this and my husband asked for it three nights in a row. Total crowd pleaser.

1 week ago

I know hotdish is such a classic midwestern thing, but I saw this trending and had to try it for our Sunday football watch party. Y’all, I was skeptical at first—tater tots on top of a casserole? But it was SO good. Even my diehard Texas BBQ fan buddies went back for seconds. I added a little extra garlic powder and a dash of hot sauce on top for some kick, will absolutely be making this again.

yesterday

As a broke college student who can barely make boxed mac and cheese without burning it, this recipe was perfect. Super easy, cheap ingredients, makes enough for me to meal prep for the whole week. I didn’t even have to chop anything if I use frozen mixed veggies, lmao. 10/10, no notes.

2 hours ago

Love that this works for college meal prep, Rylee! It’s such a forgiving recipe too—you can toss in leftover veggies, cooked bacon, or whatever random bits you have lying around in the fridge and it’ll still turn out great.

30 minutes ago

Made this for my kid’s soccer team potluck last weekend and every single parent asked me for the recipe! I was worried it’d be too heavy for Florida humidity, but nah, people were going back for thirds. I used ground turkey instead of beef to lighten it up a little, and it still tasted amazing. Wait, does anyone know if this freezes well? I want to make a big batch for when my mom comes to visit next month.

5 minutes ago

I froze half a pan of this last month! Let it cool completely first, wrap it tight in a double layer of foil and it lasts for up to 3 months. Just pop it in the oven straight from frozen at 375 for about an hour, it tastes exactly the same as fresh!

just now

Great question, Sarah! Fran’s freezing tip is spot on—this hotdish holds up beautifully in the freezer, which makes it perfect for prepping ahead for guests. So glad it was a hit at the soccer potluck!

2 weeks ago

I’ve been making a version of this for years for our family dinners, but I never thought to add a thin layer of sour cream between the beef mixture and the tots like the recipe says. Total game changer! It makes the whole thing so much creamier, no dry bland spots at all. Cook time was exactly 50 minutes like listed too, which is so nice for weeknights when I’m juggling homework help and after school practices.

1 week ago

Wait the sour cream layer is non-negotiable for me now too! I tried it on a whim once when I was out of cream of celery and I’ve never gone back. So good.



