
individually wrapped belgian waffles

title 1
individually wrapped belgian waffles
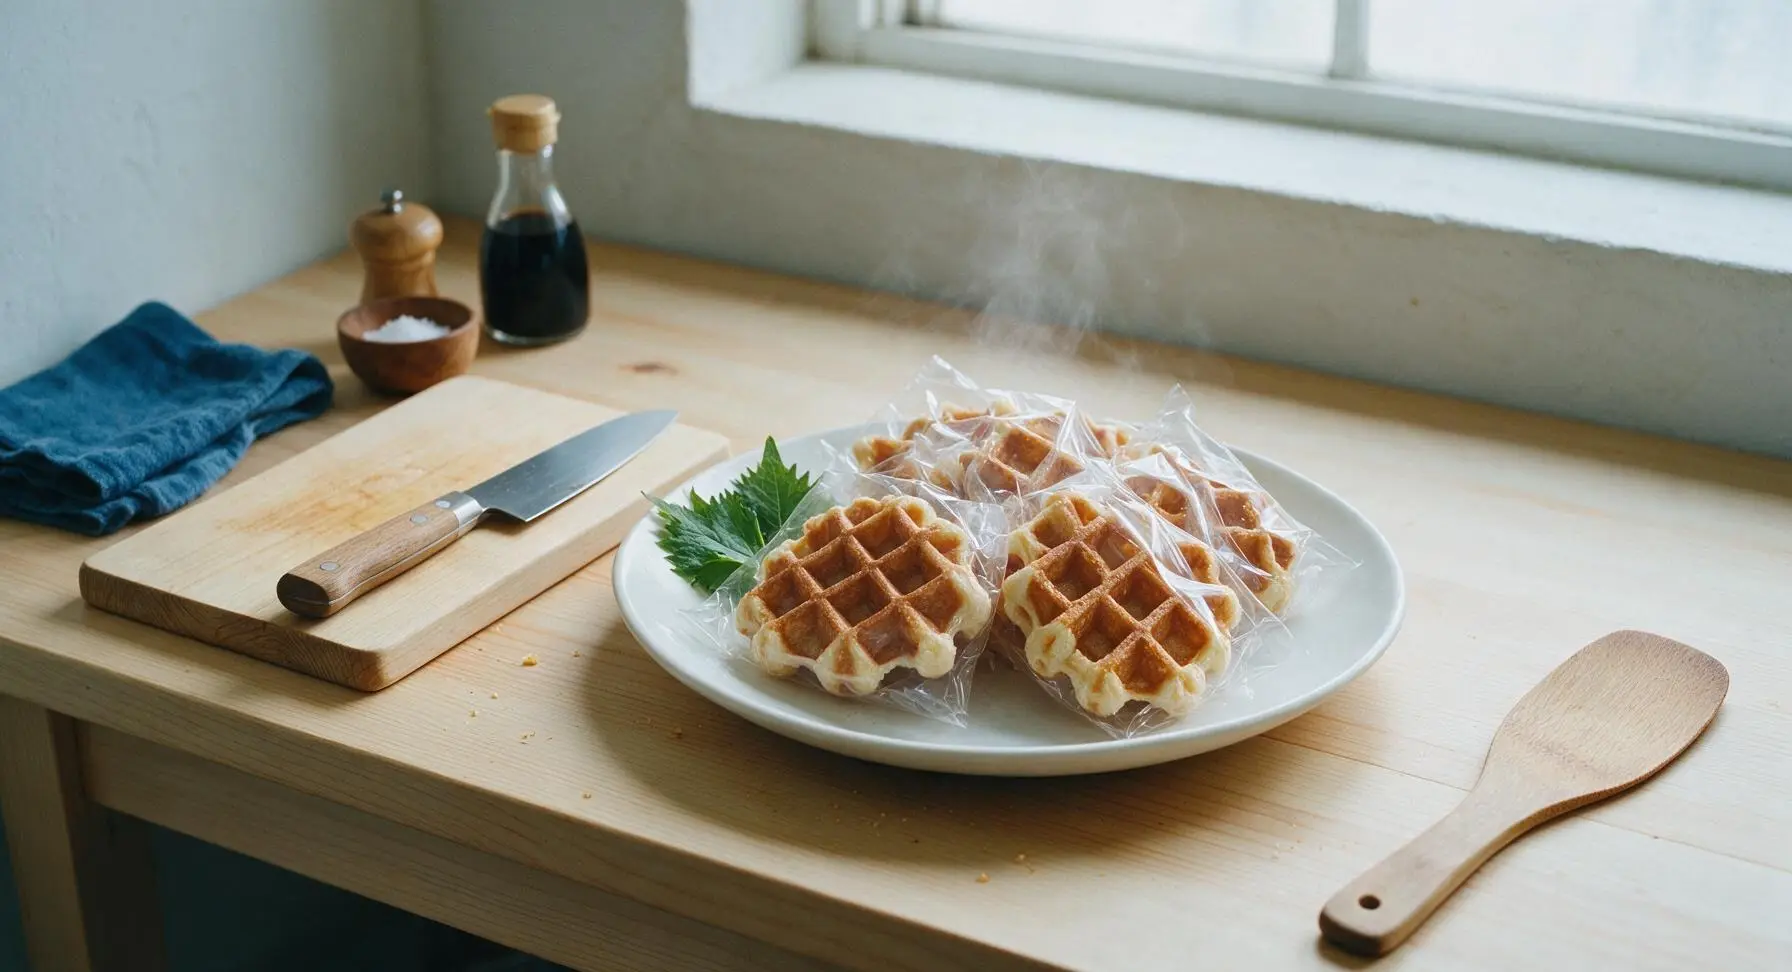
⏱️ cook time 25 minutes
🍽️ servings 8
⚡ Difficulty easy

intro

Crisp, deep-pocketed homemade Belgian waffles, individually wrapped for quick toasting from frozen, with light fluffy interiors and signature golden crunch, perfect for busy on-the-go mornings.

Ingredients
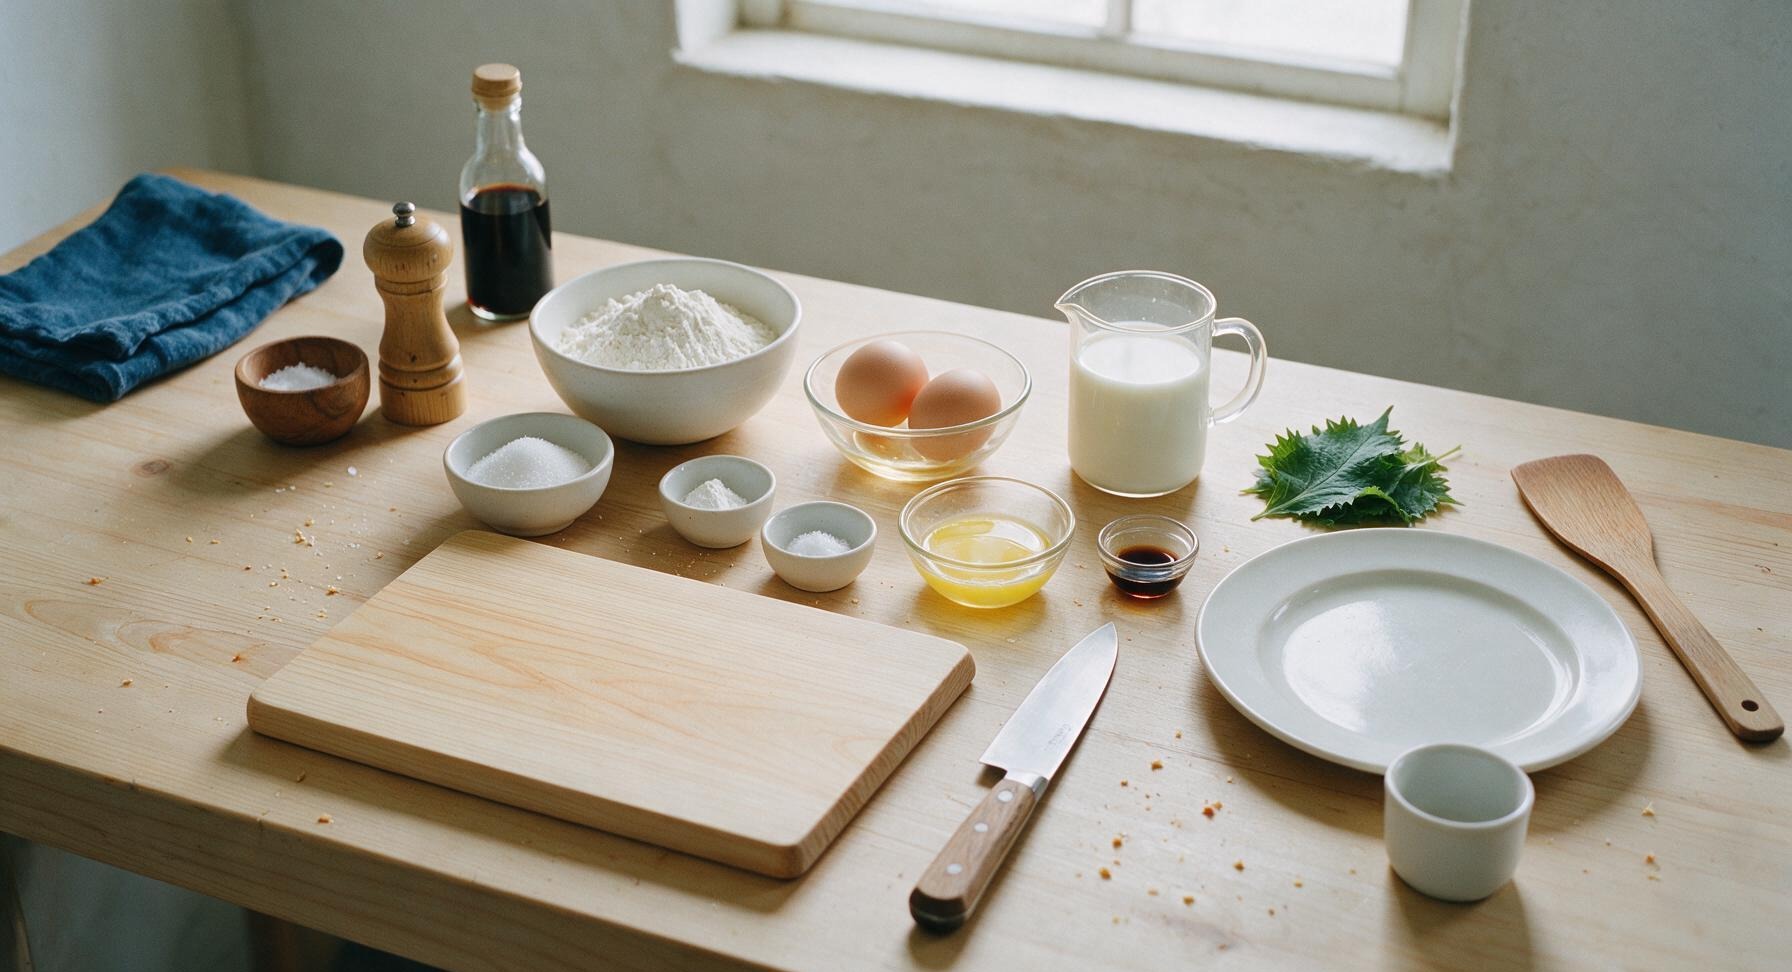
All-purpose flour 2 cups (240g)
Granulated sugar 2 tablespoons (25g)
Baking powder 2 teaspoons
Fine sea salt 1/2 teaspoon
Large eggs, room temperature 2 count
Whole milk, lukewarm 1 3/4 cups (420ml)
Unsalted butter, melted and cooled 1/2 cup (113g)
Pure vanilla extract 1 teaspoon

Steps

1

Whisk Dry Ingredients

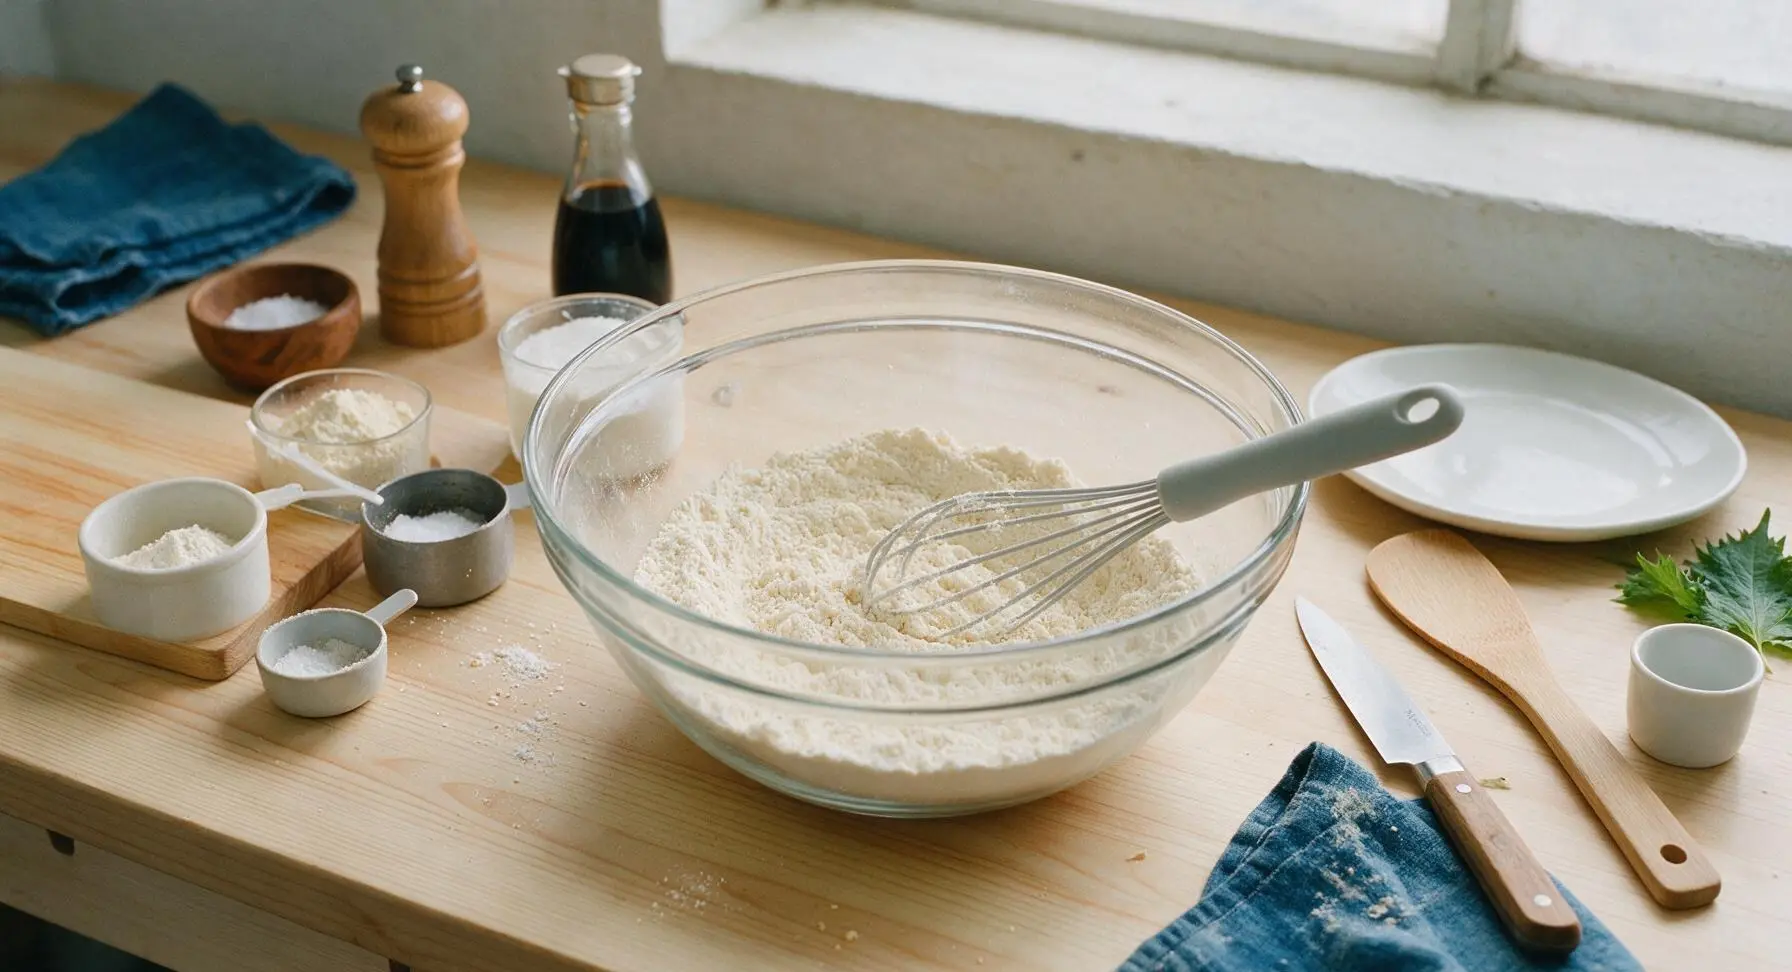
In the 3-quart clear glass mixing bowl, combine 2 cups all-purpose flour, 2 tablespoons granulated sugar, 2 teaspoons baking powder, and 1/2 teaspoon fine sea salt. Use the light gray silicone whisk to stir for 30 seconds until all dry ingredients are evenly combined, with no clumps of baking powder visible. The mixture should be a uniform pale cream color.
Step 1
step1:Whisk Dry Ingredients
2

Mix Wet Ingredients

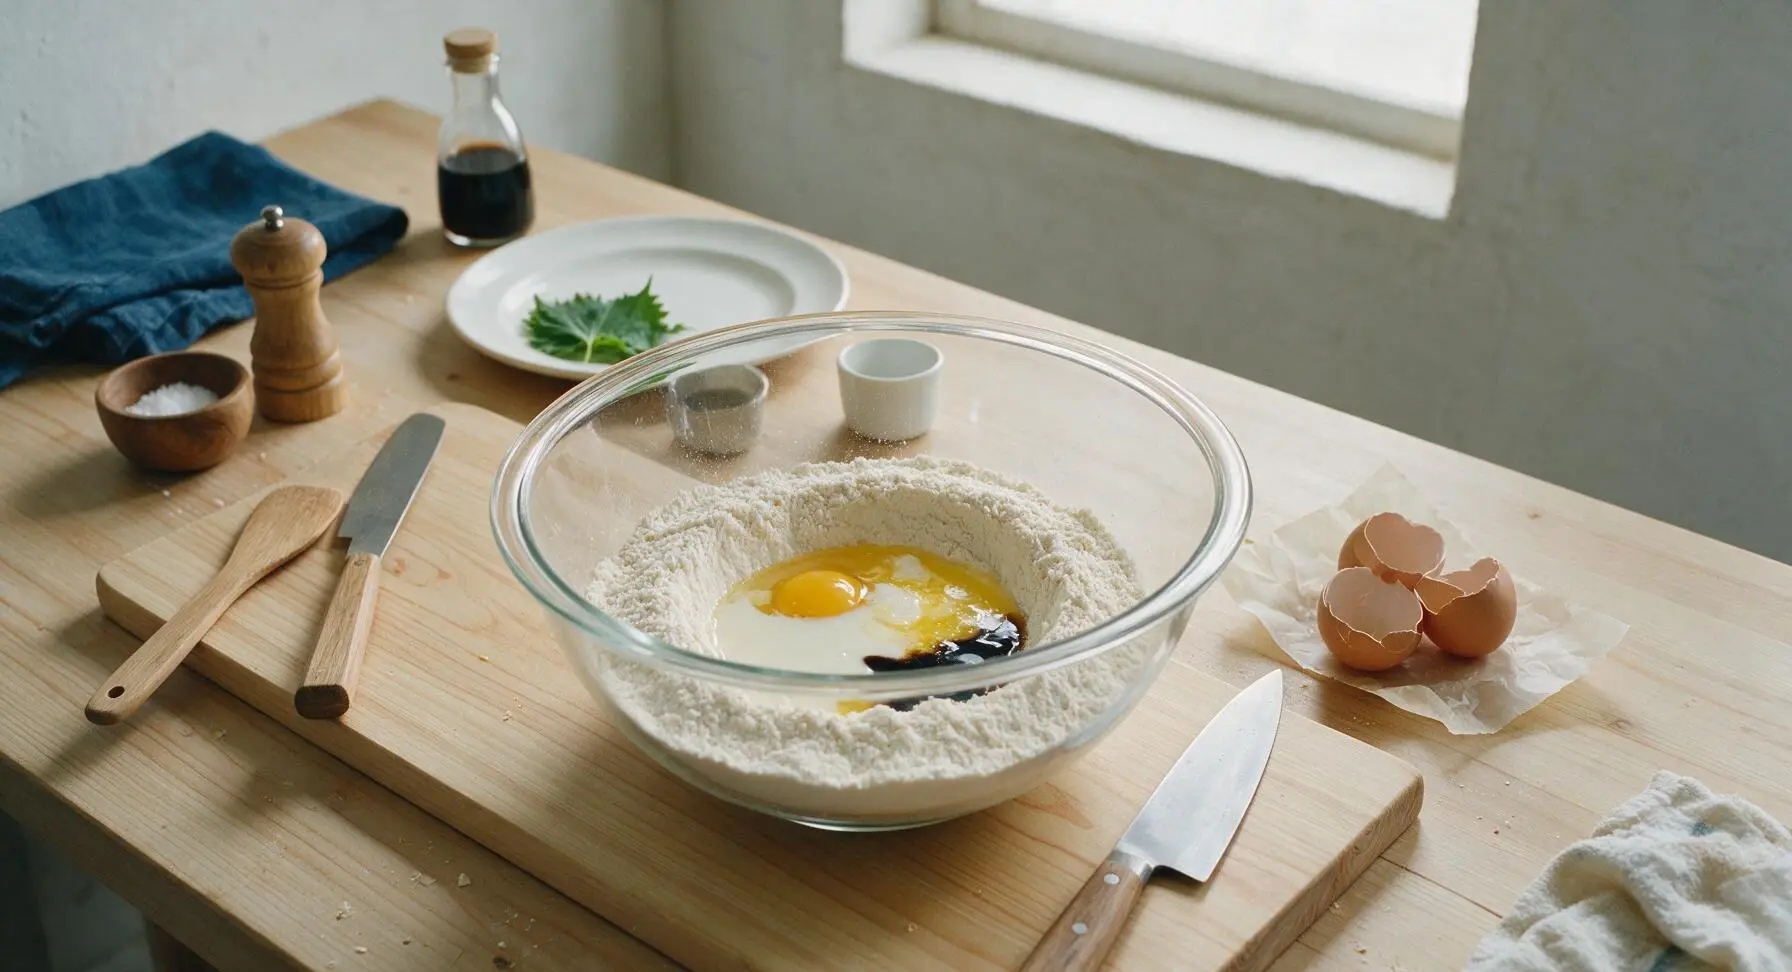
Create a small well in the center of the dry ingredient mixture. Crack the 2 room-temperature eggs into the well, then pour in 1 3/4 cups lukewarm whole milk, 1/2 cup cooled melted butter, and 1 teaspoon vanilla extract. Do not stir yet to avoid splashing.
Step 2
step2:Mix Wet Ingredients
3

Stir Smooth Batter

Use the silicone whisk to gently stir the wet ingredients into the dry, mixing just until no large dry flour clumps remain. Stop stirring as soon as the batter comes together—small lumps are normal and will keep waffles tender; overmixing will create tough, dense waffles. Let the batter rest for 5 minutes at room temperature; it will bubble slightly as the baking powder activates.
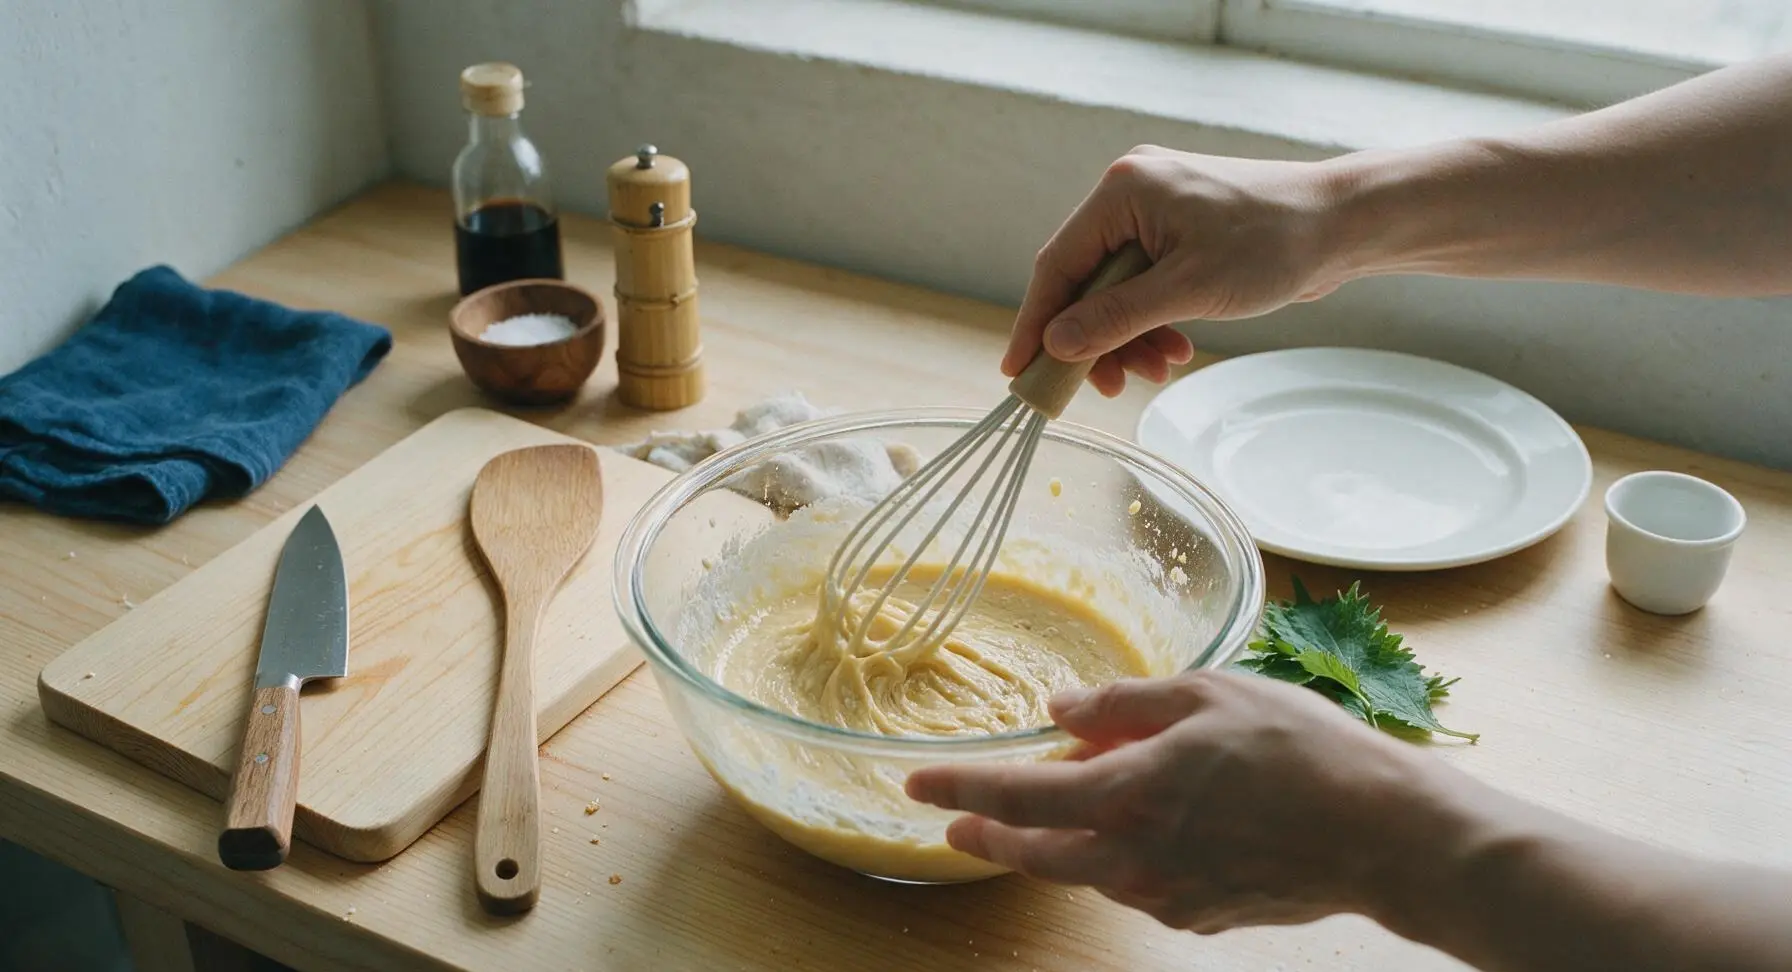
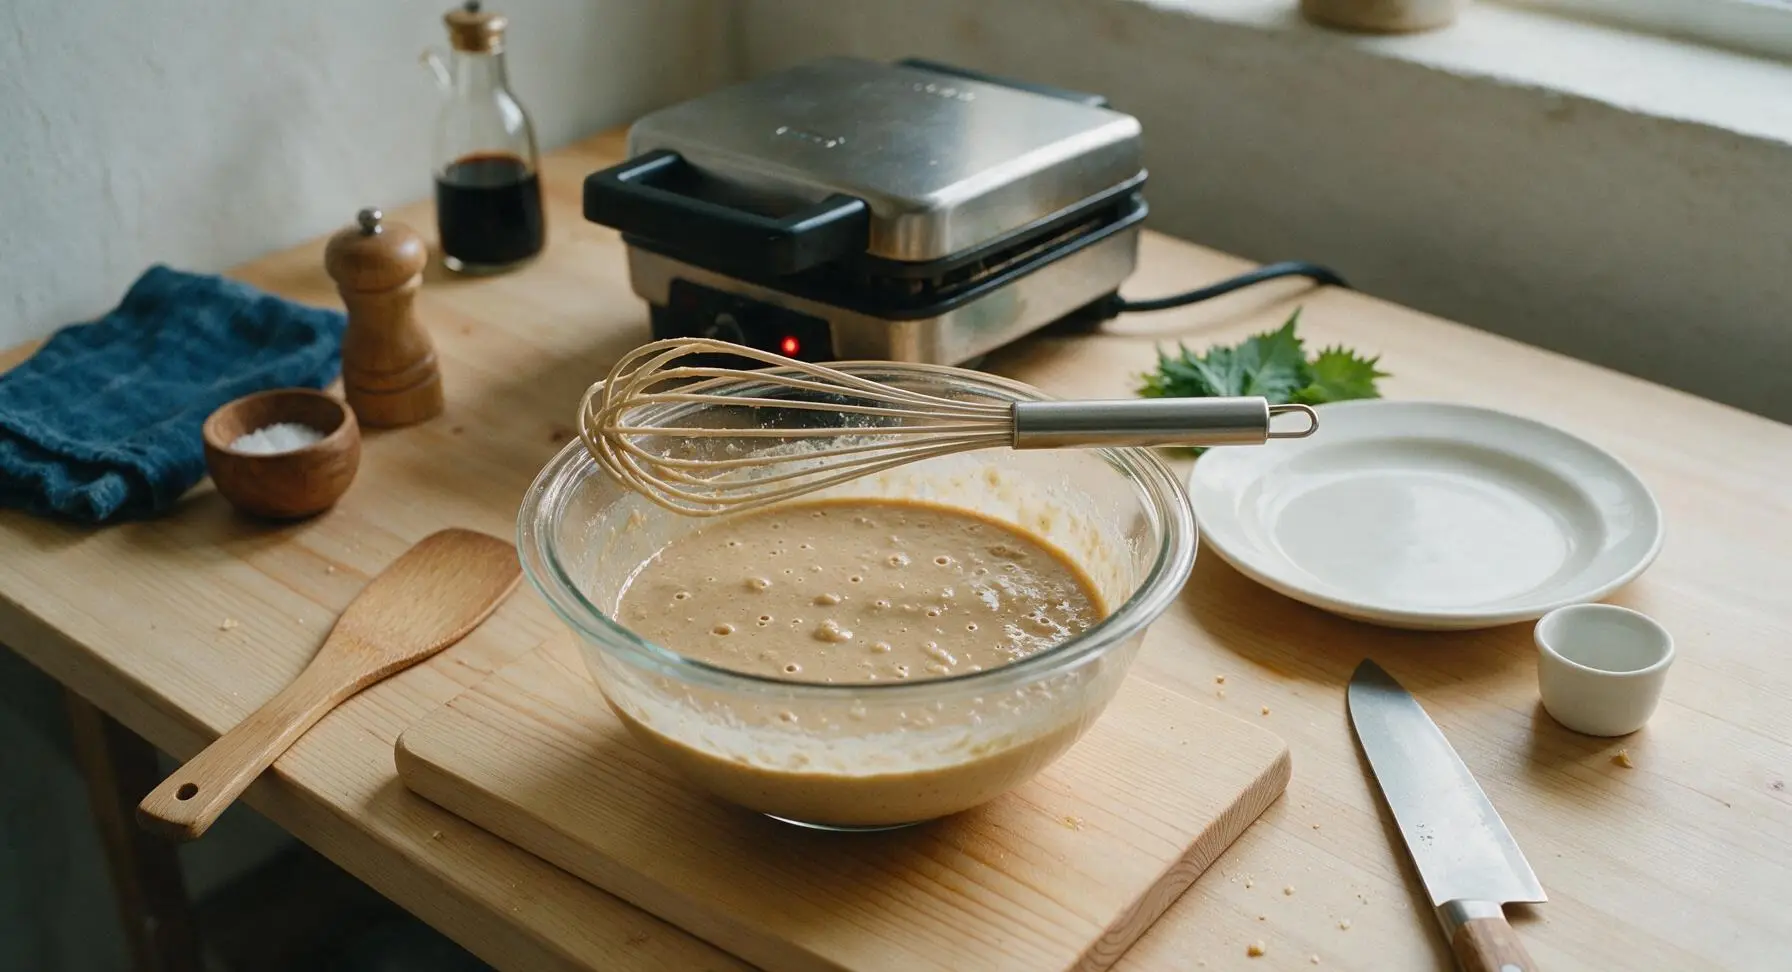
Step 3
step3:Stir Smooth Batter
Step 3
step3:Stir Smooth Batter
4

Cook Golden Waffles

Once the waffle iron indicates it is fully preheated (375°F / 190°C), lightly coat the plates with a thin layer of melted butter if needed. Pour 1/3 cup of batter per waffle into the center of the lower plate, close the lid, and cook for 2.5 to 3 minutes, until steam stops escaping from the iron edges and the waffle is deep golden brown with crisp edges. Do not open the lid early, as this will cause the waffle to split.
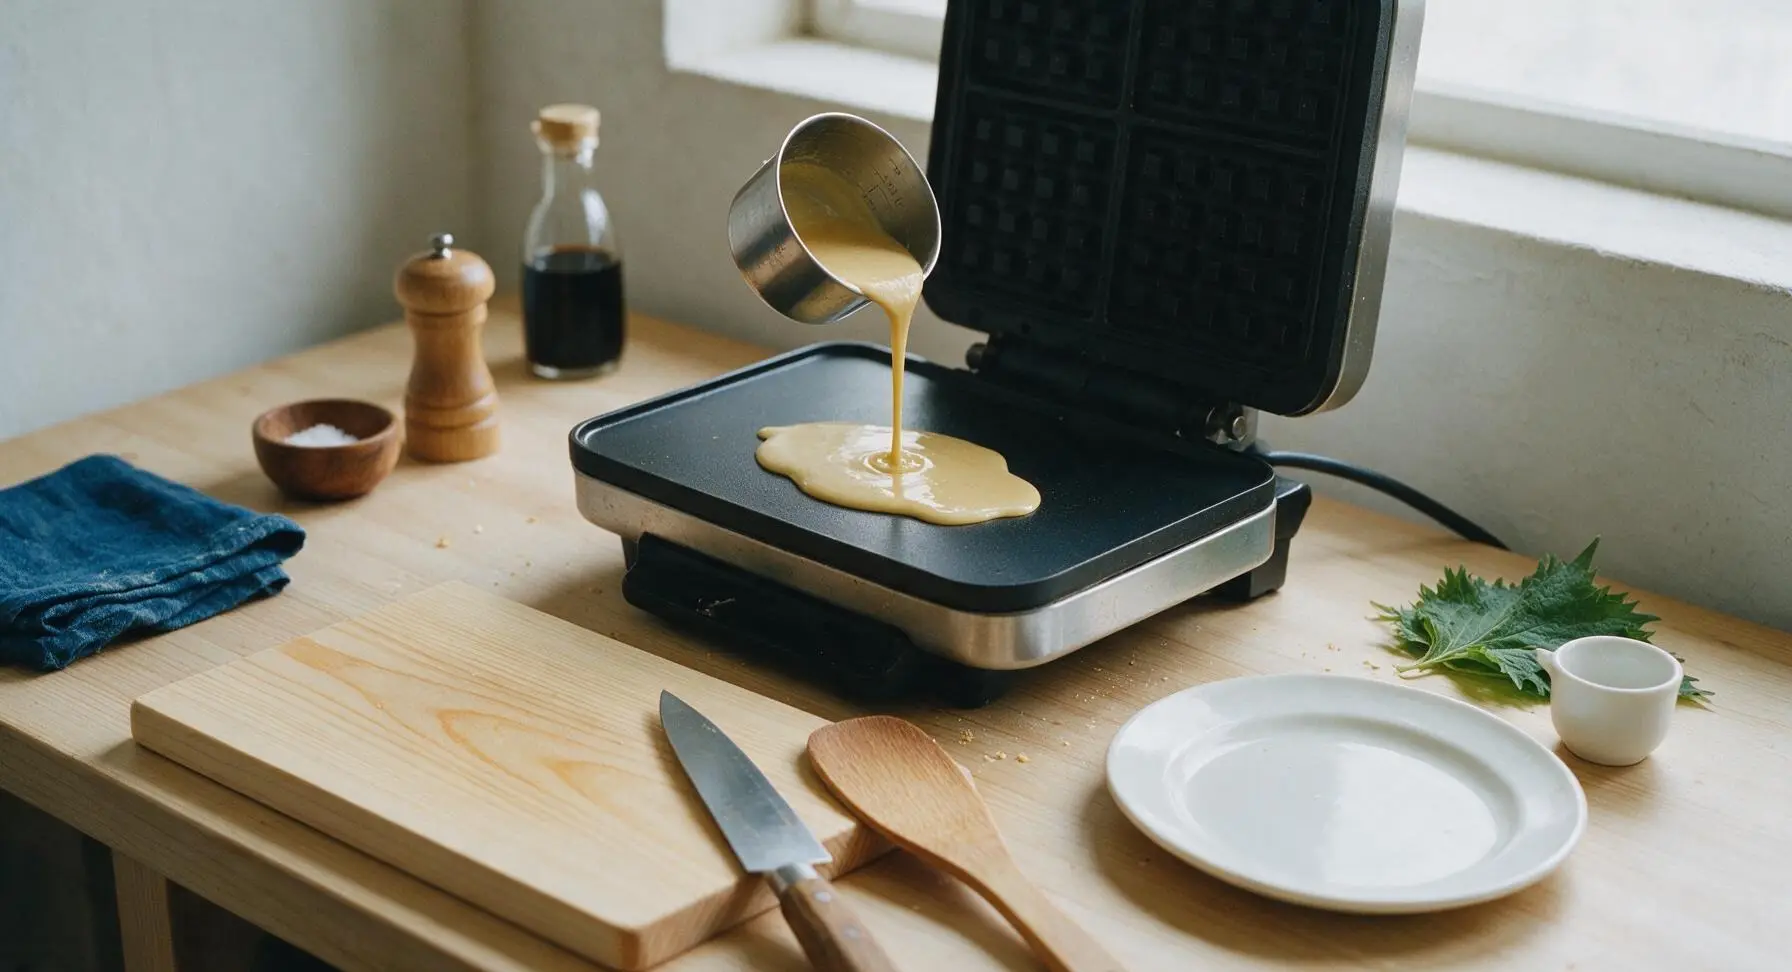
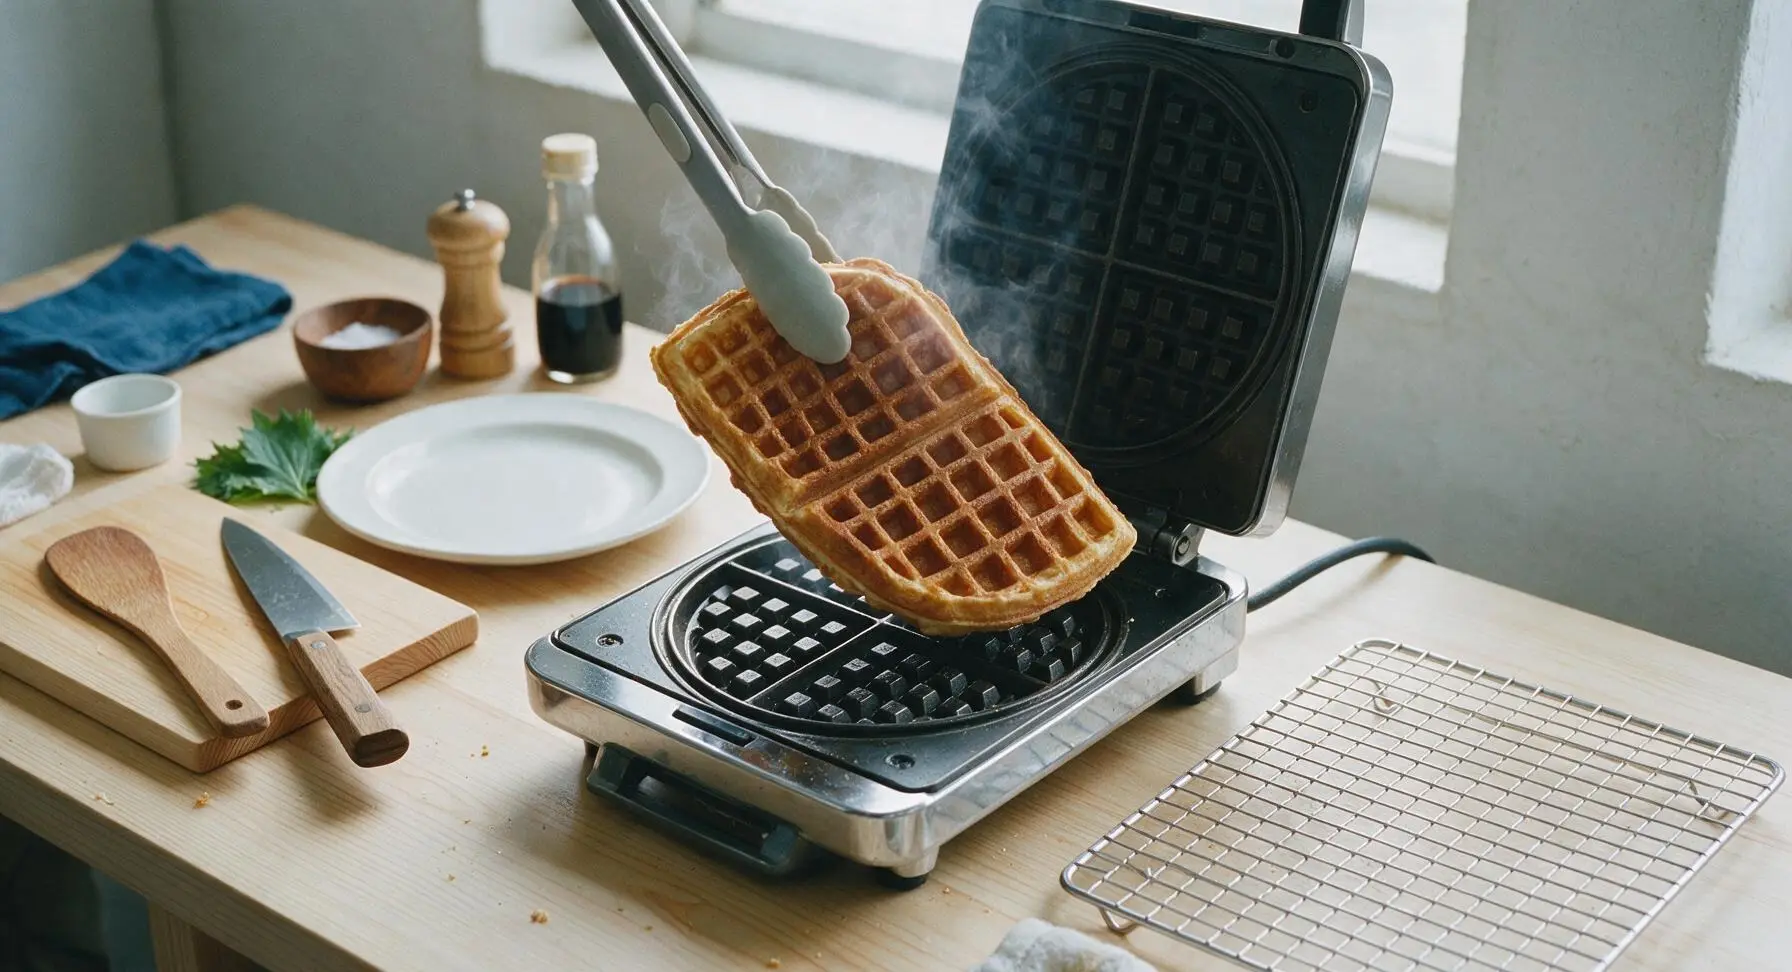
Step 4
step4:Cook Golden Waffles
Step 4
step4:Cook Golden Waffles
5

Cool Waffles Fully

Transfer each cooked waffle directly to the chrome wire cooling rack in a single layer, not stacked. Let waffles cool completely for 15 minutes at room temperature, until no residual warmth remains when you touch the center. Cooling waffles on a rack prevents sogginess by allowing air to circulate under and around each waffle; wrapping warm waffles will create condensation and soggy texture.
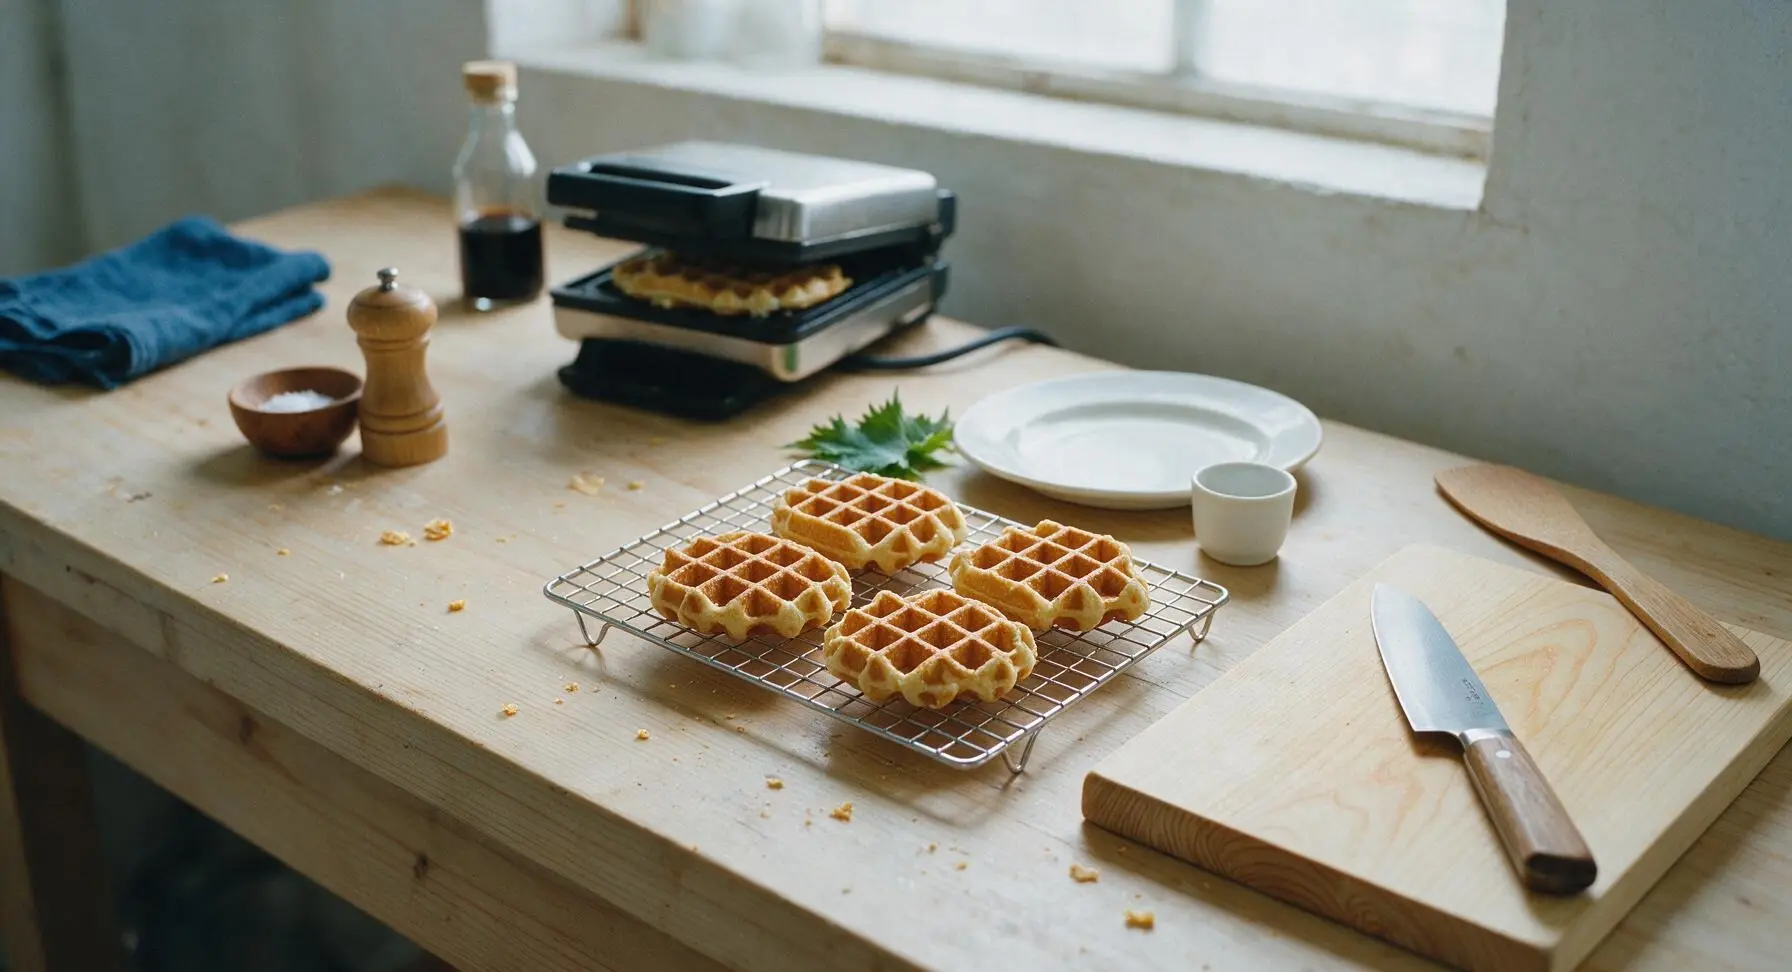
Step 5
step5:Cool Waffles Fully
6

Prep Parchment Squares

While waffles cool, separate the 8x8 inch unbleached parchment squares, laying one square per waffle flat on the counter next to the cooling rack. The parchment creates a non-stick barrier between waffles so they do not freeze together, and prevents plastic wrap from sticking to the waffle's crisp pockets.
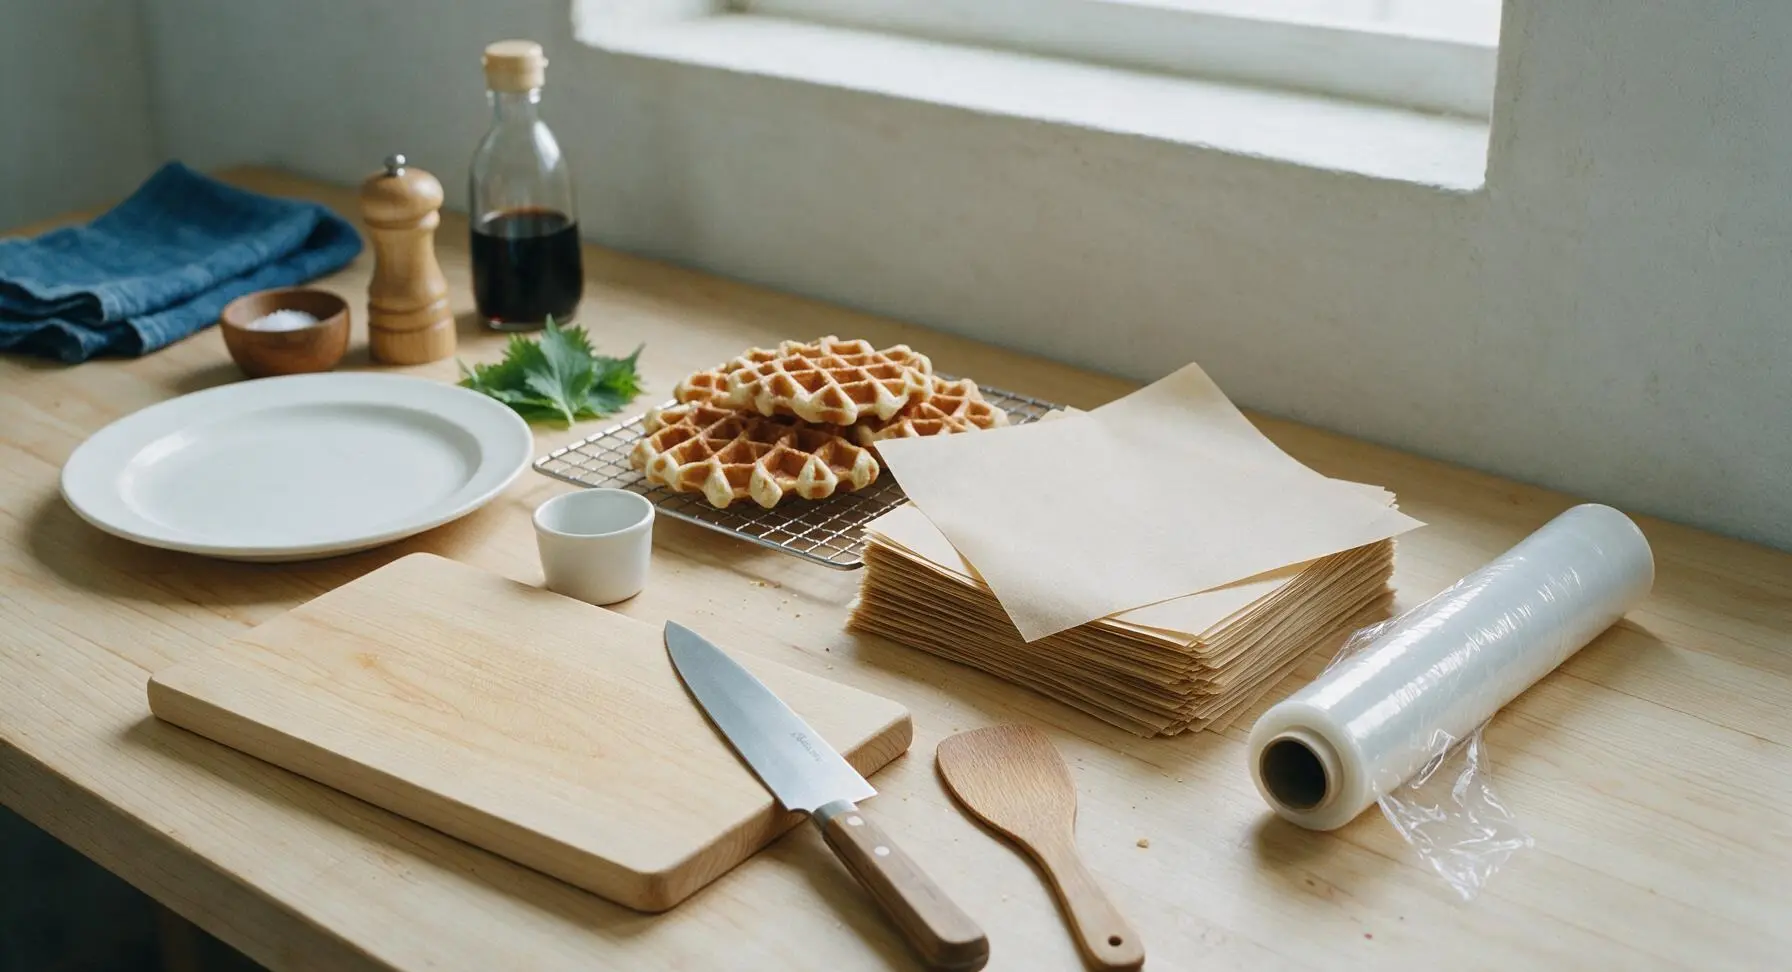
Step 6
step6:Prep Parchment Squares
7

Wrap Each Waffle

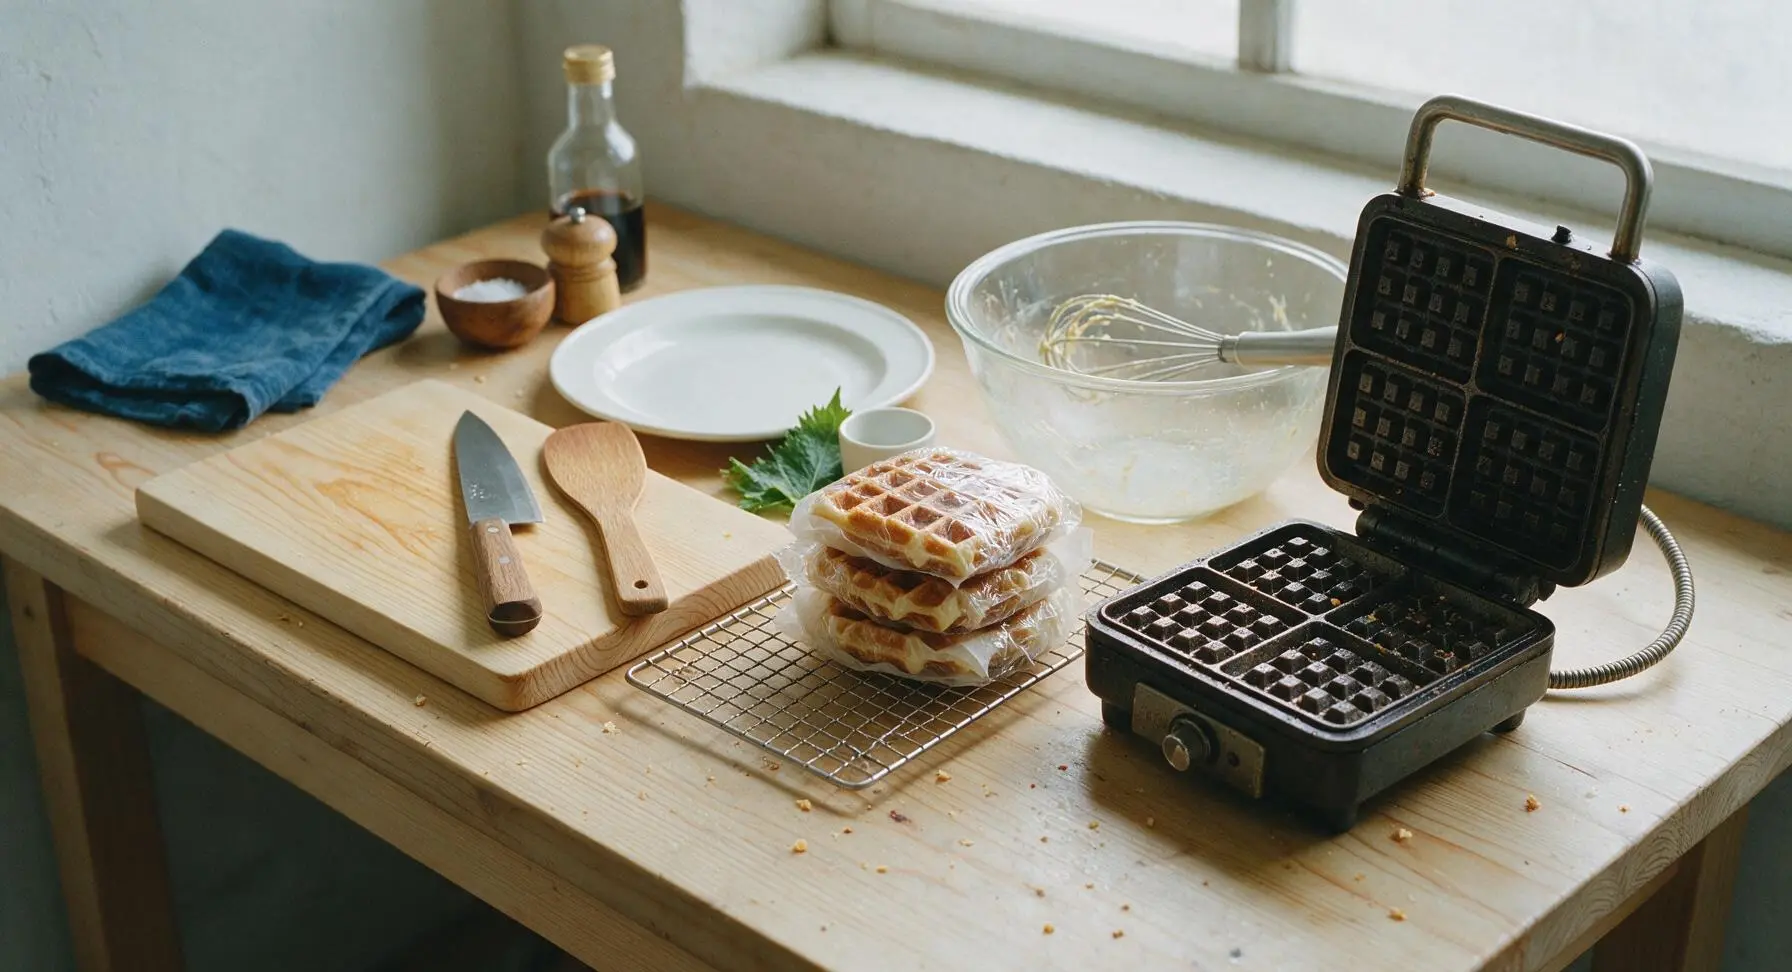
Set one fully cooled waffle in the center of a parchment square, fold the parchment edges over to cover the waffle completely, then wrap tightly in a 10-inch square of clear plastic wrap, pressing out excess air as you seal to prevent freezer burn. Repeat for all remaining waffles.
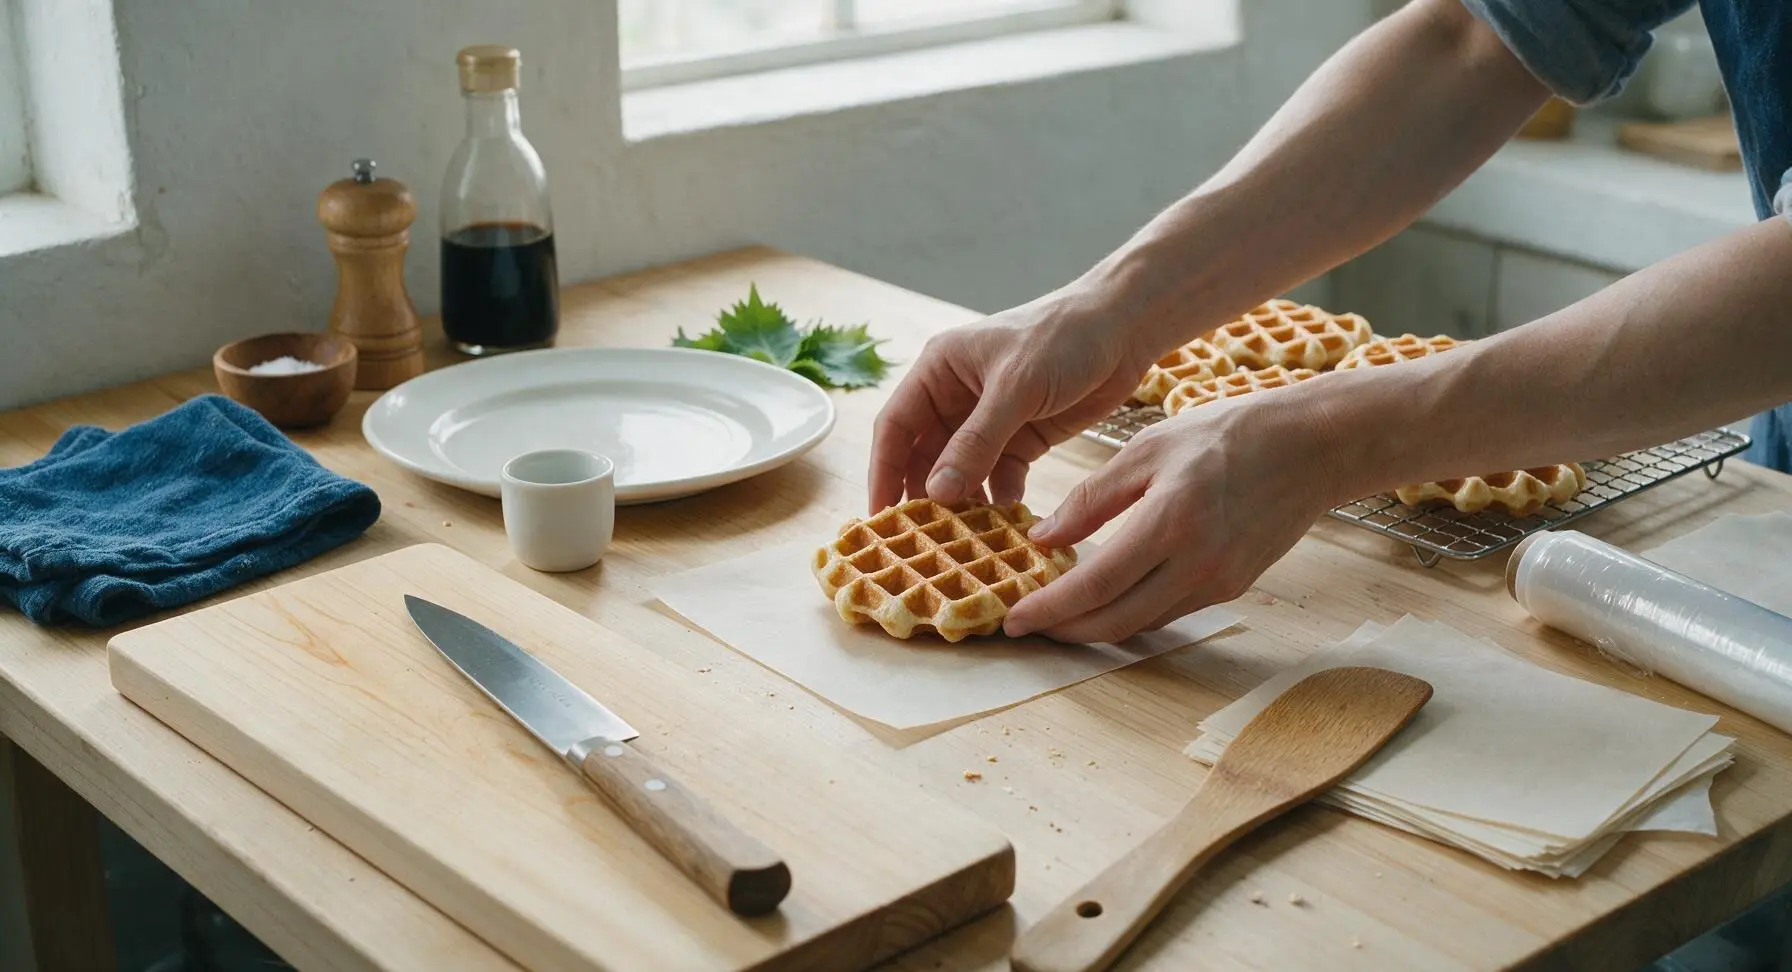
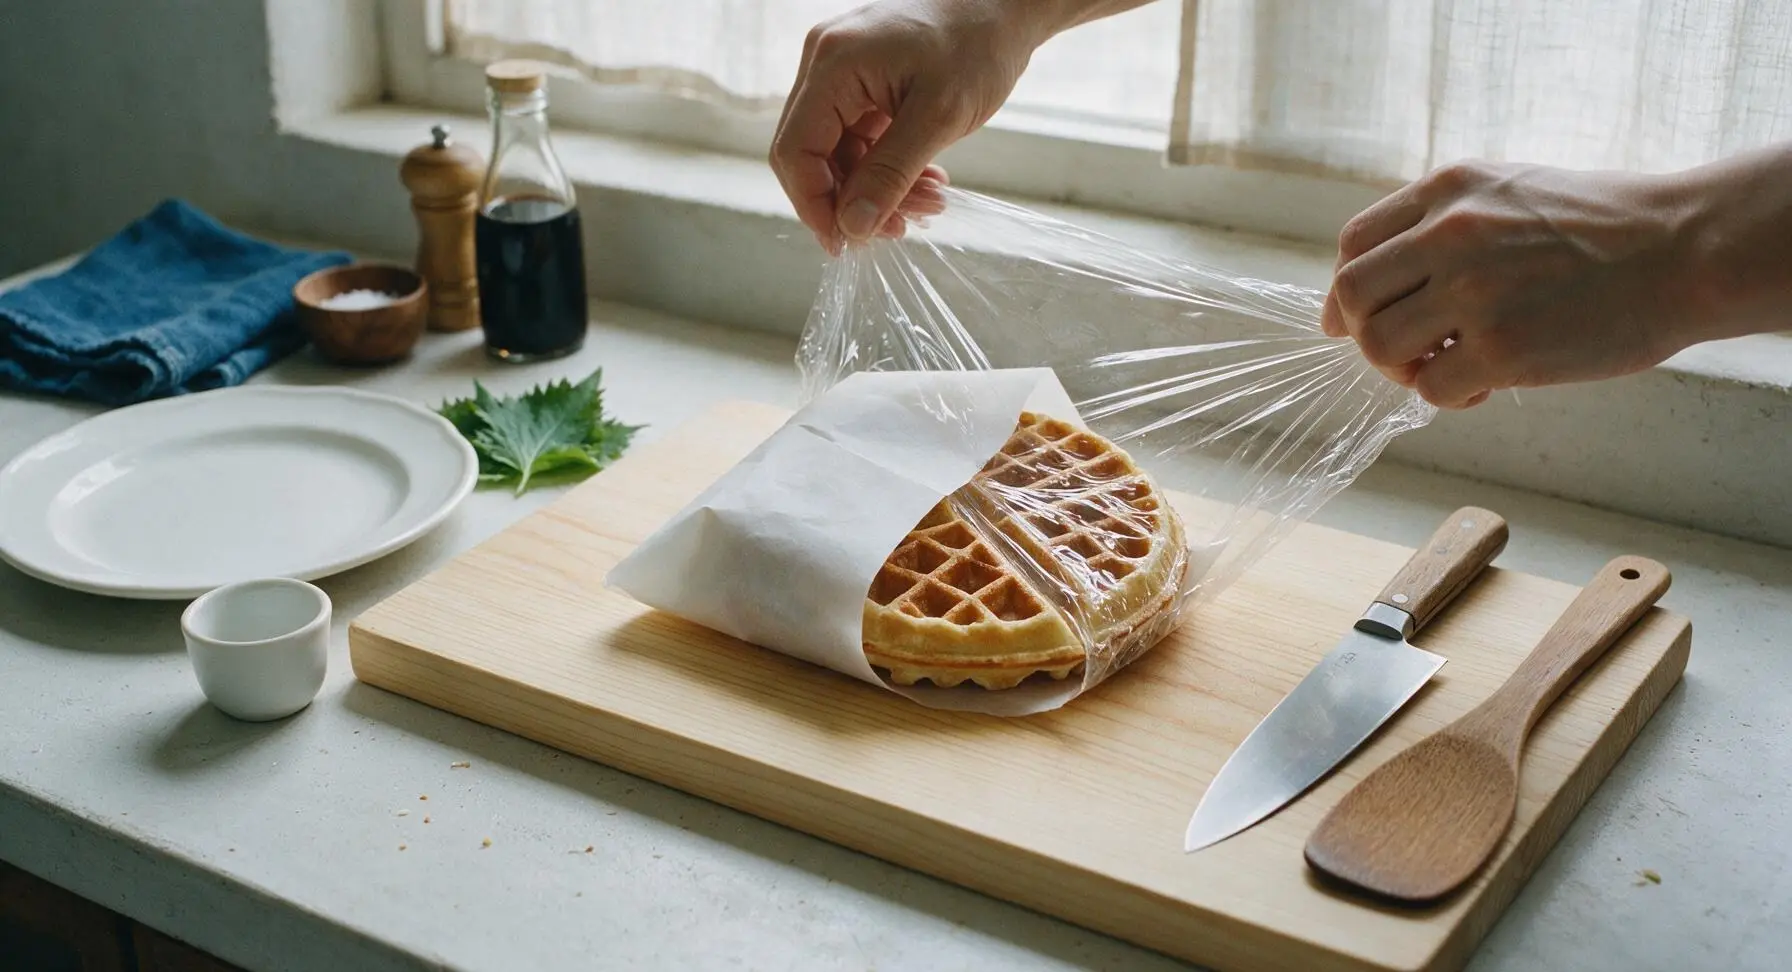
Step 7
step7:Wrap Each Waffle
Step 7
step7:Wrap Each Waffle
8

Store or Serve Waffles

Place all tightly wrapped waffles in a reusable freezer bag if storing long-term (up to 3 months in the freezer, 3 days in the refrigerator). To reheat, simply remove plastic wrap and parchment, toast directly from frozen for 2 minutes at medium heat until the pockets are crisp and the center is warm. No thawing required for quick meals.
Step 8
step8:Store or Serve Waffles

Tips

1.Avoid overmixing the batter: Stir only until dry flour streaks disappear, as overworking the flour develops gluten that leads to tough, chewy waffles. Small, pea-sized lumps in the batter are normal and will cook out, creating a more tender crumb.
2.Cool waffles completely on a wire rack before wrapping: Any residual warmth trapped under plastic wrap creates condensation, which causes soggy waffles and icy freezer burn that ruins the signature crisp texture. Single-layer cooling allows air flow to keep edges crisp.
3.Reheat directly from frozen in a toaster, not the microwave: Microwaving makes waffles soft and rubbery, while 2 minutes on medium toaster heat recreates the fresh-cooked crisp exterior and fluffy interior without thawing.


✨ You May Also Like

Breakfast
🍜 United States

Crisp-edged, fluffy lard griddle cakes are a nostalgic homestyle staple, with rich savoriness from rendered lard, perfect topped with maple syrup or savory gravy.

⏱️ 25 minuteBreakfast ★ 4.8
Breakfast
🍜 United States

Flaky, buttery homemade buttermilk biscuits smothered in creamy, peppery pork sausage gravy: a beloved, hearty Southern American comfort food classic.

⏱️ 35 minuteBreakfast ★ 4.8
Breakfast
🍜 United States

Golden, custardy brioche stuffed with sweet cream cheese and fresh berries, pan-fried to crisp perfection. An indulgent, cozy breakfast perfect for slow weekend mornings.

⏱️ 30 minuteBreakfast ★ 4.7
Breakfast
🍜 United States

Flaky, buttery Southern-style biscuits stuffed with savory salty country ham, a portable, satisfying classic perfect for casual on-the-go meals.

⏱️ 25 minuteBreakfast ★ 4.8
Breakfast
🍜 United States

Iconic puffy baked pancake popularized in Seattle, with crisp golden edges and soft custardy center, served warm with classic sweet toppings.

⏱️ 35 minuteBreakfast ★ 4.6
Breakfast
🍜 United States

Fluffy, golden pancakes studded with juicy peak-summer mixed berries, drizzled with maple syrup for a bright, comforting, crowd-pleasing family breakfast.

⏱️ 25 minuteBreakfast ★ 4.7

individually wrapped belgian waffles:Frequently Asked Questions

1.Do I need a special Belgian waffle maker for this recipe, or will a standard waffle iron work? ▾
A Belgian waffle maker with 1-inch deep grids is ideal for creating those classic, syrup-catching deep pockets, but a standard ½-inch grid waffle iron works too. Just adjust cook time by 1 to 2 minutes, and don’t overfill the plates to avoid messy overflow that ruins crisp, golden edges.
2.The recipe calls for room temperature large eggs—why does that matter, and can I use cold eggs in a pinch? ▾
Room temperature eggs mix more evenly into batter and trap air better, which creates that light, fluffy interior instead of dense, heavy waffles. If you’re short on time, submerge cold eggs in a bowl of warm tap water for 5 minutes to bring them up to temperature quickly with no quality loss.
3.How should I wrap the waffles to prevent freezer burn so they stay fresh long-term? ▾
Let cooked waffles cool completely to room temperature first—trapped steam causes icy crystal buildup that leads to freezer burn! Then wrap each tightly in a 6-inch square of parchment paper, slide them into labeled reusable freezer bags, and squeeze out all excess air before sealing to lock out moisture and odors.
4.How long do these individually wrapped waffles stay high-quality in the freezer? ▾
When wrapped tightly to block air exposure, these waffles stay fresh and delicious for up to 3 months in a standard 0°F home freezer. After that, they’re still safe to eat, but you may notice stale, off flavors or excess ice crystal buildup that makes them soggy when reheated.
5.Do I need to thaw frozen waffles before reheating, or can I cook them straight from the freezer? ▾
No thawing required—that’s the whole point of this make-ahead recipe! Unwrap a frozen waffle and pop it straight into your toaster or toaster oven on the medium-high setting, toasting for 2 to 3 short cycles until it’s crisp on the outside and heated all the way through.
6.Can I swap all-purpose flour for whole wheat flour to make these waffles a bit healthier? ▾
Absolutely! For a heartier, nuttier waffle, swap up to half of the all-purpose flour for white whole wheat flour. Swapping 100% of the flour will make waffles denser and less fluffy, so I don’t recommend going higher than that 50% ratio unless you prefer a heavier, denser texture.
7.My waffles stick to the waffle iron even when I grease it—what am I doing wrong? ▾
First, make sure your waffle iron is fully preheated before pouring in batter—cold plates are the number one cause of sticking. Skip cooking spray, which leaves a gummy, sticky residue over time, and instead brush grids lightly with melted butter or neutral oil right before adding batter, and don’t open the iron too early while the waffle is still soft.
8.Can I reduce the granulated sugar in the recipe if I prefer less sweet waffles? ▾
The base recipe uses just enough sugar to encourage that golden, crisp caramelized exterior without making waffles taste overly sweet. You can cut the sugar by half without ruining texture, but I don’t recommend omitting it entirely, as you’ll lose that signature crunchy golden crust and end up with pale, bland waffles.
9.Can I add mix-ins like chocolate chips or blueberries to the batter before freezing? ▾
You can, but add mix-ins right as you pour batter into the waffle iron instead of stirring them into the whole batch. This prevents soggy, discolored fruit or melted chocolate streaks that get mushy after freezing. Fold 1 to 2 teaspoons of mix-ins per waffle right on top of poured batter before closing the lid.
10.Why do my waffles come out flat and dense instead of light and fluffy inside? ▾
The most common culprit is overmixing the batter! Stir just until dry ingredients are moistened—lumps are totally fine, and overmixing develops gluten that makes waffles tough and dense. Also, double check that your baking powder is fresh; old, expired leavening won’t create the air pockets needed for a fluffy interior.
11.Is there a way to reheat these waffles without a toaster if I’m serving a group? ▾
Absolutely! Preheat your oven to 350°F, unwrap the frozen waffles, and arrange them in a single layer on a wire rack set over a baking sheet. This setup lets air circulate so waffles stay crisp, not soggy. Bake for 8 to 10 minutes until heated through and crisp, no flipping required.
12.Can I make these waffles gluten-free for family members with gluten sensitivities? ▾
Yes! Swap the all-purpose flour for a 1:1 gluten-free all-purpose baking blend that contains xanthan gum, and confirm your baking powder is certified gluten-free to avoid cross-contamination. The texture will be nearly identical to the original, and they freeze and reheat exactly the same as the regular version.

Comments (13)

2 days ago

OMG this is such a game changer for weekday breakfasts! I made a double batch on Sunday, wrapped them individually, and now my kids just grab one out of the freezer, pop it in the toaster, and run out the door for school. They said they’re way better than the frozen Eggo ones we used to buy! 10/10, will be making these every week for meal prep.

yesterday

Wait do you reheat them straight from frozen in the toaster? I’ve been microwaving mine and they get a little soggy, would love to get that crispy edge back!

yesterday

So glad these are a hit for your family! To answer the question too – toaster straight from frozen works perfectly on the medium setting, no need to thaw first. It keeps that crispy Belgian waffle texture everyone loves!

3 days ago

Took these to a neighborhood potluck last weekend and everyone was asking for the recipe! I set out a little topping bar with whipped cream, berries, chocolate chips, and syrup, and people went crazy for them. The individual wrapping made them so easy to transport too, no messy stacks sticking together.

2 days ago

Love the potluck topping bar idea! That sounds like such a fun spread, so happy these were a hit with your neighbors.

1 week ago

Super easy recipe even for someone who burns toast half the time lmao. I don’t have a fancy Belgian waffle maker, just a basic cheap one from Target, and these still came out fluffy and perfect. Wrapped them up individually and I’ve got breakfast for the whole week between classes. Only reason it’s not 5 stars is I wish I’d doubled the batch, ran out after 3 days! SO good.

2 hours ago

So excited to try these! Quick question before I make a batch this weekend – has anyone tried making these with a 1:1 gluten free flour blend? I’ve been searching for a make-ahead waffle recipe that doesn’t turn gummy when frozen, and this one looks perfect for my kid’s quick breakfasts.

30 minutes ago

I did! Used Bob’s Red Mill 1:1 gluten free blend, added an extra teaspoon of baking powder, and they came out perfect! Freeze great, reheat crispy in the toaster, my whole family (non-gluten free folks too) loved them.

5 minutes ago

Great question! We’ve tested this with 1:1 gluten free flour and it works beautifully, just like Sarah mentioned – a tiny extra pinch of baking powder helps keep them light and fluffy instead of dense. Hope you love them!

1 week ago

Made these for my family’s brunch last Sunday and they were a huge hit. The cook time was way shorter than I expected for homemade waffles, which was perfect because I was also making eggs, bacon, and fruit salad. The individual wrapping hack is genius for sending leftovers home with my sister and her kids too.

5 days ago

Sending leftovers home with family is exactly what this recipe is for! So glad the quick cook time helped make your brunch spread less stressful.

2 weeks ago

Game. Changer. I used to skip breakfast all the time because I hated cooking first thing in the morning, but now I just grab one of these out of the freezer, toast it, and I’m out the door. Added a little vanilla extract to the batter and it’s chef’s kiss. 10/10, no notes.

5 days ago

First recipe I’ve made from this site and it did not disappoint! My husband is obsessed with Belgian waffles, and he said these taste better than the ones we got at our favorite brunch spot downtown. I will say, I used parchment paper between them before wrapping so they didn’t stick, worked like a charm.

3 days ago

Welcome, so happy your first recipe on the site was a hit! The parchment paper trick is such a smart call, I’ll have to add that tip to the recipe notes for other folks!

yesterday

Wait how long do these keep in the freezer for? I want to make a giant batch before my husband starts his new busy work schedule where he’s out the door at 6am every day. Would they last a month?

2 hours ago

I’ve kept mine for up to 6 weeks in the freezer and they taste totally fresh! Just make sure you wrap them tight in plastic wrap then stick them in a freezer bag to avoid freezer burn.

30 minutes ago

Great question! When wrapped tightly to prevent freezer burn, these stay perfect for up to 2 months in the freezer – so making a big batch ahead of your husband’s busy schedule is a perfect plan.

2 weeks ago

My 3 year old is the pickiest eater on the planet and he ate two whole waffles for breakfast this morning! I cut them into little stick shapes before wrapping, so they’re perfect for little hands to dip in syrup. No fighting, no tears, just a happy toddler. Thank you for this recipe!

1 week ago

This is the best review we could ask for! The waffle stick shape for toddlers is such a brilliant hack, so happy your little one loved them.

1 week ago

Made these for our recent camping trip! I wrapped them individually ahead of time, packed them in the cooler, and we just reheated them over the campfire on a cast iron skillet. Tasted like fresh made waffles, zero cleanup at the campsite. Will be doing this for every trip from now on!

3 days ago

These are SO good! I added a handful of mini chocolate chips to the batter and they were chef’s kiss. The only heads up I’ll give is don’t overfill your waffle iron, I did that on the first one and batter oozed all over the counter lmao. Once I got the portion right they turned out perfect.

2 days ago

The chocolate chip addition sounds amazing! Thanks for the tip about not overfilling the waffle iron – that’s a super common misstep, so I’m glad you got the hang of it after the first one!

5 minutes ago

How much does this recipe cost to make roughly? I’m trying to cut back on expensive frozen breakfasts and this seems way cheaper than buying the name brand waffles every week, just wanted to check before I buy ingredients!

just now

Great question! A full batch costs roughly $3-$4 depending on ingredient prices in your area, which makes each individual waffle only about $0.30 – way cheaper than store-bought frozen waffles!

just now

Can confirm! I made these last week with ingredients I already had in my pantry plus a $2 carton of eggs, and it made 12 waffles. Way cheaper than the $6 box of frozen waffles I used to buy, and they taste way better too.

2 days ago

I’ve been buying those expensive protein waffles from the grocery store forever, so I tried adding a scoop of vanilla protein powder to this batter and it worked so well! Individually wrapped, I grab one after my morning gym session, toast it, top with peanut butter and banana, and it’s the perfect post-workout meal. So easy, saves me so much money.



