
instant pot frozen ground beef

title 1
instant pot frozen ground beef
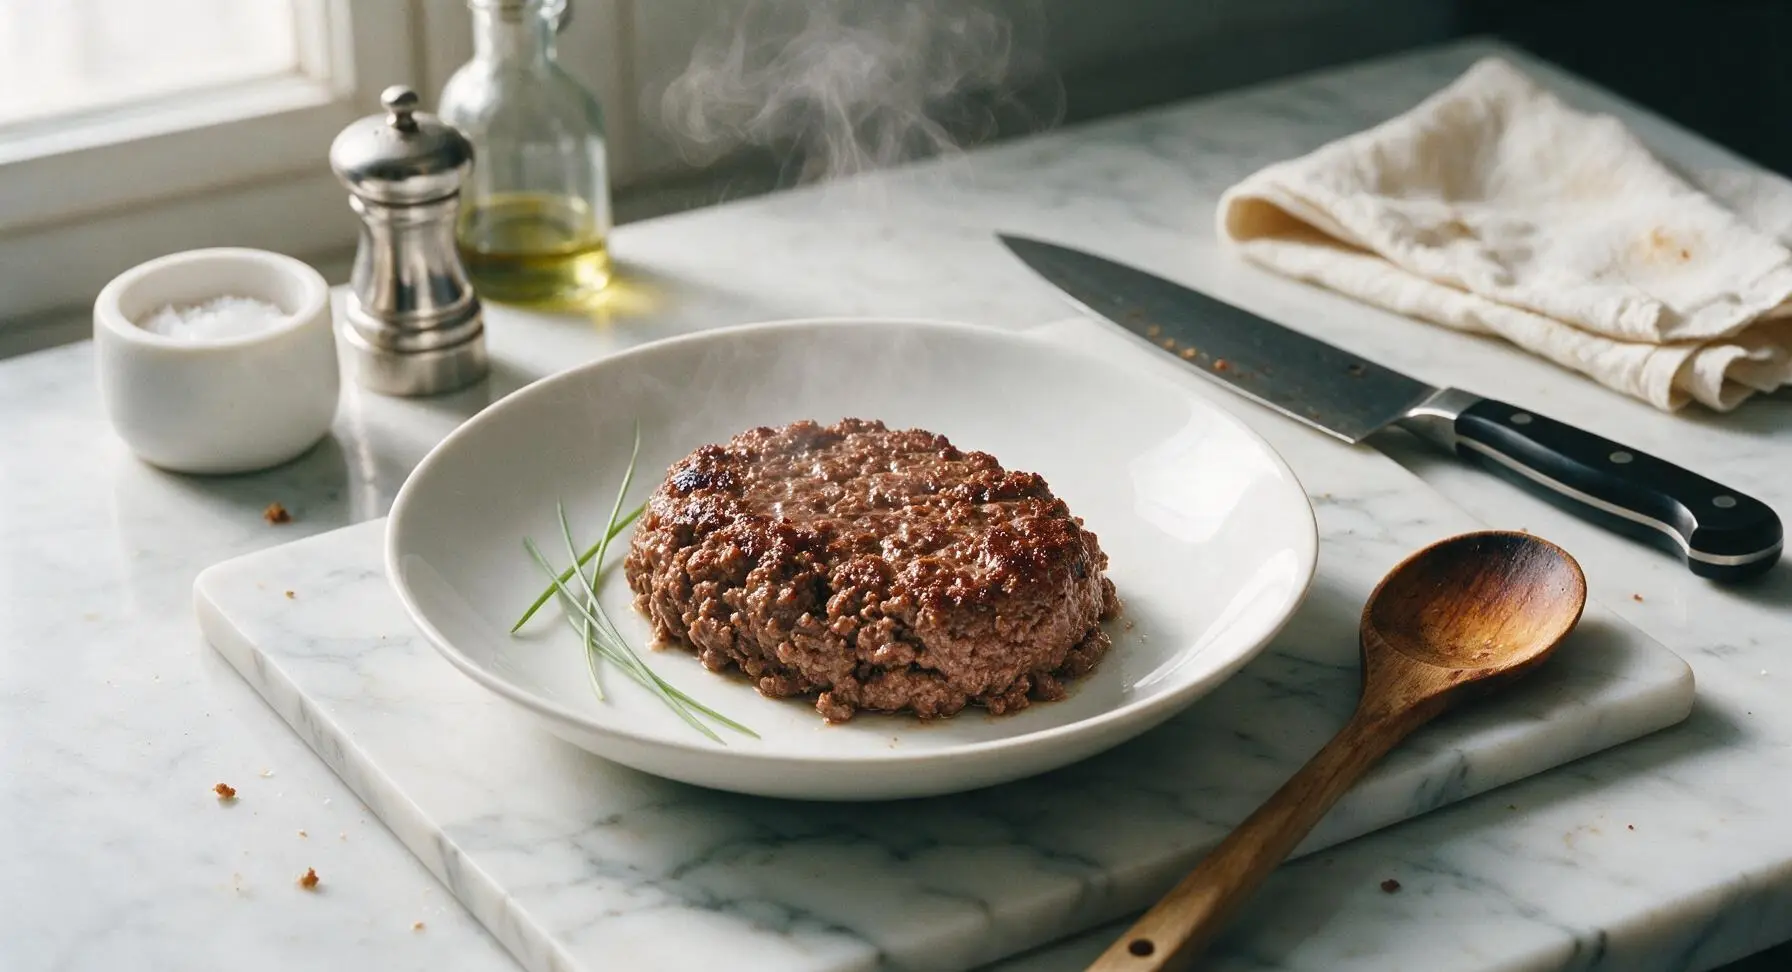
⏱️ cook time 20 minutes
🍽️ servings 4
⚡ Difficulty easy

intro

Skip the long thaw: perfectly tender, evenly cooked frozen ground beef made fast in your Instant Pot, ready for tacos, pasta, or chili in under 30 minutes total.

Ingredients
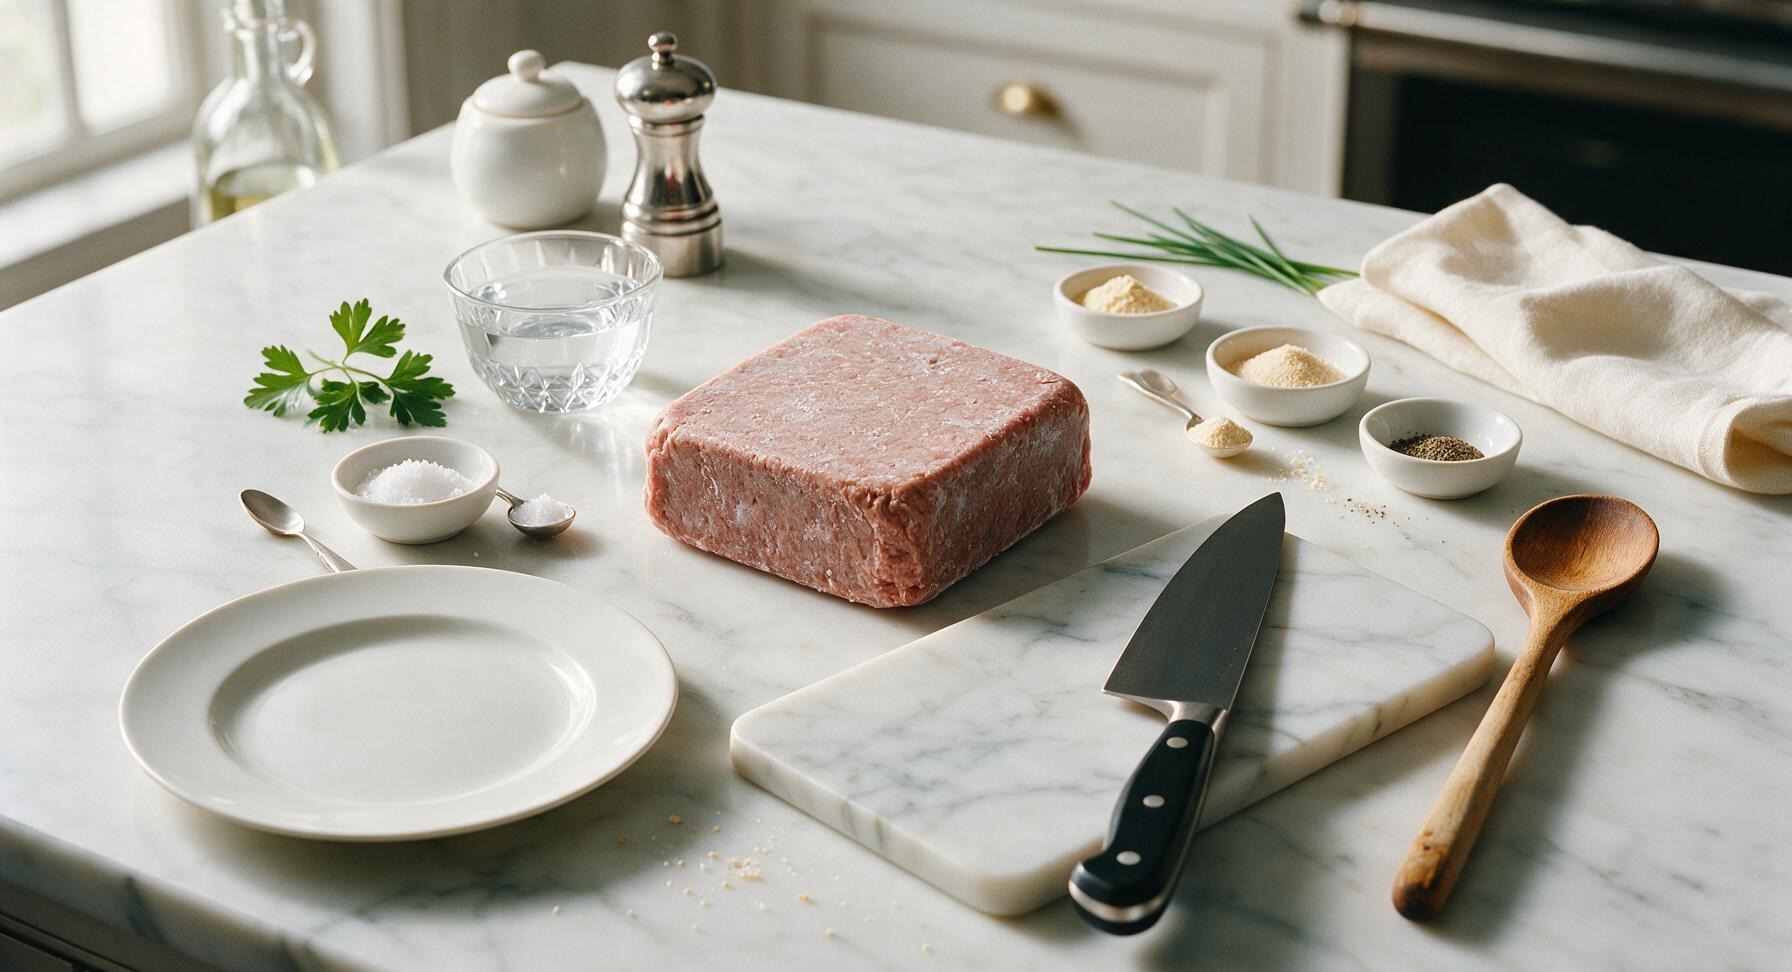
Lean ground beef (90/10, frozen solid block) 900g (2lb)
Cold tap water 240ml (1 cup)
Coarse kosher salt 1 tsp, divided
Garlic powder 1/2 tsp, divided
Onion powder 1/2 tsp, divided
Freshly ground black pepper 1/4 tsp
Fresh flat-leaf parsley (optional garnish) 1 small sprig

Steps

1

Add Water to Inner Pot

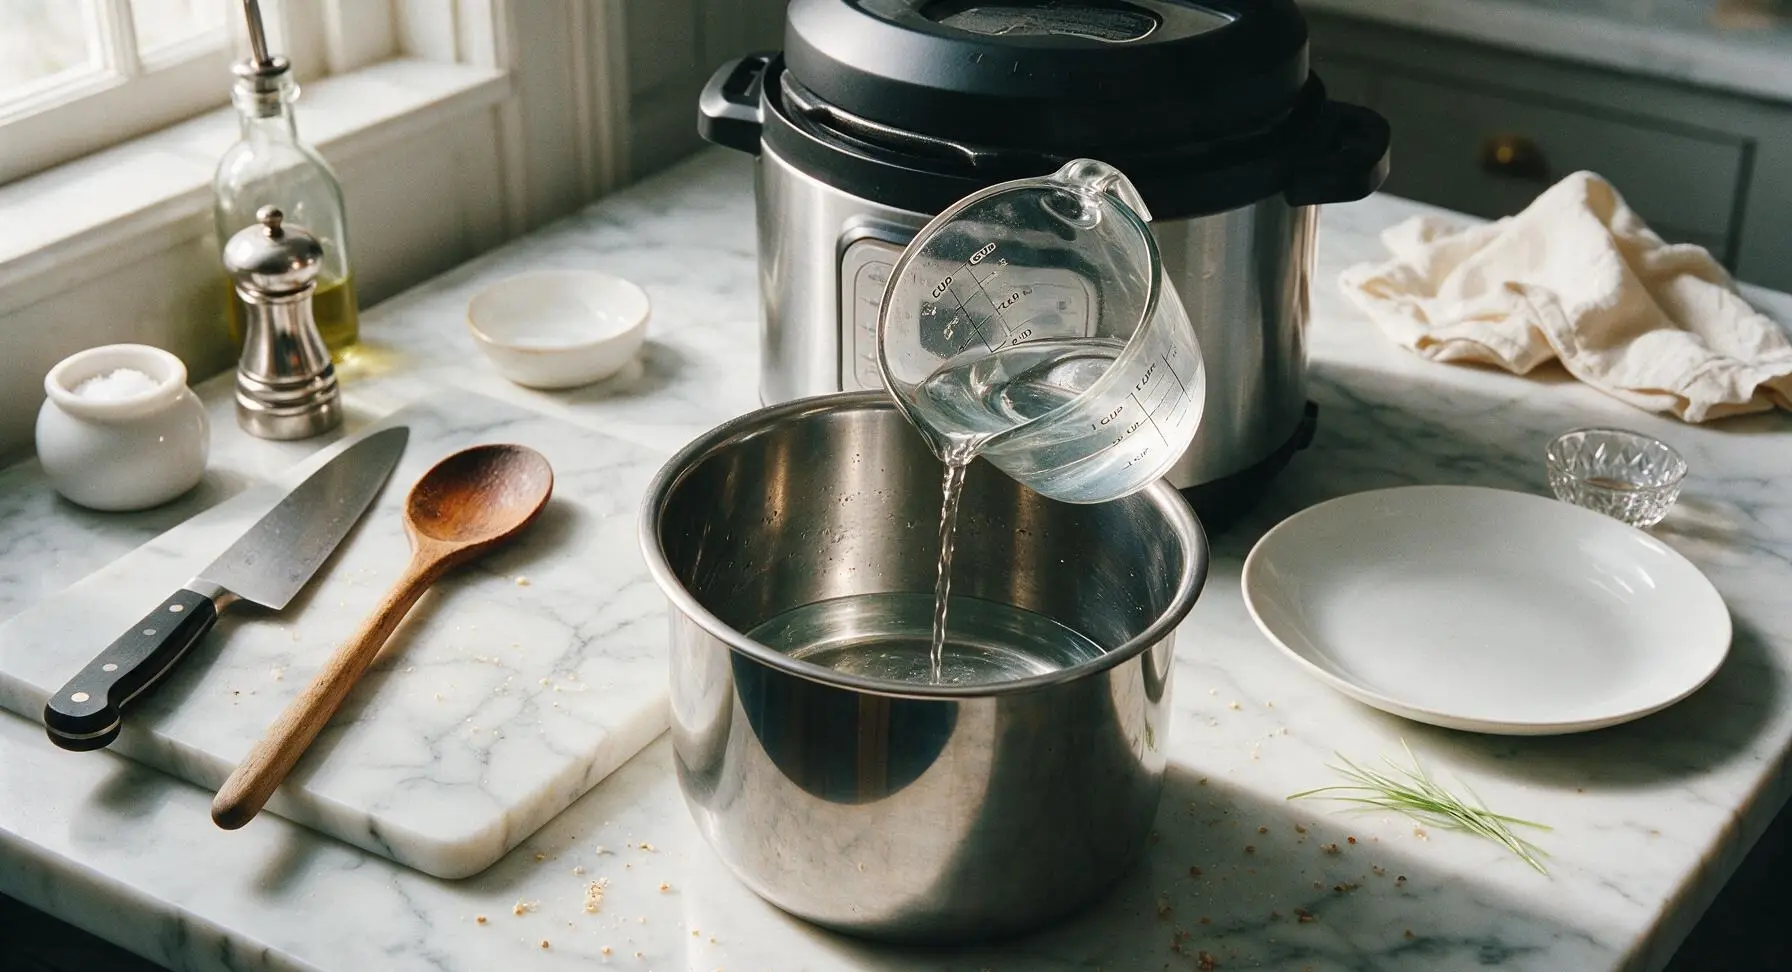
Remove the polished stainless steel inner pot from the centered Instant Pot base. Pour 1 cup (240ml) cold tap water into the bottom of the inner pot, creating a 1cm deep layer of liquid. This water generates the steam required for the Instant Pot to reach high pressure, and prevents burn errors during cooking. Do not add less than ¾ cup water, as this will not create enough steam.
Step 1
step1:Add Water to Inner Pot
2

Set Trivet in Pot

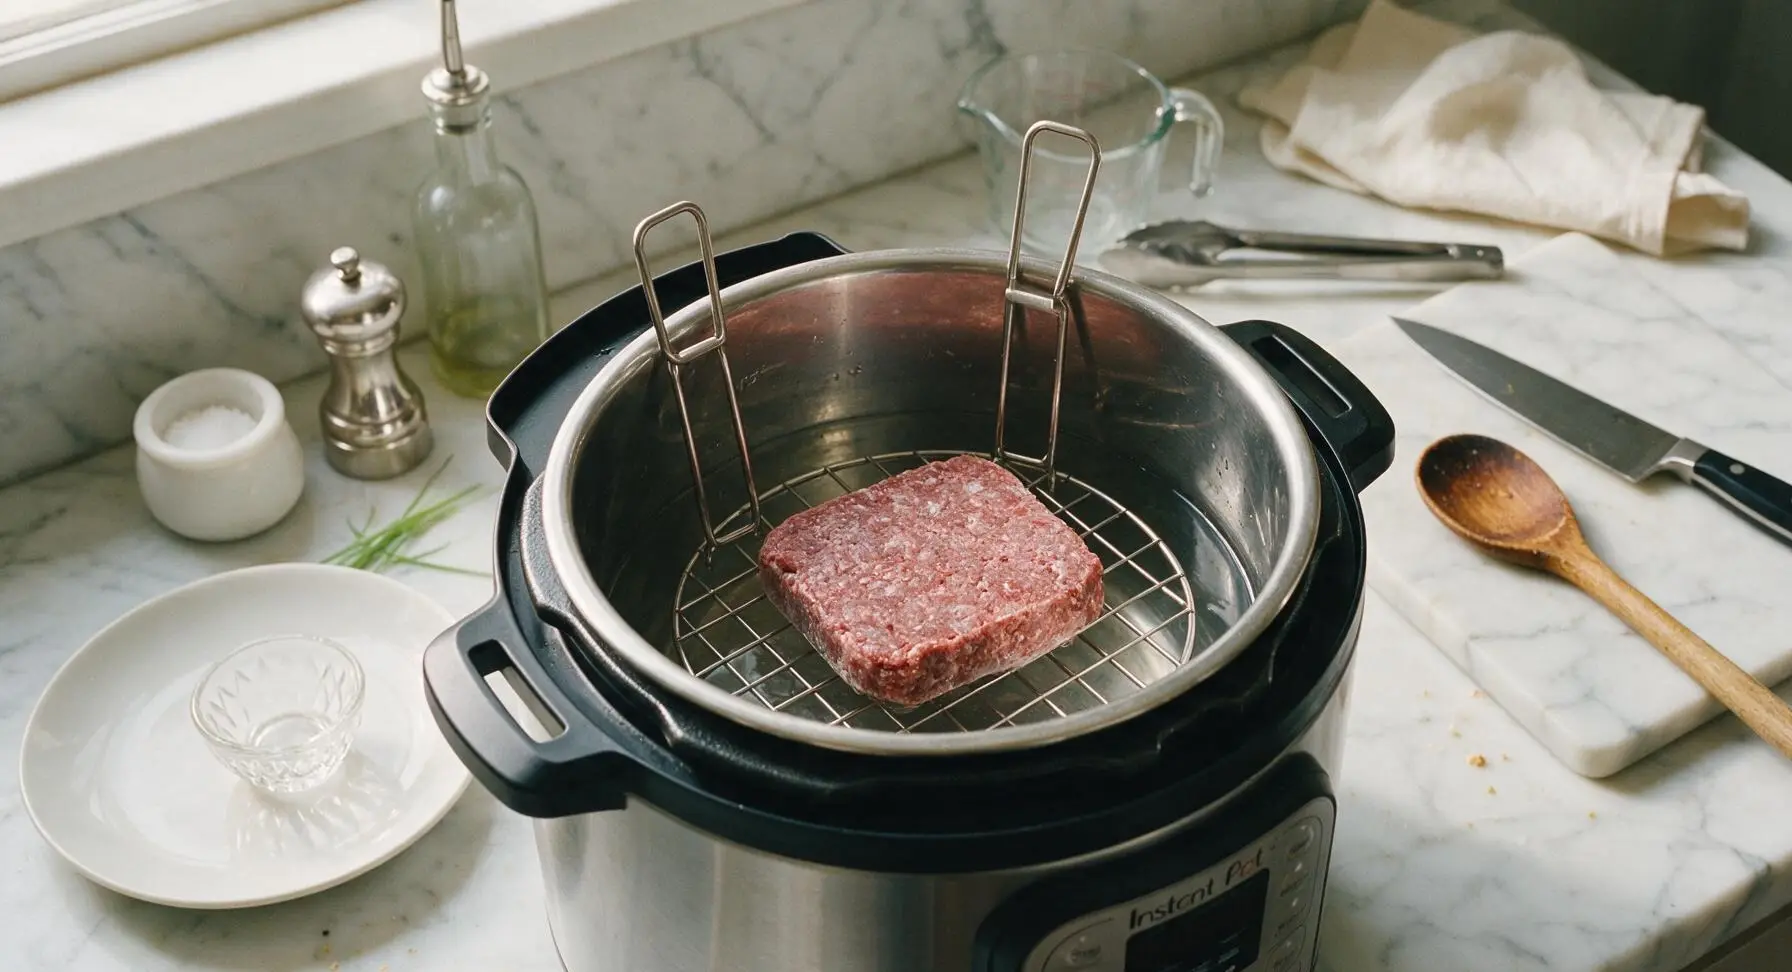
Lift the stainless steel wire trivet from its resting position to the right of the Instant Pot, and lower it into the inner pot. Adjust the trivet so it sits level, with its two fold-down metal handles pointing straight up for easy removal later. The trivet will sit 2cm above the water line, elevating the beef to prevent it from becoming waterlogged as it cooks.
Step 2
step2:Set Trivet in Pot
3

Season Frozen Beef Block

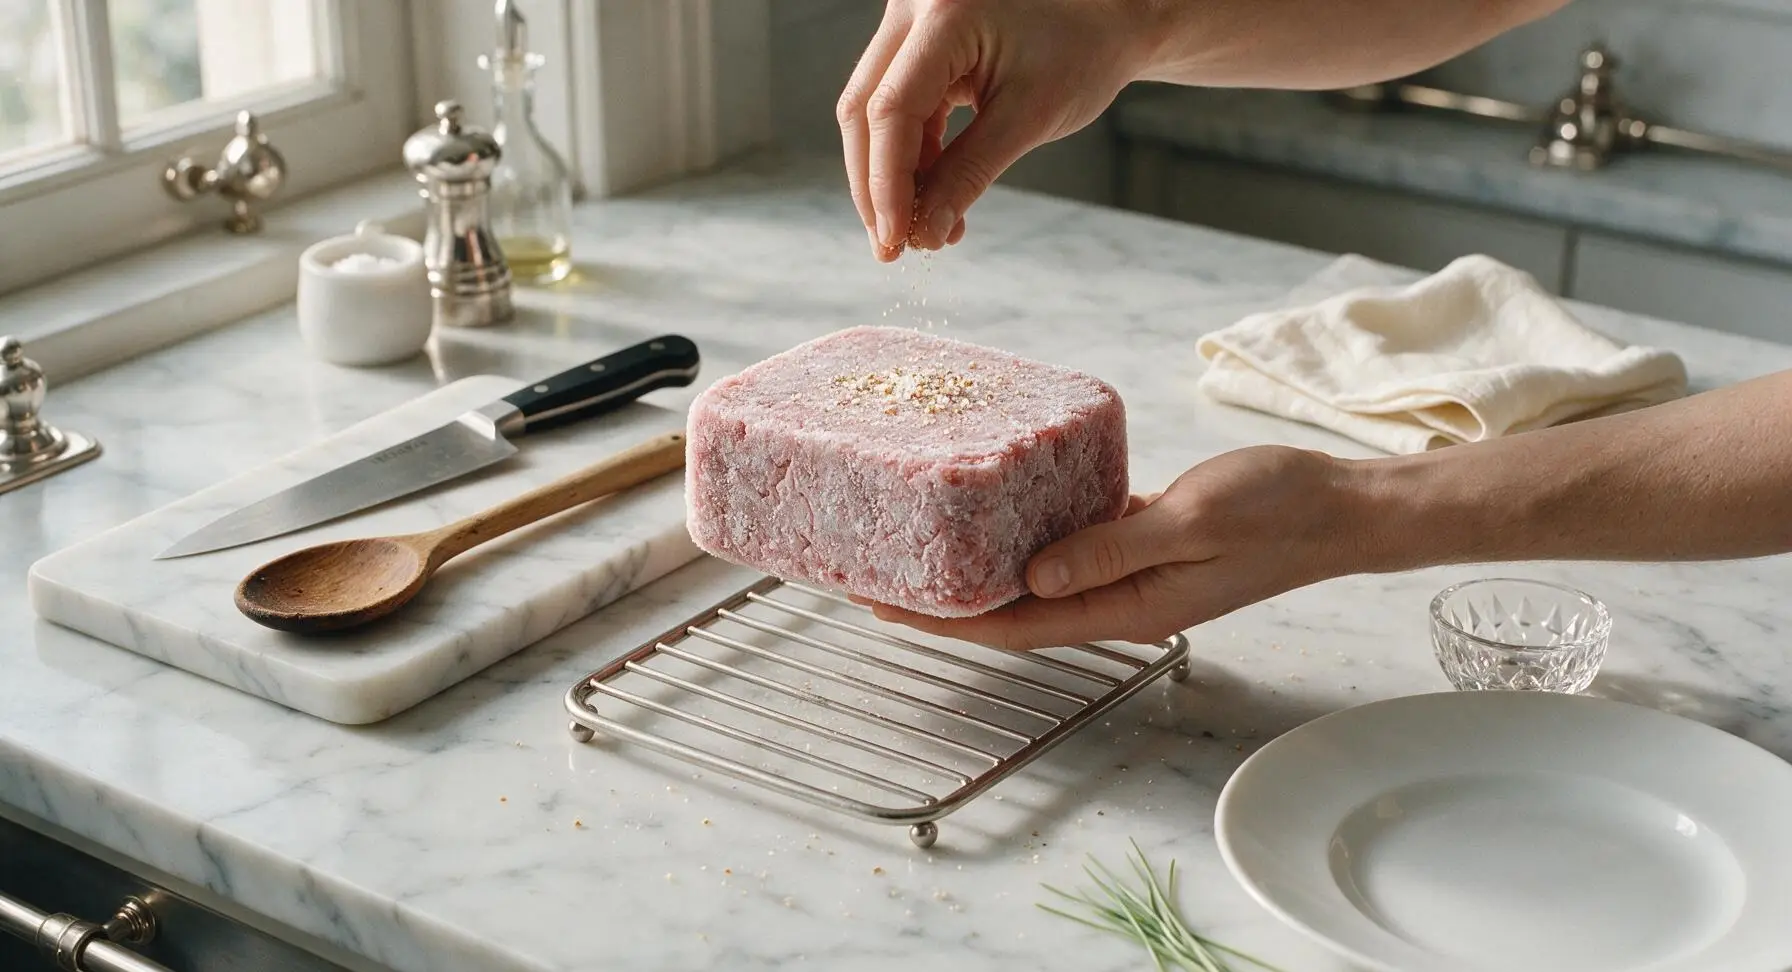
Unwrap the solid frozen block of ground beef, discarding all plastic packaging off-frame. Sprinkle ½ tsp kosher salt, ¼ tsp garlic powder, ¼ tsp onion powder, and all ¼ tsp black pepper evenly over the top frosty surface of the beef block. There is no need to season the bottom of the block, as circulating steam will carry seasoning down as the beef thaws and cooks.
Step 3
step3:Season Frozen Beef Block
4

Cook on High Pressure

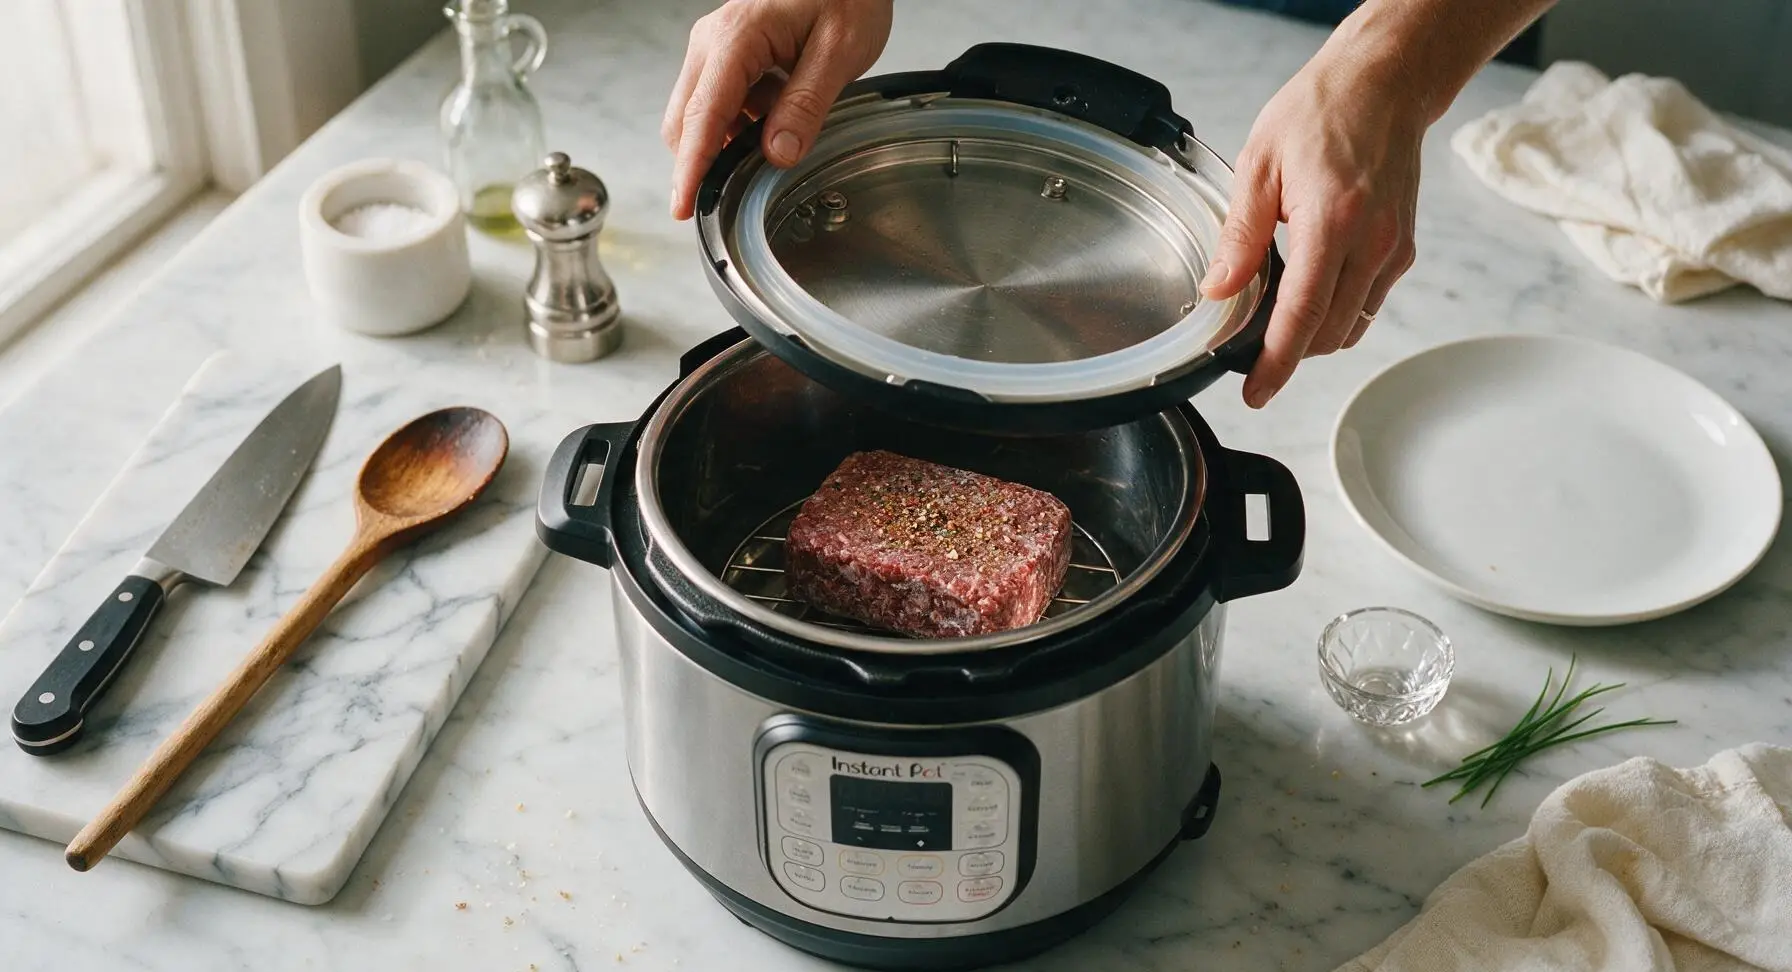
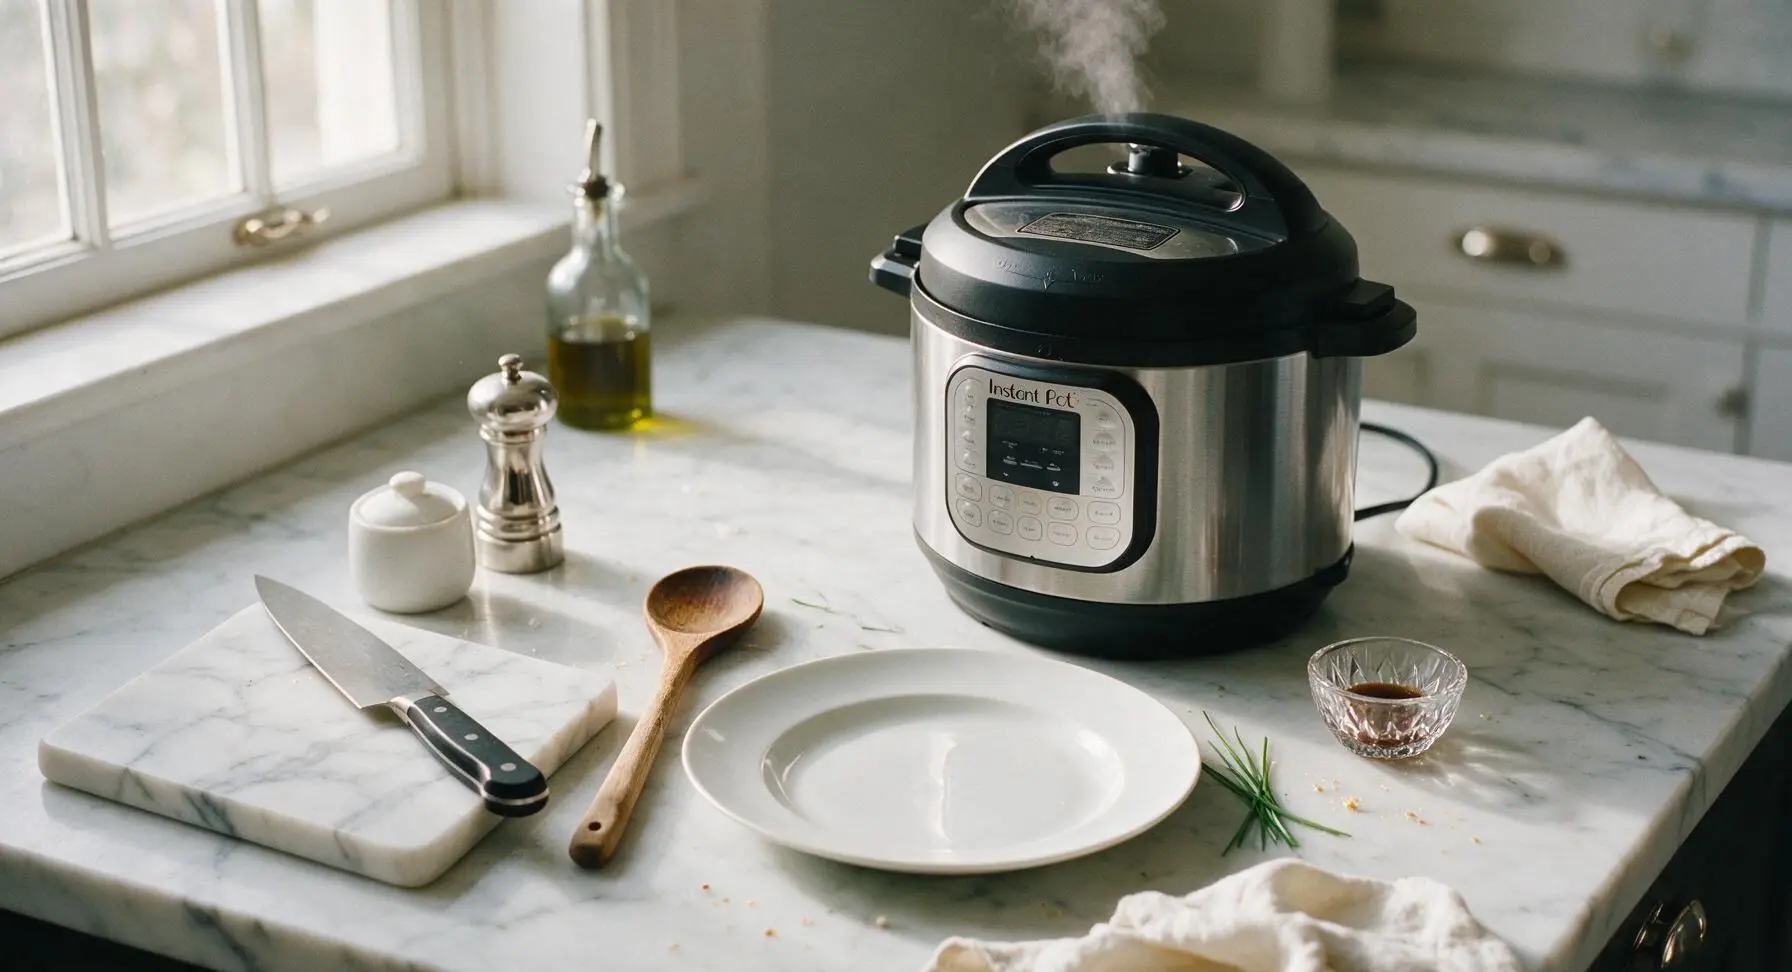
Lower the seasoned frozen beef block onto the center of the trivet. Seal the Instant Pot lid firmly, then turn the top pressure release valve to the fully 'Sealing' position. Program the Instant Pot to cook on HIGH pressure for 8 minutes. The pot will take 8-10 minutes to build full pressure before the countdown begins; the small silver float valve will pop up flush with the lid when pressure is fully sealed.
Step 4
step4:Cook on High Pressure
Step 4
step4:Cook on High Pressure
5

Release Pressure Safely

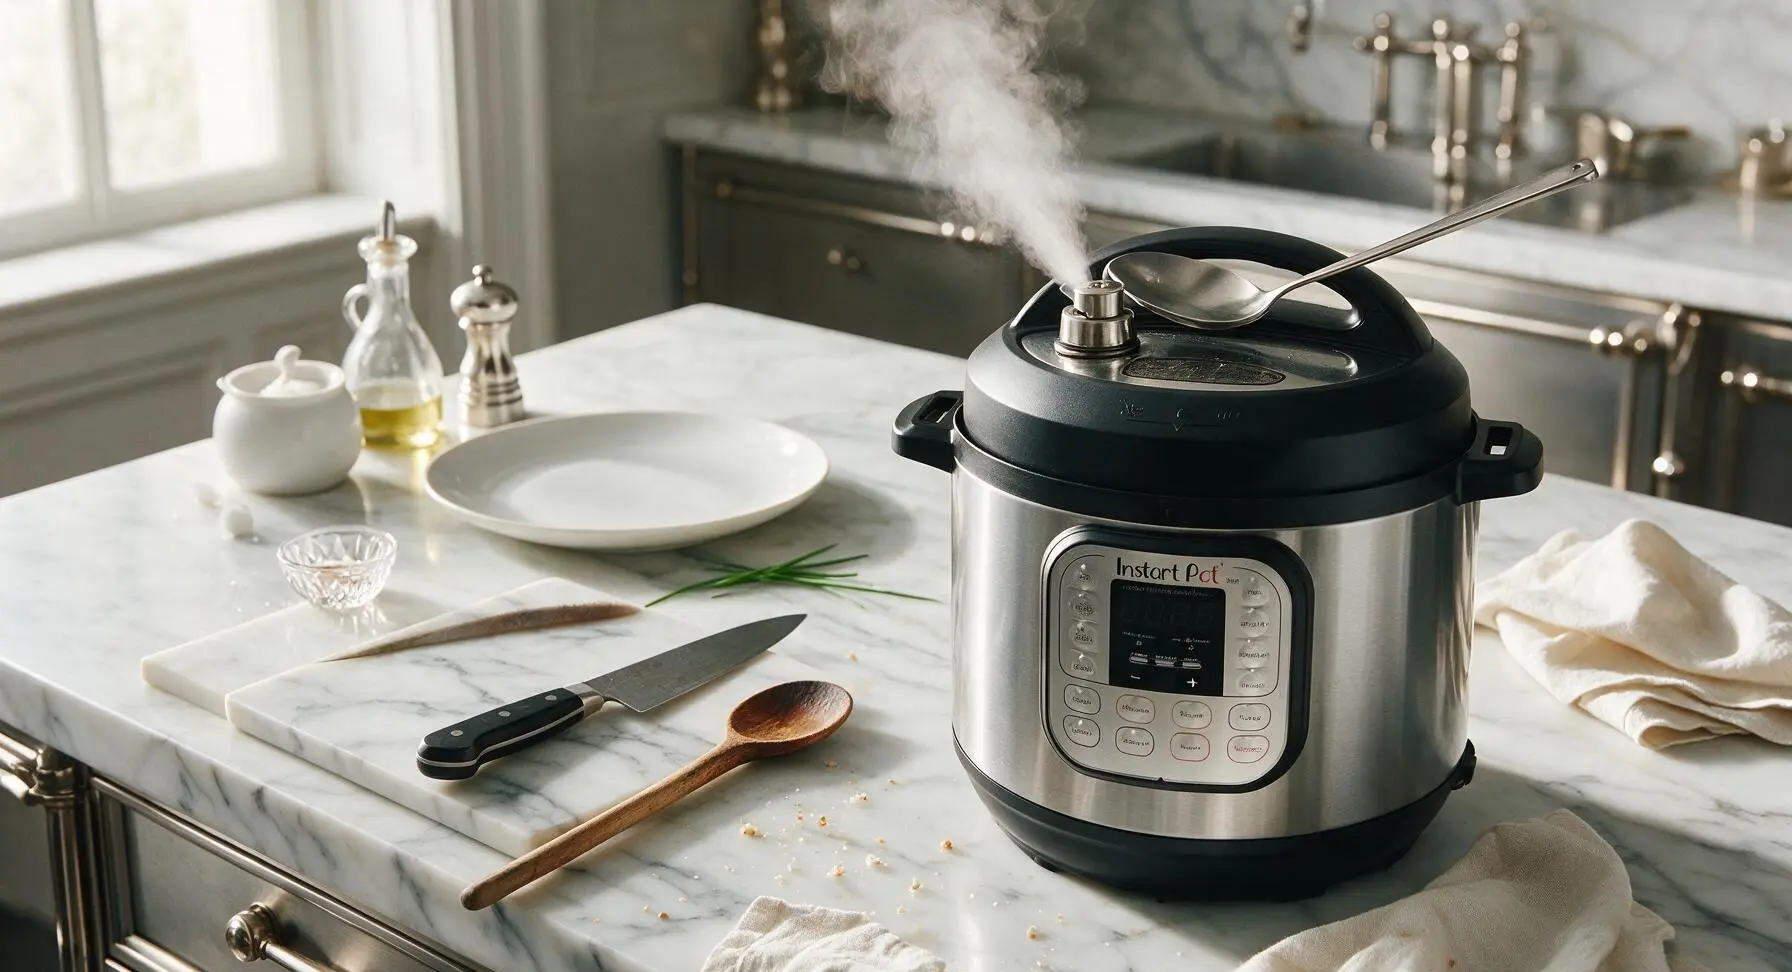
When the 8-minute cook timer beeps to signal completion, allow the pot to rest undisturbed for a 4-minute natural pressure release. After 4 minutes, use the long-handled stainless steel spoon to carefully nudge the pressure release valve to the 'Venting' position, keeping your hands and face at least 30cm away from the valve to avoid steam burns. Wait until the silver float valve drops completely down, indicating all internal pressure is released, before attempting to open the lid.
Step 5
step5:Release Pressure Safely
6

Remove Cooked Beef

Open the Instant Pot lid carefully, tilting it toward you so the inner surface faces away from your face to direct escaping steam away from your skin. Use the stainless steel silicone-tipped tongs to grip the edge of the now fully cooked (but still mostly intact) beef block, lifting it out of the inner pot and transferring it directly to the waiting matte off-white stoneware dinner plate. Carefully pour the water and thin drippings from the bottom of the inner pot into a heatproof container to discard or reserve for homemade stock.
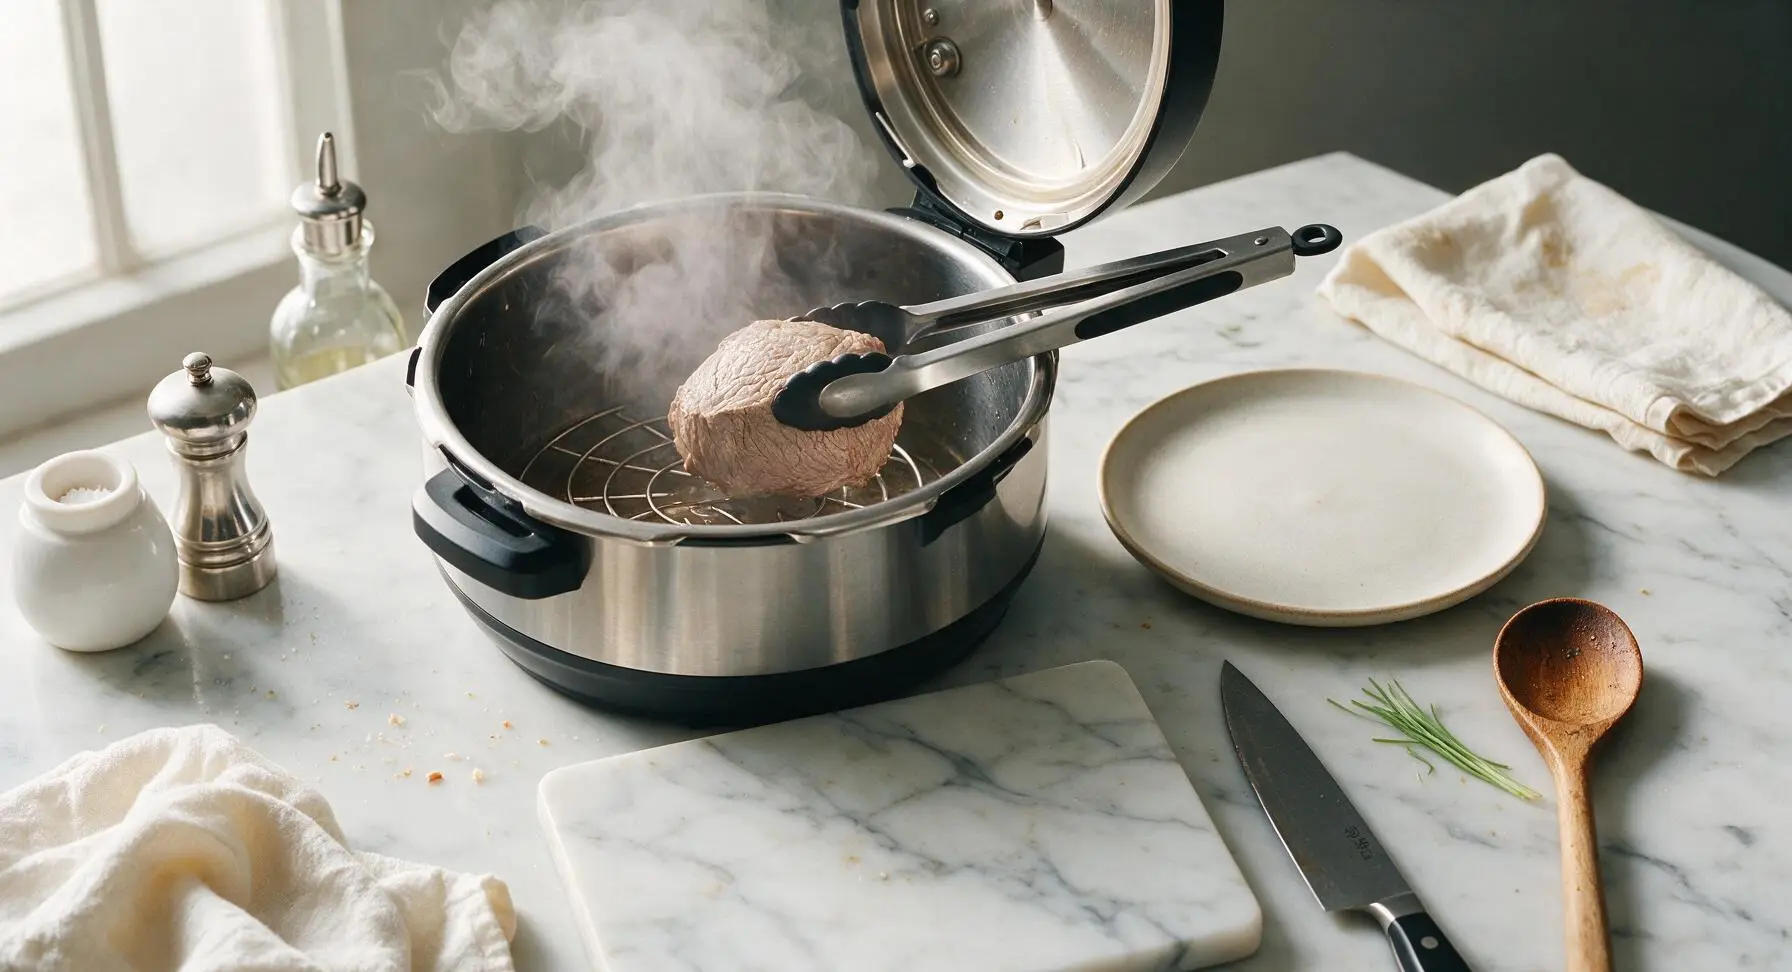
Step 6
step6:Remove Cooked Beef
7

Crumble and Season Beef

Set the tongs back on the spoon rest, then pick up the stainless steel meat masher. Press the masher firmly across the cooked beef block to break it into fine, even crumbles, working across the plate to break up any remaining large, dense clumps. Sprinkle the remaining ½ tsp kosher salt, ¼ tsp garlic powder, and ¼ tsp onion powder over the crumbled beef, then toss gently with the masher to distribute seasoning evenly. Tilt the plate slightly to drain any excess rendered fat into the small terracotta ramekin if desired.
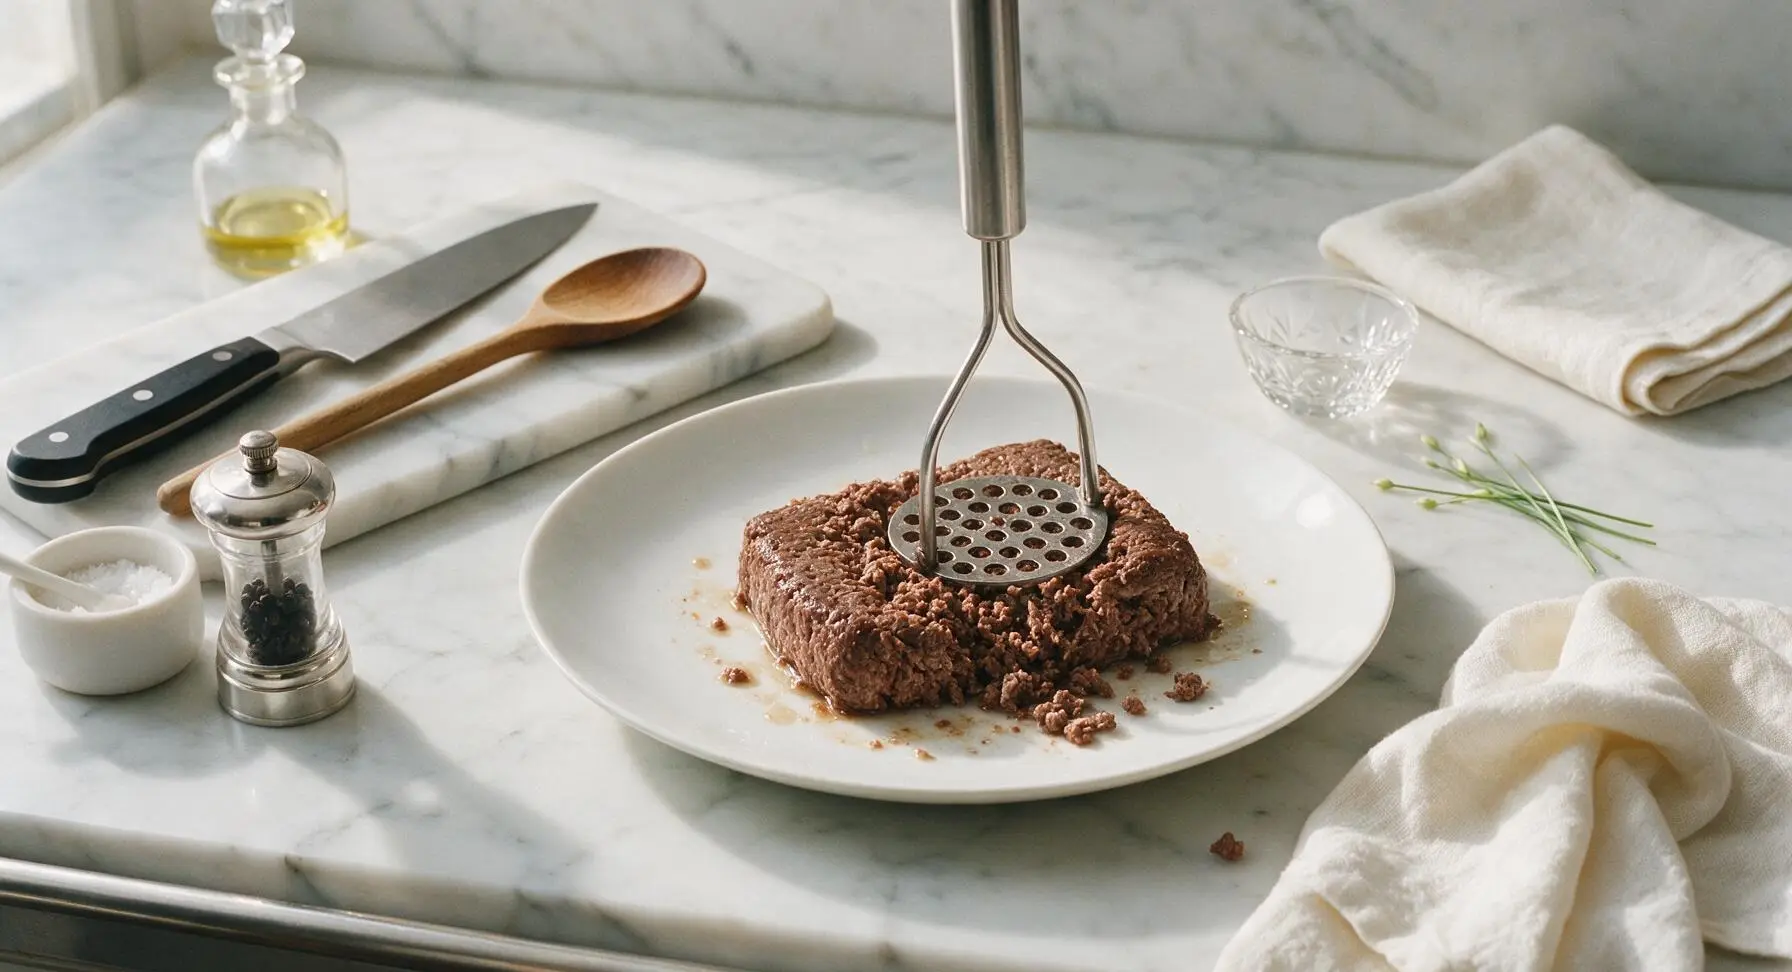
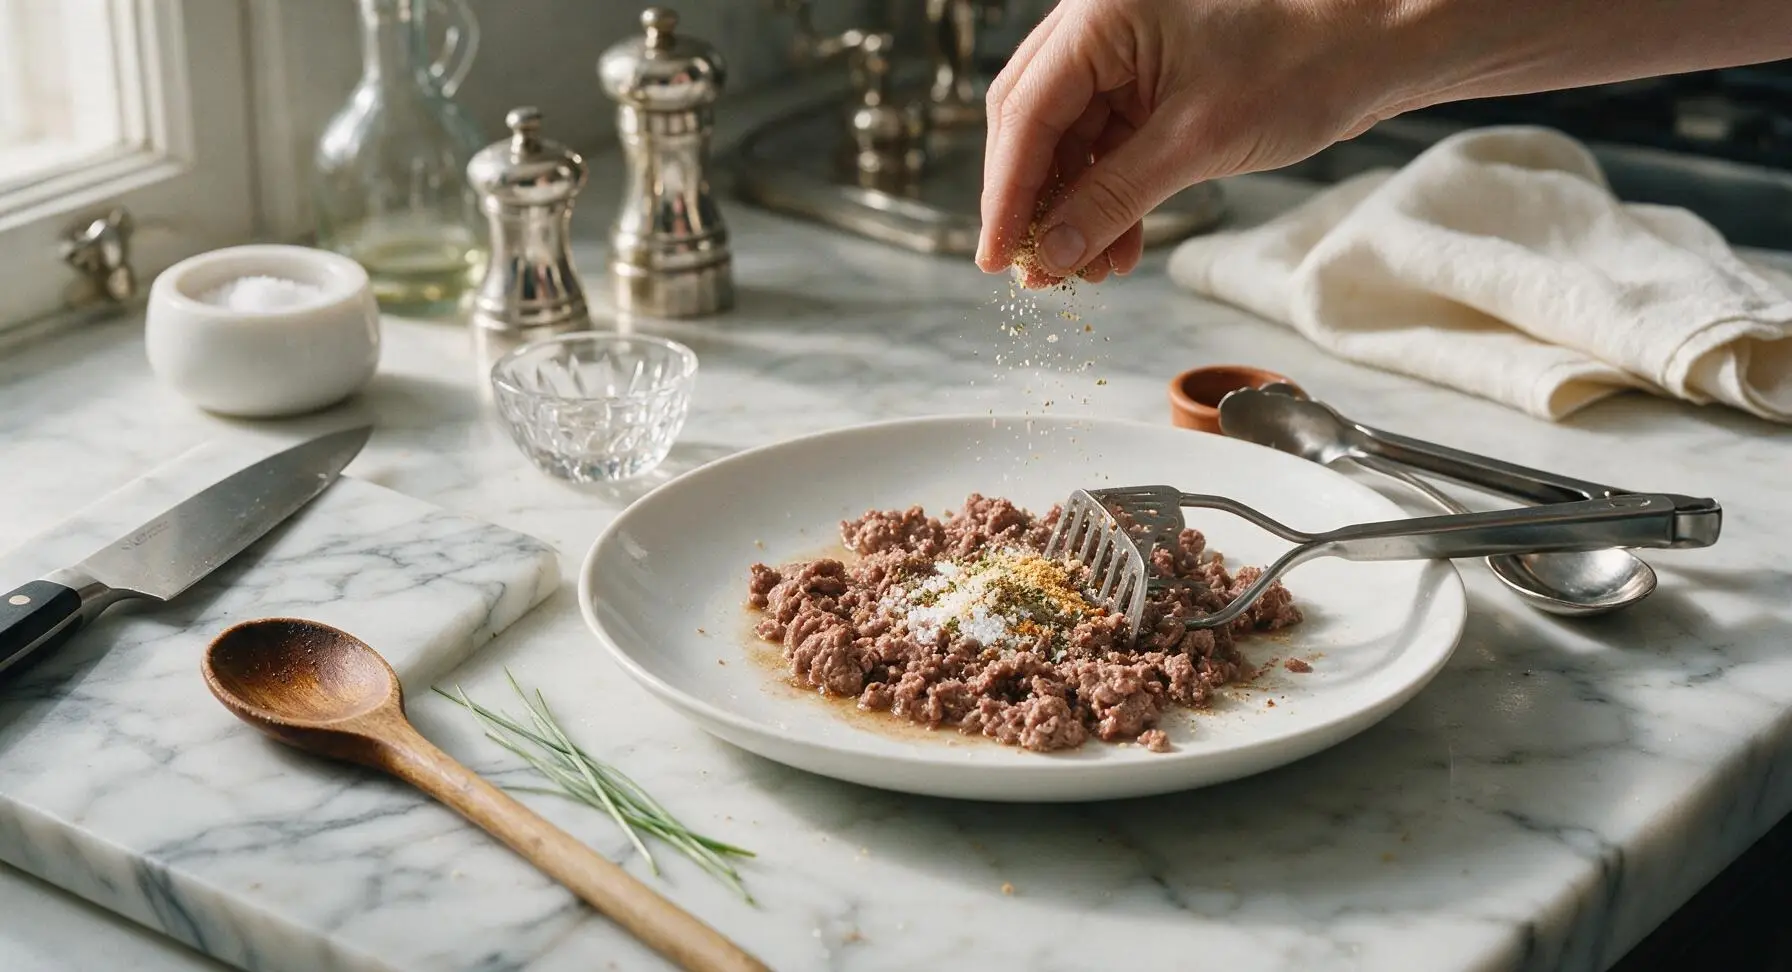
Step 7
step7:Crumble and Season Beef
Step 7
step7:Crumble and Season Beef
8

Rest Before Serving

Let the seasoned, crumbled beef rest for 2 minutes to allow the seasoning to absorb into the meat and any remaining excess fat to drain to the plate edge. The beef is now fully cooked to a safe 165°F (74°C) internal temperature, tender, and ready to use in tacos, pasta sauce, chili, casseroles, or served as a simple main. Tuck a small sprig of fresh flat-leaf parsley on the plate rim for a pop of green garnish if desired.
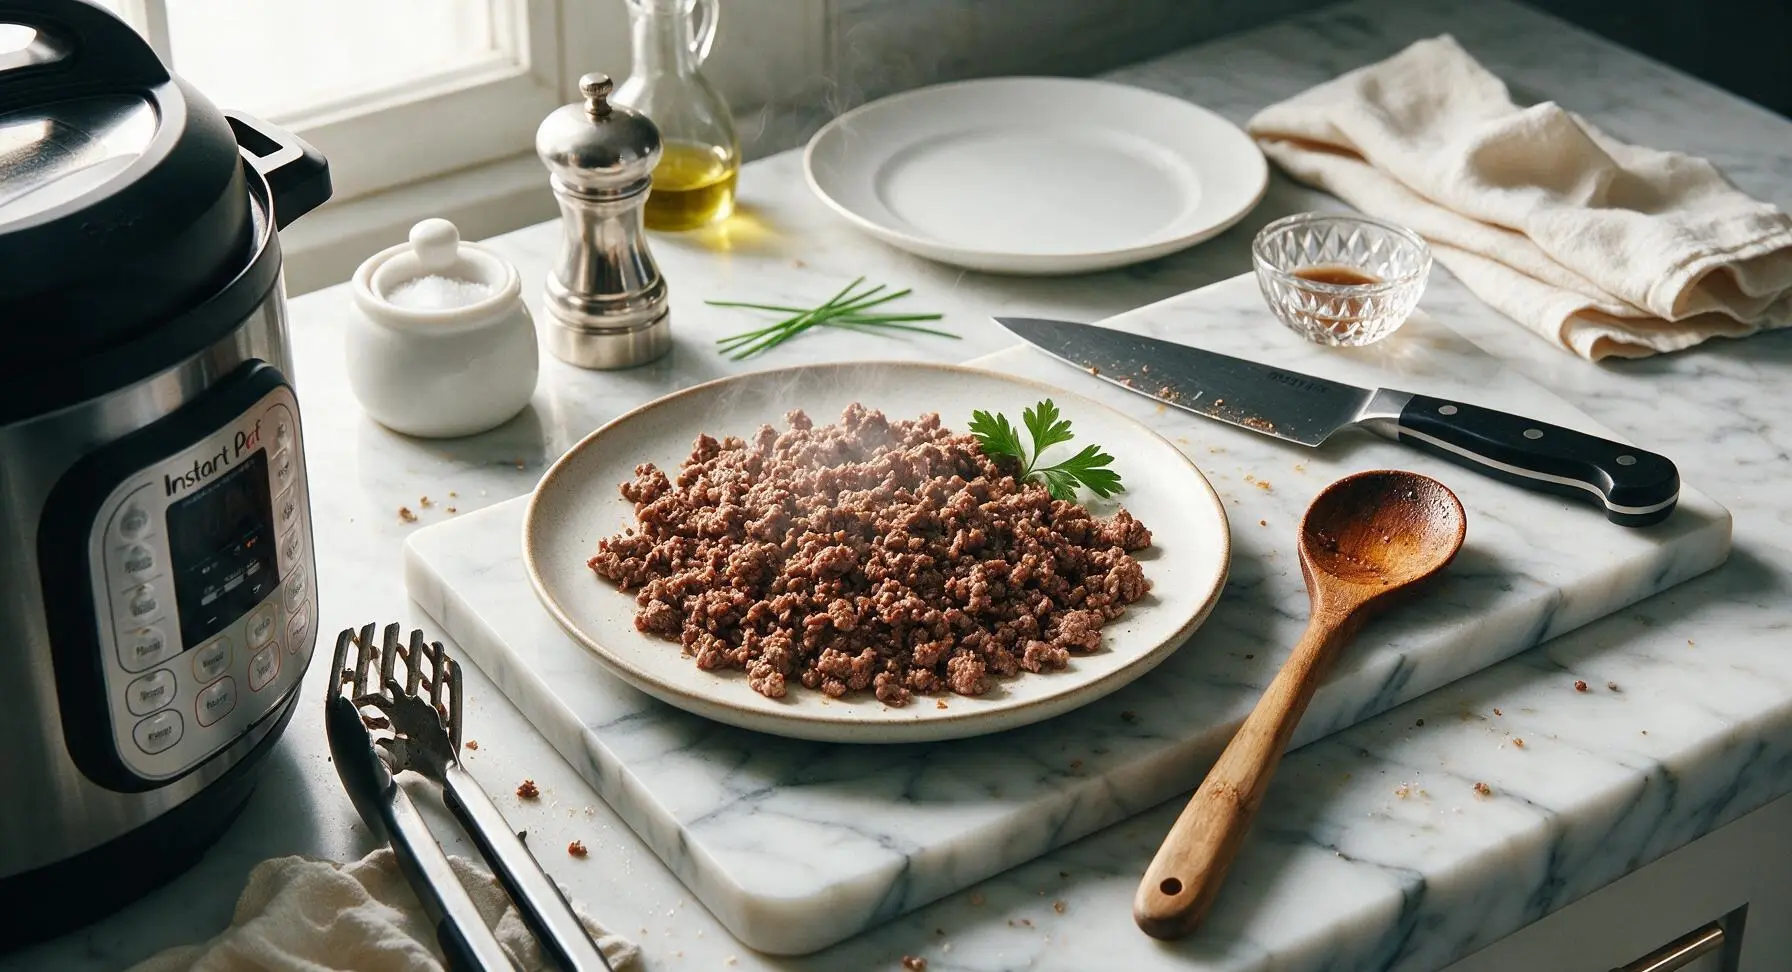
Step 8
step8:Rest Before Serving

Tips

1.Do not skip the 1 cup of water and trivet: The Instant Pot relies on liquid to generate steam for pressure cooking, and too little water will trigger a burn error before the beef thaws. Elevating the beef on the trivet keeps it from sitting in boiling water, which would result in mushy, waterlogged crumbles.
2.Adjust cook time for block size: For 450g (1lb) frozen ground beef blocks, reduce high pressure cook time to 6 minutes; for 1.3kg (3lb) blocks, increase cook time to 10 minutes. Keep the 4-minute natural release step consistent across all sizes to avoid overcooking dry, tough beef.
3.Never quick-release immediately after cooking: The 4-minute natural release allows internal pressure to drop gradually, which prevents hot, liquified beef fat from splattering forcefully out of the pressure valve, reducing burn risk and messy stovetop cleanup.


✨ You May Also Like

Main Course
🍜 United Kingdom

A showstopping classic of tender seared beef, savory mushroom duxelles, and crisp prosciutto wrapped in flaky golden puff pastry, baked to juicy perfection.

⏱️ 2 hours 1Main Course ★ 4.7
Main Course
🍜 India

Tender charred marinated chicken simmered in a rich, spiced creamy tomato sauce, this iconic Anglo-Indian curry pairs perfectly with basmati rice or warm naan.

⏱️ 50 minuteMain Course ★ 4.6
Main Course
🍜 Thailand

Classic tangy, sweet, and savory Thai stir-fried rice noodles with shrimp, tofu, and crunchy garnishes, balancing all five core Thai flavor profiles.

⏱️ 30 minuteMain Course ★ 4.5
Main Course
🍜 United Kingdom

Crispy golden beer-battered cod and fluffy double-fried chips, served with tangy tartar sauce and malt vinegar: the timeless, beloved British pub comfort classic.

⏱️ 45 minuteMain Course ★ 4.7
Main Course
🍜 Mexico

Smoky, chile-marinated pork tacos with caramelized pineapple, fresh cilantro, and lime: a beloved classic Mexican street food perfect for casual summer gatherings.

⏱️ 1 hour 45Main Course ★ 4.8
Main Course
🍜 United States

Crunchy Fritos corn chips layered with savory beef chili and melted cheddar, topped with cool, zesty fixings for a beloved, cozy Tex-Mex comfort food.

⏱️ 35 minuteMain Course ★ 4.8

instant pot frozen ground beef:Frequently Asked Questions

1.Do I really need to thaw my frozen ground beef before cooking it in the Instant Pot? ▾
That’s the whole time-saving magic of this recipe! No thawing is required at all—even a rock-solid frozen 90/10 ground beef block will cook evenly under high pressure with no raw, cold spots. Just pop it straight in the pot, and you’ll have tender, usable beef in under 30 minutes with zero advance prep.
2.How much water do I need to add to avoid getting an Instant Pot burn notice? ▾
For a standard 6-quart Instant Pot, 1 cup of cold tap water is all you need to create enough steam to build proper pressure and prevent frustrating burn errors. Don’t add extra water—too much liquid will leave you with waterlogged, bland beef instead of nicely crumbled, flavorful beef ready for your go-to recipes.
3.Can I use fattier ground beef, like 80/20, instead of the recommended 90/10 blend? ▾
You absolutely can, just plan to drain off excess rendered fat after cooking to avoid greasy end results. Fattier grinds will release more liquid as they pressure cook, so stick to the 1 cup water measurement, and give the crumbled beef a quick pat with paper towels if you want to cut extra grease before using it.
4.What’s the total time commitment for this recipe, including pressure build time? ▾
A standard 1.5–2lb frozen block will take roughly 8–10 minutes for your Instant Pot to build to high pressure, followed by a 5-minute high-pressure cook time. Use a quick pressure release once cook time ends, and you’ll have fully cooked beef ready to crumble in about 25 minutes total start to finish.
5.How do I confirm the beef is fully cooked and safe to eat? ▾
After you release pressure and break the beef block apart, use an instant-read thermometer to check that the thickest parts hit 160°F, the FDA-recommended safe internal temperature for ground beef. If you spot any pink, undercooked spots, pop the lid back on and cook on high pressure for 2 extra minutes before rechecking.
6.Can I add extra seasonings besides salt, garlic powder, and onion powder during cooking? ▾
You can absolutely swap in or add other dry seasonings to match your final dish—taco seasoning, Italian seasoning, smoked paprika, or black pepper all work great. Hold off on wet sauces, tomato products, or sugary seasonings before pressure cooking, though, as those can stick to the pot bottom and trigger a burn notice.
7.What if my frozen beef is an irregular lumpy chunk instead of a neat, flat block? ▾
If your frozen beef is an uneven, lumpy mass, add 2 extra minutes to the high-pressure cook time to make sure the thickest sections cook all the way through. Avoid stacking multiple separate small frozen patties or chunks, as they can cook unevenly—one solid mass gives the most consistent, even results.
8.Can I store the cooked beef for later meal prep use? ▾
Absolutely! Let the cooked, crumbled beef cool completely to room temperature within 2 hours of cooking, then store it in airtight containers in the fridge for up to 4 days, or in the freezer for up to 3 months. It reheats perfectly in the microwave or on the stovetop for fast weeknight tacos, pasta sauces, or chili.

Comments (8)

2 days ago

OMG this is a total game changer!!! I always forget to thaw ground beef for taco nights and end up ordering takeout, but 20 minutes straight from frozen? Are you kidding? My kids devoured the taco meat I made with this last night, no weird texture at all. Total lifesaver for meal prep too, I did 2 pounds on Sunday to use for spaghetti and sloppy joes all week.

1 day ago

Wait did you do 2 pounds on the same cook time? I was worried I'd have to adjust it for bigger batches!

20 hours ago

Great question! For 2 pounds of frozen ground beef, you can add 2 extra minutes to the cook time to make sure it cooks all the way through, and be sure to break it up really well once you release the pressure!

1 week ago

Finally, an IP recipe that doesn't require weird extra steps! I was skeptical frozen beef would come out not rubbery, but this was perfect for the chili I brought to our neighborhood potluck last weekend. Everyone asked what my secret was, lol. Only note: I added a little extra beef broth instead of water because I had it open, worked great.

6 days ago

So glad the chili was a hit at the potluck! Swapping in beef broth for extra flavor is such a smart hack, I'll have to try that next time I make chili too!

3 days ago

SO good and so easy, I don't even have to plan ahead anymore. I live in a tiny dorm with just my Instant Pot and this has saved me so much money on takeout. I crumble it up and toss it with jarred marinara and pasta for super quick dinners between classes. 10/10, will be making this every week.

5 days ago

Wait, has anyone tried this with frozen ground turkey? I know it's a beef recipe but I have a giant frozen pack of turkey I forgot about and don't want to waste it. Also, do you have to use the trivet? I lost mine a while back and haven't replaced it yet.

4 days ago

I did this with ground turkey last week! Same cook time, came out totally fine. I didn't have my trivet either, I just put the meat right on top of the liquid, no issues!

3 days ago

Great tip from HomeCookKaren! Ground turkey works perfectly with the same cook time, and while the trivet helps keep the meat from sitting directly in the liquid, you'll still get great results without it if that's what you have on hand.

yesterday

My family raved about the sloppy joes I made using this method! I used to thaw my ground beef in the microwave which always left weird cooked edges on parts of it, this cooks so evenly from frozen it's insane. 20 minutes is nothing, I threw it in the pot, helped my kid with homework, and it was done before I knew it.

30 minutes ago

Oh the microwave thaw is the worst! I hate those weird rubbery edges too, I'm definitely trying this tonight for our own sloppy joe night!

2 weeks ago

Game changer for my Sunday meal prep sessions! I used to spend forever thawing beef on Saturday night just to be ready to cook on Sunday, now I can just pull it straight out of the freezer and toss it in. Portioned out 4 meals with it this week for work lunches, saved me so much time.

1 week ago

So happy this helps cut down your meal prep time! That's exactly why we love this method — no advance planning required for delicious, versatile ground beef you can use all week.

30 minutes ago

Wait, quick stupid question — when you do quick release after cooking, does a bunch of beef juice splatter everywhere? I'm still scared of the pressure release valve on my Instant Pot, I've had soup splatter out before and made a huge mess.

15 minutes ago

I was scared of that too! I just drape a kitchen towel over the valve when I do quick release for this, catches any little splatters so there's no mess. It's way less splattery than soup, promise!

5 minutes ago

No stupid questions here! Quick release for ground beef is pretty low-splatter since there's not a ton of thin liquid, but using a kitchen towel over the valve like IPVeteranMom suggested is a great safe trick if you're nervous!

just now

Made this for the taco bar at my kid's soccer team potluck last night and it was perfect! I cooked 3 pounds in batches in the IP, seasoned it up, and it stayed warm in the crockpot for the whole team. All the parents were asking for the trick to cooking so much taco meat so fast, lol. SO good, will be using this for every potluck from now on.



