
instant pot korean beef
intro
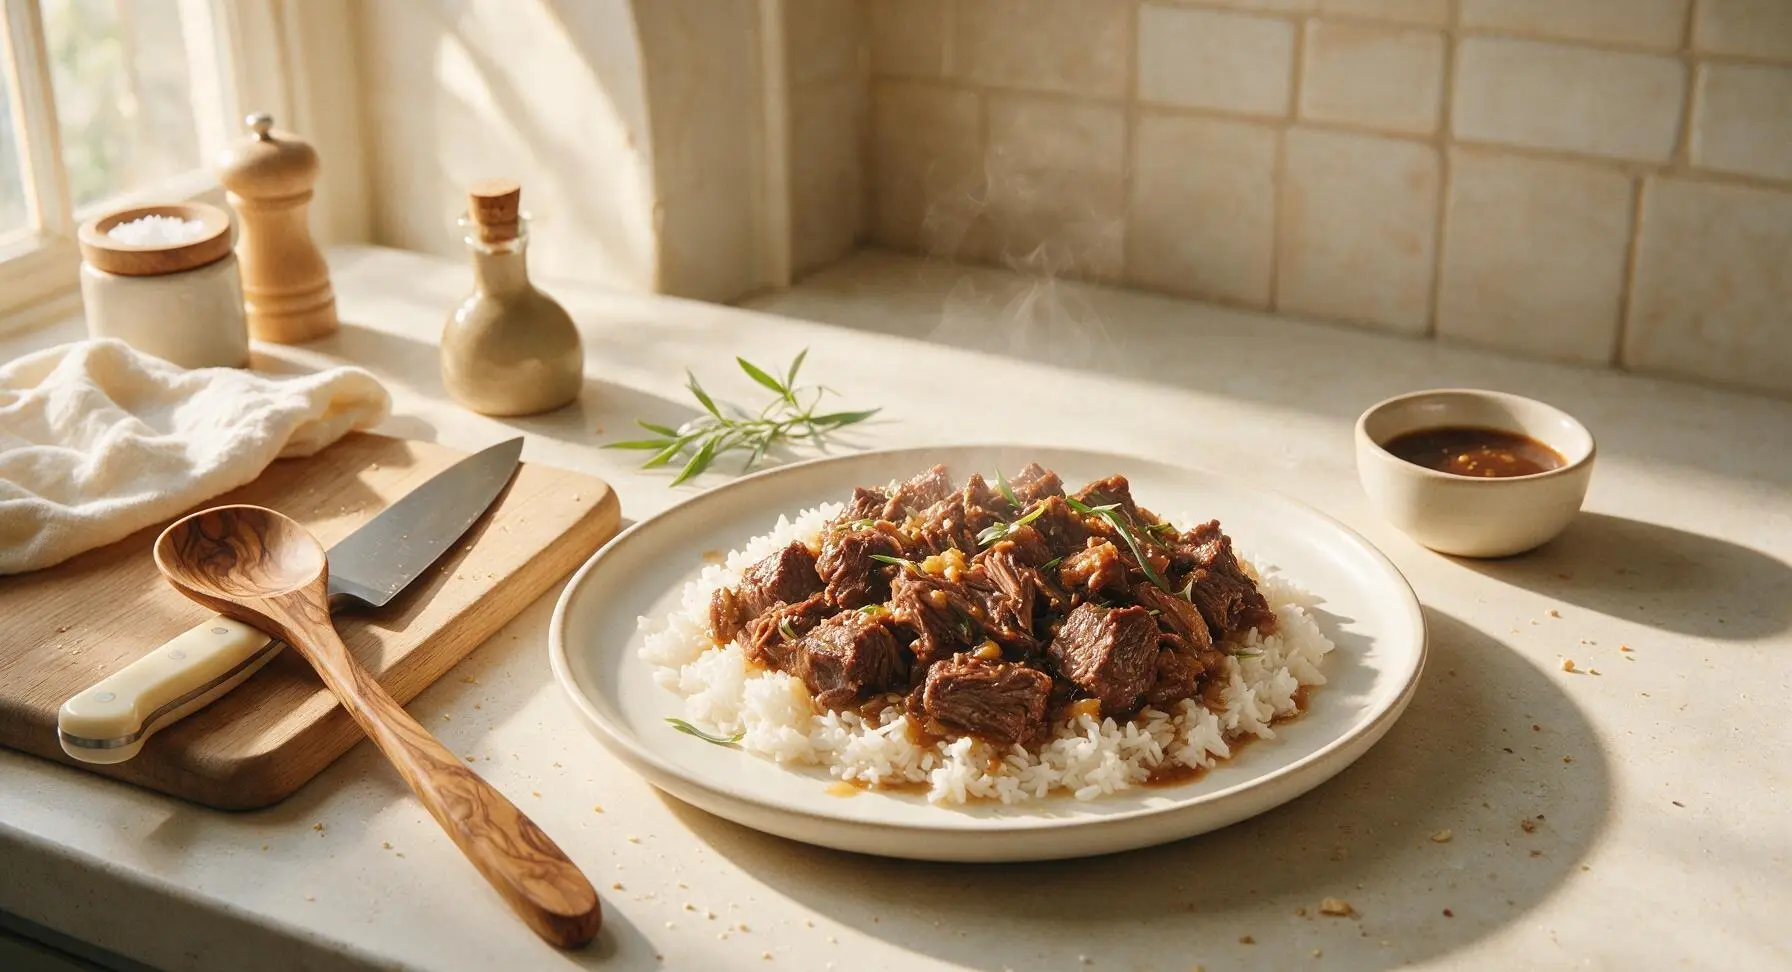
Tender, fall-apart beef braised in a sweet-savory soy, garlic, ginger, and pear sauce, ready in under an hour. Perfect over fluffy rice for a cozy, flavorful weeknight meal.
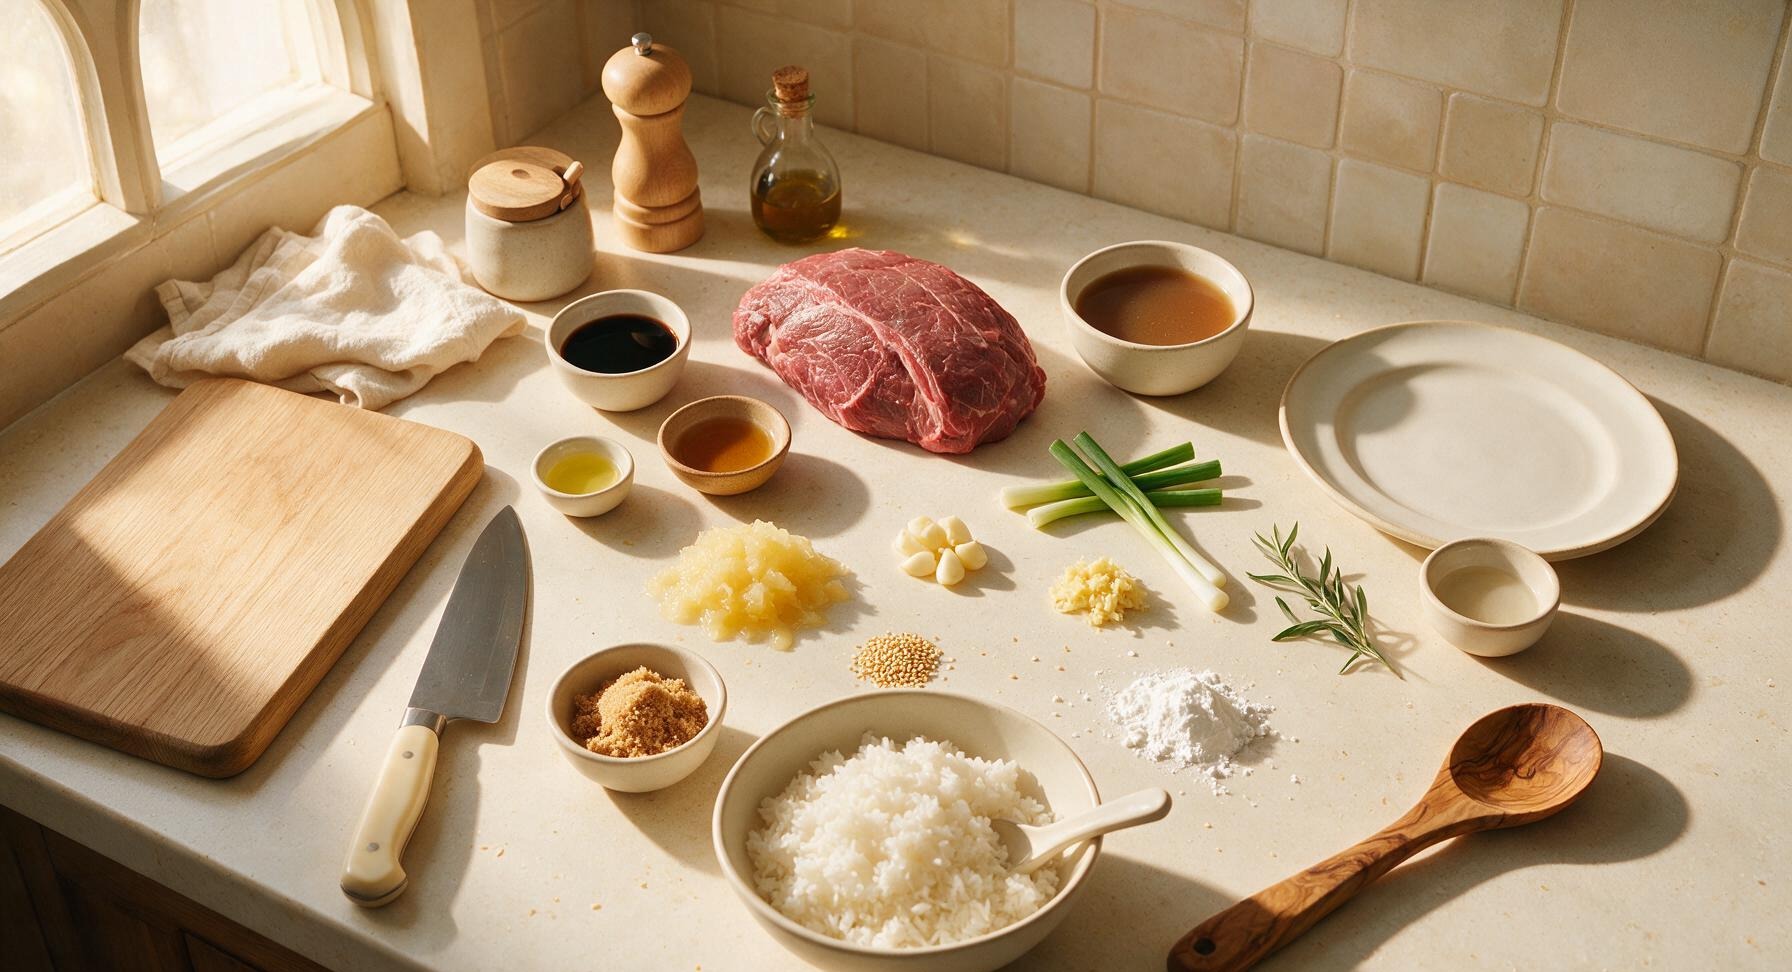
Ingredients
Steps
Cut and Pat Beef Dry
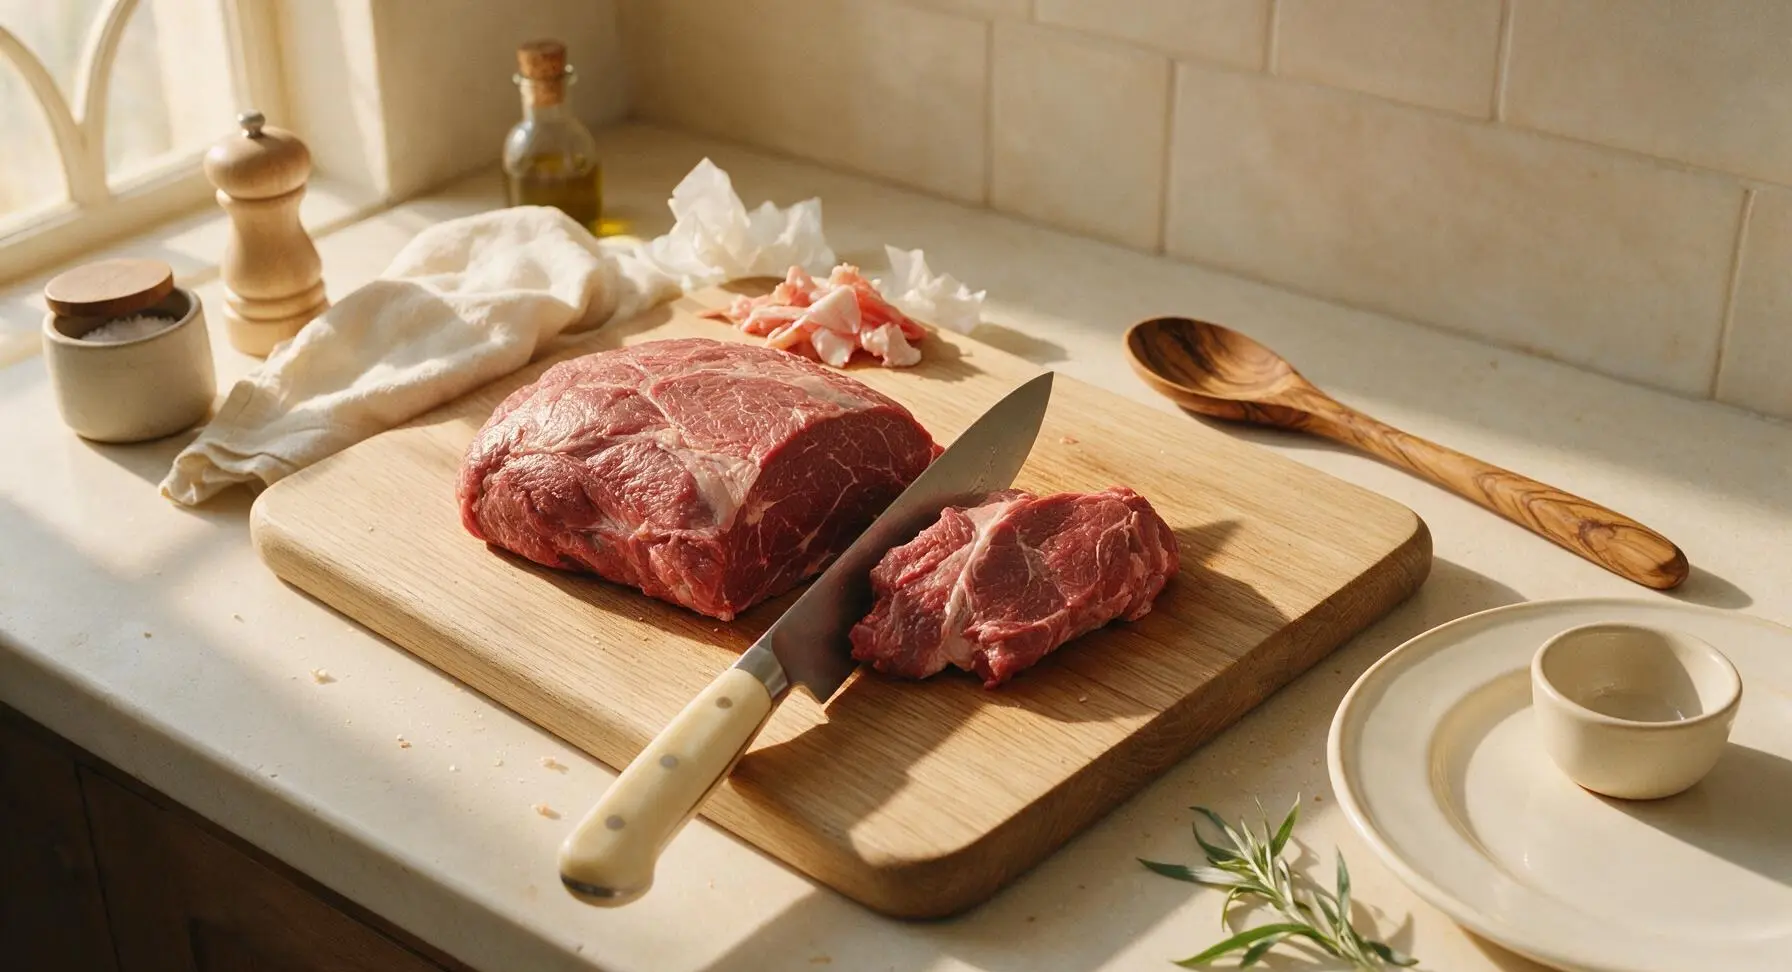
Place the whole boneless beef chuck roast on the maple cutting board. Using the 8-inch chef’s knife, trim any large, hard pieces of external silver skin or thick hard fat (leave a 1/4-inch layer of soft fat for richness and flavor), then cut the roast into uniform 5cm (2-inch) chunks. Pat all sides of the beef chunks thoroughly dry with paper towels; completely dry meat will develop a crisp, golden sear instead of steaming in the pot.
Mix Braising Sauce
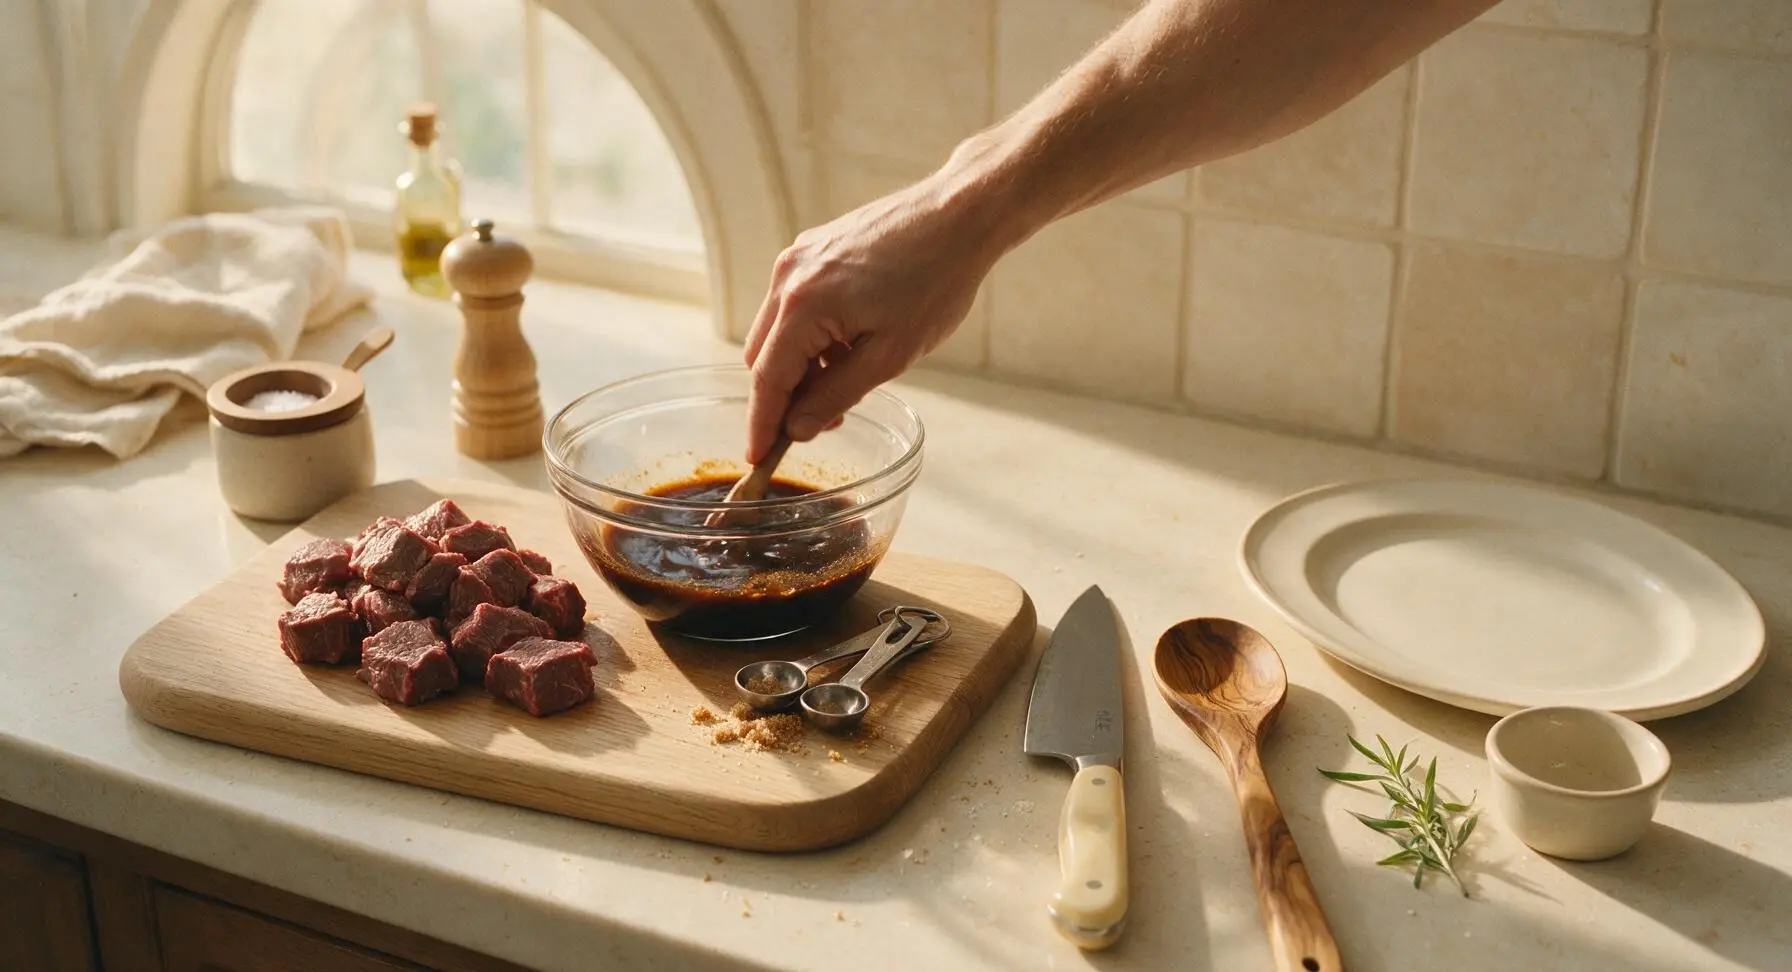
In one of the small clear glass prep bowls, combine the 1/3 cup low-sodium soy sauce, 3 tablespoons packed light brown sugar, 1/2 cup grated Korean pear, 4 minced garlic cloves, 1 tablespoon grated fresh ginger, 1 tablespoon toasted sesame oil, and 1 green onion cut into 5cm (2-inch) lengths. Stir with a small spoon until the brown sugar is fully dissolved and the mixture is smooth, with no large clumps of grated pear remaining.
Sear Beef in Instant Pot
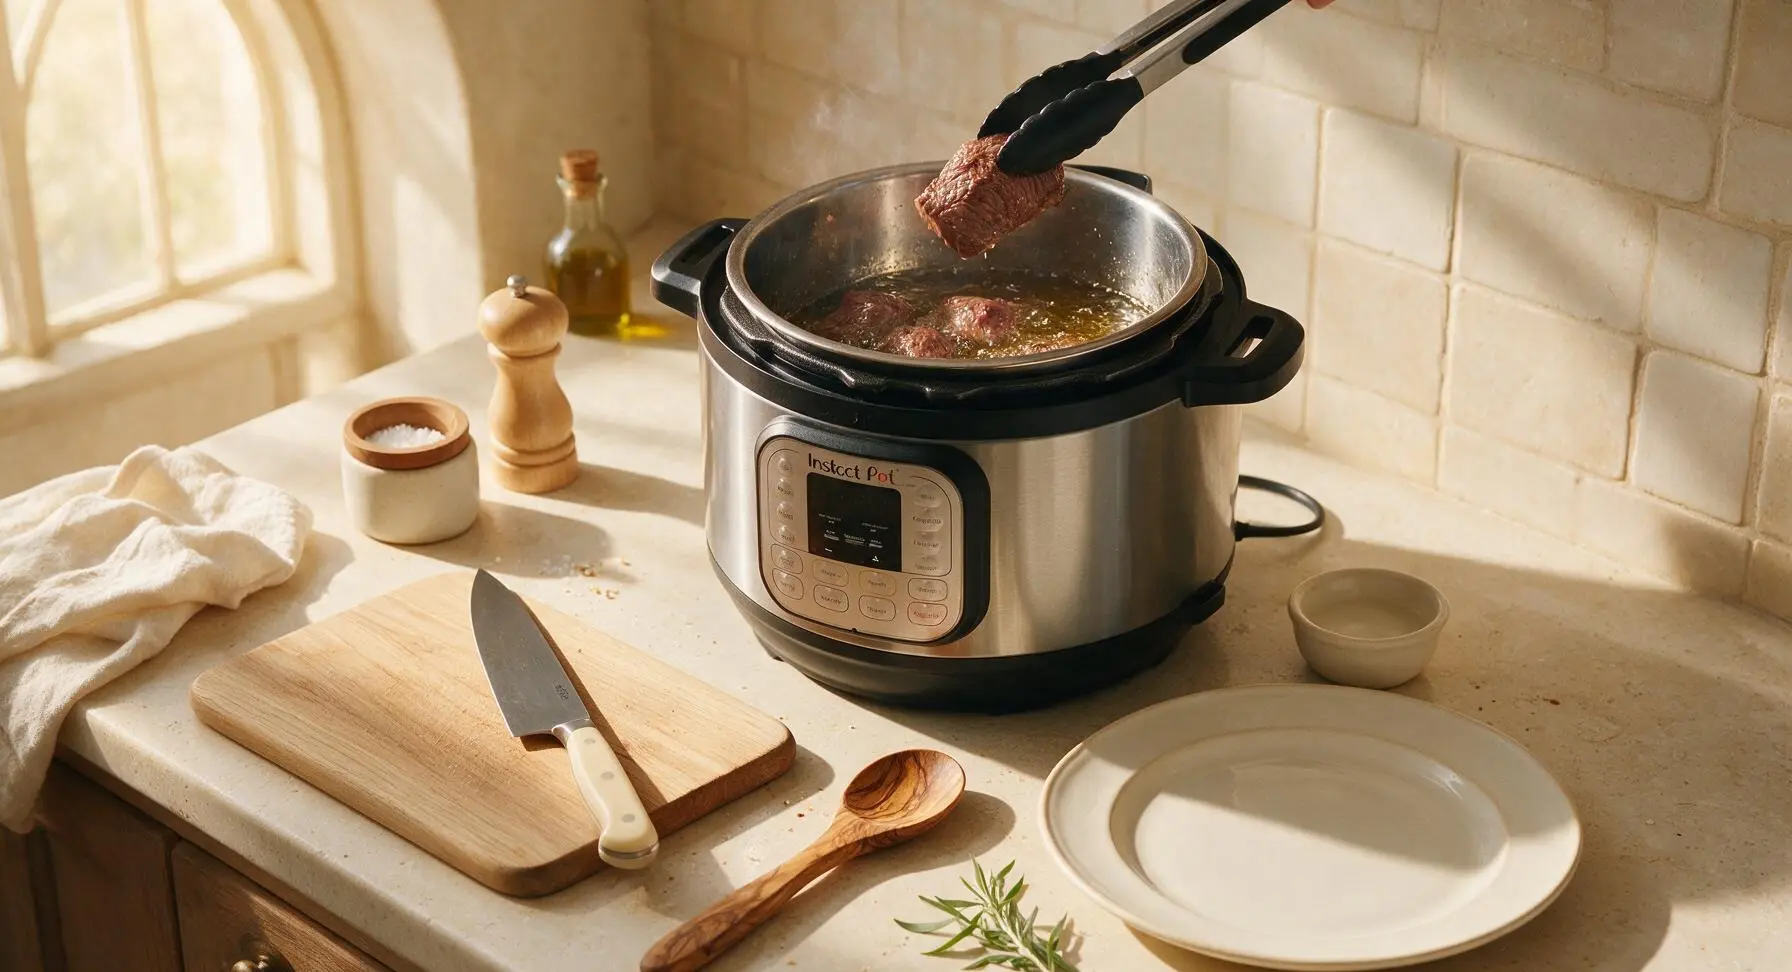
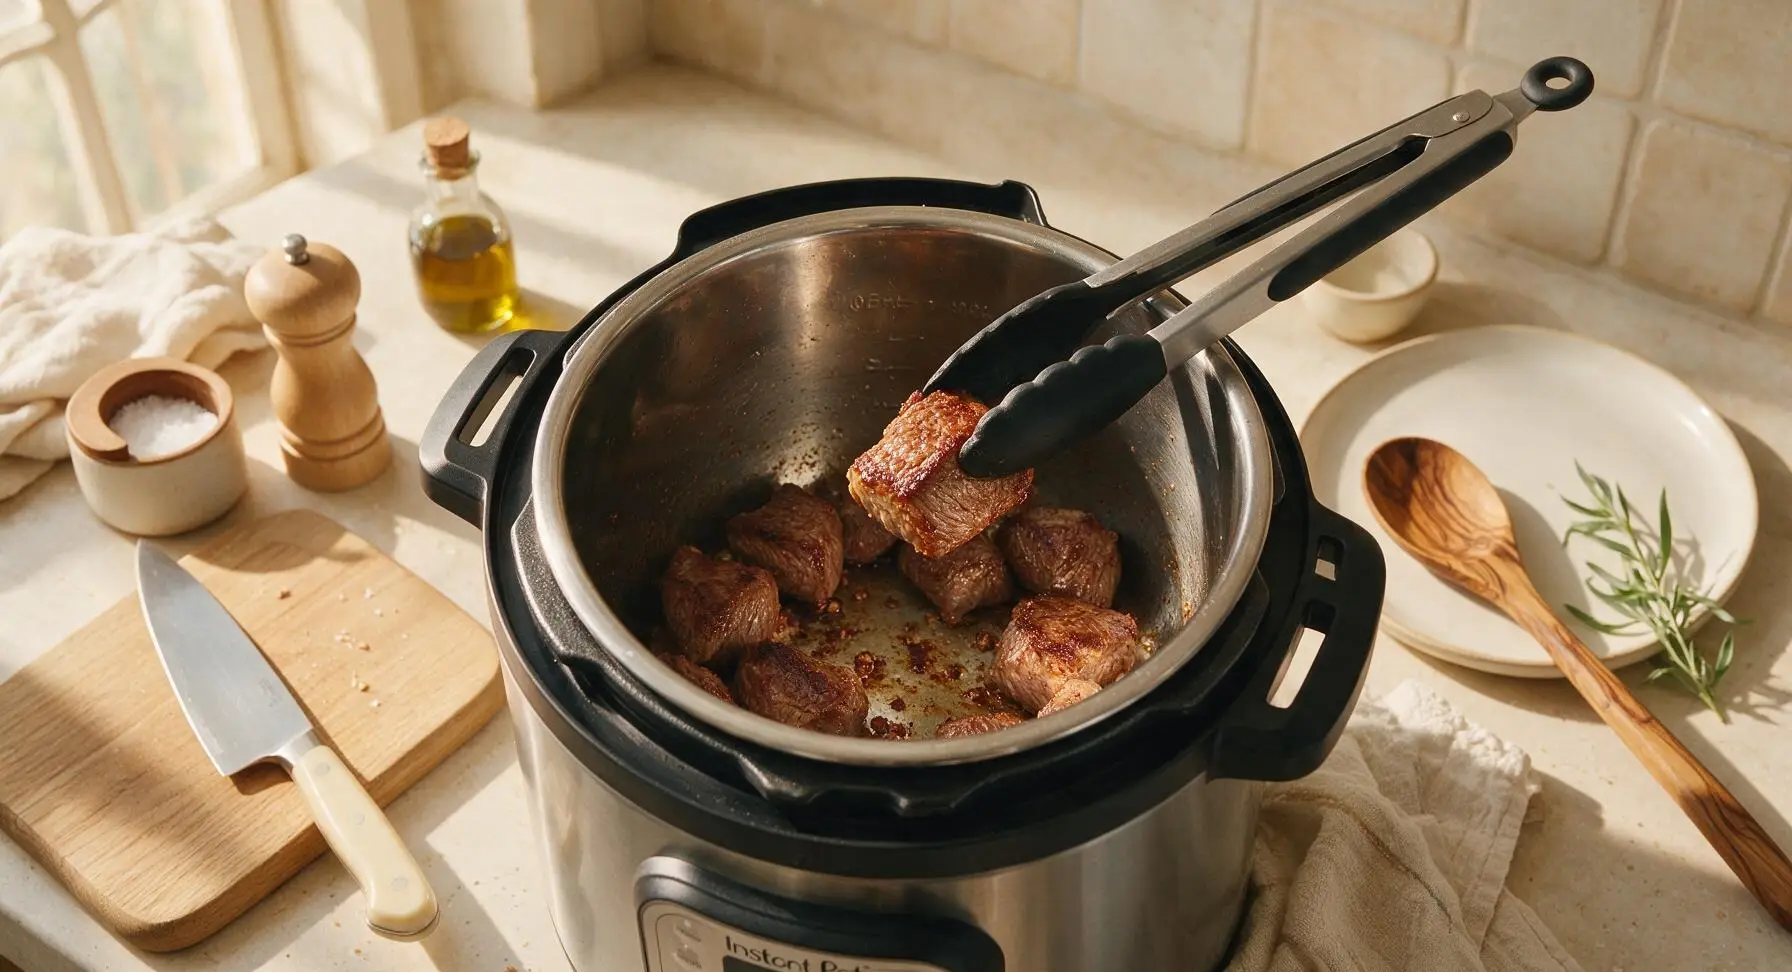
Turn the 6-quart Instant Pot to the 'Sauté' function set to high heat. Add 1 tablespoon neutral canola or avocado oil to the stainless steel inner pot. Once the oil is shimmering (about 2 minutes of preheating), add the dried beef chunks in a single layer, working in 2 batches if needed to avoid crowding the pot (crowding causes steaming instead of searing). Sear for 2-3 minutes per side, until a deep golden-brown crust forms on all edges. Use the silicone-tipped matte black tongs to flip the chunks as they brown, transferring seared chunks temporarily to a clean prep bowl if working in batches.
Pressure Cook Beef
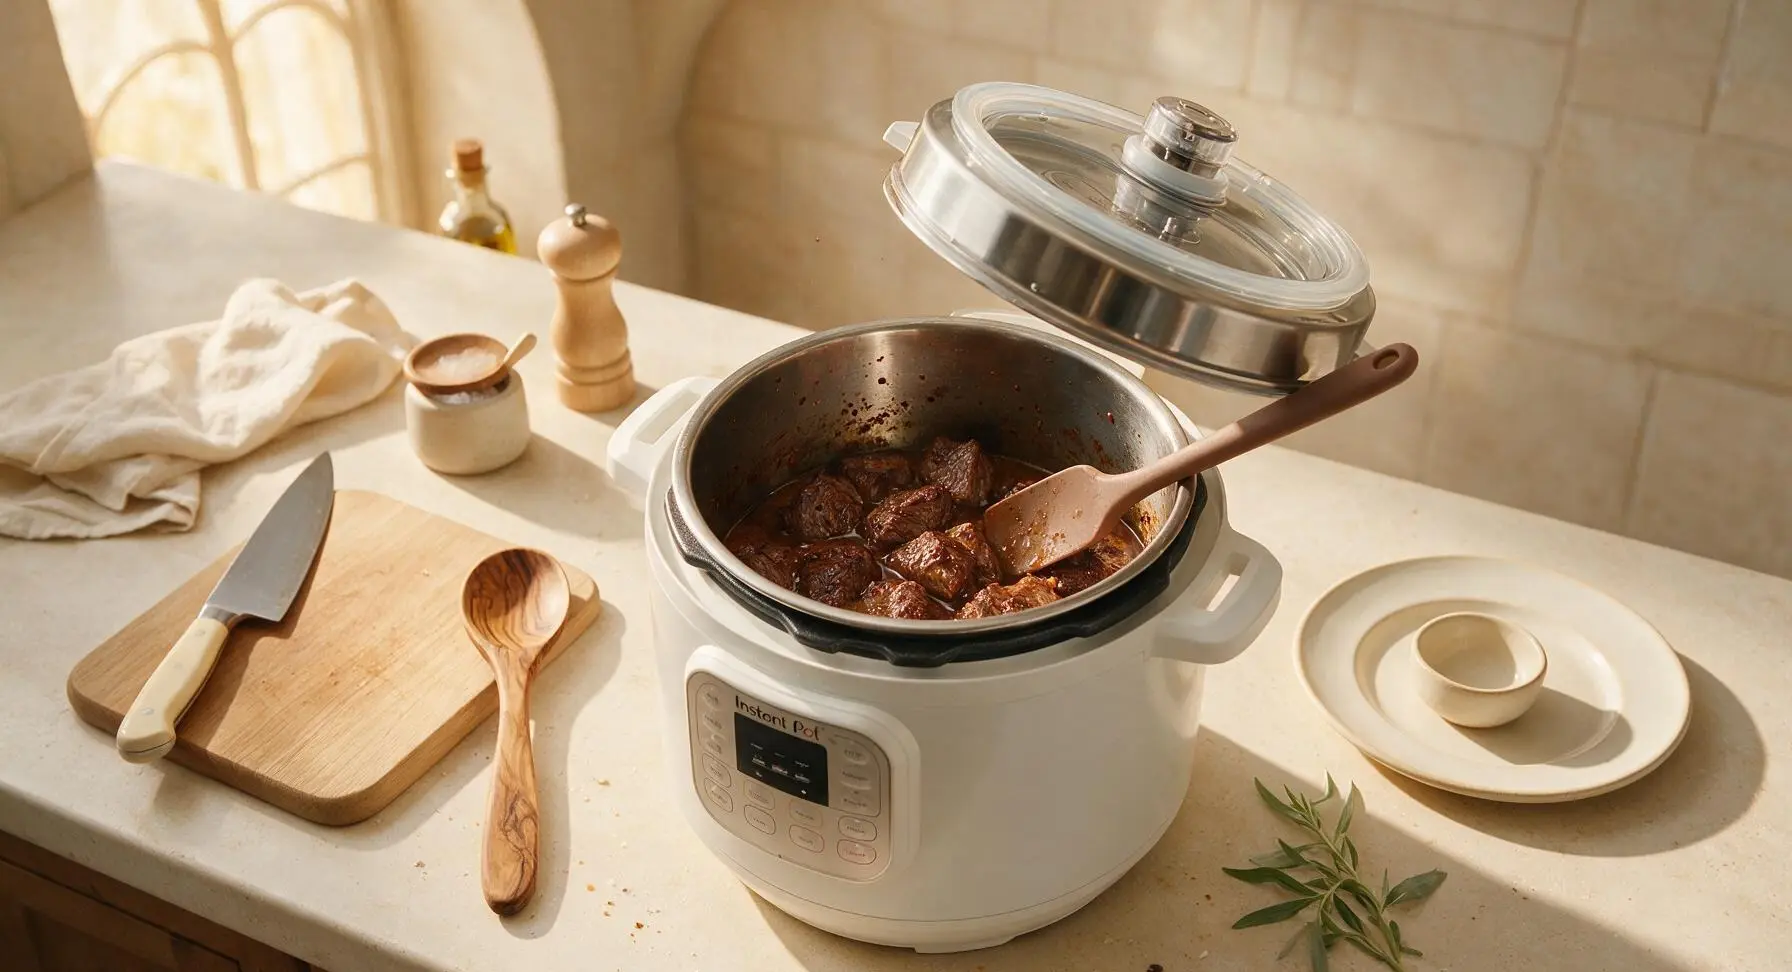
Return all seared beef chunks to the Instant Pot inner pot. Pour the prepared braising sauce and 1/2 cup unsalted beef broth over the beef. Stir gently with the muted terracotta heat-resistant silicone spatula to coat all beef chunks, scraping up any browned fond bits from the bottom of the pot to prevent burn errors during pressure cooking. Secure the Instant Pot lid, check that the silicone sealing ring is properly seated, and set the top pressure valve to the 'Sealing' position. Cook on High Pressure for 20 minutes; the pot will take approximately 10 minutes to build to full pressure before the cook timer begins counting down.
Thicken Braising Sauce
Once the 20-minute high-pressure cook time ends, allow the pressure to release naturally for 5 minutes (this keeps the beef tender and prevents foaming from the starchy sauce). After 5 minutes, carefully turn the pressure valve to the 'Venting' position to release any remaining pressure, using a long wooden spoon to keep your hand away from the hot steam to avoid burns. When the float valve drops, indicating all pressure is released, remove the lid carefully, tilting it away from your face to avoid steam. Turn the Instant Pot back to the 'Sauté' function on high heat. Stir in the prepared cornstarch slurry (1 tablespoon cornstarch mixed with 2 tablespoons cold water, stirred until smooth), and simmer for 2-3 minutes, stirring occasionally, until the sauce thickens to a glossy, nappe consistency that evenly coats the back of a spoon.
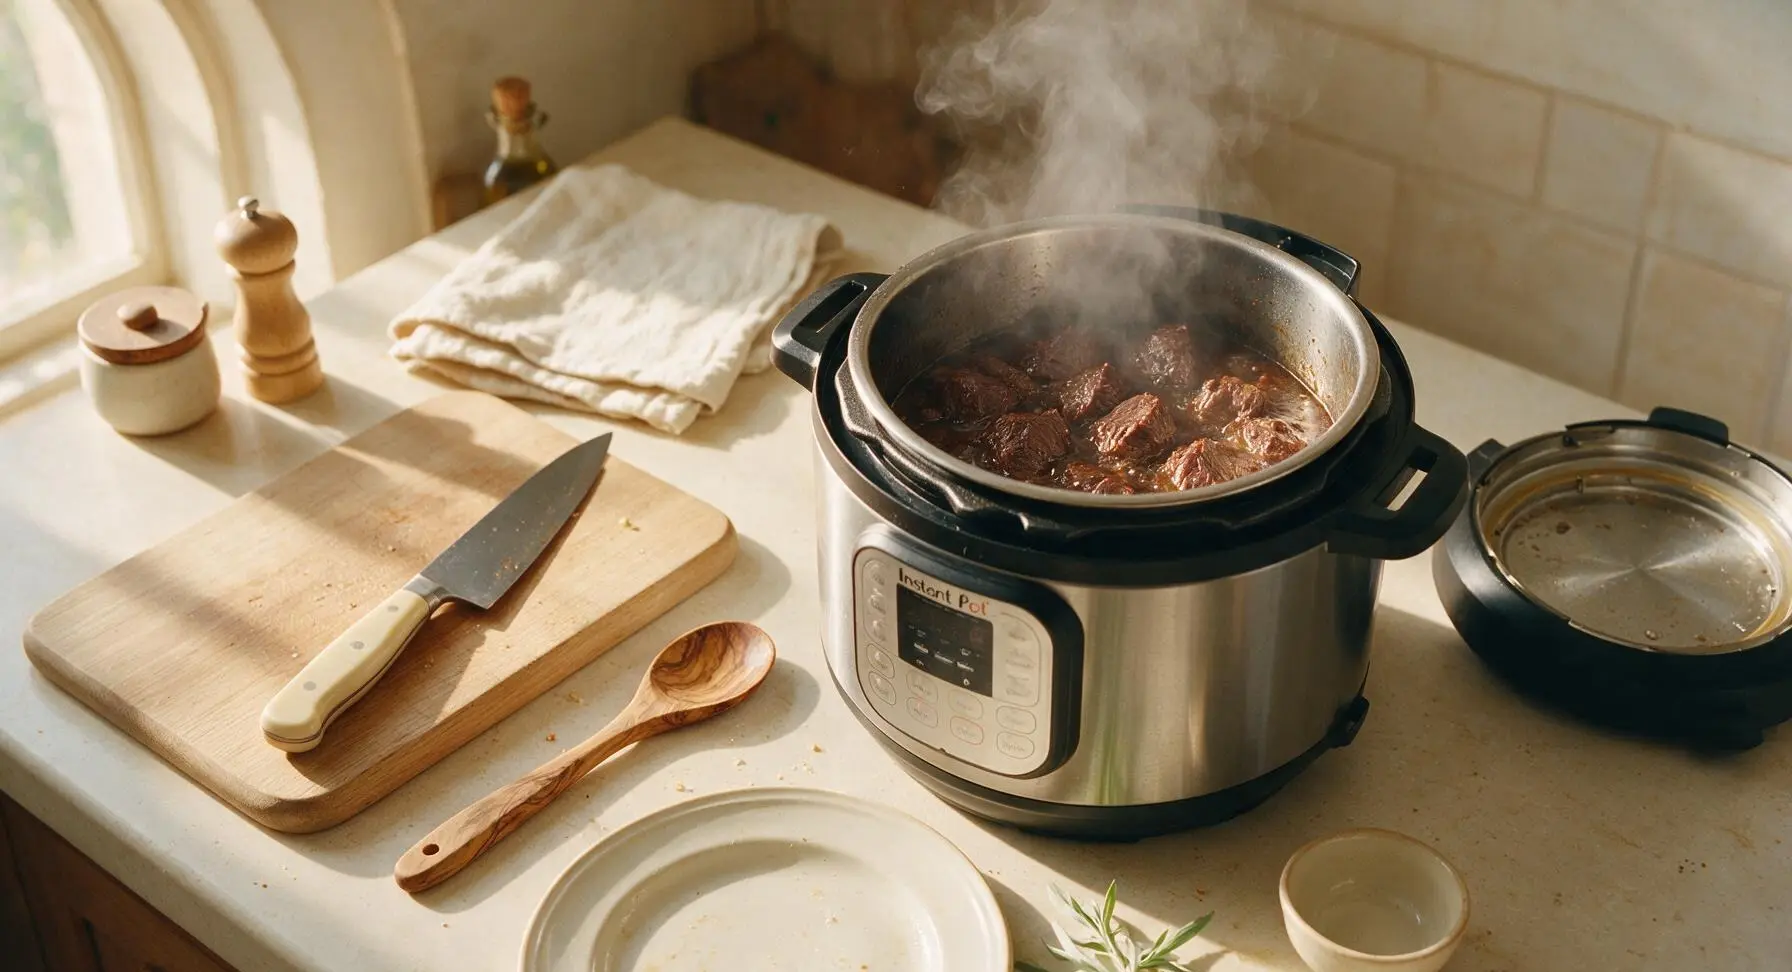
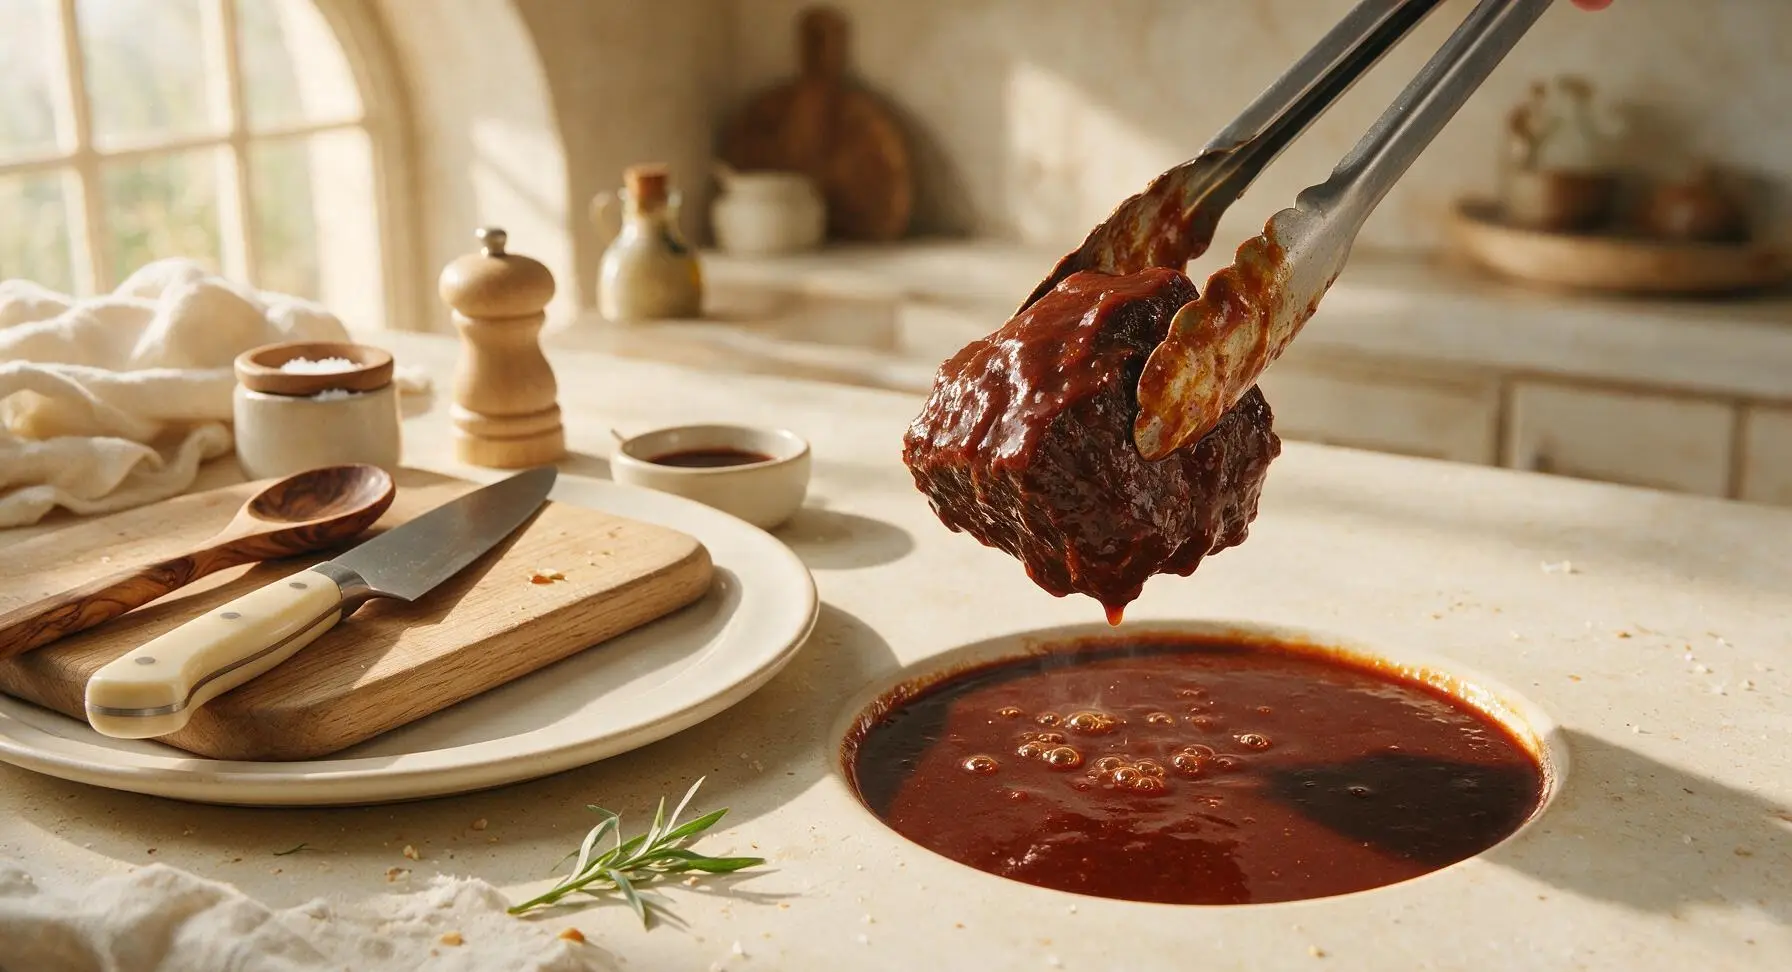
Plate and Garnish
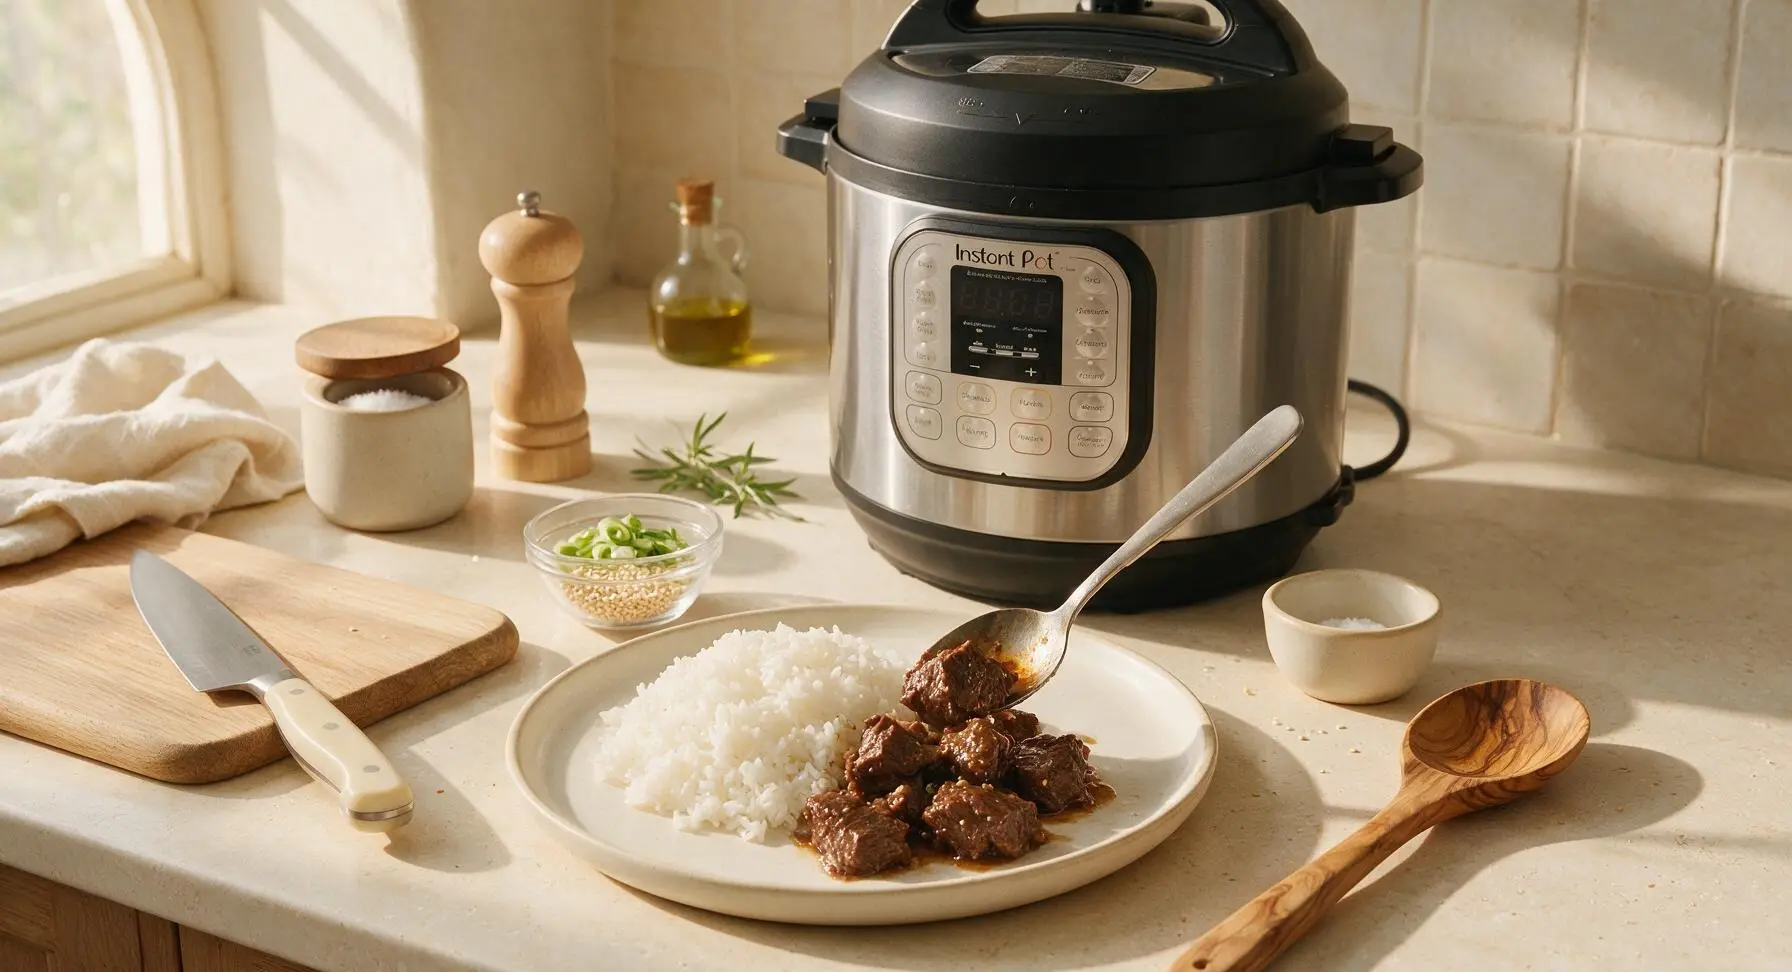
Turn off the Instant Pot. Scoop a 1/2-cup serving of fluffy cooked short-grain white rice onto the 26cm shallow matte cream ceramic dinner plate. Mound 1/4 of the tender braised beef chunks next to the rice, spooning extra thick glossy sauce over the top of the beef. Garnish generously with thinly sliced green onion tops and a light sprinkle of toasted white sesame seeds. Serve immediately while the dish is hot, with extra sauce for drizzling if desired.
Tips
2.Pat beef completely dry before searing: Any residual surface moisture will cause the beef to steam instead of developing a deep, umami-rich golden crust, and excess water will dilute the concentrated braising sauce. For best results, pat chunks with paper towels until no moisture transfers to the towel surface.
3.Allow 5 minutes of natural pressure release before quick releasing: A sudden pressure drop can cause beef fibers to seize up and become tough, and starchy sauce can bubble up and splatter out of the vent. The short natural release keeps meat tender and reduces mess and burn risk.






OMG this was SO good! Threw it together after work last night, 40 minutes total and my whole family devoured it. My 7 year old asked for seconds before he even finished his first helping! Served it over jasmine rice with some roasted broccoli on the side, total weeknight win.
Total game changer for my Sunday meal prep! I made a double batch Sunday afternoon, portioned it out with rice and veggies, and it’s held up perfectly all week for lunches. The flavor is spot on, not too sweet, just the right amount of savory. Only thing I did differently was add a handful of sesame seeds at the end for a little crunch.
Made this while binging my latest K-drama last weekend and I swear it tasted just like the bulgogi I get at my favorite Koreatown spot! So easy even I didn’t mess it up, and I’m notorious for burning rice. 10/10 will make again for my next watch party.
First time using my Instant Pot for anything other than hard boiled eggs, and this recipe was so forgiving! I accidentally used low sodium soy sauce instead of regular and it still turned out great, just added a tiny extra pinch of salt at the end. My husband said it’s restaurant quality!
Brought this to my neighborhood potluck last week and people were literally asking me for the recipe before they even finished their plates! I kept it warm in the crockpot after making it in the IP, served with little slider buns and quick pickled veggies, it was a total hit. Only note: if you’re feeding a crowd definitely double it, it goes fast!
Super easy to make in my dorm’s Instant Pot (don’t tell my RA lmao). Only had to buy like 3 ingredients I didn’t already have, total cost was under $15 for 4 servings. Way better than the takeout I usually order that costs $18 a plate. Will be making this on repeat all semester.
Made this before a big day hike last weekend, portioned it out with rice and packed it in our insulated food containers. We reheated it on our tiny camp stove at the summit after 6 miles of uphill climbing, and it was still amazing. The beef got so tender in the IP I didn’t even have to cut some of the pieces, they fell apart with a fork. Best post-hike meal I’ve had in ages!
I was so nervous to make this because my kids are the pickiest eaters on the planet, but they both loved it! My oldest even said it’s “better than the Korean food we get at the mall food court” which is the highest possible praise from him. I skipped the red pepper flakes to make it less spicy for them, and it was still totally flavorful.
This recipe was so easy to follow! I’m not super tech savvy so I was worried the Instant Pot settings would be confusing, but the directions were clear as day. The beef came out melt-in-your-mouth tender, I served it with some steamed kimchi and white rice for my book club, everyone asked for the recipe.
Let me preface this by saying I can barely make toast without setting off the smoke alarm. This recipe? Zero fires, zero mistakes, tasted incredible. My roommate thought I ordered takeout until he saw me dumping the Instant Pot. Easy enough for total cooking newbies, trust me.
Great high protein meal option! I swapped the brown sugar for a little monk fruit sweetener to cut down on added sugar, used lean chuck roast, and served it over cauliflower rice, and it didn’t feel like a “diet meal” at all. So much flavor, I didn’t even miss the extra sugar. Perfect for my clients who are looking for easy macro-friendly dinners.
Made this for our weekly Sunday family dinner, and my dad who swears “no homemade Asian food beats takeout” went back for thirds. The only change I made was adding a splash of rice vinegar at the end for a little extra tang, which cut the sweetness perfectly. Will be adding this to our regular rotation for sure.
I was skeptical about making Korean beef in a pressure cooker because I usually smoke all my meat low and slow, but wow, this was so tender and flavorful in a fraction of the time. I added a quick char to the beef under the broiler for 2 minutes after pressure cooking to get that little crispy edge I love, and it was chef’s kiss.
So happy this recipe works with gluten free soy sauce! I have celiac so I have to be super careful with takeout, and this tasted exactly like the regular version I remember. No weird gluten free aftertaste, my whole family (who eats gluten) didn’t even notice a difference. Thank you for an easy, accessible recipe!