
instant pot roast beef

title 1
instant pot roast beef
⏱️ cook time 1 hour 30 minutes
🍽️ servings 6
⚡ Difficulty easy

intro

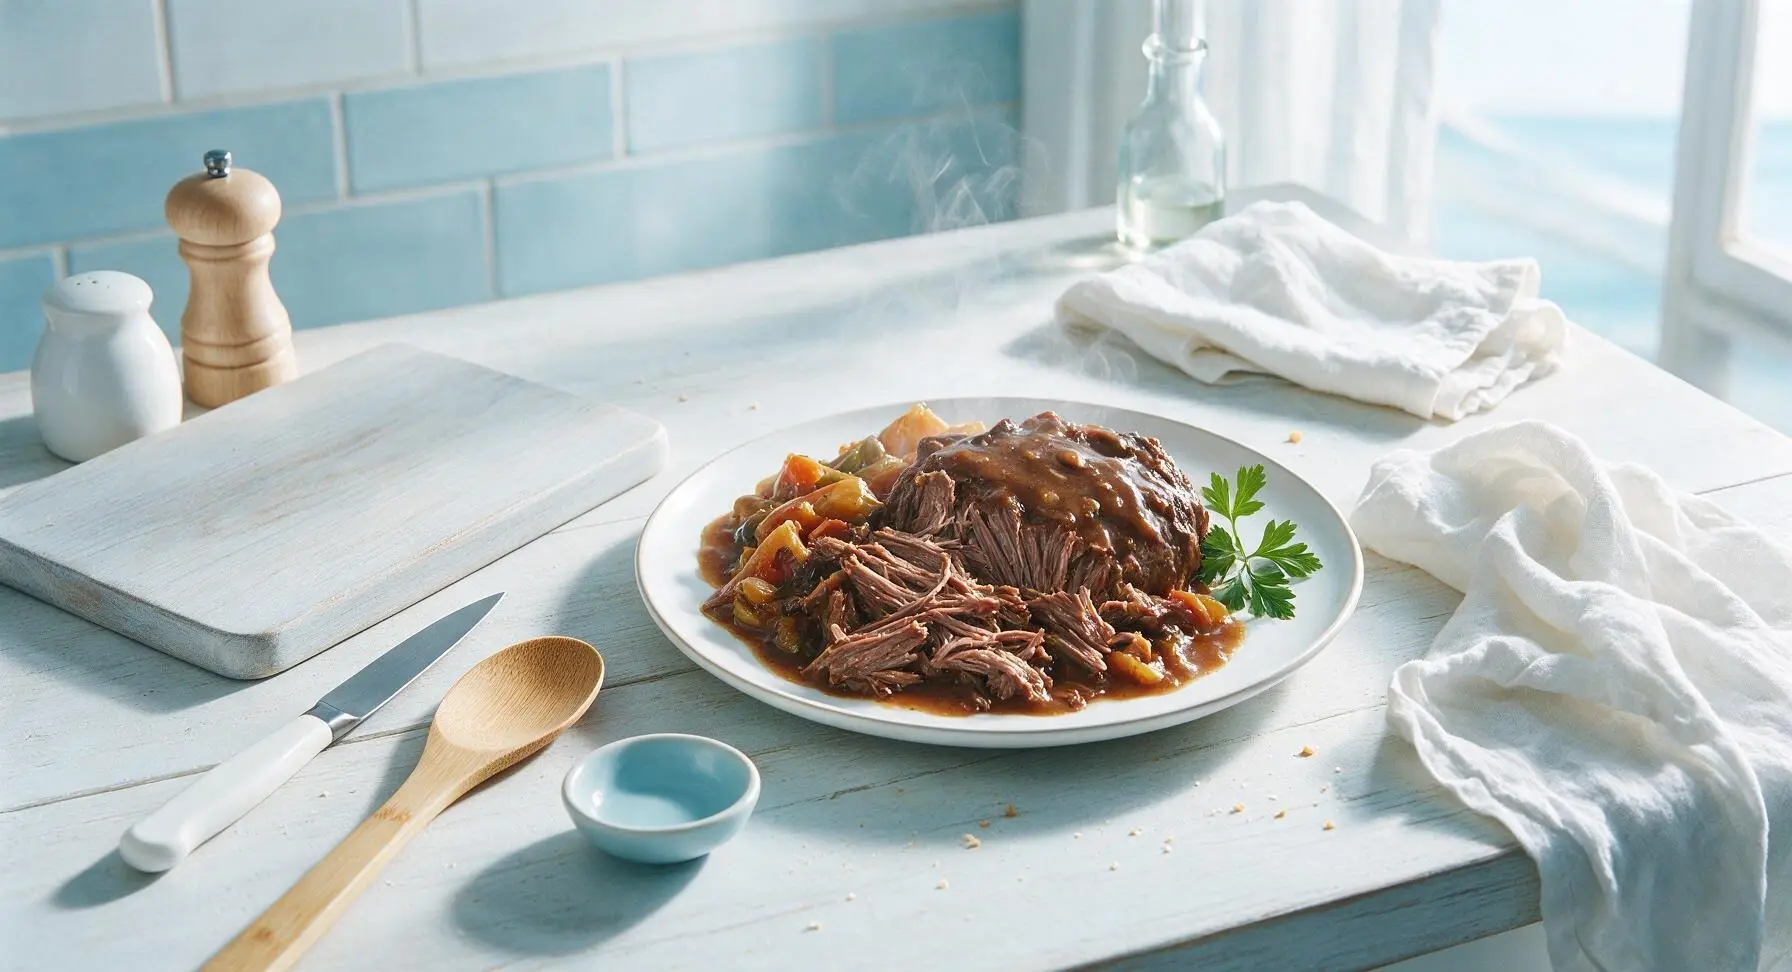
Tender, fall-apart beef roast with rich glossy gravy and tender vegetables, made in a fraction of the time in an Instant Pot. Cozy, deep slow-cooked flavor without the long oven wait.

Ingredients
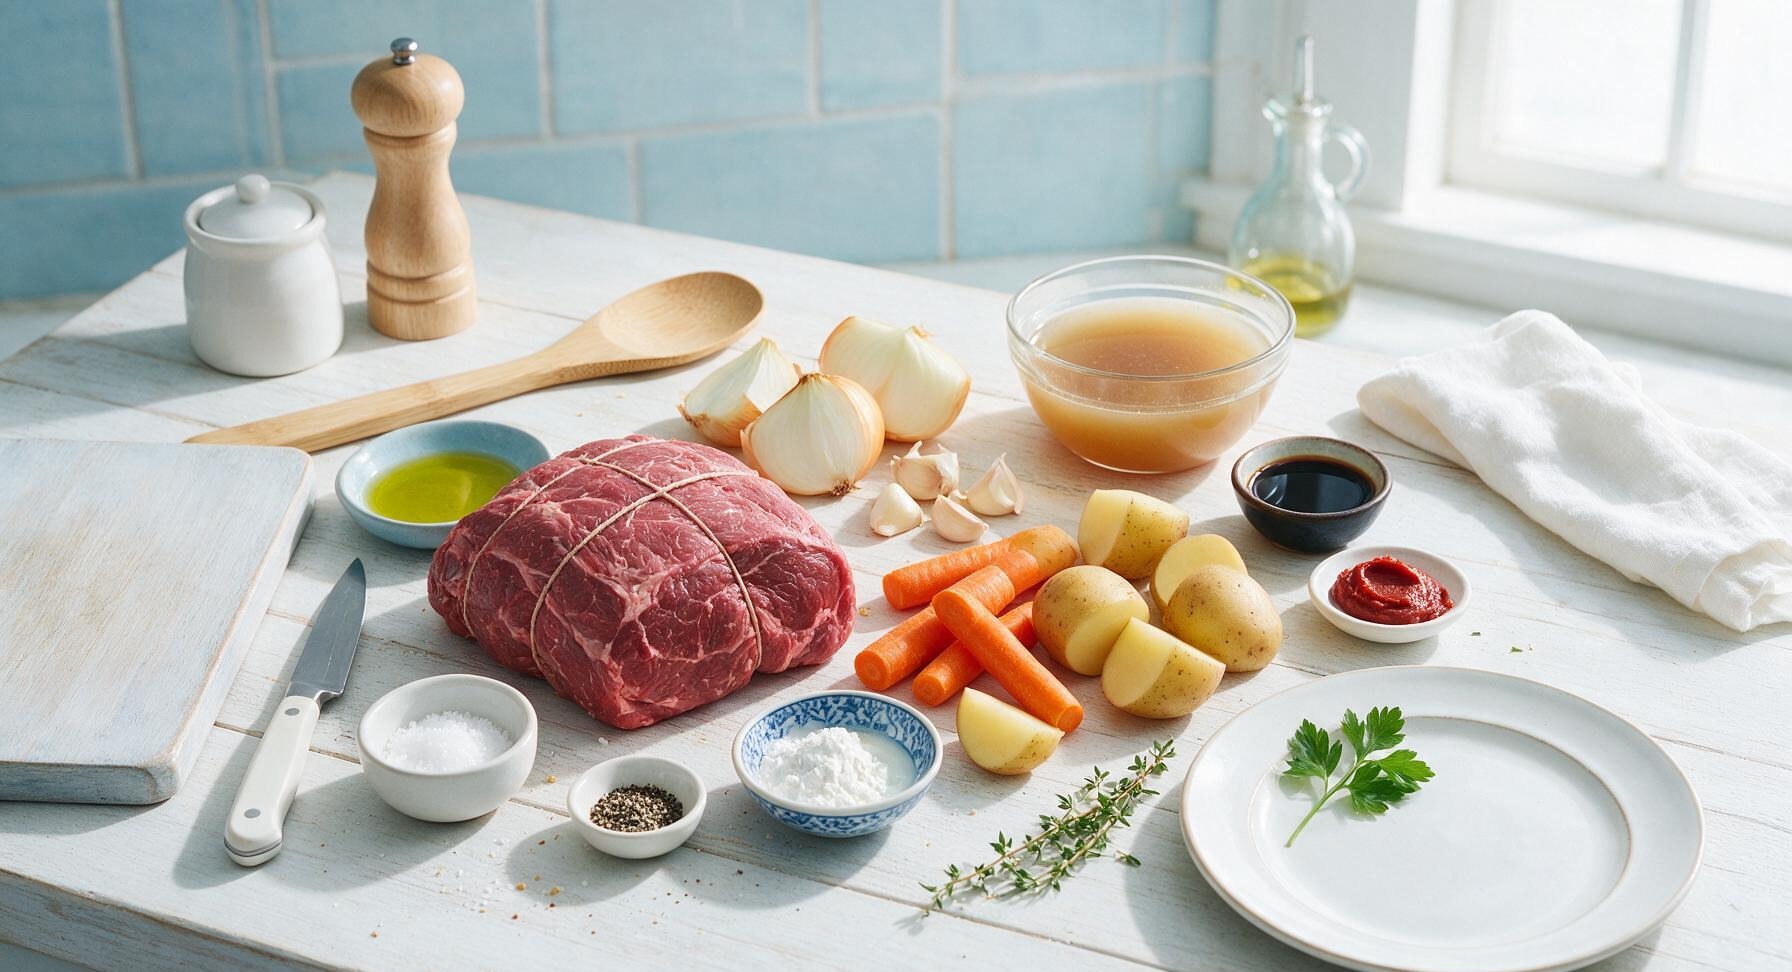
Boneless beef chuck roast 1.36kg (3lb)
Extra-virgin olive oil 2 tablespoons
Kosher salt 1.5 teaspoons
Freshly cracked black pepper 1 teaspoon
Yellow onion 1 large, cut into 5cm chunks
Garlic cloves 4, lightly crushed
Carrots 3 large, cut into 5cm chunks
Yukon Gold potatoes 4 medium, quartered
Low-sodium beef broth 1 cup (240ml)
Worcestershire sauce 2 tablespoons
Tomato paste 1 tablespoon
Fresh thyme sprigs 2
Cornstarch 2 tablespoons
Cold water 2 tablespoons

Steps

1

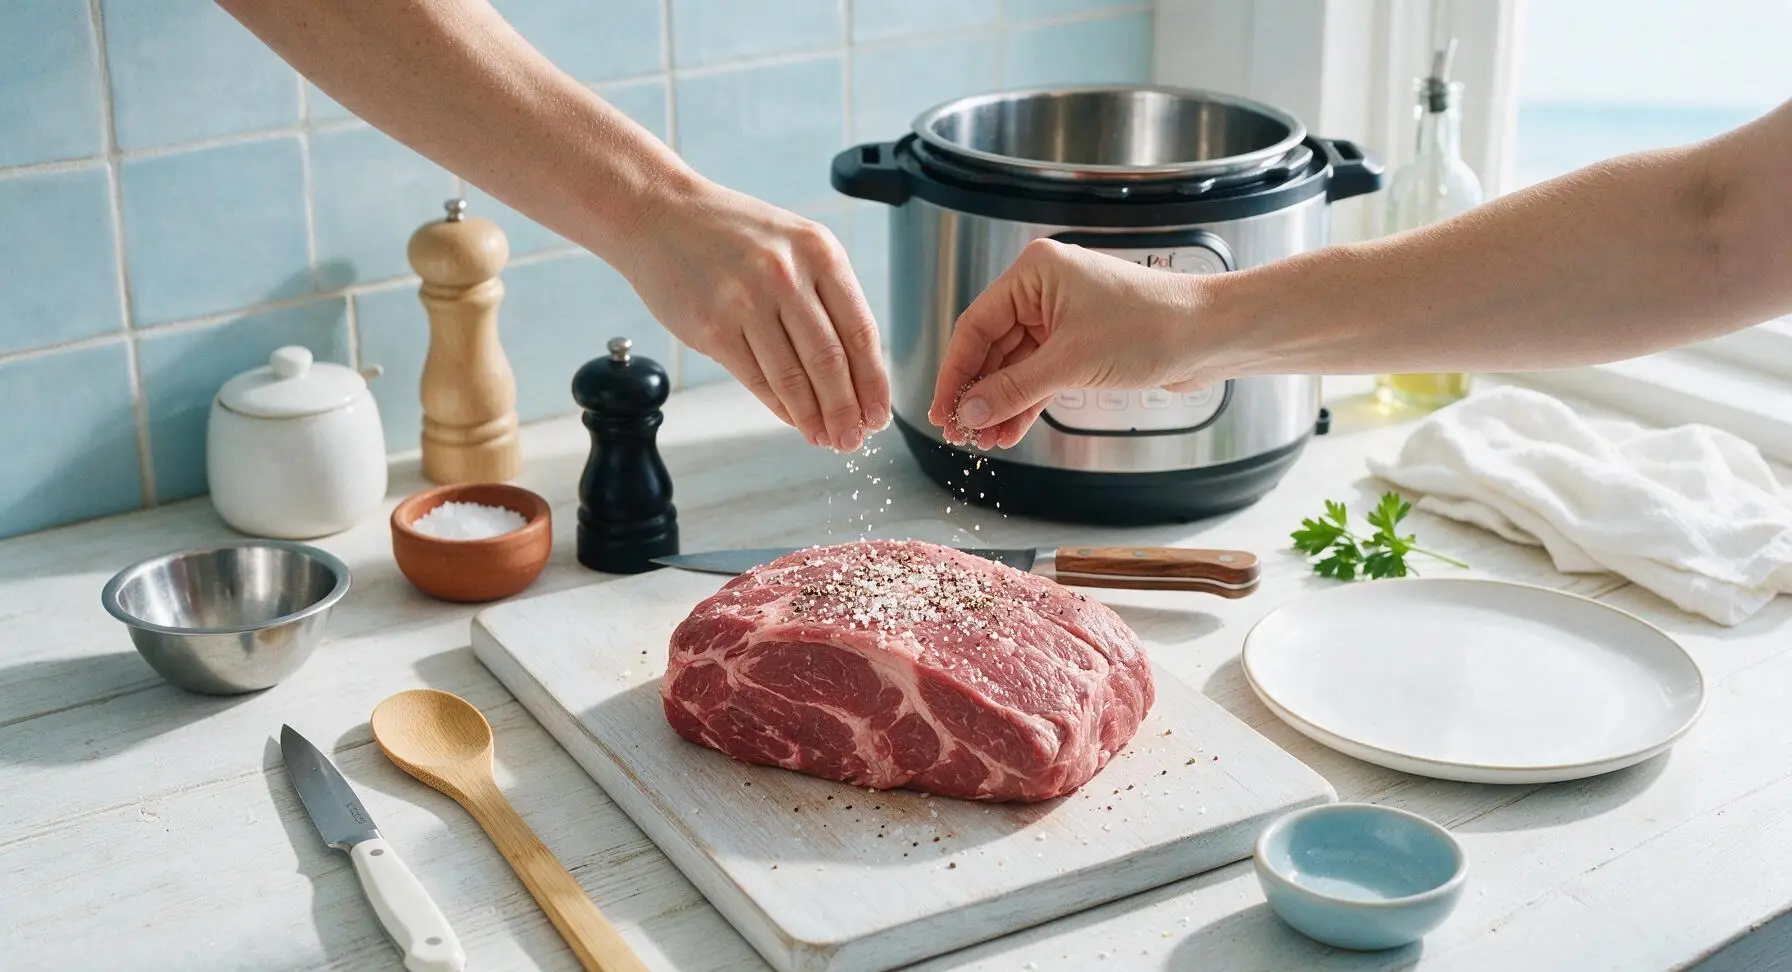
Season the Chuck Roast

Pat the 3lb boneless chuck roast completely dry on all sides with paper towels to ensure a deep, even sear. Rub 1 teaspoon of kosher salt and ½ teaspoon of freshly cracked black pepper evenly over every surface of the roast, pressing gently so the seasoning adheres to the meat. Let the seasoned roast rest at room temperature for 10 minutes while you prep the remaining ingredients.
Step 1
step1:Season the Chuck Roast
2

Sear Beef on All Sides

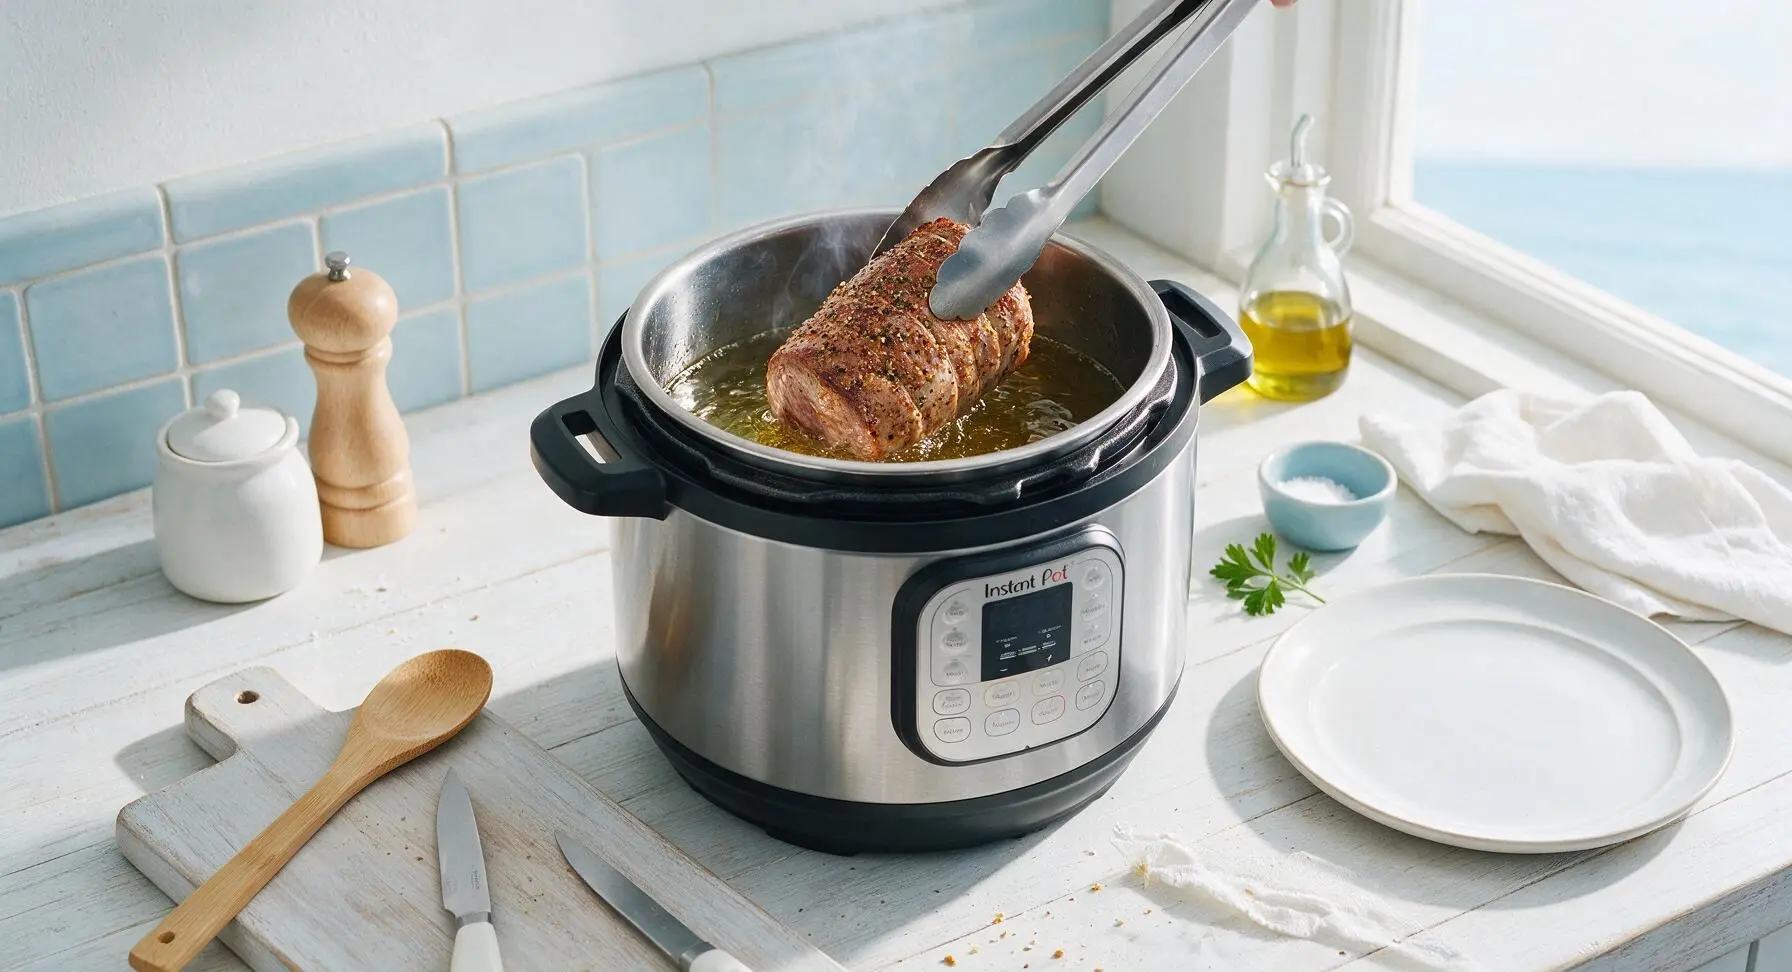
Select the 'Sauté' function on the Instant Pot and set to high heat. Add 2 tablespoons of extra-virgin olive oil to the stainless steel inner pot, and wait 1 minute until the oil shimmers (a visual cue it is hot enough for searing). Use the stainless steel tongs to carefully lower the seasoned roast into the pot. Sear for 3-4 minutes per side (top, bottom, and all four edges), until a deep golden-brown crust forms on every surface. Do not move the roast while searing each side to build a thick, flavorful crust.
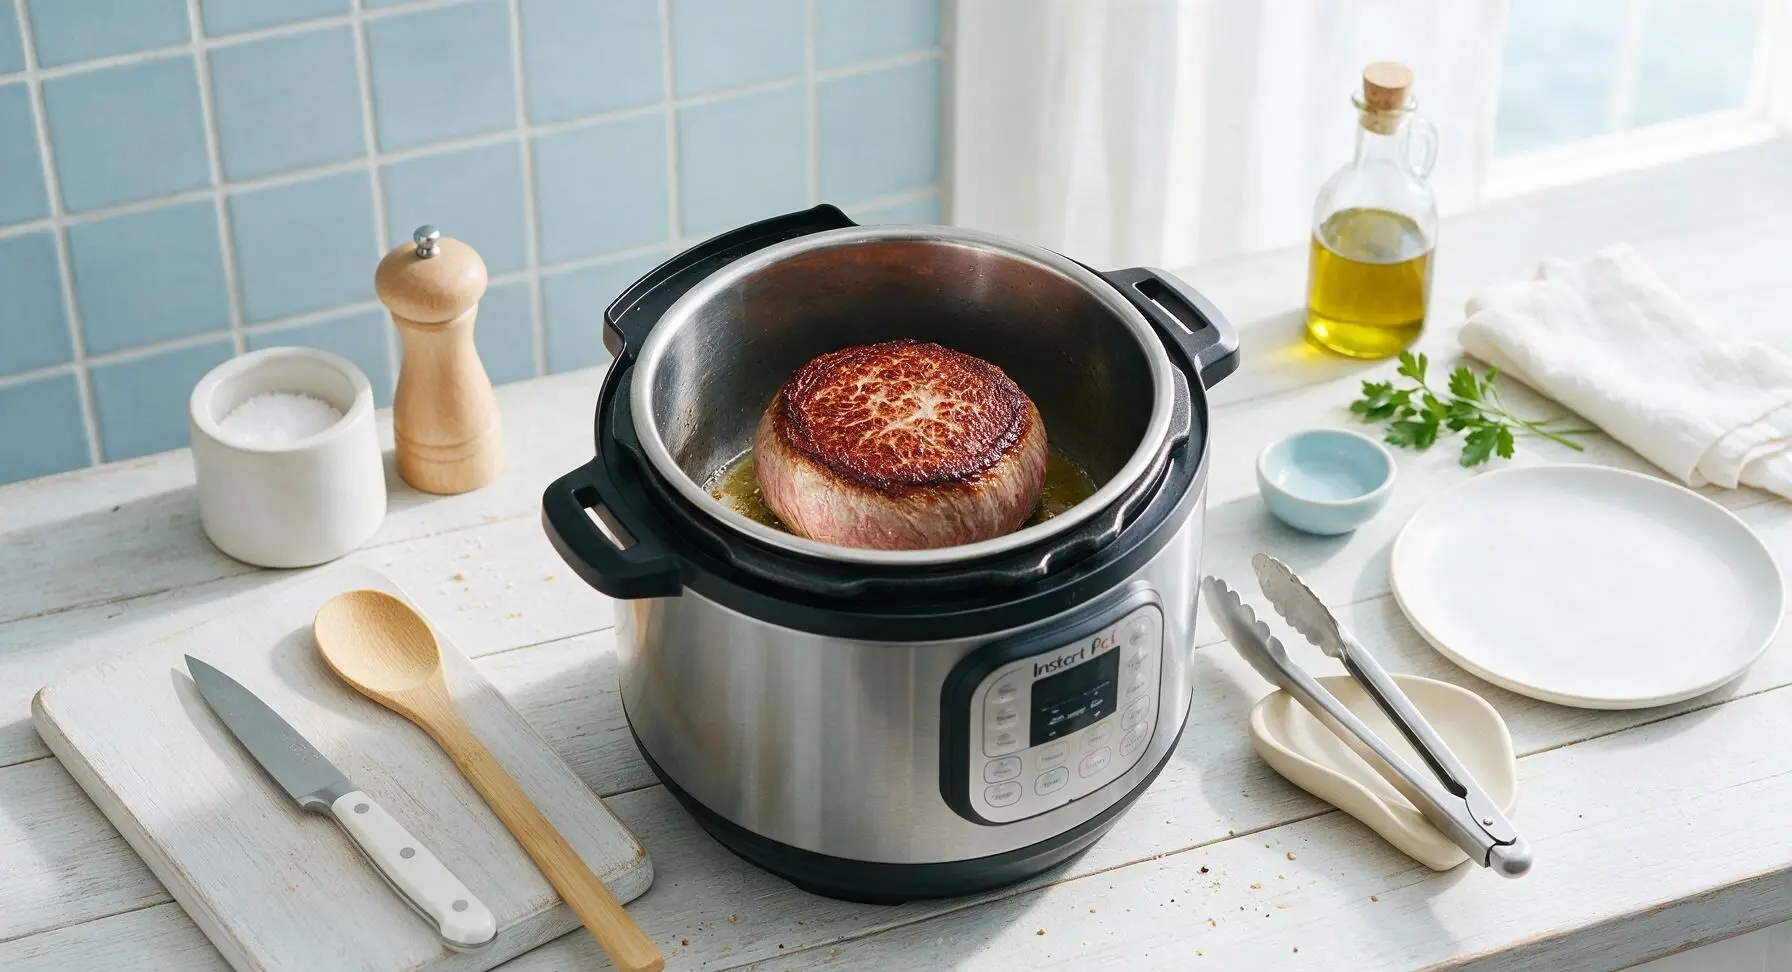
Step 2
step2:Sear Beef on All Sides
Step 2
step2:Sear Beef on All Sides
3

Sauté Aromatic Vegetables

Use the tongs to transfer the seared roast temporarily to the edge of the oak cutting board. Add the diced yellow onion and crushed garlic cloves to the hot oil and beef drippings in the Instant Pot. Sauté for 2 minutes, stirring occasionally with the maple wooden spoon, until the onion is soft and translucent and the garlic smells fragrant, taking care not to burn the garlic (burnt garlic will add a bitter flavor to the gravy).
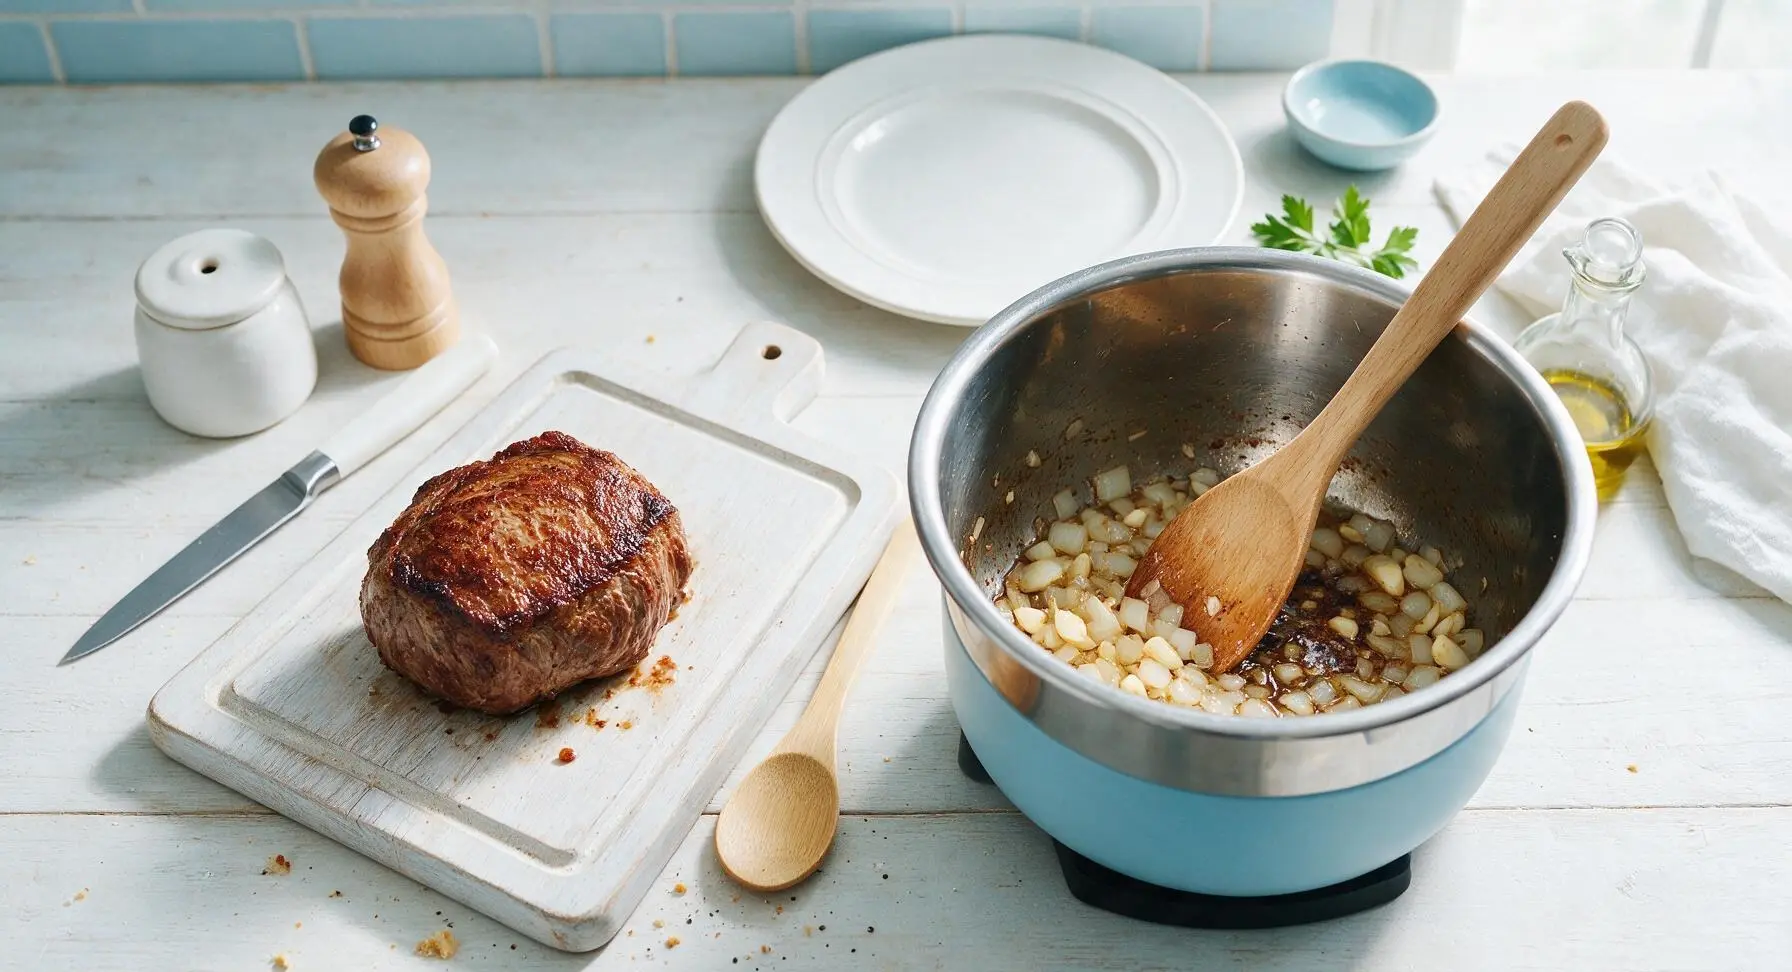
Step 3
step3:Sauté Aromatic Vegetables
4

Deglaze and Add Liquids

Pour ¼ cup of the beef broth into the pot, scraping the bottom firmly with the wooden spoon to lift all browned, stuck-on bits (called fond) — these bits hold deep, concentrated savory flavor for the gravy. Stir in the remaining ¾ cup beef broth, Worcestershire sauce, and tomato paste, mixing until the tomato paste is fully dissolved and no lumps remain. Tuck the 2 fresh thyme sprigs into the liquid.
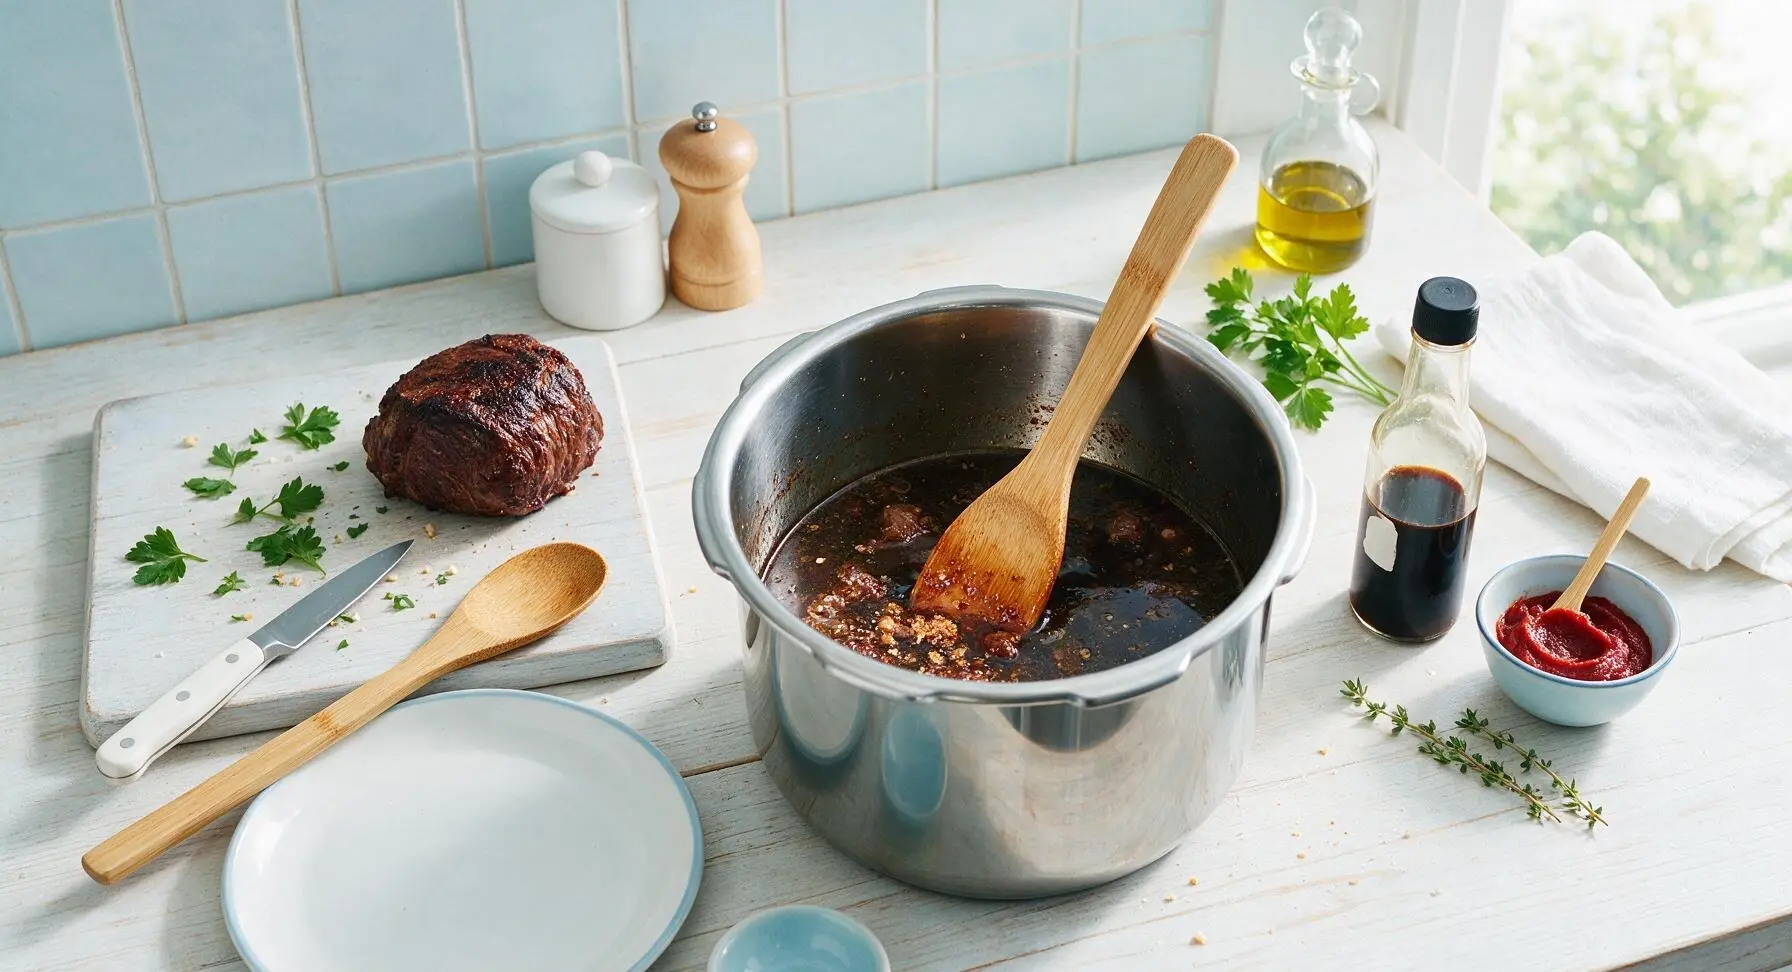
Step 4
step4:Deglaze and Add Liquids
5

Pressure Cook Roast

Return the seared roast to the Instant Pot, nestling it into the liquid so it is half-submerged. Arrange the carrot chunks and quartered potatoes around the roast, taking care not to pack them down into the liquid. Secure the Instant Pot lid, set the pressure release valve to the 'Sealing' position, and select the 'Pressure Cook' (High) setting for 45 minutes. Once the cook time completes, allow a 15-minute natural pressure release (do not touch the valve during this time), then carefully switch the valve to 'Venting' to release any remaining steam before removing the lid.
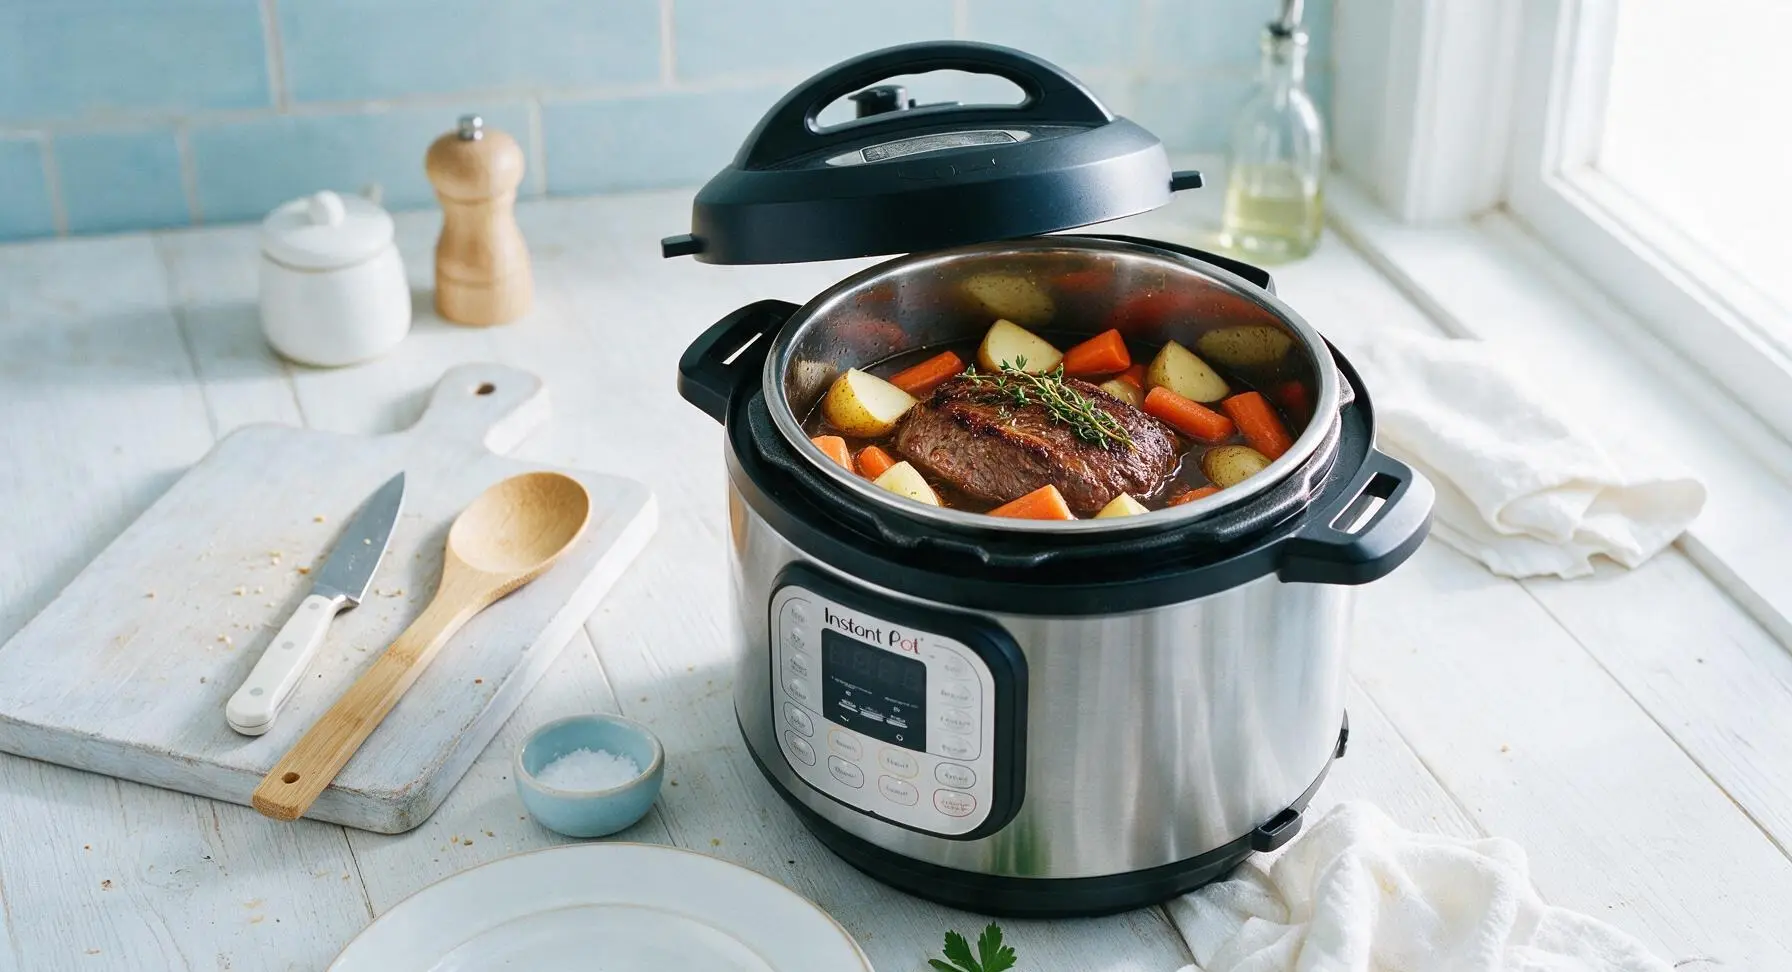
Step 5
step5:Pressure Cook Roast
6

Thicken Gravy Mixture

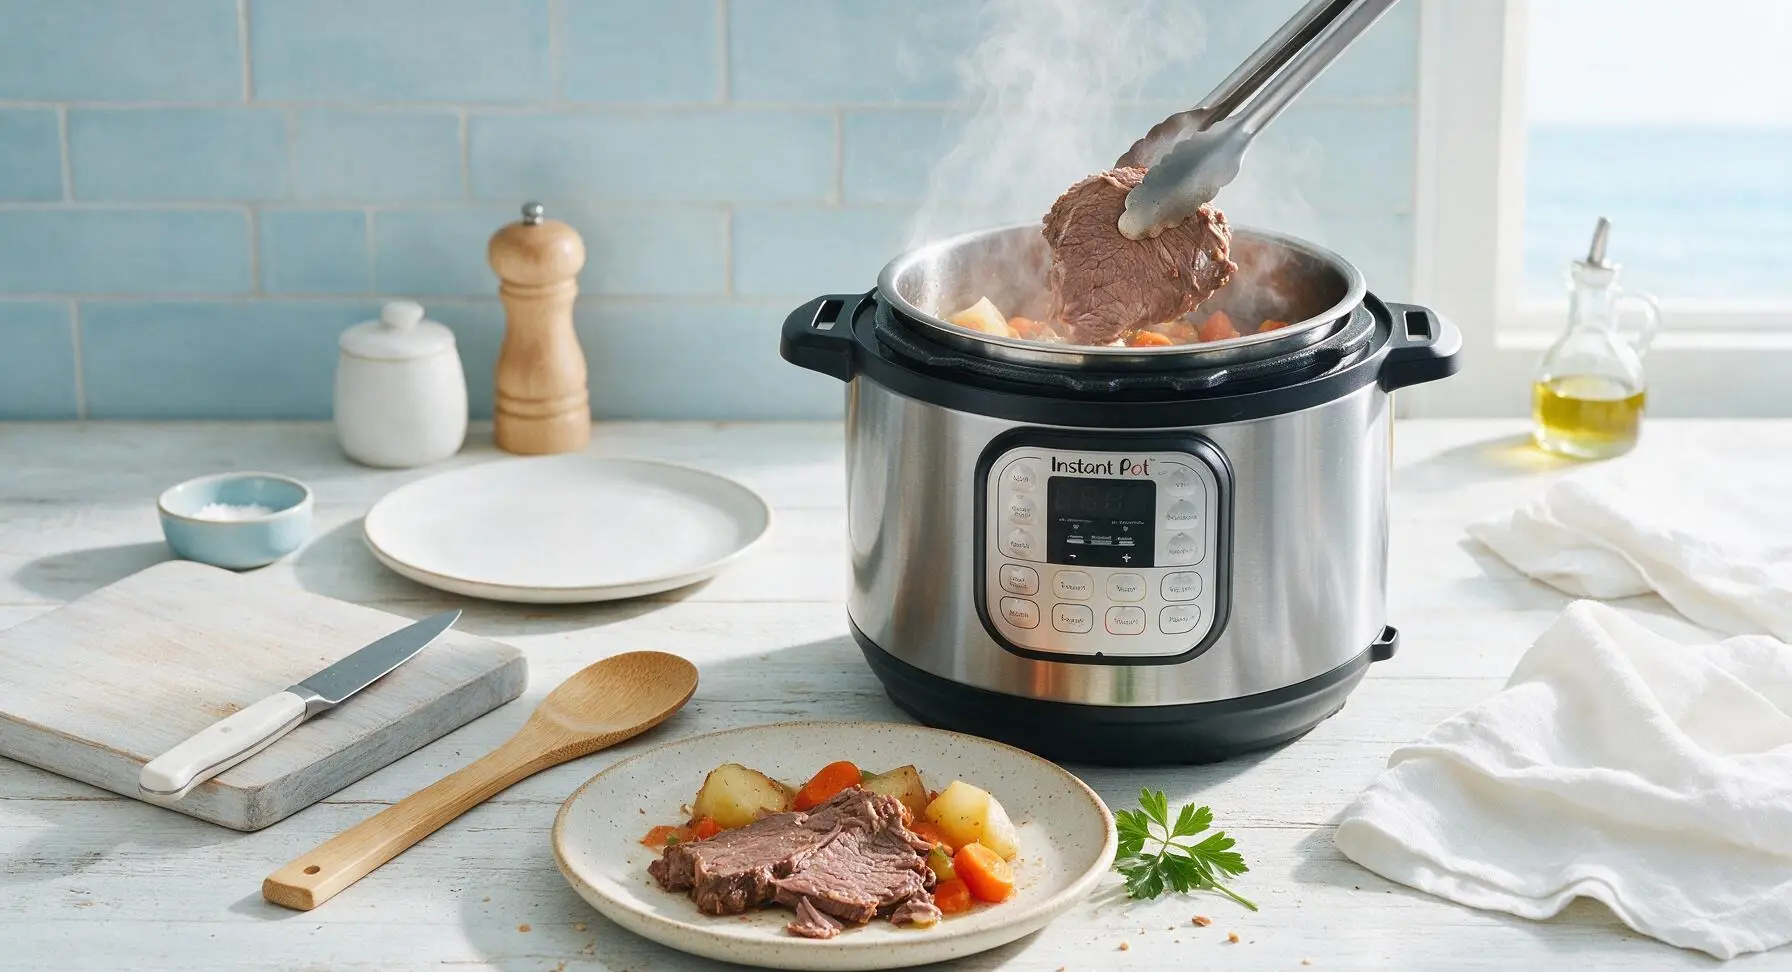
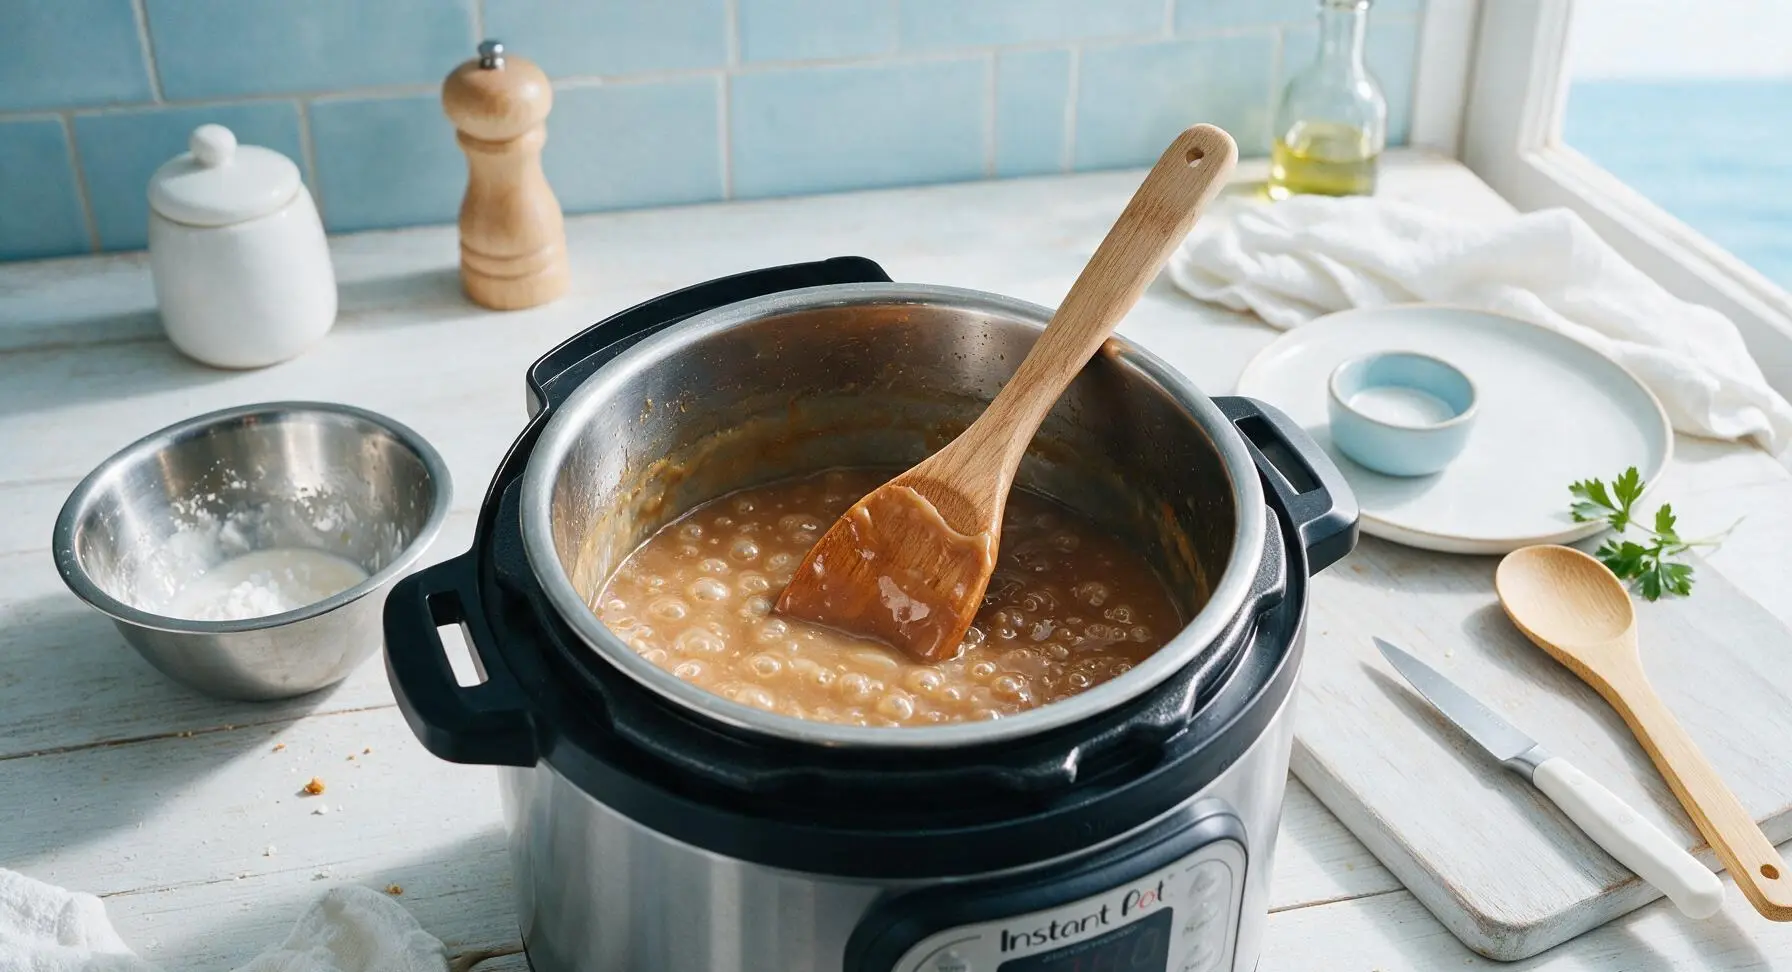
Use the tongs to carefully transfer the cooked roast and vegetables to the speckled cream stoneware dinner plate, and cover loosely with a small piece of foil to keep warm. In the small stainless steel mixing bowl, whisk 2 tablespoons cornstarch with 2 tablespoons cold water using the stainless steel whisk until completely smooth (no lumps) to make a slurry. Select the 'Sauté' function on high heat again, and stir the cornstarch slurry into the hot cooking liquid in the pot. Cook for 2-3 minutes, stirring constantly with the wooden spoon, until the gravy thickens to a smooth, glossy consistency that coats the back of the spoon. Season with the remaining ½ teaspoon kosher salt and ½ teaspoon black pepper, adjusting to taste.
Step 6
step6:Thicken Gravy Mixture
Step 6
step6:Thicken Gravy Mixture
7

Slice and Plate Roast

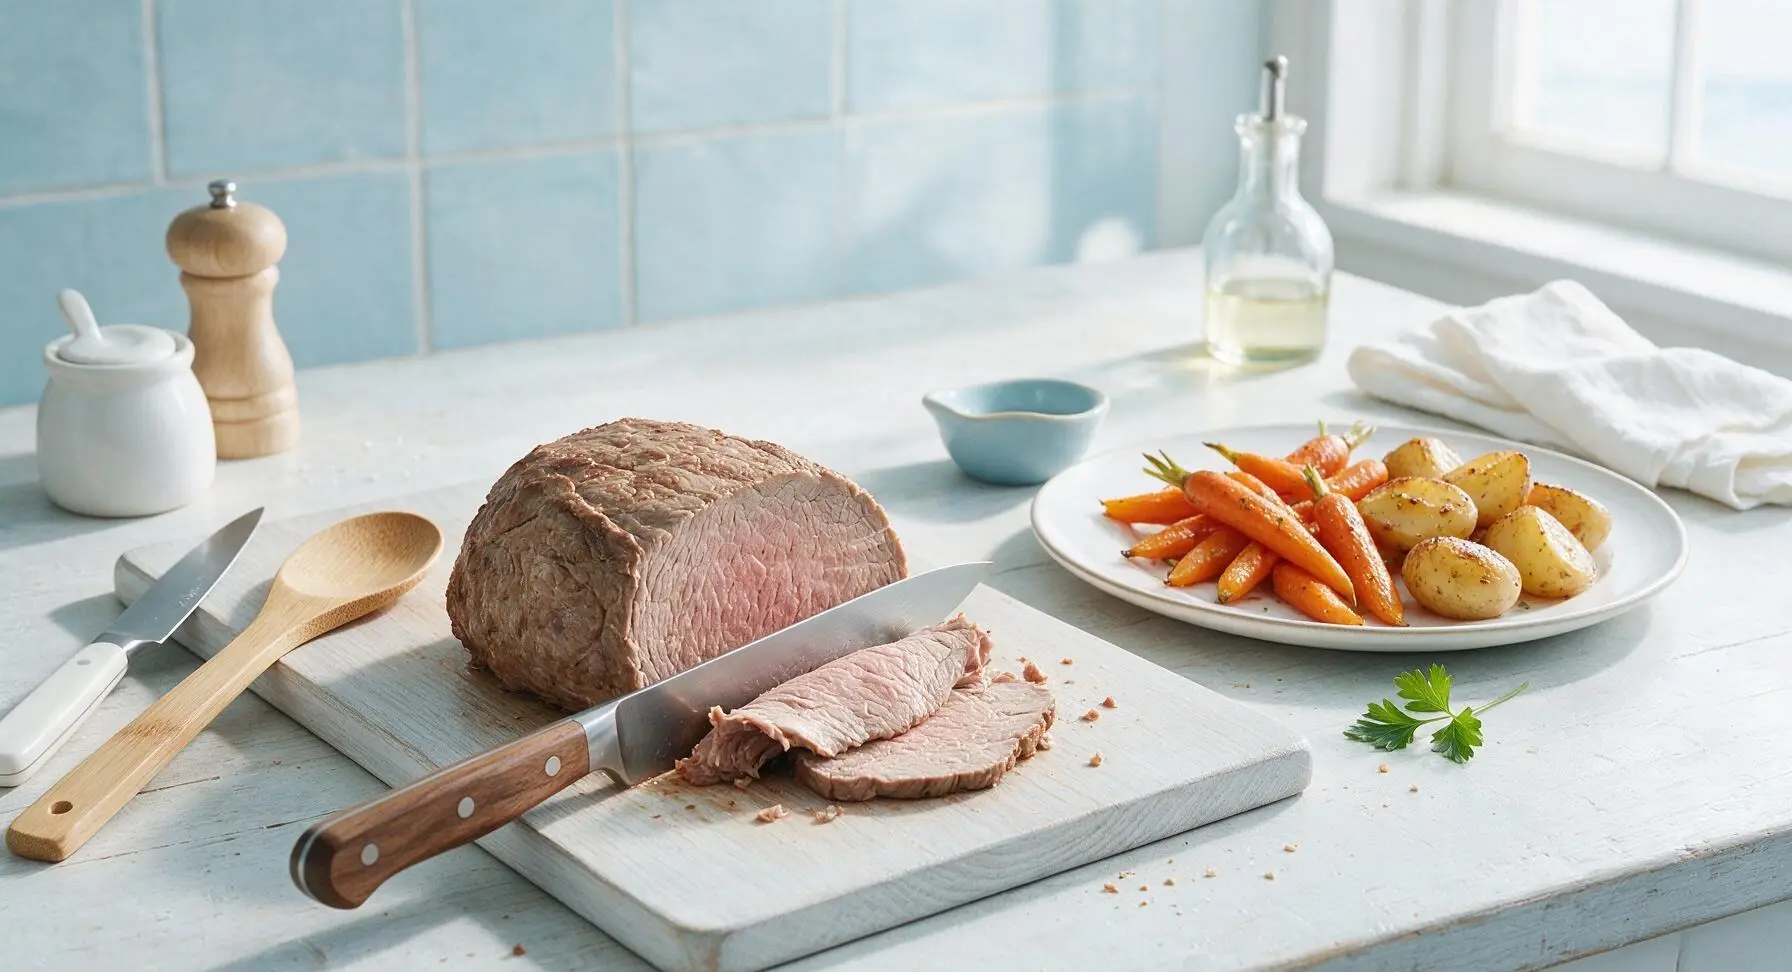
Transfer the warm roast to the oak cutting board, and use the chef’s knife to slice it against the grain into 1cm thick slices — the meat should be tender enough to pull apart slightly with gentle pressure from the knife. Arrange the sliced beef back on the stoneware plate alongside the cooked carrots and potatoes, ladle the thick gravy over the top of the beef, and garnish with a fresh sprig of thyme before serving.
Step 7
step7:Slice and Plate Roast

Tips

1.Pat the roast completely dry with paper towels before searing: excess surface moisture causes the meat to steam instead of forming a deep, caramelized crust, which is critical for building rich gravy flavor and a textured exterior on the beef.
2.Allow the full 15-minute natural pressure release after cooking: quick-releasing pressure immediately shocks the meat fibers, causing them to seize up and release moisture, resulting in tough, dry roast instead of tender, juicy meat.
3.Slice the cooked roast against the grain into 1cm thick slices: cutting perpendicular to the long, tough muscle fibers shortens them, making every bite feel tender even if you slightly overcook the roast.


✨ You May Also Like

Main Course
🍜 United Kingdom

A showstopping classic of tender seared beef, savory mushroom duxelles, and crisp prosciutto wrapped in flaky golden puff pastry, baked to juicy perfection.

⏱️ 2 hours 1Main Course ★ 4.7
Main Course
🍜 India

Tender charred marinated chicken simmered in a rich, spiced creamy tomato sauce, this iconic Anglo-Indian curry pairs perfectly with basmati rice or warm naan.

⏱️ 50 minuteMain Course ★ 4.6
Main Course
🍜 Thailand

Classic tangy, sweet, and savory Thai stir-fried rice noodles with shrimp, tofu, and crunchy garnishes, balancing all five core Thai flavor profiles.

⏱️ 30 minuteMain Course ★ 4.5
Main Course
🍜 United Kingdom

Crispy golden beer-battered cod and fluffy double-fried chips, served with tangy tartar sauce and malt vinegar: the timeless, beloved British pub comfort classic.

⏱️ 45 minuteMain Course ★ 4.7
Main Course
🍜 Mexico

Smoky, chile-marinated pork tacos with caramelized pineapple, fresh cilantro, and lime: a beloved classic Mexican street food perfect for casual summer gatherings.

⏱️ 1 hour 45Main Course ★ 4.8
Main Course
🍜 United States

Crunchy Fritos corn chips layered with savory beef chili and melted cheddar, topped with cool, zesty fixings for a beloved, cozy Tex-Mex comfort food.

⏱️ 35 minuteMain Course ★ 4.8

instant pot roast beef:Frequently Asked Questions

1.What cut of beef is best for making Instant Pot roast beef? ▾
Boneless beef chuck roast is my top, go-to pick for this recipe! It has even, rich marbling that melts beautifully under pressure to create that iconic fall-apart texture and deep beefy flavor, without turning dry. Skip super lean cuts like eye of round or top round—they’ll come out tough and stringy even with long pressure cooking. A 3 to 4 pound roast fits most standard 6-quart Instant Pots perfectly.
2.Do I really need to sear the roast before pressure cooking, or can I skip that step? ▾
Don’t skip that quick sear! It only takes 5 to 7 minutes total, and that golden brown crust on the roast builds the deep, slow-cooked flavor you’d get from hours in the oven—pressure cooking alone can’t create that rich Maillard reaction browning. Searing also leaves tasty browned bits (called fond) on the pot bottom that make your gravy taste extra complex, not flat.
3.How long do I pressure cook the roast to get that perfect fall-apart texture? ▾
For a 3 to 4 pound boneless chuck roast, cook on high pressure for 60 minutes, then let pressure release naturally for 20 minutes before quick-releasing any remaining steam. That timing lets tough connective tissue fully break down into silky gelatin without turning the beef mushy, and gives meat time to reabsorb juices so it stays moist when served.
4.Can I add potatoes and carrots with the roast, or will they turn to mush? ▾
You absolutely can add root veggies like carrots, potatoes, and parsnips—just don’t add them at the start! Cut them into 2-inch chunks, and set them on top of the roast right before you seal the lid for pressure cooking. They’ll cook perfectly in that 60-minute high-pressure window, coming out tender but not waterlogged or mushy, infused with rich beefy flavor.
5.My roast came out tough and chewy—what did I do wrong? ▾
Tough roast almost always traces back to one of three common missteps: you used too lean a cut of beef, you didn’t cook it long enough, or you released pressure too quickly. Chuck roast needs enough time under high pressure to dissolve tough connective tissue, and a natural pressure release lets fibers relax so they don’t seize up and turn chewy when cut.
6.How do I make that rich, glossy gravy mentioned in the recipe intro? ▾
Once you remove the cooked roast and veggies from the pot, switch the Instant Pot to the sauté function. Let the cooking liquid simmer for 3 to 5 minutes to thicken slightly, then stir in a quick slurry of 2 tablespoons cornstarch mixed with 2 tablespoons cold water for a glossier, thicker consistency. Season to taste with extra salt and pepper before serving.
7.What size Instant Pot do I need to make this roast beef recipe? ▾
A standard 6-quart Instant Pot is the perfect size for this recipe, easily fitting a 3 to 4 pound chuck roast plus your choice of veggies and enough liquid to build pressure. If you have an 8-quart model, the recipe works exactly the same—just make sure you add the required 1 cup of liquid so the pot can come up to pressure properly.
8.Can I use a frozen chuck roast for this recipe, or does it need to be thawed first? ▾
You can use a fully frozen chuck roast if you’re in a pinch, but you’ll need to add 25 to 30 minutes to the high pressure cook time to ensure it cooks through and connective tissue fully breaks down. I still recommend starting with a thawed roast for best flavor, since you can’t get a good, flavor-building sear on a frozen block of beef.
9.How much kosher salt should I use to season the roast properly? ▾
For a 3 to 4 pound chuck roast, use 1 to 1.5 teaspoons of Diamond Crystal kosher salt (the most common home cook brand) applied evenly to all sides right before searing. If you use denser Morton’s kosher salt, cut that amount in half—over-salting early can draw out too much moisture, and excess salt will make your finished gravy overly salty.
10.Can I prep this roast beef ahead of time for weekly meal prep? ▾
Absolutely! This roast beef stores beautifully for meal prep. Let the cooked beef and gravy cool completely, then store in airtight containers in the fridge for up to 4 days, or freeze for up to 3 months. Reheat gently in the microwave or on the stovetop with a splash of beef broth to keep the meat from drying out as it warms.
11.Do I need to add extra liquid to the pot, or will the roast release enough on its own? ▾
You will need to add 1 cup of low-sodium beef broth (or even plain water) to the pot after searing the roast and sautéing the onion. The Instant Pot requires a minimum amount of liquid to build and maintain pressure, and while the roast and veggies do release moisture as they cook, it’s not quite enough to hit that threshold on its own.
12.What’s the best way to prepare the yellow onion for this recipe? ▾
After you finish searing the roast on all sides, set it aside and add your thickly sliced yellow onion right to the pot with the leftover extra-virgin olive oil and browned bits. Sauté on the normal sauté setting for 3 to 4 minutes, until the onion softens and turns golden, scraping up any stuck fond from the pot bottom as it cooks to build deep flavor.
13.Should I cut the roast into smaller chunks before pressure cooking? ▾
You don’t need to cut a 3 to 4 pound roast into chunks before cooking, but if your roast is extra large and won’t fit easily in your pot, you can cut it into two equal-sized pieces to make searing easier. Just don’t cut it into small, bite-sized pieces before pressure cooking—those will overcook and turn dry or mushy before connective tissue breaks down.
14.How do I keep the freshly cracked black pepper from making the dish taste bitter? ▾
Crack your black pepper to a coarse, even grind right before seasoning the roast, rather than using stale pre-ground fine pepper that can taste off. Apply the pepper right before searing too—if pepper sits on raw meat for too long, or cooks over super high heat for more than a couple minutes, it can burn and turn unpleasantly bitter. Aim for 1 teaspoon of coarse cracked pepper for a 4-pound roast.
15.Can I adjust this recipe to make firmer, sliceable roast beef for sandwiches? ▾
If you want firmer, sliceable roast beef for sandwiches instead of fall-apart tender shreds to serve with gravy, reduce the high pressure cook time to 35 minutes for a 3-pound roast, followed by a full 25-minute natural pressure release. This cooks the beef to medium doneness that holds its shape when sliced thin, rather than breaking apart easily.

Comments (15)

3 days ago

OMG this Instant Pot roast beef is an absolute game changer! I’ve always been intimidated to make roast because it takes forever in the oven, but 90 minutes?!? Made it for Sunday family dinner over the weekend and my picky 7 year old asked for seconds. So tender it practically fell apart when I pulled it out. 10/10 will be making this for our next potluck too!

2 days ago

Wait did you use chuck roast like the recipe says? I have a rump roast in my freezer I’m wondering if that’ll work?

yesterday

So glad your family loved it, Sarah! Great question from @MidwestMomof3 too — chuck roast works best for that fall-apart texture, but rump roast will work too! Just add 10 extra minutes of cook time and make sure you let it rest for 15 minutes before slicing.

5 days ago

I was skeptical a pressure cooker could make roast as good as my slow smoker, but color me impressed. Got the perfect medium rare edge to edge when I followed the temp guide, and the au jus that came from the drippings was chef’s kiss. Super easy too, I knocked this out after work on a weeknight no problem.

3 days ago

Love that you gave it a shot even as a smoked roast fan! The key is that natural release to keep it from overcooking, so glad that temp guide worked out for you.

1 week ago

Added this to my weekly meal prep rotation! Made a big batch Sunday, sliced it up, and had roast beef sandwiches all week for lunch. Way better than the deli counter stuff, no weird preservatives, and it was so simple to throw together. Only note is I added a little extra garlic because I’m a garlic fiend, highly recommend.

1 week ago

First time ever using my Instant Pot and I picked this recipe to test it out — total win! I was so nervous I’d burn it or undercook it, but the step by step instructions were foolproof. My husband said it’s better than the roast his grandma used to make (don’t tell her lmao).

5 days ago

LMAO don’t let grandma see that comment! I made this last week too, the gravy you make from the pot drippings is insane, right?

3 days ago

That’s the best first Instant Pot win we could ask for! So glad the steps were easy to follow — that drippings gravy is definitely a fan favorite, we never skip it either.

1 week ago

Super easy recipe that was easy to make gluten free! I swapped the regular soy sauce for tamari and didn’t notice a difference at all. The roast came out so juicy, I didn’t even need to add extra gravy. Served it with mashed potatoes and roasted carrots for my partner’s birthday dinner, he raved about it all night.

5 days ago

Great call on the tamari swap! We love that this recipe is super customizable for different dietary needs, so happy it worked for your partner’s birthday dinner!

2 weeks ago

It was okay, came out a little blander than I expected. I think I skimped on the seasoning because I was in a rush, and I skipped the searing step because I didn’t have time. Probably would be better if I actually followed the directions properly next time. Cook time was accurate though, meat was tender.

3 days ago

Brought this to my neighborhood block party last weekend and people were begging for the recipe! I was worried it wouldn’t be enough for 10 people but a 3lb roast went so far, especially when we sliced it thin for sliders. Zero leftovers, that’s how you know it’s a hit. SO good, will be making this for every gathering from now on.

2 days ago

Wait sliders are such a good idea! I was gonna make this for our Labor Day cookout, I’m totally stealing that serving idea.

2 hours ago

Wait a second — can I put a totally frozen roast in for this? I forgot to thaw mine this morning and I’m supposed to have dinner for the in-laws in a couple hours, panicking a little. Anyone tried this? The recipe looks amazing otherwise, I’ve made it twice before with thawed roast and it was perfect.

30 minutes ago

I did that once! Add about 25 extra minutes of high pressure, it came out totally fine. I skipped the initial sear since the roast was rock hard, then popped it under the broiler for a few minutes after cooking to get that nice crust.

5 minutes ago

Great question! You can absolutely use a frozen roast — add 20-25 minutes to the high pressure cook time, and you can skip the initial sear if you’re crunched for time, just pop it under the broiler for 3-4 minutes after cooking to get that crispy outer crust if you want it. You’ve got this!

5 days ago

As someone who survives off microwave meals and ramen, this was shockingly easy to make. My roommate and I split the cost of a roast, followed the directions exactly, and we had a fancy dinner for like $5 each. Tasted like something you’d get at a nice steakhouse, no cap. 10/10, even a cooking noob can nail this.

yesterday

Made this yesterday for our weekly family dinner, served with roasted broccoli and cheddar mashed potatoes. The meat was so tender we didn’t even need a knife to cut it. My dad, who is the pickiest eater on the planet and hates any “new fangled gadget” cooking, went back for thirds. That’s the highest possible endorsement if you ask me.

2 hours ago

A picky dad approval is the ultimate win! Those Instant Pot gadgets can feel fussy at first but they turn out classics like this so well, we’re so glad he loved it.

2 hours ago

I was worried 90 minutes was too long for a weeknight meal, but most of that is hands off pressure cook time! I got home, seared the roast for 10 minutes, tossed all the veggies and liquid in, set it, and had time to help my kid with homework while it cooked. No hovering over the stove, no stirring, perfect for busy school nights.

30 minutes ago

Same! I used to think roast was only for weekends because of the cook time, but this is a total weeknight game changer now. I even set my pot to delay start once so it was done right when we got home from soccer practice.

2 weeks ago

Threw in baby potatoes, carrots, and celery right in the pot with the roast like the recipe suggested and oh my gosh, they soaked up all that beefy flavor so well. I didn’t even have to make a separate side dish, everything cooked in one pot! Less dishes = happy me, especially on a night I don’t feel like cleaning a million pans.

1 week ago

I did the same veggie trick! Only thing I’ll do different next time is cut the potatoes a little bigger — mine got a little too mushy when I cut them into 1 inch chunks. 2 inch chunks held up way better when I tested it a second time.

5 days ago

Love the one pot veggie hack! Great tip from @OnePotMealFan too — larger veggie chunks hold up better during the pressure cook time so they don’t turn mushy, we usually aim for 2 inch pieces for potatoes for that exact reason.

5 minutes ago

Forgot to do the natural release at first and did a quick release, got a little liquid spewing out of the valve (oops, my bad) but the roast still came out incredible! Even with my little user error, it was juicy, flavorful, and my whole family ate every last bite. Next time I’ll remember to do the natural release like the recipe says, promise 😂

just now

Oh no, sorry about the valve spew! That happens to the best of us when we’re in a dinner rush — so glad the roast still turned out great even with the little mishap, that natural release is worth the extra wait to avoid the mess!

1 week ago

Perfect low carb/keto friendly dinner! I skipped the potatoes and loaded up on onions, mushrooms, and celery with the roast, and it was so satisfying. No weird added sugars, all whole food ingredients, and it kept me full for hours. Even my non-keto husband didn’t miss the potatoes at all. Will be making this monthly for sure.

2 days ago

Added a little cajun seasoning and a dash of hot sauce to the au jus to give it a little kick, and it was chef’s kiss. The base recipe is so solid, it’s super easy to tweak to match whatever flavor profile you’re in the mood for. Made it for my football watch party last weekend and all my buddies went crazy for it.



