
Irish Stout
intro
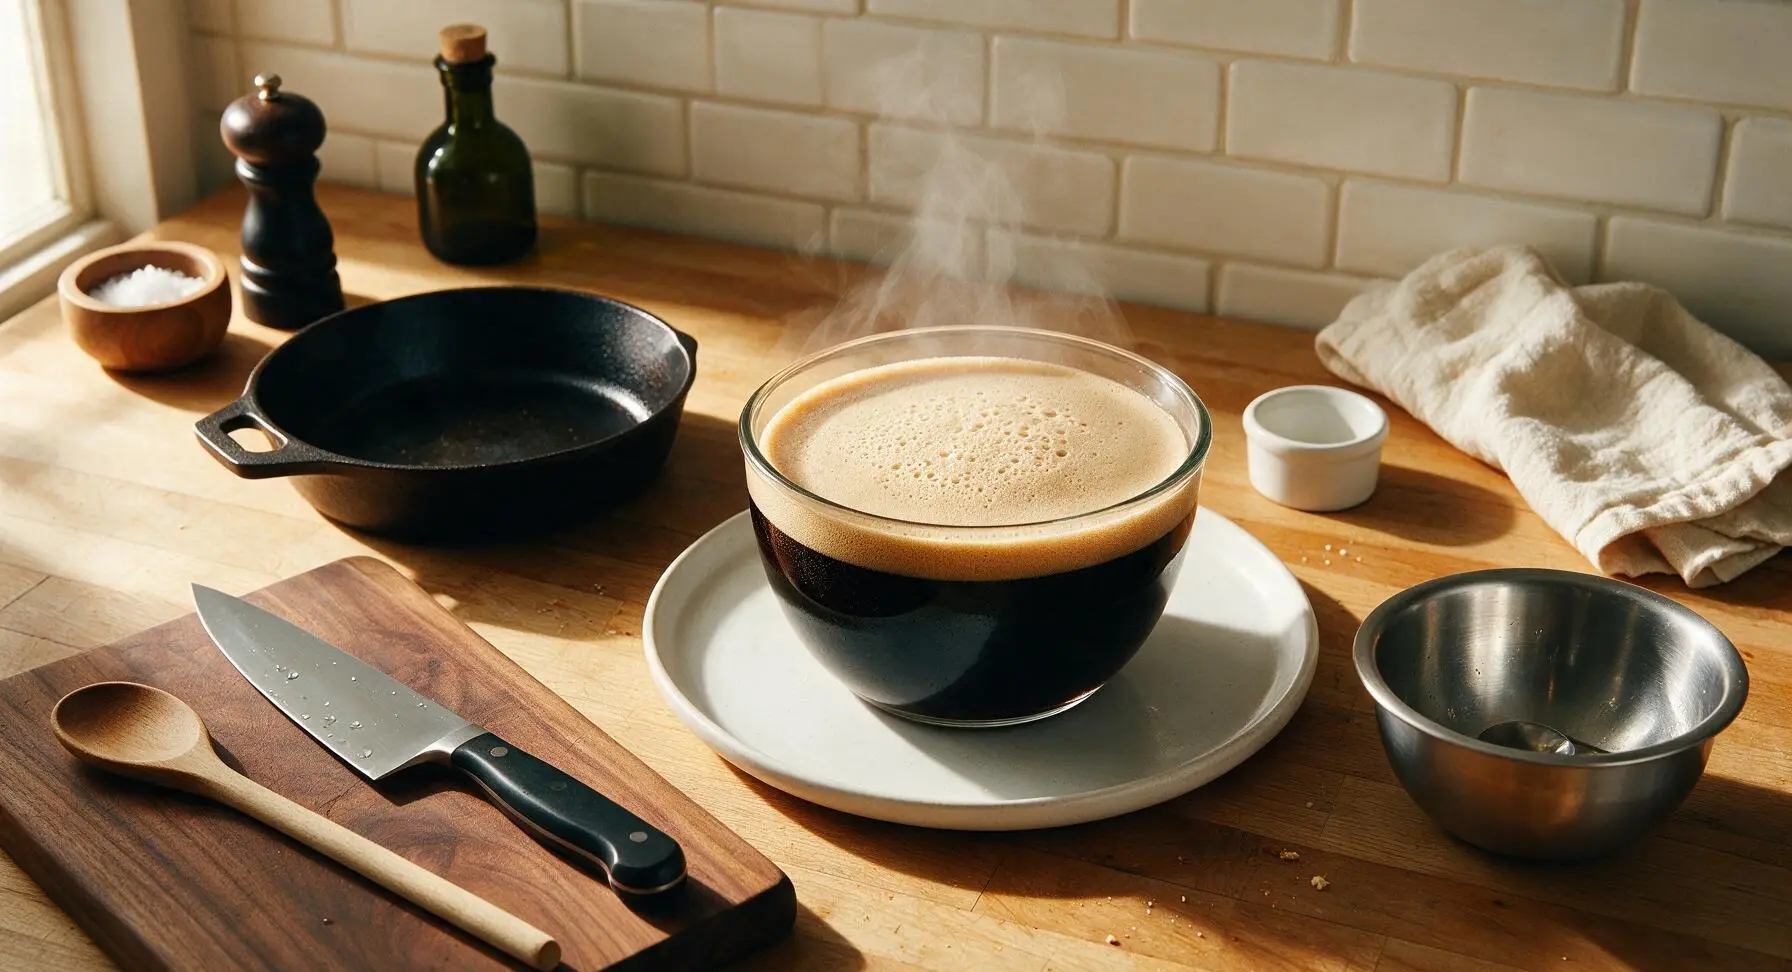
Smooth, roasty homemade dry Irish stout with deep coffee and dark chocolate notes, a thick creamy tan head, and crisp dry finish, just like a classic pub pour.
Ingredients
Steps
Sanitize All Equipment
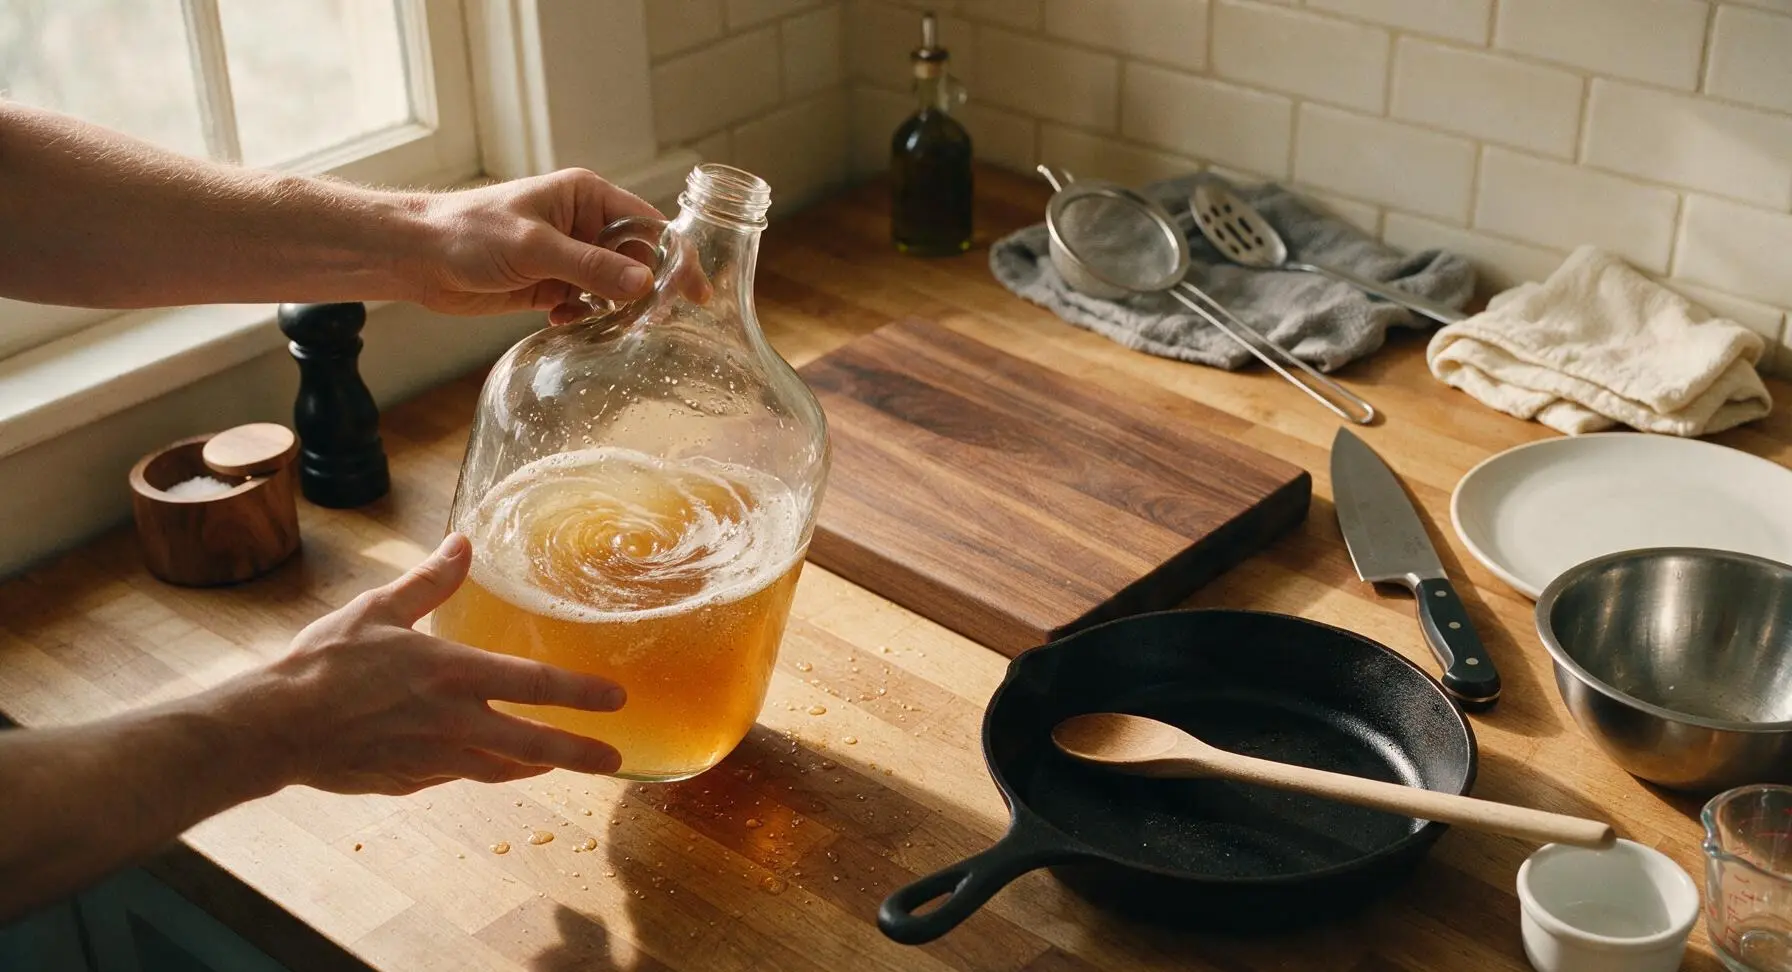
Mix 1 tablespoon of no-rinse brewing sanitizer with 4L of cool filtered water in the clear 1-gallon fermentation jug. Swirl to coat all interior surfaces, then pour the sanitizer solution through the fine-mesh strainer, slotted stirring spoon, airlock, and thermometer to fully sanitize every surface that will contact the beer. Set sanitized items on the clean heather grey tea towel to air dry for 5 minutes, until no visible suds remain. Proper sanitization prevents off-flavors and batch spoilage.
Heat Mash Water
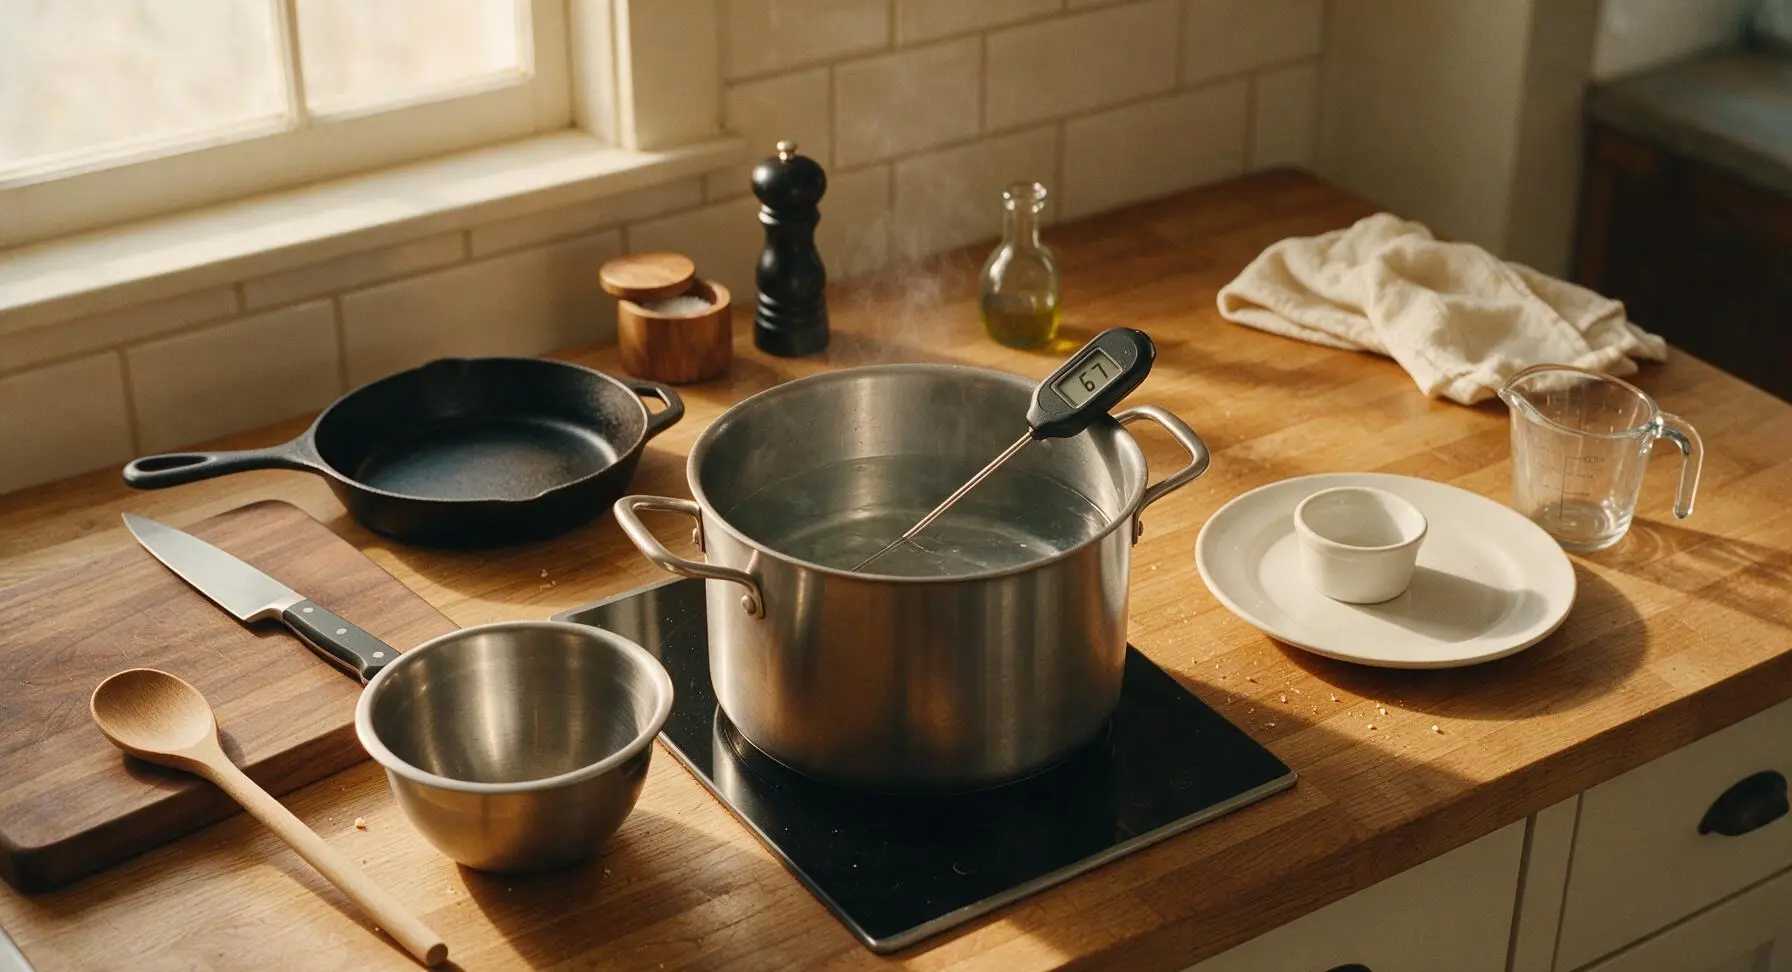
Pour 3L of filtered water into the stainless steel brew pot set on the center induction burner. Heat the water to exactly 67C (153F), monitoring temperature with the digital instant-read thermometer. Hold this temperature steady, taking care not to bring the water to a boil at this stage.
Mash the Grains
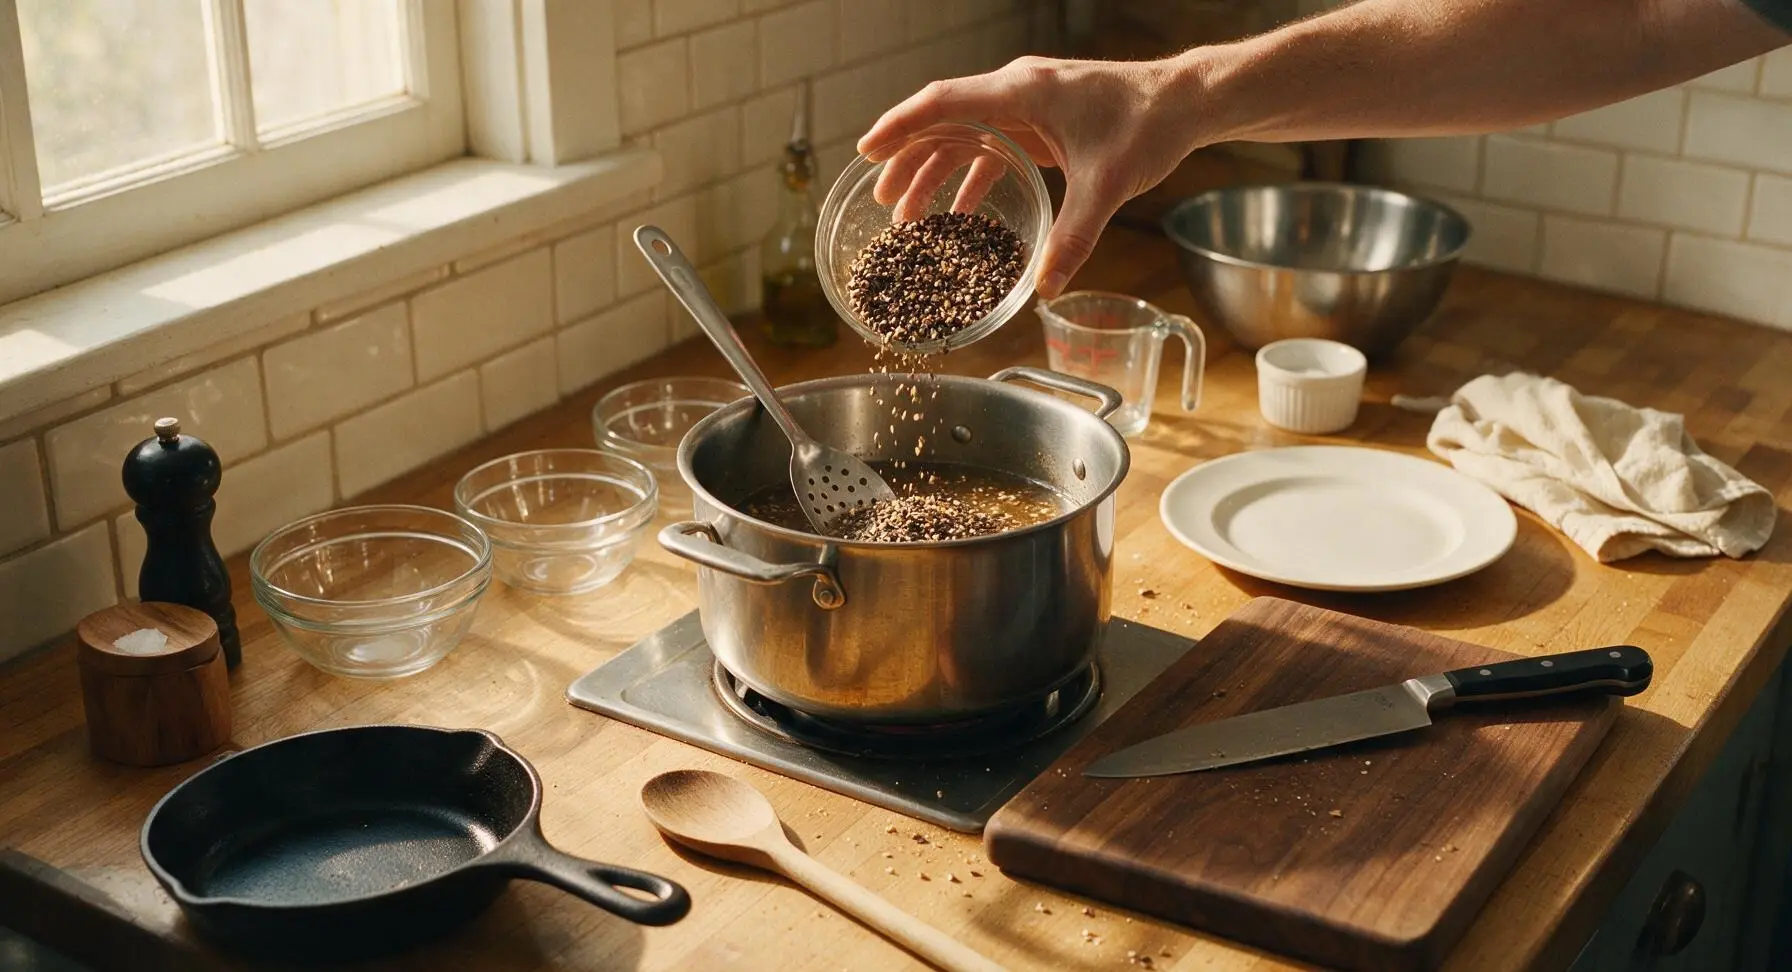
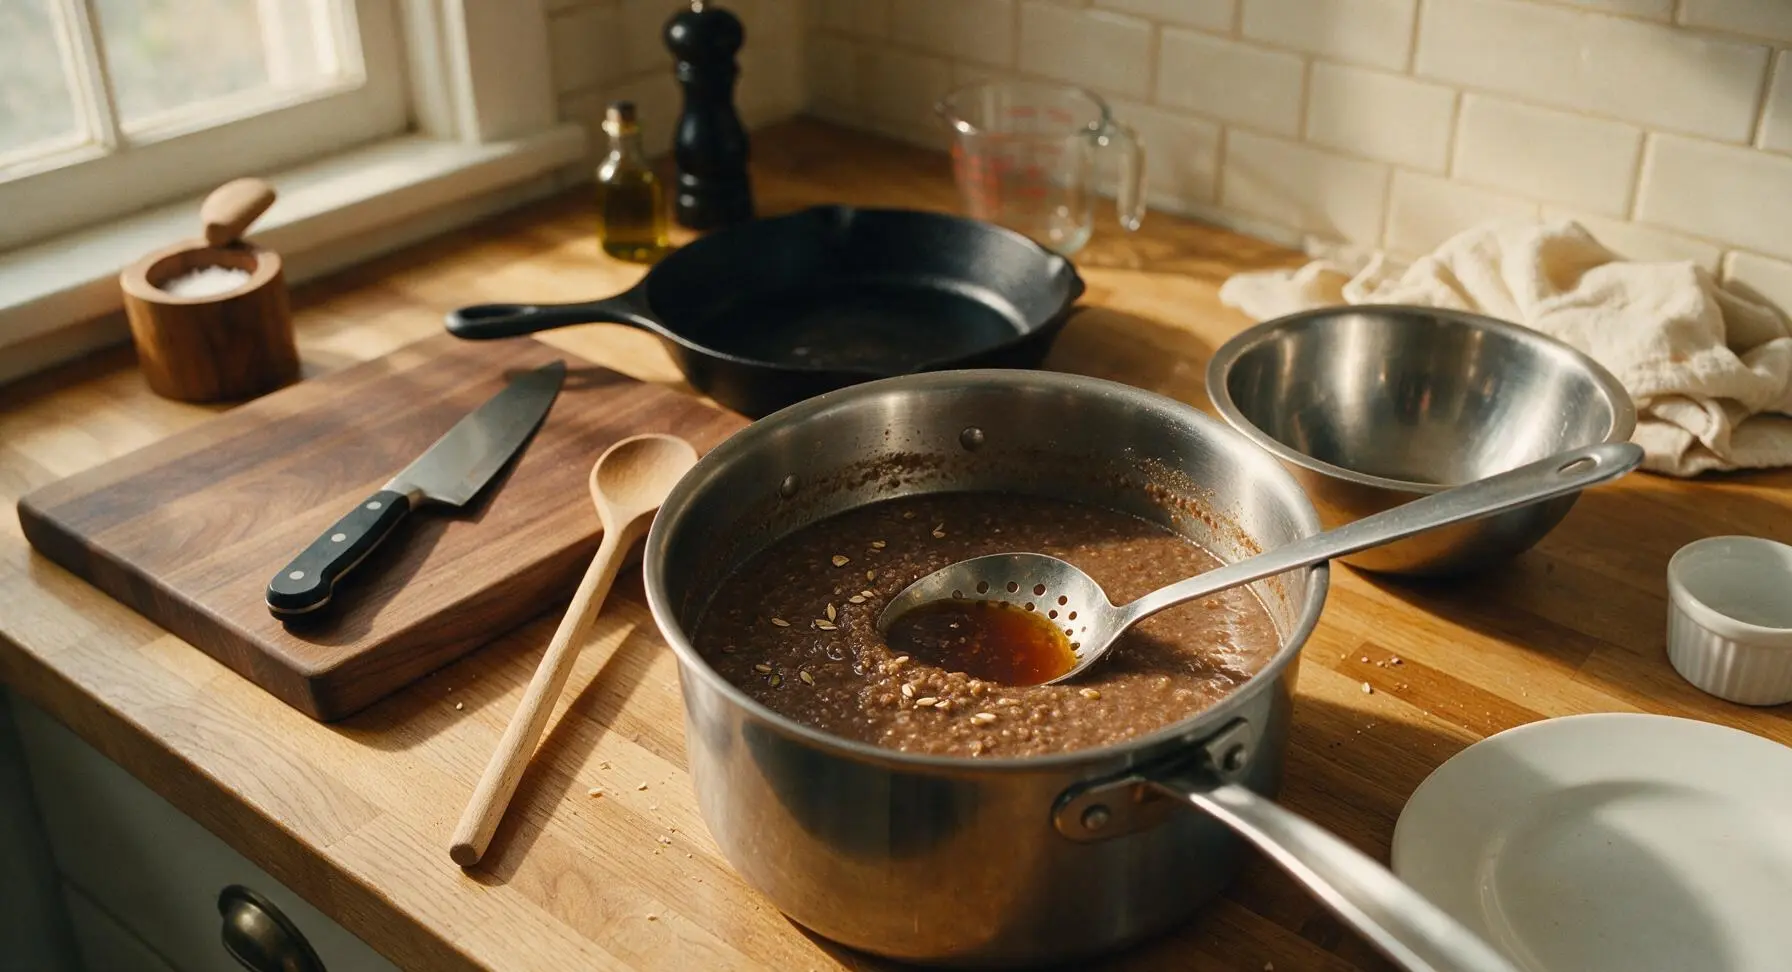
Slowly stir all crushed pale malt, roasted barley, and flaked barley into the heated water, using the slotted stainless steel spoon to break up any dry clumps. The mixture will form a thick, porridge-like consistency. Hold the temperature steady at 65-68C (149-154F) for 60 minutes, covering the pot with a lid to retain heat. During this rest, grain enzymes convert starches to fermentable sugar, creating a sweet, dark wort.
Strain Sweet Wort
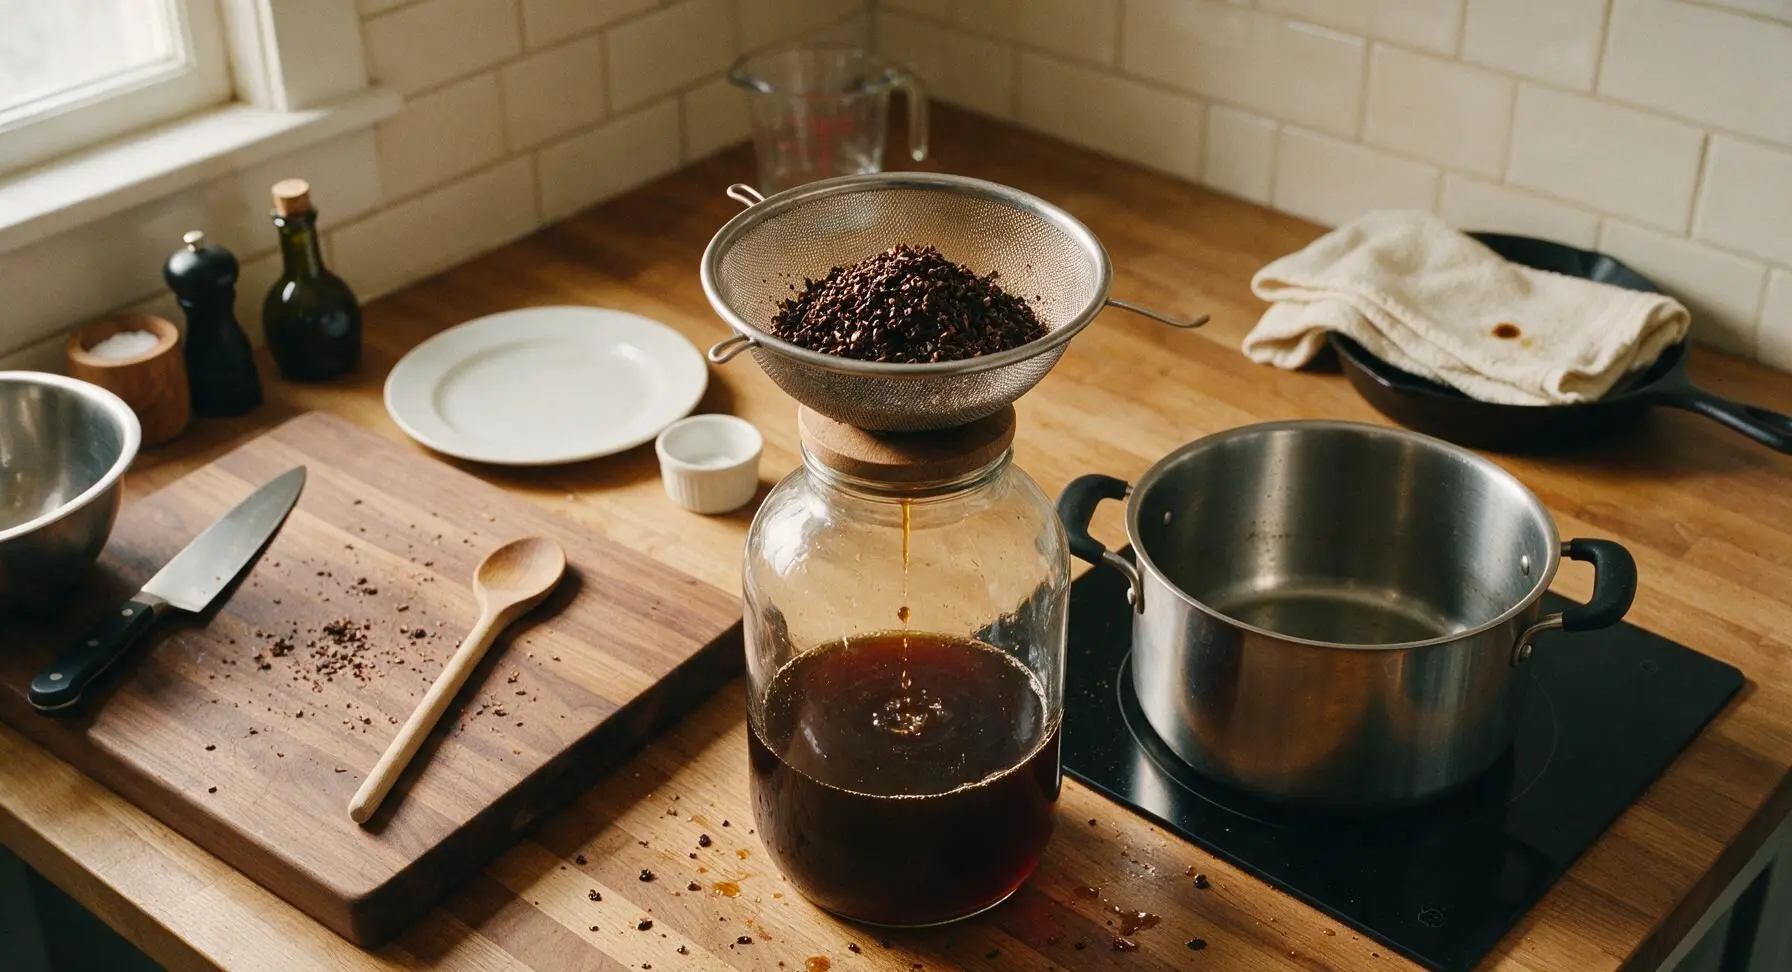
After the 60-minute mash rest, place the fine-mesh stainless steel strainer over the top of the sanitized fermentation jug. Slowly pour the mash through the strainer to separate the sweet dark wort from the spent grain hulls. Pour 1L of 77C (170F) hot filtered water over the grain bed in the strainer to rinse residual sugars from the grains (sparging). Discard the spent grains once all liquid has drained through.
Boil Wort With Hops
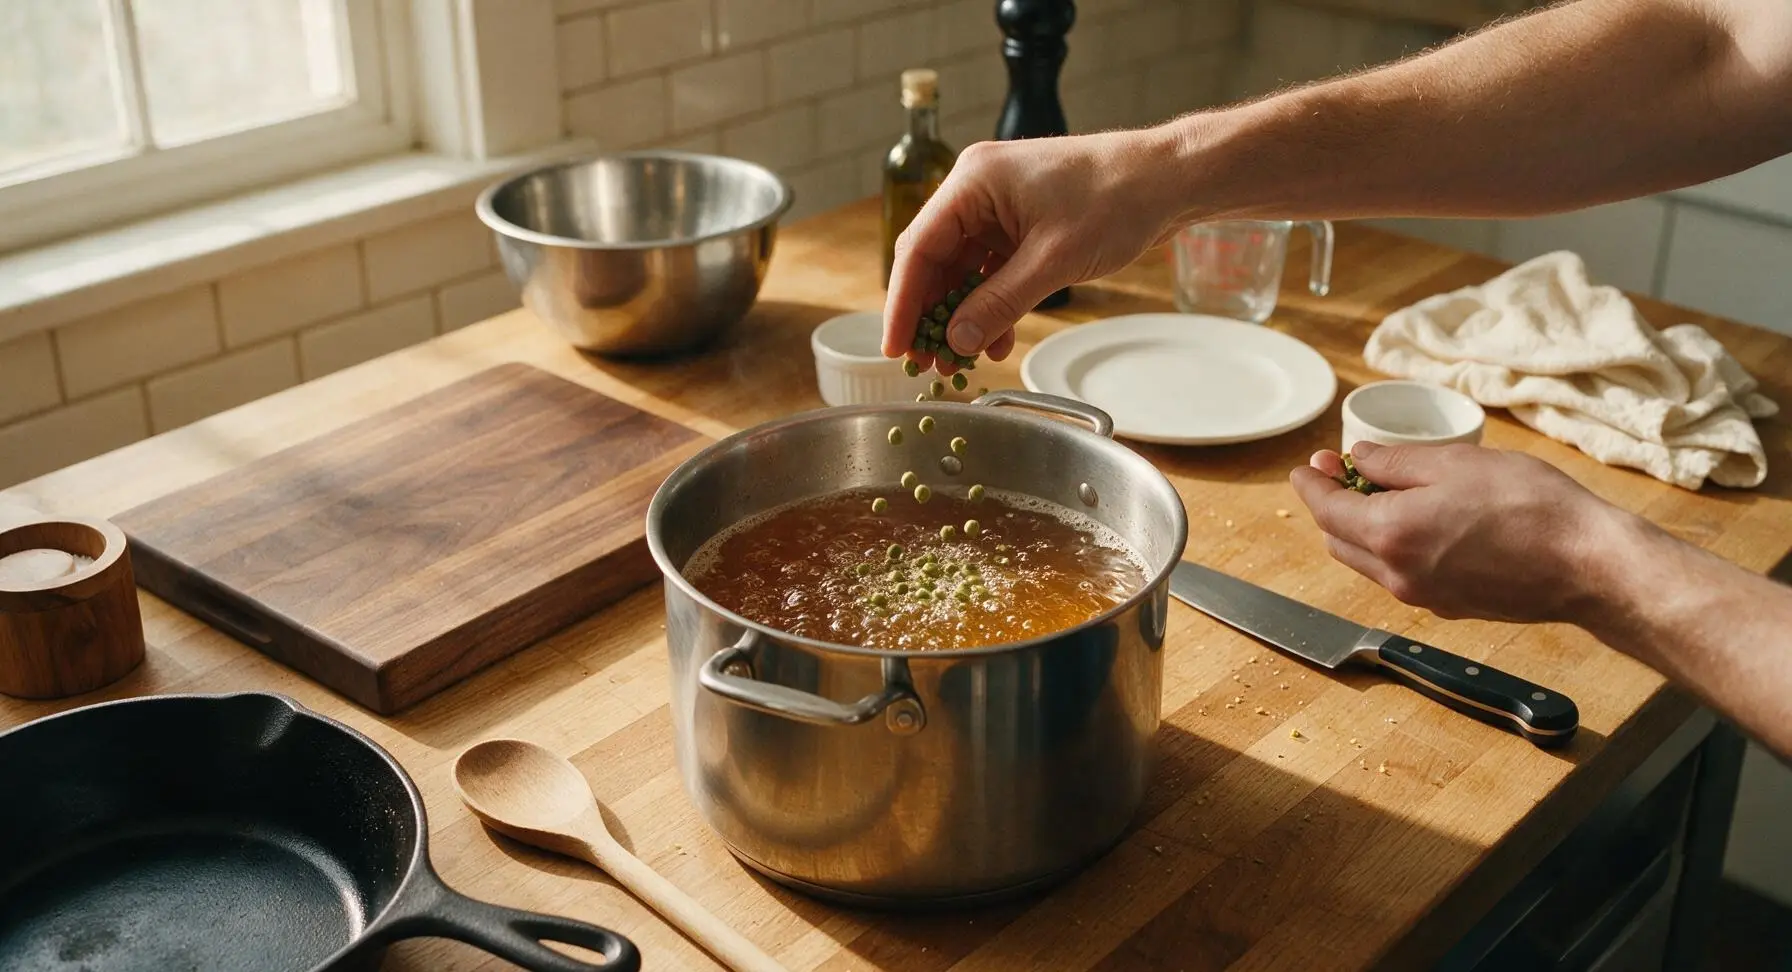
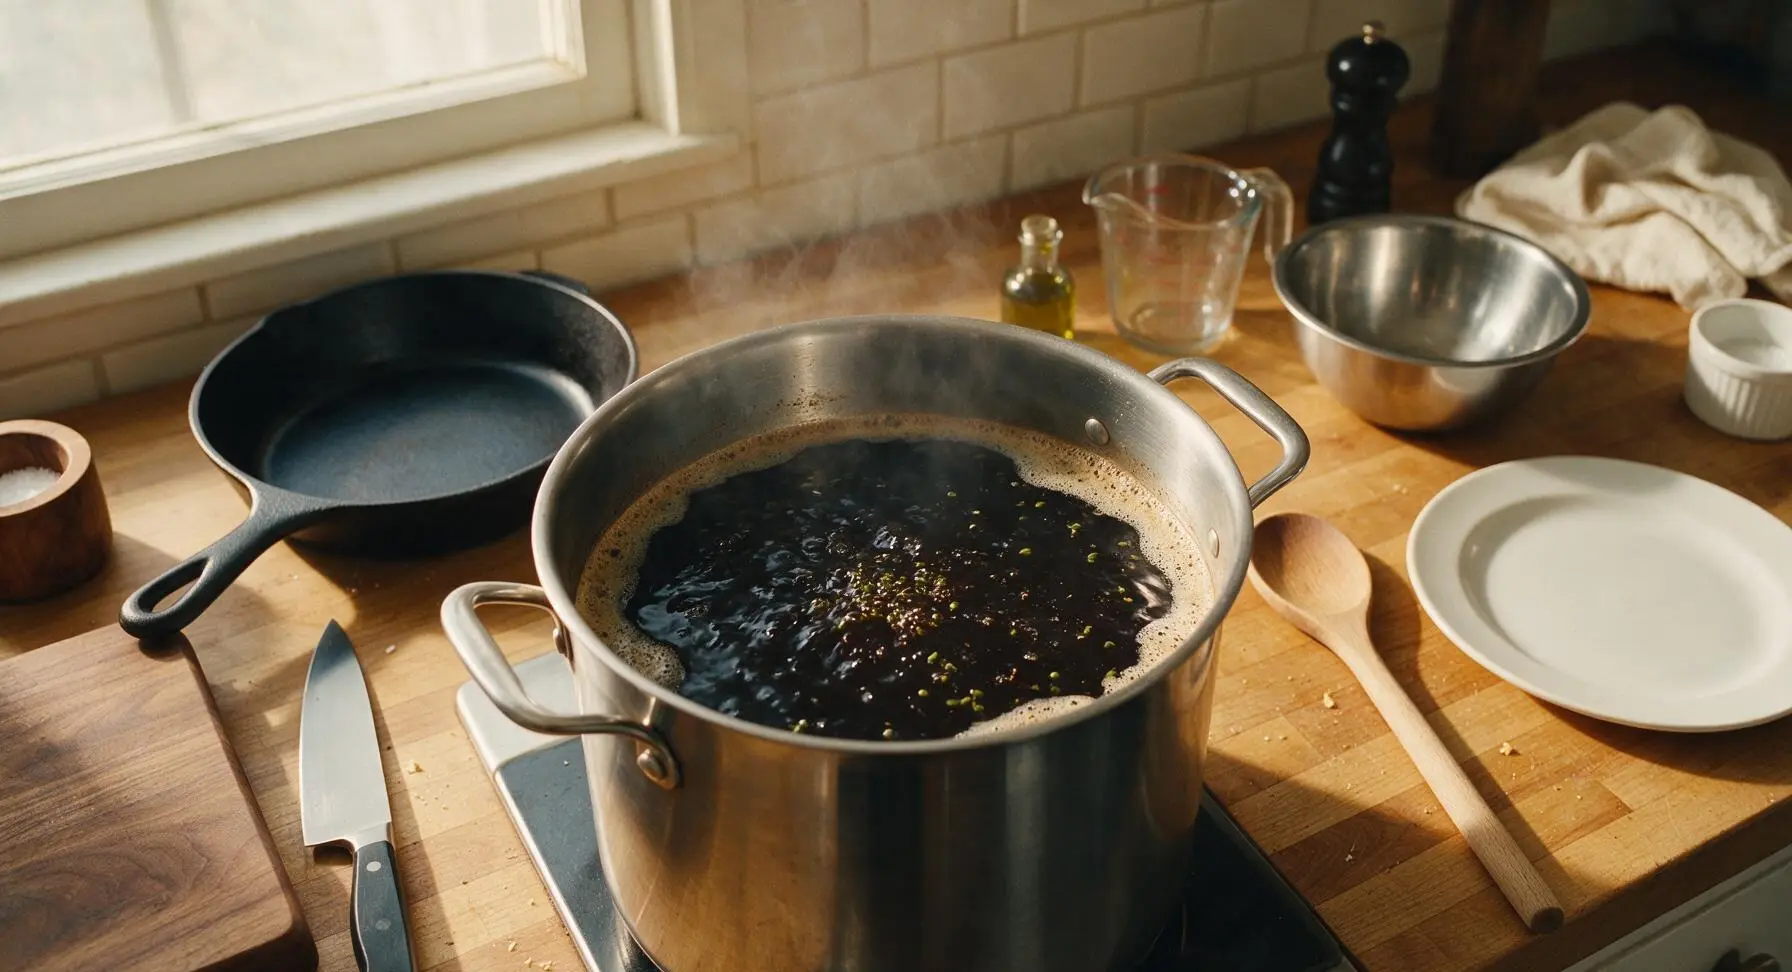
Pour the collected strained wort back into the stainless steel brew pot, bring to a gentle rolling boil over medium induction heat. Once boiling steadily (adjust heat to avoid foaming over), add 20g of East Kent Goldings hops, then set a timer for 60 minutes. Maintain a gentle boil, stirring occasionally. With 5 minutes remaining in the boil, add the remaining 8g of hops to add subtle, earthy aroma. The wort will darken to a near-ebony color as it boils.
Cool Wort Rapidly
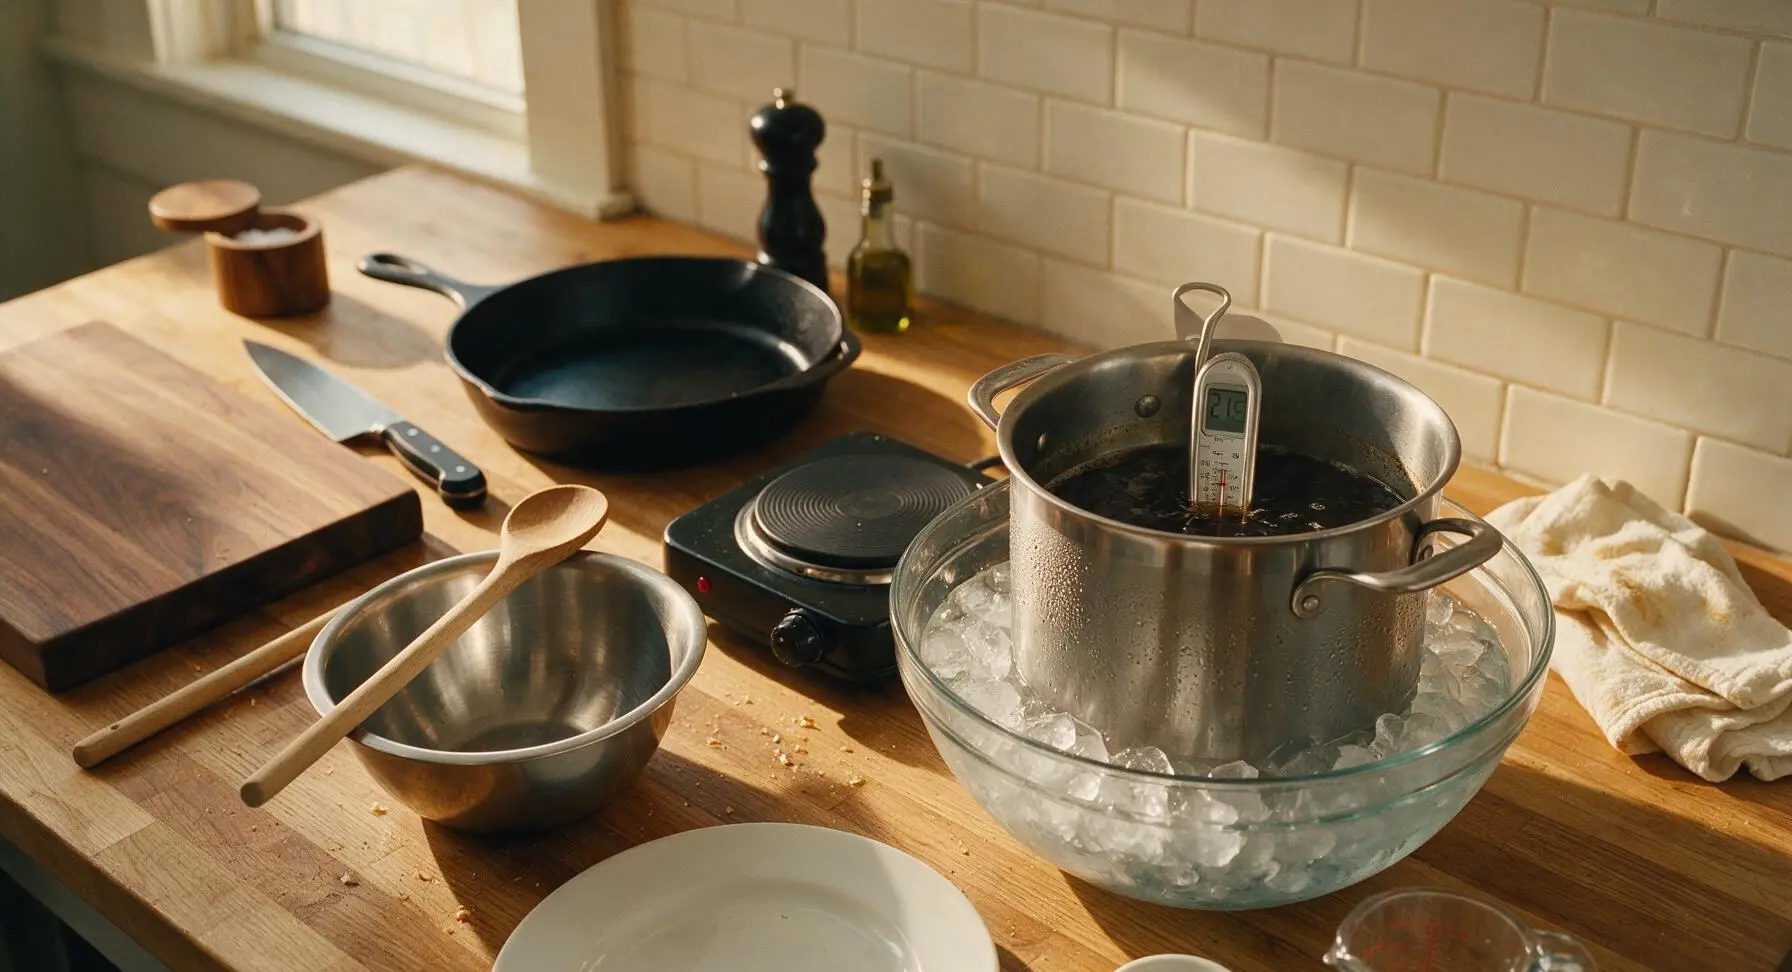
Once the 60-minute boil is complete, turn off the induction burner. Set the covered brew pot into a large heatproof bowl of ice water positioned to the right of the burner. Stir the wort gently with the sanitized spoon to speed cooling, until the wort temperature drops to exactly 21C (70F), approximately 20 minutes. Take care not to let ice or un-sanitized water touch the wort to avoid contamination.
Pitch Ale Yeast
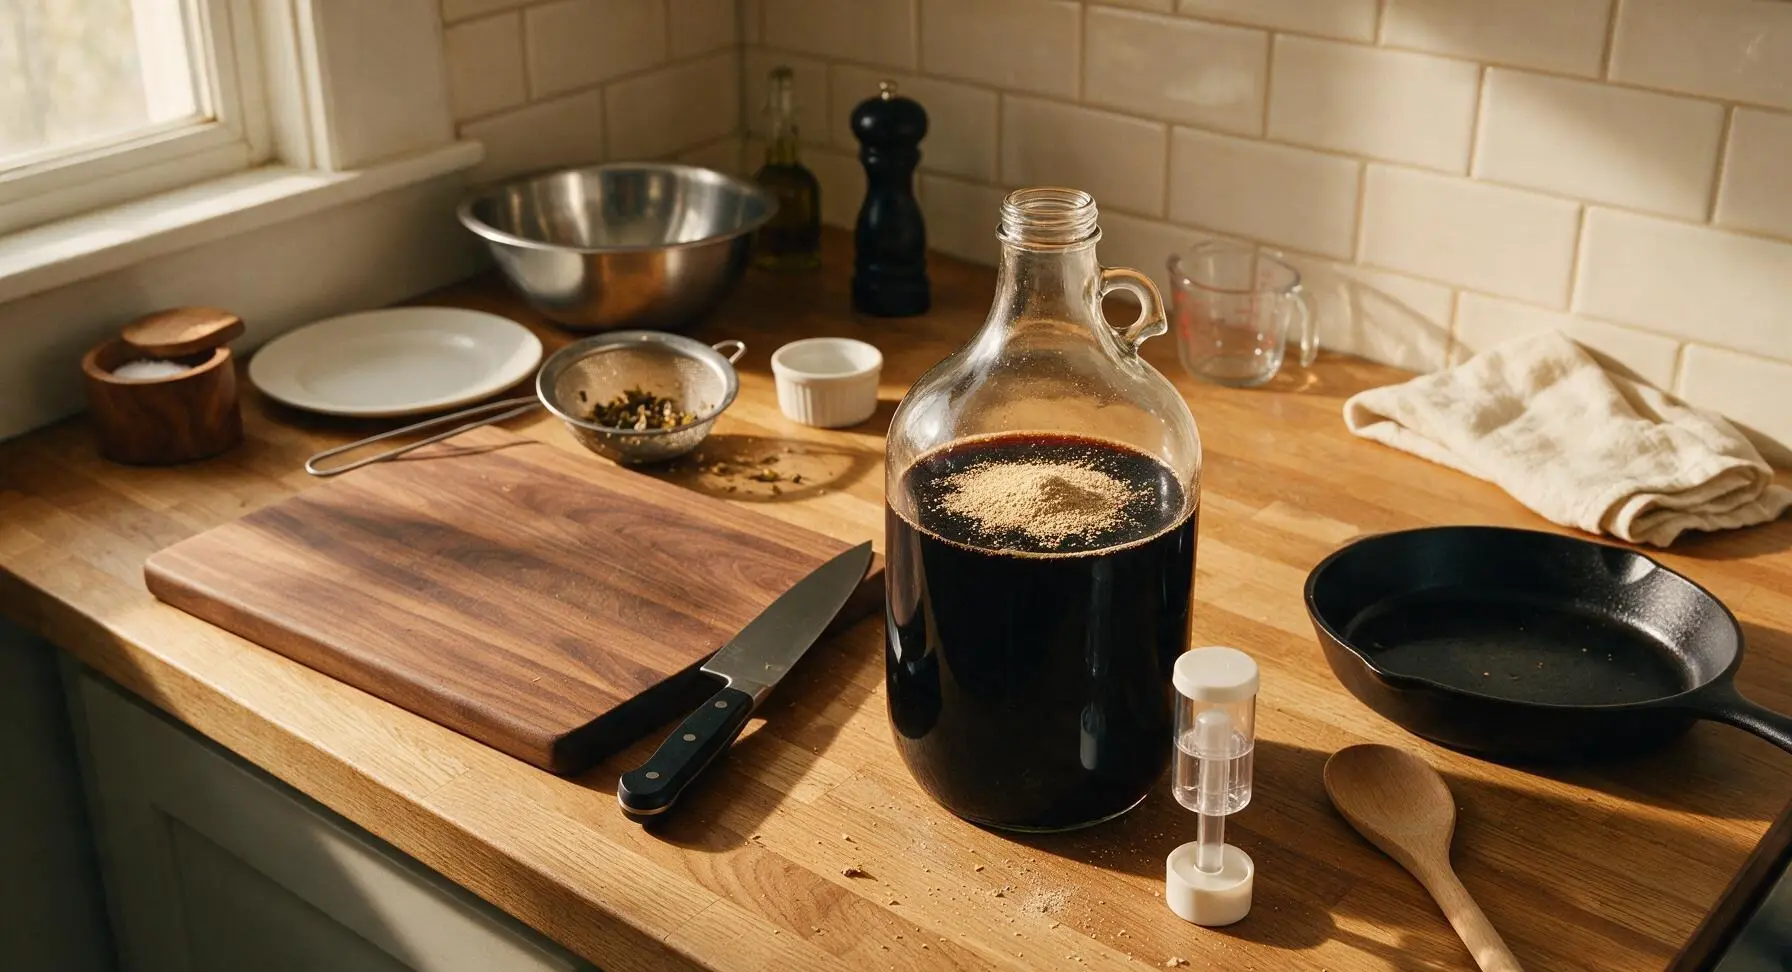
Pour the cooled dark wort back through the sanitized strainer into the fermentation jug to filter out hop particles. Sprinkle the entire packet of Irish ale yeast evenly over the surface of the wort. Seal the jug neck with a sanitized rubber stopper, fit the 3-piece airlock into the stopper, and fill the airlock halfway with sanitizer solution to create an airtight seal that allows fermentation gas to escape.
Ferment and Carbonate
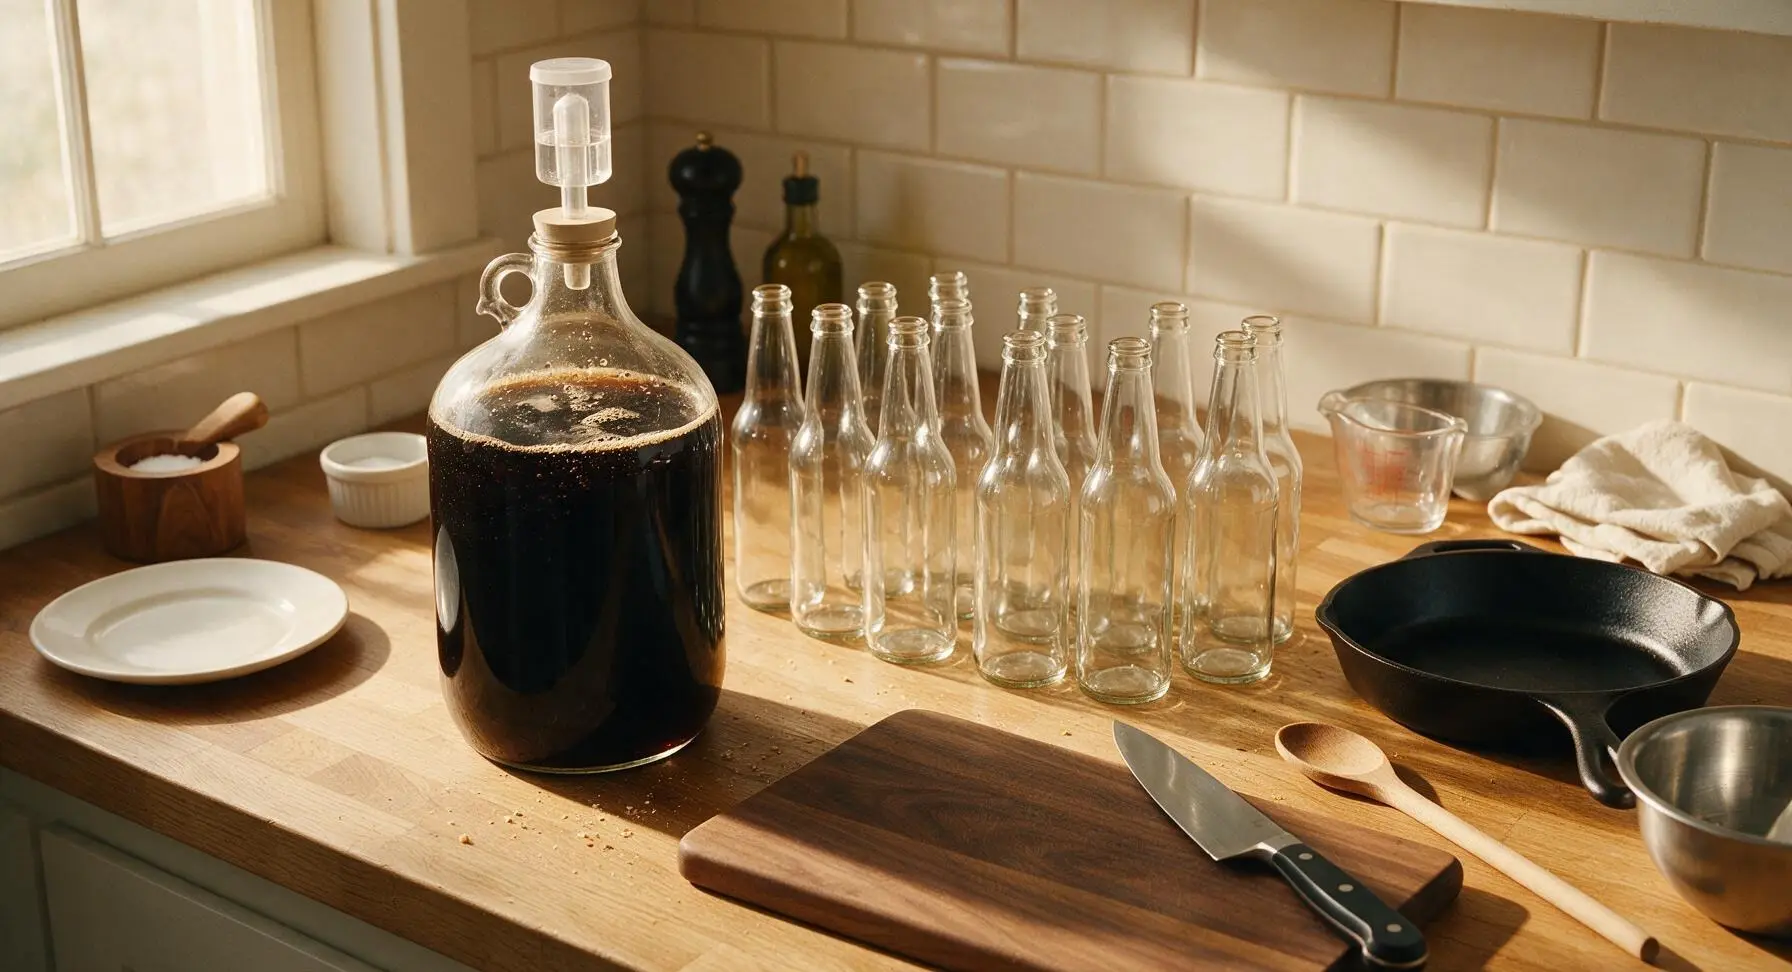
Move the sealed fermentation jug to a dark, temperature-stable spot (18-21C / 65-70F) to ferment for 10-14 days, until no more bubbles pass through the airlock. Dissolve 30g of corn priming sugar in 100ml of boiled, cooled water, mix gently into the finished flat beer, then siphon into sanitized 12oz glass bottles. Cap bottles tightly and let condition at room temperature for 7 days to build natural carbonation, then chill for 24 hours before serving.
Tips
2.Do not open the fermentation jug while active bubbles are passing through the airlock: exposing young beer to oxygen or airborne bacteria at this stage will create stale, cardboard-like off-flavors or spoil the batch entirely.
3.For the signature pub-style creamy head, pour the chilled stout vigorously from 10-15cm above the pint glass for the first three-quarters of the pour, then top up gently from a lower height to avoid overflow; this agitates carbonation to create a thick, long-lasting head without wasting beer.






OMG this homemade dry Irish stout was a total game changer for our St. Patrick’s Day potluck last weekend! I was nervous because I’d never homebrewed anything before, but the steps were so straightforward even for a medium-skill recipe. Everyone kept asking where I bought it, they couldn’t believe I made it from scratch! SO smooth, perfect roasted notes, no weird bitter aftertaste like some store bought stouts I’ve tried. 10/10 will be making this again for our summer backyard cookouts.
Solid recipe, turned out great for my weekly guy’s game night. The 1 hour 20 minute cook time was way shorter than other stout recipes I’ve tried which was a huge win for my busy weeknight schedule. Only knock is I wish there was a note about how long to let it carbonate after bottling—mine was a little flat when I cracked the first one a week early, oops. Tasted perfect once I waited the full two weeks though!
Made this for a casual beach bonfire with friends last week and everyone went crazy for it! That rich, coffee-like roast is chef’s kiss, way creamier than I expected a dry stout to be. I was worried medium difficulty meant I’d mess it up, but the step by step instructions made it foolproof. Already sent the recipe to three of my homebrew buddies.
Wait, is there a non-alcoholic version of this? I love the flavor of dry Irish stout but don’t drink alcohol, would love to make something I can sip at family dinners without the buzz!
Tried this recipe last month and it’s now my go-to house stout! I brought a growler to my office happy hour and even the people who swear they hate dark beer were going back for seconds. The balance of roast and that subtle dry finish is exactly what I look for in an Irish stout, better than the big name brand versions I’ve been buying for years. Worth every minute of prep!
Decent recipe, but I definitely struggled a little with the mash temperature step—my first batch came out a little thinner than I expected, probably because I didn’t hold the temp steady enough. Flavor was still good though, just not as rich as the stouts I get at my local pub. I’ll give it another shot next weekend and pay closer attention to that step.
Y’all, this stout was the star of our tailgate before the college football game last weekend! I poured it into little insulated cups so it stayed cold even in the 80 degree heat, and people were raving about it all afternoon. I was worried a heavy stout wouldn’t hit in warm weather, but the dry finish makes it so refreshing! 10/10, game changer for fall tailgates too.
I’ve been homebrewing for 8 years and this is easily one of the best dry Irish stout recipes I’ve come across for beginners. The 1 hour 20 minute boil time is spot on, no weird extra steps that overcomplicate things, and the final product is legitimately comparable to what you’d get at a Dublin pub. I did add a tiny splash of cold brew coffee to my last batch and it took it to the next level, highly recommend that tweak if you love coffee notes.
Really solid base recipe! I swapped in a little chocolate malt for a deeper flavor and it turned out amazing. My only tiny complaint is that the ingredient list didn’t specify what type of yeast to use as clearly as I would have liked as a newer brewer, but I looked it up and it worked out fine. Will definitely be using this as my base stout recipe going forward.
Made this with my 21 year old kid last weekend for his first ever homebrew attempt and we had a blast! It’s still conditioning right now but we snuck a little sample during bottling and the flavor is already chef’s kiss. Can’t wait to crack the first bottle in another week to celebrate his birthday.
Ugh, I totally messed up my first batch of this! I misread the grain amount and added way too much roasted barley, so it’s so bitter it’s basically undrinkable. I know that’s my bad for not reading closely, but I wish the ingredient measurements were in bigger, bolder text so I didn’t misread them while I was running around my kitchen. Flavor profile sounds amazing if you don’t mess up the measurements, I guess.
Hosted a little Guinness taste test with my roommates last night, pitting this homemade version against the store bought classic, and THREE out of four of us picked the homemade one as better! The mouthfeel is so much smoother, no weird metallic aftertaste, and it feels so cool to say I made my own stout. This is going to be my go-to for every dinner party I host from now on.
Quick heads up for anyone brewing this at high altitude (I’m at 6,000ft in the Rockies!)—you’ll need to adjust your boil time a little since water boils at a lower temp up here. I added 10 extra minutes to the boil and my batch turned out perfect, just wanted to share for other mountain brewers!
SO good! I made a batch for my brother’s wedding welcome party last weekend and it was a total hit with all the guests. I printed little custom labels for the bottles to give out as favors and people were shoving them in their bags to take home, it was wild. The medium difficulty rating is totally accurate—you don’t need a fancy professional brew setup to nail this, just a little patience during the 1 hour 20 minute boil. Already planning my next batch for our annual fall potluck!