
Italian Rolls (45-Minute)
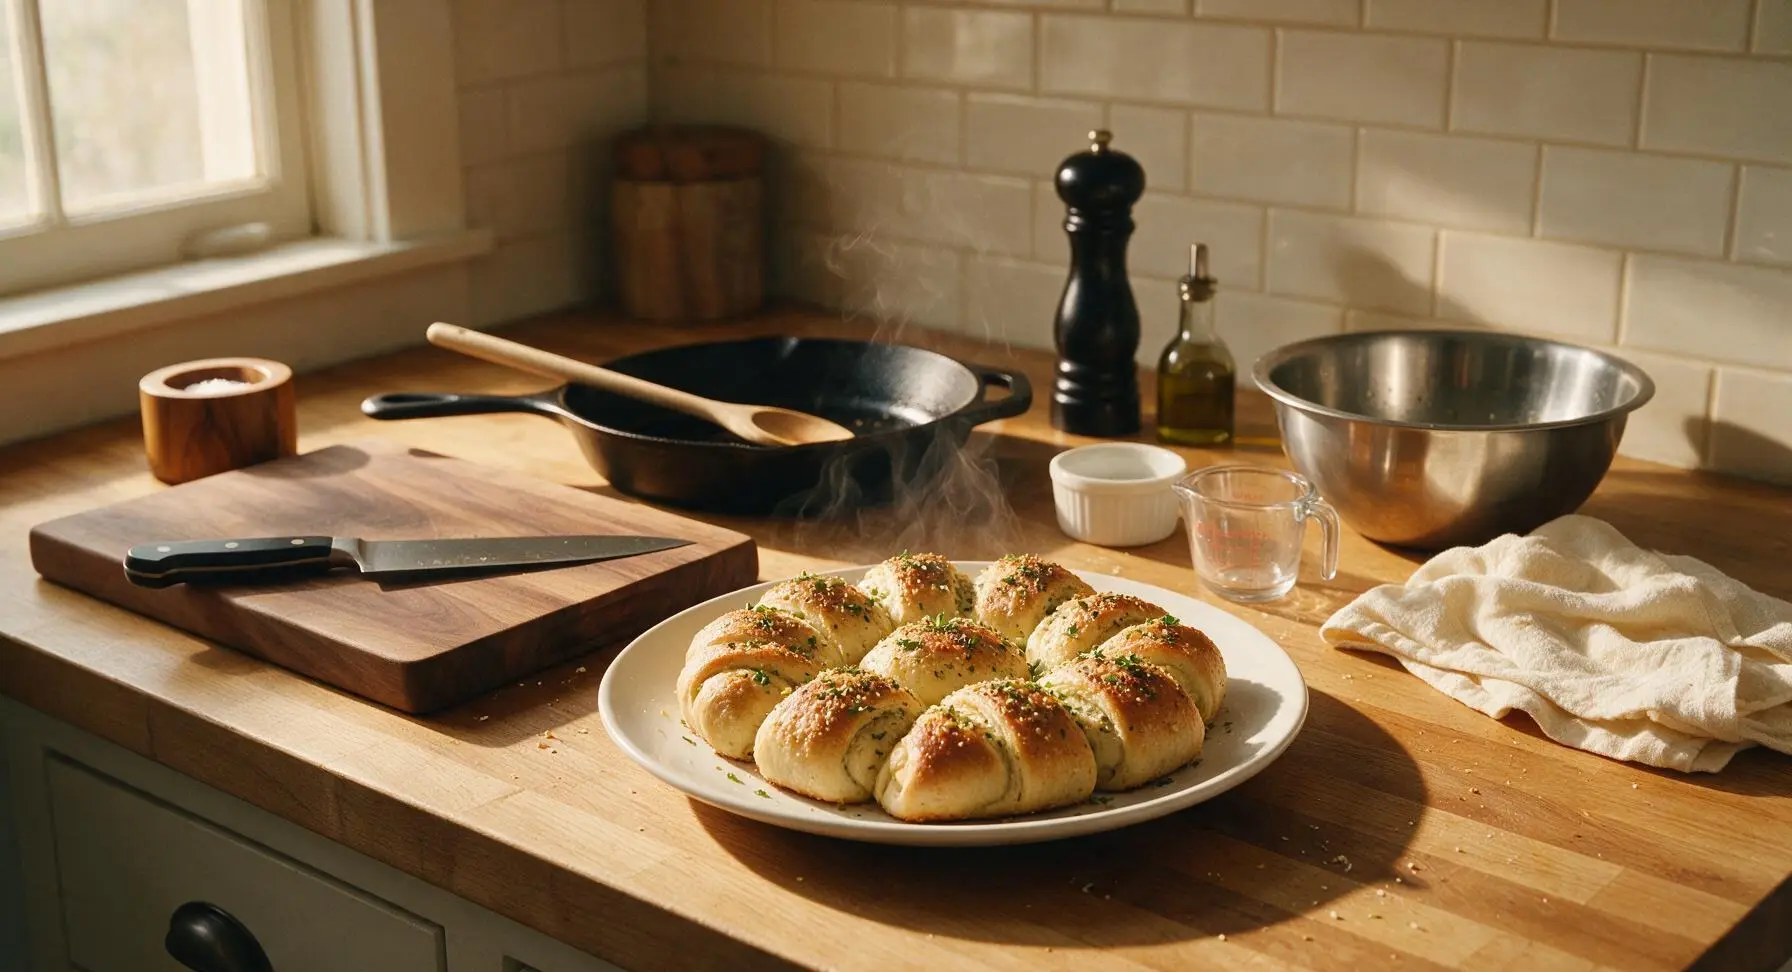
intro
Soft, garlic-herb crusted Italian rolls ready in just 45 minutes — no long rise, fluffy inside, perfect for sopping up sauce on busy weeknights.
Ingredients
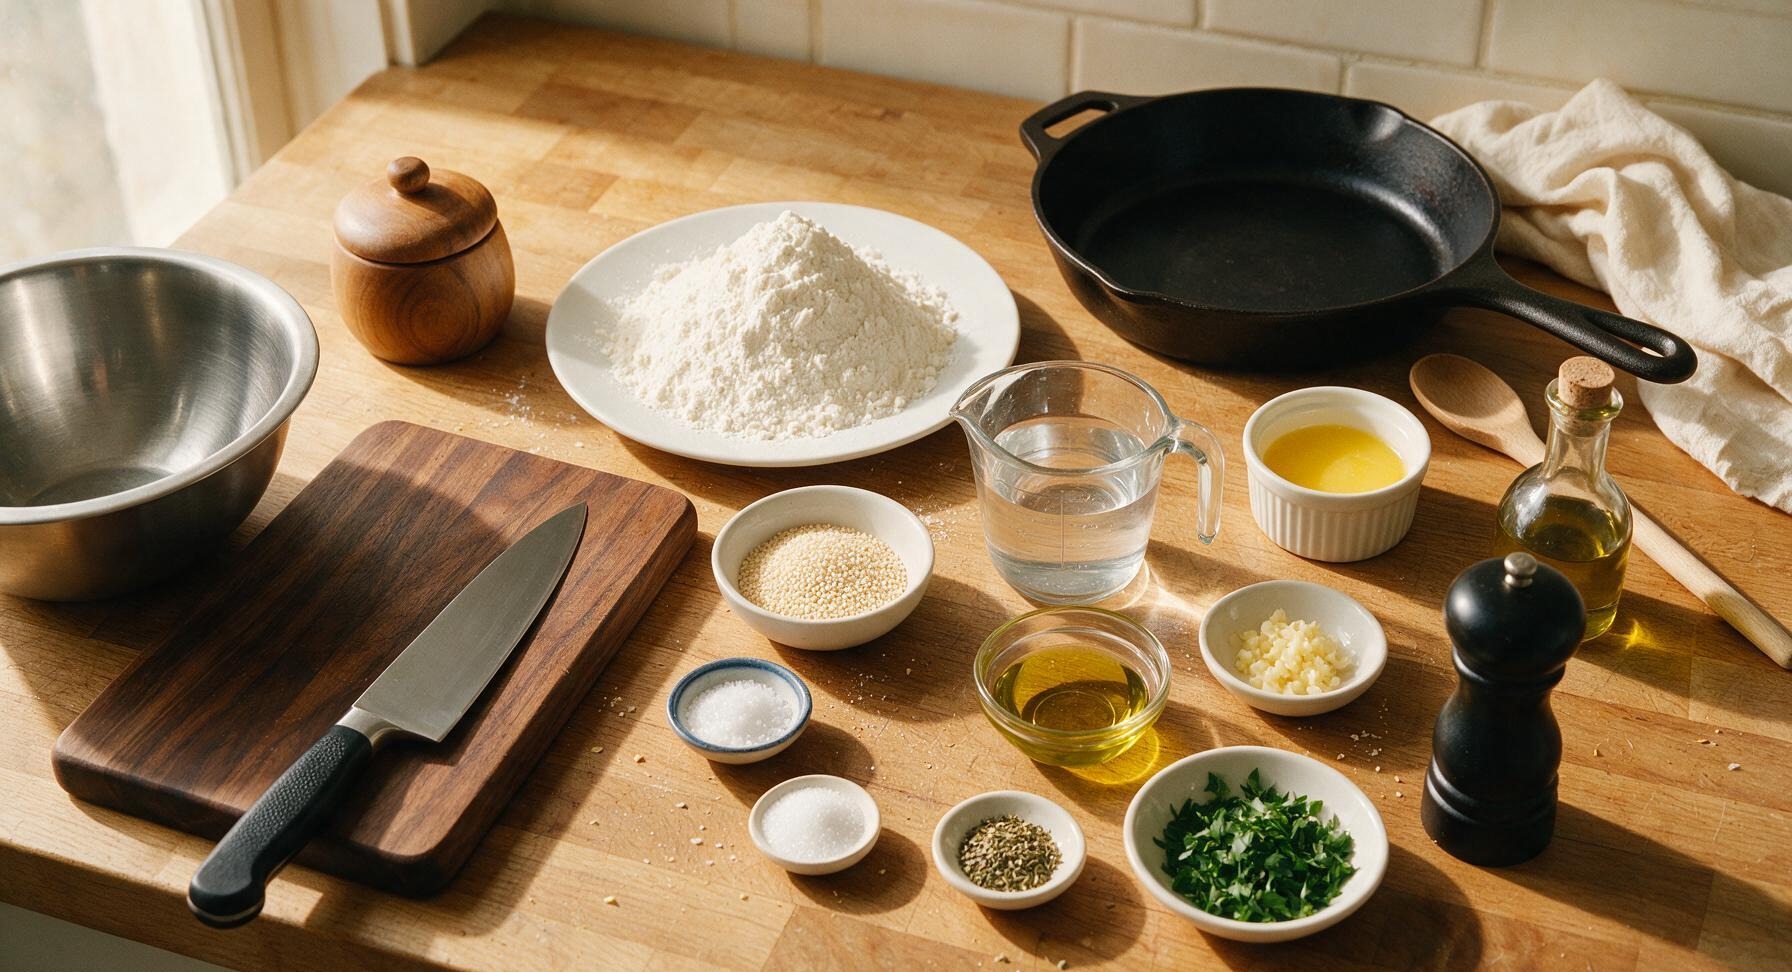
Steps
Mix the Dough Base
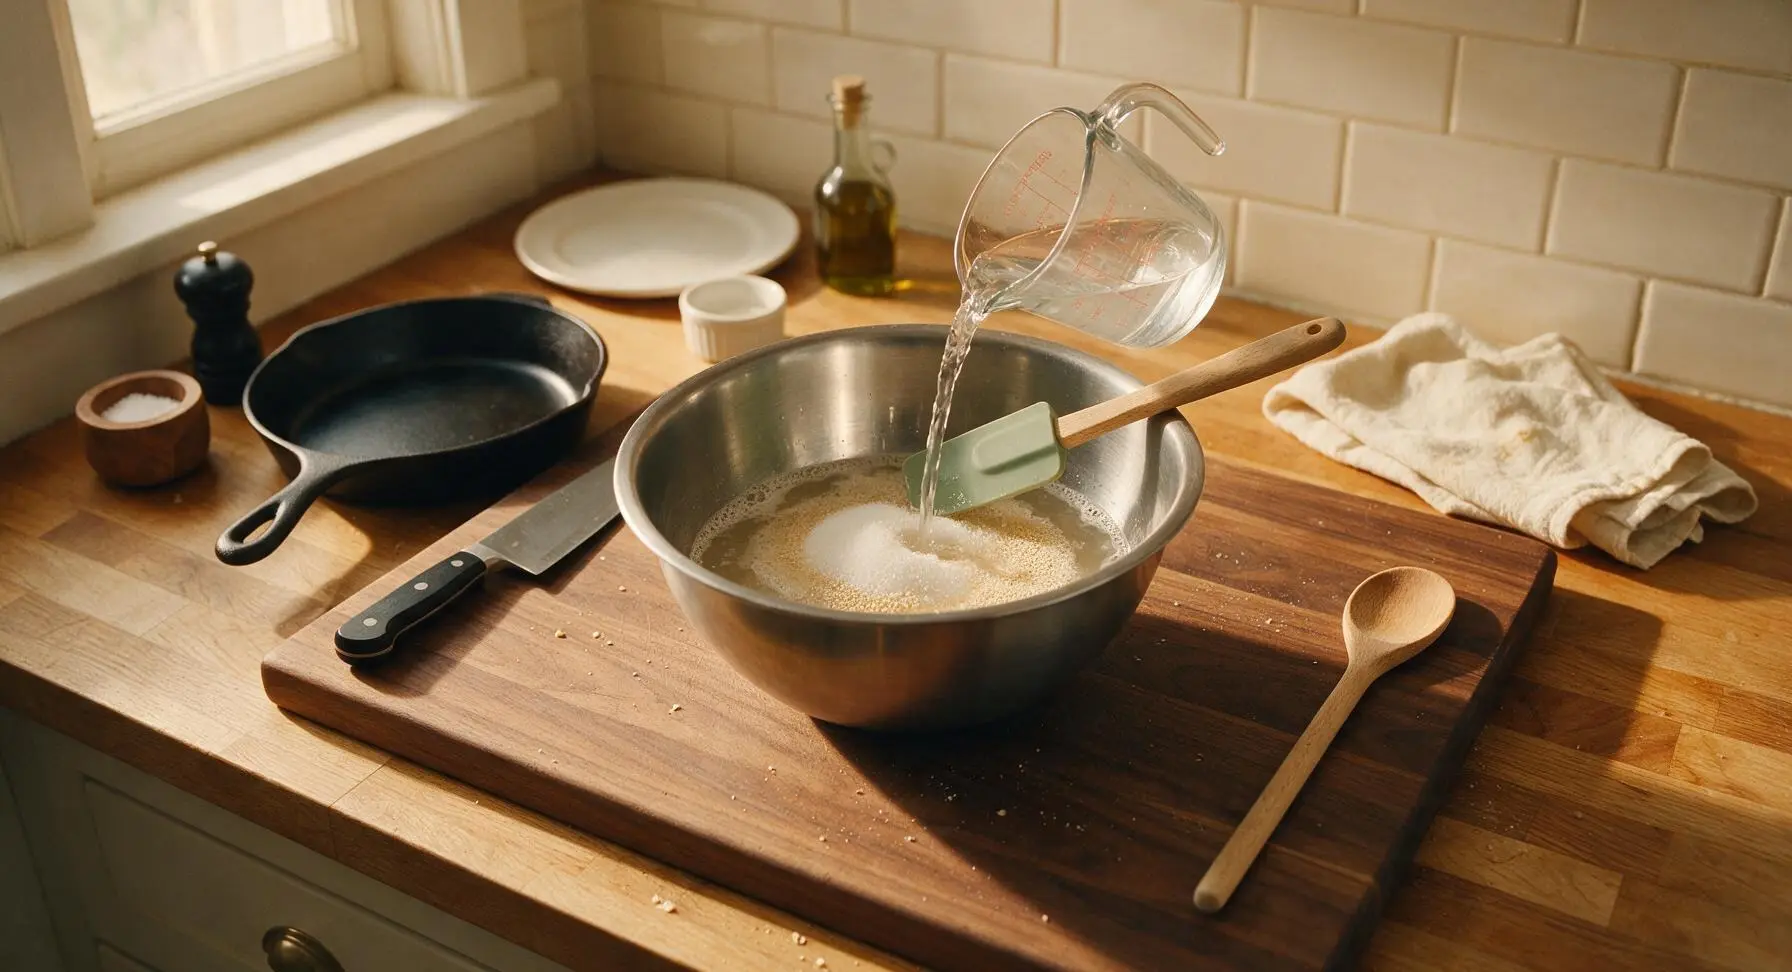
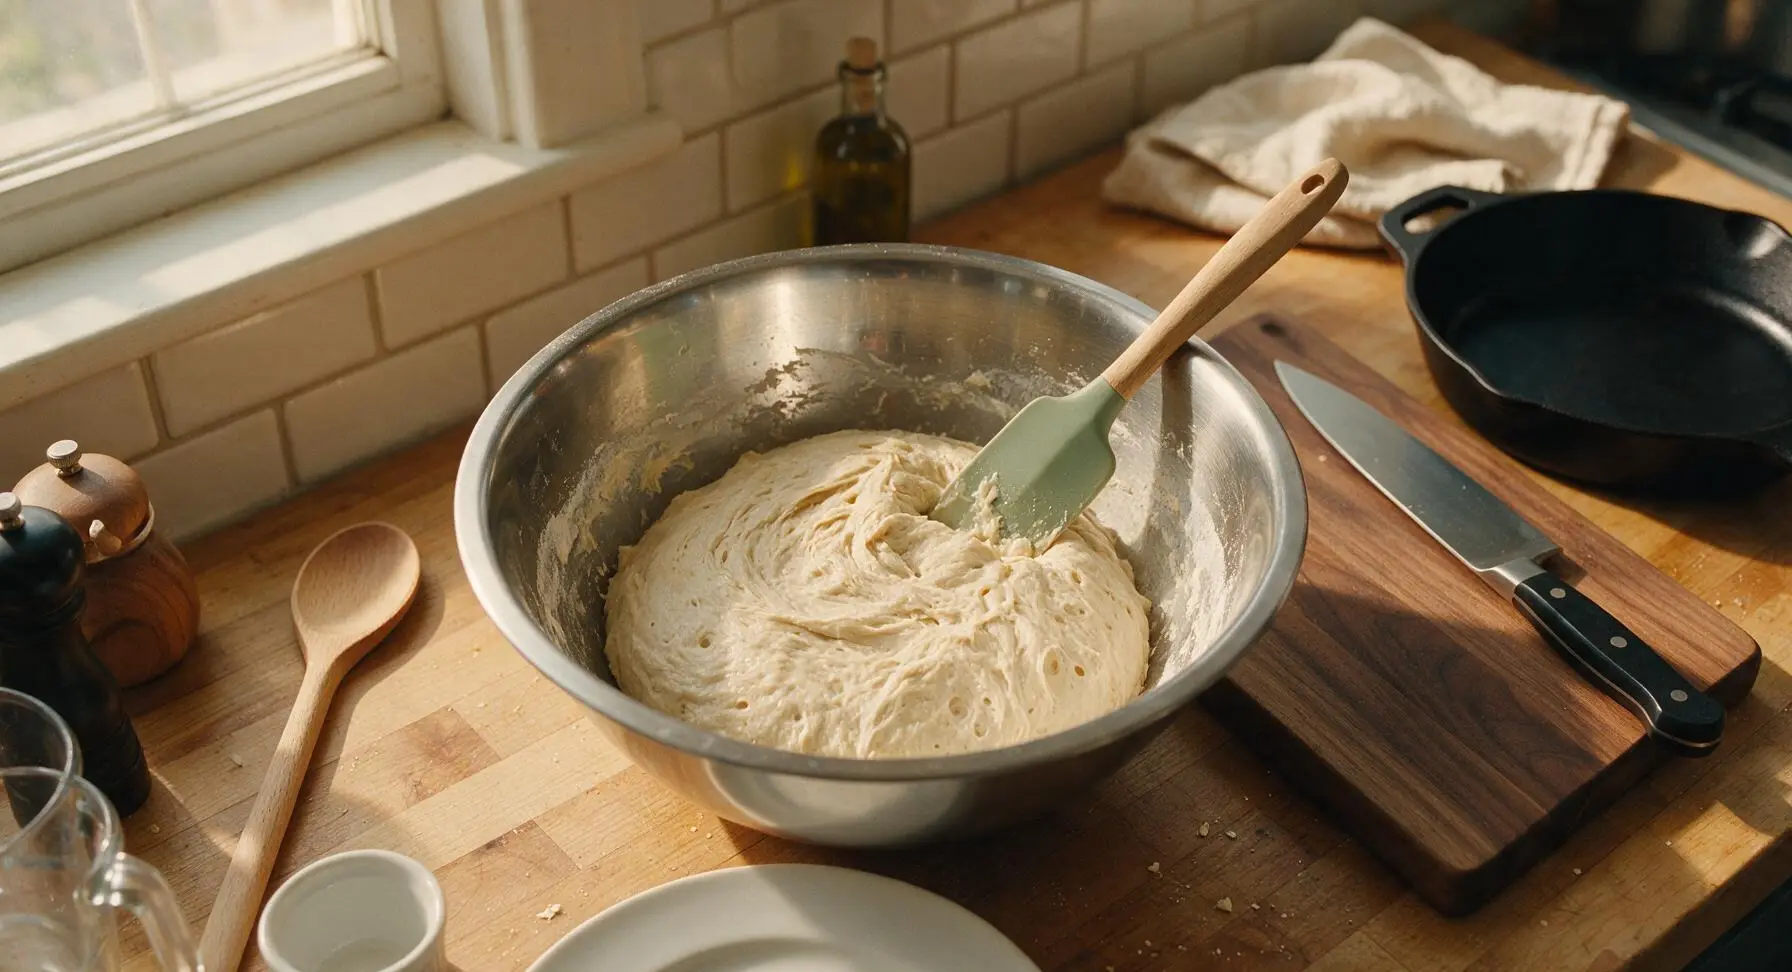
In the large stainless steel mixing bowl, combine warm water (110°F, feels like bath water, not hot to touch), granulated sugar, and instant yeast. Stir once with the sage green silicone spatula, then let rest 5 minutes until the surface looks foamy, confirming the yeast is active. Add flour, sea salt, and 2 tablespoons olive oil, stirring with the spatula until a shaggy, slightly sticky dough forms with no dry flour pockets left at the bottom of the bowl.
Let Dough Quick Rise
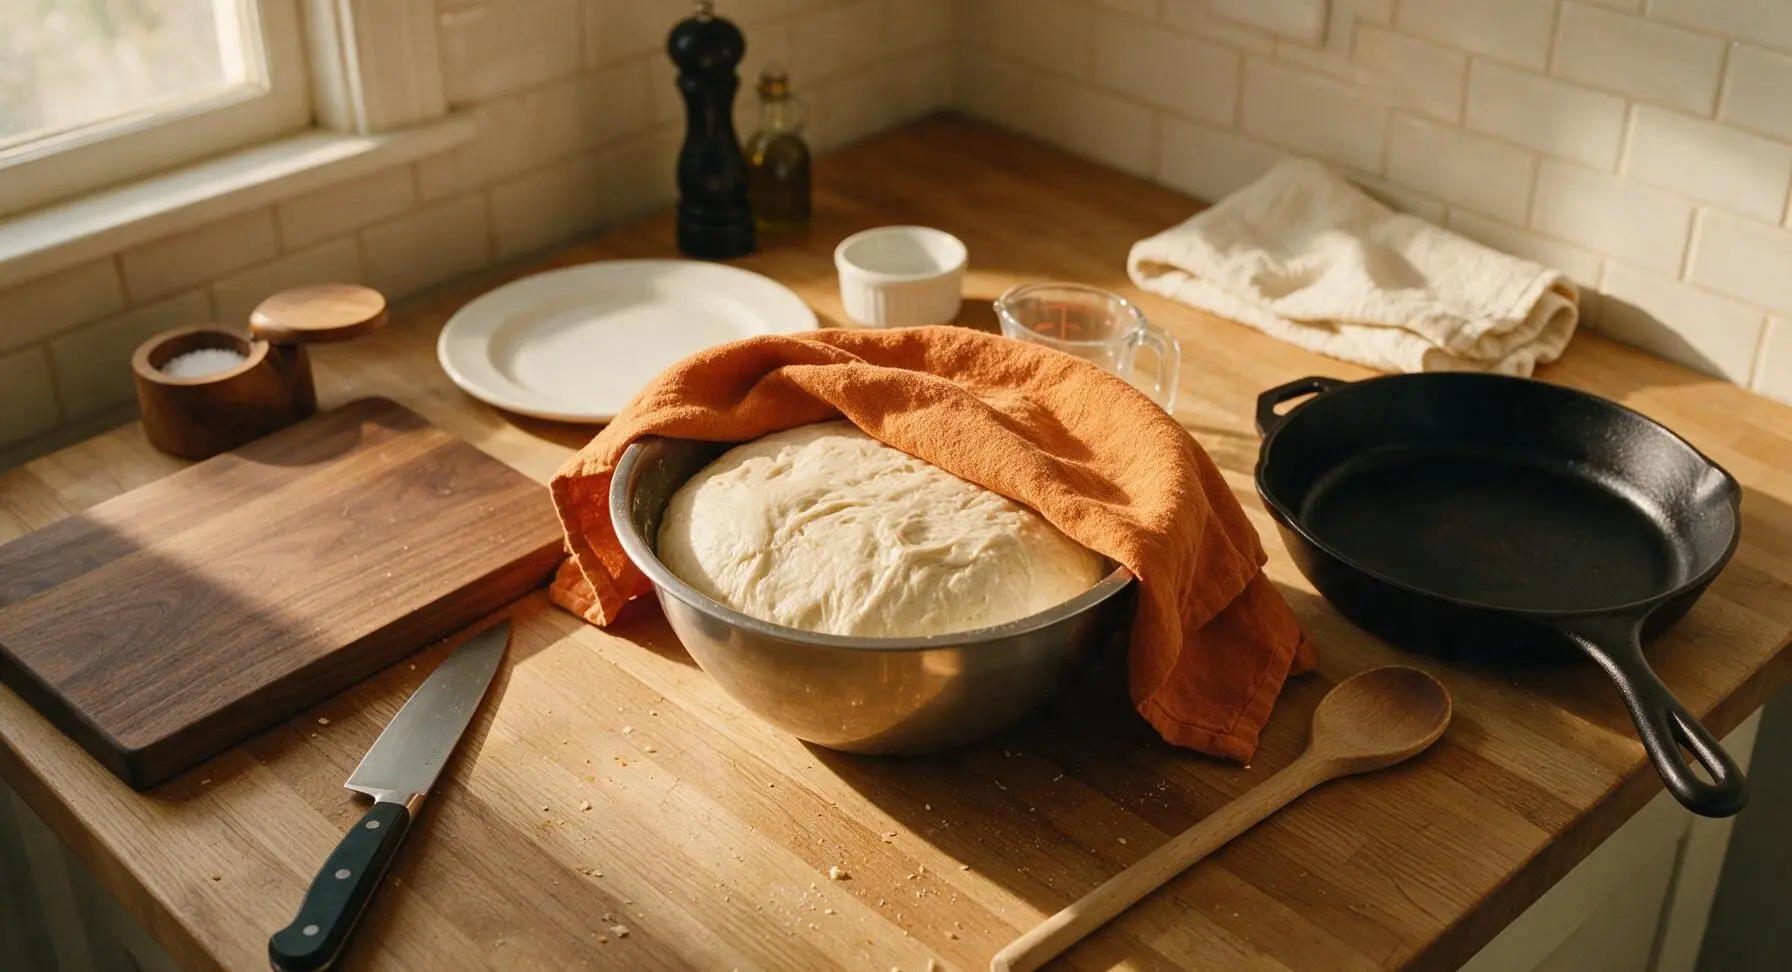
Drizzle a tiny amount of olive oil around the sides of the mixing bowl to prevent sticking, then cover the bowl loosely with a corner of the burnt orange linen towel. Let the dough rest in a warm spot on the counter for 15 minutes, until it doubles in size and springs back slightly when you tap the side of the bowl.
Grease Baking Dish
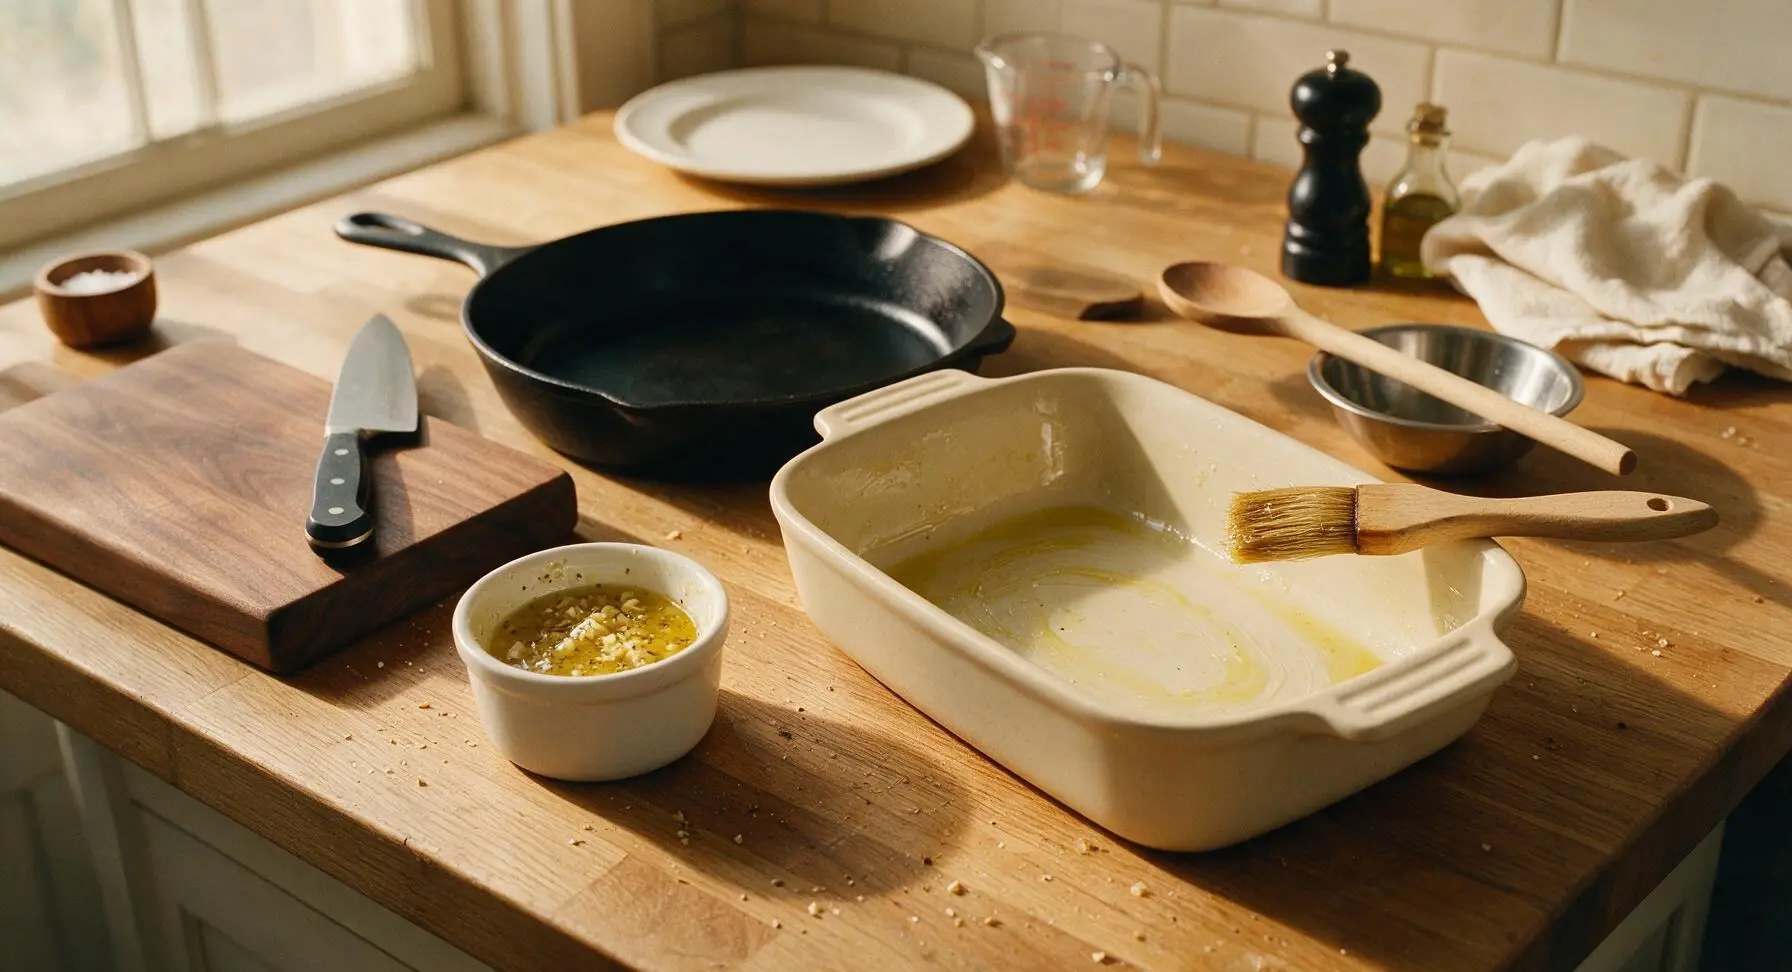
While the dough rises, preheat your oven to 400°F (200°C) so it reaches full temperature by the time rolls are shaped. Use the pastry brush to coat the entire inside of the 9-inch matte cream ceramic baking dish with a thin layer of olive oil, making sure to cover the corners and sides so rolls don’t stick after baking. In one of the small glass ramekins, mix melted butter, minced garlic, and dried oregano for the topping, set aside next to the dish.
Shape Dough Rolls
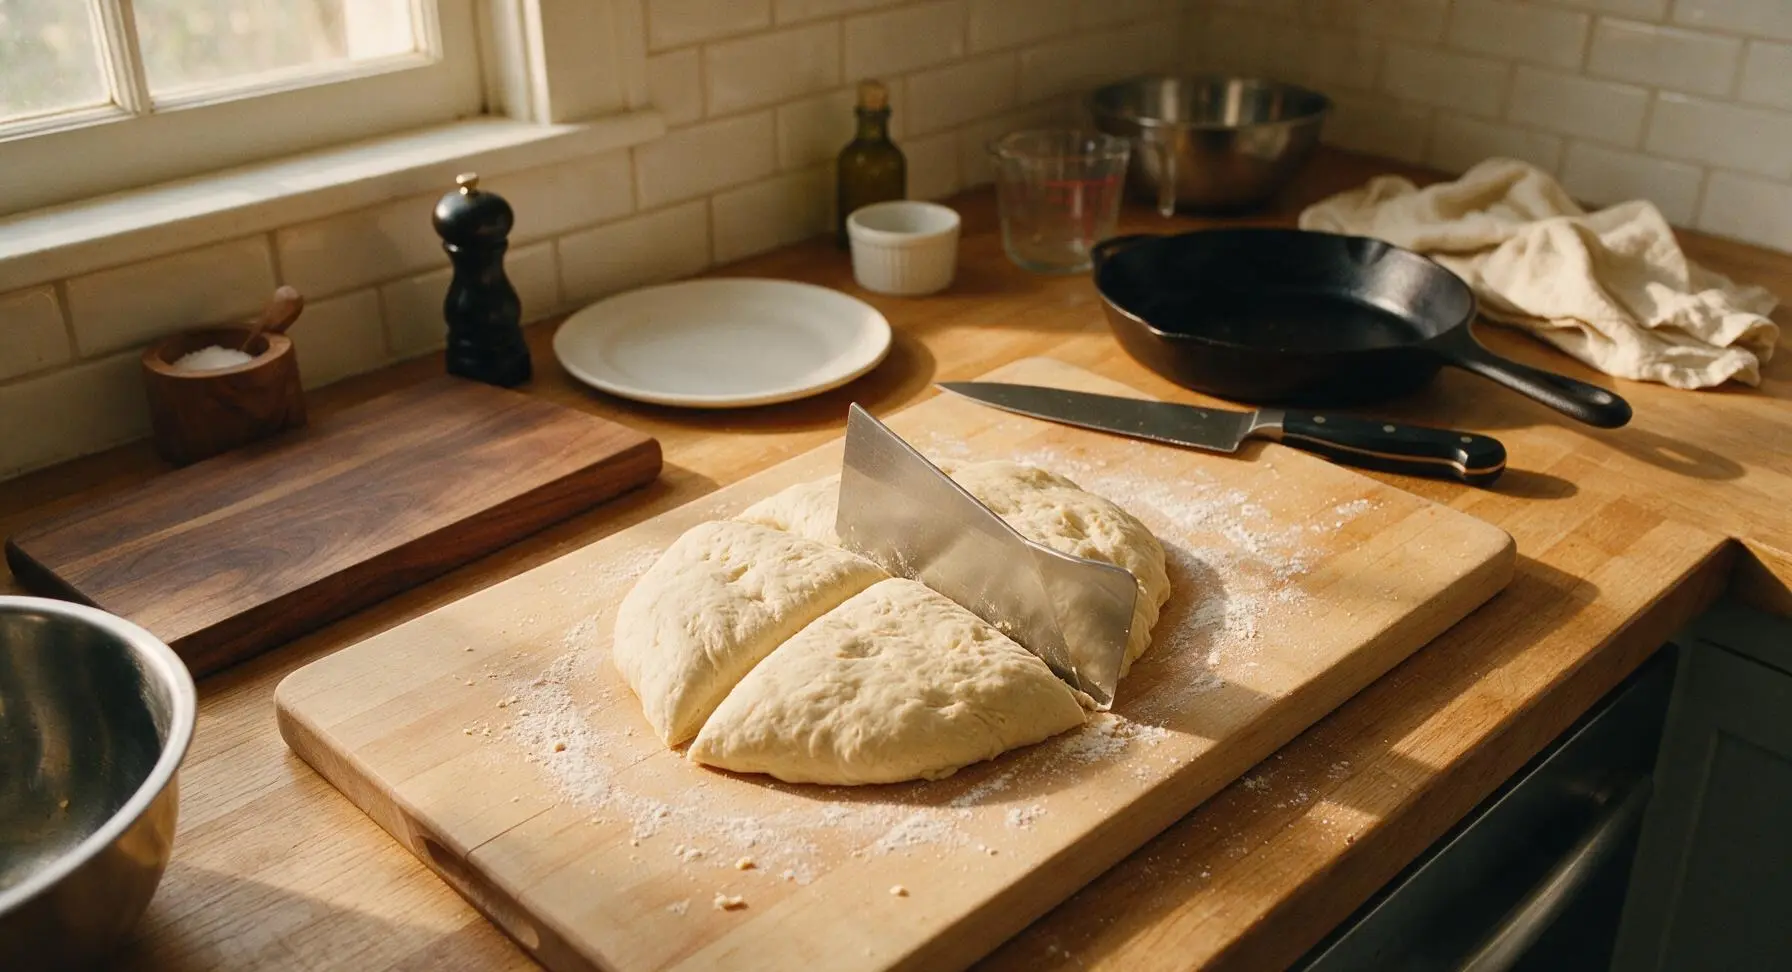
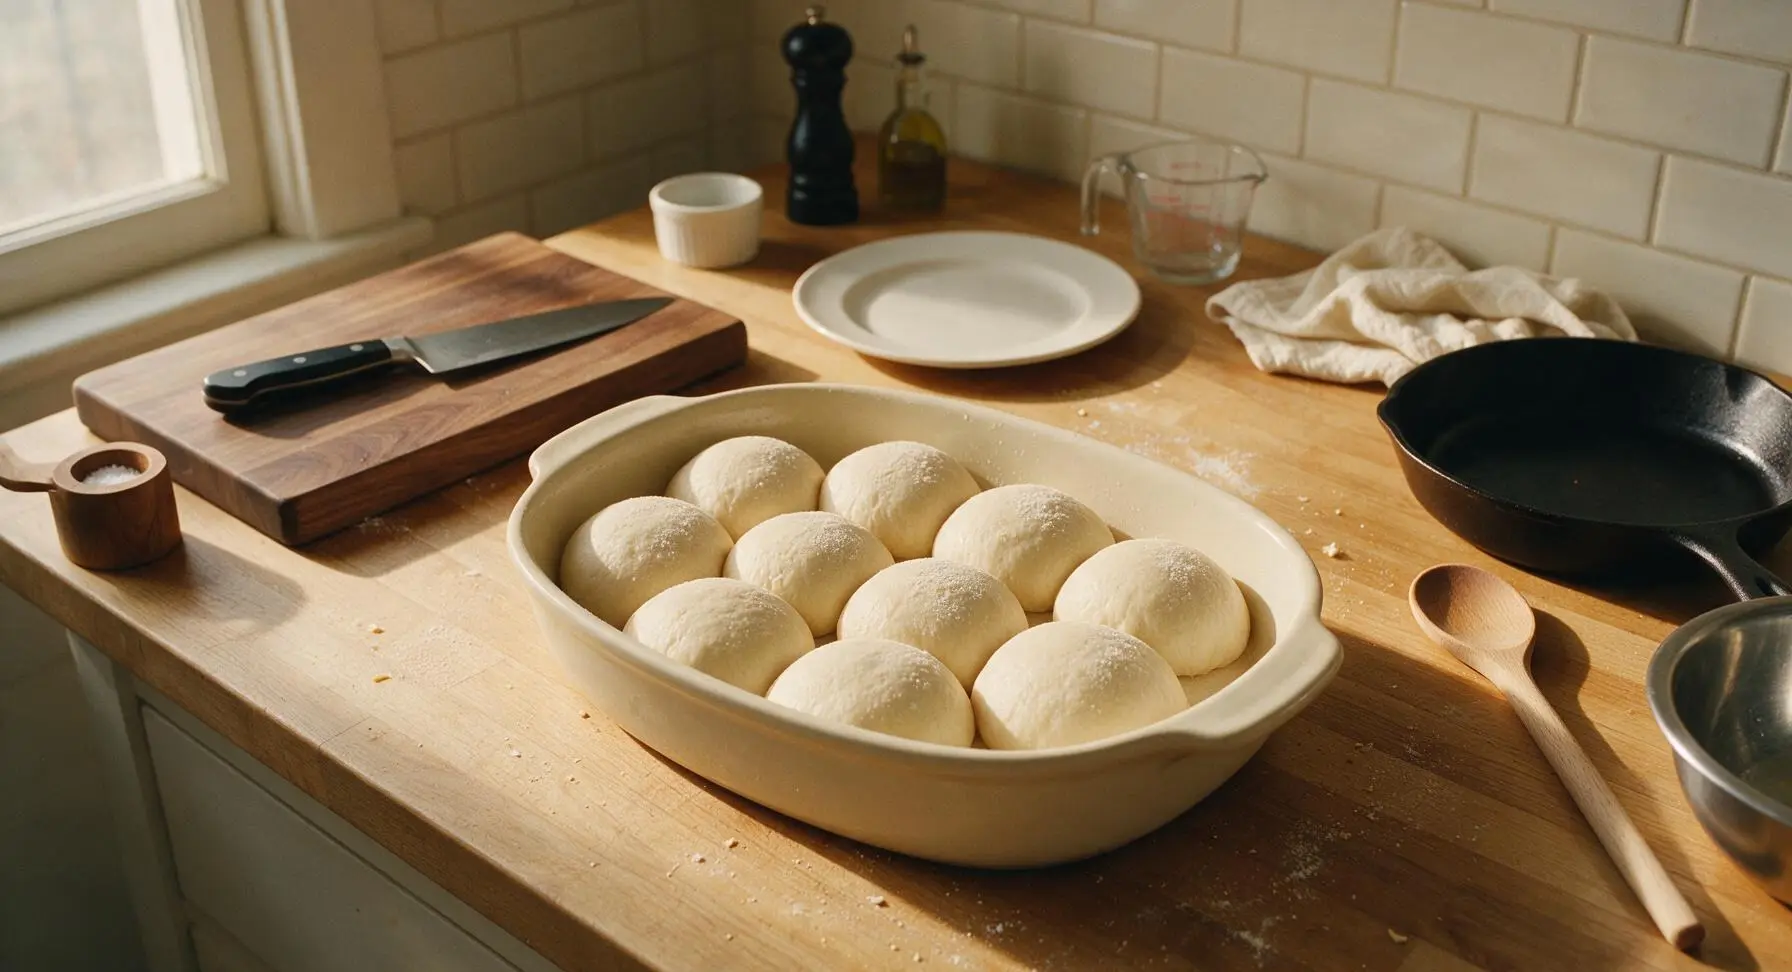
Once the dough has doubled in size, turn it out onto the lightly floured beech wood cutting board. Use the stainless steel bench scraper to cut the dough evenly into 8 equal pieces (each ~70g). Roll each piece gently between your palm and the counter to form smooth, tight round balls, placing them 1cm apart in the greased baking dish in an even grid.
Bake to Golden Perfection
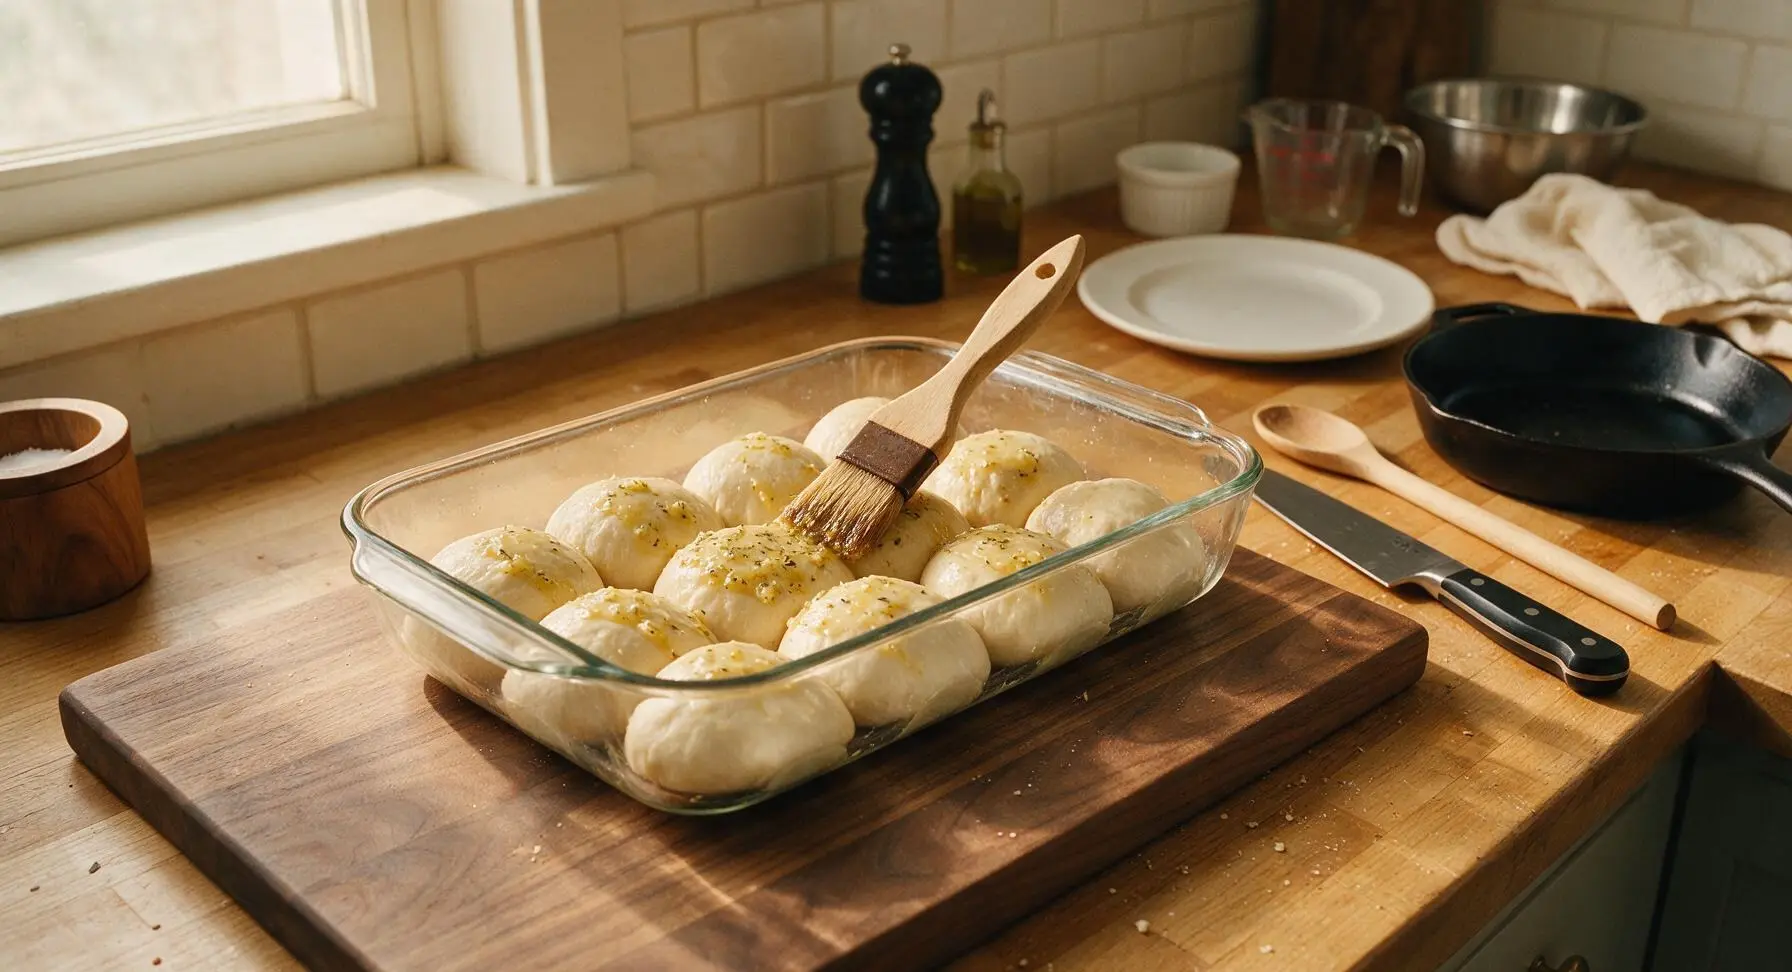
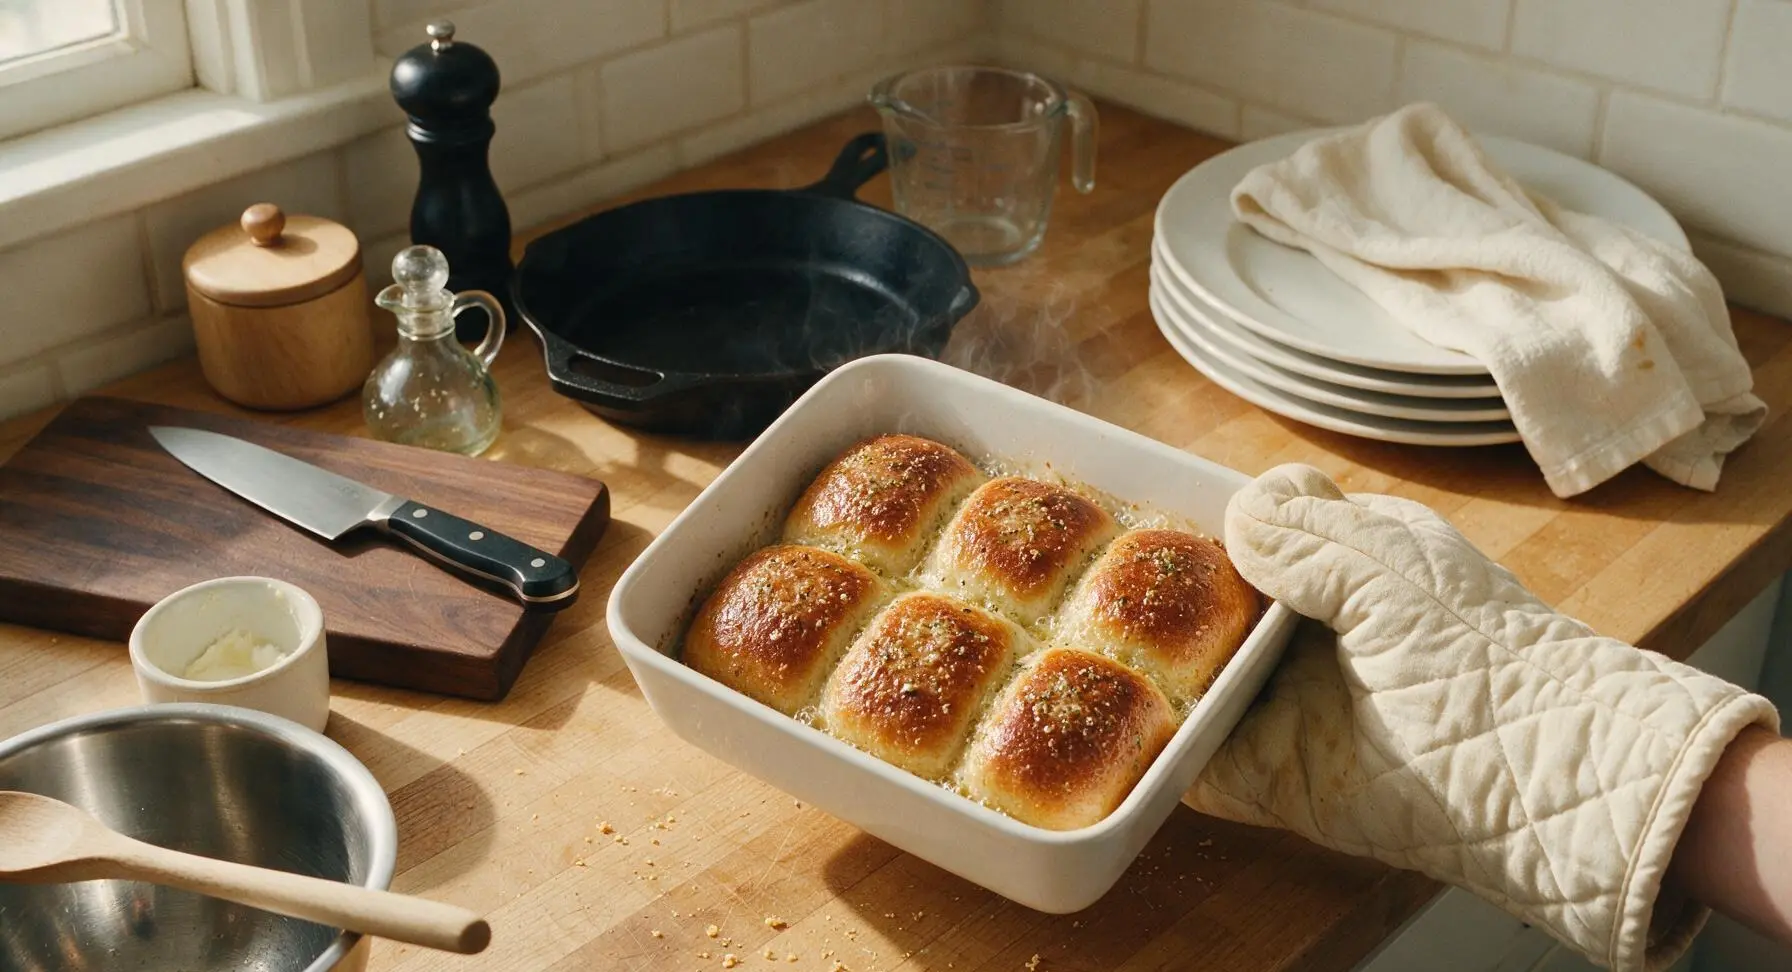
Brush the top of each dough ball generously with half the garlic-oregano butter, reserving the other half for after baking. Place the baking dish on the middle rack of the preheated 400°F (200°C) oven, bake for 18-20 minutes, until the tops are deep golden brown and the internal temperature of the rolls reaches 190°F (88°C). You will smell rich, toasty garlic and bread when the rolls are nearly done.
Finish with Herb Butter
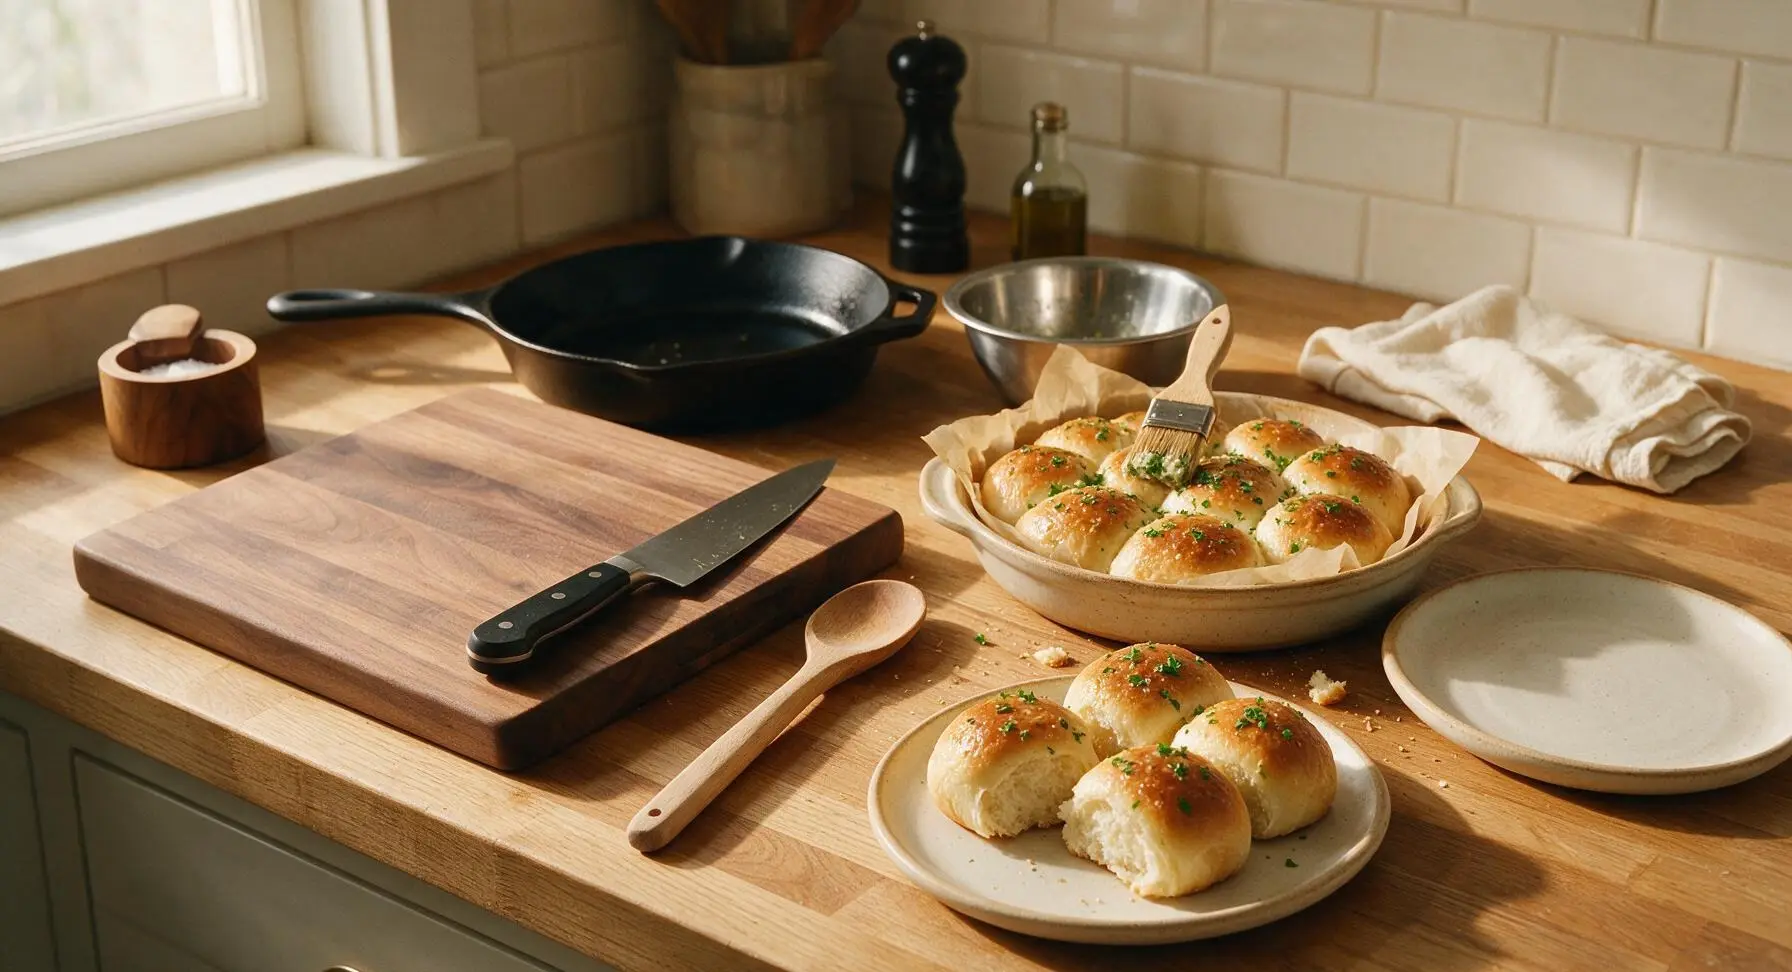
As soon as the rolls come out of the oven, brush the tops with the remaining garlic butter, then sprinkle evenly with the chopped fresh parsley. Let the rolls rest in the dish for 5 minutes to set, then transfer four rolls to the warm off-white stoneware plate for serving, pulling one slightly open to show the soft, fluffy white interior crumb.
Tips
2.Arrange shaped dough balls only 1cm apart in the baking dish: as they rise and bake, they will press against each other, creating soft, pull-apart edges instead of hard, crispy crusts on all sides.
3.For a crispier, more rustic crust, spritz the oven walls with a small burst of water right before placing the baking dish inside — the steam will create a shiny, crisp crust while keeping the interior soft and fluffy, without adding extra time to the recipe.






OMG these rolls are a total game changer! I made them last night for spaghetti night and my whole family devoured them before the pasta was even on the table. So soft, garlicky, and that little sprinkle of parmesan on top? *Chef’s kiss* I will never buy store-bought dinner rolls again. Wait, quick question — has anyone tried freezing these after baking for meal prep?
SO good. Brought these to my office potluck last Friday and people were begging me for the recipe before lunch even ended. Super easy to throw together even for someone who burns toast half the time, no joke. The only thing I did different was add a little extra garlic butter on top right when they came out of the oven. 10/10
My kids loved it! I have three super picky eaters who turn their nose up at basically any bread that isn’t the pre-sliced white stuff from the grocery store, and they ate two rolls each before asking for more. I will absolutely be adding these to our weekly Sunday dinner rotation.
Wait, the total time says 45 minutes but the cook time is 30? Did I math wrong? I want to make these for a pre-hike dinner tomorrow and need to make sure I budget enough time, I don’t want to be rushing around right before we leave! They look amazing otherwise, I’ve been craving a good soft Italian roll forever.
Made these for my friend’s housewarming party over the weekend and they were the first thing gone off the appetizer table. I served them with a side of marinara for dipping and it was chef’s kiss. The crust is perfectly crispy on the outside and soft and fluffy inside, exactly what you want in an Italian roll. Will 100% make again.
As a college student with barely any cooking supplies and a tiny dorm oven, I was shocked how easy these were to make! I didn’t even have a stand mixer, just mixed everything by hand in a big bowl and they turned out perfect. Way cheaper than buying rolls from the campus bakery, that’s for sure.
Wait, has anyone tried making these with gluten free all purpose flour? I have a gluten sensitivity but these look so good I’m dying to try them, I don’t want to waste ingredients if the texture comes out weird though.
These are a meal prep game changer! I make a double batch every Sunday, split them into individual portions, and grab one on my way out the door to work to go with my soup or salad at lunch. They reheat so well in the microwave for 15 seconds, taste just like they did fresh out of the oven. Can’t recommend enough.
Y’all. I added extra garlic butter and a sprinkle of Italian seasoning and mozzarella to the tops of these before baking and they tasted exactly like the breadsticks from my favorite local Italian place. I’m not even exaggerating, my roommate thought I ordered delivery. So easy, so good, 10/10.
Help! I tried making these today and my dough was super sticky, I ended up adding almost an extra cup of flour to get it to hold shape. Did I do something wrong? They still tasted good but they were a little denser than the ones in the photos look.
These are exactly the rolls my Italian grandma used to make for Sunday sauce, except hers took half the day to rise! I couldn’t believe how fast these came together and how spot on the flavor was. Brought back so many childhood memories, I’ll be making these every Sunday from now on. Bellissimo!
Made these for my kid’s soccer team dinner last night and every single parent asked for the recipe. The kids were fighting over the last roll! I love that I didn’t have to spend hours in the kitchen making them, I threw the dough together while the lasagna was baking and they were done right when we needed to leave.
Quick question — do you think these would work with plant-based butter and oat milk instead of dairy? My partner is vegan and I’d love to make these for our anniversary dinner next week, they look perfect to go with the vegan lasagna I’m making.
Wait, has anyone tried baking these in an air fryer? I don’t have a working regular oven right now (long story, long story) and I’m dying to make these. I feel like they’d get extra crispy on the outside in the air fryer!
I stuffed these with slices of mozzarella and a little pepperoni before baking and they turned into the most amazing little pizza rolls. My friends came over for game night and we ate the whole batch in 10 minutes flat. So versatile, you can add literally anything to these and they slap. 10/10, will be making these for every game night from now on.
I was so skeptical that good homemade rolls could be ready in 45 minutes, no long rise time? I thought they’d be dense and weird, but wow — these are light, fluffy, full of that herby Italian flavor. I made a batch to go with my minestrone soup for meal prep this week and I’m already looking forward to lunch tomorrow. No more sad frozen dinner rolls for me!
These were so easy to whip up for my church potluck last Sunday! I brushed the tops with a little melted butter and sprinkled on some parmesan and dried parsley right after they came out of the oven, and they looked so pretty on the table. I got so many compliments, multiple people said they were the best rolls they’d ever had at a potluck. I can’t take all the credit though, this recipe is foolproof!
I made these for my husband’s birthday dinner last night (we had his favorite chicken parm) and he said they were better than the rolls at the fancy Italian restaurant we went to for our first date! I’m still a pretty new cook so I was nervous they wouldn’t turn out, but the instructions were so clear and easy to follow. The only thing I messed up was I forgot to add the salt at first, but I sprinkled a little flaky salt on top with the parmesan and it worked out great!