
Jalapeño Popper Grilled Cheese

title 1
Jalapeño Popper Grilled Cheese
⏱️ cook time 20 minutes
🍽️ servings 4
⚡ Difficulty easy

intro

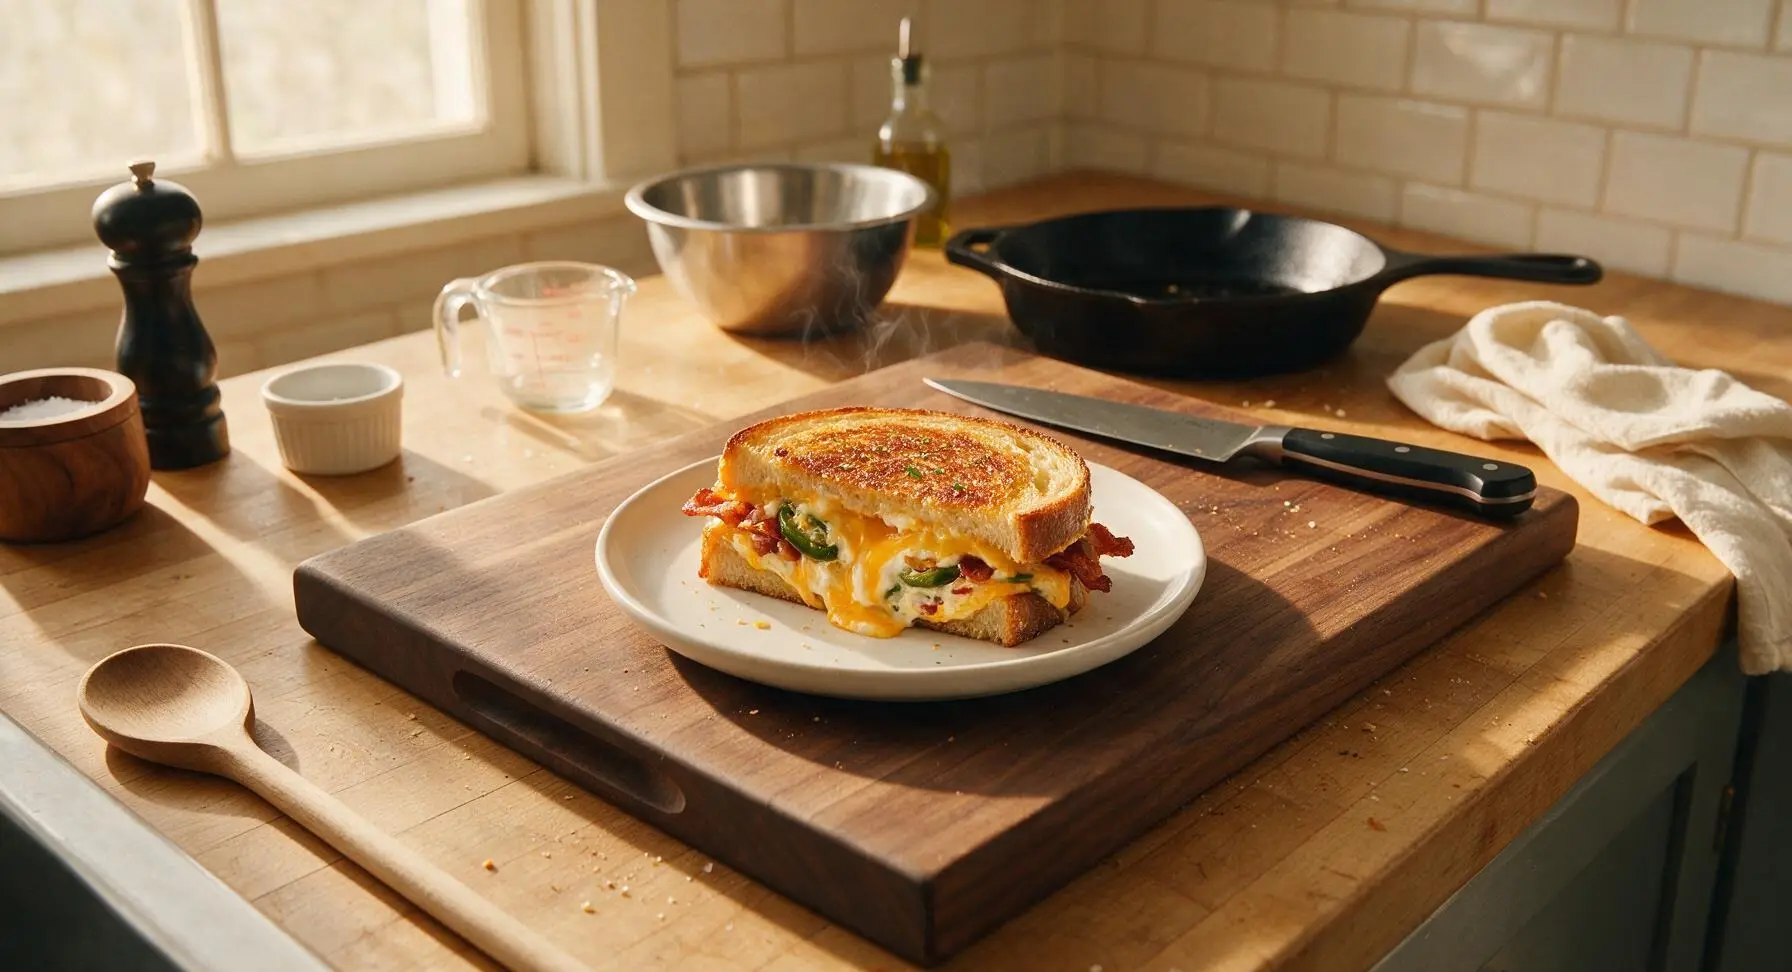
Crispy buttery sourdough oozing with melted cheddar, zesty cream cheese, spicy jalapeños, and crispy bacon—all the bold flavor of jalapeño poppers in a toasty grilled cheese.

Ingredients
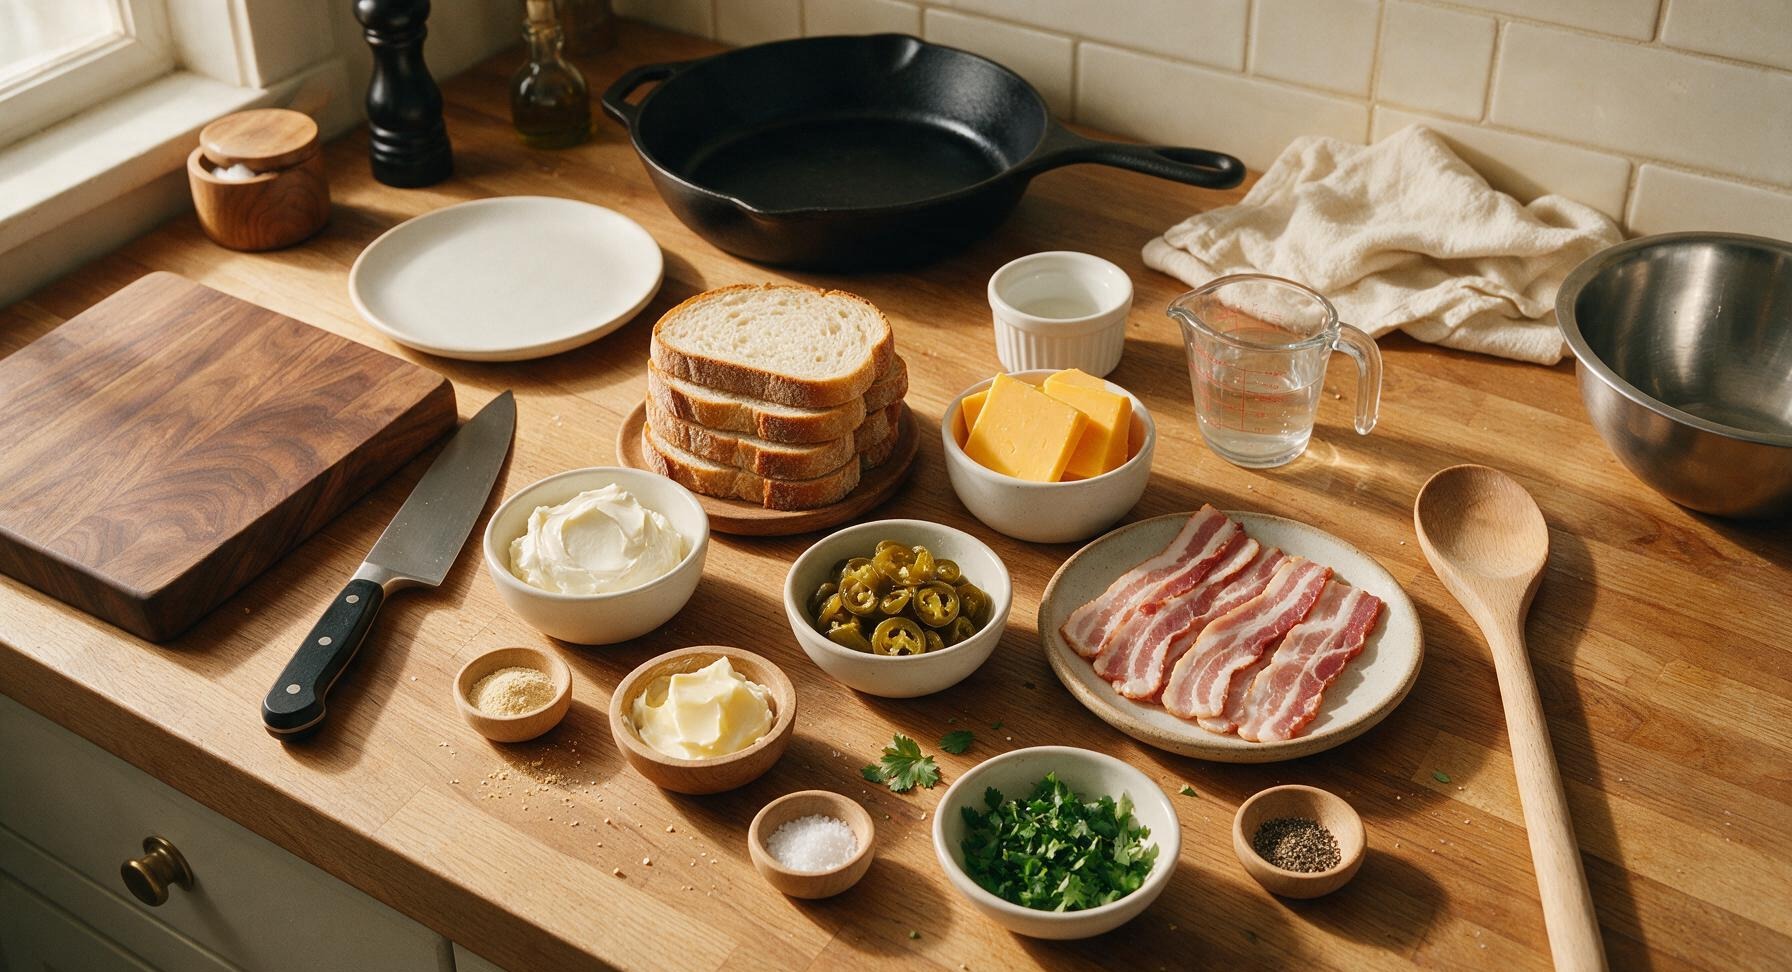
Thick-cut sourdough bread 8 slices (1/2-inch thick)
Full-fat cream cheese 6 oz (170g), softened to room temperature
Sharp yellow cheddar cheese 6 oz (170g)
Thick-cut bacon 8 strips
Pickled jalapeño slices 1/2 cup, drained
Salted butter 4 tbsp (57g), softened
Garlic powder 1 tsp
Fresh cilantro 2 tbsp, chopped, plus extra leaves for garnish
Kosher salt 1/4 tsp
Freshly ground black pepper 1/4 tsp

Steps

1

Cook Crispy Bacon

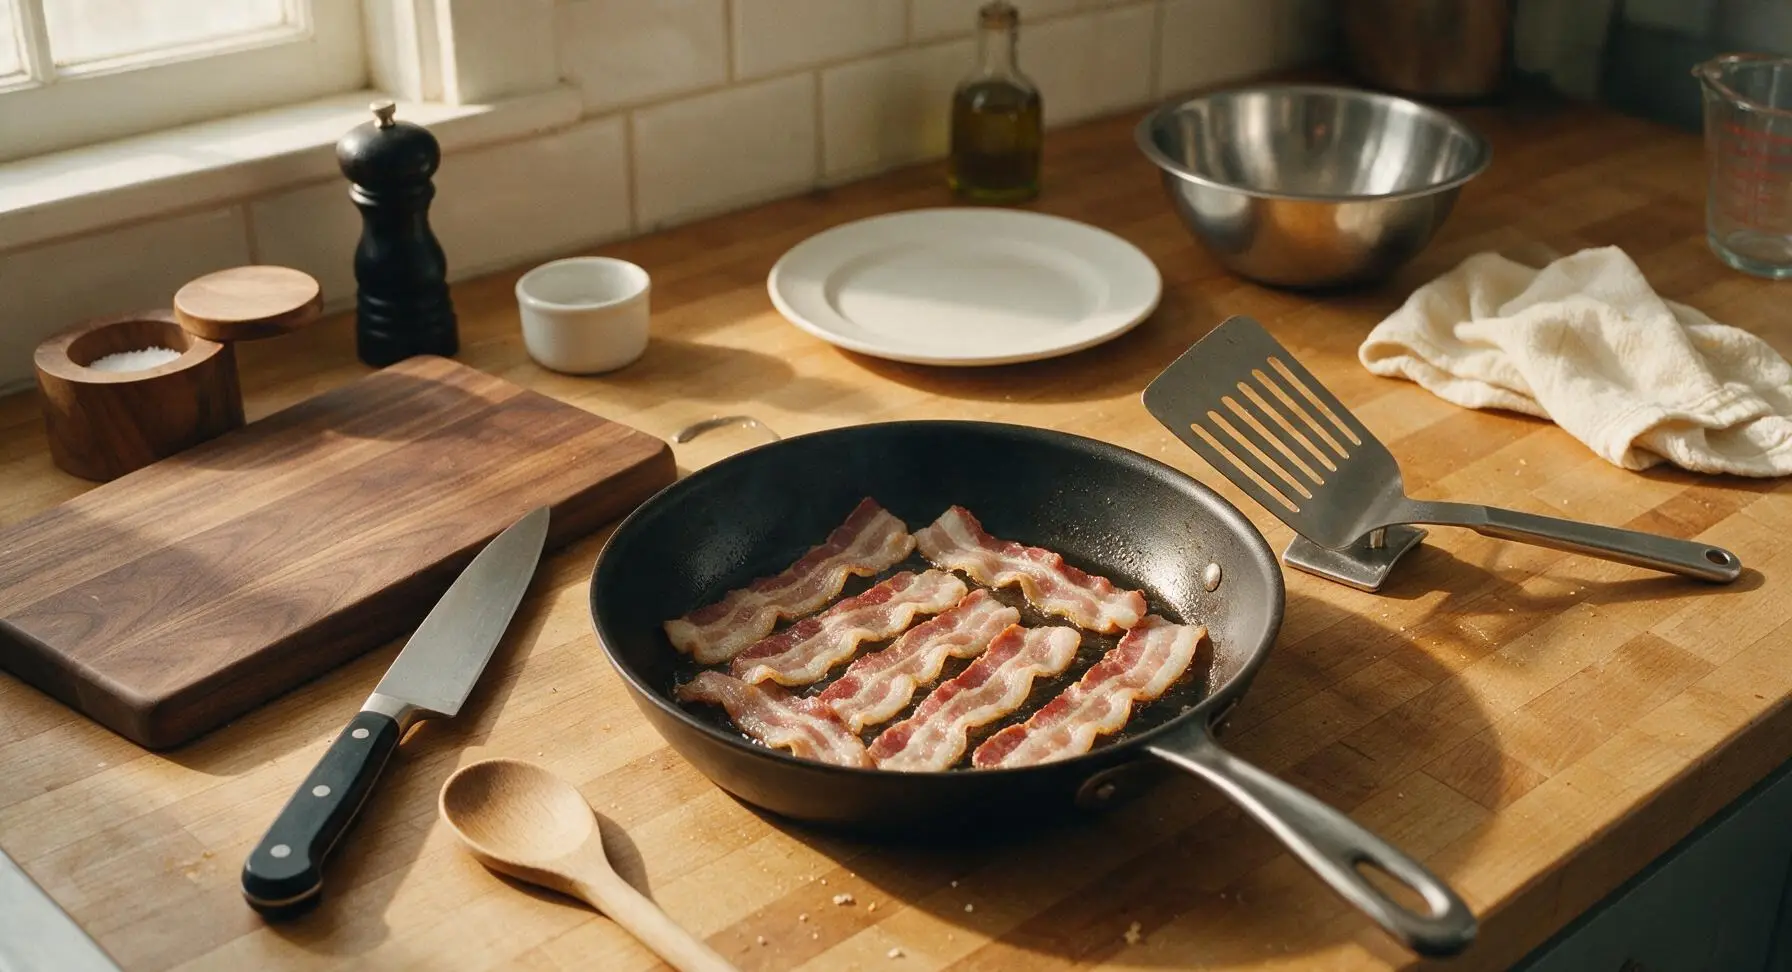
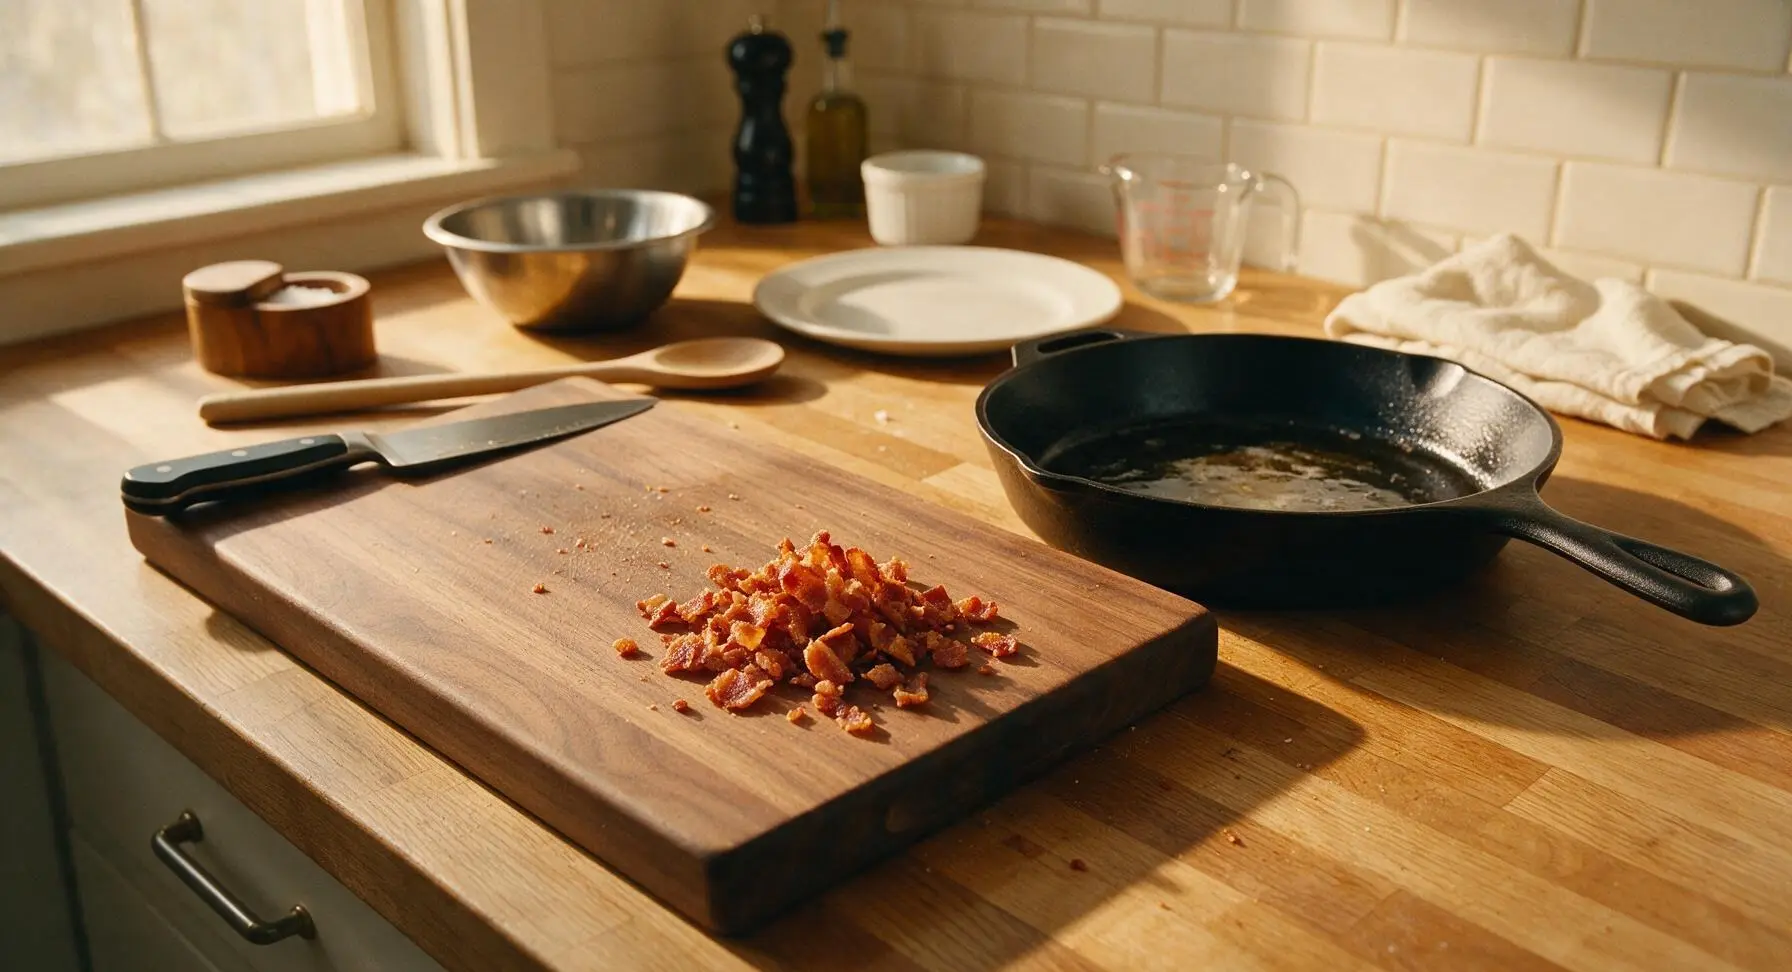
Place the 12-inch matte black carbon steel skillet on the stovetop over medium heat (350°F/175°C). Add 8 strips of thick-cut bacon in a single layer, cooking in two batches if needed to avoid overcrowding the pan. Cook 4–5 minutes per side until deep golden and fully crispy, with no translucent soft fat remaining. Use the long stainless steel turner spatula to transfer cooked bacon to the edge of the acacia cutting board to drain for 2 minutes, then crumble into 1/2-inch pieces once cool enough to handle. Leave 1 teaspoon of rendered bacon fat in the skillet for cooking sandwiches, discarding any excess.
Step 1
step1:Cook Crispy Bacon
Step 1
step1:Cook Crispy Bacon
2

Mix Popper Filling

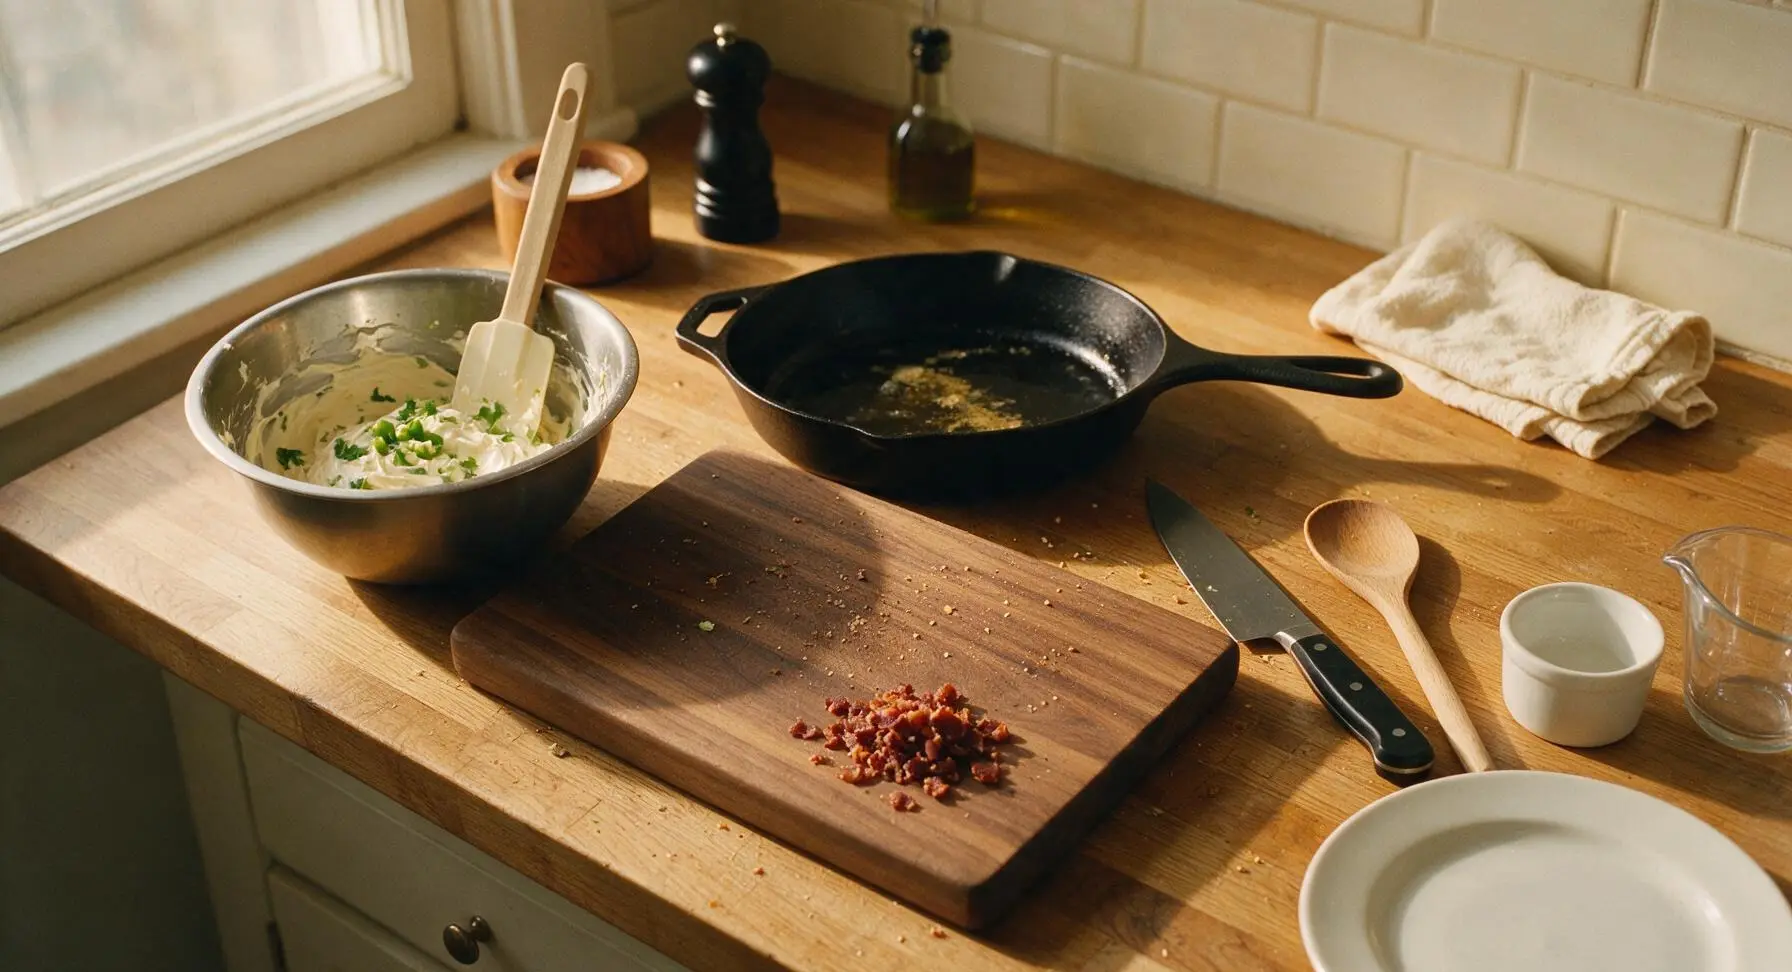
In the small brushed stainless steel mixing bowl, combine 6 oz softened room-temperature cream cheese, 1 tsp garlic powder, 1/4 tsp kosher salt, 1/4 tsp freshly ground black pepper, 2 tbsp chopped cilantro, and 1/2 cup drained, thoroughly patted-dry pickled jalapeño slices (chop slices into smaller pieces for milder, more even bites). Use the matte cream silicone spatula to stir until completely smooth and evenly mixed, with no remaining lumps of cream cheese.
Step 2
step2:Mix Popper Filling
3

Prep Sandwich Cheeses

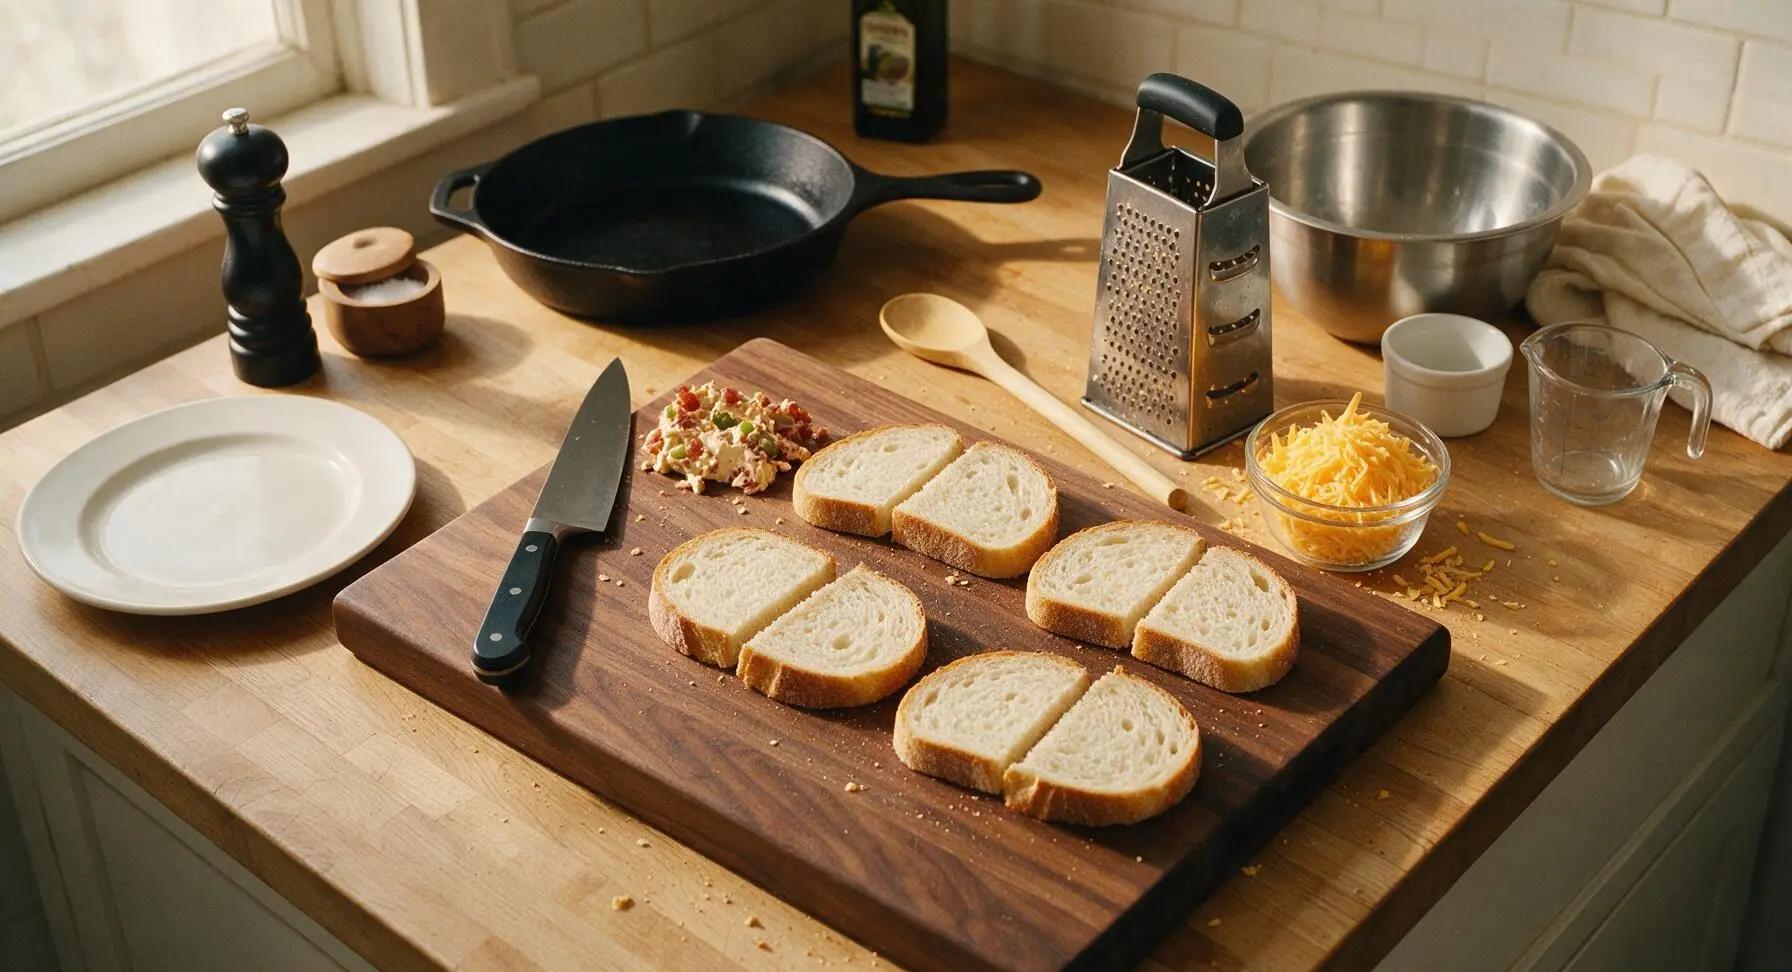
Use the 4-sided stainless steel box grater to shred 6 oz of sharp yellow cheddar cheese on the large holes, collecting shreds in one of the small clear glass ramekins. Avoid pre-shredded cheese, as it is coated in anti-caking agents that prevent smooth, gooey melting. Set the shredded cheddar beside the cream cheese filling, and lay all 8 thick slices of sourdough bread out in matching pairs on the acacia cutting board.
Step 3
step3:Prep Sandwich Cheeses
4

Assemble Sandwich Layers

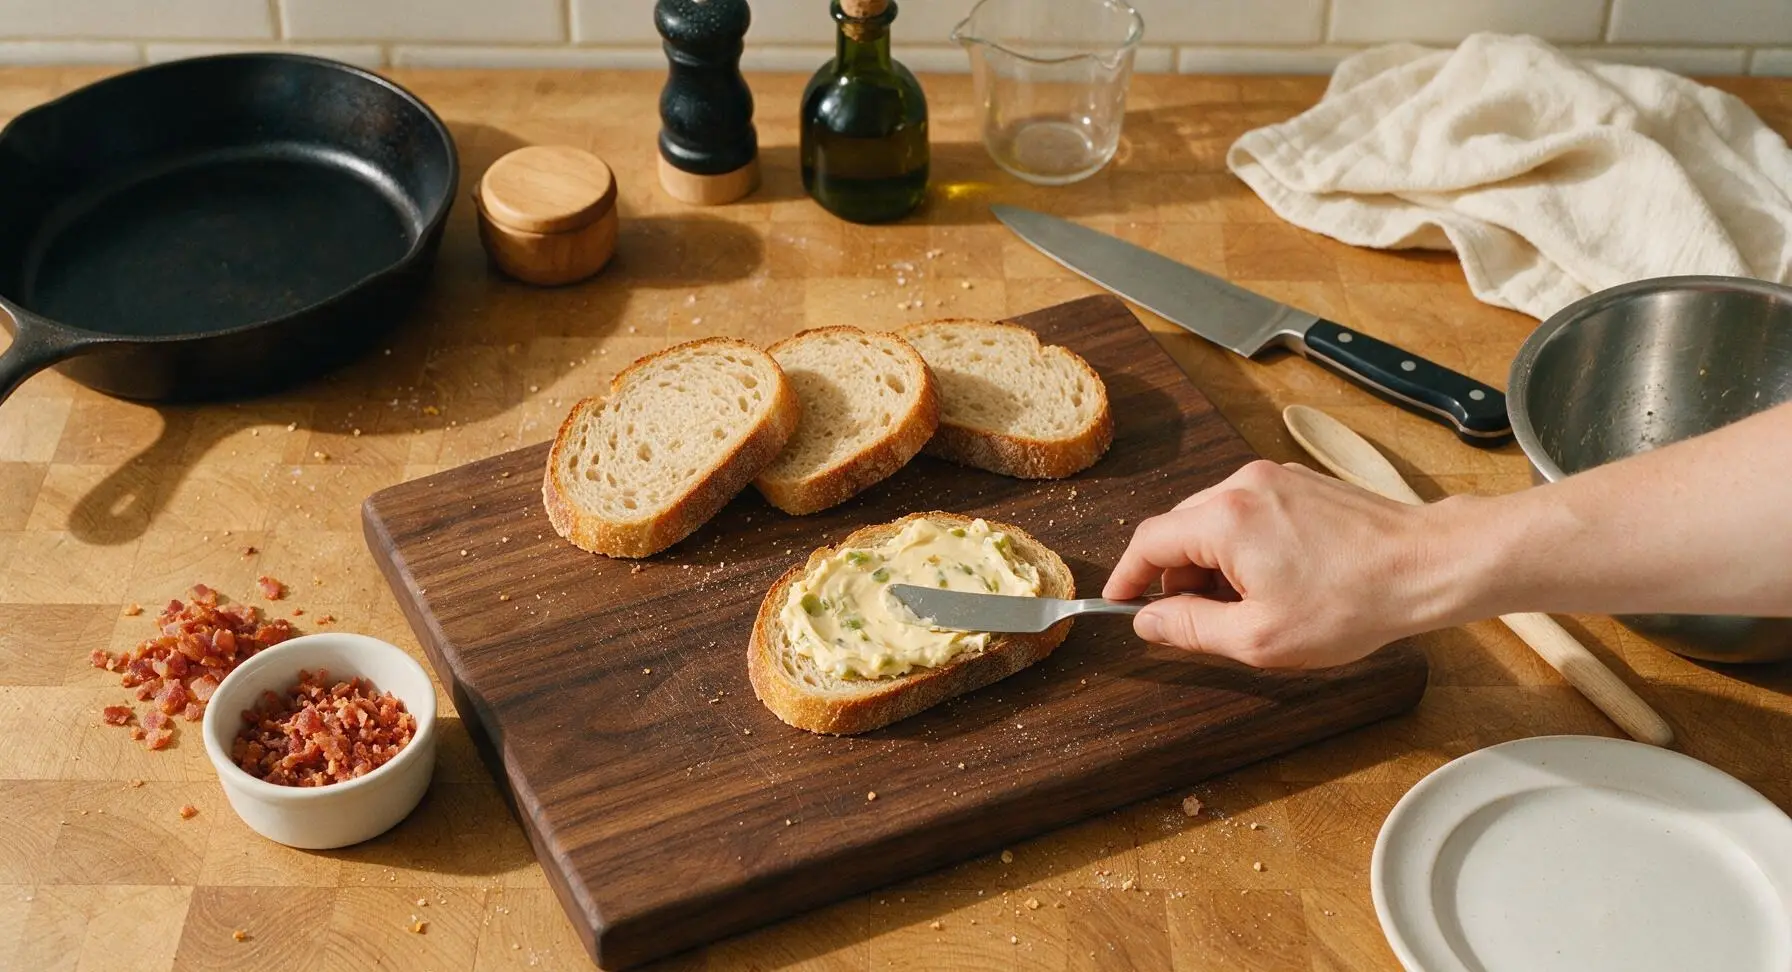
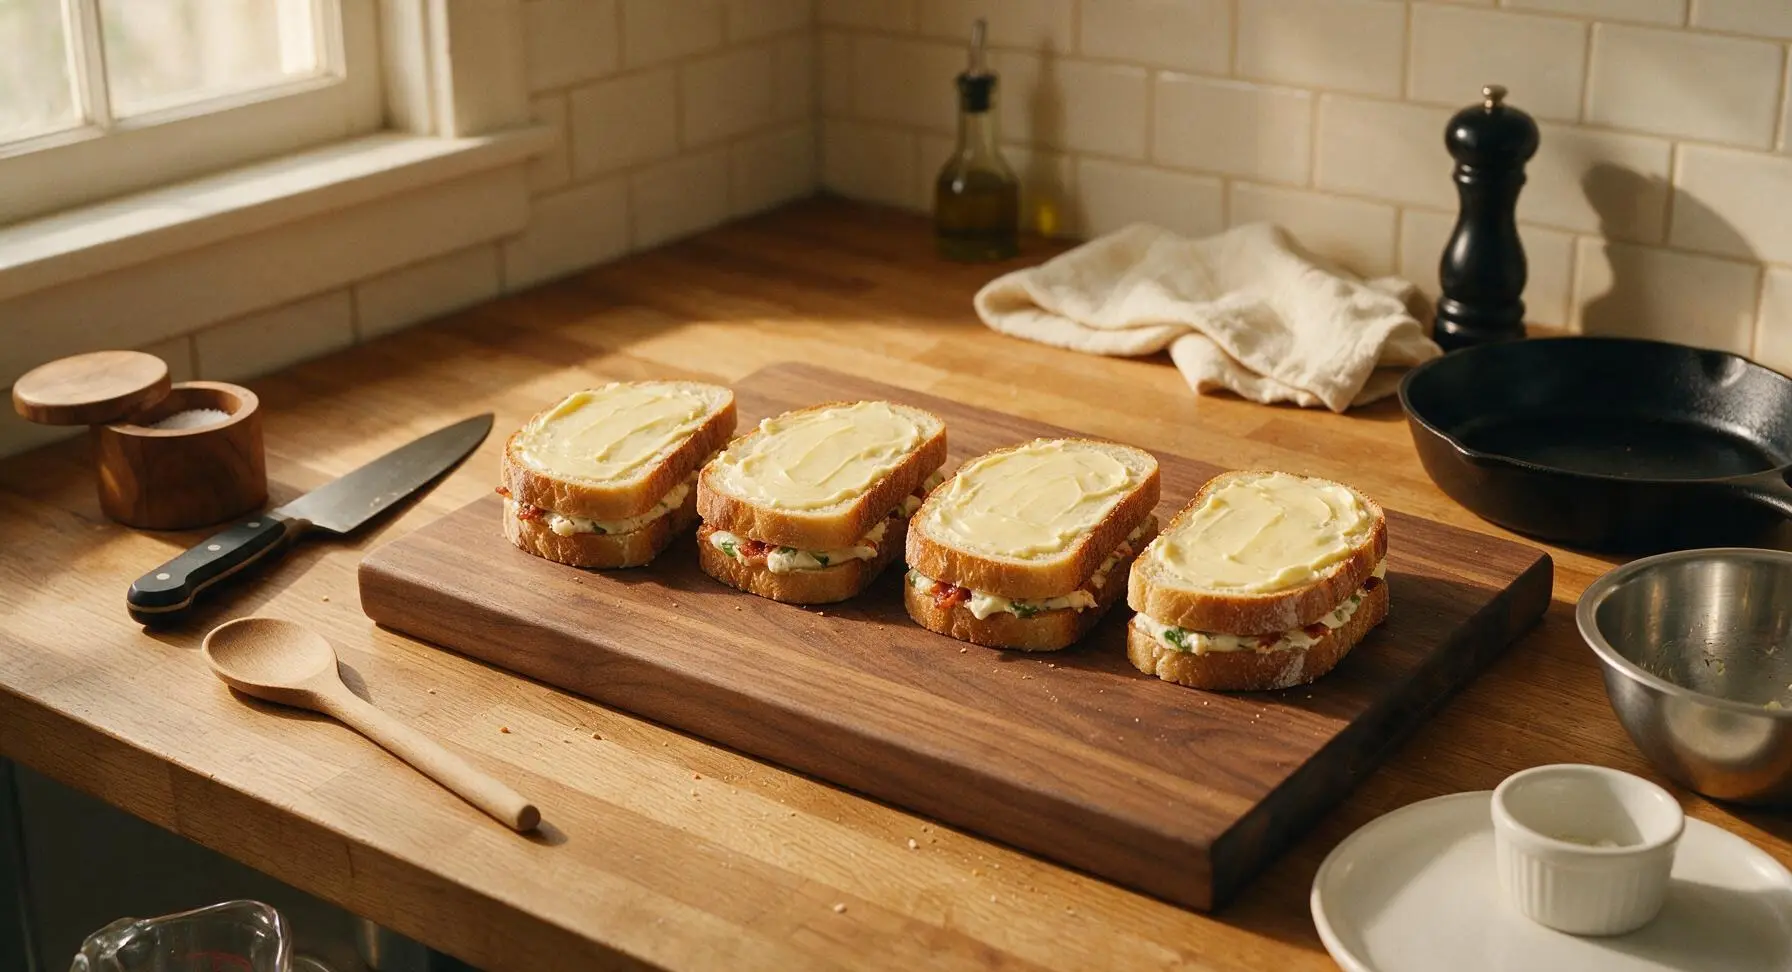
Lay 4 slices of sourdough bread on the cutting board. Use the small stainless steel butter spreader to spread 1.5 tbsp of the cream cheese-jalapeño mixture evenly across each slice, spreading all the way to the edges to prevent bare bread spots. Divide the crumbled bacon evenly over the cream cheese layer, then top each with 1/4 of the shredded sharp cheddar. Place the remaining 4 slices of sourdough on top to form 4 full sandwiches. Spread 1/2 tbsp of softened salted butter evenly across the top surface of each sandwich, covering the entire slice edge to edge for even browning.
Step 4
step4:Assemble Sandwich Layers
Step 4
step4:Assemble Sandwich Layers
5

Grill First Sandwich Side

Heat the skillet with reserved bacon fat over medium-low heat (325°F/160°C) — high heat will burn the bread before the cheese melts. Carefully place 2 sandwiches in the skillet, buttered side down. Spread 1/2 tbsp of butter across the uncoated top side of each sandwich now facing up. Cook for 3–4 minutes, until the bottom bread is deep golden brown and crispy, and the cheese closest to the pan starts to melt and bubble at the edges.
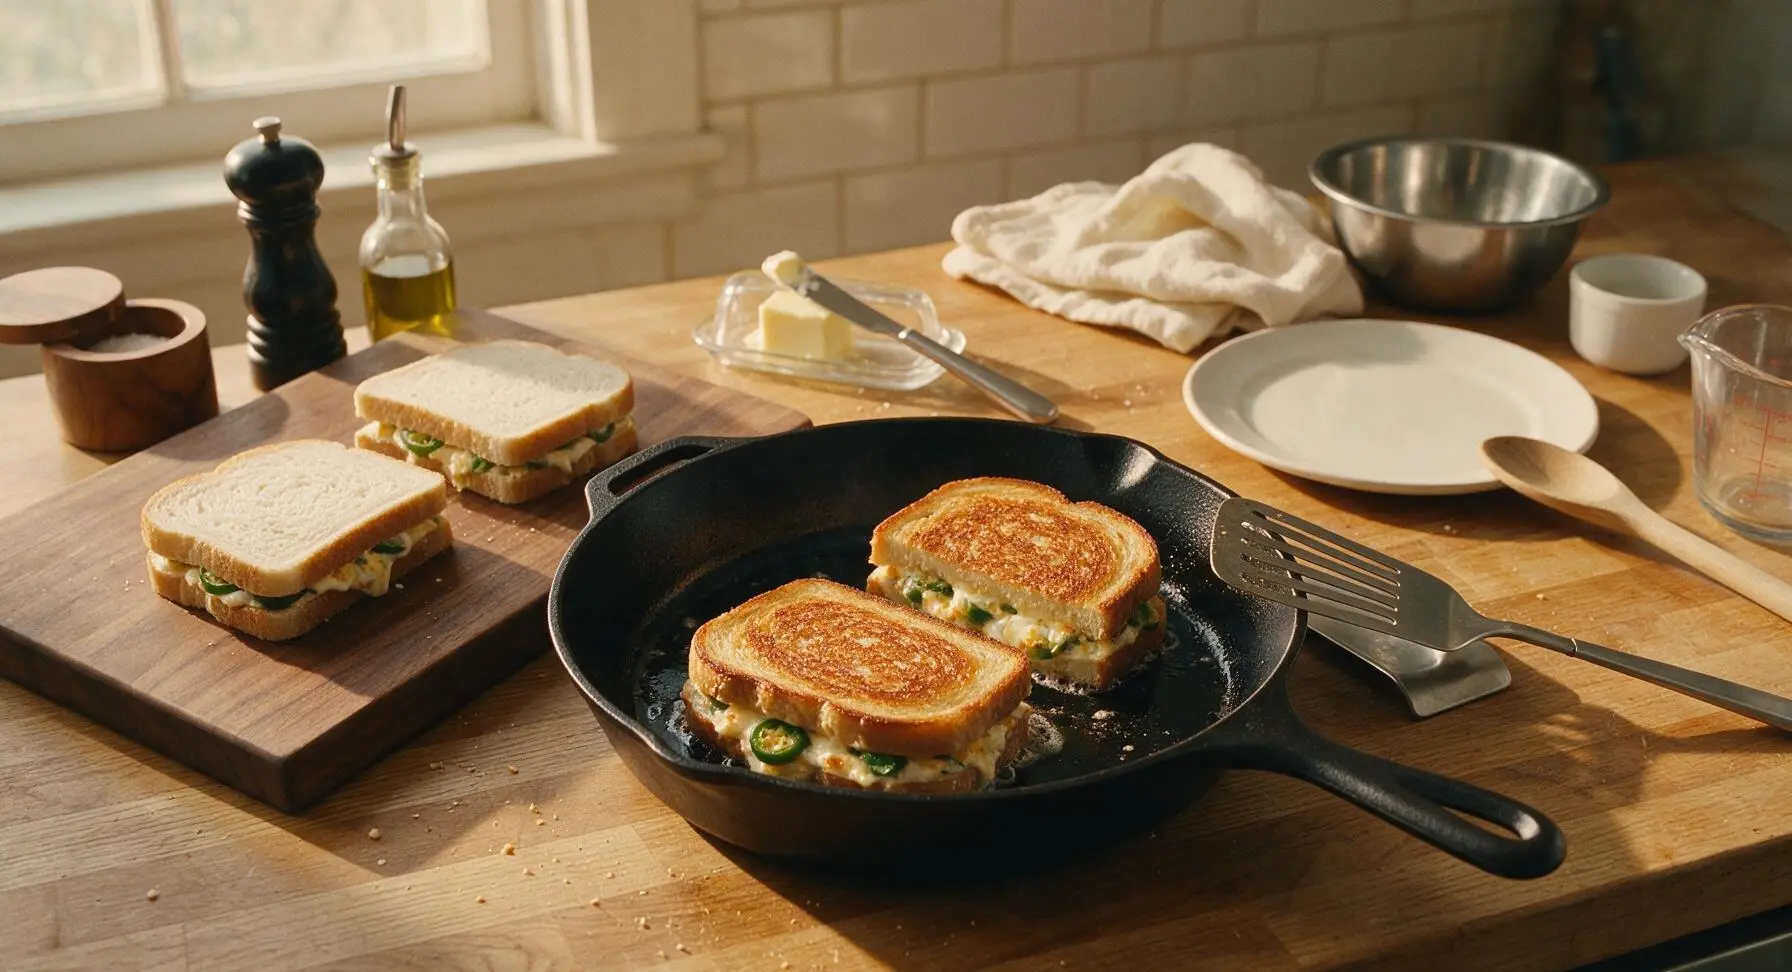
Step 5
step5:Grill First Sandwich Side
6

Flip and Cook Second Side

Use the thin stainless steel turner to carefully flip each sandwich, pressing down gently with the spatula after flipping to ensure even contact with the pan. Cook for another 3–4 minutes, until the second side is equally deep golden brown and crispy, and all cheese in the center is fully melted with no remaining solid shreds. If bread browns too quickly, reduce heat to low to give cheese time to melt without burning. Transfer cooked sandwiches to the cutting board to rest for 1 minute, then repeat the cooking process with the remaining two sandwiches.
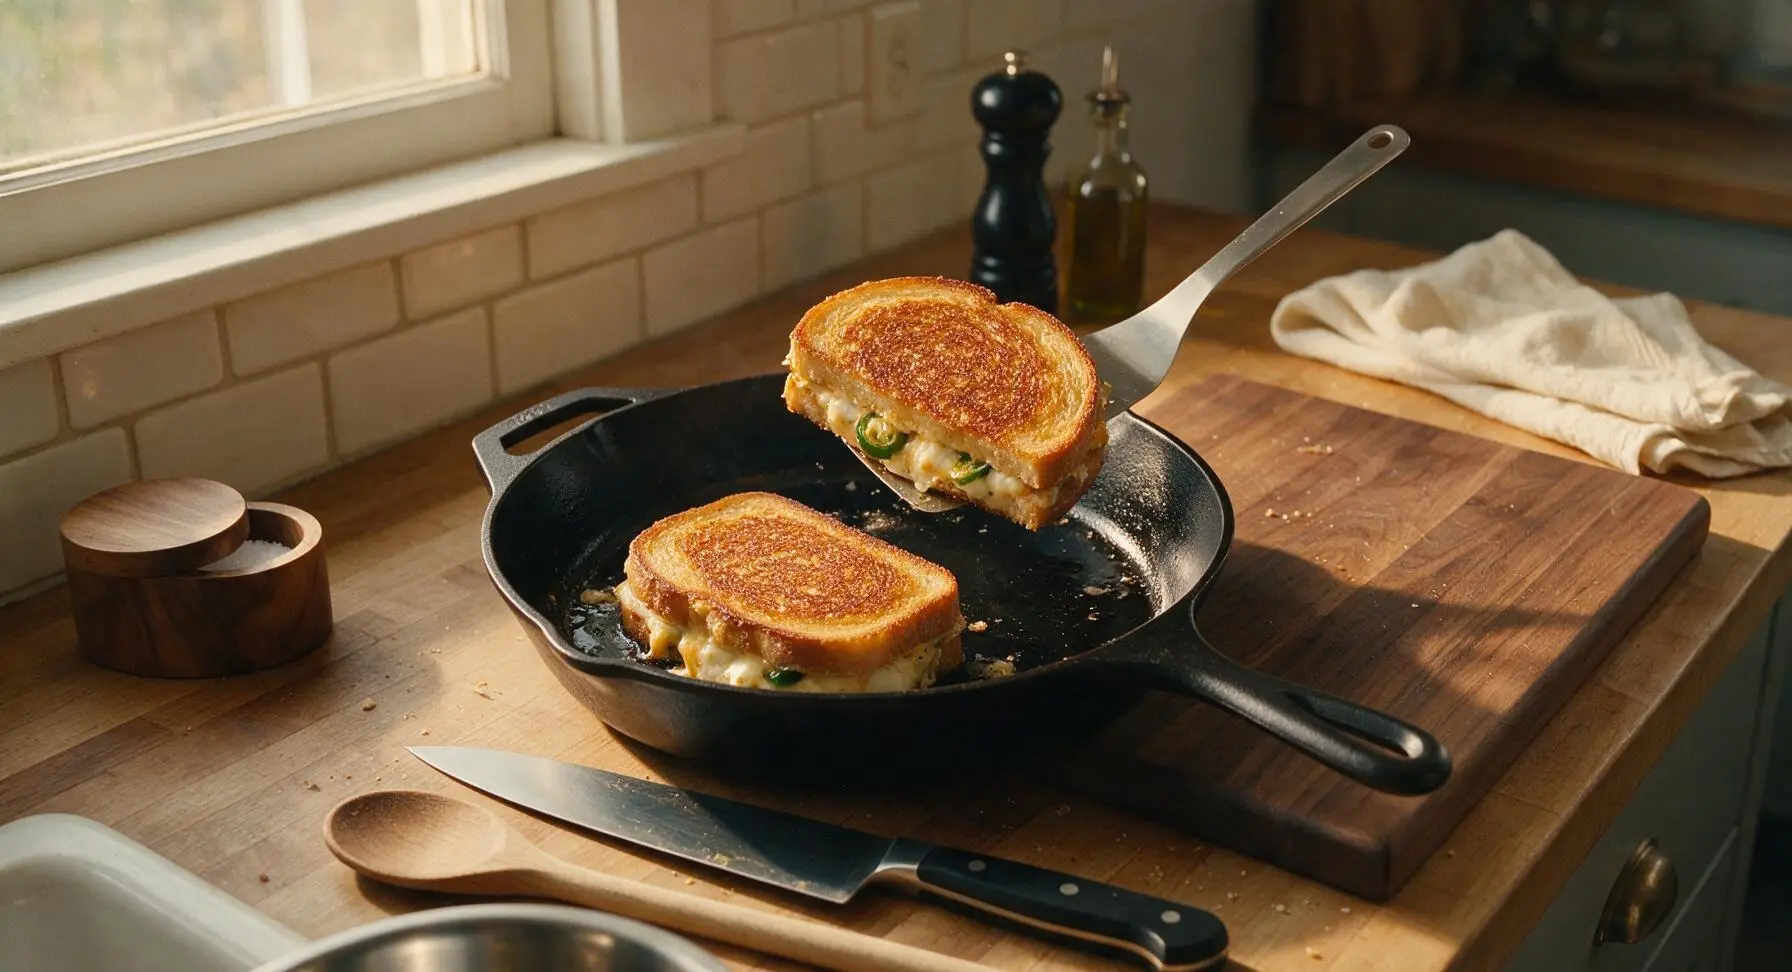
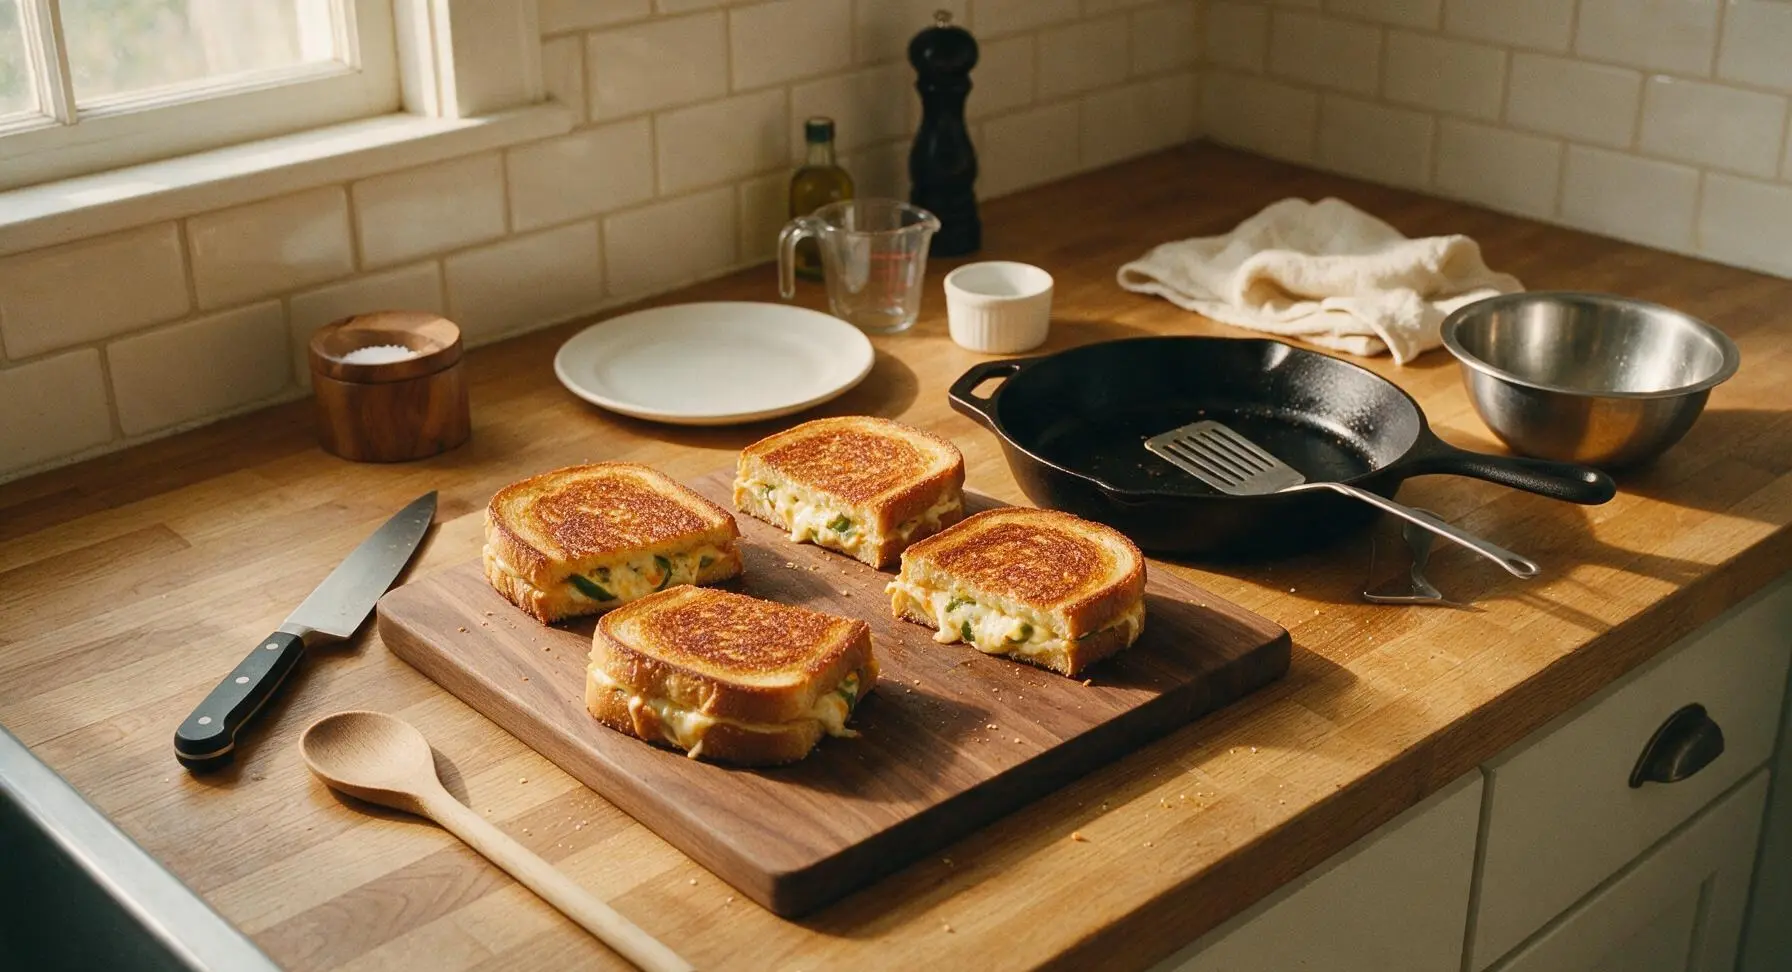
Step 6
step6:Flip and Cook Second Side
Step 6
step6:Flip and Cook Second Side
7

Cut and Plate Sandwiches

Use the 6-inch serrated utility knife to cut each sandwich diagonally into two triangular halves, wiping the knife blade between cuts to prevent cheese from dragging and creating messy cuts. Place two halves per serving on the matte cream ceramic dinner plates, angled slightly to show the melted cheese cross-section. Garnish each plate with a single fresh cilantro leaf before serving.
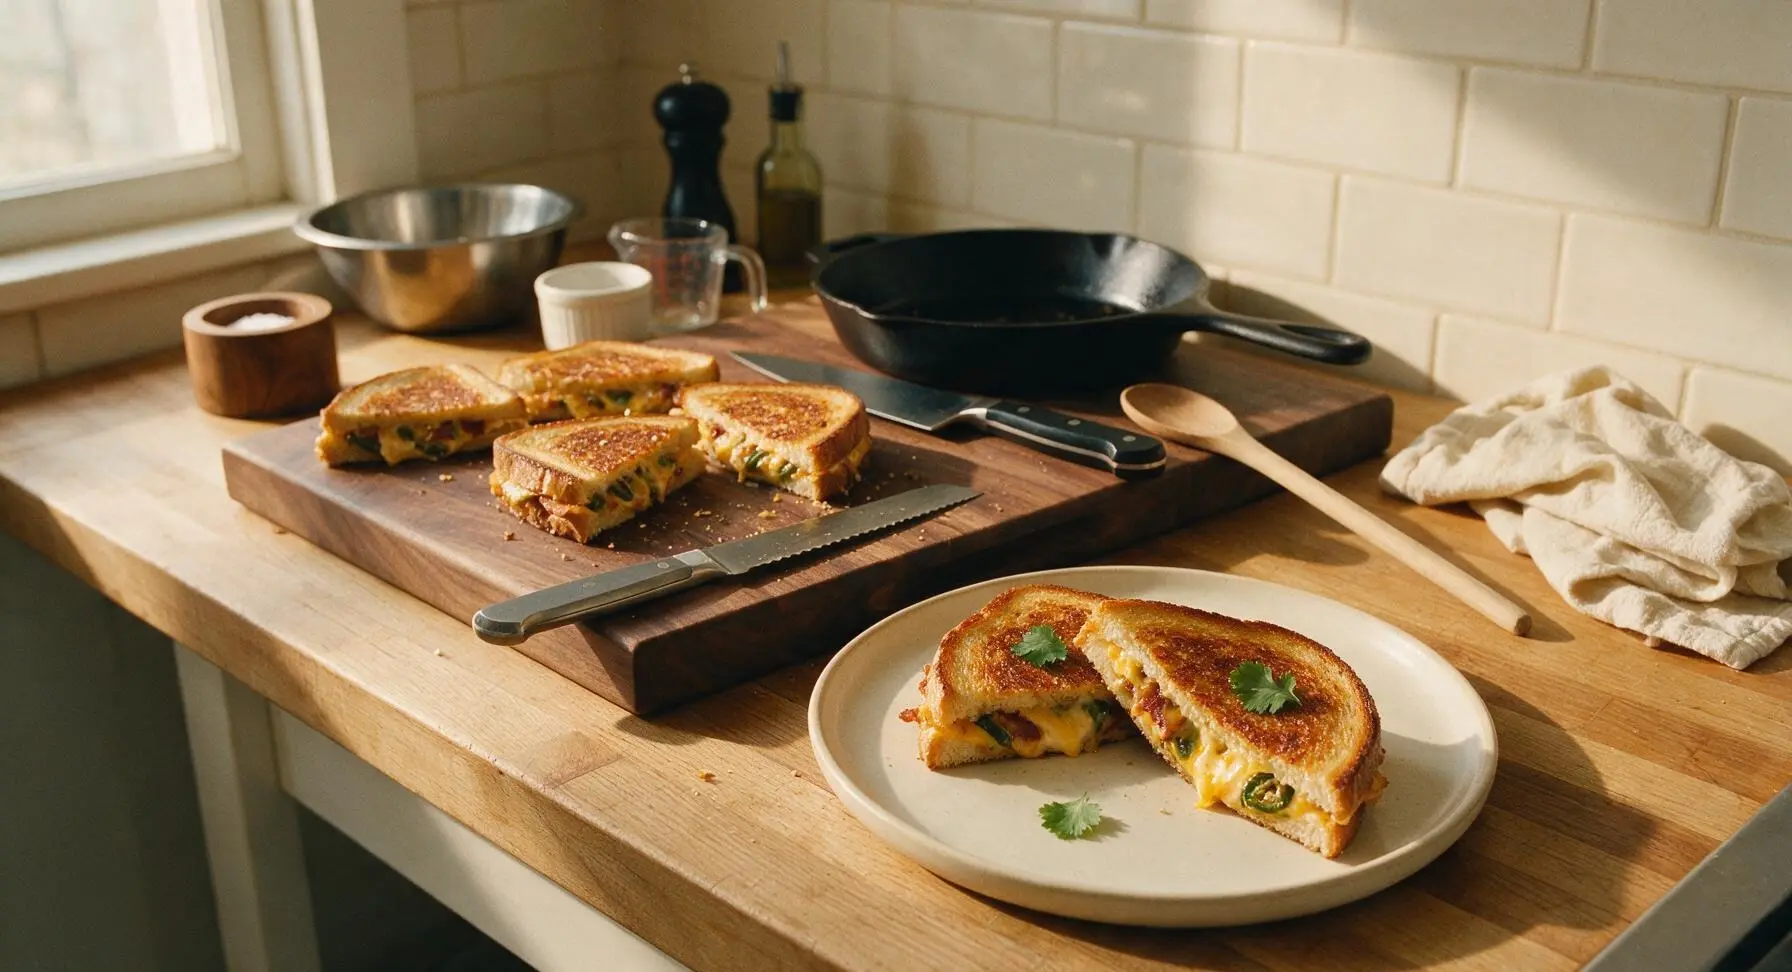
Step 7
step7:Cut and Plate Sandwiches

Tips

1.Always pat pickled jalapeños completely dry with a paper towel before mixing them into the cream cheese filling: excess pickling brine will seep into the bread and make the sandwich soggy, while also preventing the cheese from melting evenly.
2.Use freshly shredded cheddar and room-temperature cream cheese for the best texture: pre-shredded cheddar is coated in potato starch that creates a grainy, less gooey melt, while cold cream cheese is lumpy and hard to spread evenly across bread.
3.Cook sandwiches over medium-low heat and let them rest 1 minute after cooking: high heat will burn the buttery bread exterior before the center cheese fully melts, while the short rest lets melted cheese set slightly so it does not all ooze out when you take the first bite.


✨ You May Also Like

Main Course
🍜 United Kingdom

A showstopping classic of tender seared beef, savory mushroom duxelles, and crisp prosciutto wrapped in flaky golden puff pastry, baked to juicy perfection.

⏱️ 2 hours 1Main Course ★ 4.7
Main Course
🍜 India

Tender charred marinated chicken simmered in a rich, spiced creamy tomato sauce, this iconic Anglo-Indian curry pairs perfectly with basmati rice or warm naan.

⏱️ 50 minuteMain Course ★ 4.6
Main Course
🍜 Thailand

Classic tangy, sweet, and savory Thai stir-fried rice noodles with shrimp, tofu, and crunchy garnishes, balancing all five core Thai flavor profiles.

⏱️ 30 minuteMain Course ★ 4.5
Main Course
🍜 United Kingdom

Crispy golden beer-battered cod and fluffy double-fried chips, served with tangy tartar sauce and malt vinegar: the timeless, beloved British pub comfort classic.

⏱️ 45 minuteMain Course ★ 4.7
Main Course
🍜 Mexico

Smoky, chile-marinated pork tacos with caramelized pineapple, fresh cilantro, and lime: a beloved classic Mexican street food perfect for casual summer gatherings.

⏱️ 1 hour 45Main Course ★ 4.8
Main Course
🍜 United States

Crunchy Fritos corn chips layered with savory beef chili and melted cheddar, topped with cool, zesty fixings for a beloved, cozy Tex-Mex comfort food.

⏱️ 35 minuteMain Course ★ 4.8

Jalapeño Popper Grilled Cheese:Frequently Asked Questions

1.How spicy is this jalapeño popper grilled cheese, and can I adjust the heat level? ▾
The heat is mild and well-balanced, since the creamy cheeses cut the jalapeño zing for a friendly, approachable kick. To turn the heat down, seed your pickled jalapeño slices before adding them, or swap in mild tamed pickled jalapeños. For extra fire, leave seeds and membranes in, or mix a thin layer of hot sauce into the cream cheese spread.
2.Why do you recommend full-fat cream cheese instead of low-fat or non-fat versions? ▾
Full-fat cream cheese melts into that luxuriously smooth, classic popper-style filling we want, without turning watery or grainy as it heats. Low-fat and non-fat cream cheeses have extra stabilizers and higher water content that will make your sandwich soggy, and they lack the rich, tangy bite that pairs so perfectly with jalapeños and bacon.
3.Can I prep these sandwiches ahead of time for quick weeknight meals? ▾
You can prep components ahead, but wait to assemble full sandwiches until right before grilling to avoid sogginess! Mix the cream cheese, shredded cheddar, crumbled cooked bacon, and jalapeño filling up to 3 days in advance and store it in an airtight container in the fridge. Assembled raw sandwiches will get mushy if left to sit for hours before cooking.
4.What’s the best way to get perfectly crispy, not burnt, sourdough crust? ▾
Cook your sandwich over medium-low heat, not high! Spread softened (not melted) salted butter evenly all the way to the edges of each bread slice, and grill 3 to 4 minutes per side, pressing gently with a spatula once halfway through. This gives the cheese time to fully melt before the bread darkens too much for that ideal golden crunch.
5.Can I use fresh jalapeños instead of the recommended pickled slices? ▾
You can, but you’ll miss that bright, tangy kick that makes this taste exactly like a classic restaurant-style jalapeño popper. If you use fresh, roast or sauté thin slices first to soften them and mellow their raw, grassy bite, and add a tiny splash of apple cider vinegar to the cream cheese to mimic that pickled tang.
6.Do I need to cook the thick-cut bacon before adding it to the sandwich? ▾
Absolutely—raw bacon won’t cook through in the short time it takes to grill the sandwich, leaving you with chewy, undercooked pork and greasy, soggy bread. Cook your thick-cut bacon until crispy first, drain it well on paper towels to remove excess grease, then break slices into pieces that fit neatly on the bread for even bacon in every bite.
7.What are the best sides to serve with this grilled cheese for a full meal? ▾
This rich, zesty sandwich pairs perfectly with lighter, crisp sides to cut through all the cheesy, smoky flavor. My go-tos are creamy tomato soup, a simple green salad with a bright vinaigrette, dill pickle spears, crispy seasoned fries, or tangy coleslaw. Skip heavy, creamy sides—they’ll make the meal feel overly rich.
8.Can I make this in an air fryer instead of on the stovetop? ▾
You totally can, and it comes out incredibly crispy with zero stovetop mess! Assemble your sandwich as directed, butter the outsides of the bread, and air fry at 375°F for 4 minutes per side, until the bread is golden and the cheese is fully melted. Keep a close eye on it during the last minute, as air fryer heat varies between models.
9.Why do you call for sharp yellow cheddar instead of milder cheese options? ▾
Sharp yellow cheddar has a bold, nutty, tangy flavor that stands up to smoky bacon, spicy jalapeños, and rich cream cheese, instead of getting lost in the mix. Mild cheddar has a much softer, subtler flavor that will fade next to those big, bold popper flavors, so you’ll miss that classic, satisfying cheesy bite.
10.How do I make sure the cheese melts fully without burning the bread? ▾
Grate your sharp cheddar fresh instead of using pre-shredded cheese, which is coated in anti-caking agents that prevent smooth, even melting. Cook over medium-low heat, and if your bread browns too fast before the cheese melts, turn the heat down and cover the pan for 1 minute to trap steam that melts cheese quickly.
11.Can I freeze these assembled sandwiches for quick future meals? ▾
I don’t recommend freezing fully assembled sandwiches, as the bread will turn soggy and the cream cheese will develop a grainy, crumbly texture when thawed. That said, you can freeze cooked, crumbled bacon and pre-portioned cheese to cut down prep time, so you can throw a fresh sandwich together in 10 minutes whenever a craving hits.
12.Is there a way to lighten this recipe up without losing that classic jalapeño popper flavor? ▾
You can swap a third of the full-fat cream cheese for plain, unsweetened non-fat Greek yogurt to cut some calories without making the filling watery, and use center-cut thick bacon to trim a little extra fat. Stick with full-fat cheddar for the best melt, and use a thin, even layer of butter on the bread for that perfect crispy crust.

Comments (17)

2 days ago

OMG this is such a game changer! I made this for our family taco night last night and even my super picky 8 year old asked for seconds. The cream cheese + jalapeño + crispy bread combo is unreal, and it only took 20 minutes total which is perfect for busy weeknights. 10/10 will be adding this to our regular rotation!

yesterday

So glad your kiddo loved it! Pro tip: if you want a little extra crunch, toss in some crispy bacon bits next time — it takes the popper vibe to the next level!

3 days ago

Made this for my Sunday football watch party potluck and people were hovering over the plate waiting for the next batch. I used pickled jalapeños instead of fresh because that’s what I had in the fridge, and it slapped. SO good, I didn’t even get a full sandwich before they were gone lmao

2 days ago

Wait pickled jalapeños are such a smart call! I always have a jar in my fridge door for nachos, I’m definitely trying that swap this weekend

2 days ago

Pickled jalapeños are an amazing swap! We love that tangy kick they add — great call improvising with what you had on hand!

1 week ago

Bro this is the easiest thing I’ve made all semester. No fancy ingredients, minimal cleanup, tastes like something I’d pay $12 for at the campus sandwich shop. Meal prepped a batch for lunches this week and it’s holding up great.

5 days ago

Okay I was skeptical at first because grilled cheese can be kinda boring, but this? *Chef’s kiss* I did add a little extra shredded cheddar because I’m a cheese fiend, and I used sourdough bread for extra tang. My husband said it’s better than the jalapeño popper appetizer we get at our local bar. Only giving 4 stars because I accidentally burned the first sandwich when I got distracted by the dog, but that’s 100% my bad not the recipe.

3 days ago

Sourdough is the move for this! I did the same last time I made it and the crispy crust holds up so well against the creamy filling

2 days ago

So glad you both enjoyed it! No shame in the burnt first sandwich — we’ve all been there distracted by pets mid-cook! Sourdough is one of our favorite bread swaps for this recipe too.

2 weeks ago

Loved this! I upped the jalapeño count and left the seeds in for extra heat, and it was perfect for my spice tolerance. Pair it with a side of tomato soup and you’ve got the coziest fall lunch ever.

1 week ago

Fellow seed-leaver here! I also added a dash of hot honey on mine last week and it was life changing, highly recommend

yesterday

As someone who regularly sets off the smoke alarm making toast, I was shocked how easy this was to pull off. No fancy skills needed, the steps are super straightforward, and my teenagers devoured it. Even managed not to burn any of the sandwiches! Win for dad dinner night.

30 minutes ago

This is the win we love to see! Dad dinner night success is the highest compliment we could ask for — so glad the whole family enjoyed it!

1 week ago

Brought this to our neighborhood block party last weekend and I got so many recipe requests! I cut the sandwiches into quarters so they were easy finger food size, and they were gone in 10 minutes flat. Will absolutely be making this for every potluck from now on.

2 hours ago

Tried this last night for a quick dinner after soccer practice and it was a huge hit! Wait — has anyone tried making this in an air fryer instead of a pan? I feel like that would cut down on the butter mess but I don’t want to mess it up.

30 minutes ago

I did it in the air fryer last week! 370 for 6 minutes, flip halfway, comes out perfectly crispy without all the pan butter. Game changer for quick lunches

5 minutes ago

Great question! The air fryer method works wonderfully — just keep an eye on it so the bread doesn’t get too toasty, and make sure the filling is fully melted before pulling it out. Thanks for the great tip!

2 days ago

Wait I’m not even vegan anymore but I tried this with dairy free cream cheese and vegan cheddar for my roommate who is, and even I couldn’t tell the difference? So good, we both ate two sandwiches each no shame.

yesterday

Oh thank you for sharing this swap! I’ve been craving a good grilled cheese and was worried I’d have to miss out on this recipe, can’t wait to try it

5 days ago

Bro the combination of crispy buttered bread, melted cream cheese, sharp cheddar and spicy jalapeños? I’d eat this every single day if my cholesterol let me. 10/10 no notes, followed the recipe exactly and it came out perfect first try.

3 days ago

We feel that — it’s definitely a treat meal worth every bite! So glad it came out perfectly for you on the first try!

2 weeks ago

Made these for my kid’s post-game snack with the team and all the parents were asking where I got the recipe. Super filling, easy to wrap up and take to the field, and the kids didn’t even complain about the jalapeños (I used mild ones so it wasn’t too spicy for them). Total win!

1 week ago

I made a couple of these before my day hike last weekend and they were the perfect trail lunch! Held up great in my pack, didn’t get soggy, and that little kick of jalapeño gave me the boost I needed to finish the last mile. Who knew fancy grilled cheese was such great hiking food?

3 days ago

This is such a good hiking food idea! I usually pack boring PB&J, switching it up for this next trip for sure

3 days ago

I’ve been making this on Sundays to pack for work lunches all week and my coworkers keep crowding the break room microwave asking what smells so good. It reheats way better than I thought it would — 30 seconds in the microwave and it’s just as melty as day one. Perfect easy meal prep win!

2 days ago

So glad this works for your meal prep! Pro tip for reheating: if you have access to a toaster oven, 2 minutes in there gets the bread crispy again, but the microwave works great in a pinch!

yesterday

This tastes exactly like the jalapeño popper grilled cheese I used to get at the old diner in my hometown growing up. Total nostalgia bite! I added a little sprinkle of garlic powder to the butter on the bread and it gave it that perfect old-school diner flavor. Obsessed.

yesterday

Made this for my wife for our first at-home date night since we had the baby, and she said it’s better than the fancy restaurant version we had on our honeymoon. I will say, I might have added a little too much cream cheese on the first one so it oozed out everywhere, but it still tasted amazing. Any tips for keeping the filling from oozing while it cooks?

2 hours ago

I had that problem too! I started spreading the cream cheese thin and leaving a little border around the edge of the bread, and it stays in way better now. No more oozing all over the pan

30 minutes ago

First off, huge congrats on the new baby! Date night wins at home are the best. The border trick is perfect — leaving a ¼ inch edge without filling helps keep everything contained as the cheese melts. You can also press the sandwich down firmly with a spatula while cooking to seal the edges a bit!

30 minutes ago

Absolutely loved this when I made it last week! I have celiac so I’m going to swap in my favorite gluten free sourdough next time — has anyone tested this with GF bread? I’m worried it’ll get too soggy from the cream cheese.

5 minutes ago

I made it with GF sourdough last week! Just toast the bread a tiny bit before you add the fillings, and it won’t get soggy at all. Came out perfectly crispy, my whole family loved it and none of them are GF!

just now

Great question! The pre-toast trick works perfectly for GF bread — it creates a little barrier so the creamy filling doesn’t seep in and make it soggy. Hope you love it!

1 week ago

Made these for the tailgate last weekend and they were gone before kickoff. I pre-made the filling the night before so assembly was super quick once we got to the parking lot, cooked them up on my portable camp grill and everyone lost their minds. 10/10 game day food, will be a regular for the rest of the season.



