
japanese char siu
intro
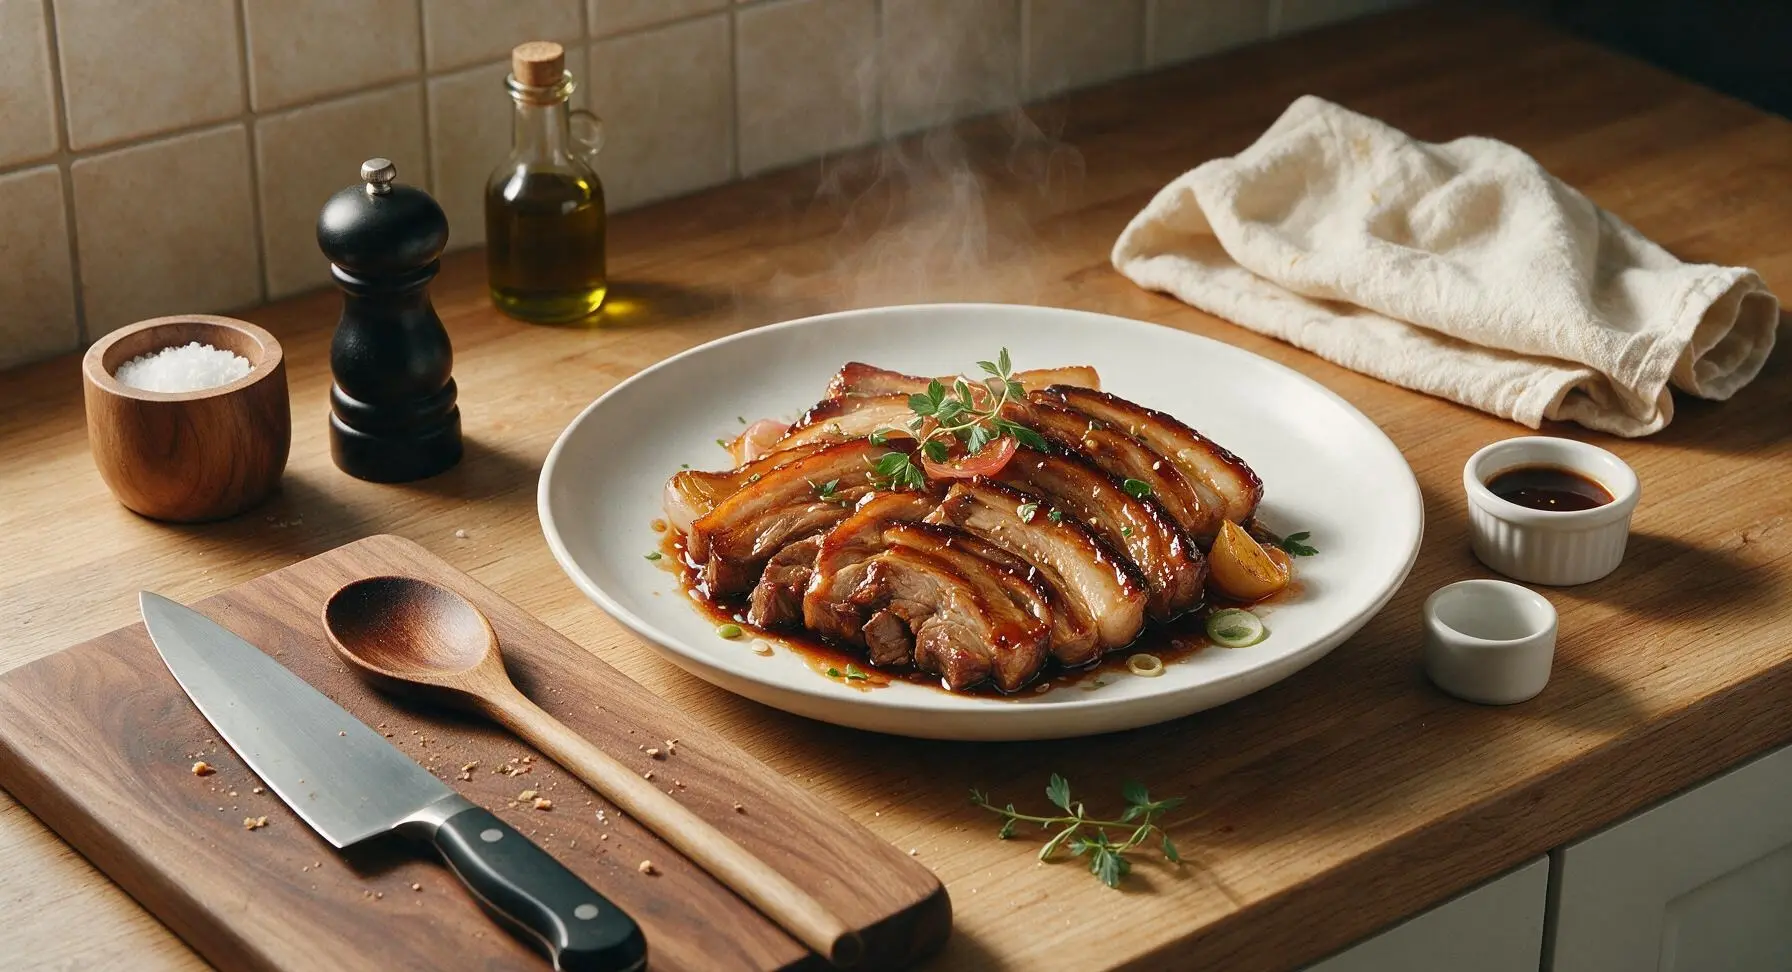
Tender, melt-in-your-mouth braised pork belly coated in a glossy sweet-savory soy glaze, perfect for ramen toppings, rice bowls, or enjoying as a rich, comforting main.
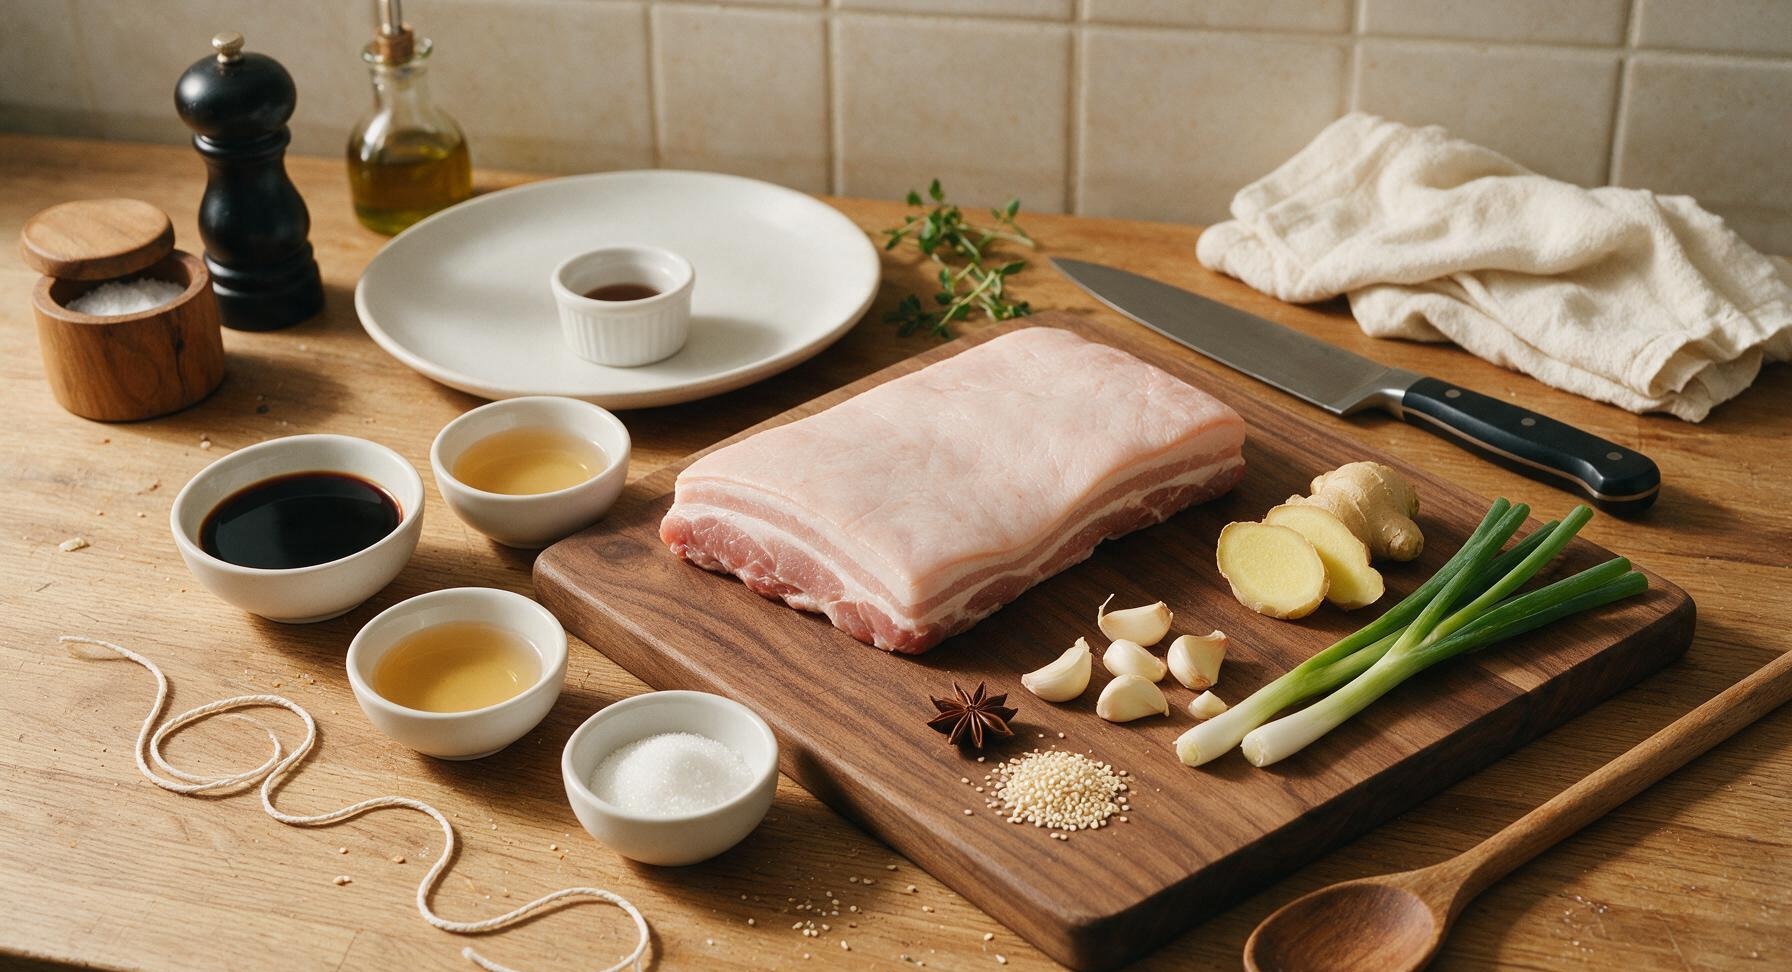
Ingredients
Steps
Roll and tie pork
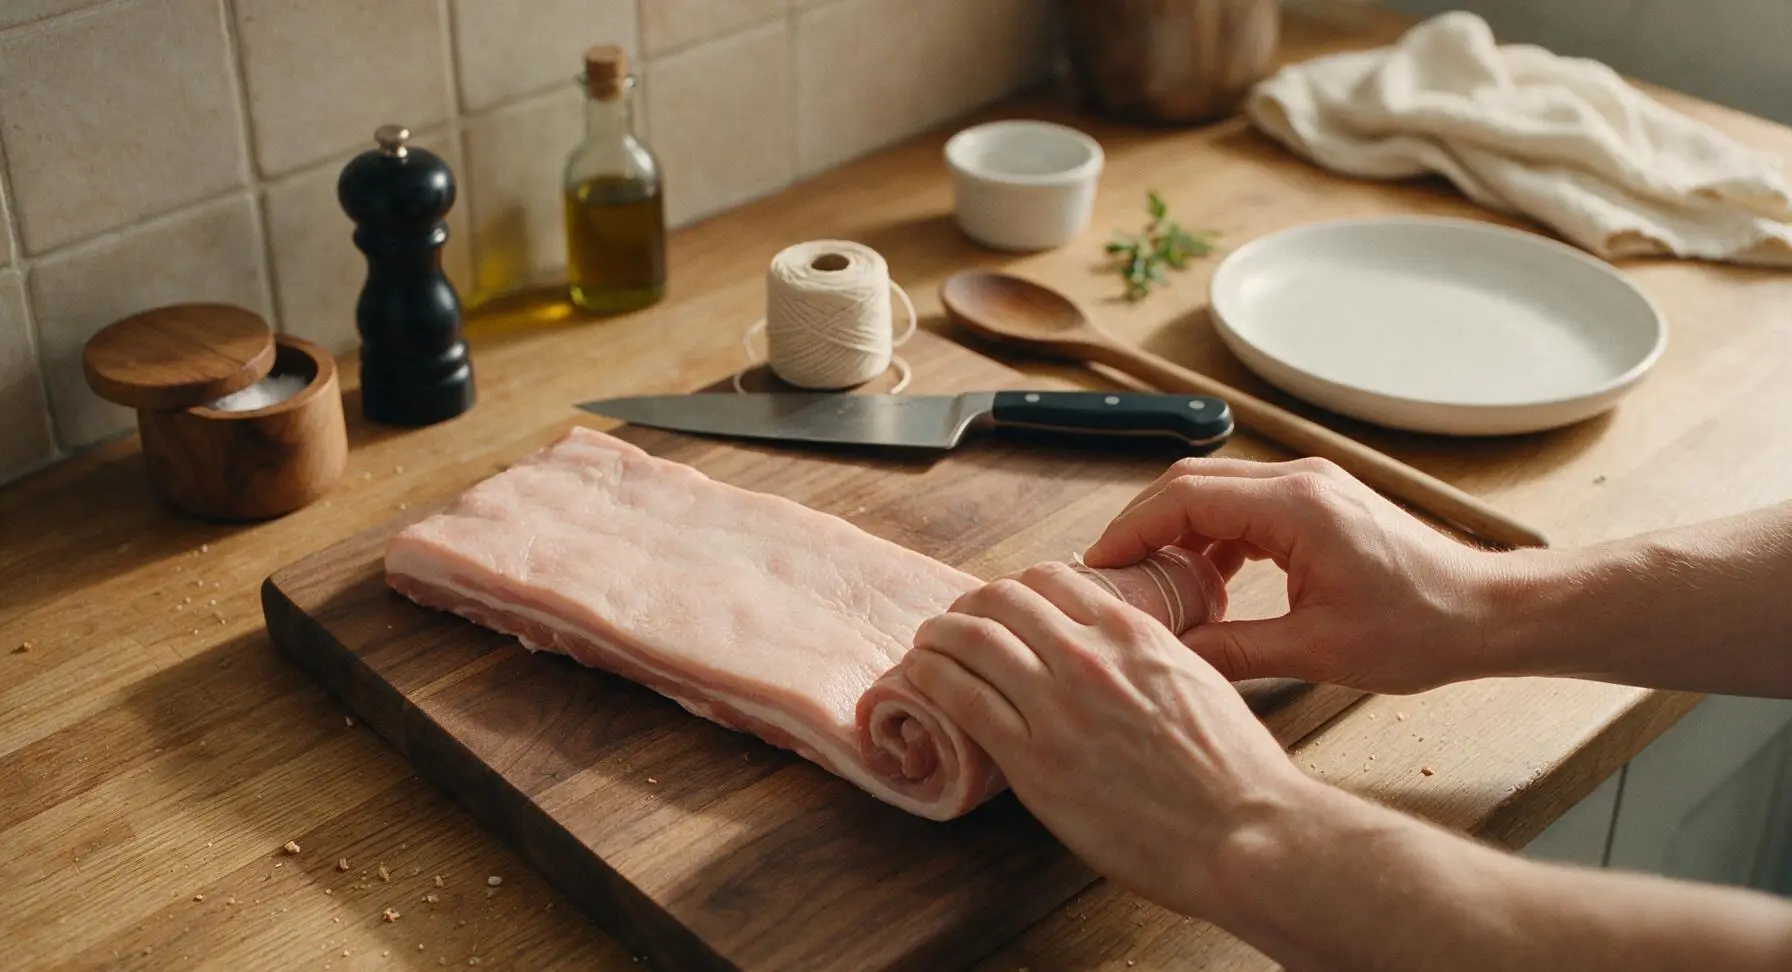
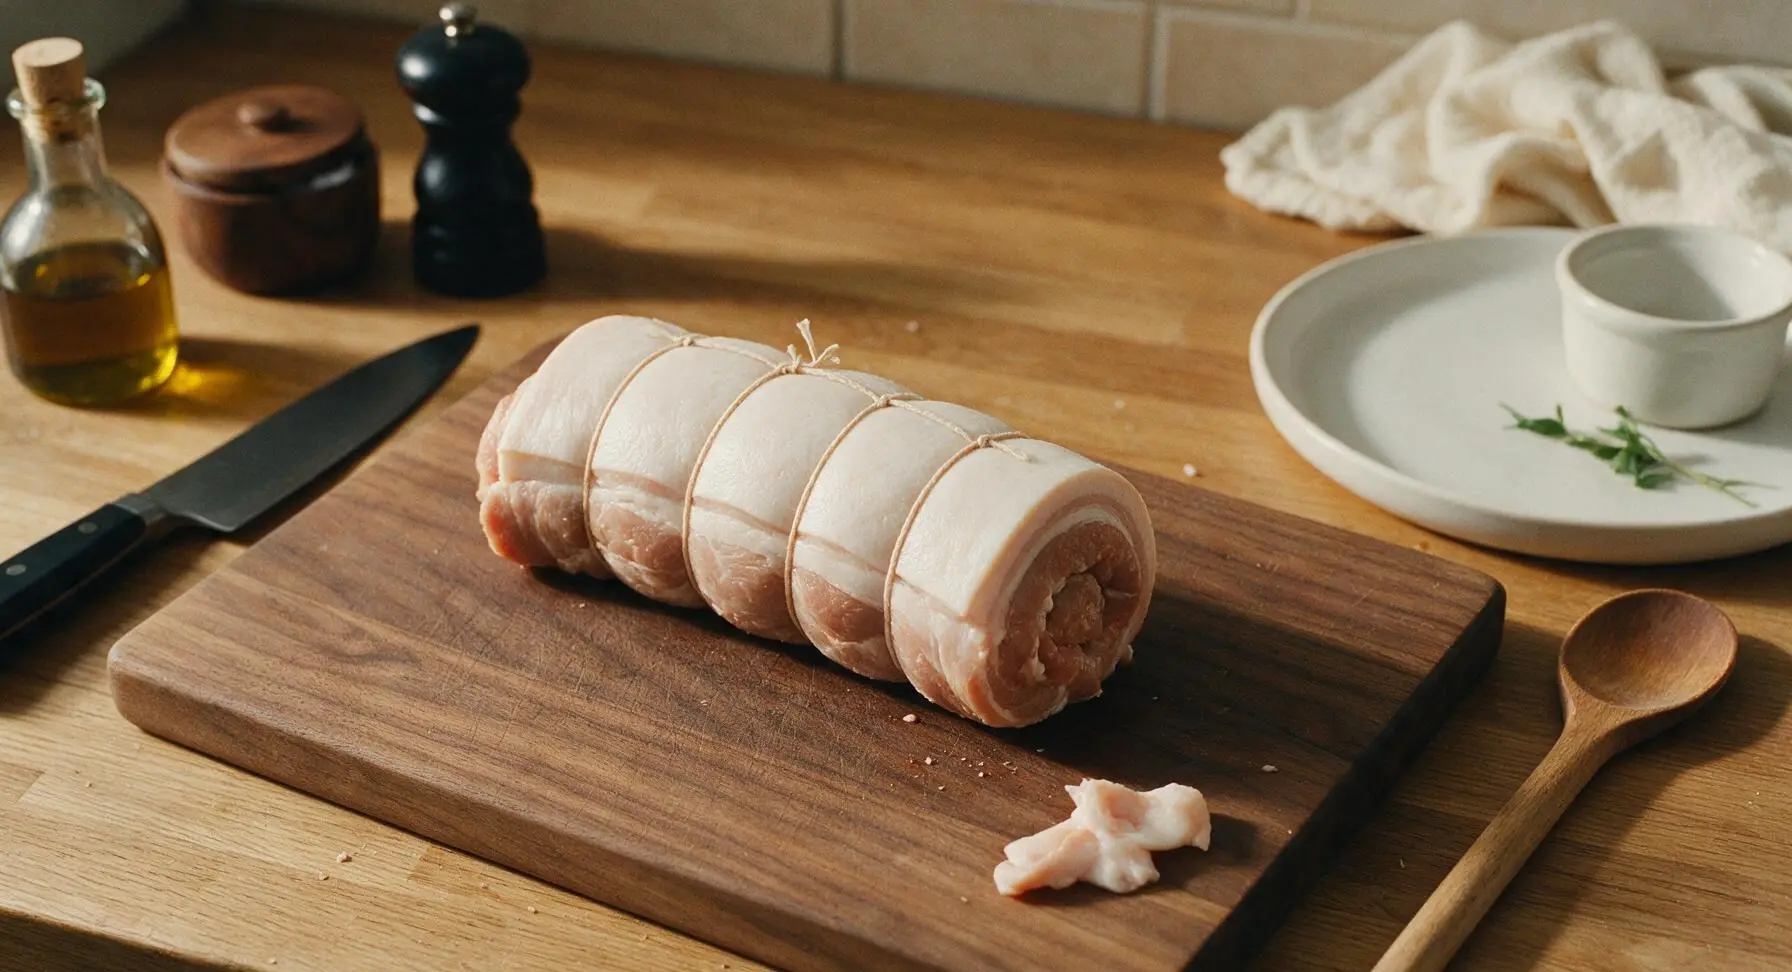
Lay the whole skinless pork belly slab flat on the walnut cutting board, with the longer edge running parallel to the counter edge. Trim any excessively thick, loose fat deposits to leave a uniform 1cm fat layer across the meat. Starting from one short end, roll the belly tightly into a uniform log shape. Cut 4 equal lengths of butcher's twine, and tie the log firmly at 5cm intervals to hold its shape during braising; trim excess twine with the chef knife. The rolled log should be evenly thick, with no loose gaps between layers.
Sear all pork sides
Place the enameled Dutch oven on the stovetop over medium heat (no oil needed, as the pork will release fat). Once the pot is hot, use the stainless steel tongs to place the tied pork log in the pot. Sear for 2-3 minutes per side, turning carefully, until every surface is deep golden brown with slightly crispy edges, about 12 minutes total. Do not move the pork while searing each side to build a good crust.
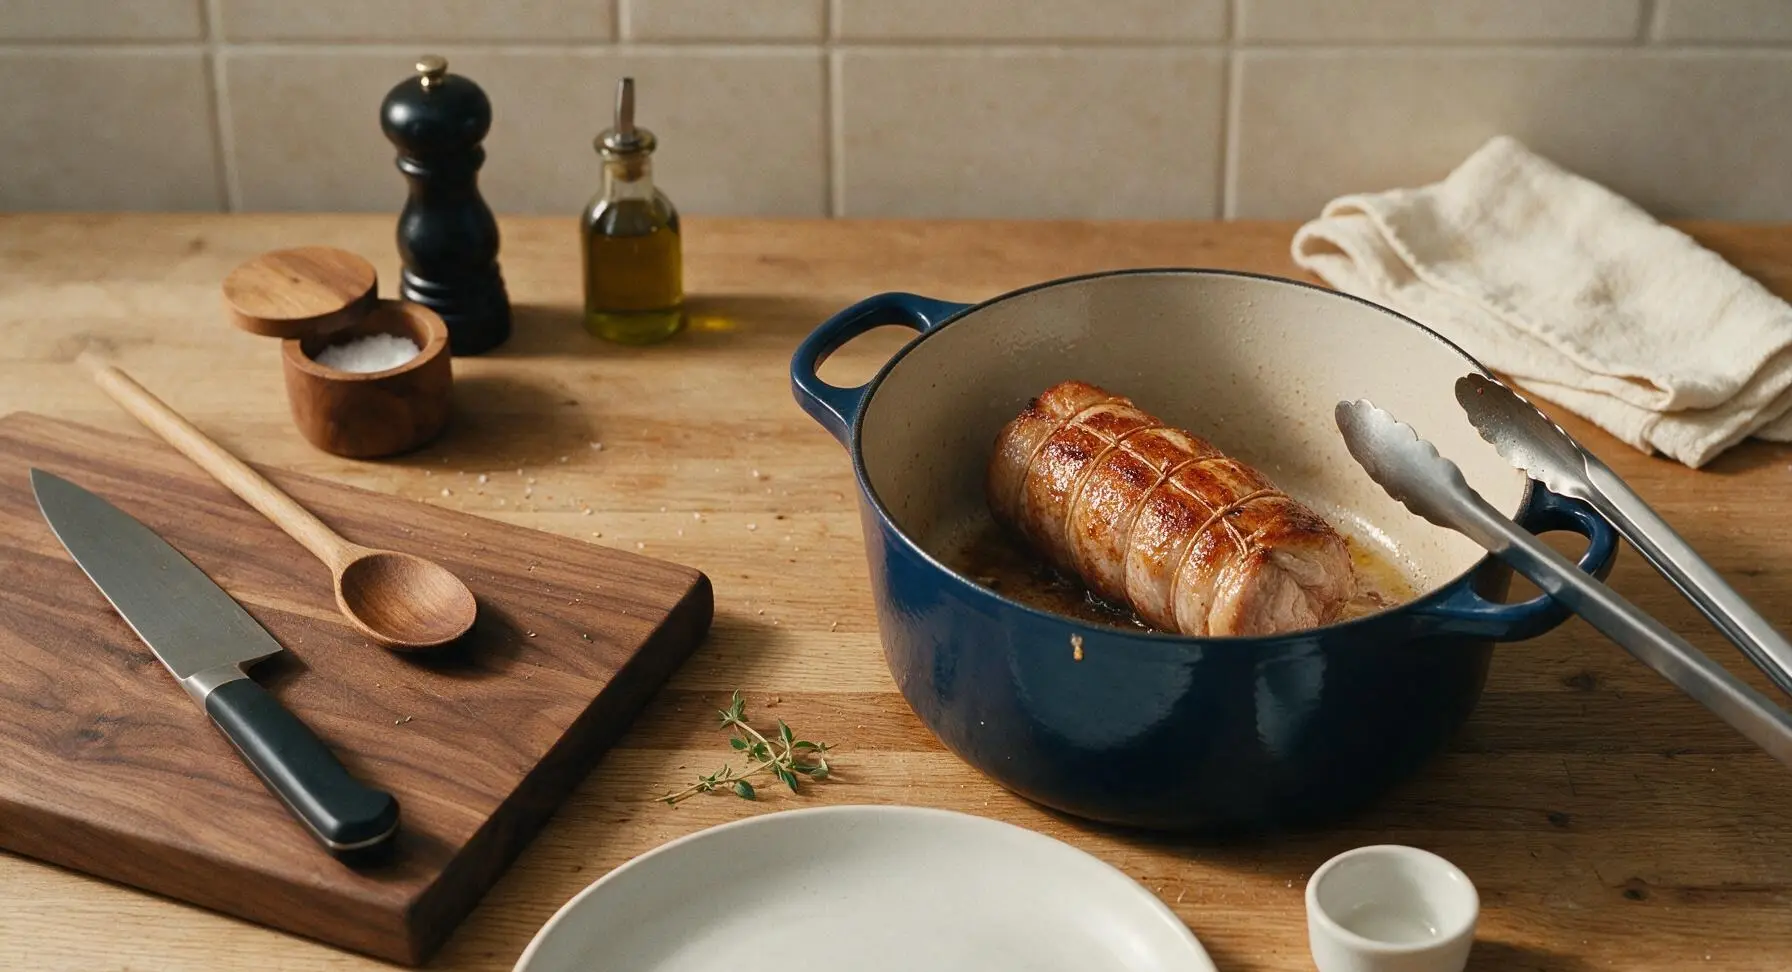
Add braising aromatics
Once the pork is fully seared, use the tongs to lift the log slightly, and tuck the sliced ginger, crushed garlic, whole scallions, and single star anise into the bottom of the Dutch oven around the pork. Let the aromatics toast in the rendered pork fat for 1 minute, until you can smell a strong fragrant garlic and ginger aroma. Do not let the garlic burn, as it will turn bitter.
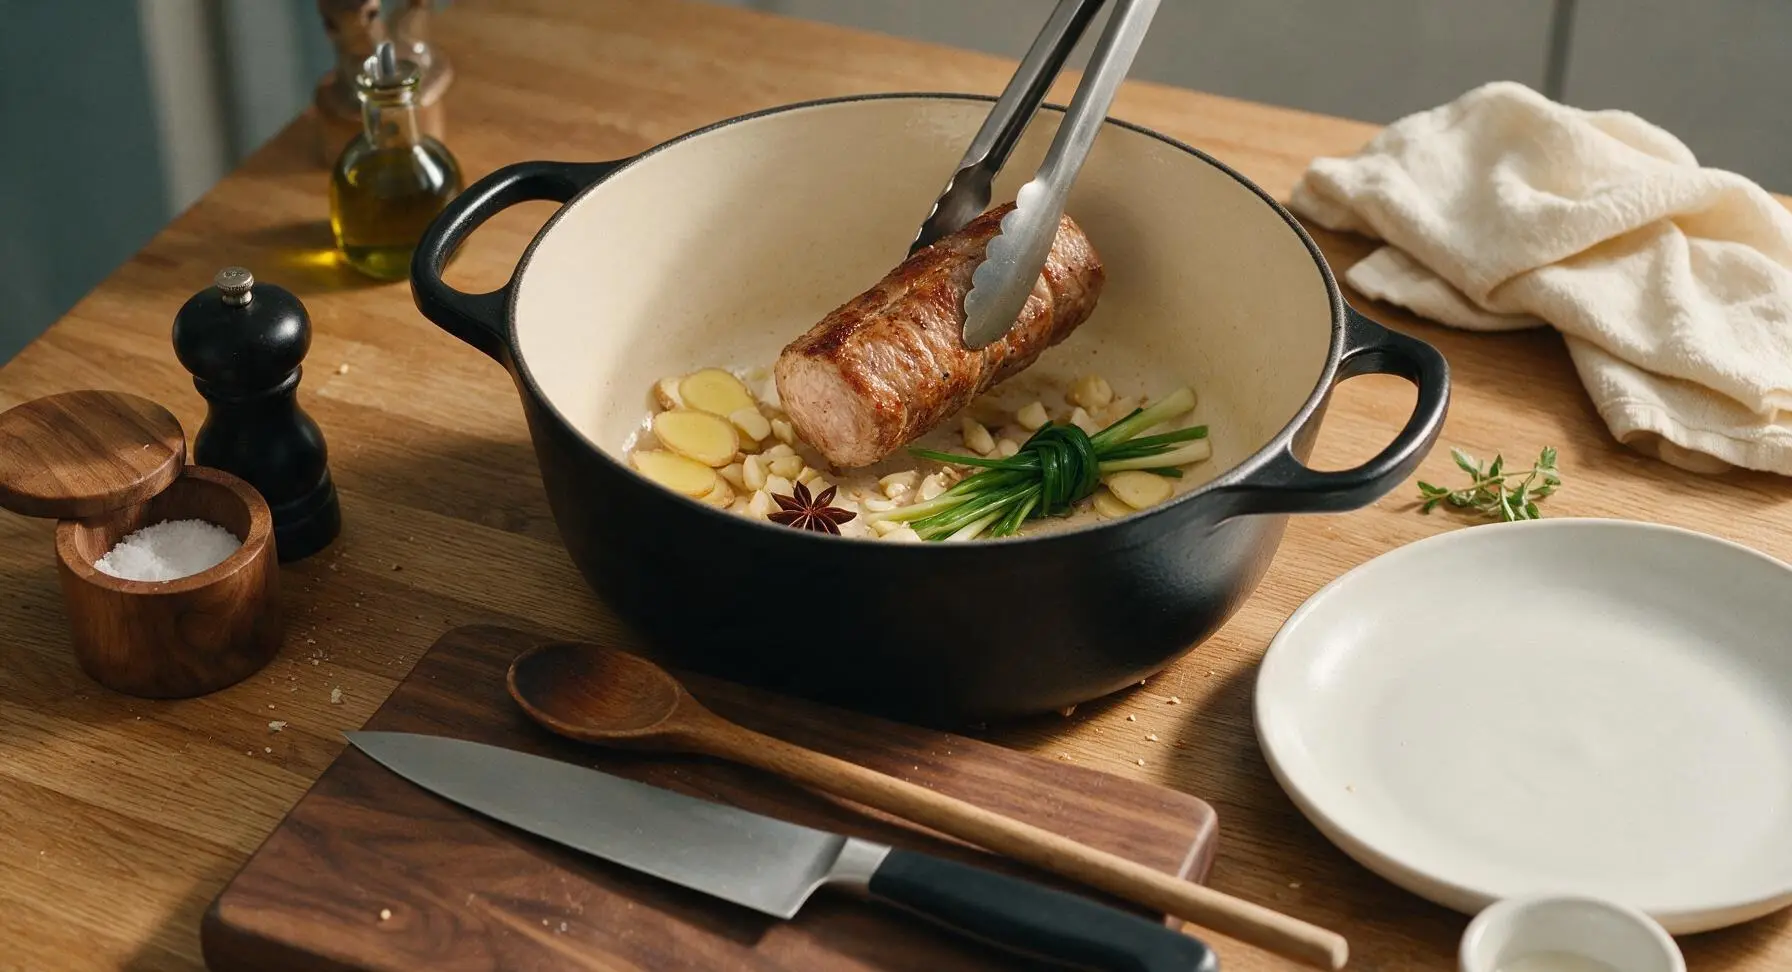
Add braising liquid
Pour the measured soy sauce, mirin, sake, and granulated sugar into the Dutch oven around the pork. Add 240ml (1 cup) of cold water to the pot, until the liquid reaches 2/3 of the way up the pork log (do not fully submerge the pork). Stir the liquid gently with the beech wood spoon to dissolve the sugar, then bring the liquid to a gentle simmer over medium heat, about 5 minutes.
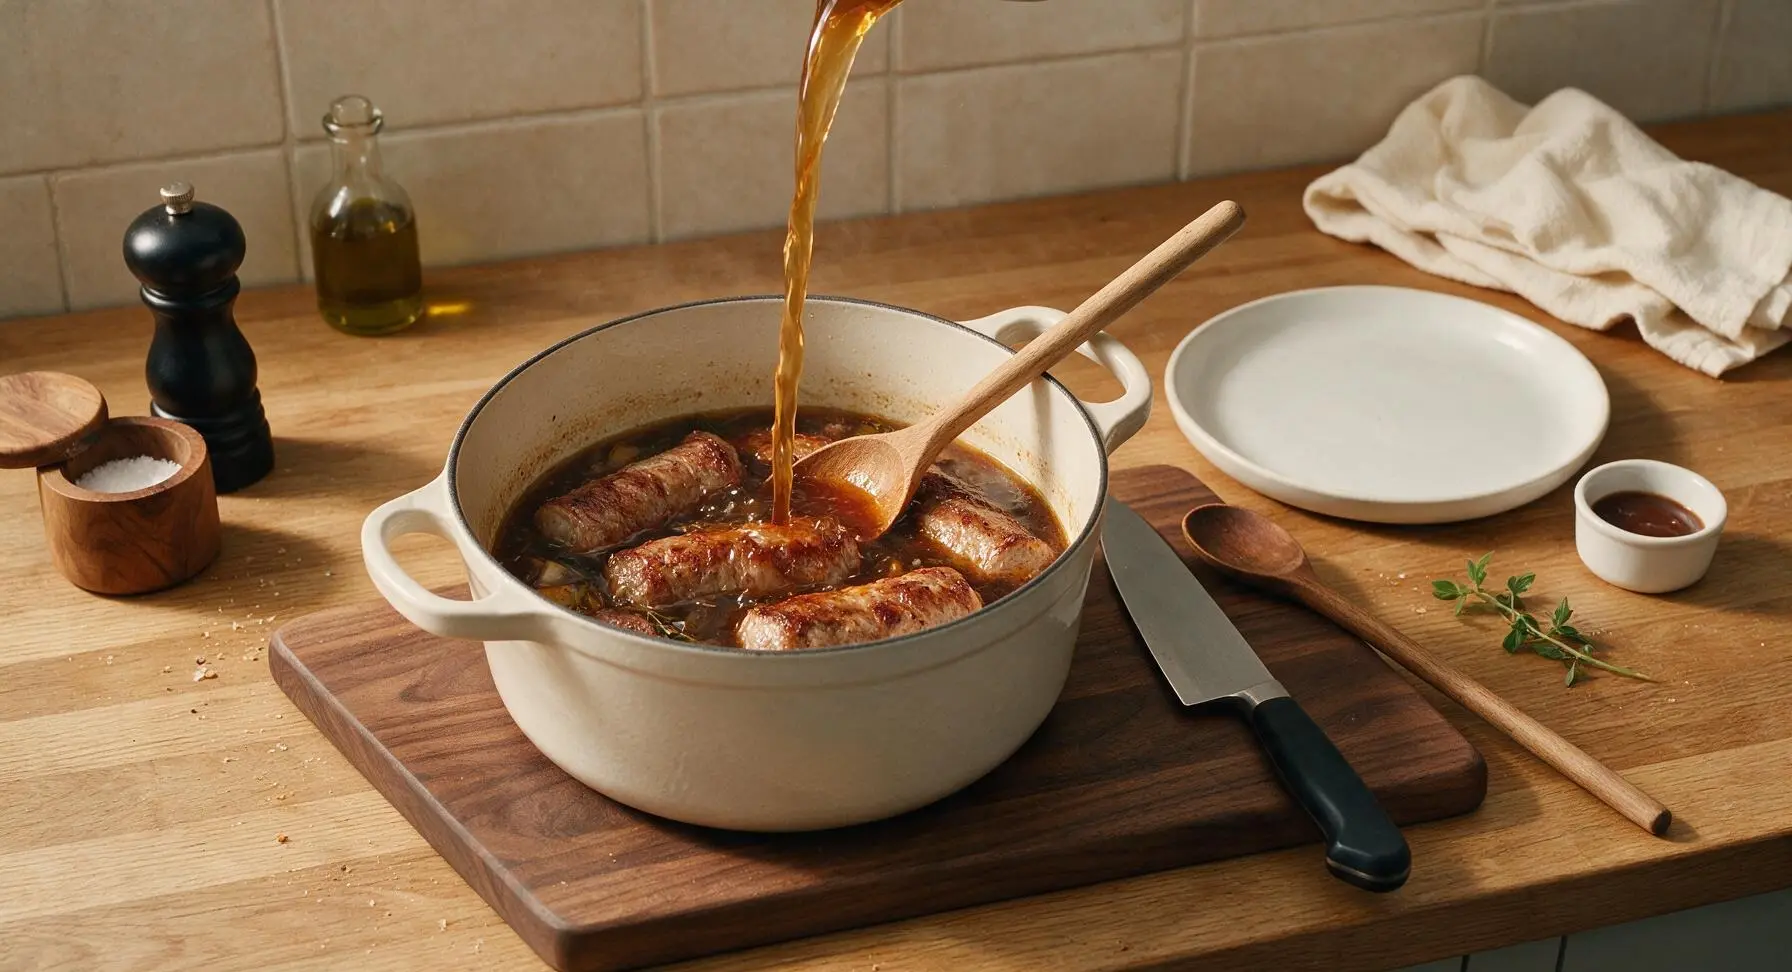
Slow braise until tender
Once the liquid reaches a gentle simmer (small bubbles breaking the surface, not a rolling boil), turn the heat to the lowest setting, cover the Dutch oven with its lid, and braise for 2 hours, turning the pork log every 30 minutes with the tongs to ensure even coating in the glaze. The pork is done when a meat fork slides easily into the center of the log with no resistance, and the internal temperature reaches 93C (200F). Do not boil rapidly, as this will make the pork tough.
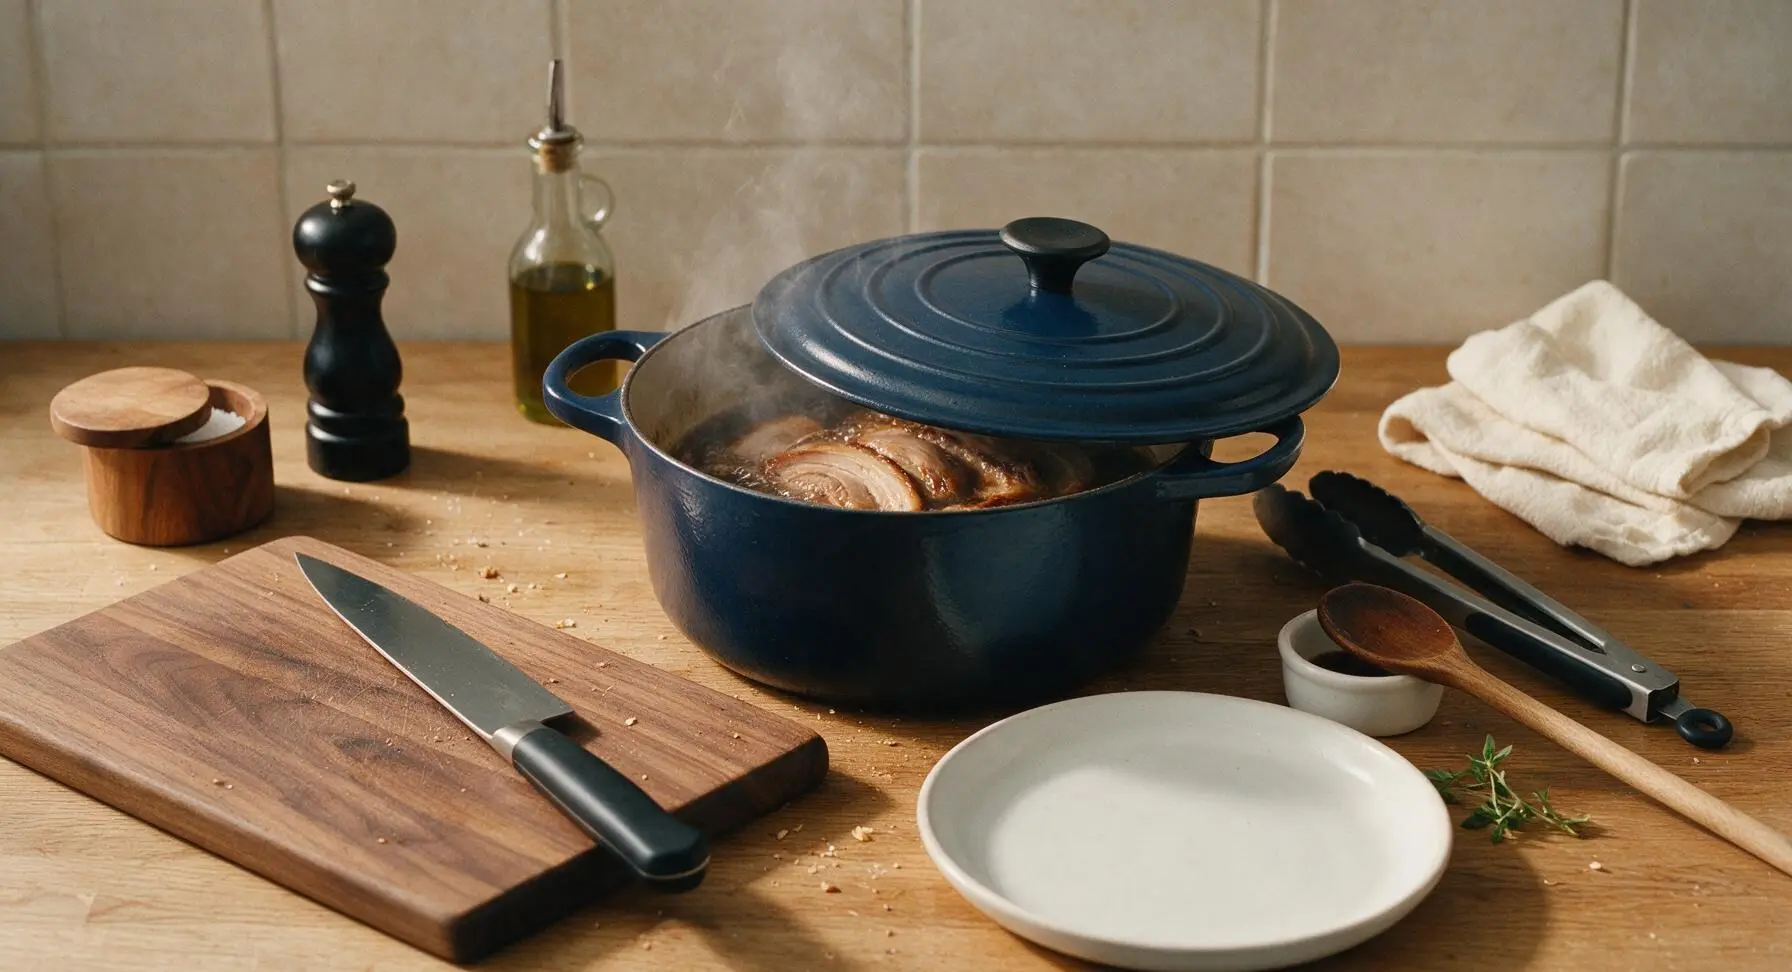
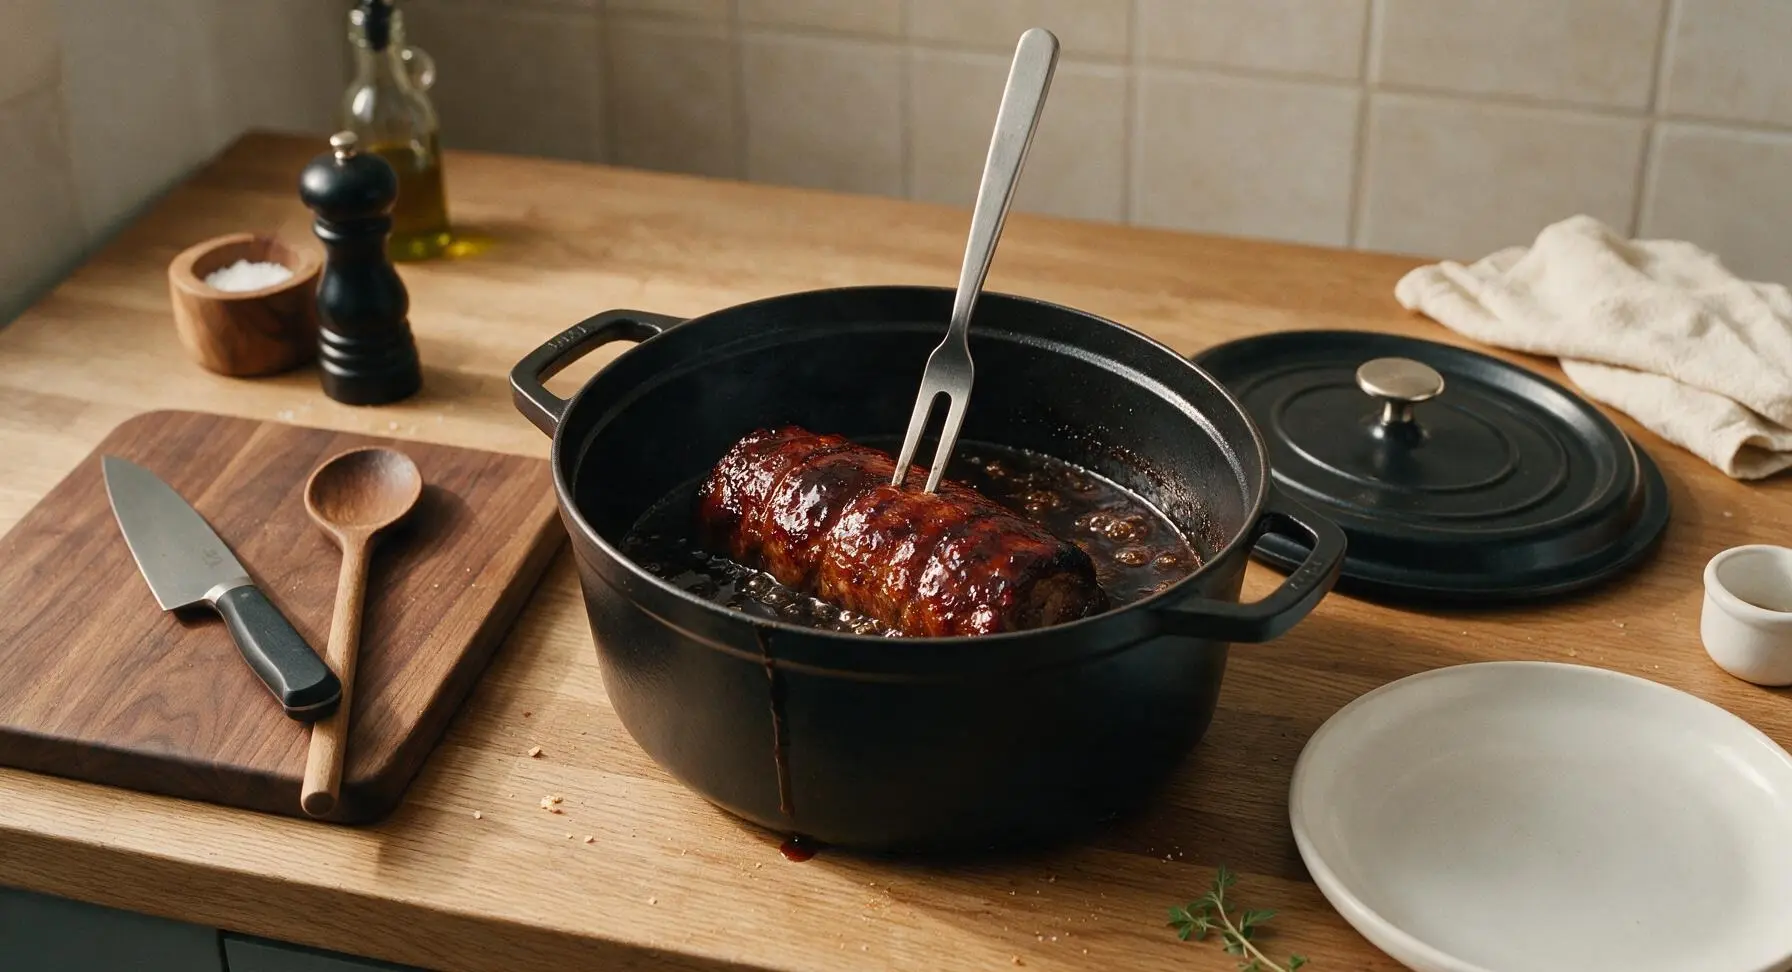
Rest pork in glaze
Turn off the heat, leave the pork in the braising liquid, and let it cool completely to room temperature in the pot, about 1 hour. For the best flavor and texture, transfer the whole pot (covered) to the refrigerator and let the pork rest in the braise overnight (8-12 hours); this allows the meat to absorb the glaze fully and become firm enough to slice cleanly.
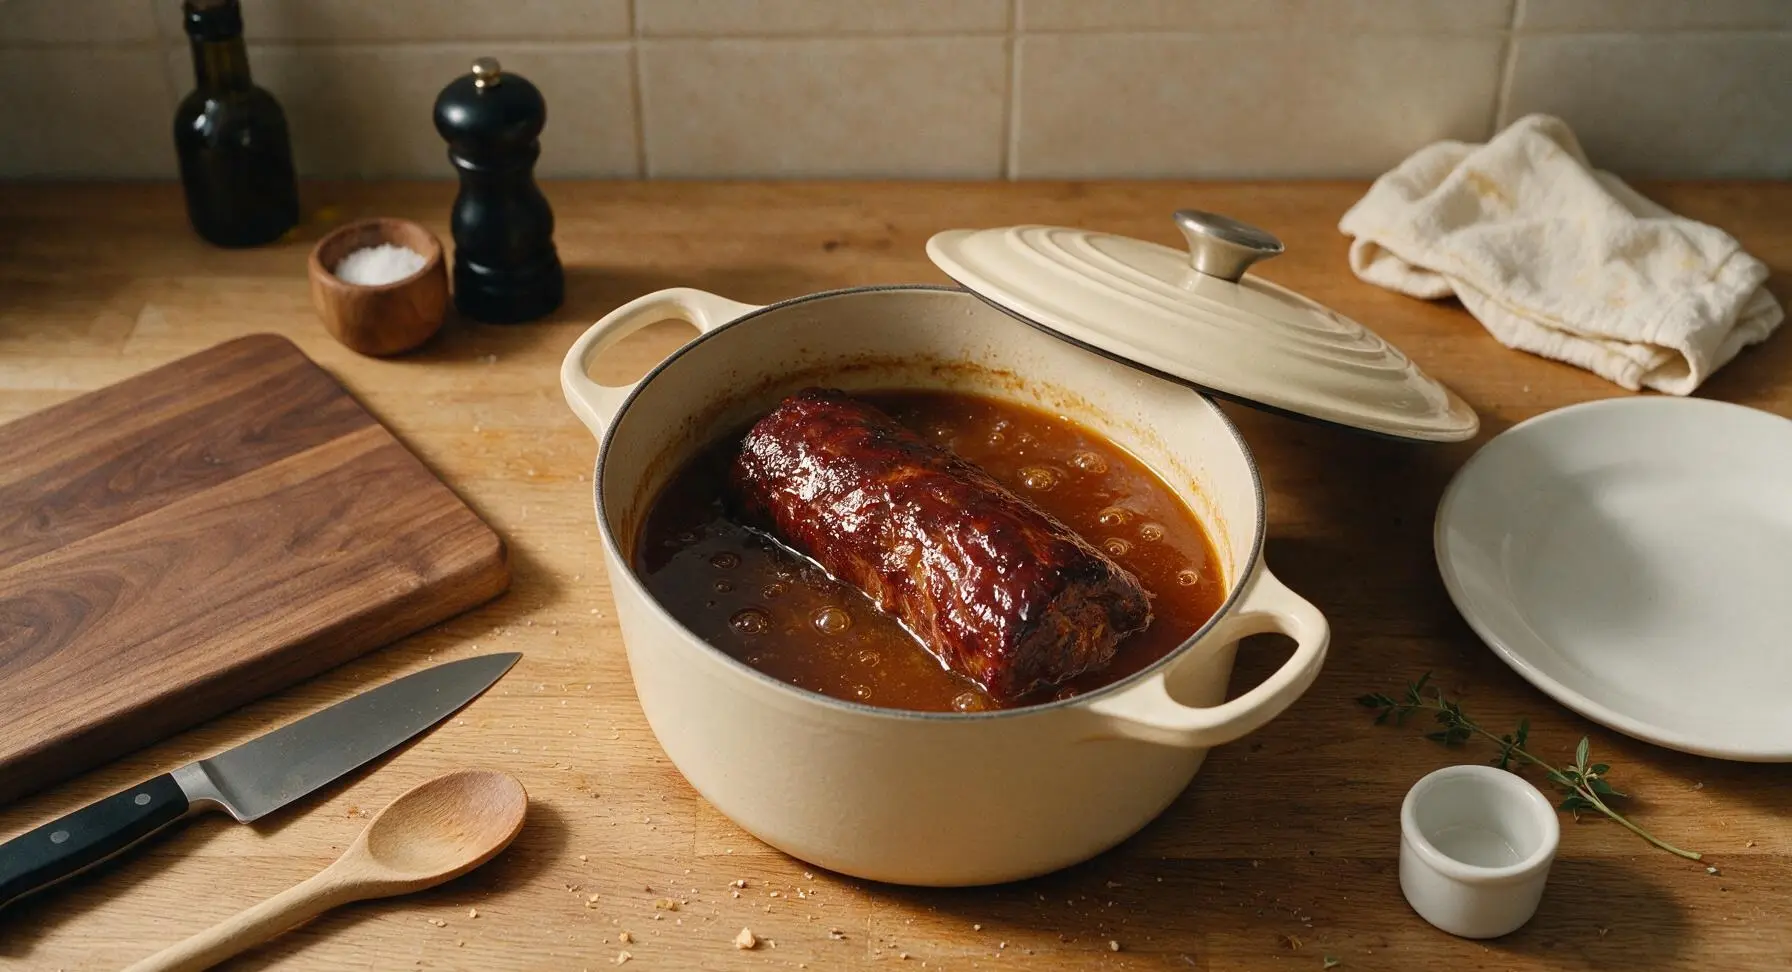
Reduce braising glaze
Remove the rested pork log from the Dutch oven and set it on the cutting board. Pour the braising liquid through a fine mesh strainer to remove the aromatics, then return 120ml (1/2 cup) of the strained liquid to the pot. Simmer over medium-low heat for 5-7 minutes, stirring with the wood spoon, until the liquid is reduced by half and coats the back of the spoon in a thick, glossy syrup.
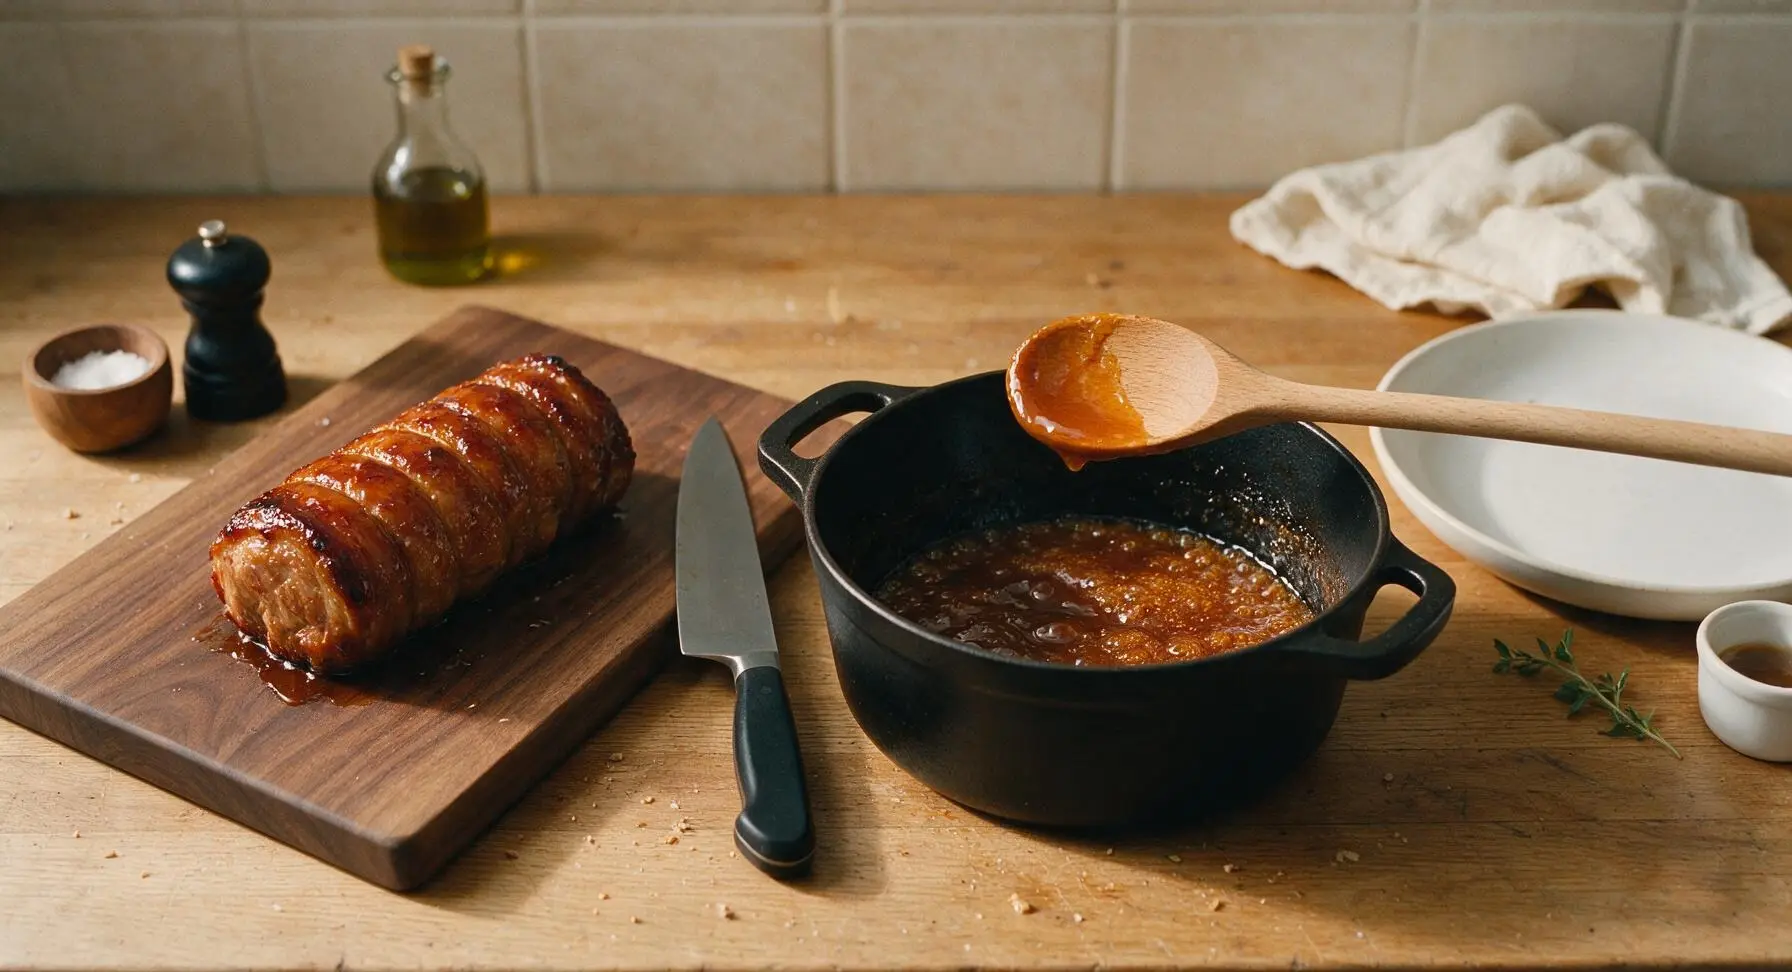
Slice and plate char siu
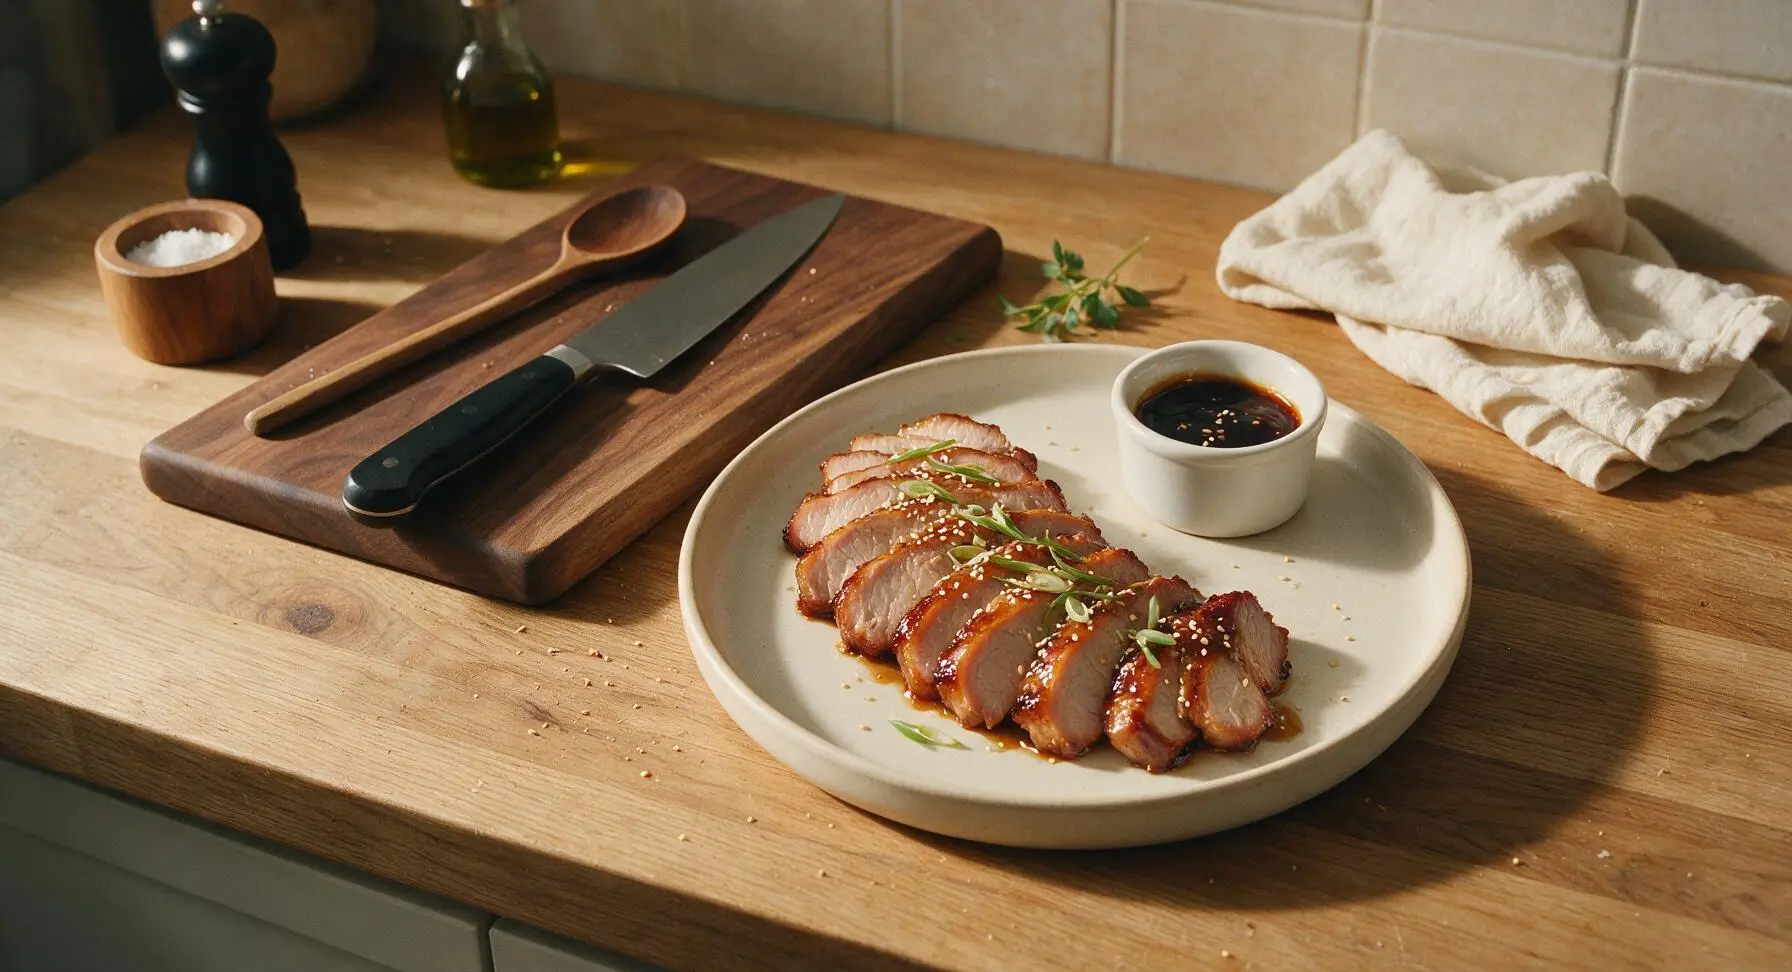
Use the chef knife to cut the twine off the rested pork log, then slice the log into 5mm (1/4 inch) thick even slices, cutting against the grain for maximum tenderness. Arrange the sliced pork in a fanned arc on the matte cream ceramic serving plate, drizzle the reduced glaze generously over the top, and garnish with a light sprinkle of toasted white sesame seeds and thinly sliced scallion greens.
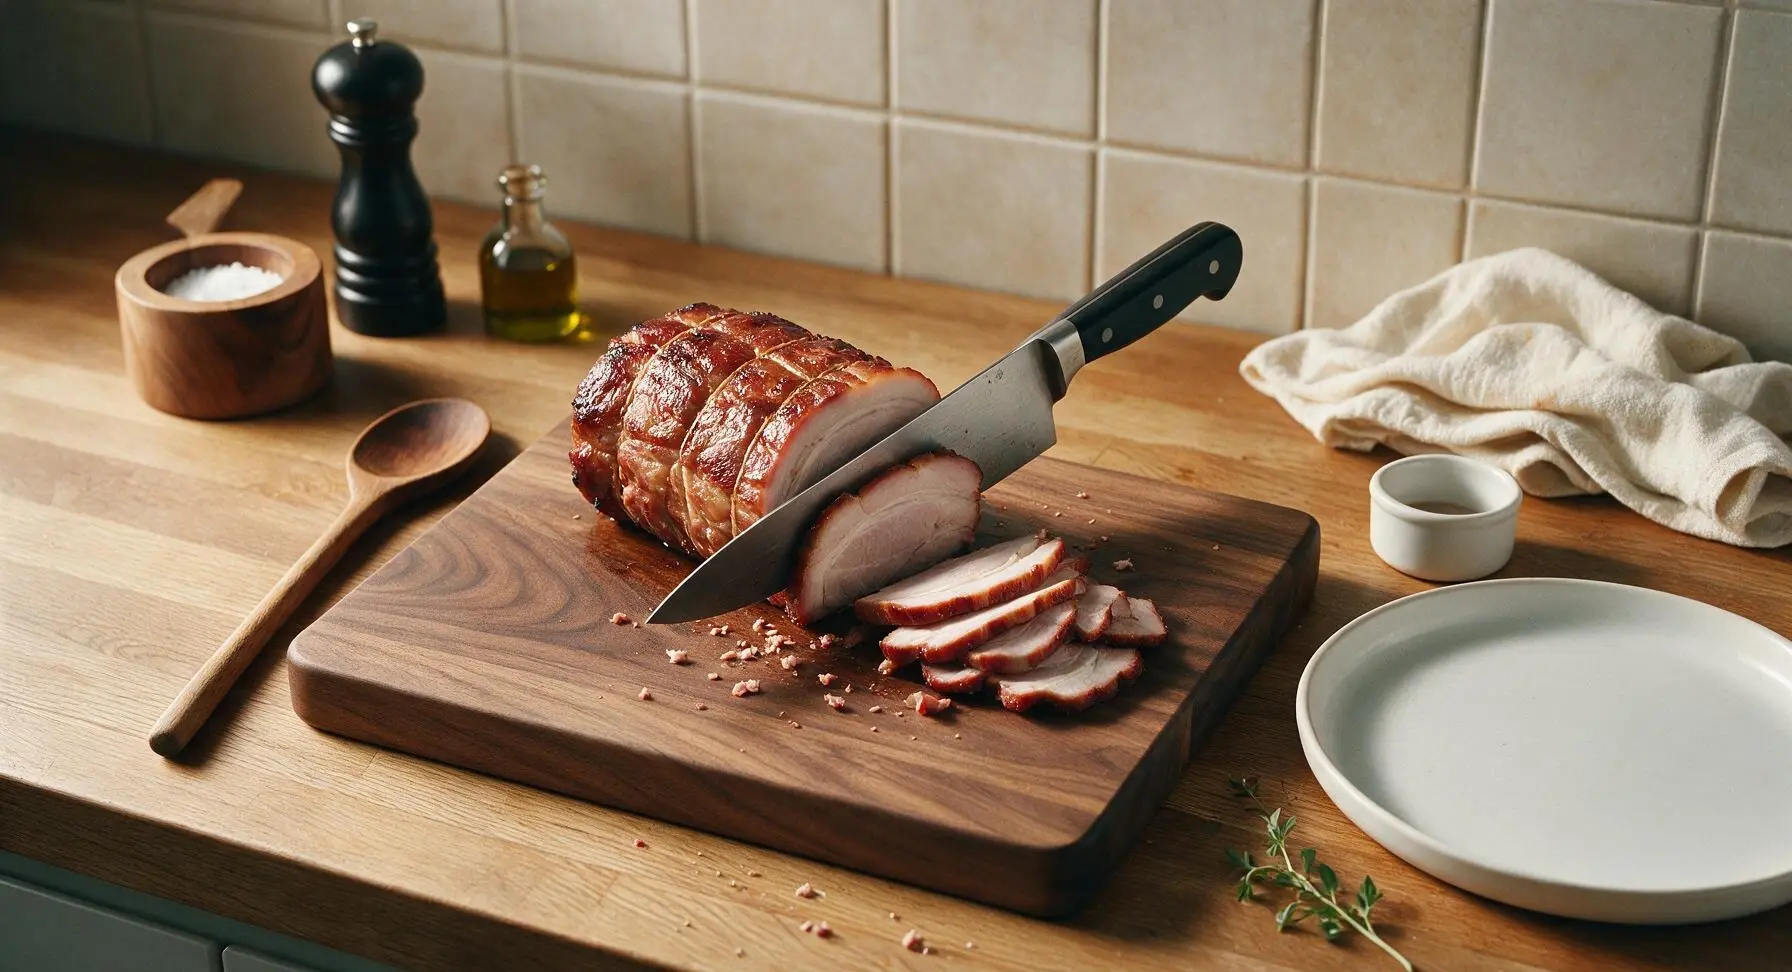
Tips
2.Do not fully submerge the pork in braising liquid during cooking: keeping 1/3 of the log above the liquid allows the top to caramelize as steam circulates under the lid, while full submersion boils the meat and leads to a mushy, waterlogged texture.
3.Reserve any unused reduced glaze for up to 1 week in the refrigerator: it makes a perfect seasoning for ramen, rice bowls, or stir-fries, and adds an extra hit of that signature sweet-savory chashu flavor without extra work.






OMG, made this for our family ramen night last Sunday and even my super picky 7 year old asked for seconds! The meat was fall-apart tender and the sweet-savory glaze had the perfect balance, not too salty at all. I did let it marinate overnight like the note suggested and wow, that step is so worth it.
Pretty solid chashu recipe! Cook time was exactly as listed which I appreciate, no random hidden extra steps. I knocked a star off because I found the braise a touch too sweet for my taste, but I just added a splash more soy sauce next time and it fixed it right up. Great base recipe for sure.
Made a double batch of this on Sunday for meal prep and it’s been amazing all week! I slice it thin and toss it in rice bowls, add it to quick miso soup for lunch, even made a few chashu musubi for my husband’s work snacks. Holds up so well in the fridge, no weird dry texture after reheating. 10/10.
Taste was great but I messed up the rolling part? My pork came out lumpy and uneven, some slices were way thicker than others, I definitely need to watch more tutorials on how to tie it tight before braising. Still tasted bomb so I can’t be too mad, but presentation was rough when I brought it to my friend’s potluck.
Game. Changer. I’ve been paying $16 a bowl for ramen with like two thin slices of chashu at my local spot, now I can make a whole pork belly log for less than that? Insane. I added a little extra garlic and a pinch of five spice to the braise because I love that warm depth, would highly recommend that tweak.
Made this for my partner’s birthday ramen dinner and he said it was better than the chashu we had on our trip to Tokyo last year. That is the highest possible compliment I could ever get for a home cooked meal. The glaze gets all sticky and caramelized on the edges when you sear it right before serving, chef’s kiss.
Super good recipe! Only issue is my small apartment smelled like soy and pork for literally two days after making it lmao. Worth it though, because the chashu came out so tender I could cut it with a fork. Do you think I could use pork shoulder instead of pork belly for a leaner version?
Brought sliced chashu and a big pot of broth to our office potluck last week and people went crazy for it. Multiple coworkers asked for the recipe before they even finished their first bowl. I didn’t change a single thing from the recipe, followed every step exactly, and it turned out perfect on the first try. Medium difficulty is fair, it’s not hard just takes a little patience.
I think I overcooked mine? The pork was super tough and dry even after braising for the full time, and the braising liquid boiled down too fast so it got all burnt on the bottom of my pot. Not sure what I did wrong here, I was really excited for this.
I’ve been testing chashu recipes for months trying to nail the exact texture my favorite local ramen shop uses, and this is it. The roll and tie method gives the perfect round shape for even slices, the braise has that perfect umami depth, and the quick sear at the end gives those crispy caramelized edges I’ve been craving. No more testing, this is my permanent recipe.
My kids loved it! I was worried the flavors would be too intense for my 5 and 8 year old but they devoured it. We did build-your-own ramen bowls for dinner and they kept piling extra chashu on their plates instead of the noodles, which I never would have expected. Will be adding this to our monthly dinner rotation for sure.
Perfect for low carb/keto eating! I skip the mirin and use a little sugar free maple syrup to get that sweet note without the carbs, and it works perfectly. I serve it over cauliflower rice with sautéed bok choy for an easy weeknight dinner that doesn’t feel like diet food at all.
Really solid recipe! I pre-made this before a backpacking trip and vacuum sealed slices to bring along, it was so nice to have a tasty protein to add to our camp ramen after long days on the trail. Only reason it’s not 5 stars is I wish the recipe had a note about how long it keeps in the freezer, because I froze half the batch for my next trip.
This was my first time ever making chashu and it turned out SO good! I was so intimidated because I thought it would be super complicated, but the step by step instructions were so easy to follow. My only question is, can I save the leftover braising liquid to use for something else? It seems too flavorful to pour down the drain!