
japanese chicken karaage
intro
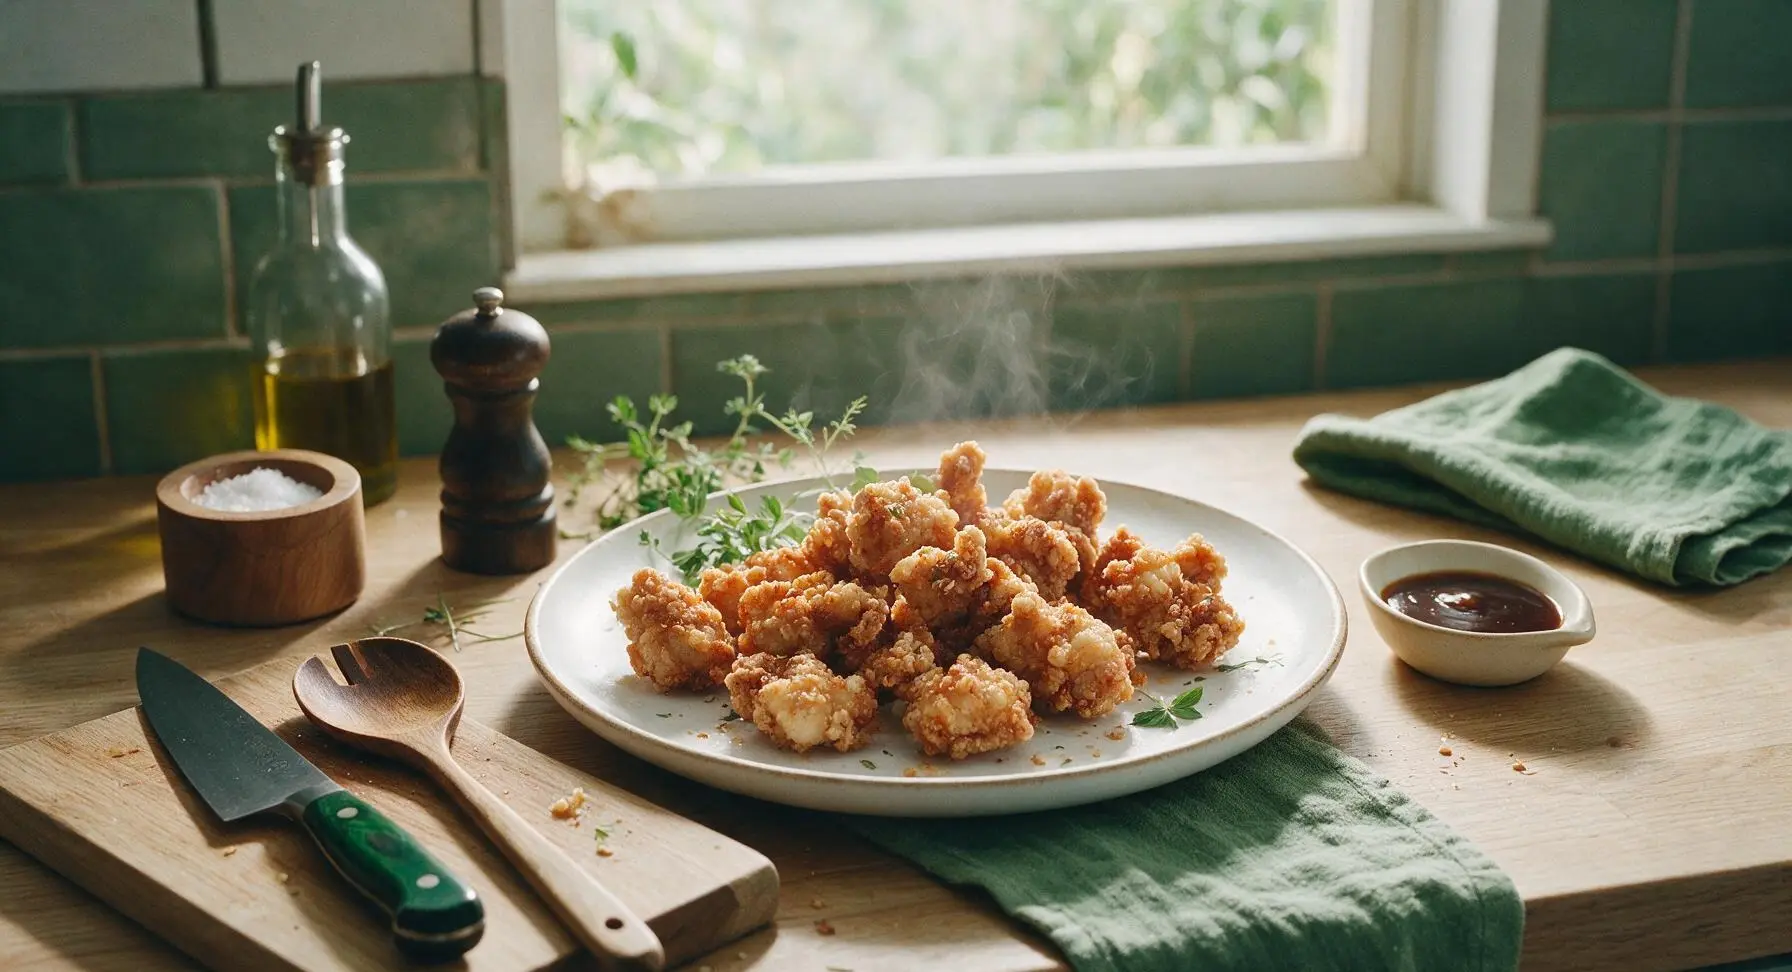
Shatteringly crisp, juicy Japanese fried chicken bites marinated in soy, ginger, and garlic, with a light non-greasy crust, perfect for fast, satisfying weeknight meals.
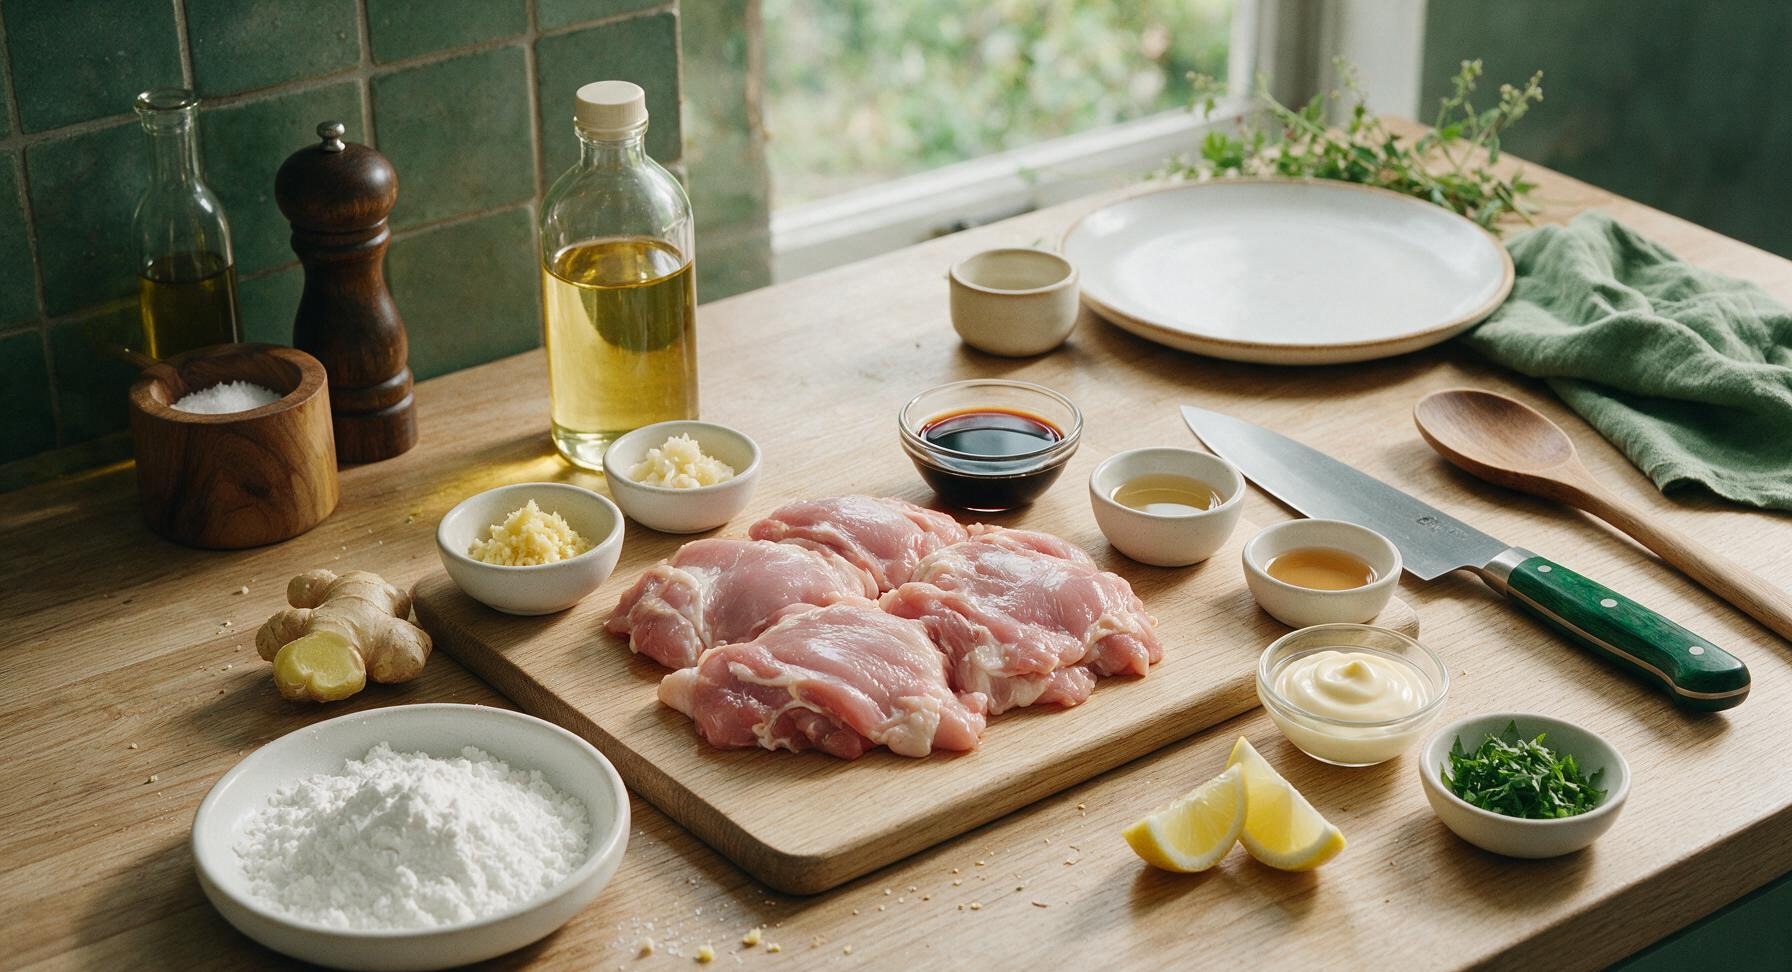
Ingredients
Steps
Trim and cut chicken
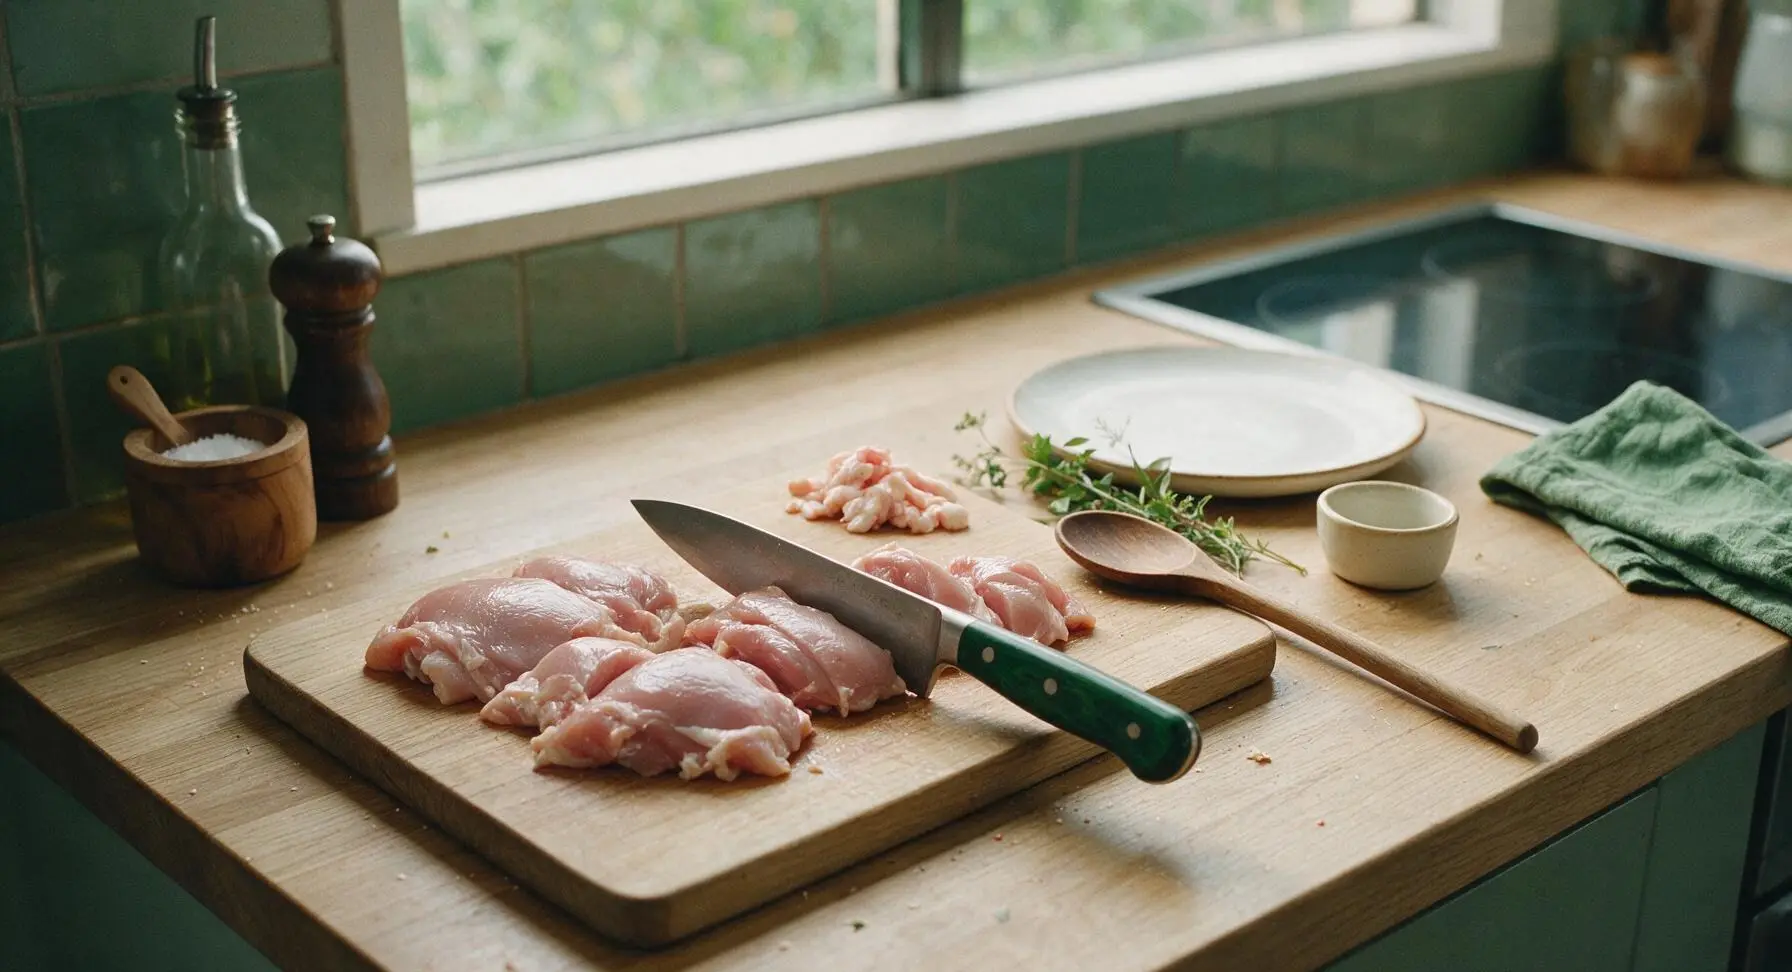
Place 600g boneless skinless chicken thighs on the bamboo cutting board. Use the stainless steel santoku knife to trim any excess loose fat or tough silver skin from the thighs, then cut the meat into uniform 4cm (1.5 inch) bite-sized pieces. Keep pieces as equal in size as possible to ensure even cooking; avoid cutting pieces smaller than 3cm, as they will dry out quickly during frying.
Combine marinade ingredients
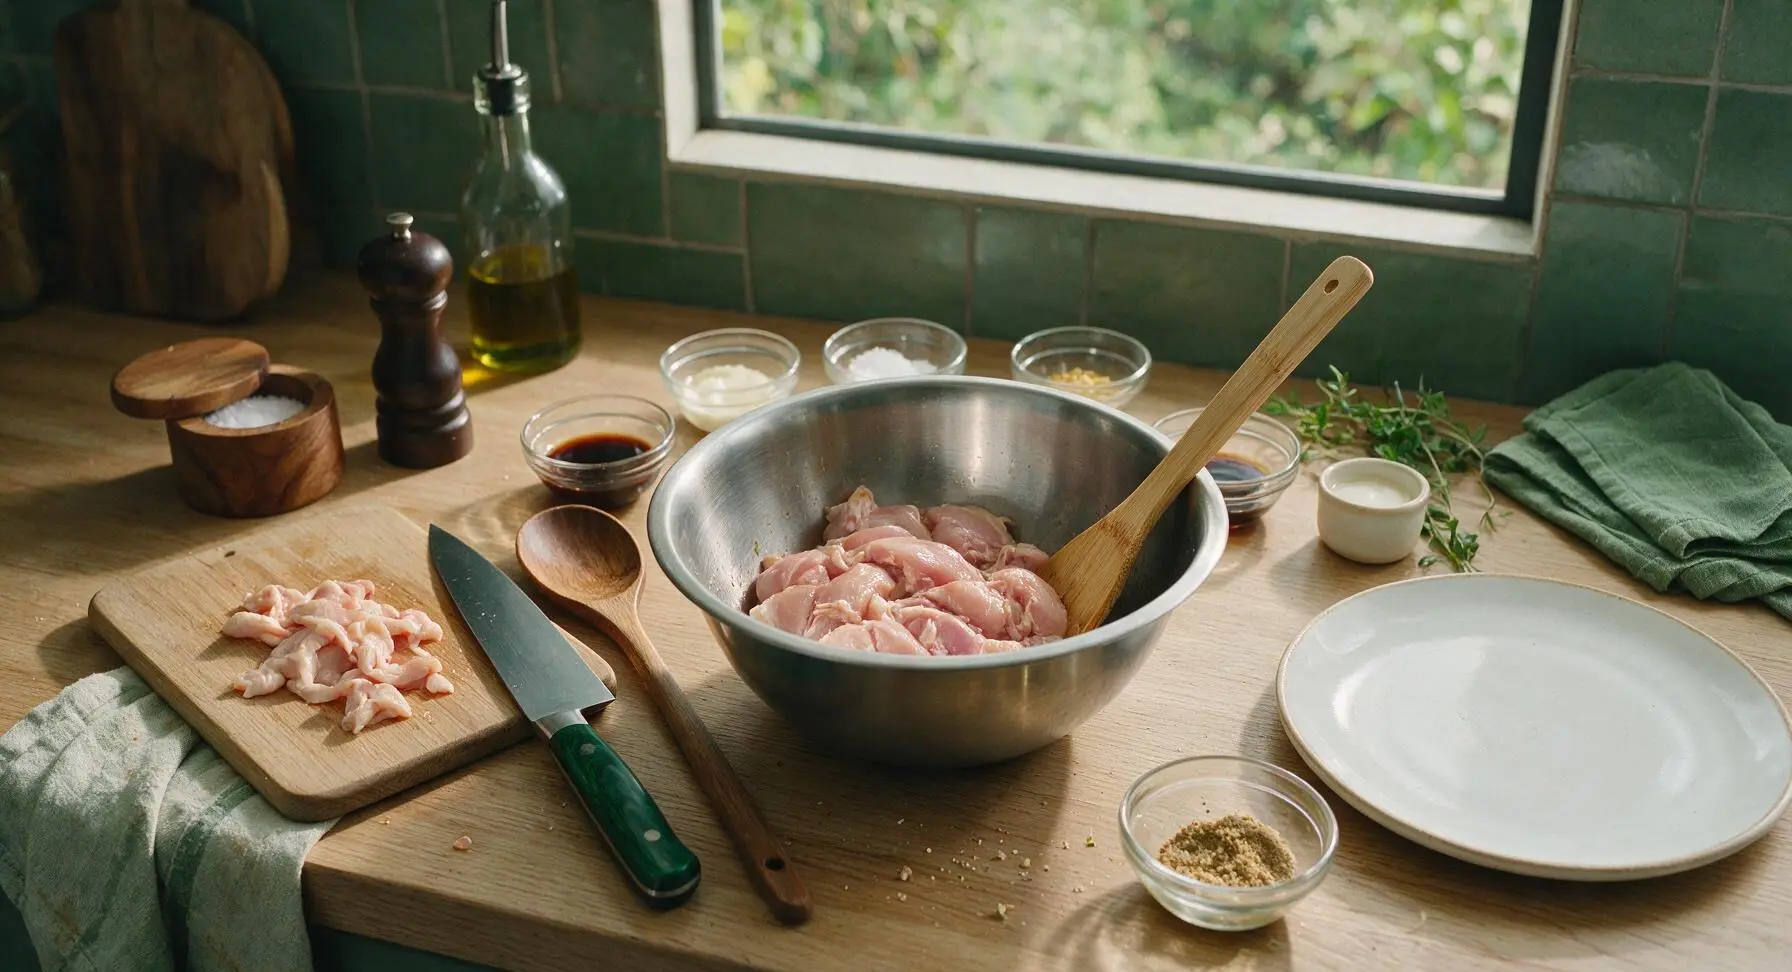
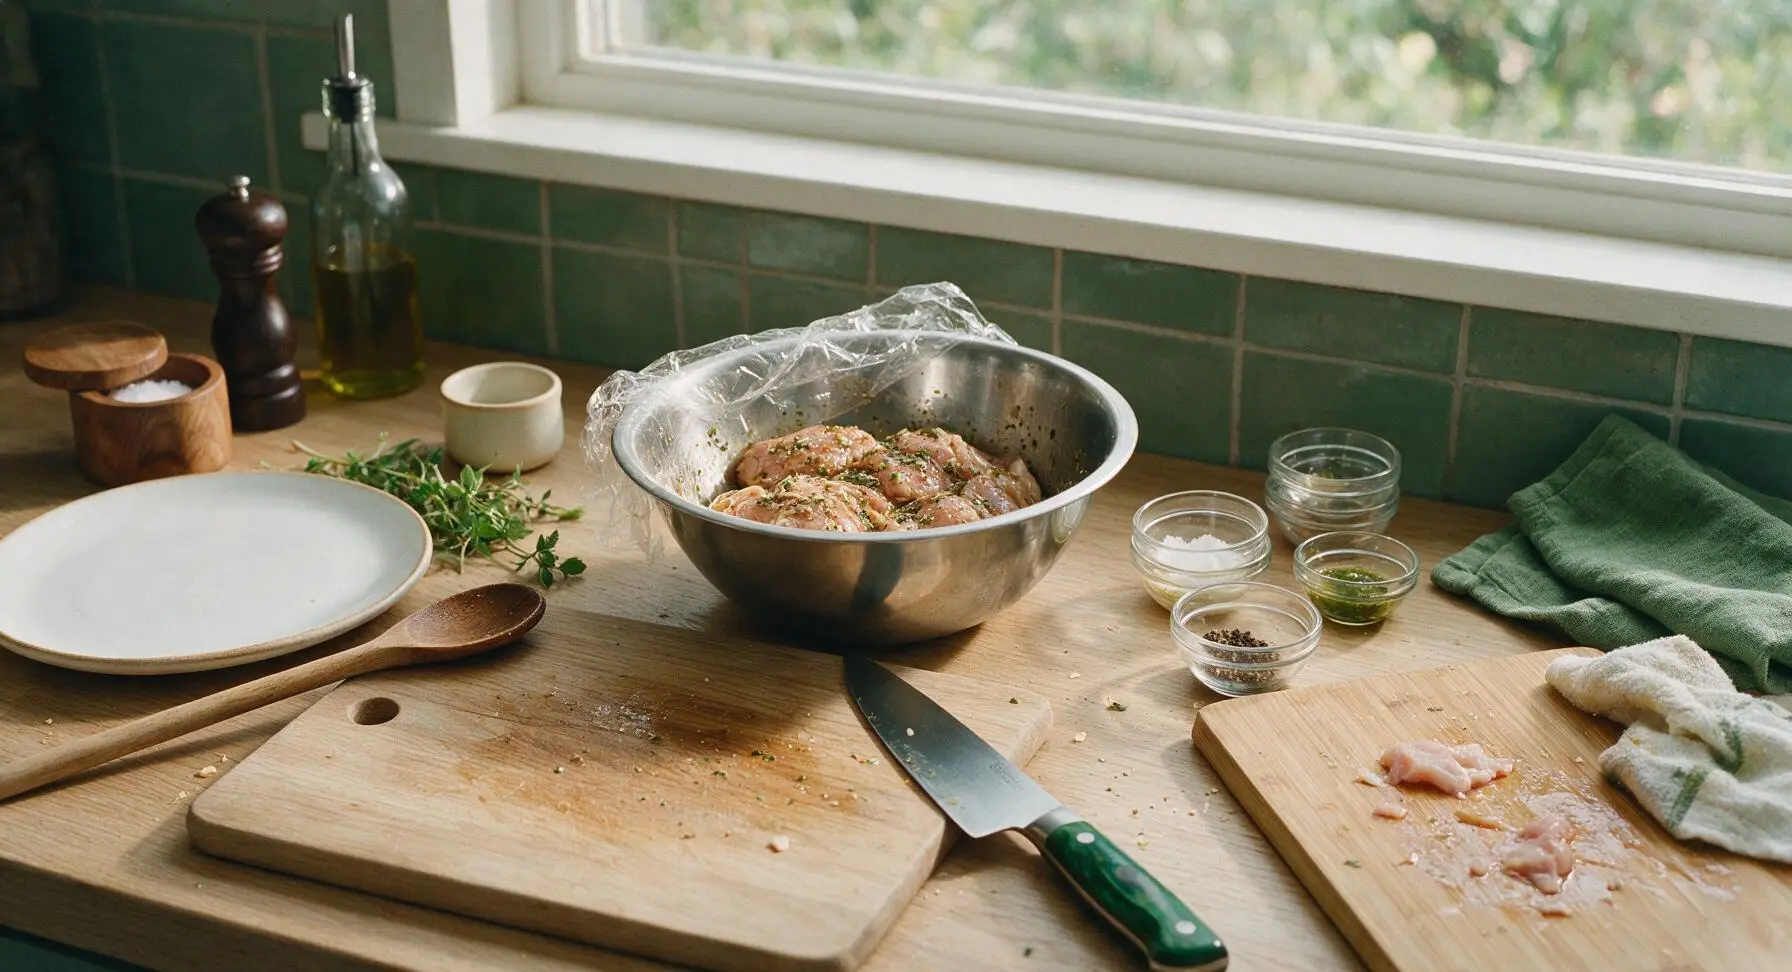
Transfer the cut chicken pieces to the brushed stainless steel mixing bowl. Add 1 tablespoon grated ginger, 1 teaspoon minced garlic, 3 tablespoons soy sauce, 2 tablespoons cooking sake, and 1 tablespoon mirin to the bowl. Toss thoroughly with the bamboo mixing spoon to coat every chicken piece fully in the aromatic marinade.
Let chicken marinate
Leave the chicken in the marinade, loosely covered, for 15 minutes at cool room temperature. Do not marinate for longer than 30 minutes, as the soy sauce will break down the meat proteins, leading to mushy texture and overly salty flavor. Skipping long refrigeration for this short marination ensures the chicken cooks evenly without cold spots.
Coat chicken in starch
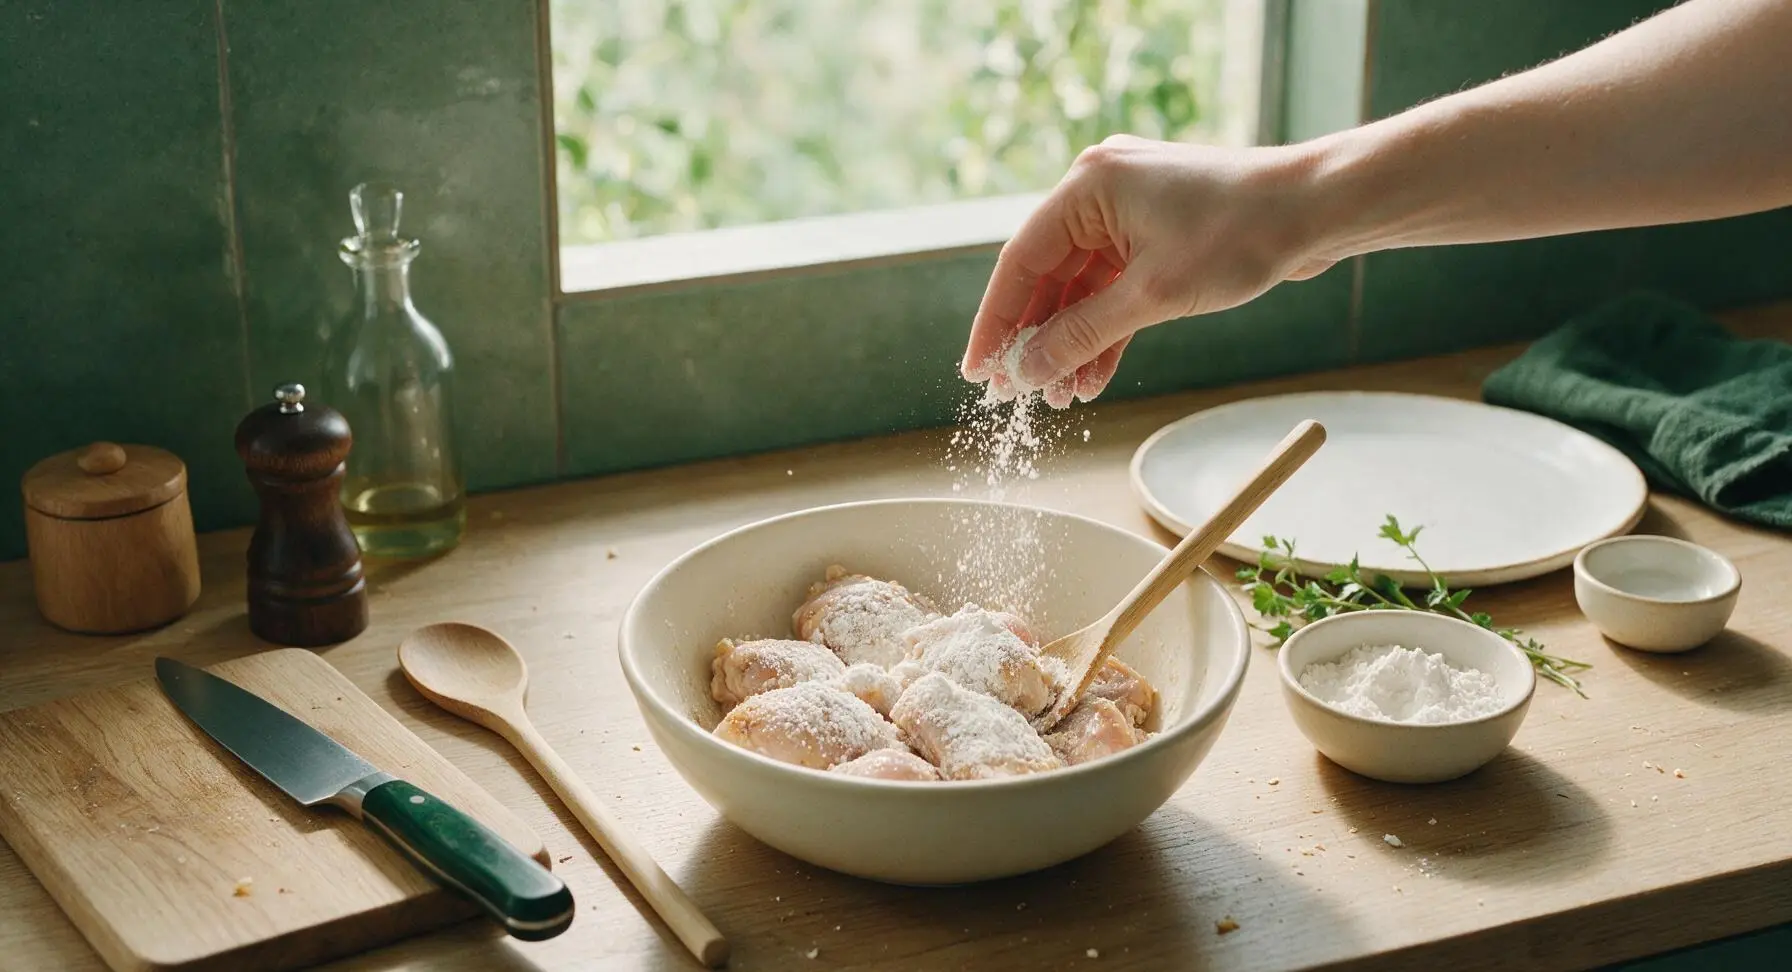
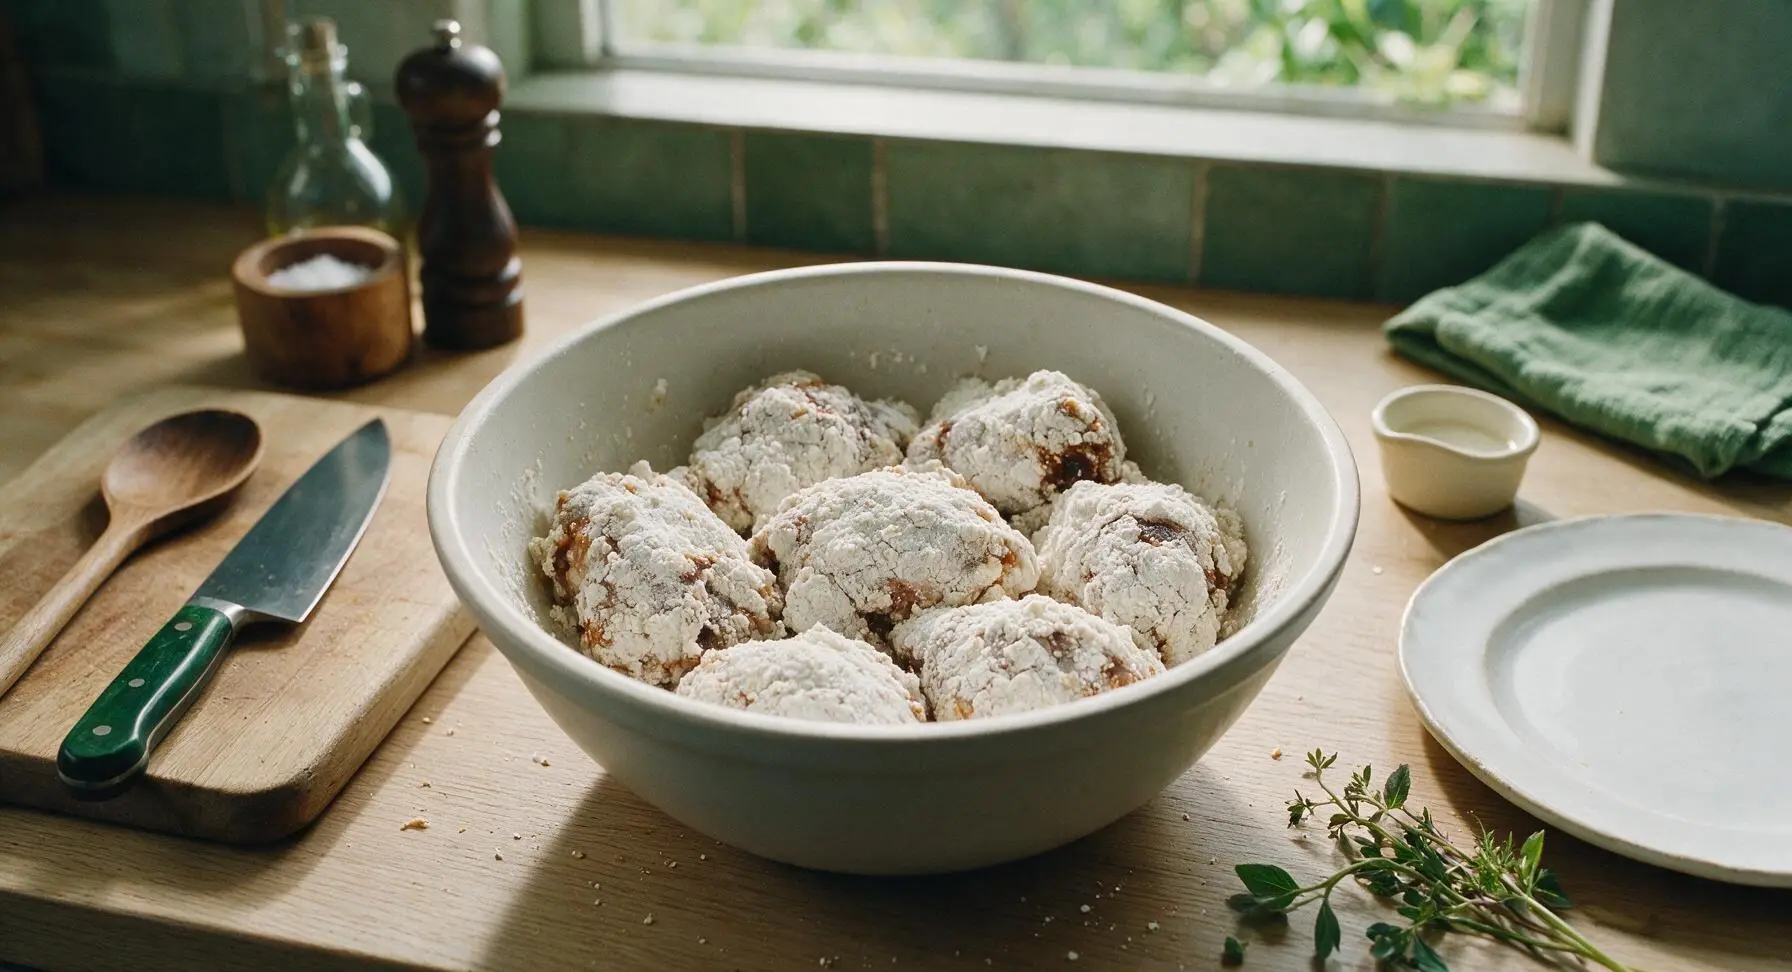
After 15 minutes of marination, add ½ cup (60g) potato starch to the bowl in 3 small additions, tossing continuously with the bamboo spoon between additions. Coat every chicken piece in a thin, matte, slightly rough layer of starch; avoid dumping all starch at once, which creates thick, gummy crust patches. The finished coating should feel slightly powdery, not wet or pasty.
Heat oil for frying
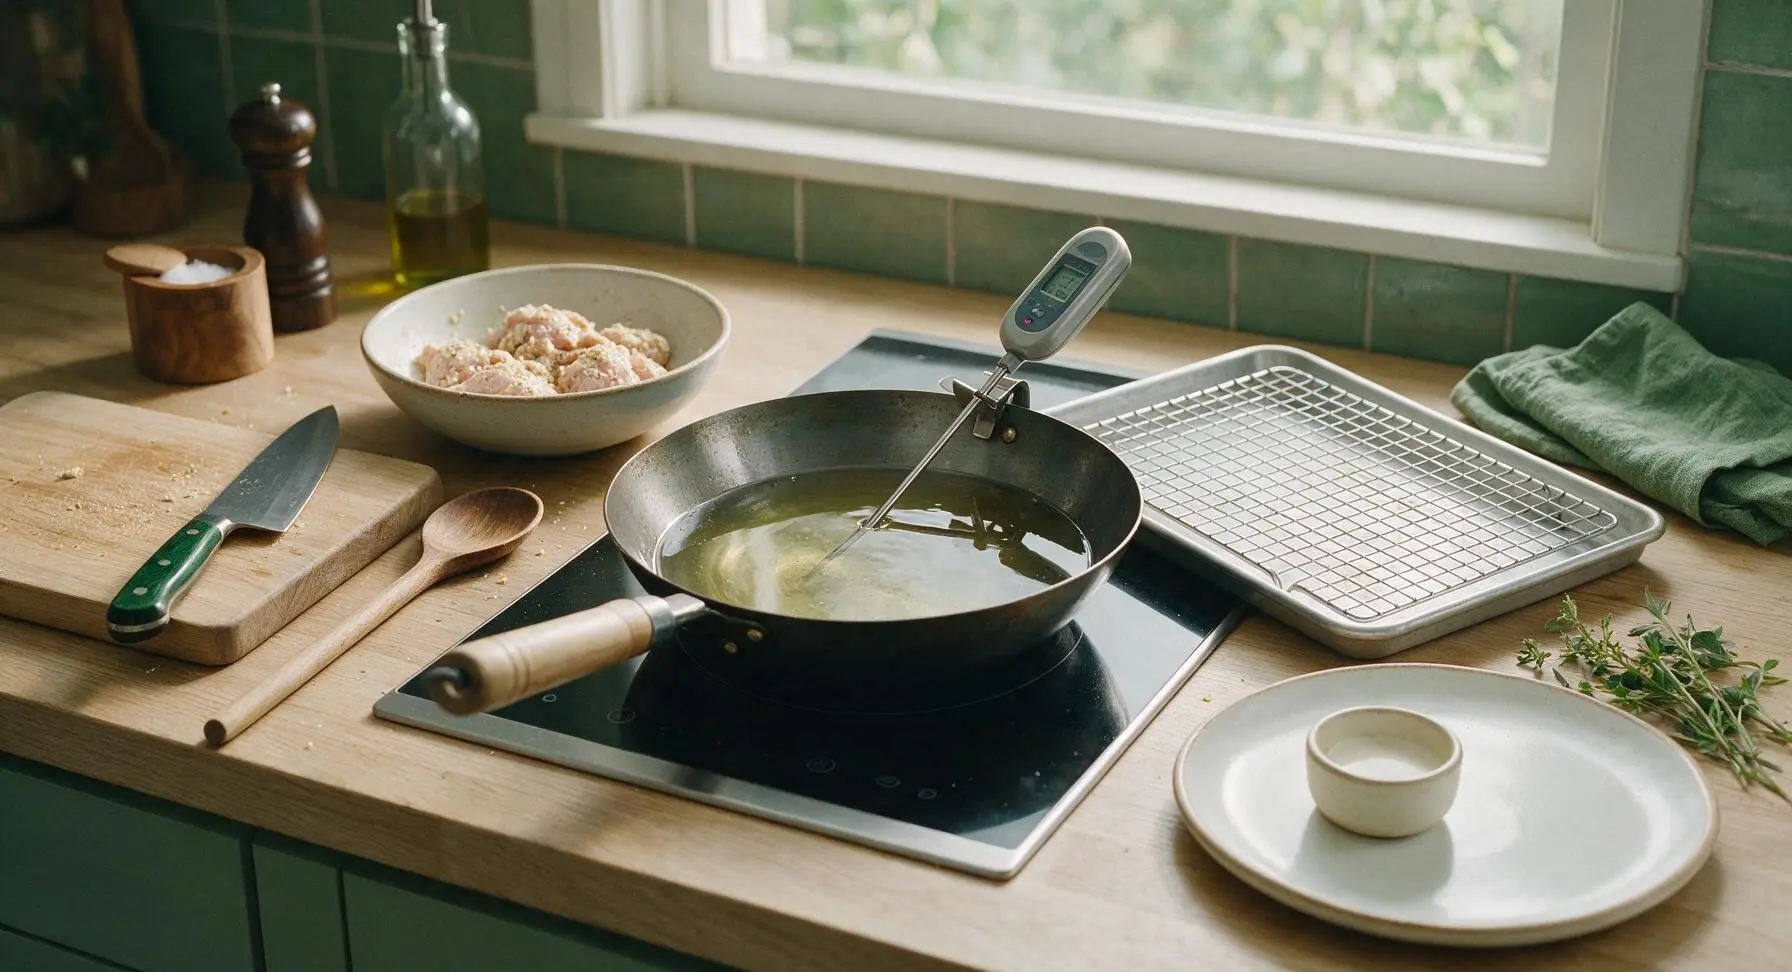
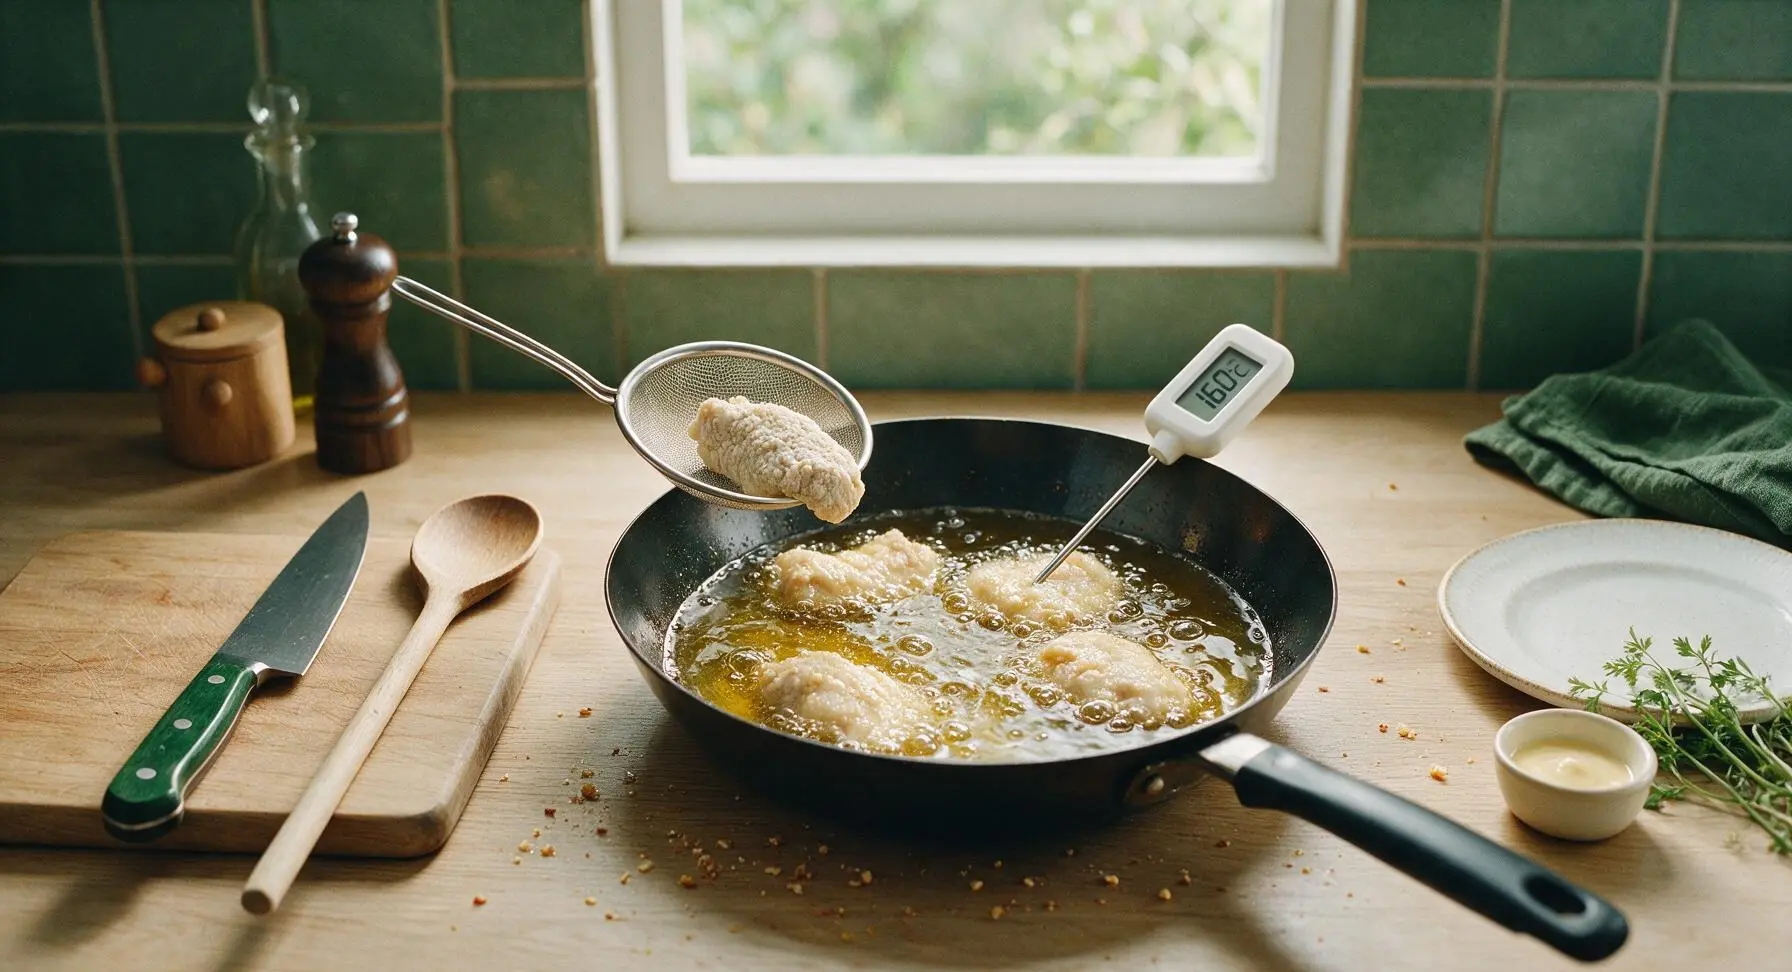
Place the seasoned carbon steel frying pan on the center induction cooktop, pour in 4 cups of neutral frying oil to reach 3cm up the pan sides. Clip the digital probe thermometer to the pan edge, and heat the oil to 160C (320F) over medium heat. Monitor temperature closely; oil over 170C (340F) at this stage will burn the crust before the chicken cooks through.
First fry chicken pieces
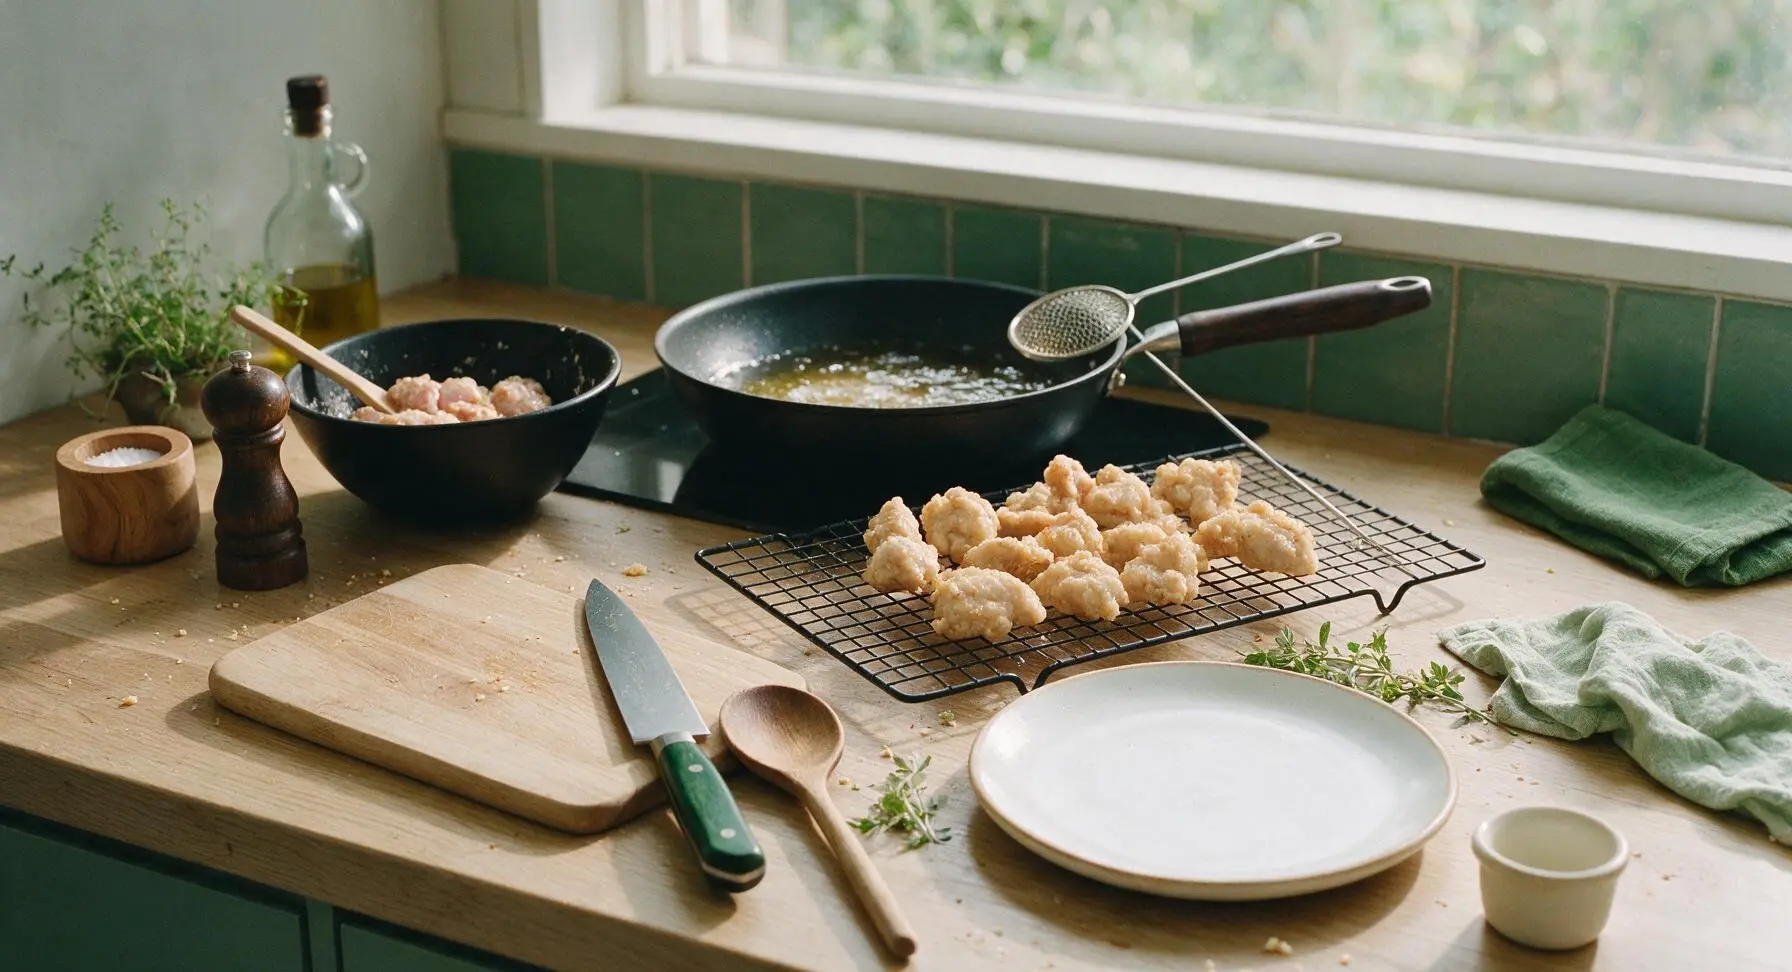
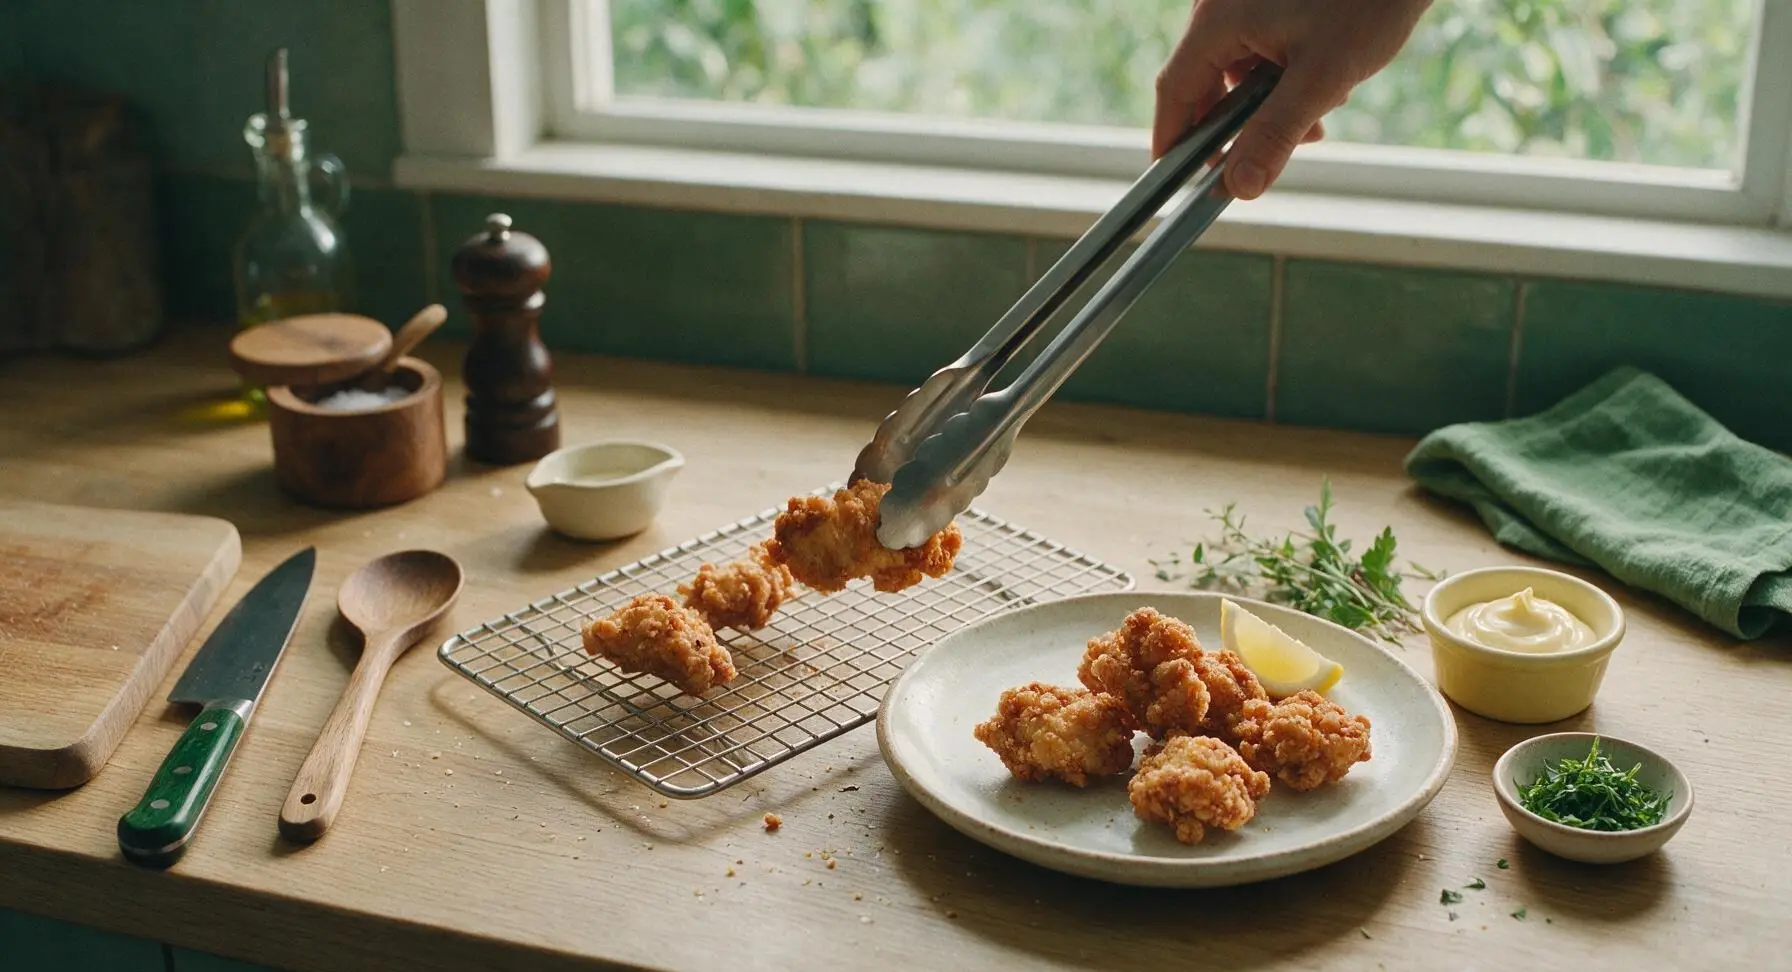
Once oil holds steady at 160C (320F), use the fine-mesh skimmer spoon to gently lower half the chicken pieces into the oil one at a time to avoid splatters. Do not overcrowd the pan; cook in two batches to keep oil temperature from dropping too sharply. Fry for 2 minutes per batch, until pieces are pale golden and 80% cooked through with a soft, not yet crisp crust. Transfer pieces to the wire rack to drain for 3 minutes between batches.
Second fry for crispness
After all chicken completes the first fry and rests for 3 minutes, increase oil temperature to 180C (355F). Once temperature is steady, return all first-fried chicken pieces to the oil in a single batch. Fry for 1.5-2 minutes, until crust is deep rich golden brown, shatteringly crisp, with a tiny bubbly texture across every piece. Remove immediately with the skimmer, let excess oil drain, then return pieces to the wire rack. Sprinkle with a tiny pinch of flaky sea salt (optional) while hot.
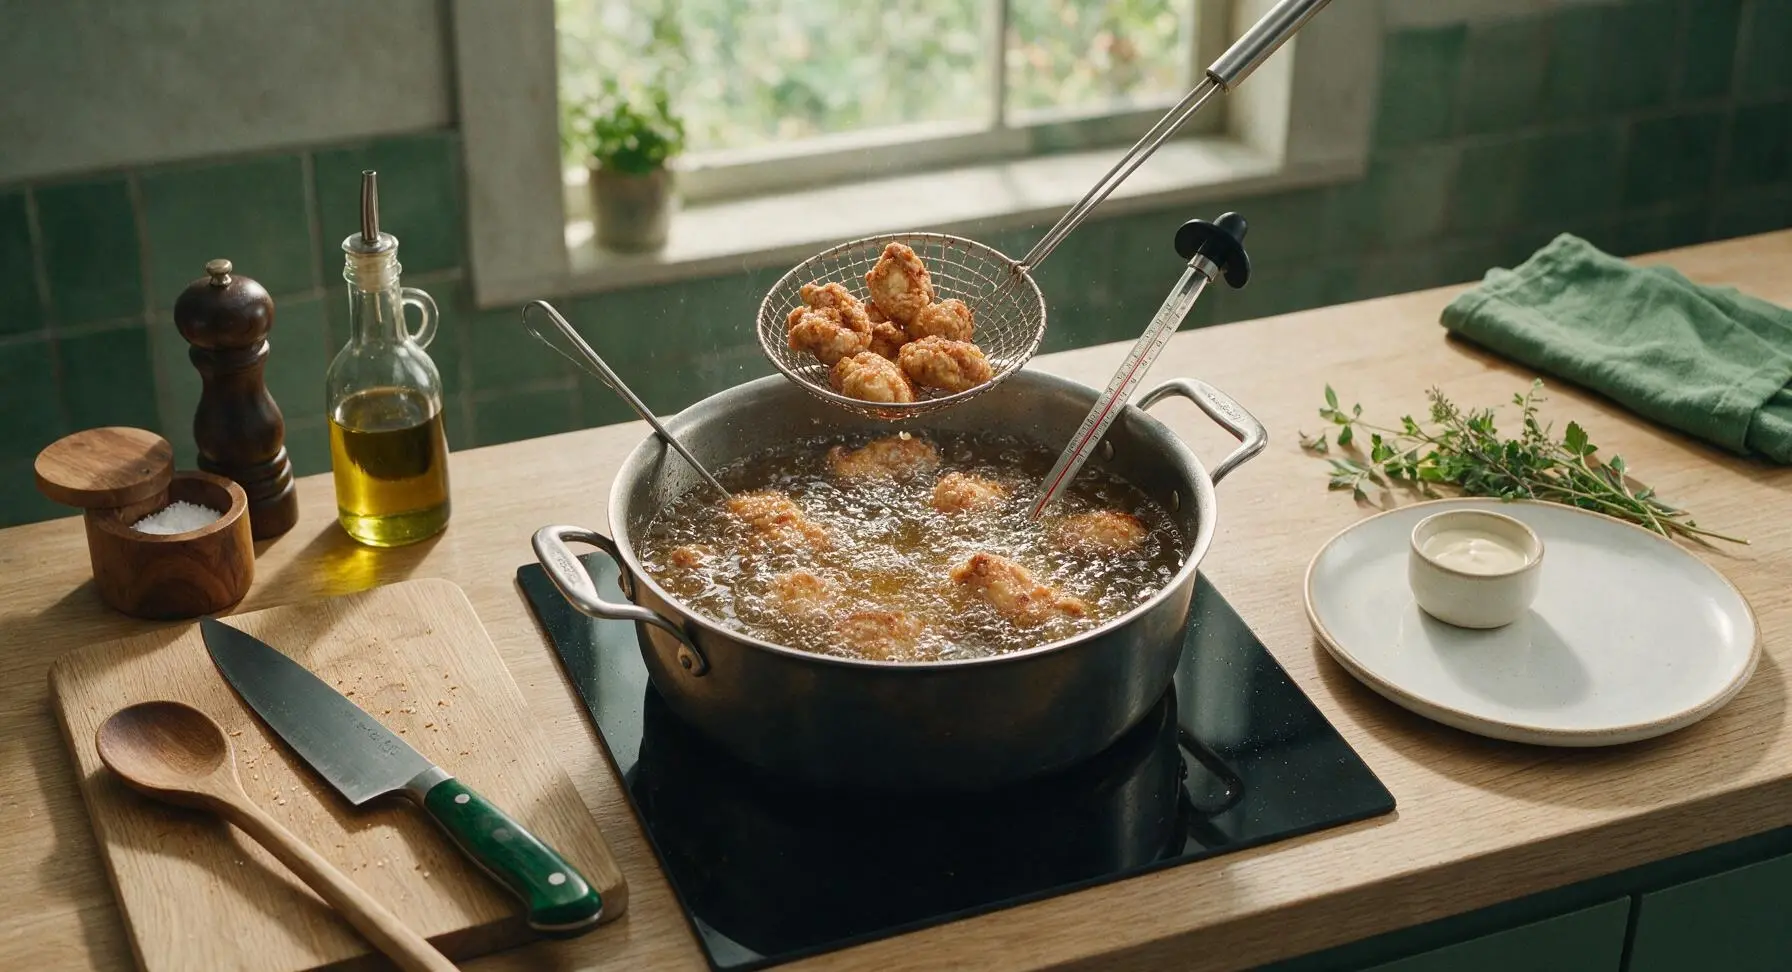
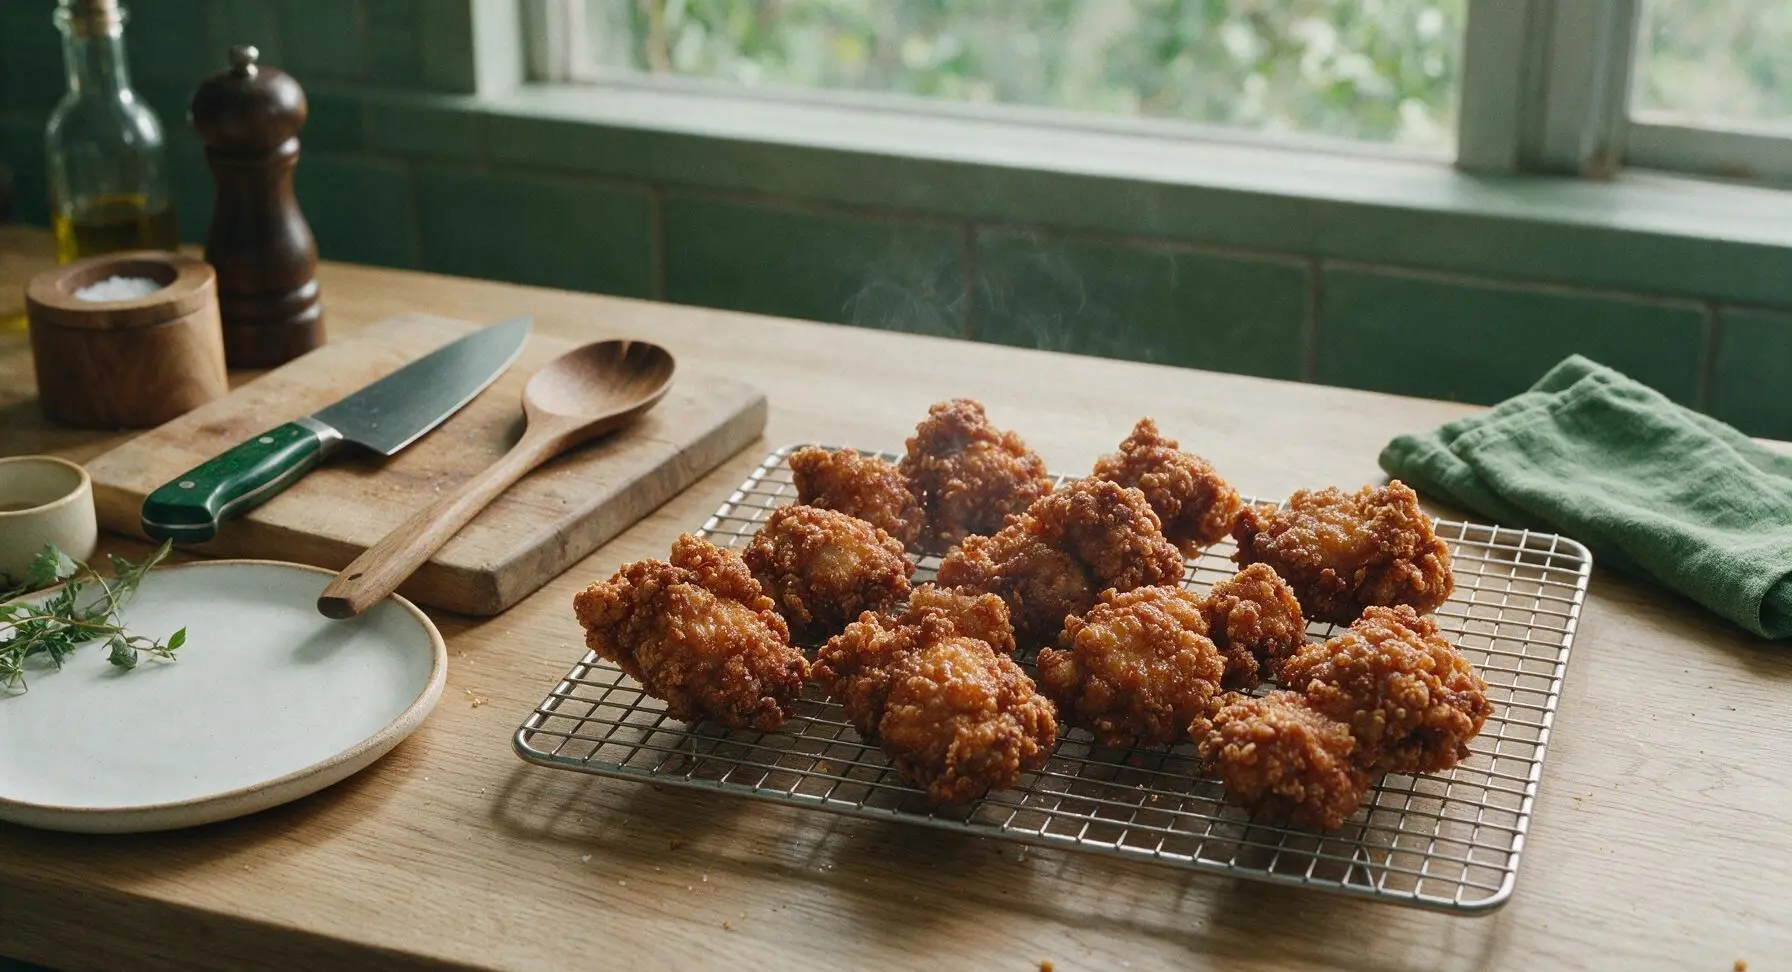
Plate and garnish karaage
Pile the hot crispy chicken onto the off-white hand-thrown ceramic dinner plate. Place a lemon wedge on the plate, fill one small pale yellow ramekin with Kewpie mayonnaise and set it beside the chicken. Finely chop fresh shiso leaves and sprinkle lightly over the chicken for a bright, herby garnish. Serve immediately while the crust is at its crispiest.
Tips
2.Do not skip the 3-minute resting time between the first and second fry: letting the chicken rest allows moisture from the inside of the meat to migrate to the surface, which creates extra crispness during the second fry instead of a crust that turns soggy within minutes.
3.Stick to potato starch for the coating: wheat flour creates a heavy, bready crust that absorbs excess oil, and cornstarch creates a harder, more brittle crust, while potato starch creates a light, delicate, shatteringly crisp crust that stays crisp longer and feels less greasy.






OMG this karaage is SO good!!! I’ve been intimidated to make Japanese fried chicken at home for years but this was so easy, 15 minutes cook time? No way! My kids devoured half the batch before I even got the rice on the table for family dinner last night. Total game changer, will be adding this to our weekly meal prep rotation for sure.
Brought this to our neighborhood block party potluck this weekend and people were begging me for the recipe! The ginger garlic marinade is chef’s kiss, I didn’t change a single thing. Super easy even for a beginner like me, I will 100% be making this again.
This was solid! I added a tiny extra squirt of sriracha to the dipping sauce to give it a little kick, and it hit perfectly. Cook time was spot on too, 15 minutes start to finish after marinating, perfect for a quick weeknight meal. My only tiny note is I wished the marinade had a touch more garlic for my taste, but that’s just personal preference!
Wait I messed up the first batch because I used too big of chicken chunks, oops! Second batch I cut them into the 1.5 inch pieces like the recipe says and they were perfectly crispy on the outside, juicy inside. 10/10, way better than the takeout karaage I get down the street.
Made this in my tiny dorm kitchen with just a little countertop fryer and it turned out insane. No fancy equipment needed, super straightforward, and way cheaper than ordering sushi takeout every weekend. My roommate already asked me to make it again tomorrow.
Swapped the regular soy sauce for tamari and used certified gluten-free potato starch, and this was the perfect gluten-free weeknight dinner! My whole family (even the non-gluten-free folks) loved it, no one could tell I made a substitution. So crispy, so flavorful, and so easy to throw together after work.
This is my new go-to meal prep protein! I marinate the chicken on Sunday, bread it, and fry it up quick for dinner and lunch portions through Wednesday. It holds up way better than I thought it would, and the flavor gets even better as it sits a little in the fridge, honestly.
Made this for my partner for our at-home date night last week and they said it was better than the karaage we had at the fancy Japanese restaurant downtown for our anniversary! I served it with kewpie mayo and a side of pickled cucumbers, chef’s kiss. So easy to make even if you’re not a super experienced cook.
PSA for anyone who doesn’t want to deep fry: this works SO well in the air fryer! I spritzed a little oil on the breaded chicken pieces, air fried at 380°F for 12 minutes flipping halfway, and it came out crispy on the outside, juicy inside, with way less oil. Total weeknight win, 10/10.