
japanese french toast
intro
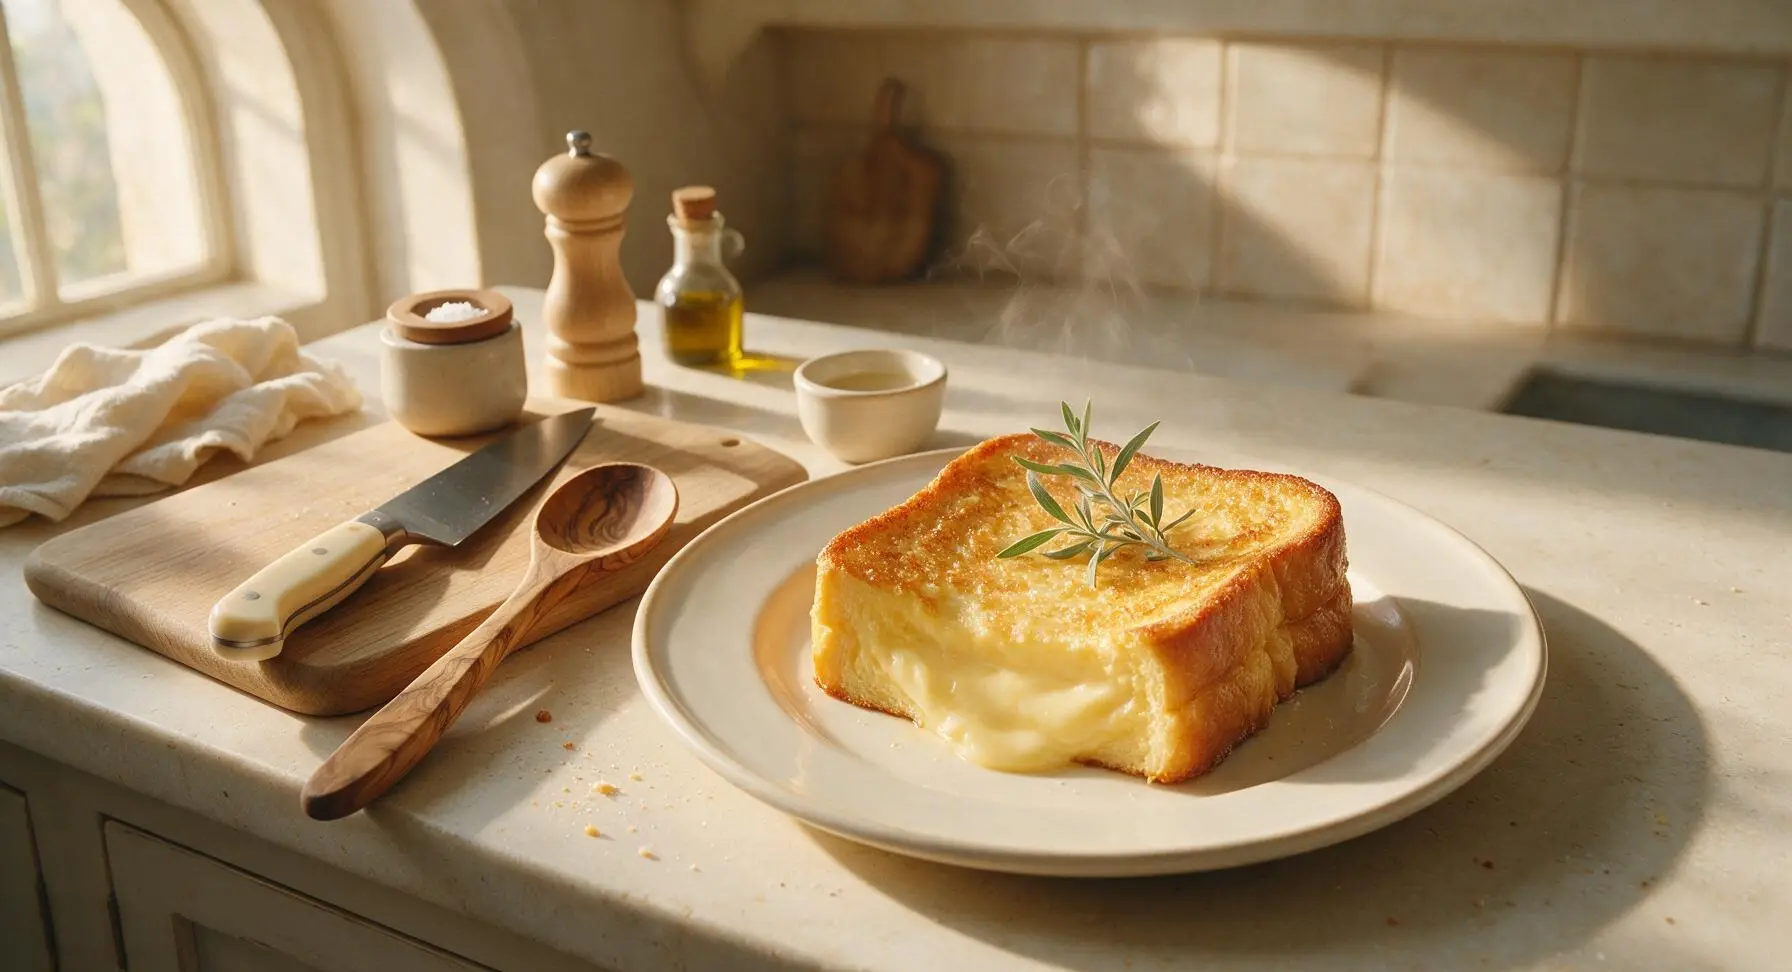
Silky, custardy thick-cut shokupan French toast, a beloved Japanese kissaten classic with a tender set center and crisp golden edge, lightly sweetened for cozy winter mornings.
Ingredients
Steps
Whisk Custard Mixture
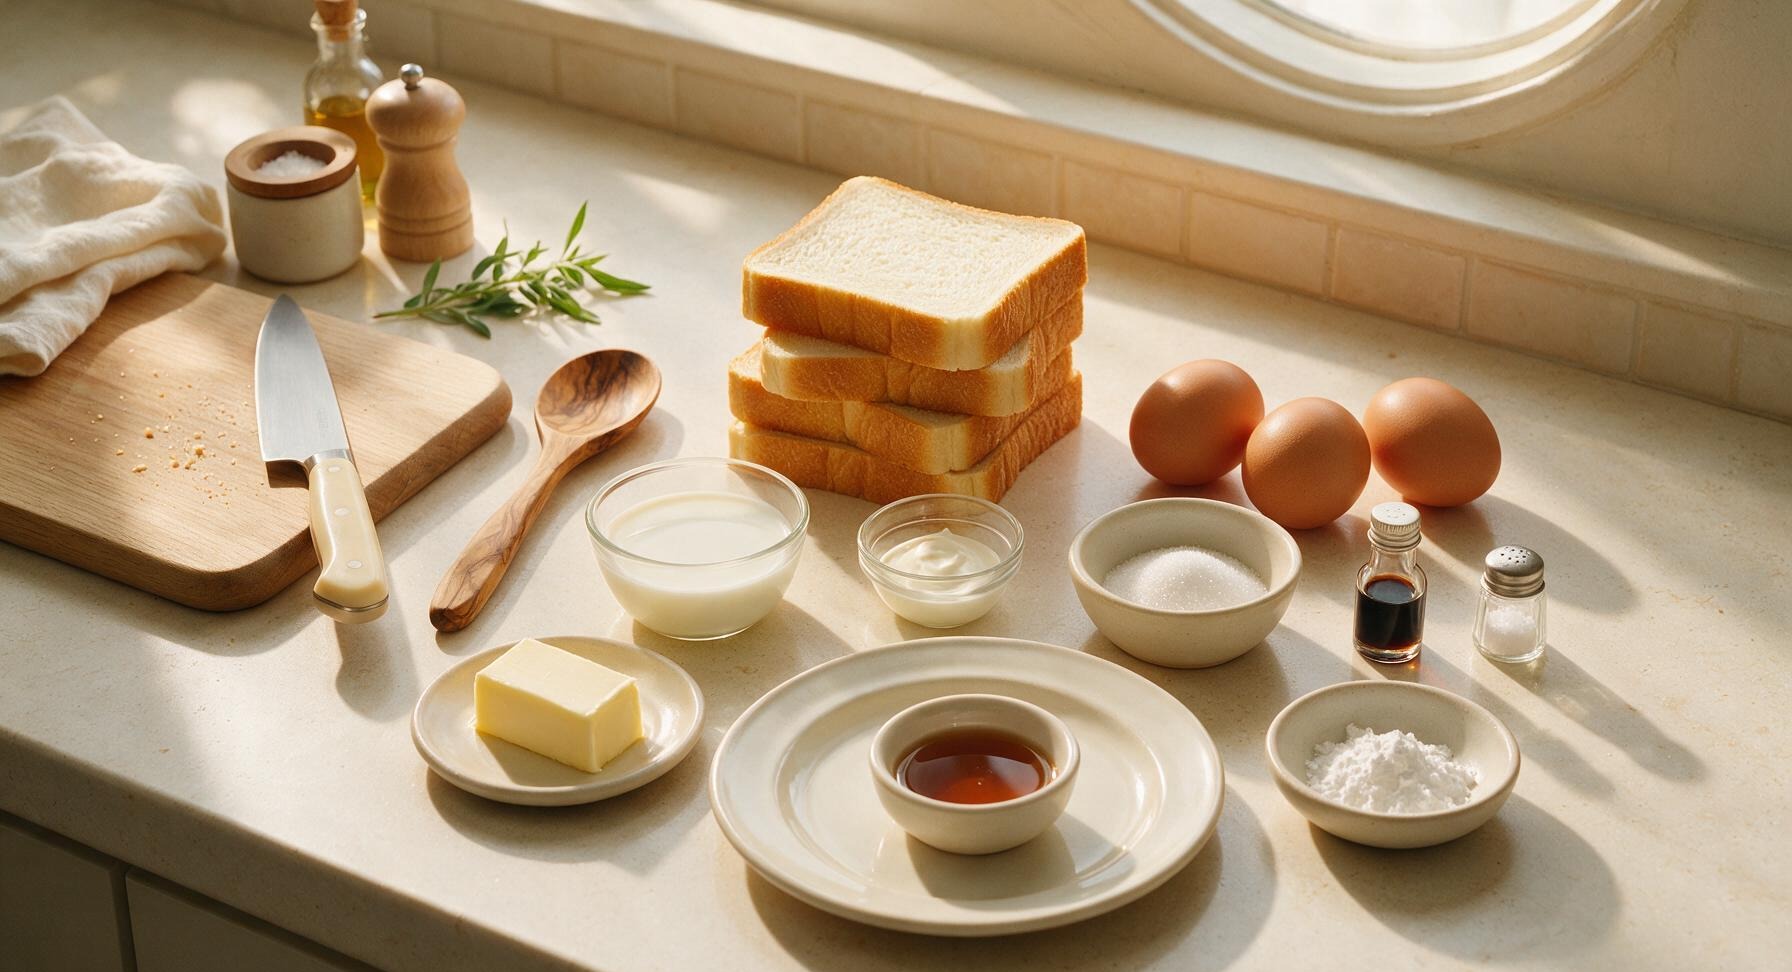
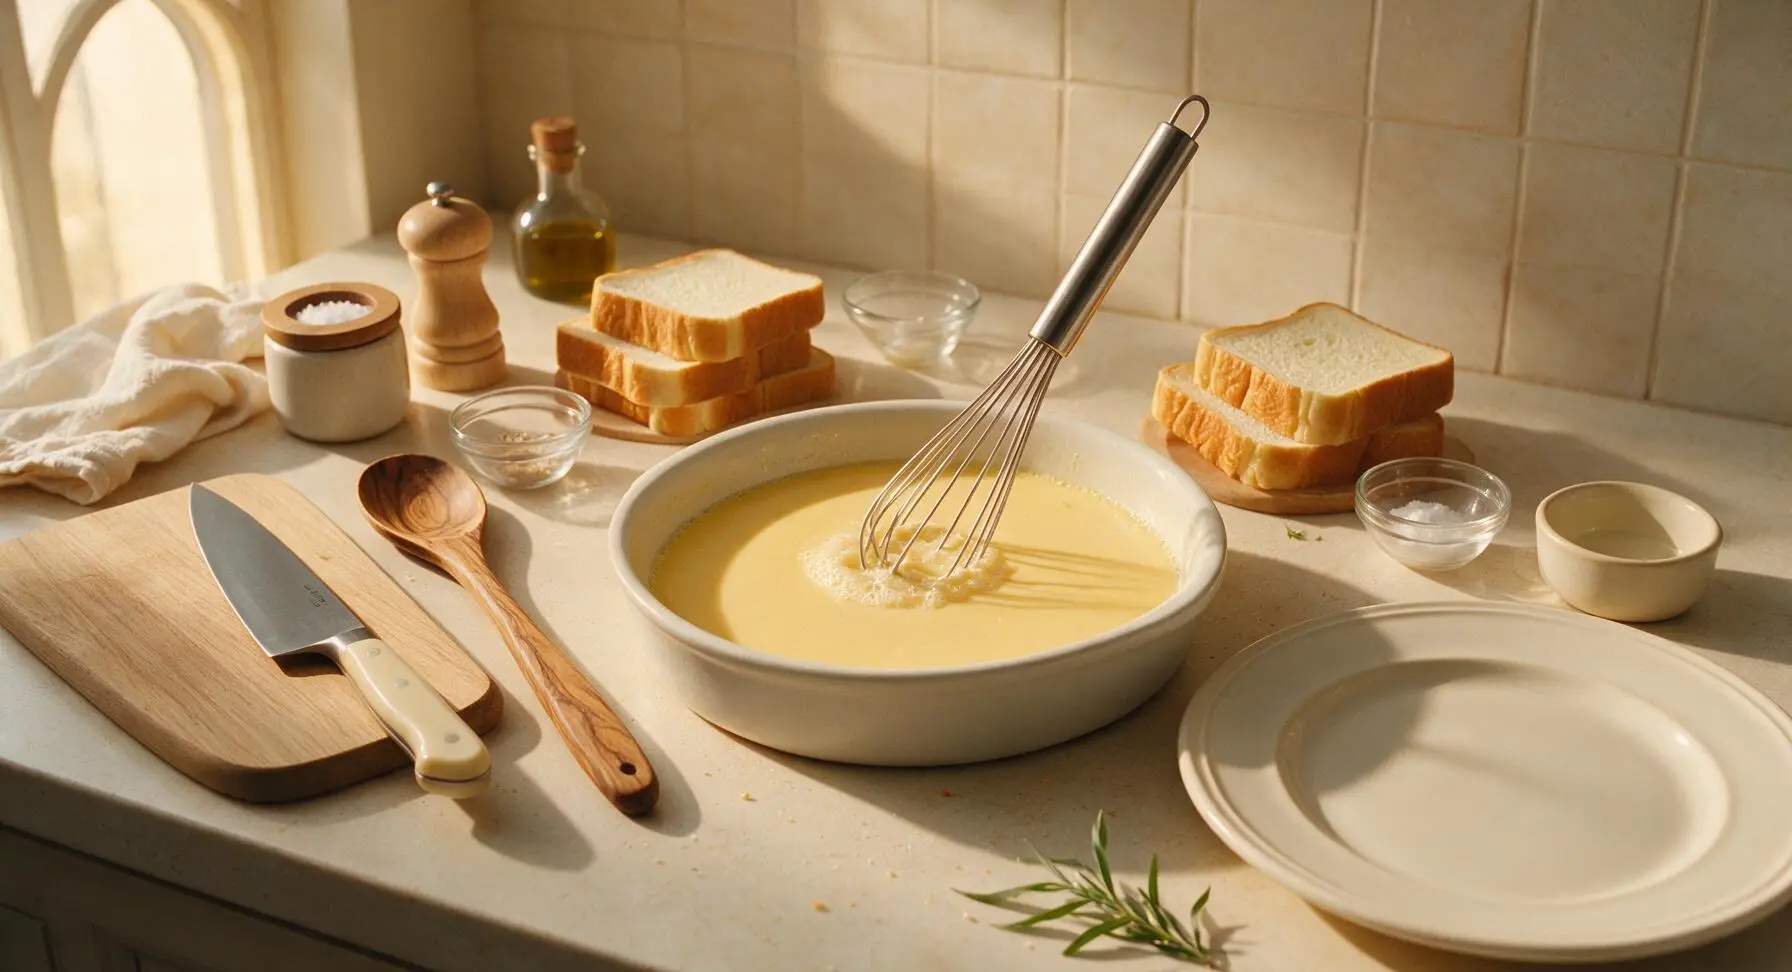
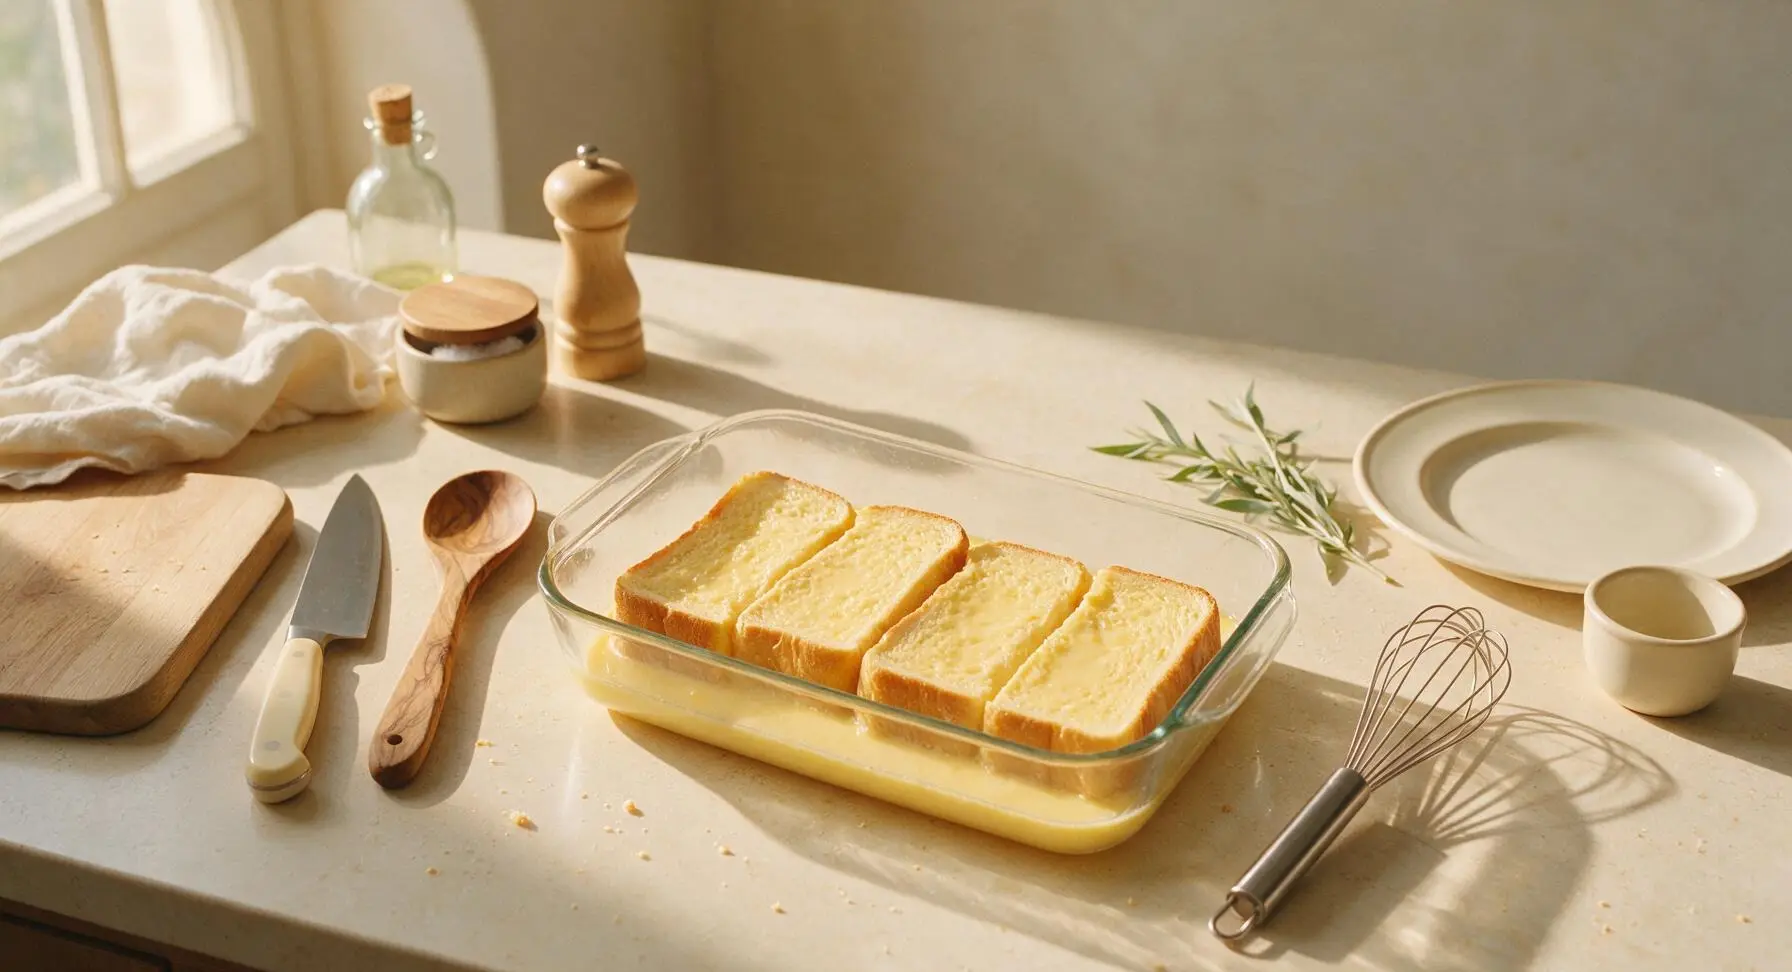
Crack the 3 large eggs into the shallow matte white ceramic baking dish. Add 1 cup whole milk, 2 tbsp heavy whipping cream, 2 tbsp granulated sugar, 1 tsp pure vanilla extract, and 1/4 tsp fine sea salt. Use the stainless steel wire whisk to mix thoroughly for 45 seconds, until sugar is fully dissolved, no streaks of egg white remain, and the mixture is a smooth, pale uniform yellow with a light froth on top. Do not over-whisk to avoid large bubbles that can leave uneven holes in the cooked toast.
Soak Bread Slices
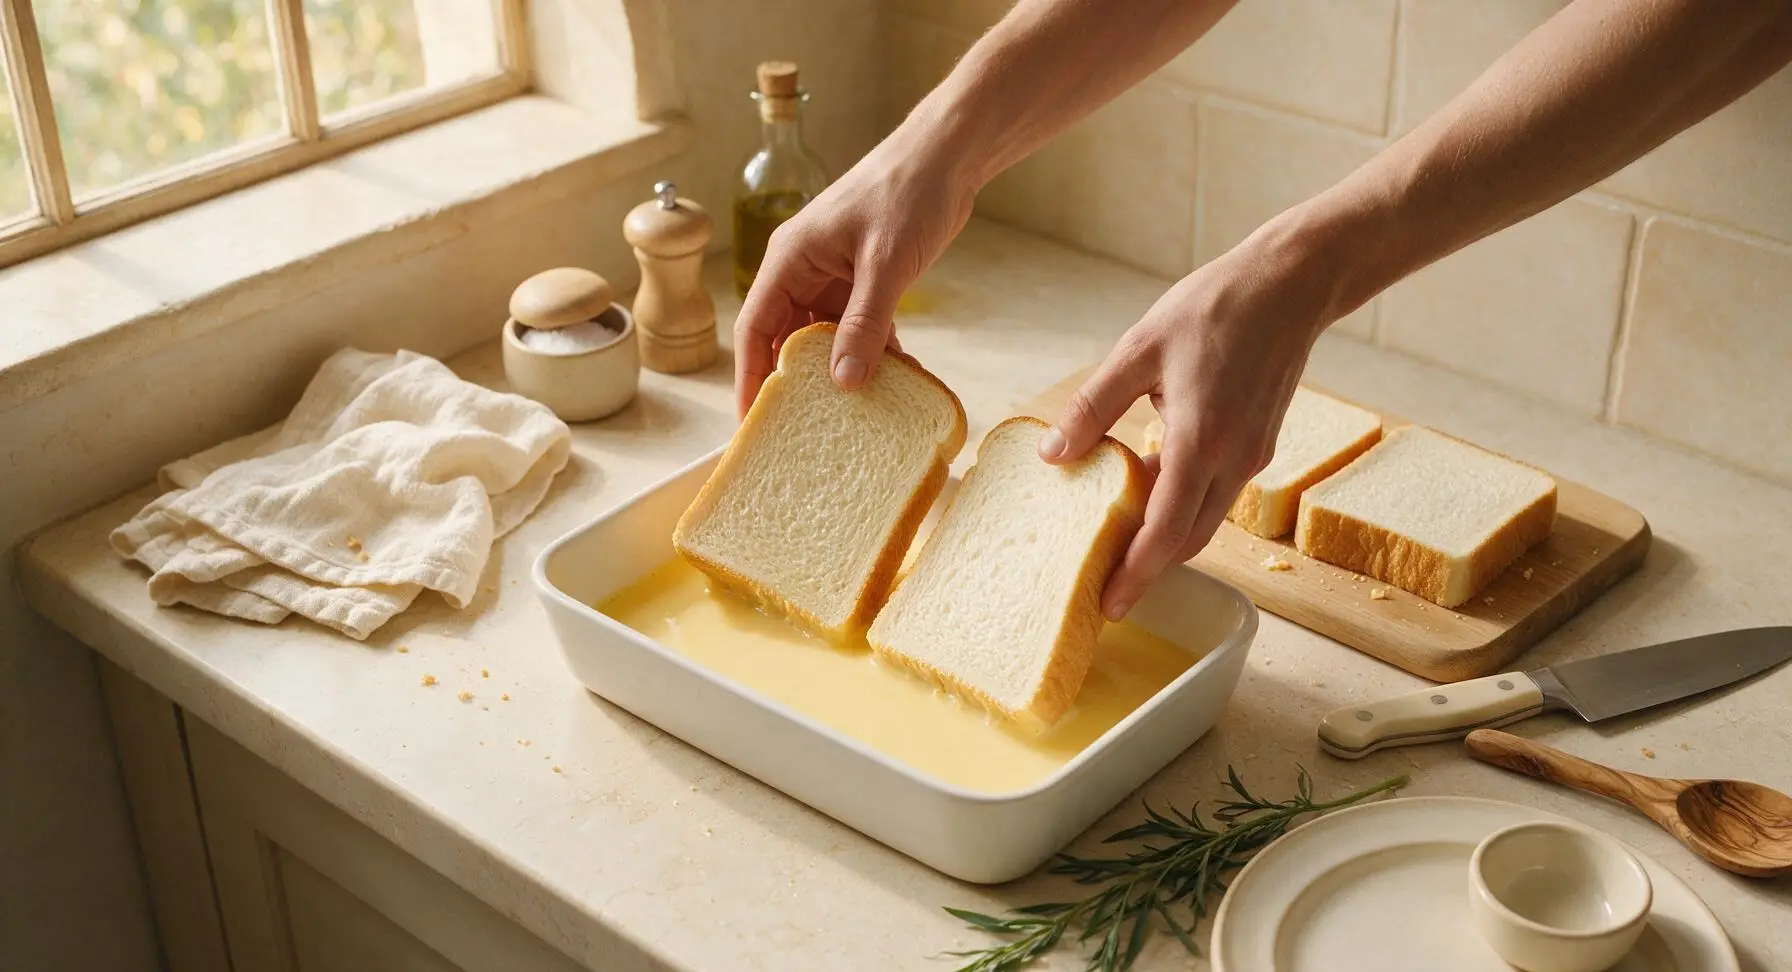
Place the 4 thick shokupan slices into the custard in a single layer, pressing gently to ensure the bottom half of each slice is submerged. Let soak for 4 minutes, then flip each slice with clean fingers and soak for another 4 minutes on the second side. The bread should absorb most of the custard, feel heavy and fully saturated, but not fall apart when lifted. Do not soak longer than 8 minutes total to avoid mushy, waterlogged toast.
Preheat Pan and Butter
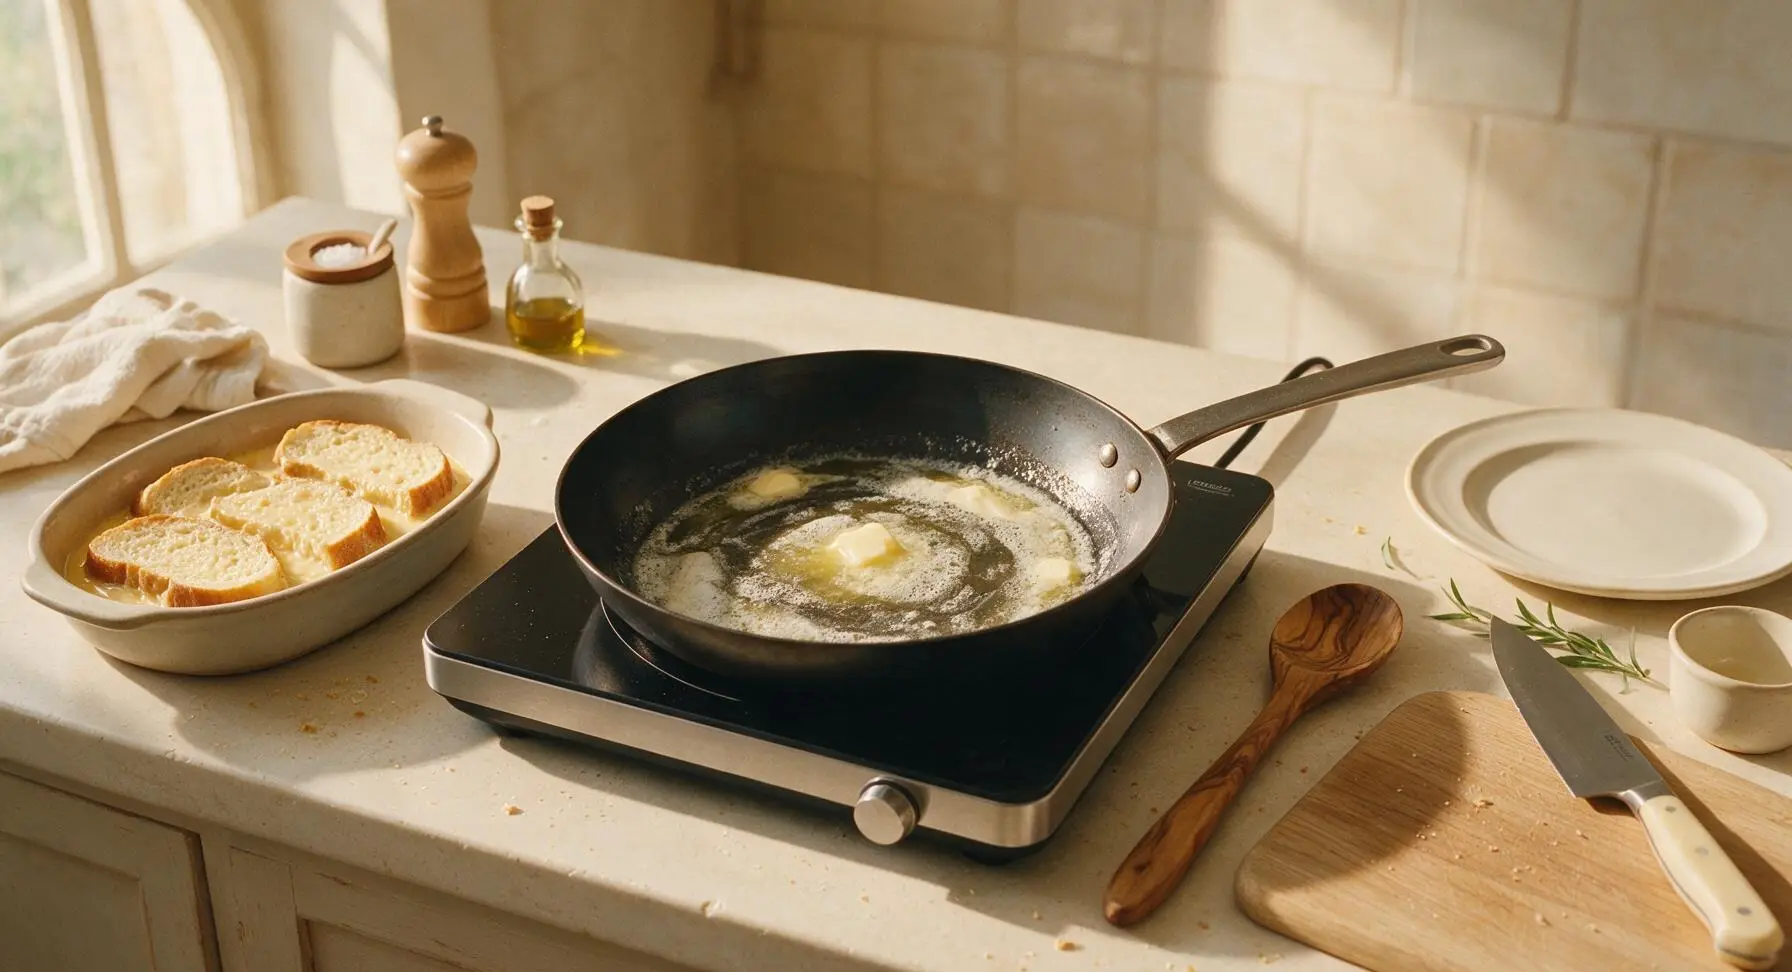
Retrieve the 26cm matte black carbon steel frying pan from the lower cabinet and place it centered on the portable induction cooktop. Set heat to medium-low (160C / 320F) and add 1 tbsp of unsalted butter taken from the fixed butter dish. Once butter is fully melted and foaming slightly (but not browned, about 1 minute), swirl the pan to coat the entire surface evenly. Wipe any dark brown butter solids with the edge of the linen tea towel if needed to prevent burning.
Cook First Toast Side
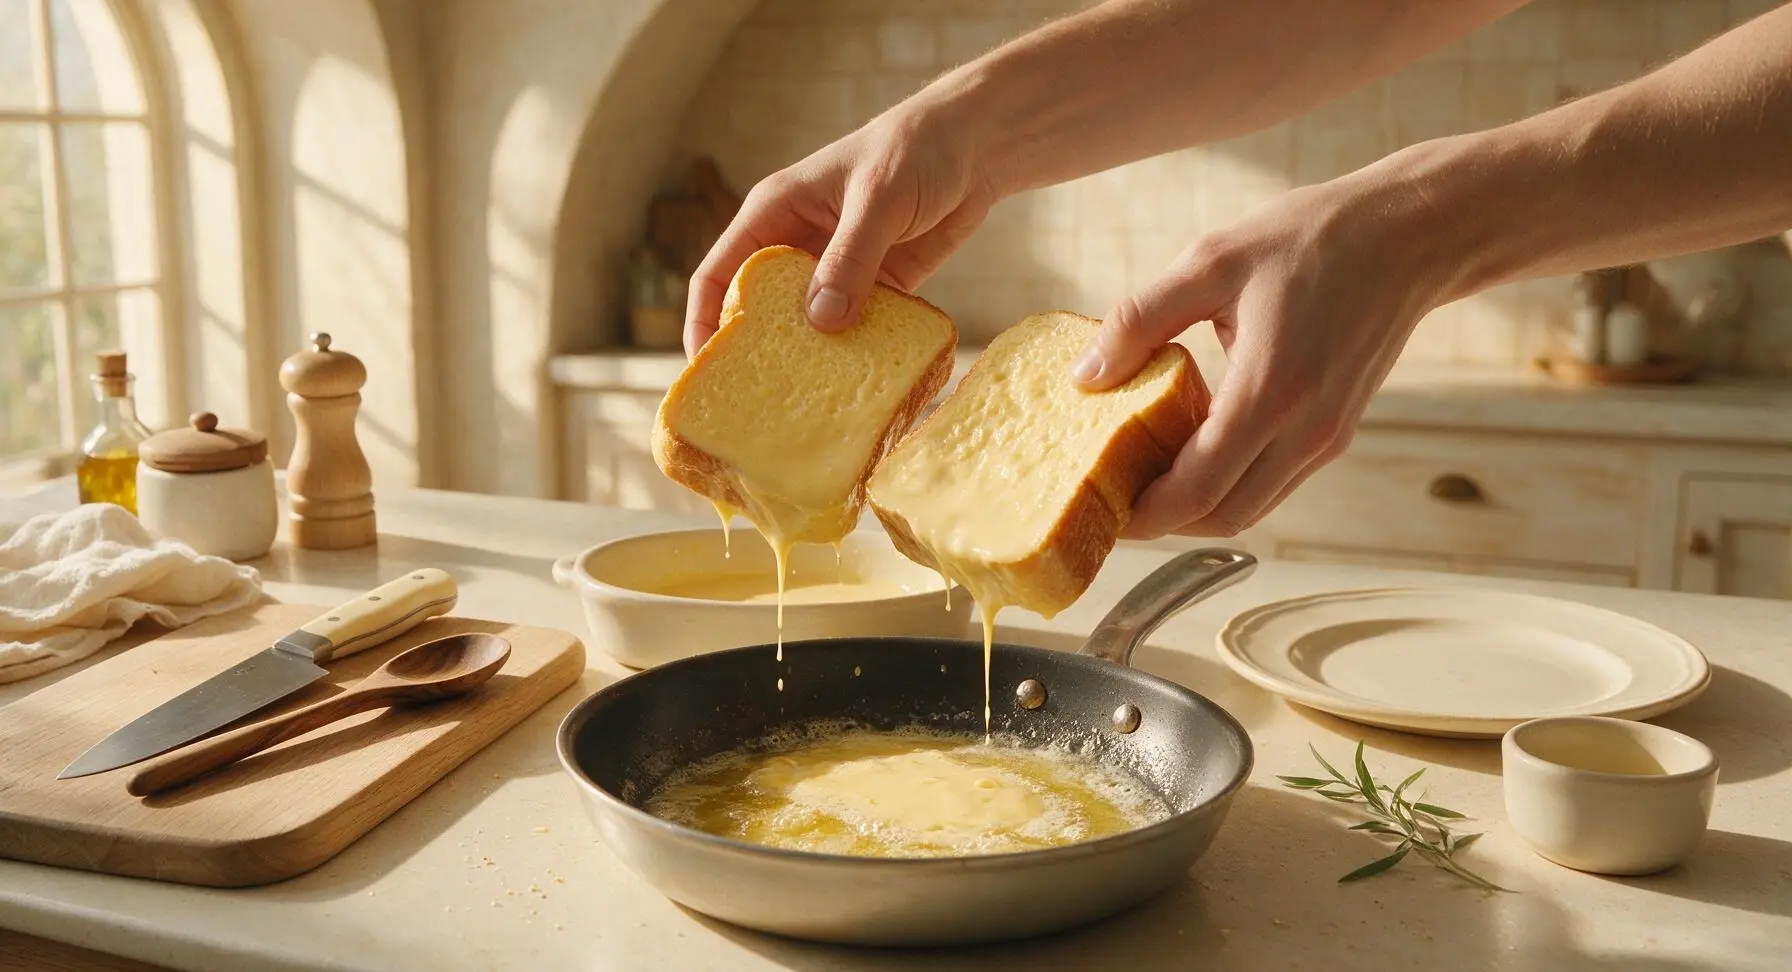
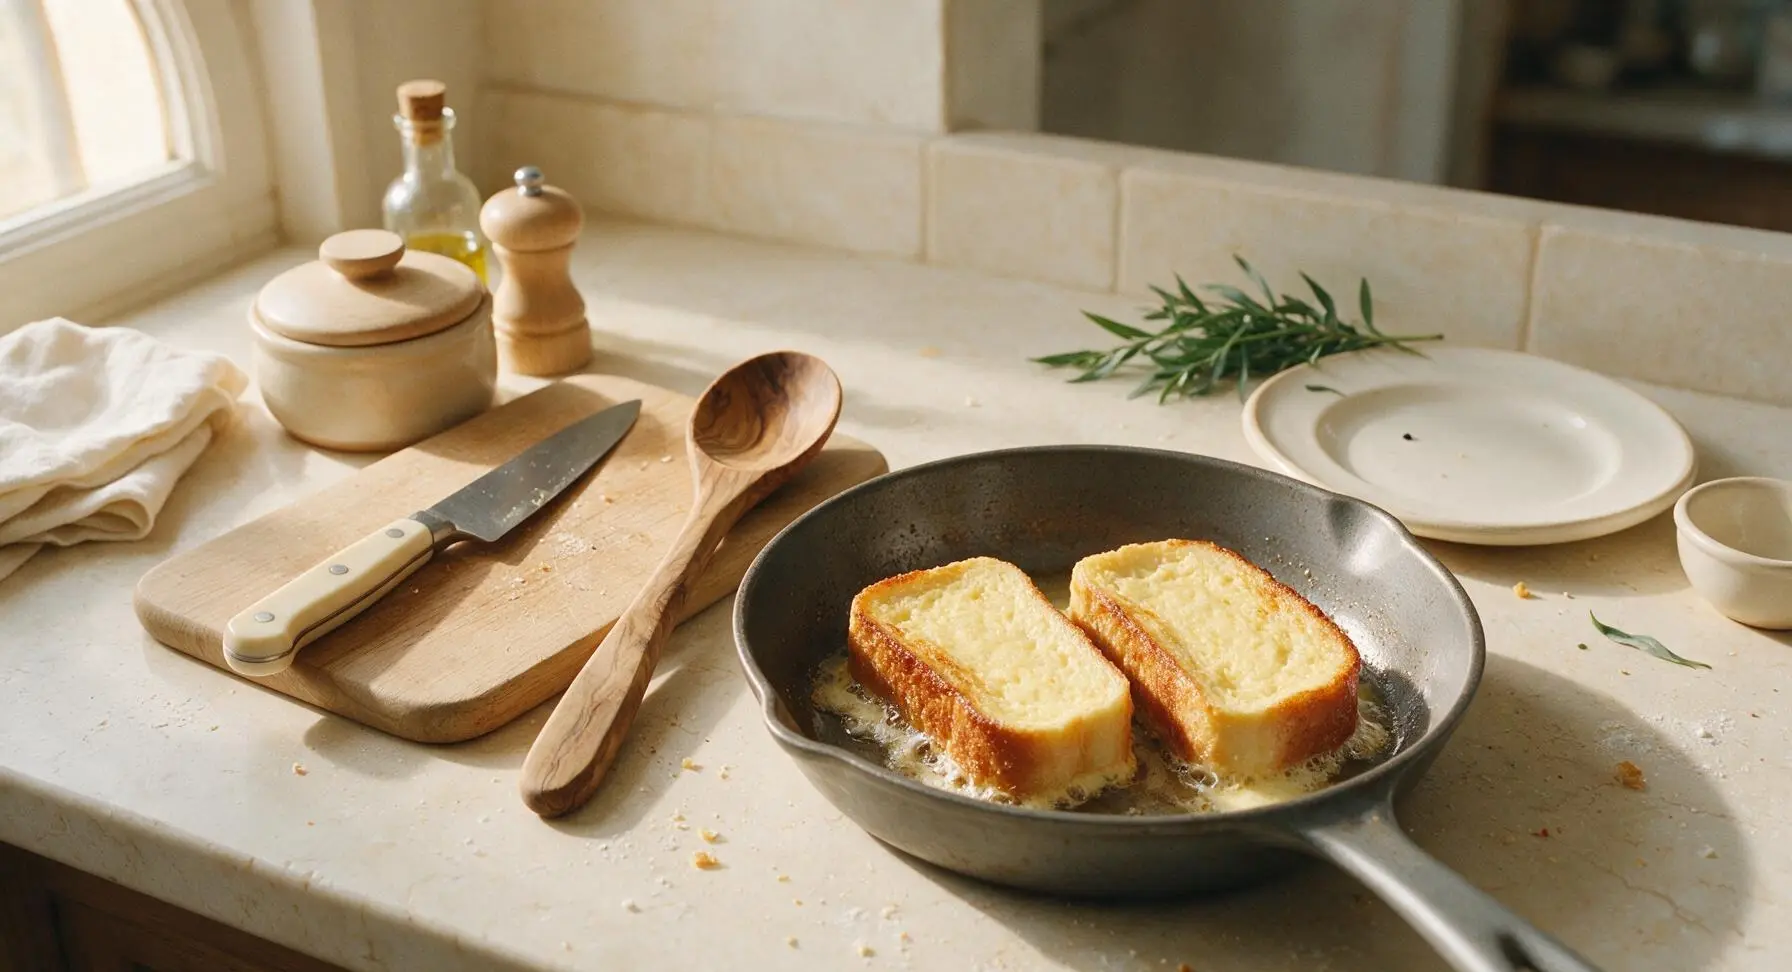
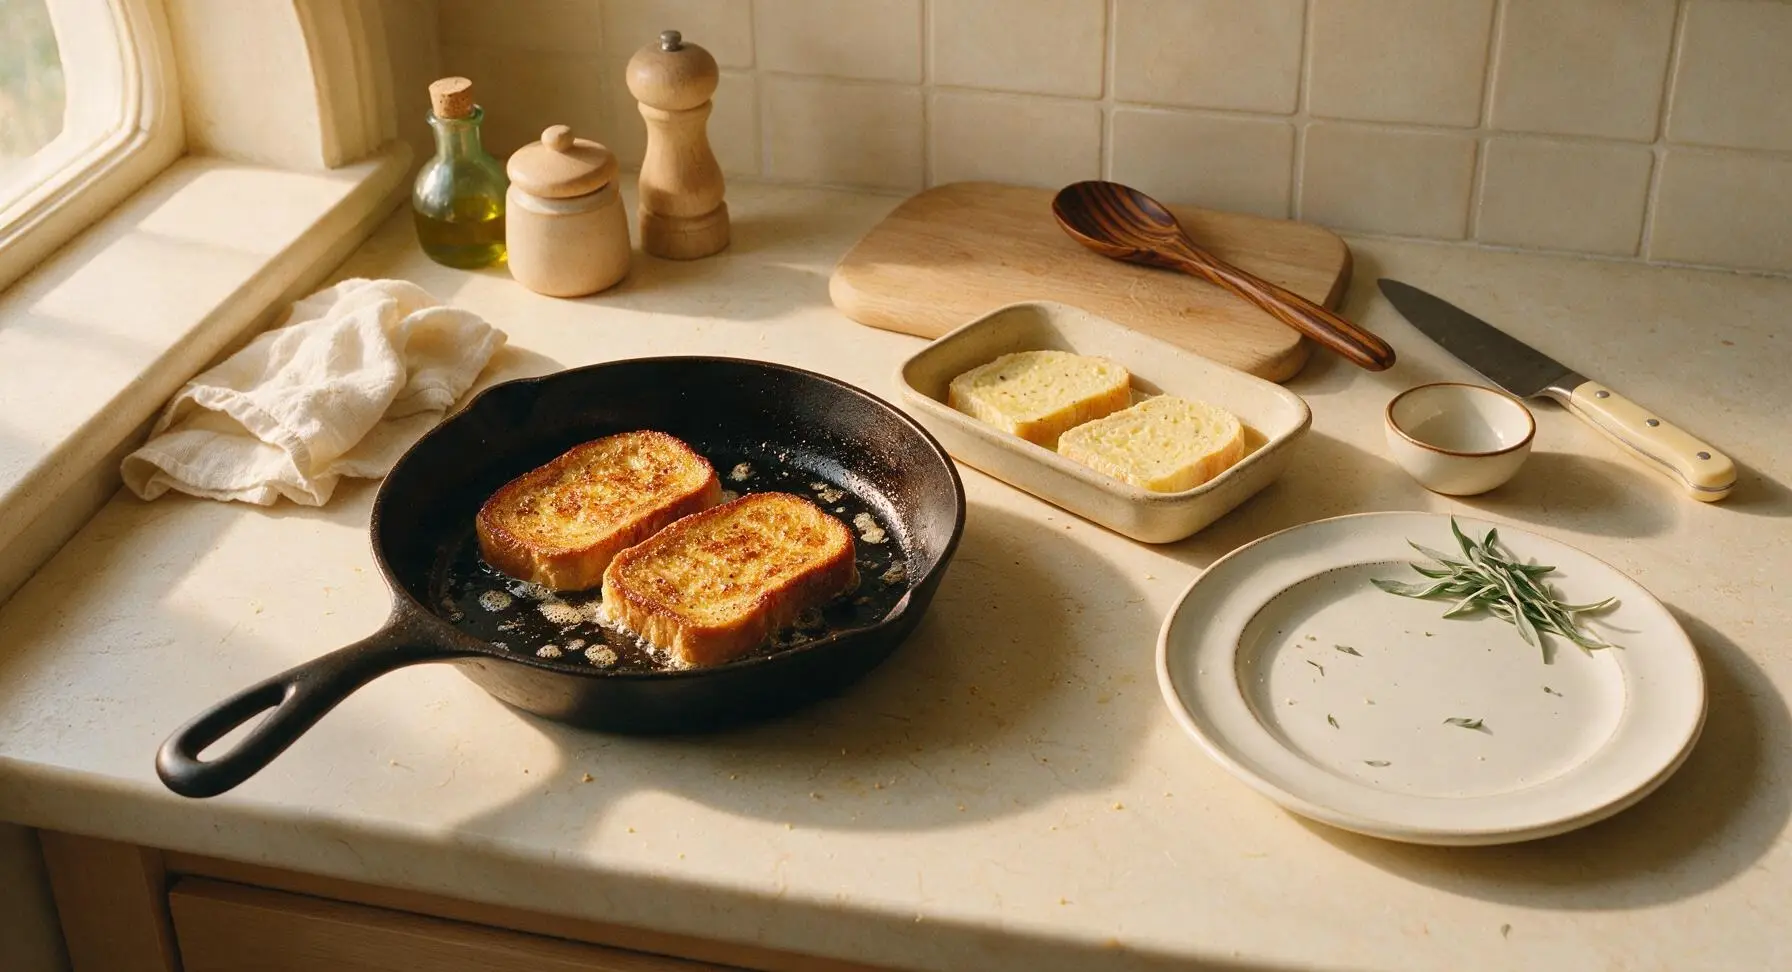
Lift 2 soaked bread slices from the custard, letting excess custard drip back into the dish for 2 seconds, then place them gently into the buttered pan. Cook for 7 minutes on medium-low heat, without moving, until the bottom surface is a deep even golden brown, and the edges look slightly set. Do not turn the heat up to speed cooking, as this will burn the outside before the custard cooks through the thick center.
Flip and Cook Through
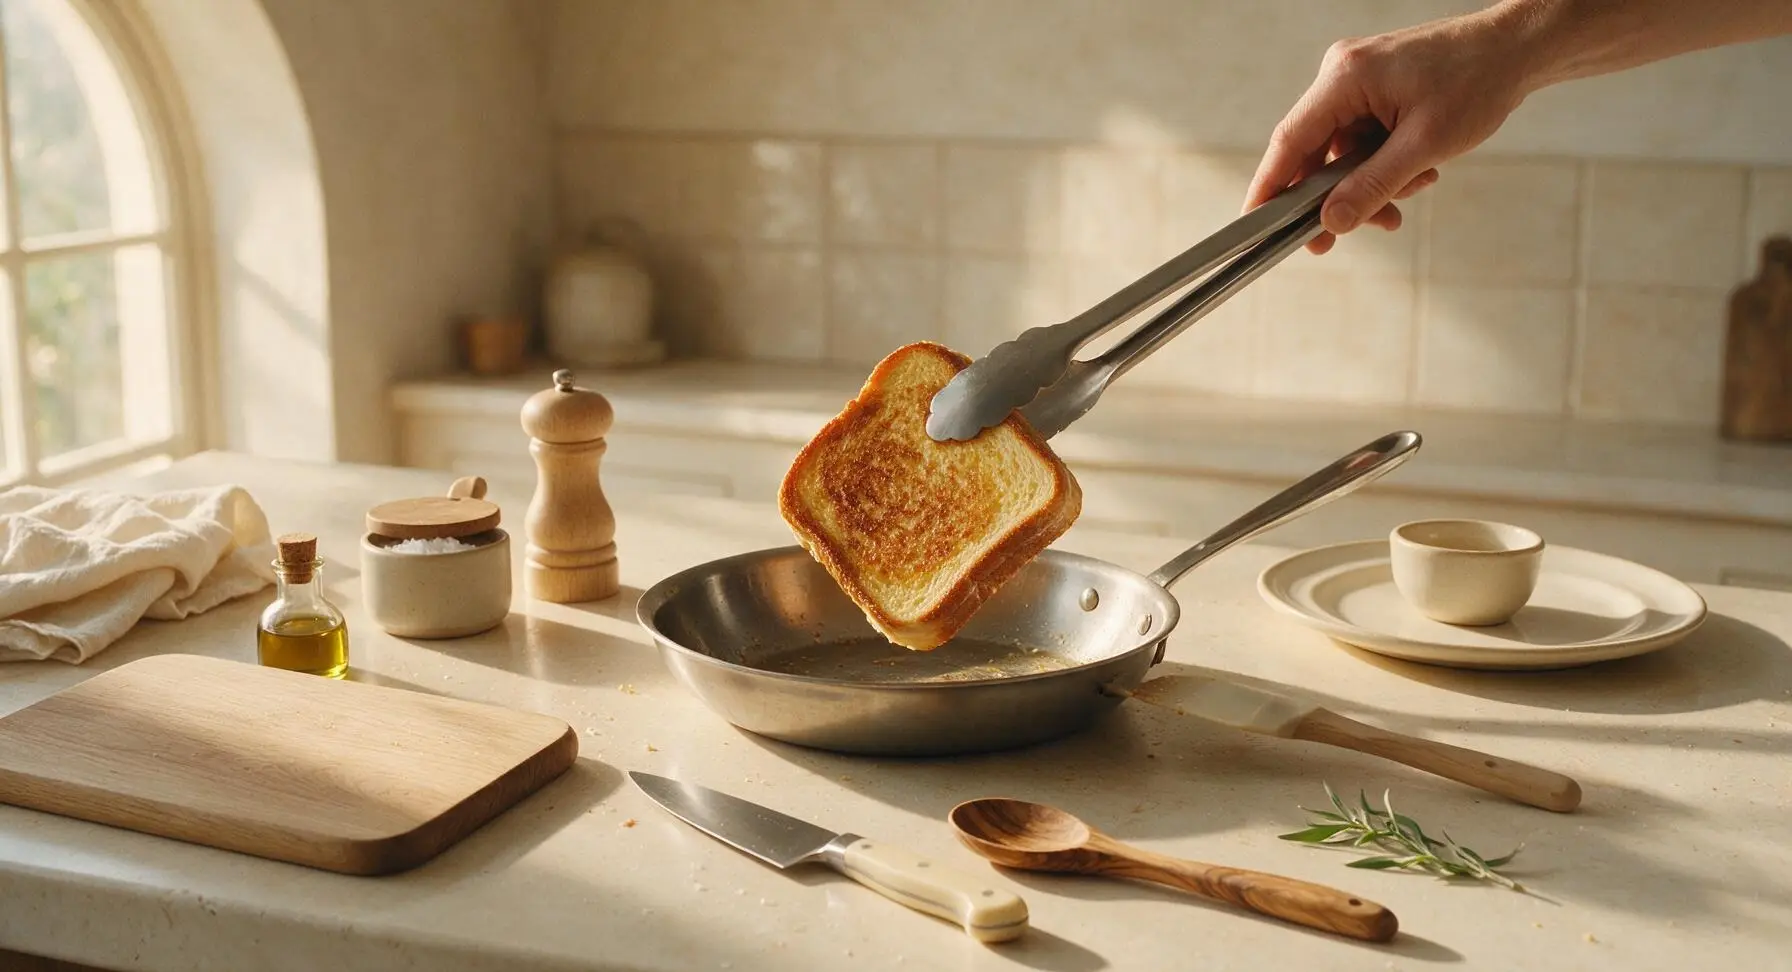
Retrieve the stainless steel kitchen tongs from the lower cabinet, use them to gently flip each slice of toast. Add the remaining 1 tbsp of butter to the pan, tilting to let it melt under and around the slices. Cook for another 6-7 minutes on medium-low heat, until the second side is equally golden brown, and the center of the toast feels softly set (not jiggly) when pressed gently with the silicone spatula. Transfer cooked slices to a temporary plate pulled from the fixed stack, repeat the cooking process with the remaining 2 soaked bread slices, adding a tiny extra pat of butter if the pan is dry.
Rest Cooked Toast
Once all 4 slices are fully cooked, transfer them to a clean plate pulled from the fixed stack, arranging them in a single layer (not stacked) and let rest for 2 minutes. This allows the custard in the center to set fully, so it does not run out when you cut into the toast, and prevents the bottom crust from getting soggy from trapped steam.
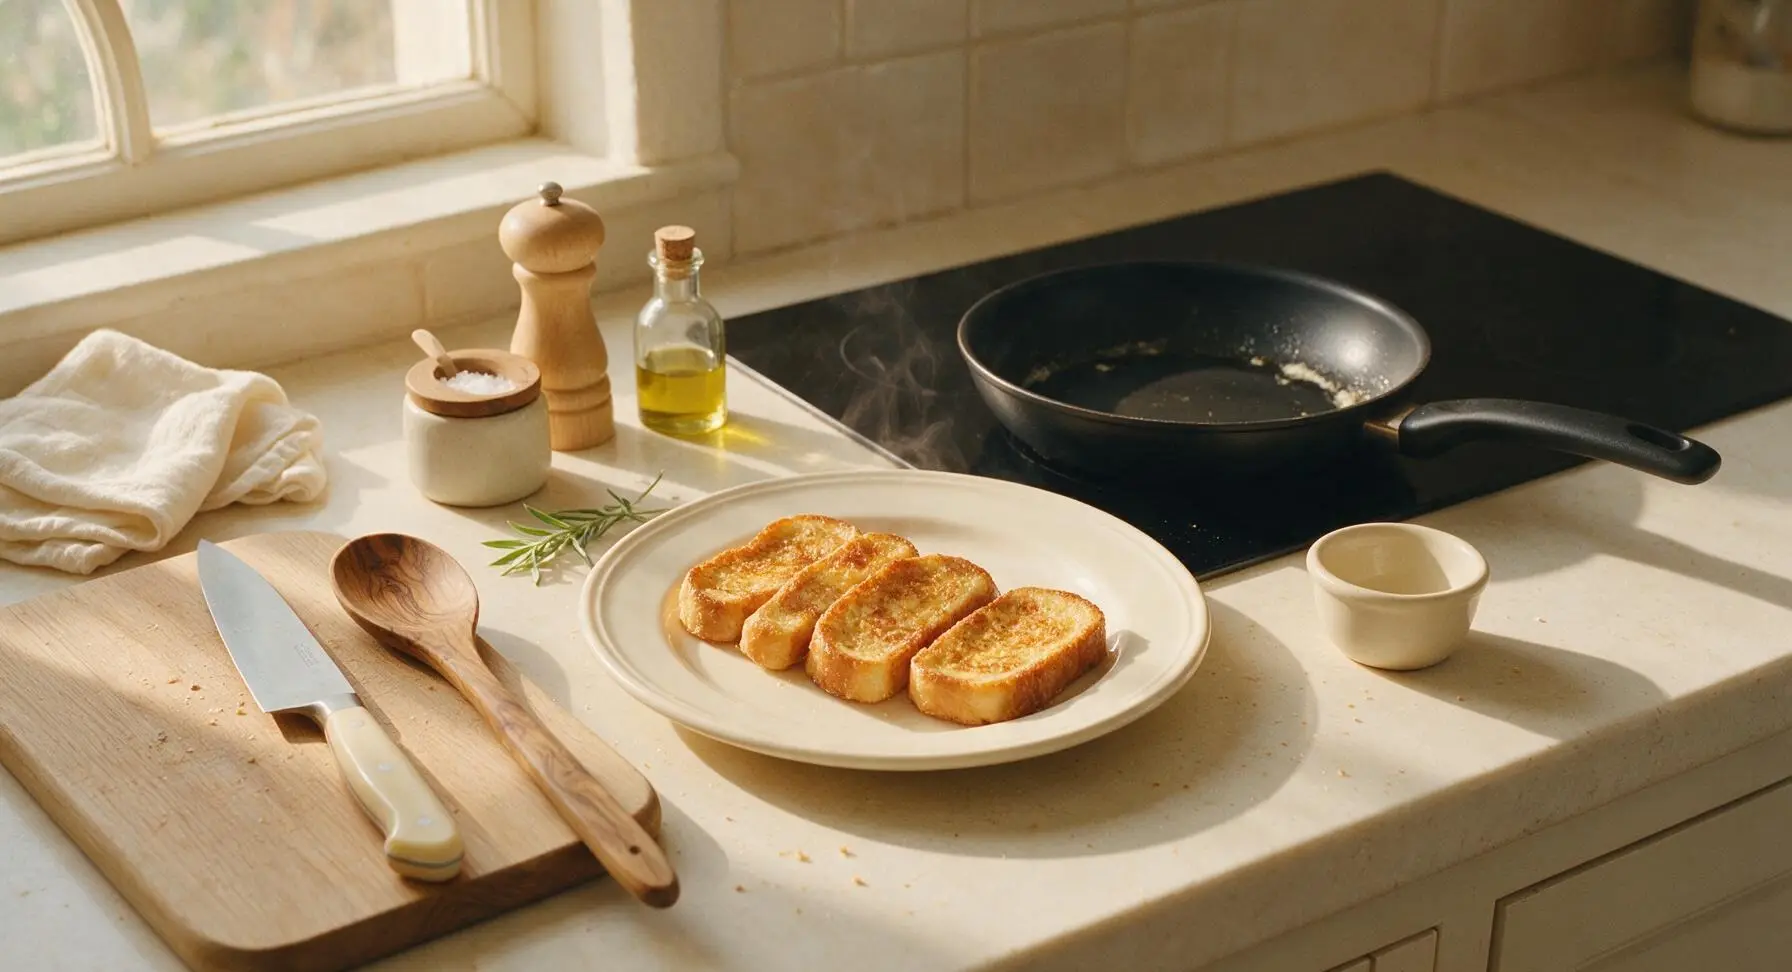
Plate and Garnish Toast
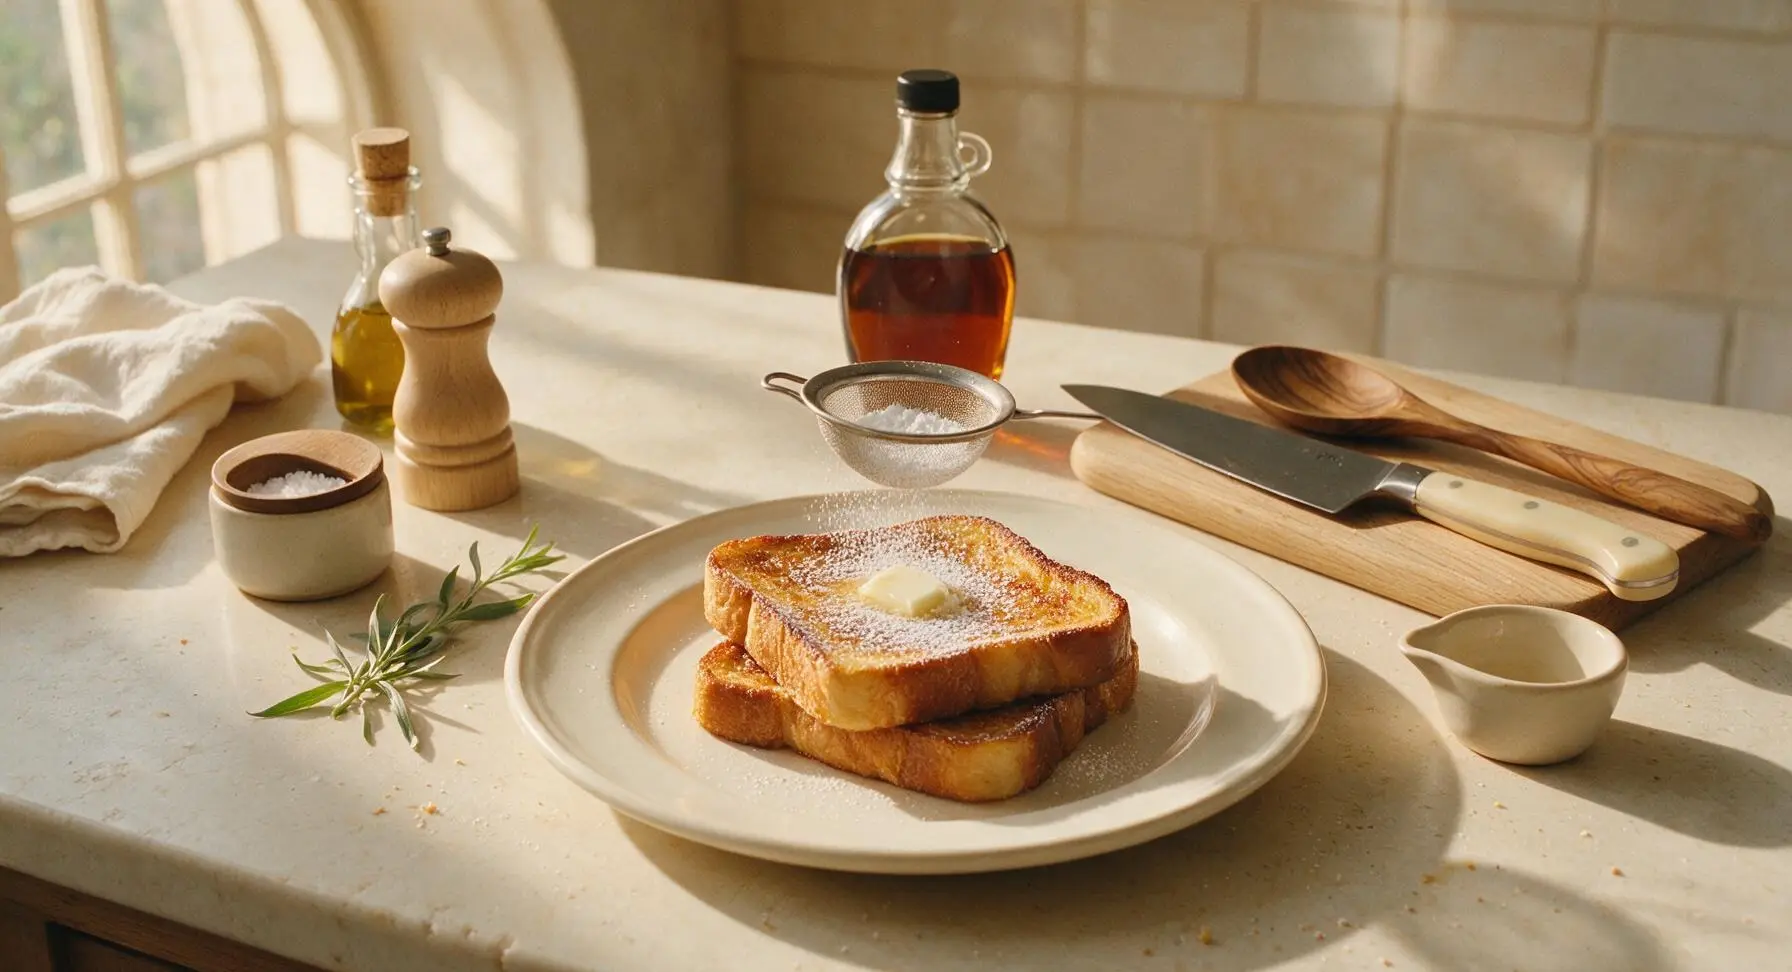
Pull a fresh matte cream ceramic dinner plate from the fixed stack for serving. Place two slices of rested French toast on the plate, stacked slightly offset. Top with a thin 5g pat of butter, let it melt slightly for 30 seconds. Place powdered sugar in the small matte white ramekin, use the fine-mesh sieve to dust a light, even layer of sugar over the toast, then drizzle with maple syrup from the fixed glass syrup bottle to taste.
Tips
2.Resist the urge to turn up the heat: cooking at a steady 160C / 320F ensures the thick bread cooks all the way through, setting the custard center without burning the outer crust to a bitter crisp.
3.Don’t skip the 2-minute rest after cooking: this short pause lets the custard set evenly throughout the slice, so you get a silky, uniform bite instead of runny custard oozing out when you cut into the toast.






OMG this was SO good! I made it for Sunday brunch last weekend and my whole family went crazy for it. The fluff is no joke, I was worried I’d mess up the thick cut but it came out perfect even as a total beginner. 10/10 will be making this for our next potluck!
Game changer alert! I’ve been making sad, soggy French toast for years and this recipe turned out perfectly fluffy on the first try. Cook time was exactly 20 minutes like it said, no guesswork. Drizzled a little matcha syrup on top and *chef’s kiss*
My kids loved it! They usually turn their noses up at anything that isn’t frozen waffles but they both asked for seconds of this. I added a little extra cinnamon to the egg mix and it was chef’s kiss. Super easy too, didn’t have to track down a million weird ingredients.
Wait, is there a make-ahead tip for this? I want to make it for a work brunch next week but I don’t want to be slaving over the stove while everyone else is mingling. Tasted amazing when I test ran it last night though!
Meal prep win! I made a batch on Sunday and kept slices in the fridge to reheat for quick breakfasts all week. It stays way fluffier than regular French toast, I was shocked. 10/10 for busy students who don’t want to eat cereal every day.
Tried this for my anniversary breakfast with my partner and they said it was better than the French toast we had at that fancy Tokyo brunch spot last year. High praise! The thickness is perfect, no weird floppy slices. Will be a weekend staple from now on.
So I accidentally used half and half instead of heavy cream because that’s what I had in the fridge and it still turned out insane? I was so mad I thought I ruined it but nope, still fluffy, still thick, still 100% delicious. Easy recipe to tweak if you don’t have exact ingredients.
Brought this to our neighborhood block party last weekend and it was the first dish gone! People were asking me for the recipe left and right. I topped it with fresh berries and a little powdered sugar, looked fancy as hell but was so easy to throw together that morning.
Guys. I can barely boil water without burning it and I nailed this recipe first try. It says easy difficulty and it’s not lying! I thought the fluffy Japanese style would require fancy equipment or something but no, just a bowl and a pan. Wild.
I swapped the eggs for silken tofu and the dairy for oat milk to make it vegan and it still came out so fluffy! I was convinced it would be a flop but it worked perfectly. Great base recipe to adapt for dietary needs, for real.
20 minute cook time is NOT a lie, y’all. I timed it from when I pulled the ingredients out to when I was sitting down eating, and it was 19 minutes flat. Perfect for busy weekday mornings when I don’t have a ton of time to make breakfast before work.
Is it bad I ate half the batch by myself? 😂 It’s just so light and fluffy, it doesn’t feel as heavy as regular French toast so I kept going back for “just one more bite”. Topped with maple syrup and a dollop of whipped cream, absolute heaven.
I was skeptical that an “easy” recipe could get that signature Japanese French toast fluff, but color me impressed. The tip to not press the bread down while it’s cooking is key, most people smoosh it and squeeze all the custard out. Great recipe, solid technique tips.
Help! I tried this yesterday and my slices were a little soggy in the middle. Did I soak them too long? I left them in the egg mix for like 10 minutes per side because I wanted them to be extra flavorful. Still tasted good but the texture was off.
Made this over the campfire last weekend on our cast iron griddle and it was a hit with the whole campsite! Cooked up exactly the same as it does on my stove at home, super sturdy even when cooking over uneven heat. New camping breakfast staple for sure.
Just made this in my tiny studio kitchen with a $10 thrift store frying pan and it turned out perfect. I thought for sure I’d mess it up since I don’t have fancy cookware but nope, the recipe is totally bulletproof. My roommate is already begging me to make it again this weekend.
Tossed some fresh strawberries and blueberries on top with a drizzle of honey instead of maple syrup and it was *chef’s kiss*. The light, fluffy texture pairs so well with bright, fresh fruit. I even made a mini version for my toddler and she gobbled it right up, no complaints.